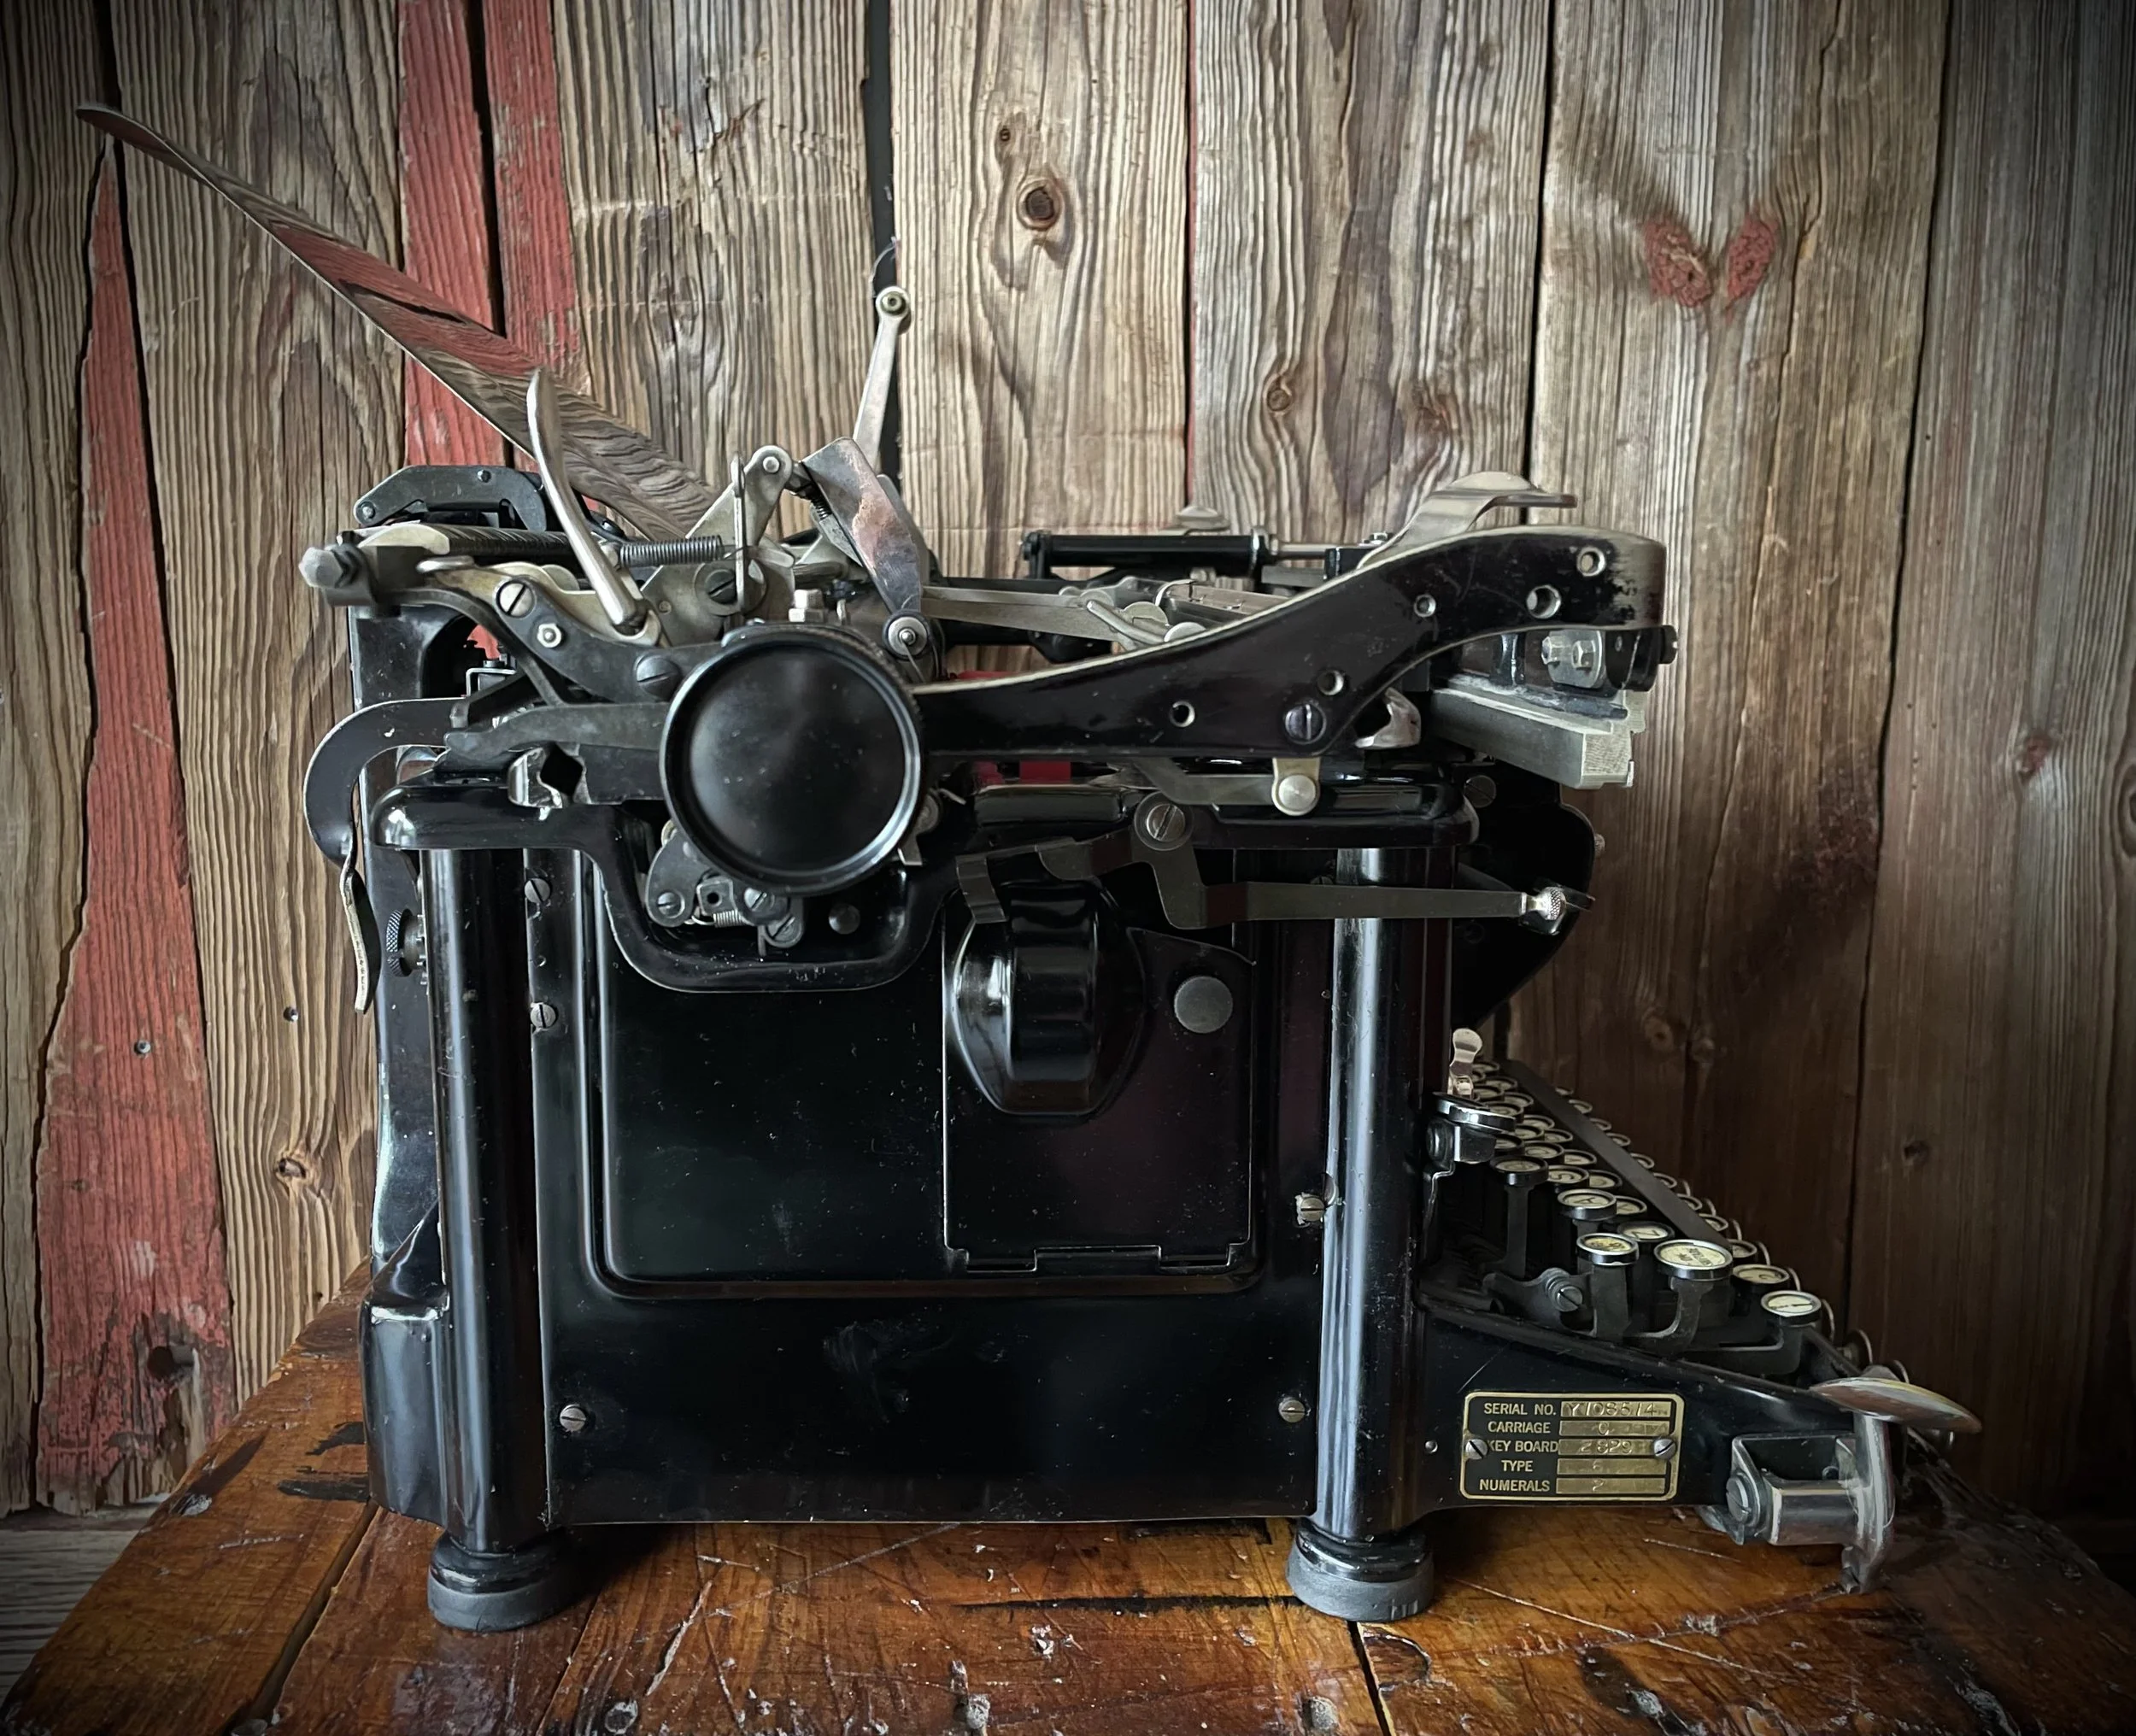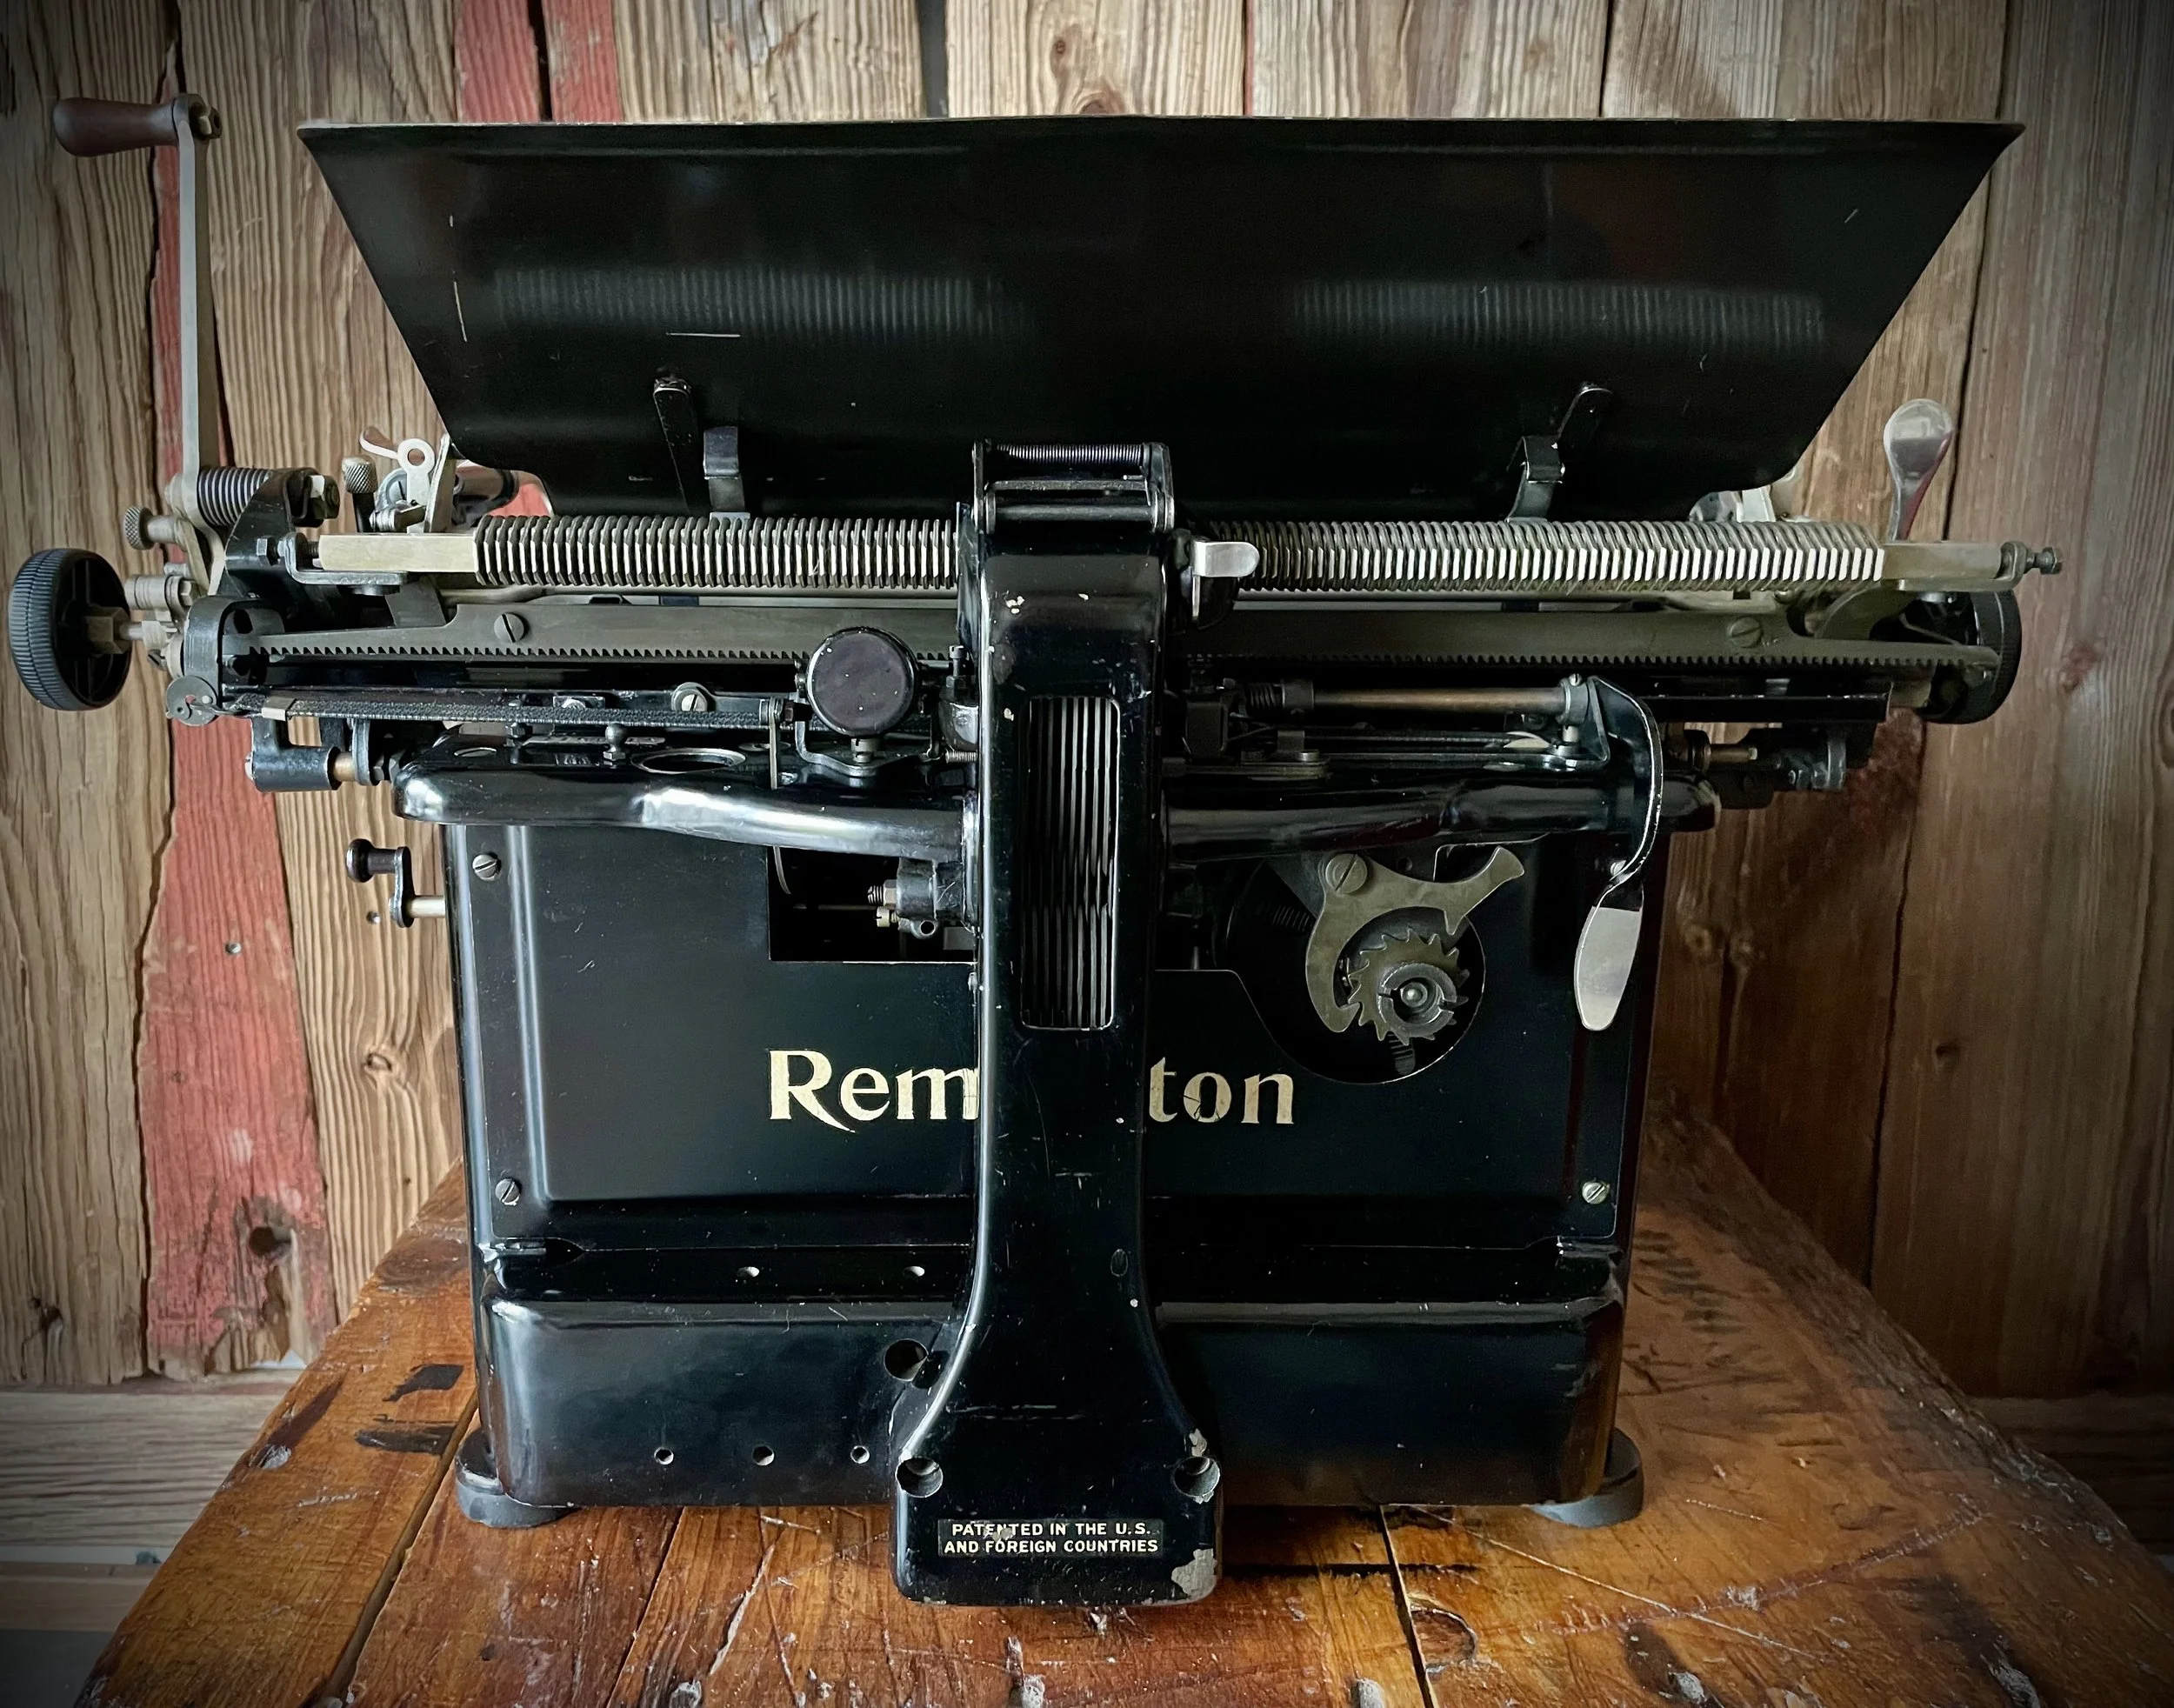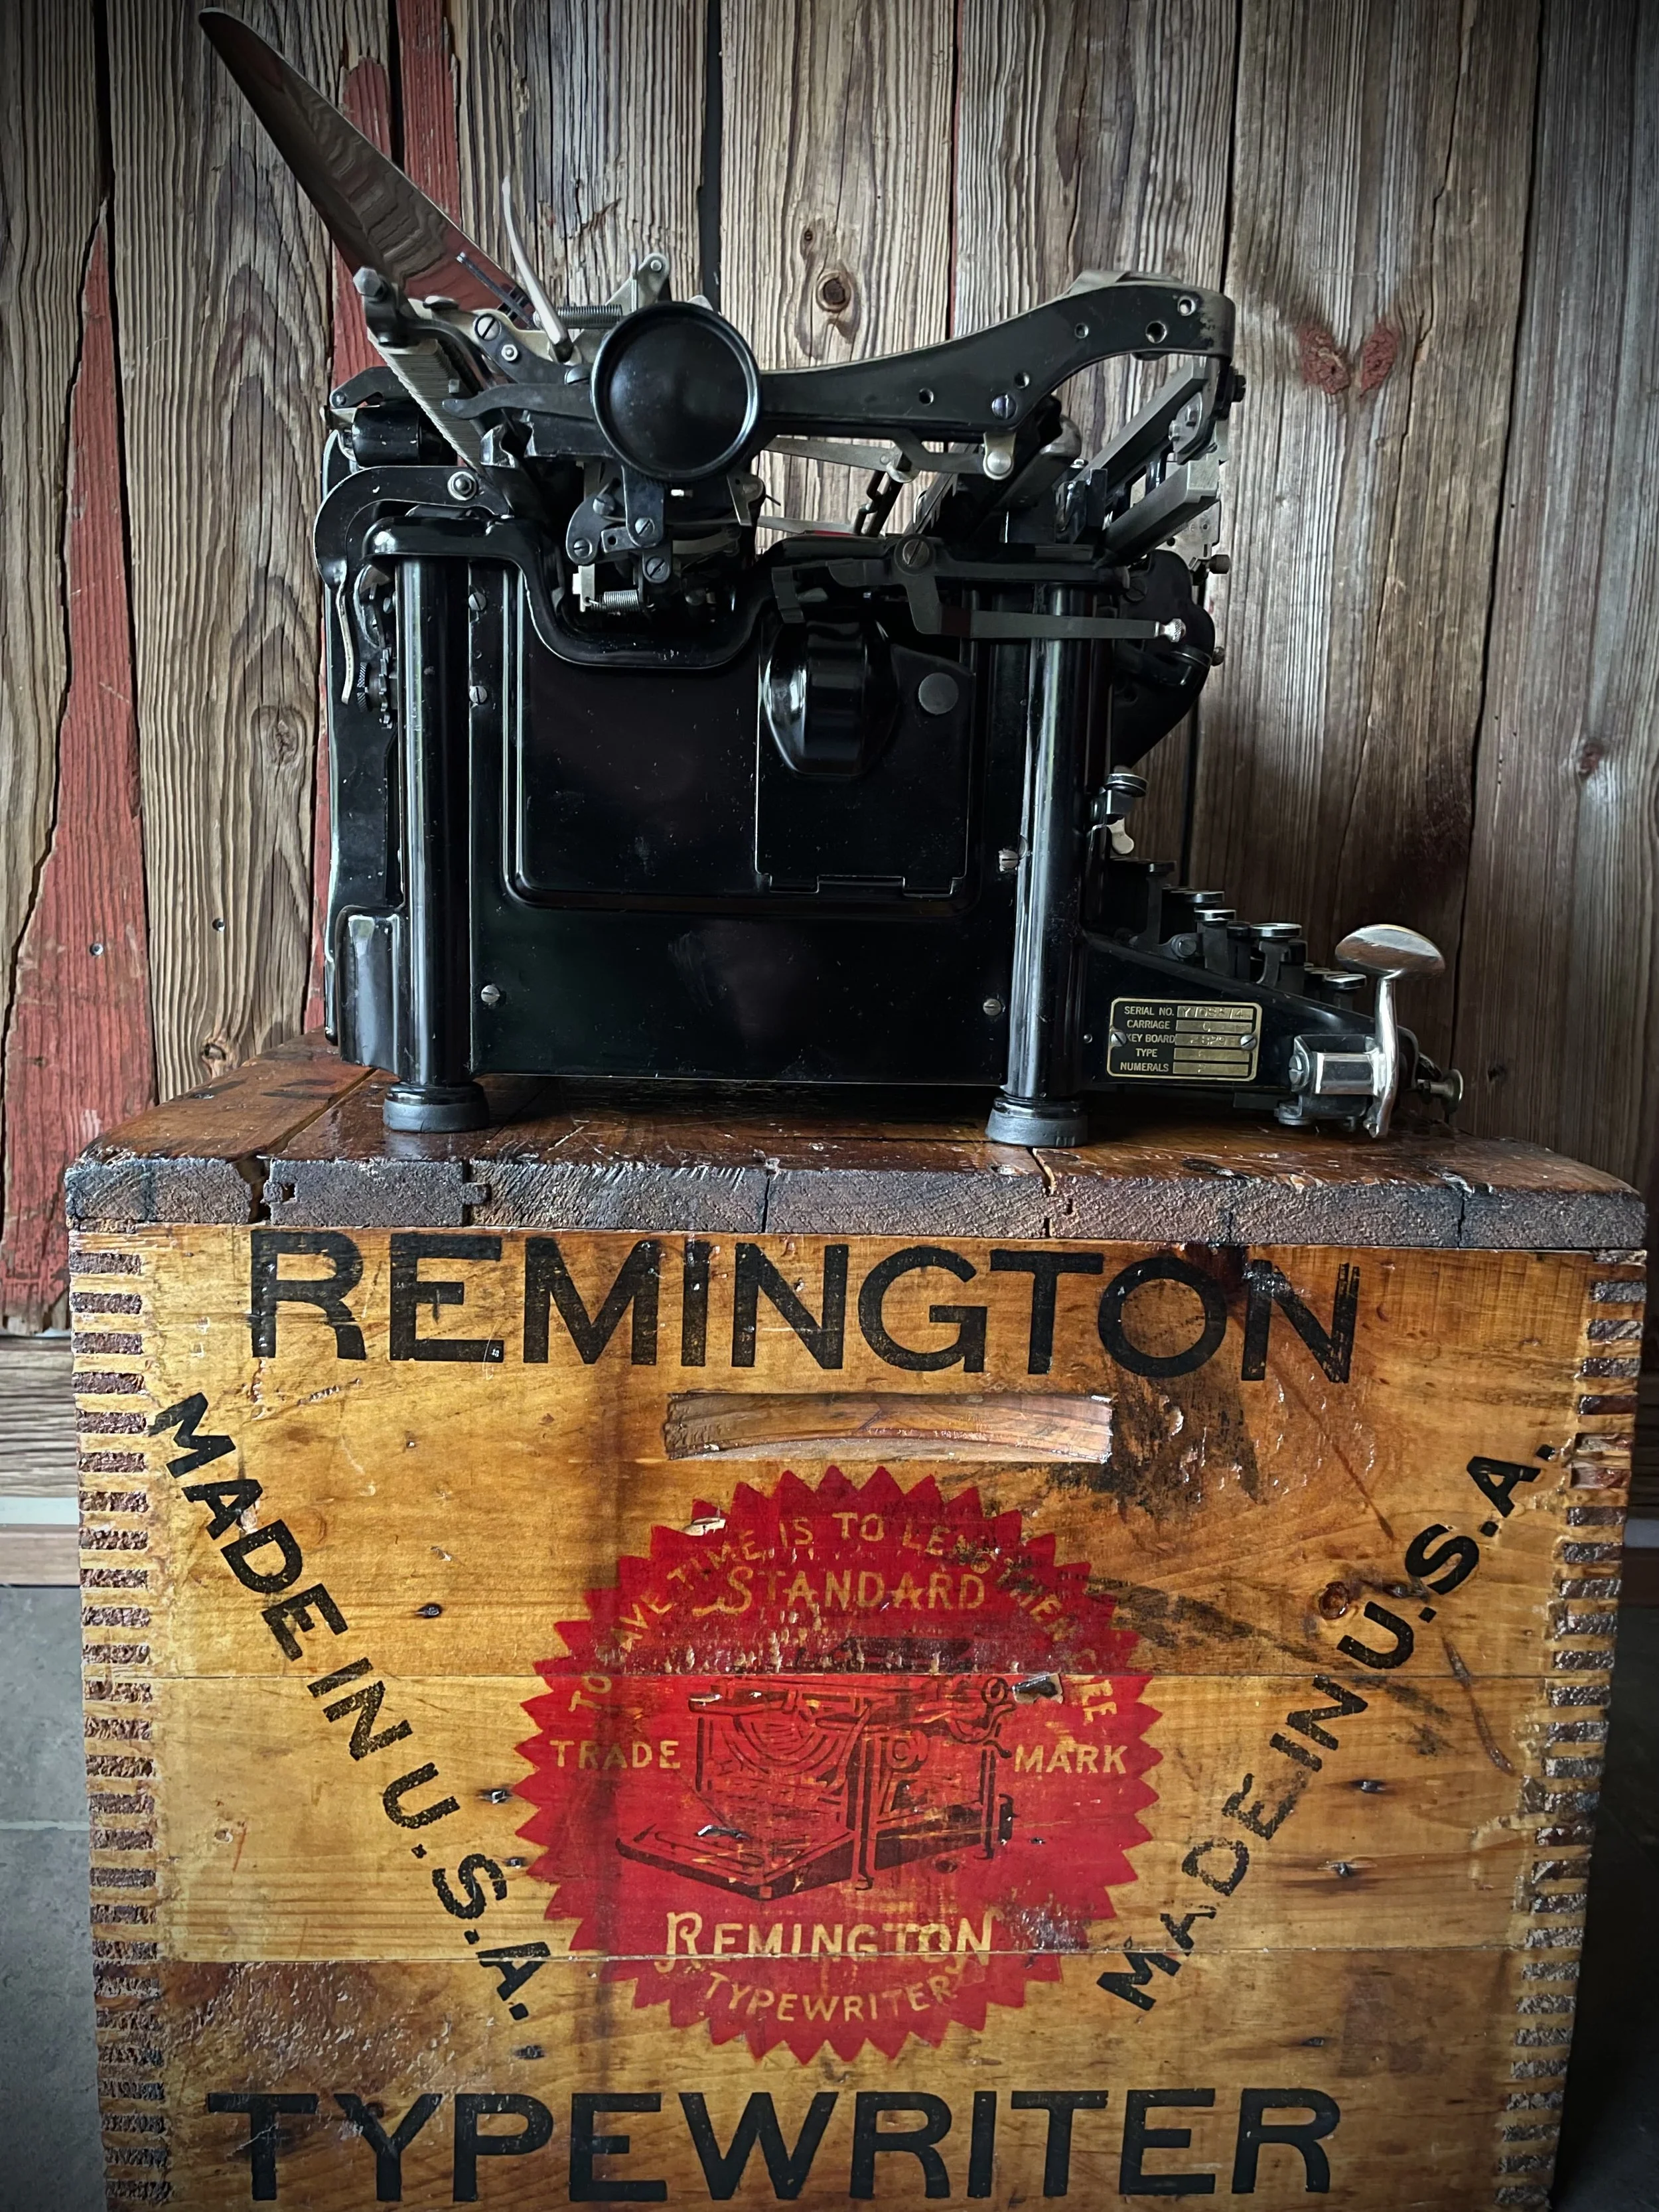
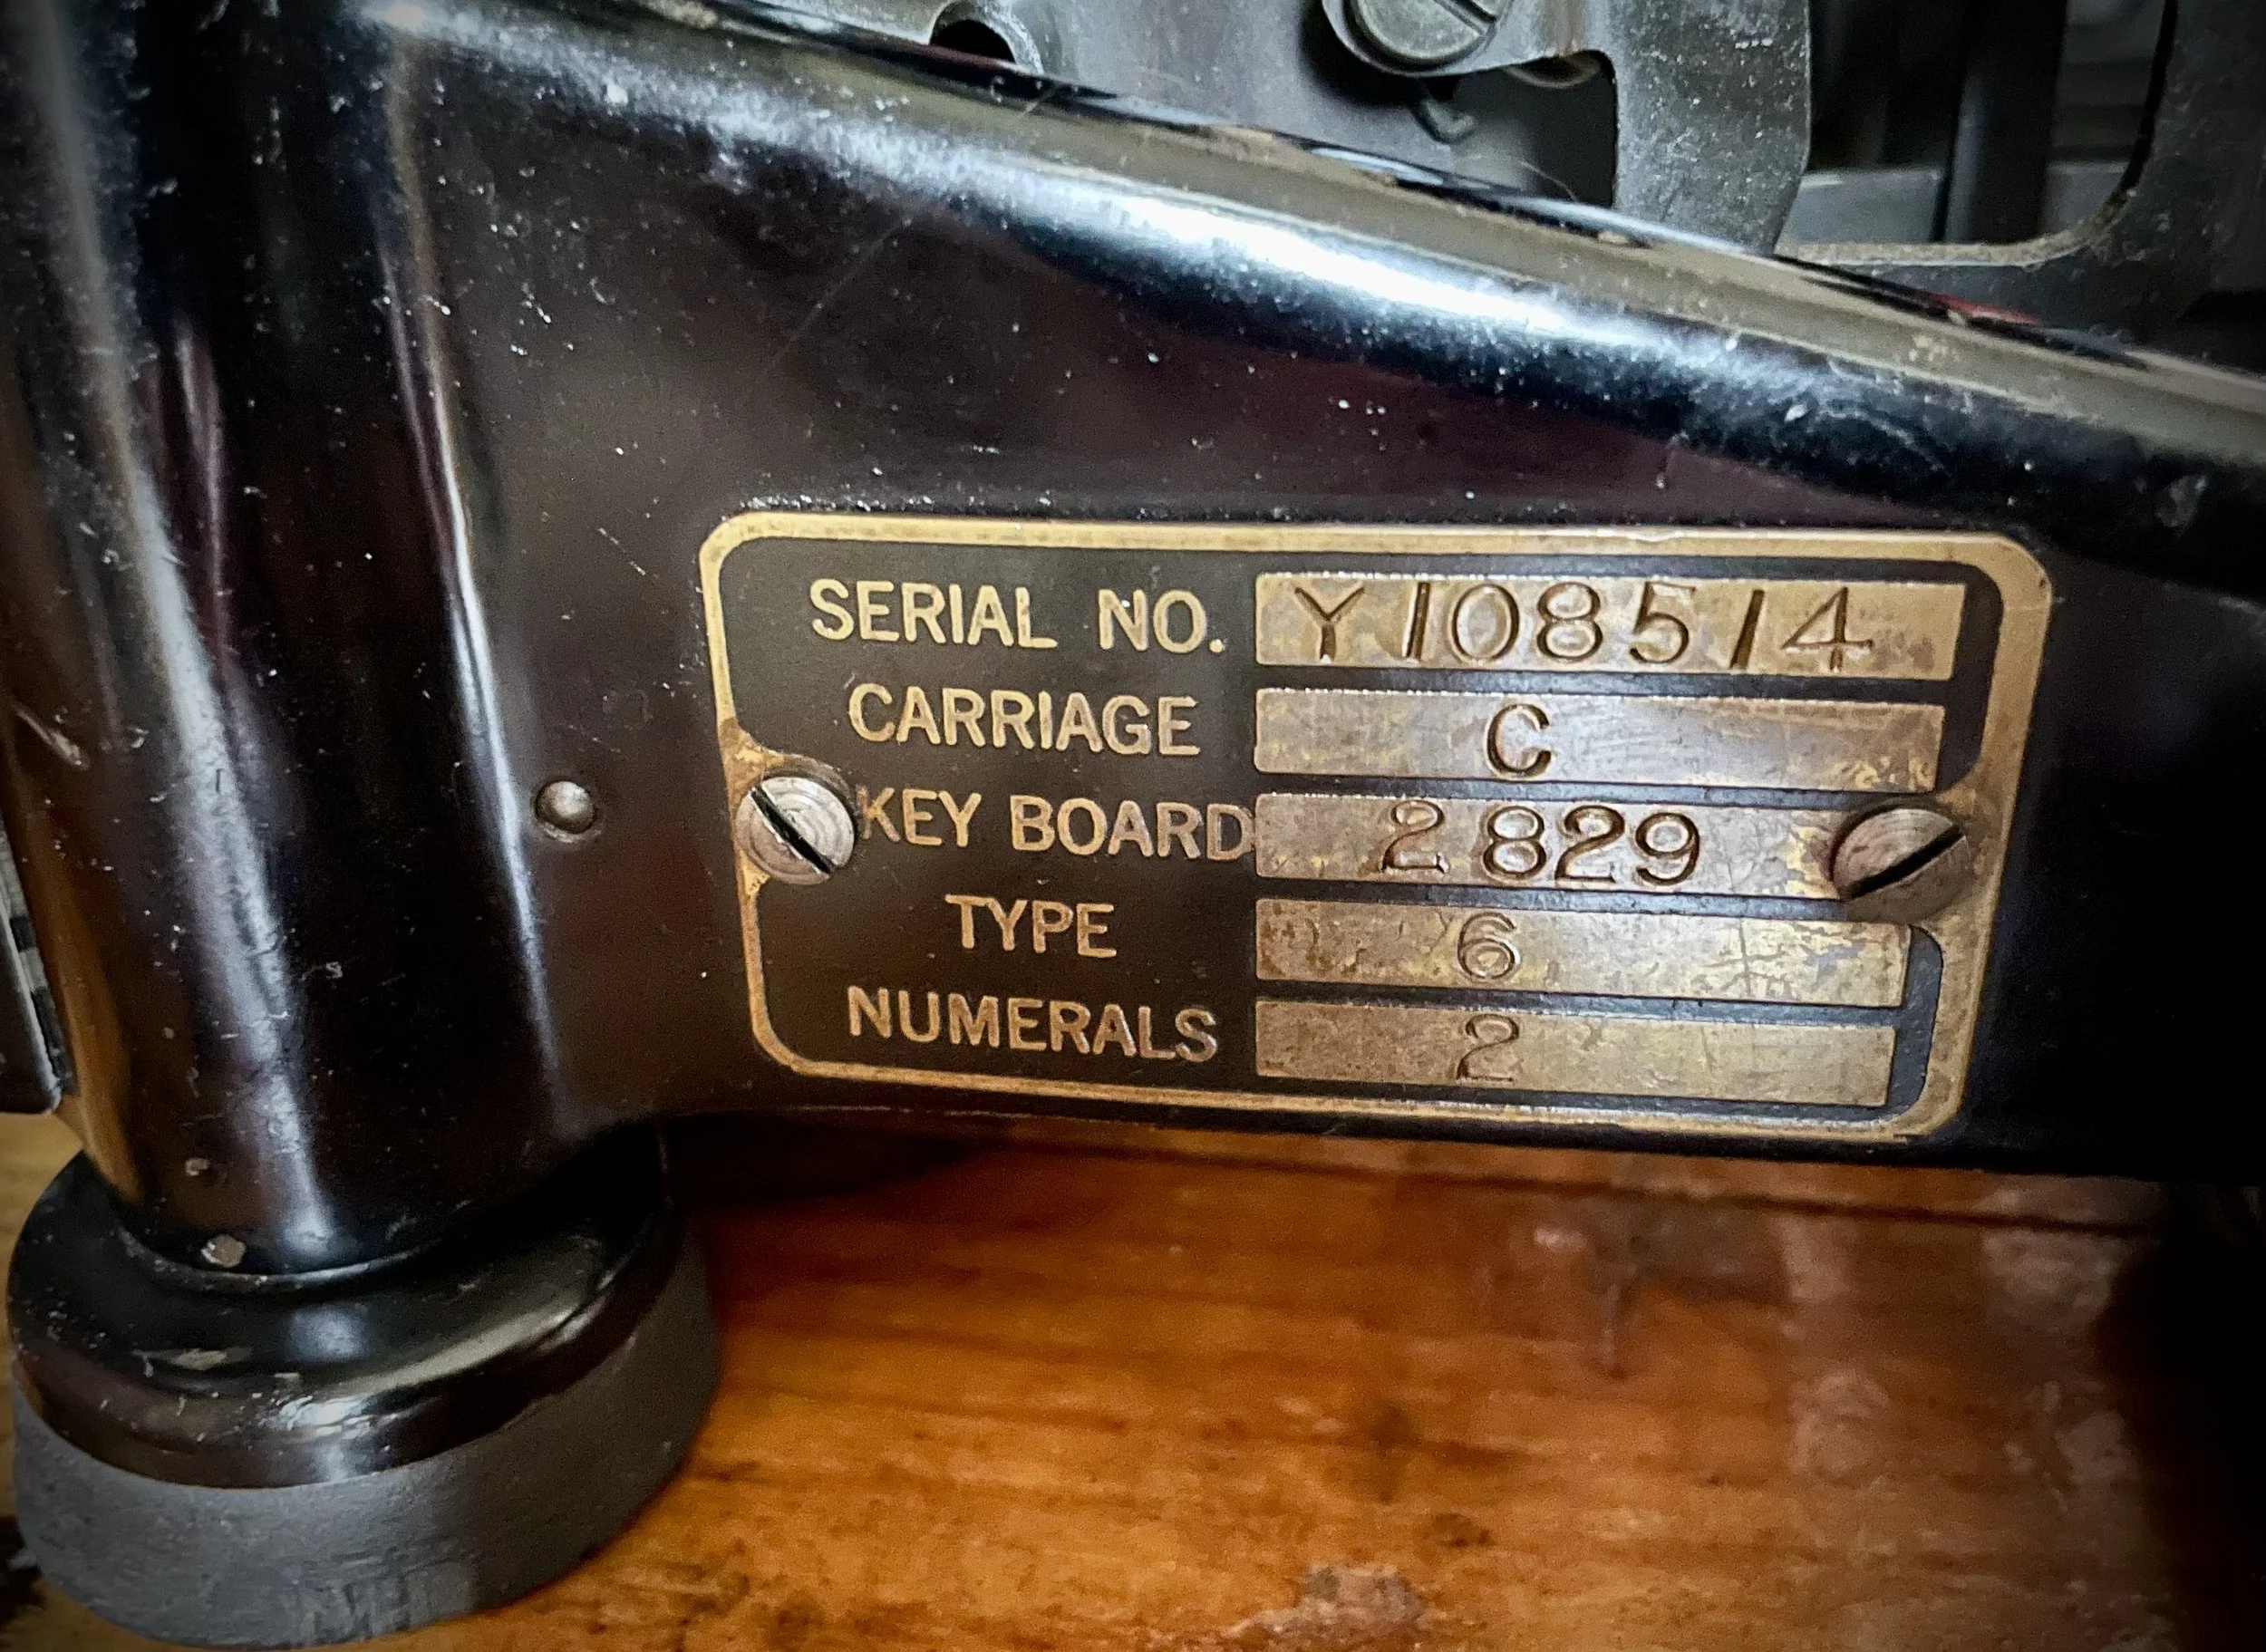
1+1=1 ... Remington Vertical Adder
Nobody wants them here, where I live. So even if they are rather rare nowadays - most of them were apparently scrapped as these are really huge machines - if one pops out for sale it is few and far between who bothers to pick one.
So I picked two.
One was working, the other one was rusty and nonfunctional but had paper injector and one calculating module which I wanted to save. So time has come to build one complete machine out of these two.
To start transplantation one needs to pull out small carriage (the one riding on skeleton-shift). Easy to do on Remington. The machine in better shape I keep is one with wide carriage so I had to transplant platen ends to match the injector.
Original carriage had too short end-piece, paper injector takes a bit of space so I needed to switch to extended one.
Extracted mechanism and its whereabouts.
Fitting to the carriage.
While having all disassembled I replaced worn out feed rollers.
Clutch assembly and ratchet wheel needed also to be switched as the injector uses a notch meshing with the ratchet, to turn the platen.
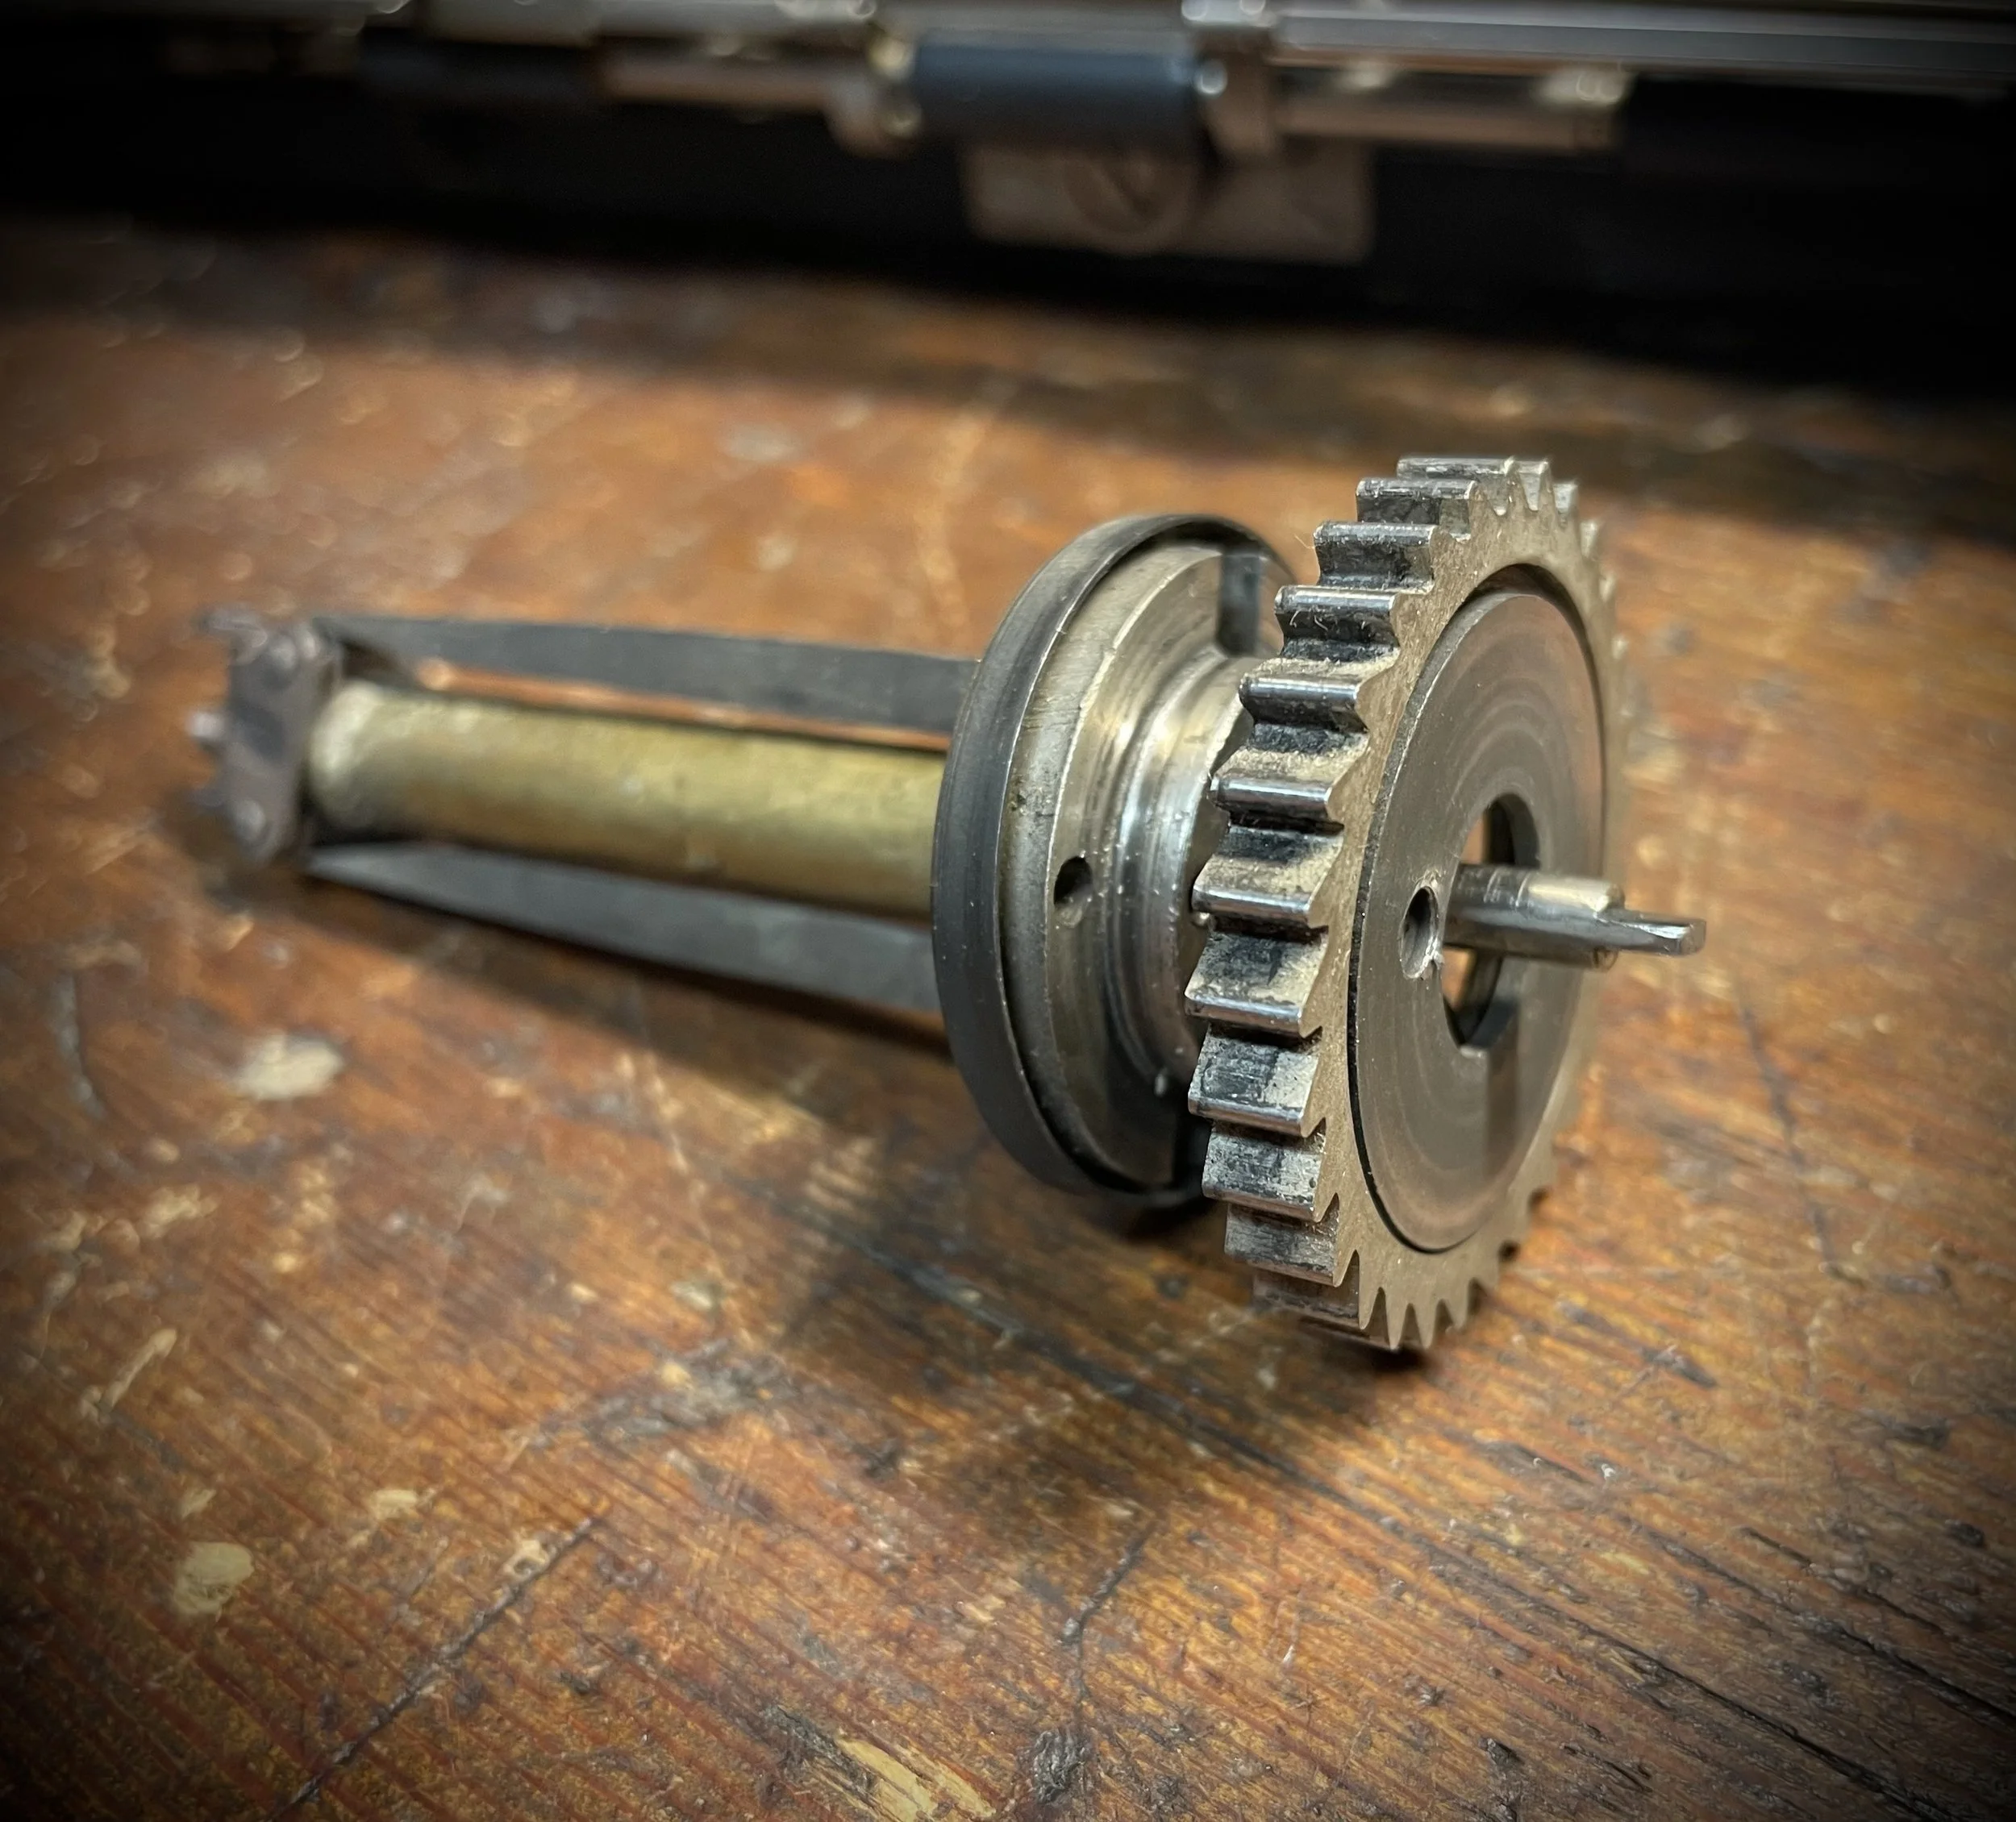
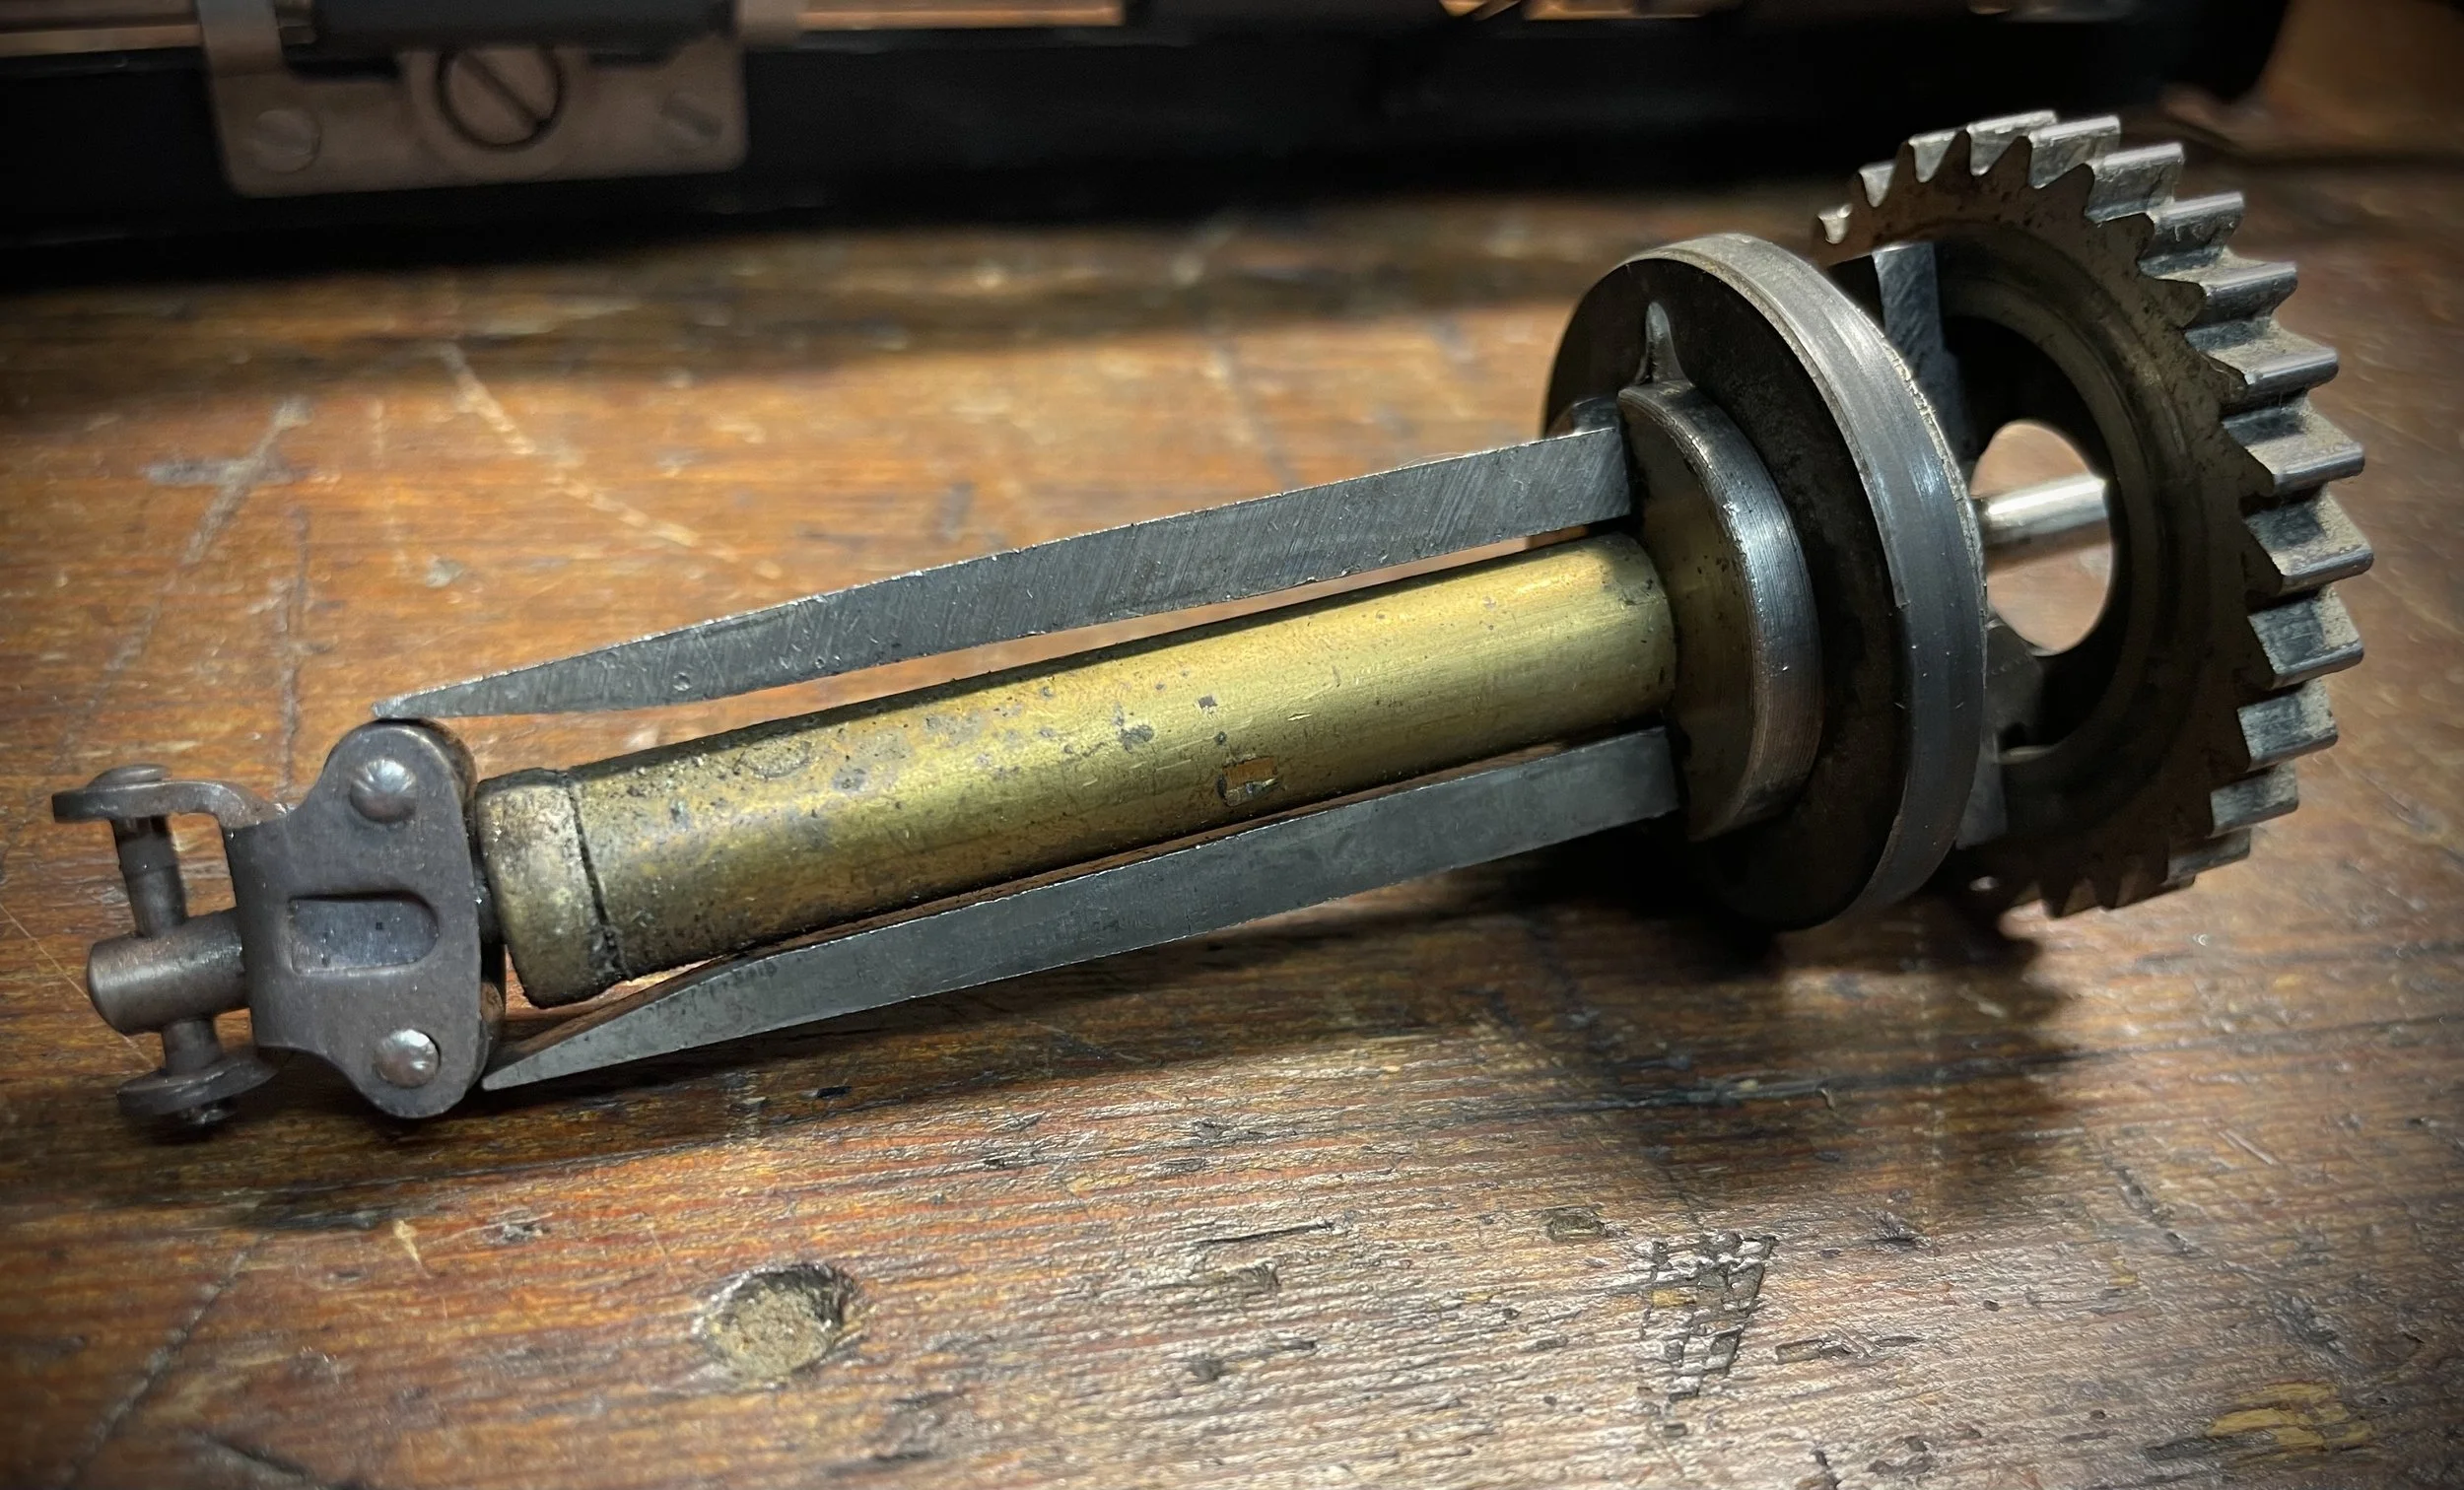
Meshing is done with a strong tooth, into the ratchet wheel.
Ratchet “clicking” spring - line advance - can be adjusted to match a different distance from carriage end.
As the platen is being dropped into the small carriage there is a gap to make it possible. This is then shimmed to close the gap and keep all aligned. On the donor machine it was accomplished with a series of thin washers. I could move some of them but I think this is sloppy. Much nicer with one, dedicated washer which is easier to install and looks more kosher.
Original was now too wide due to meshing tooth-plate on the other side of the carriage.
It needs to be just thick enough to fit there and to do proper job of keeping the mesh in - but not too tight as it adds too much friction and platen turning becomes too hard.
We fixed that by turning it to just the right dimension.
And voila! Paper injector transferred and working beautifully.
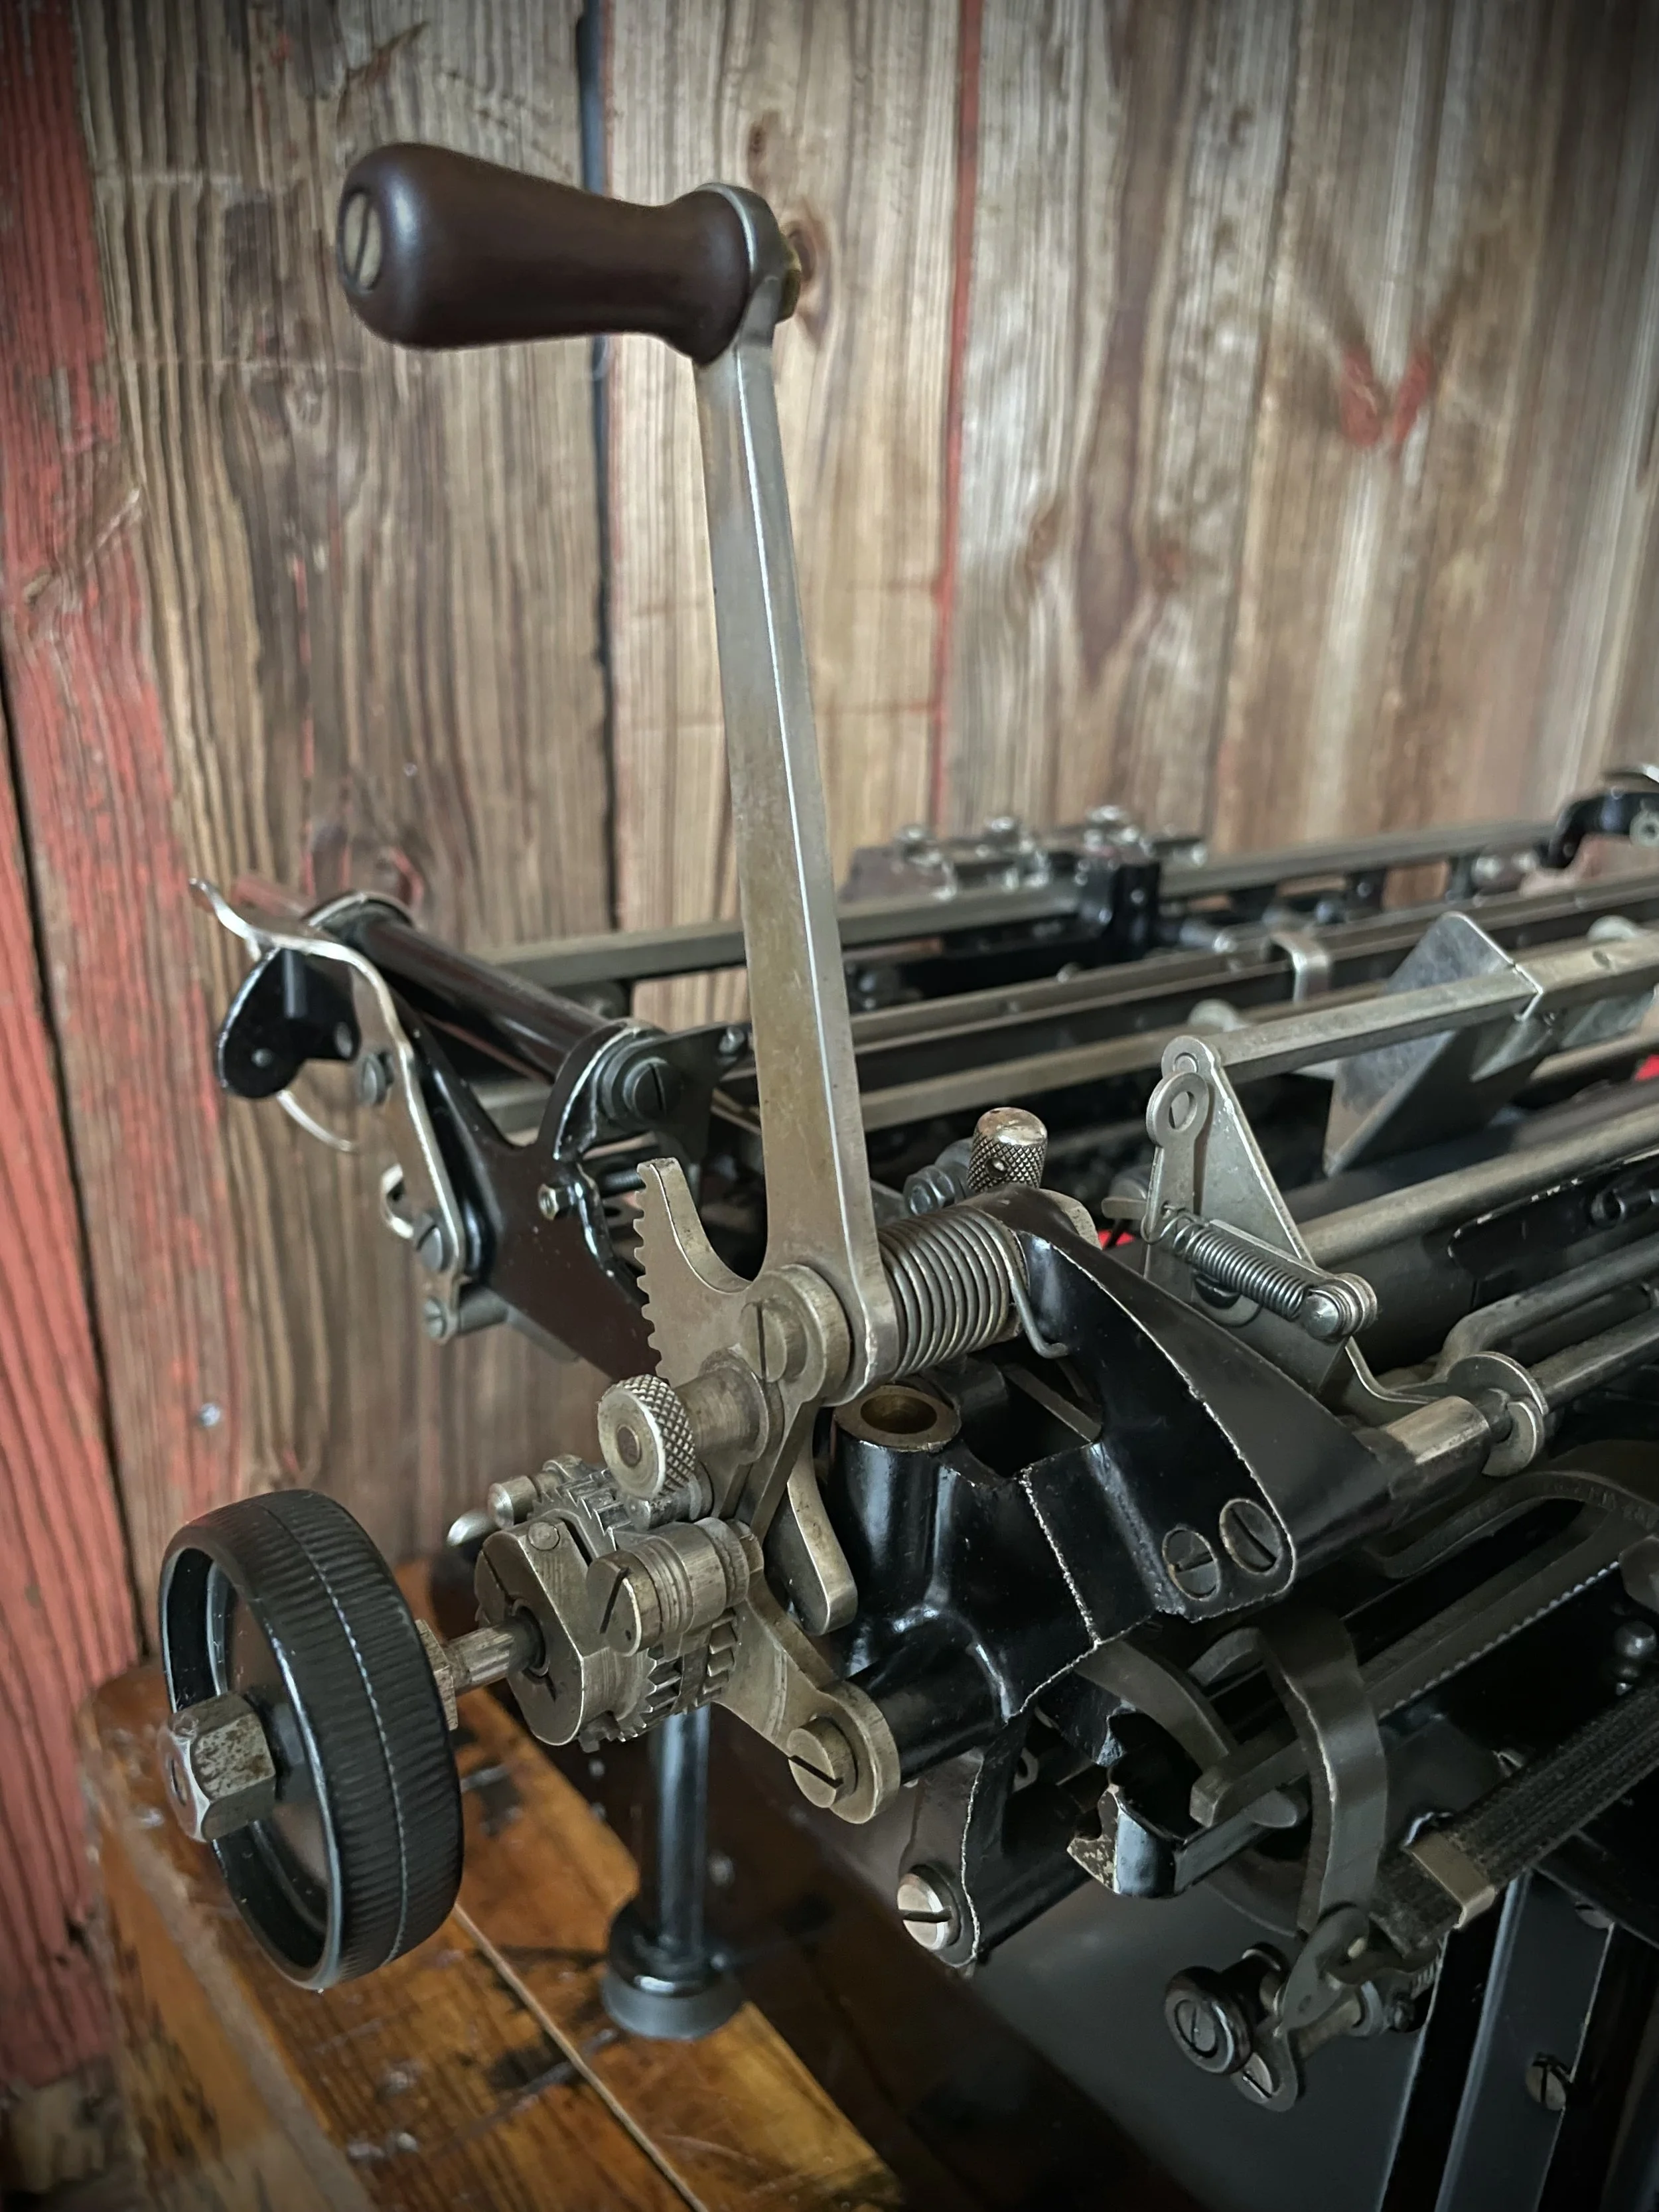
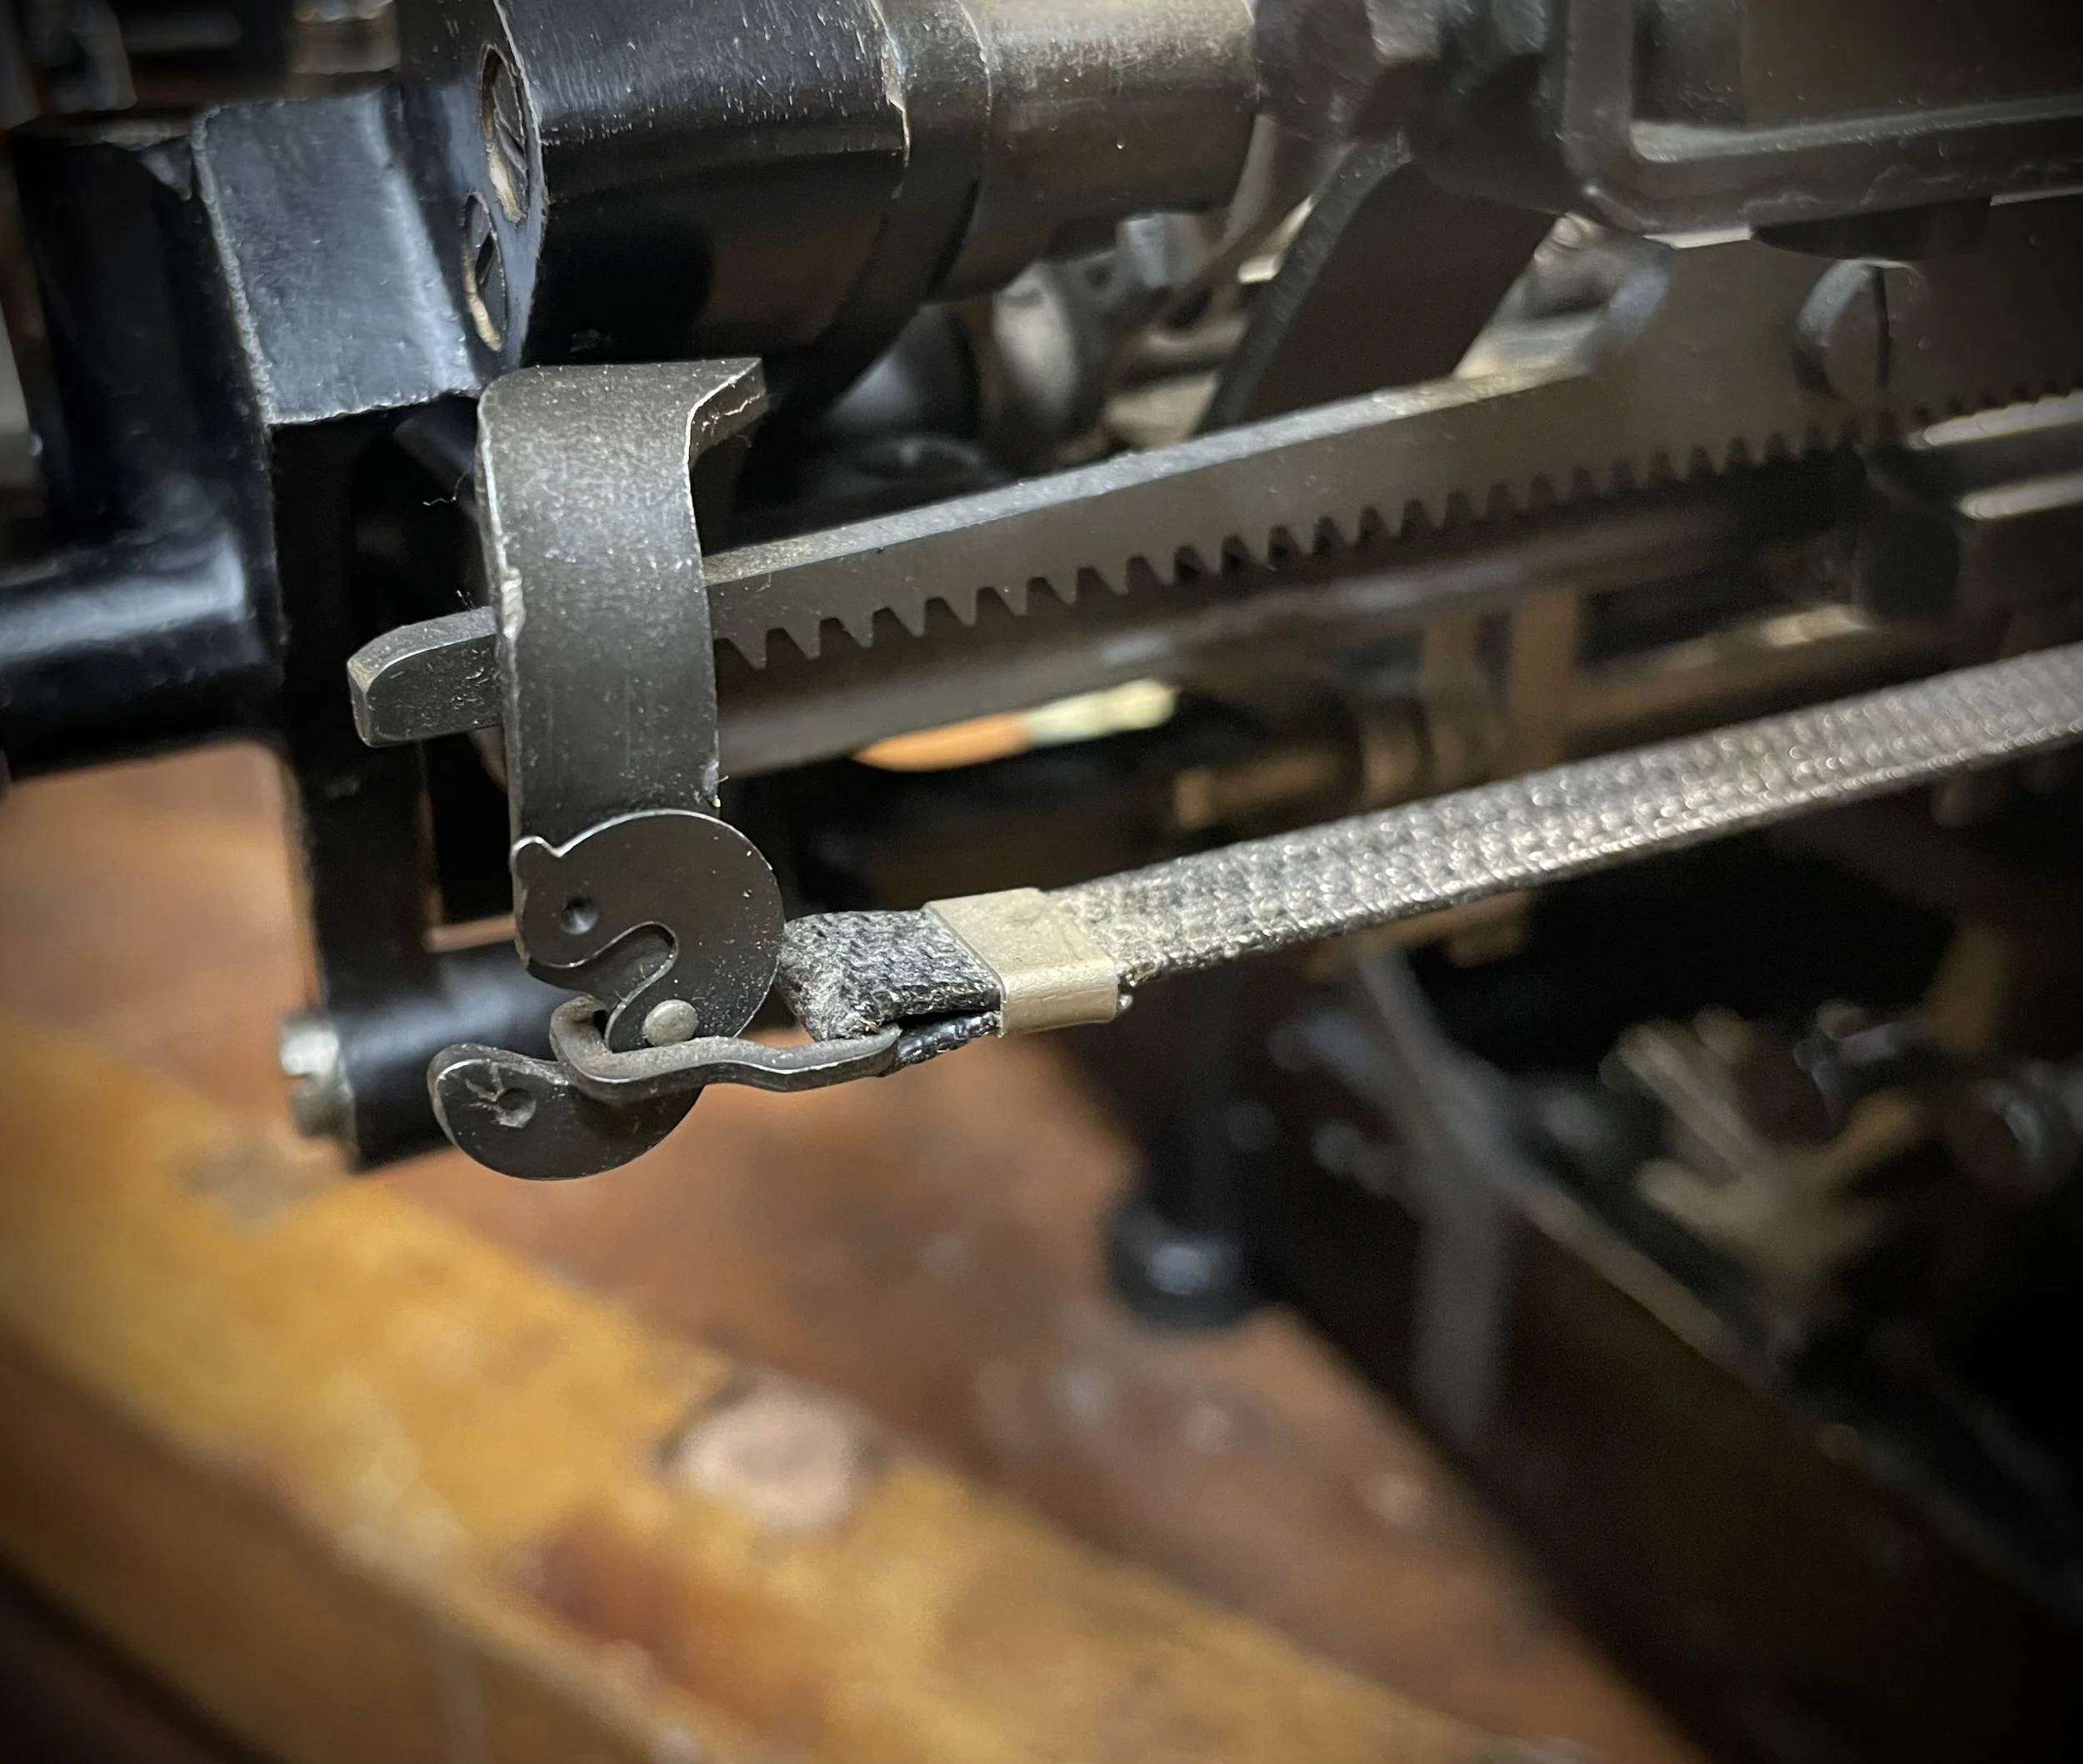
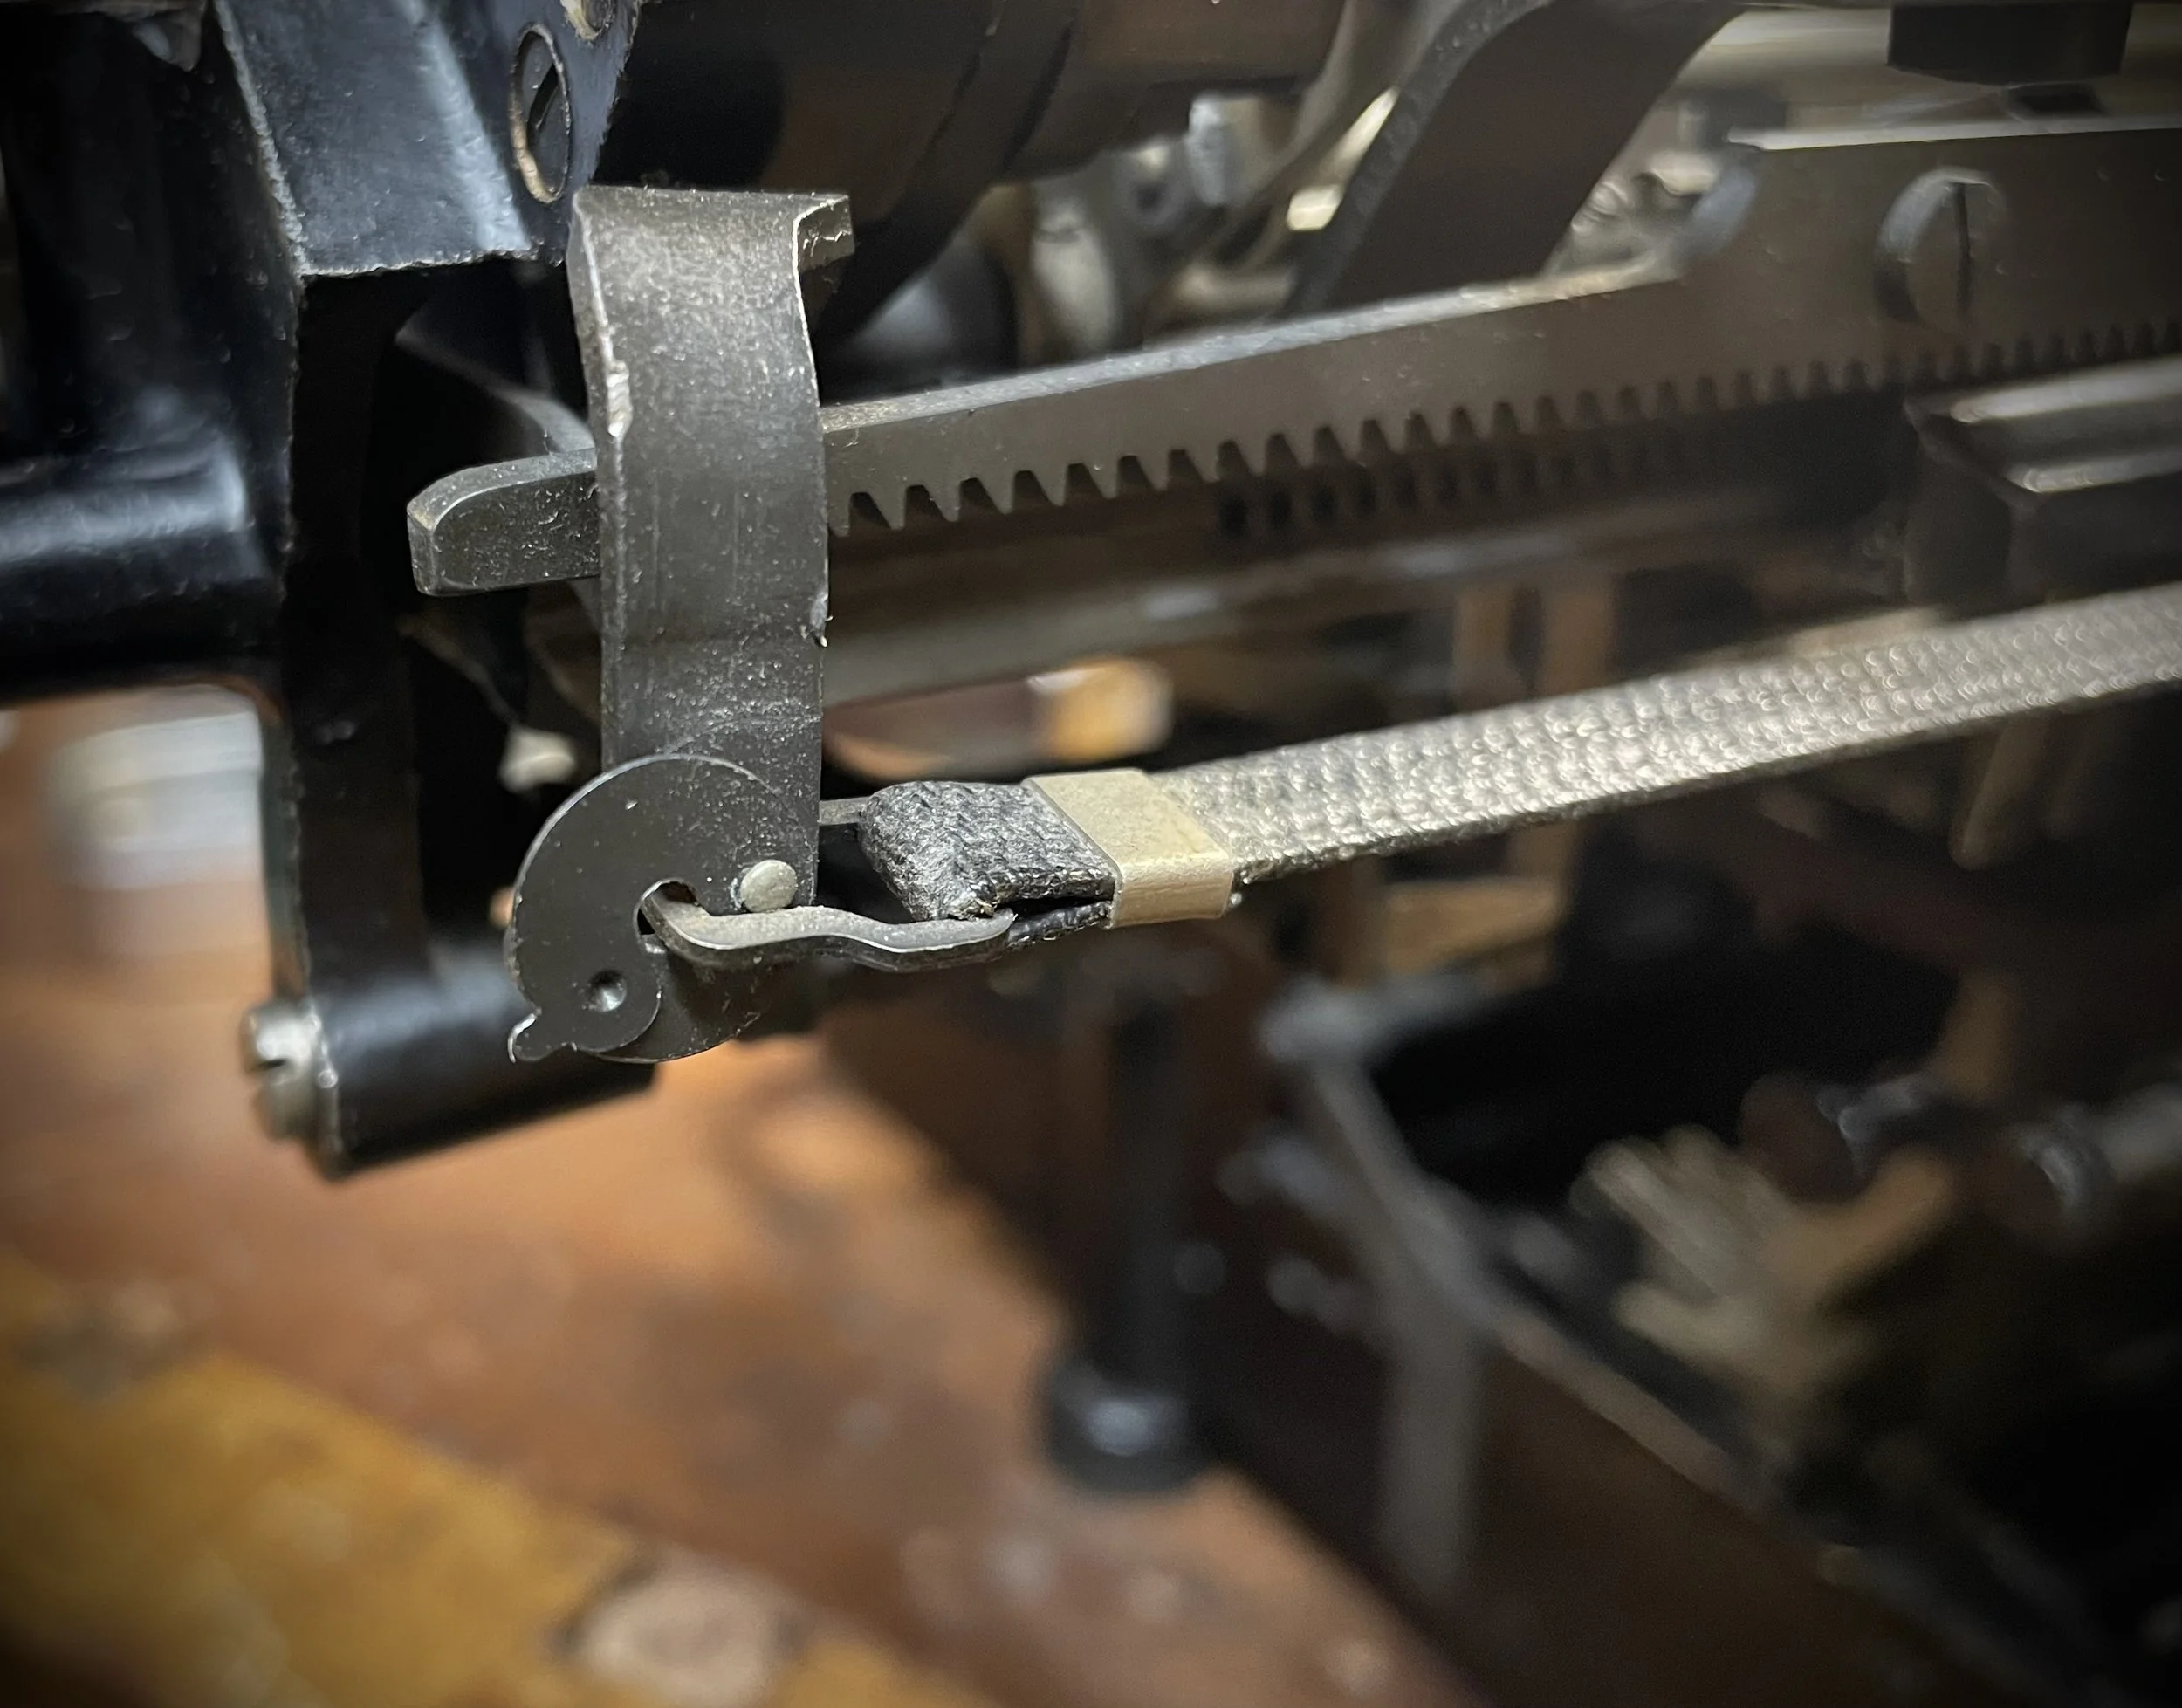
I love these old machines. One can see that they did not spare on materials or design. And small details - like this wooden handle or drawband anchoring point:
Tabulator break was not working properly - there was too much resistance and carriage creeped rather than flew to next TAB-stop. I figured it must be the breaking mechanism as all other was moving smoothly after cleaning and oiling.
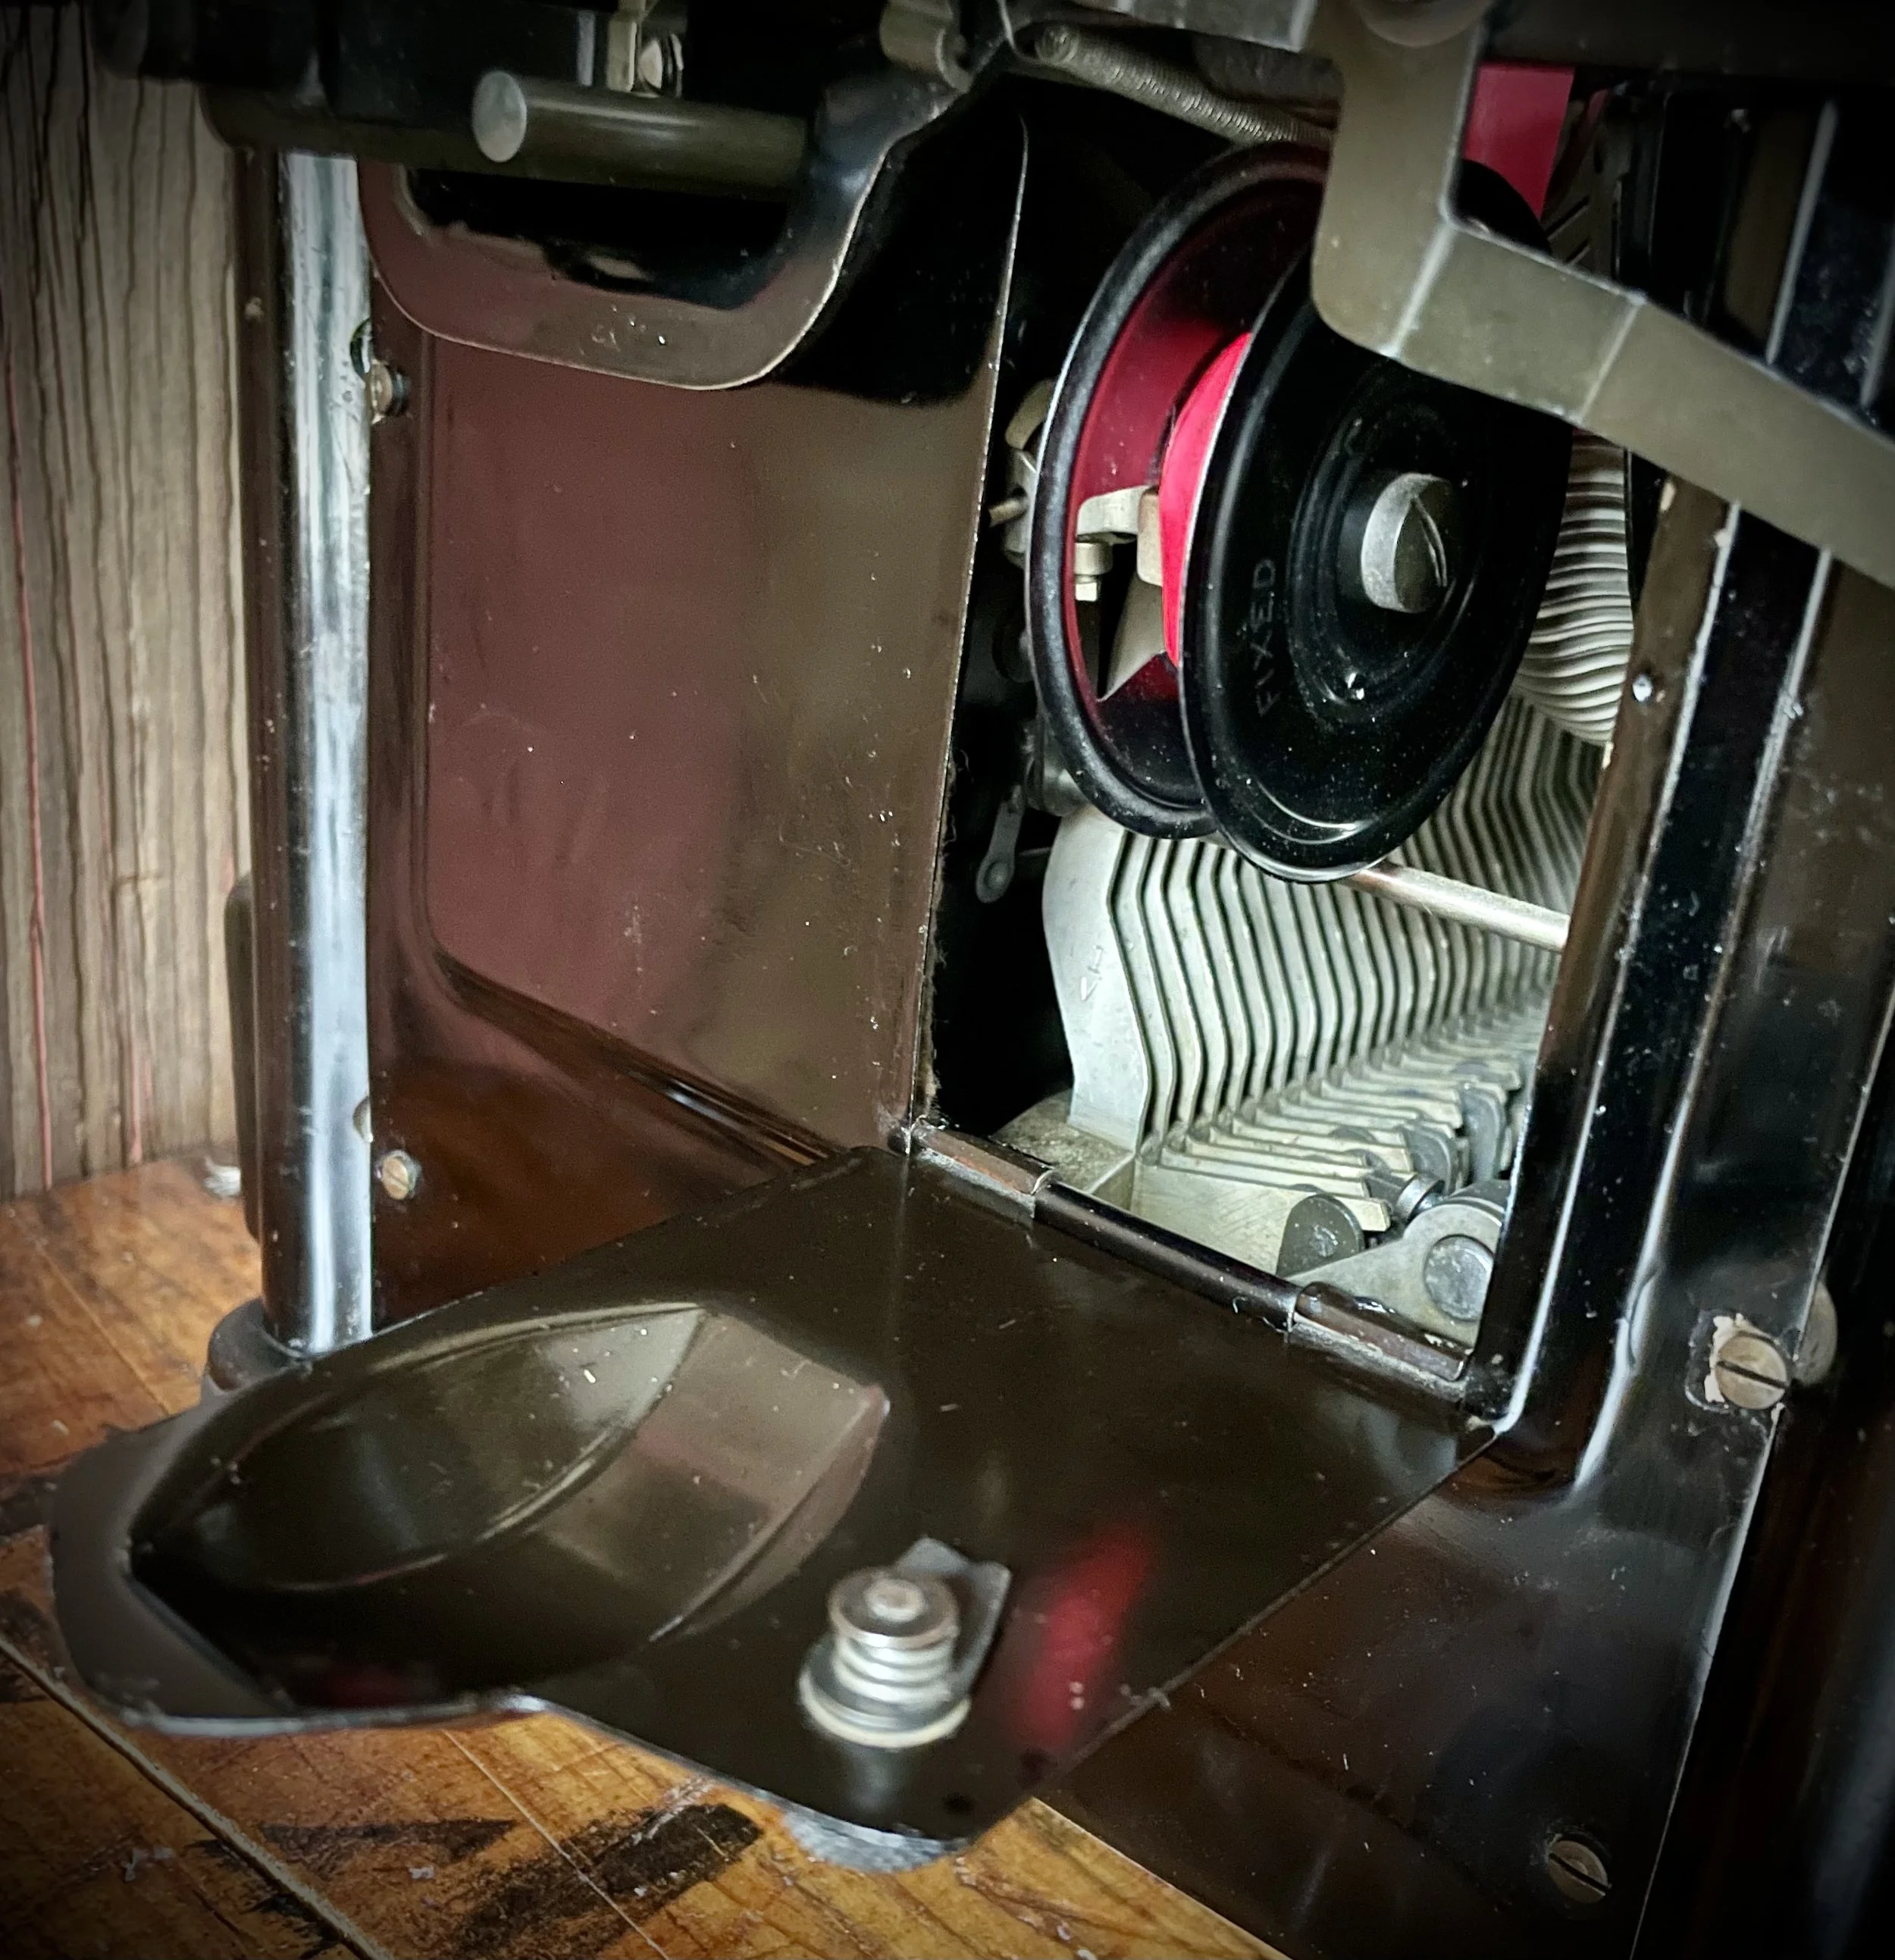
It is this bottle-like (or bicycle-dynamo) component:
Reminds me of one in Smith-Premier but instead of graphite-powder this one is using resistance from small steel balls. In this case old grease was thick and too sticky.
After cleaning I replaced the grease with light oil. There needs to be some lubricant - if left dry the resistance is too high resulting in binding. One can adjust the breaking by adding or removing some balls or changing viscosity of lubricant. I was happy with gun oil and some more balls.
Calculator linkage had some problem moving, sometimes…
Apart from dirt there was something else. A “gift” from past, left inside probably by accident. Year 1988.
After cleaning and waxing the machine is ready!
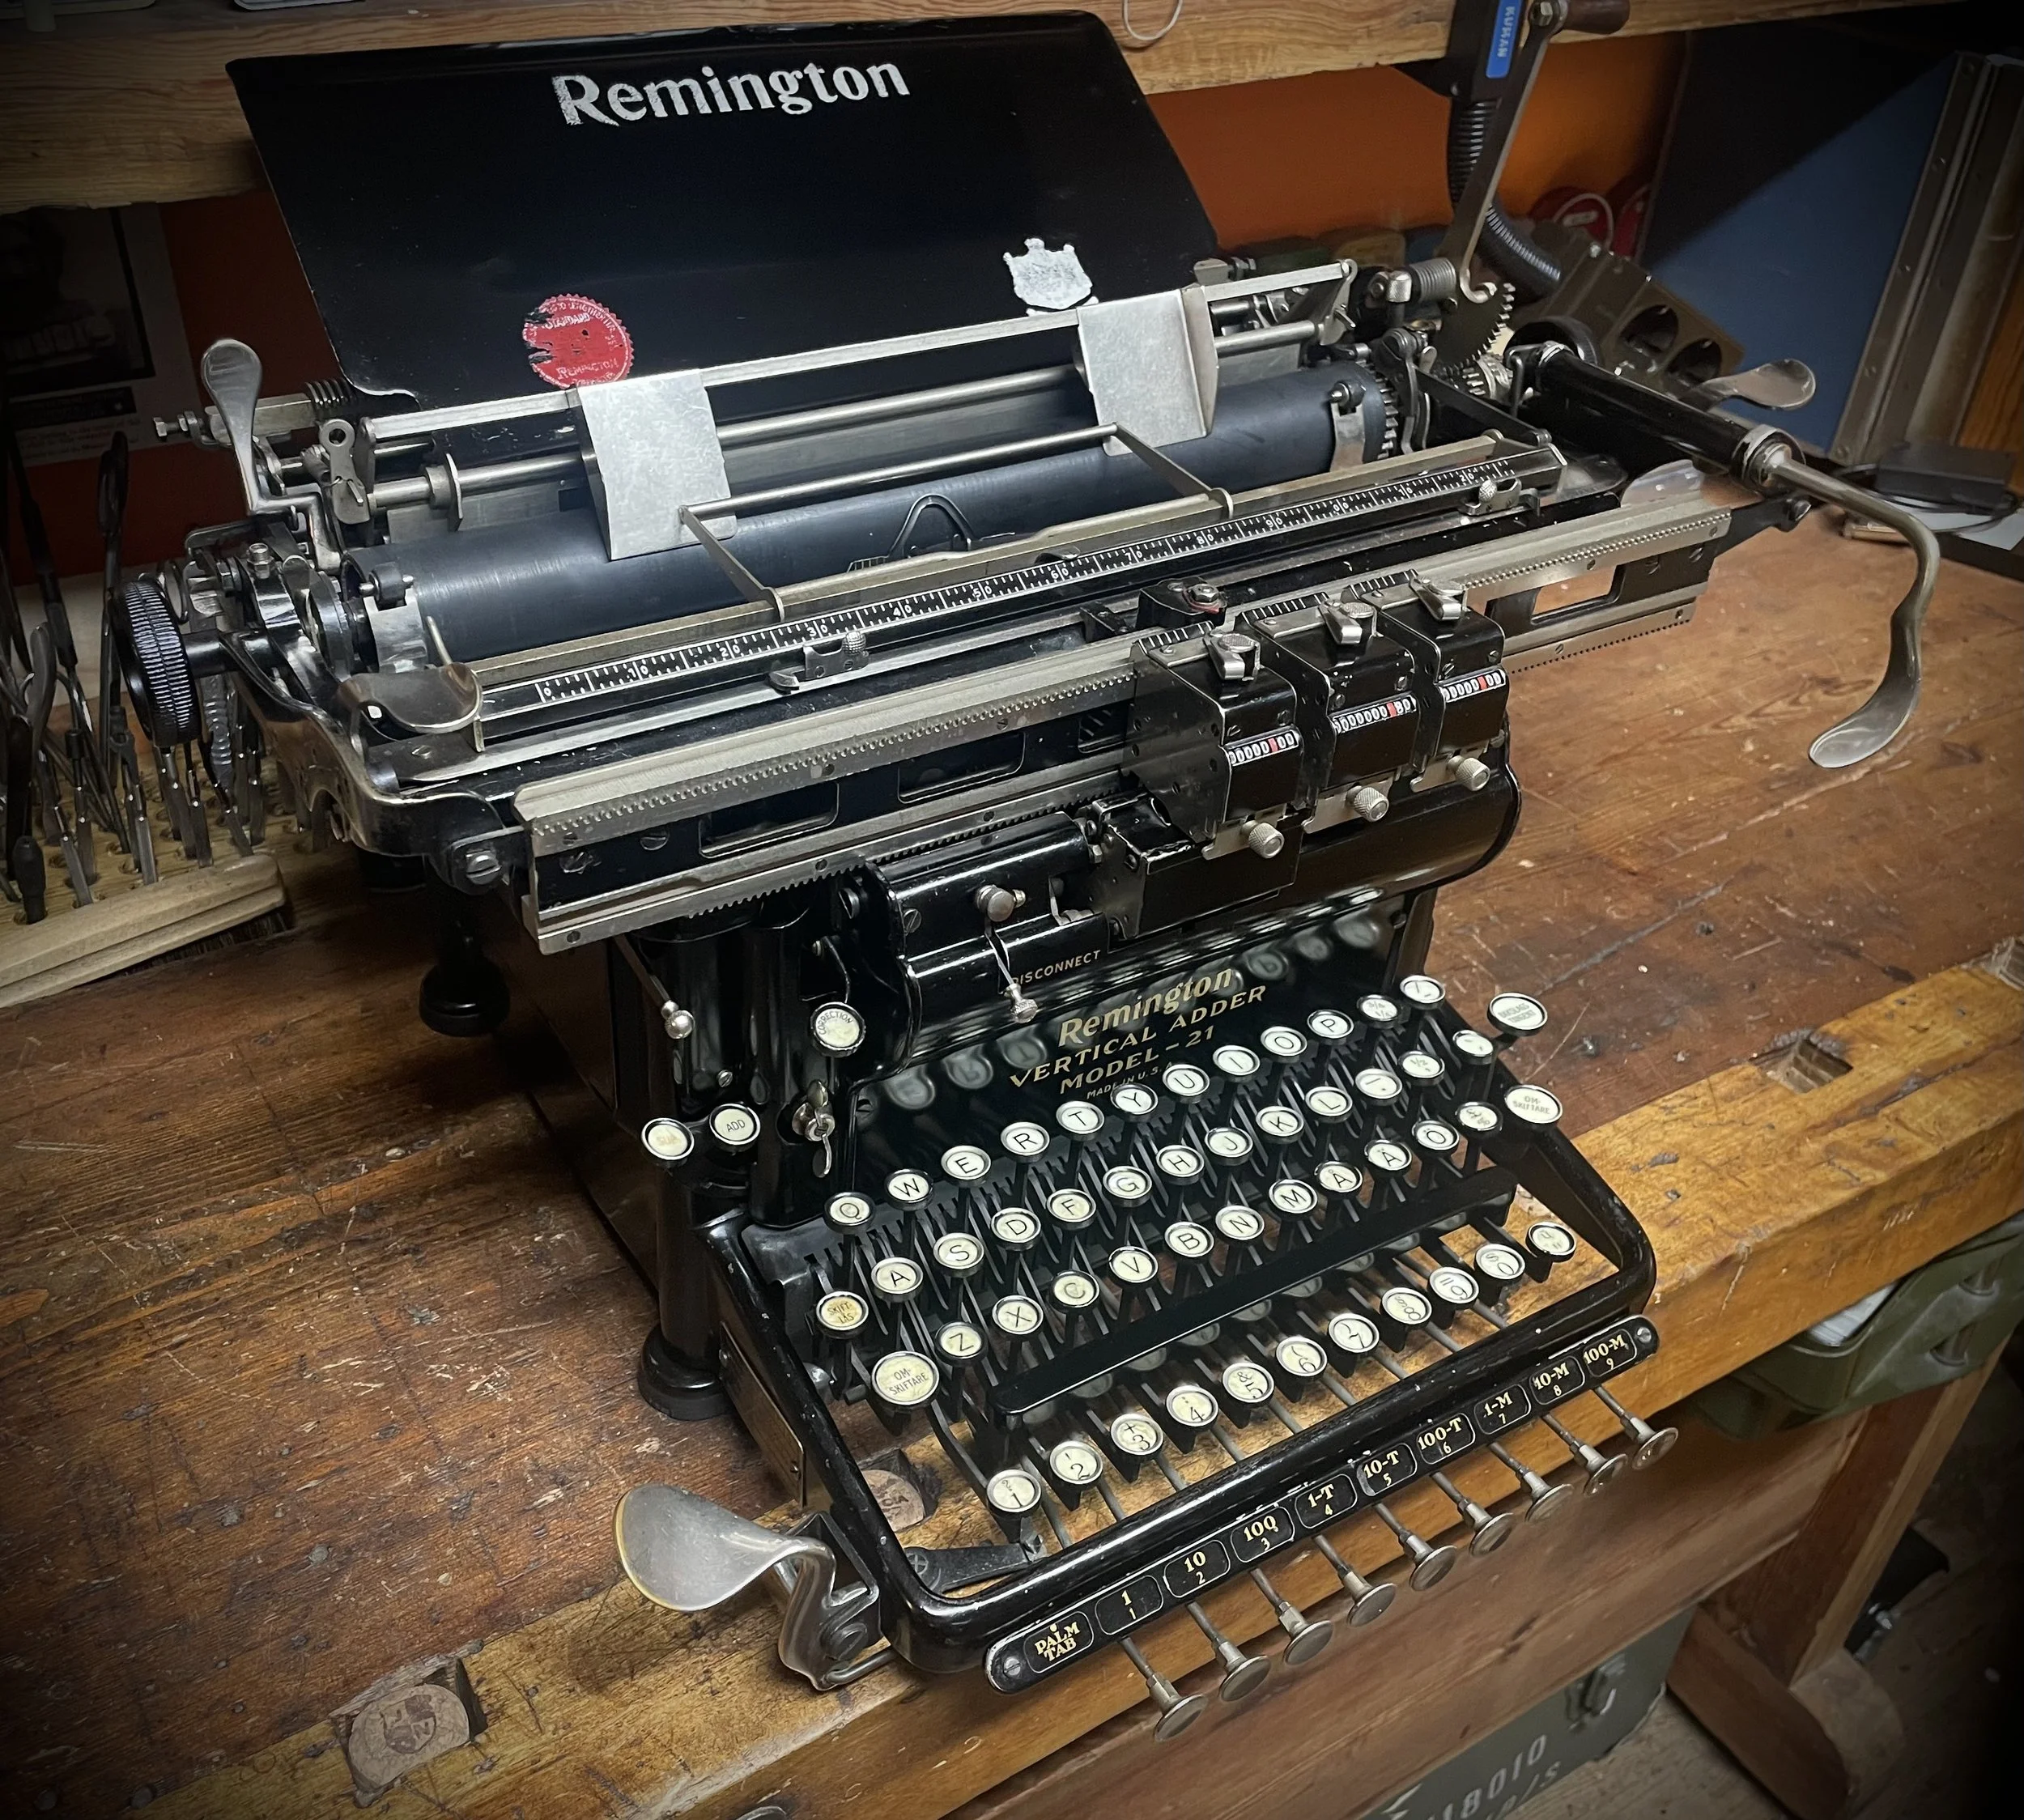
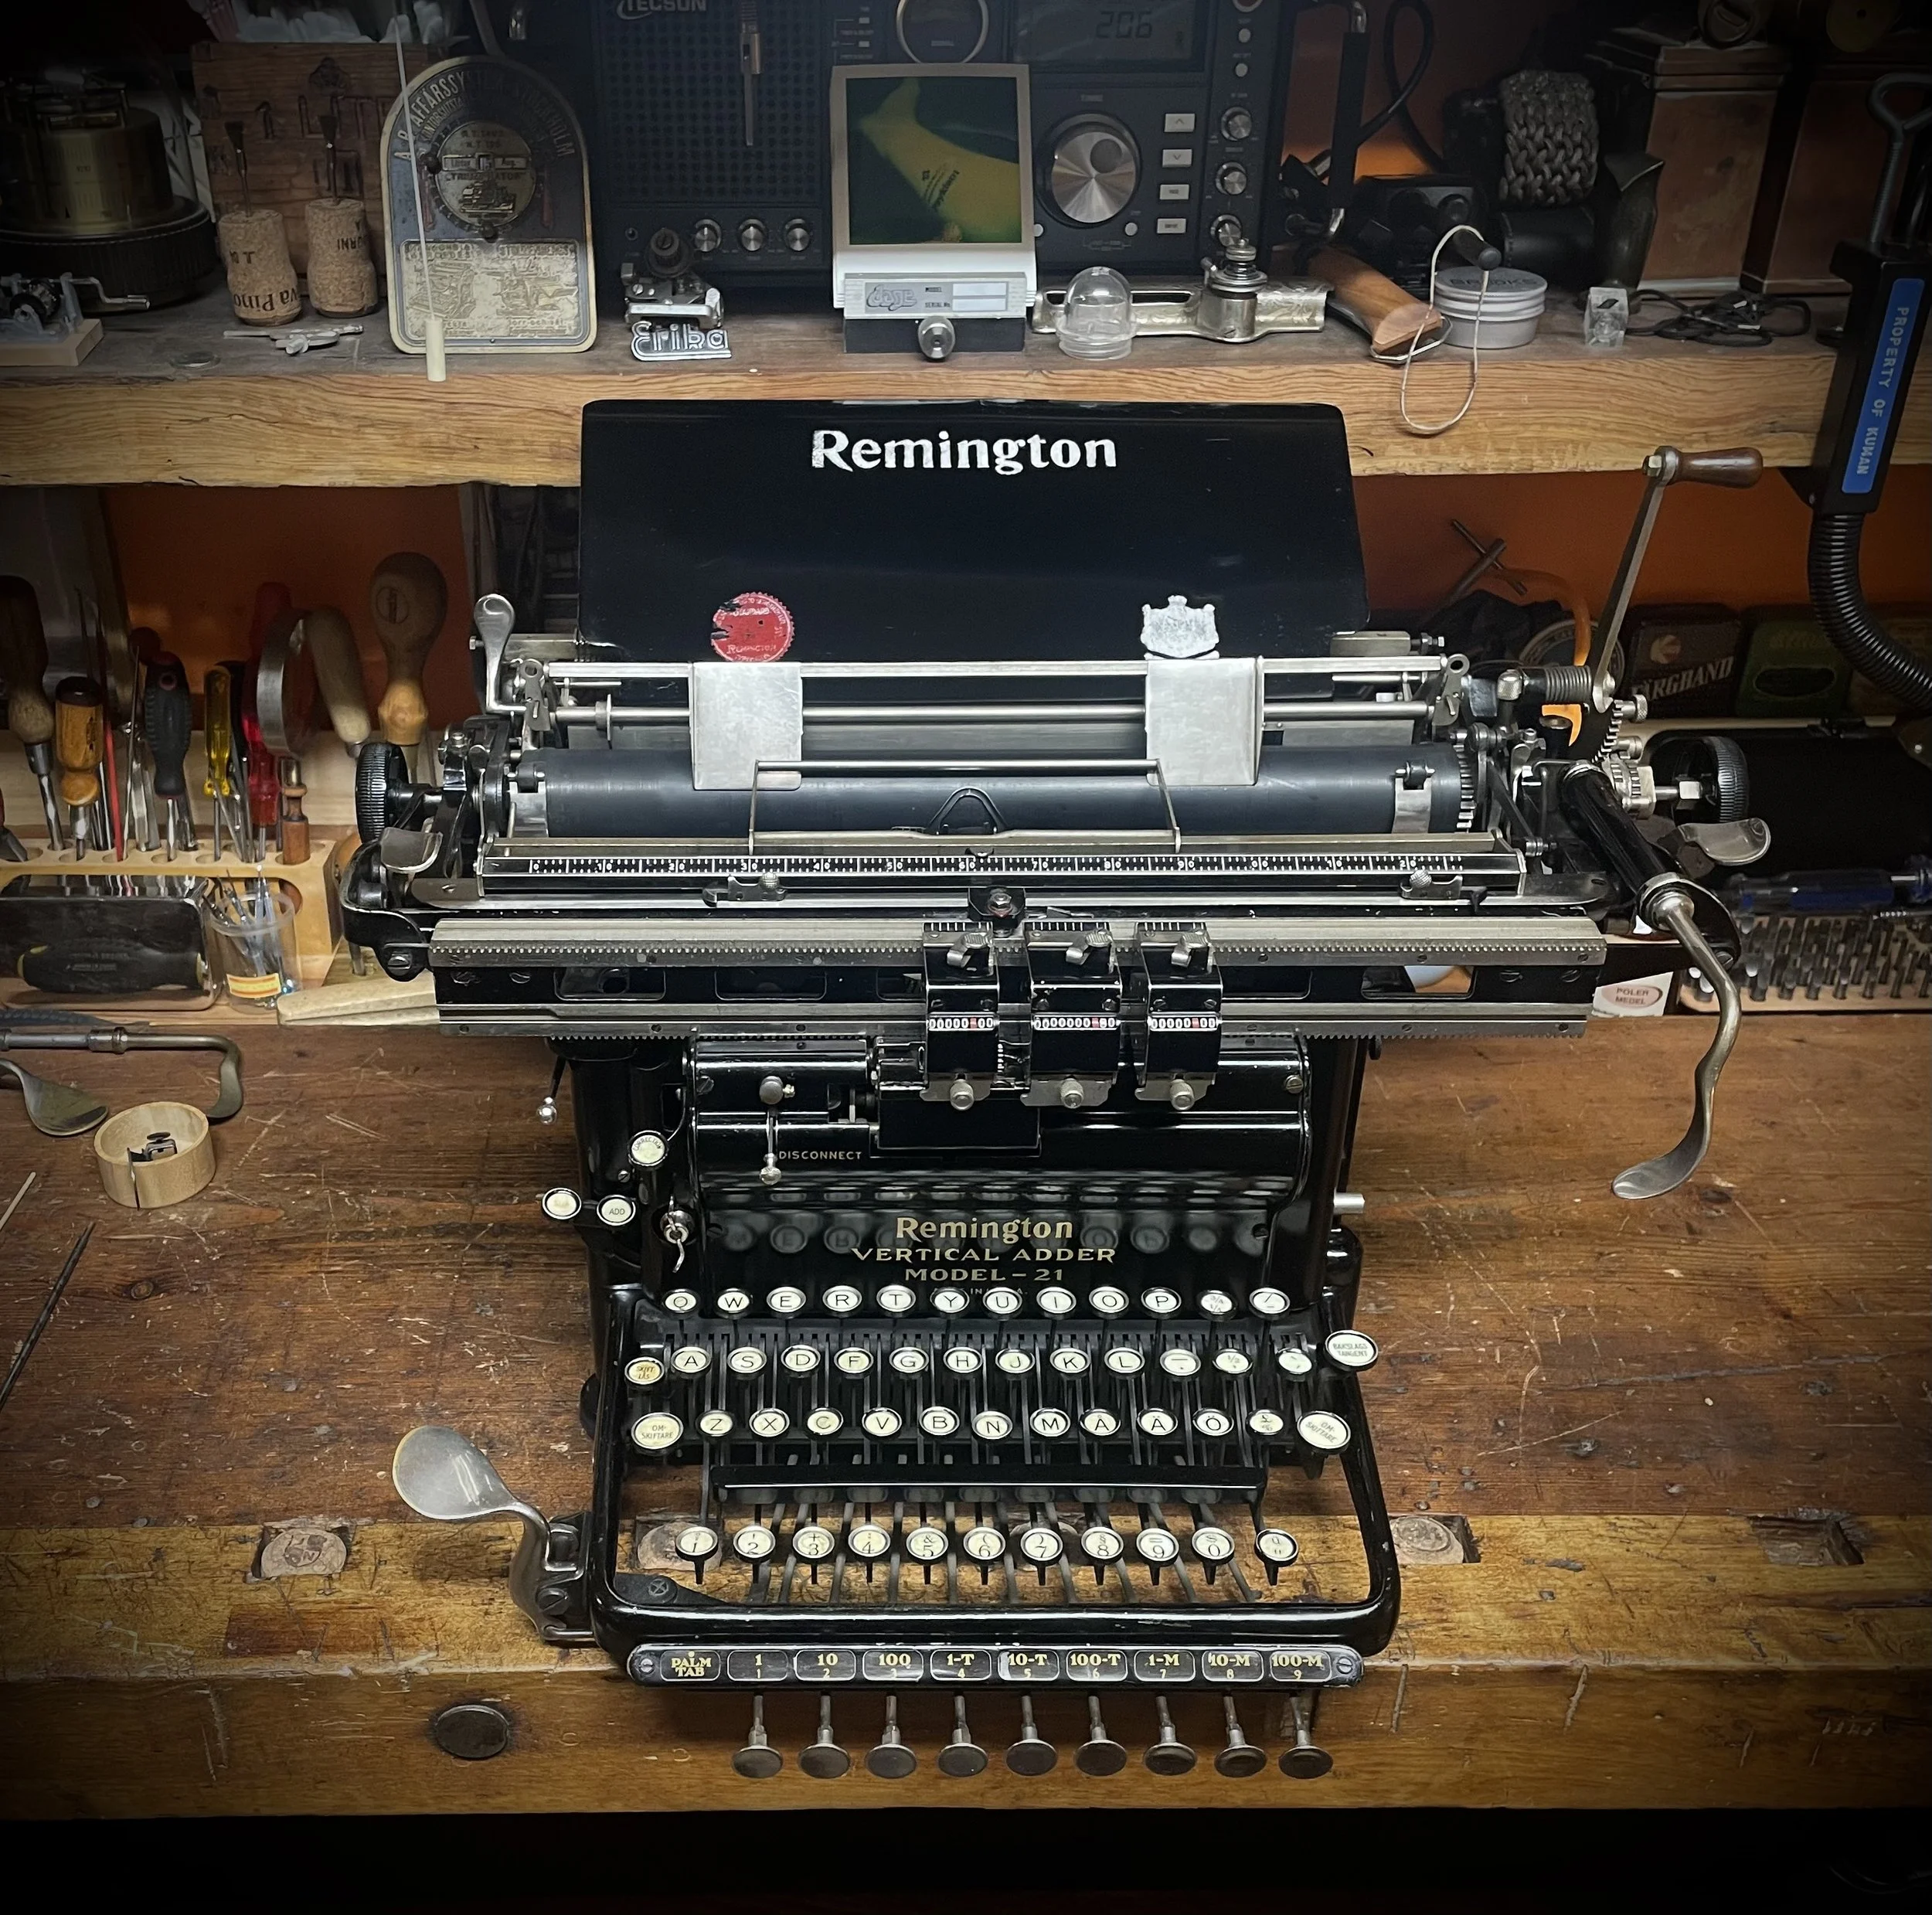
Traditional photo session followed.




Palm-operated tabulator and trumpet-like decimal-tabulator buttons.
What attracted me to this beast is this huge number of buttons and levers and mechanical “stuff” which “happens” when you operate this. It is joy to figure out what all these levers do. Here is description of some of them.
Green arrow points to ribbon selector. Two positions for red and black. I guess nobody was stenciling on book-keeping machine.
Yellow arrow shows calculator connect/disconnect lever. For typing date or digits not related to calculations in the table one would disengage the calculator to avoid mistakes
Blue arrow shows Disconnect-Lock, to keep the calculator permanently disconnected. By default it wants to be ON all the time. It is a book-keeping machine, after all.
Red arrow points to two keys for Addition and Subtraction. Selecting one of these would make the calculator do exactly this.
Correction button, with dark yellow arrow, temporarily reverses current state (Add or Subtract) to correct just one digit. One needs to hold it down while doing it, it is spring-loaded to jump back into position.
White arrow shows a lever for blocking type slugs reaching the platen. But not for stenciling. I think this was used to set calculating modules to desired values without printing anything on paper. At least this is how I use it. Operating this lever moves small metal tab into type guide, preventing slugs from reaching paper underneath.
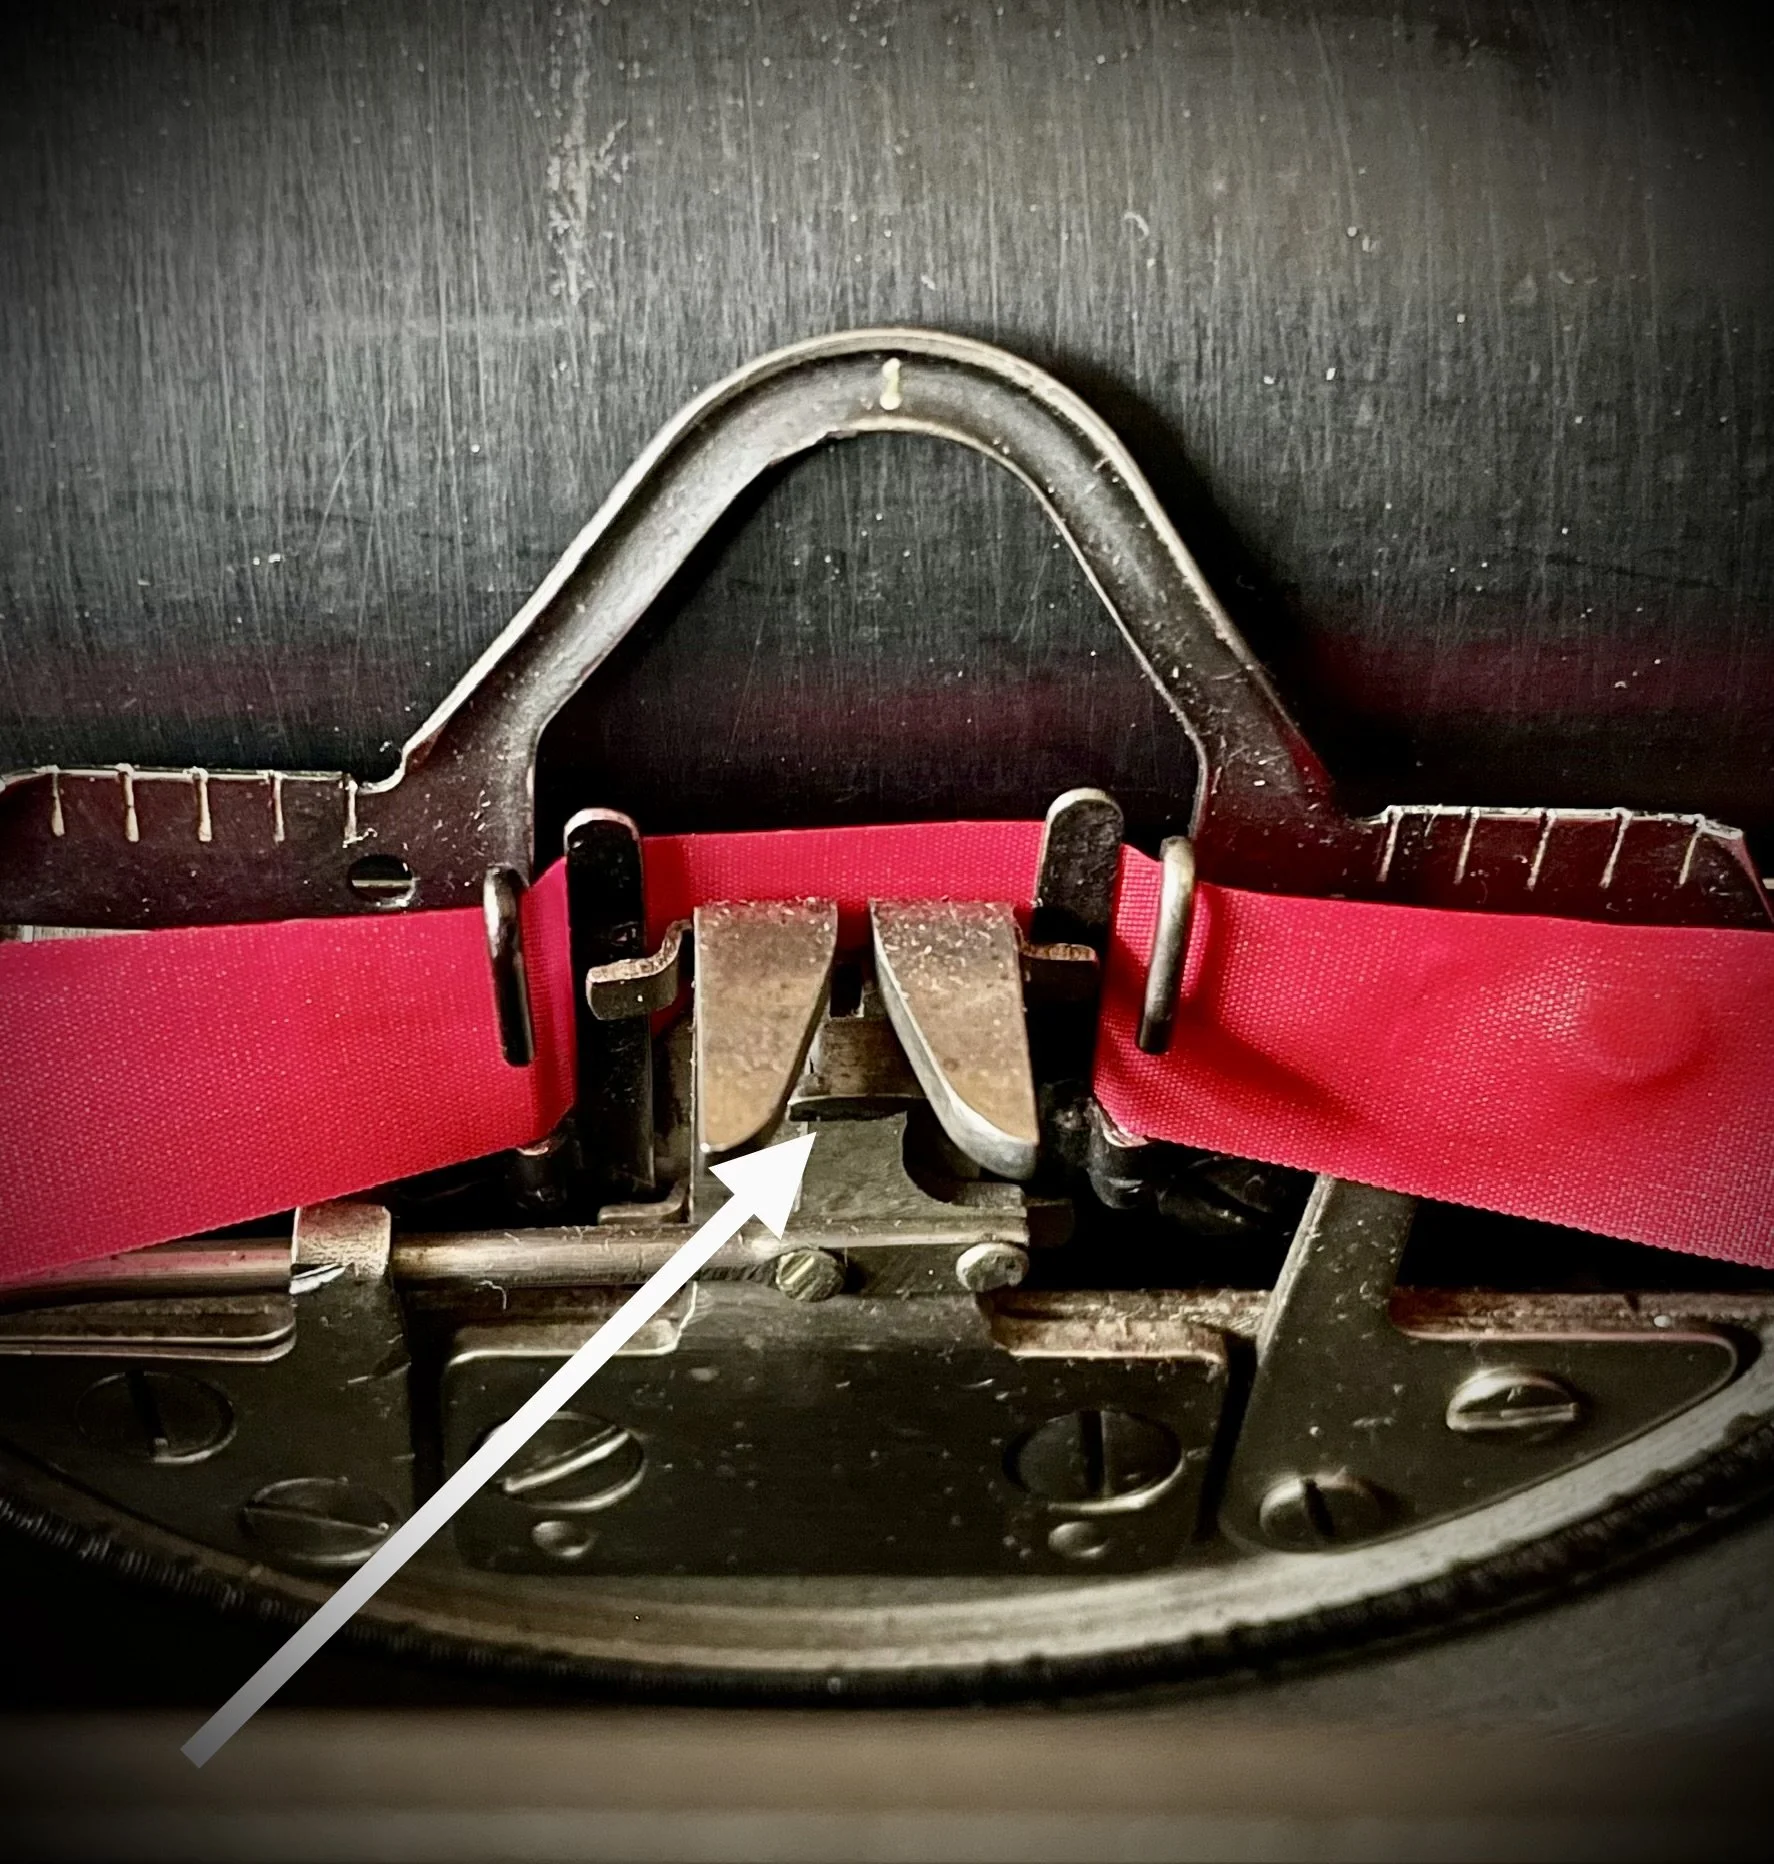
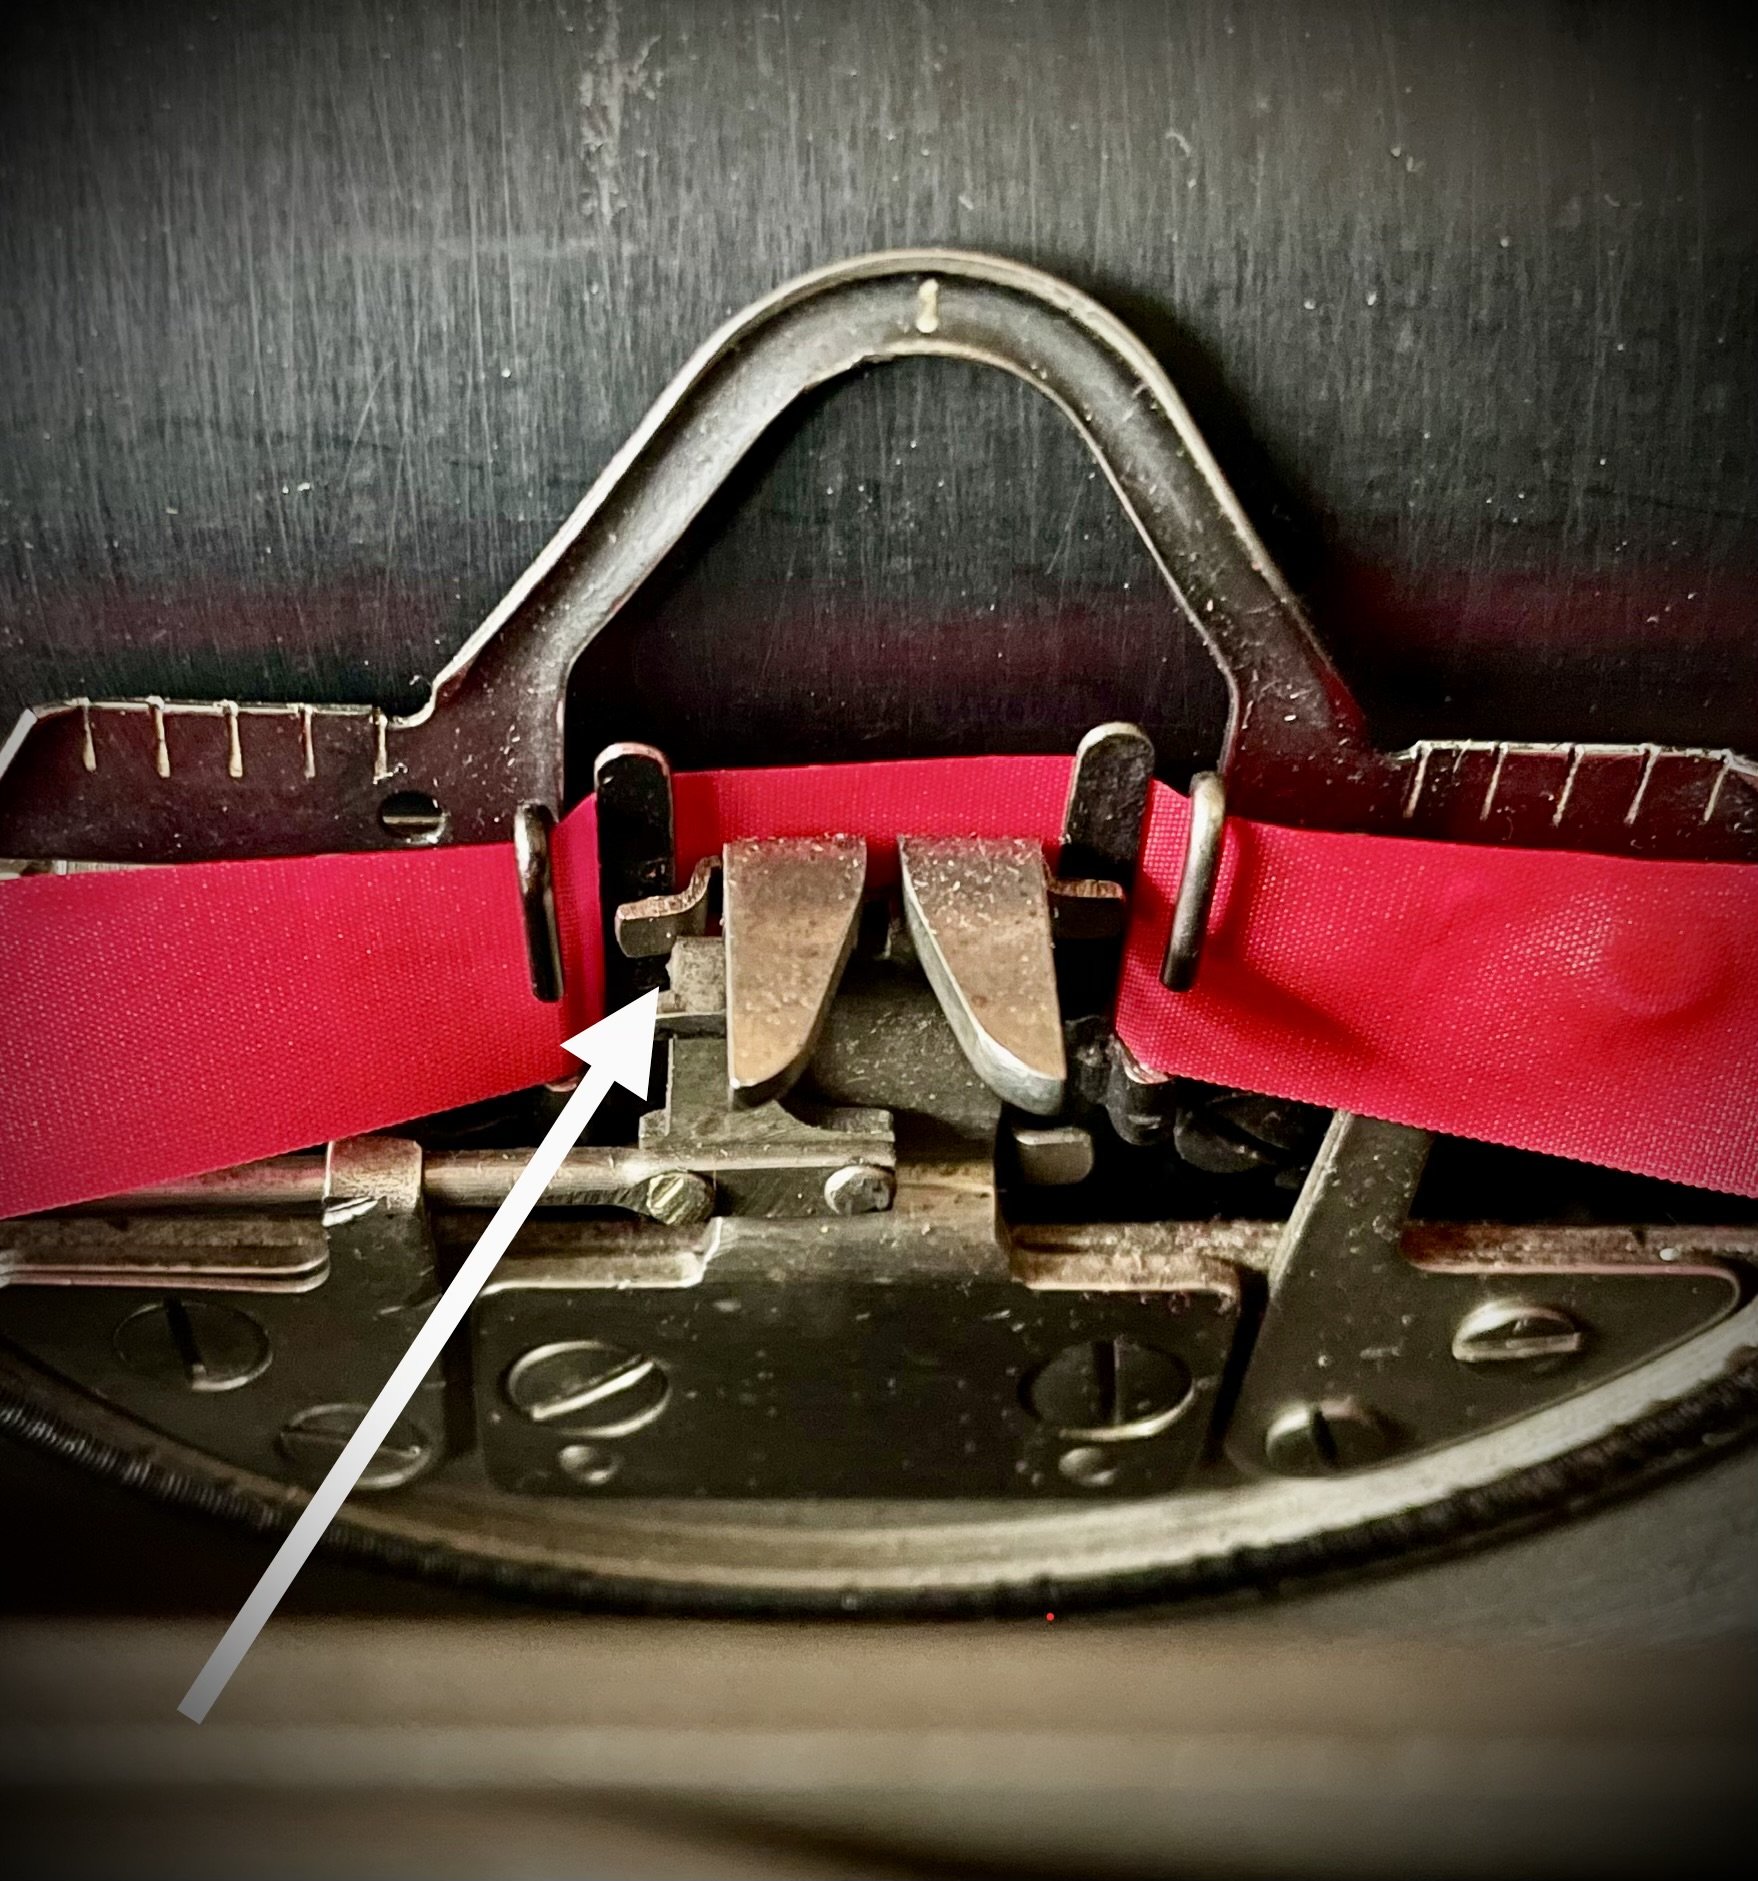
The only part which I did not figure yet is these 3-position tabs under each calculating module:
I don´t see any part of the mechanism engaging them. Maybe there was yet another module which could be added to the machine?
If anyone knows what they were for - please let me know in the comment!