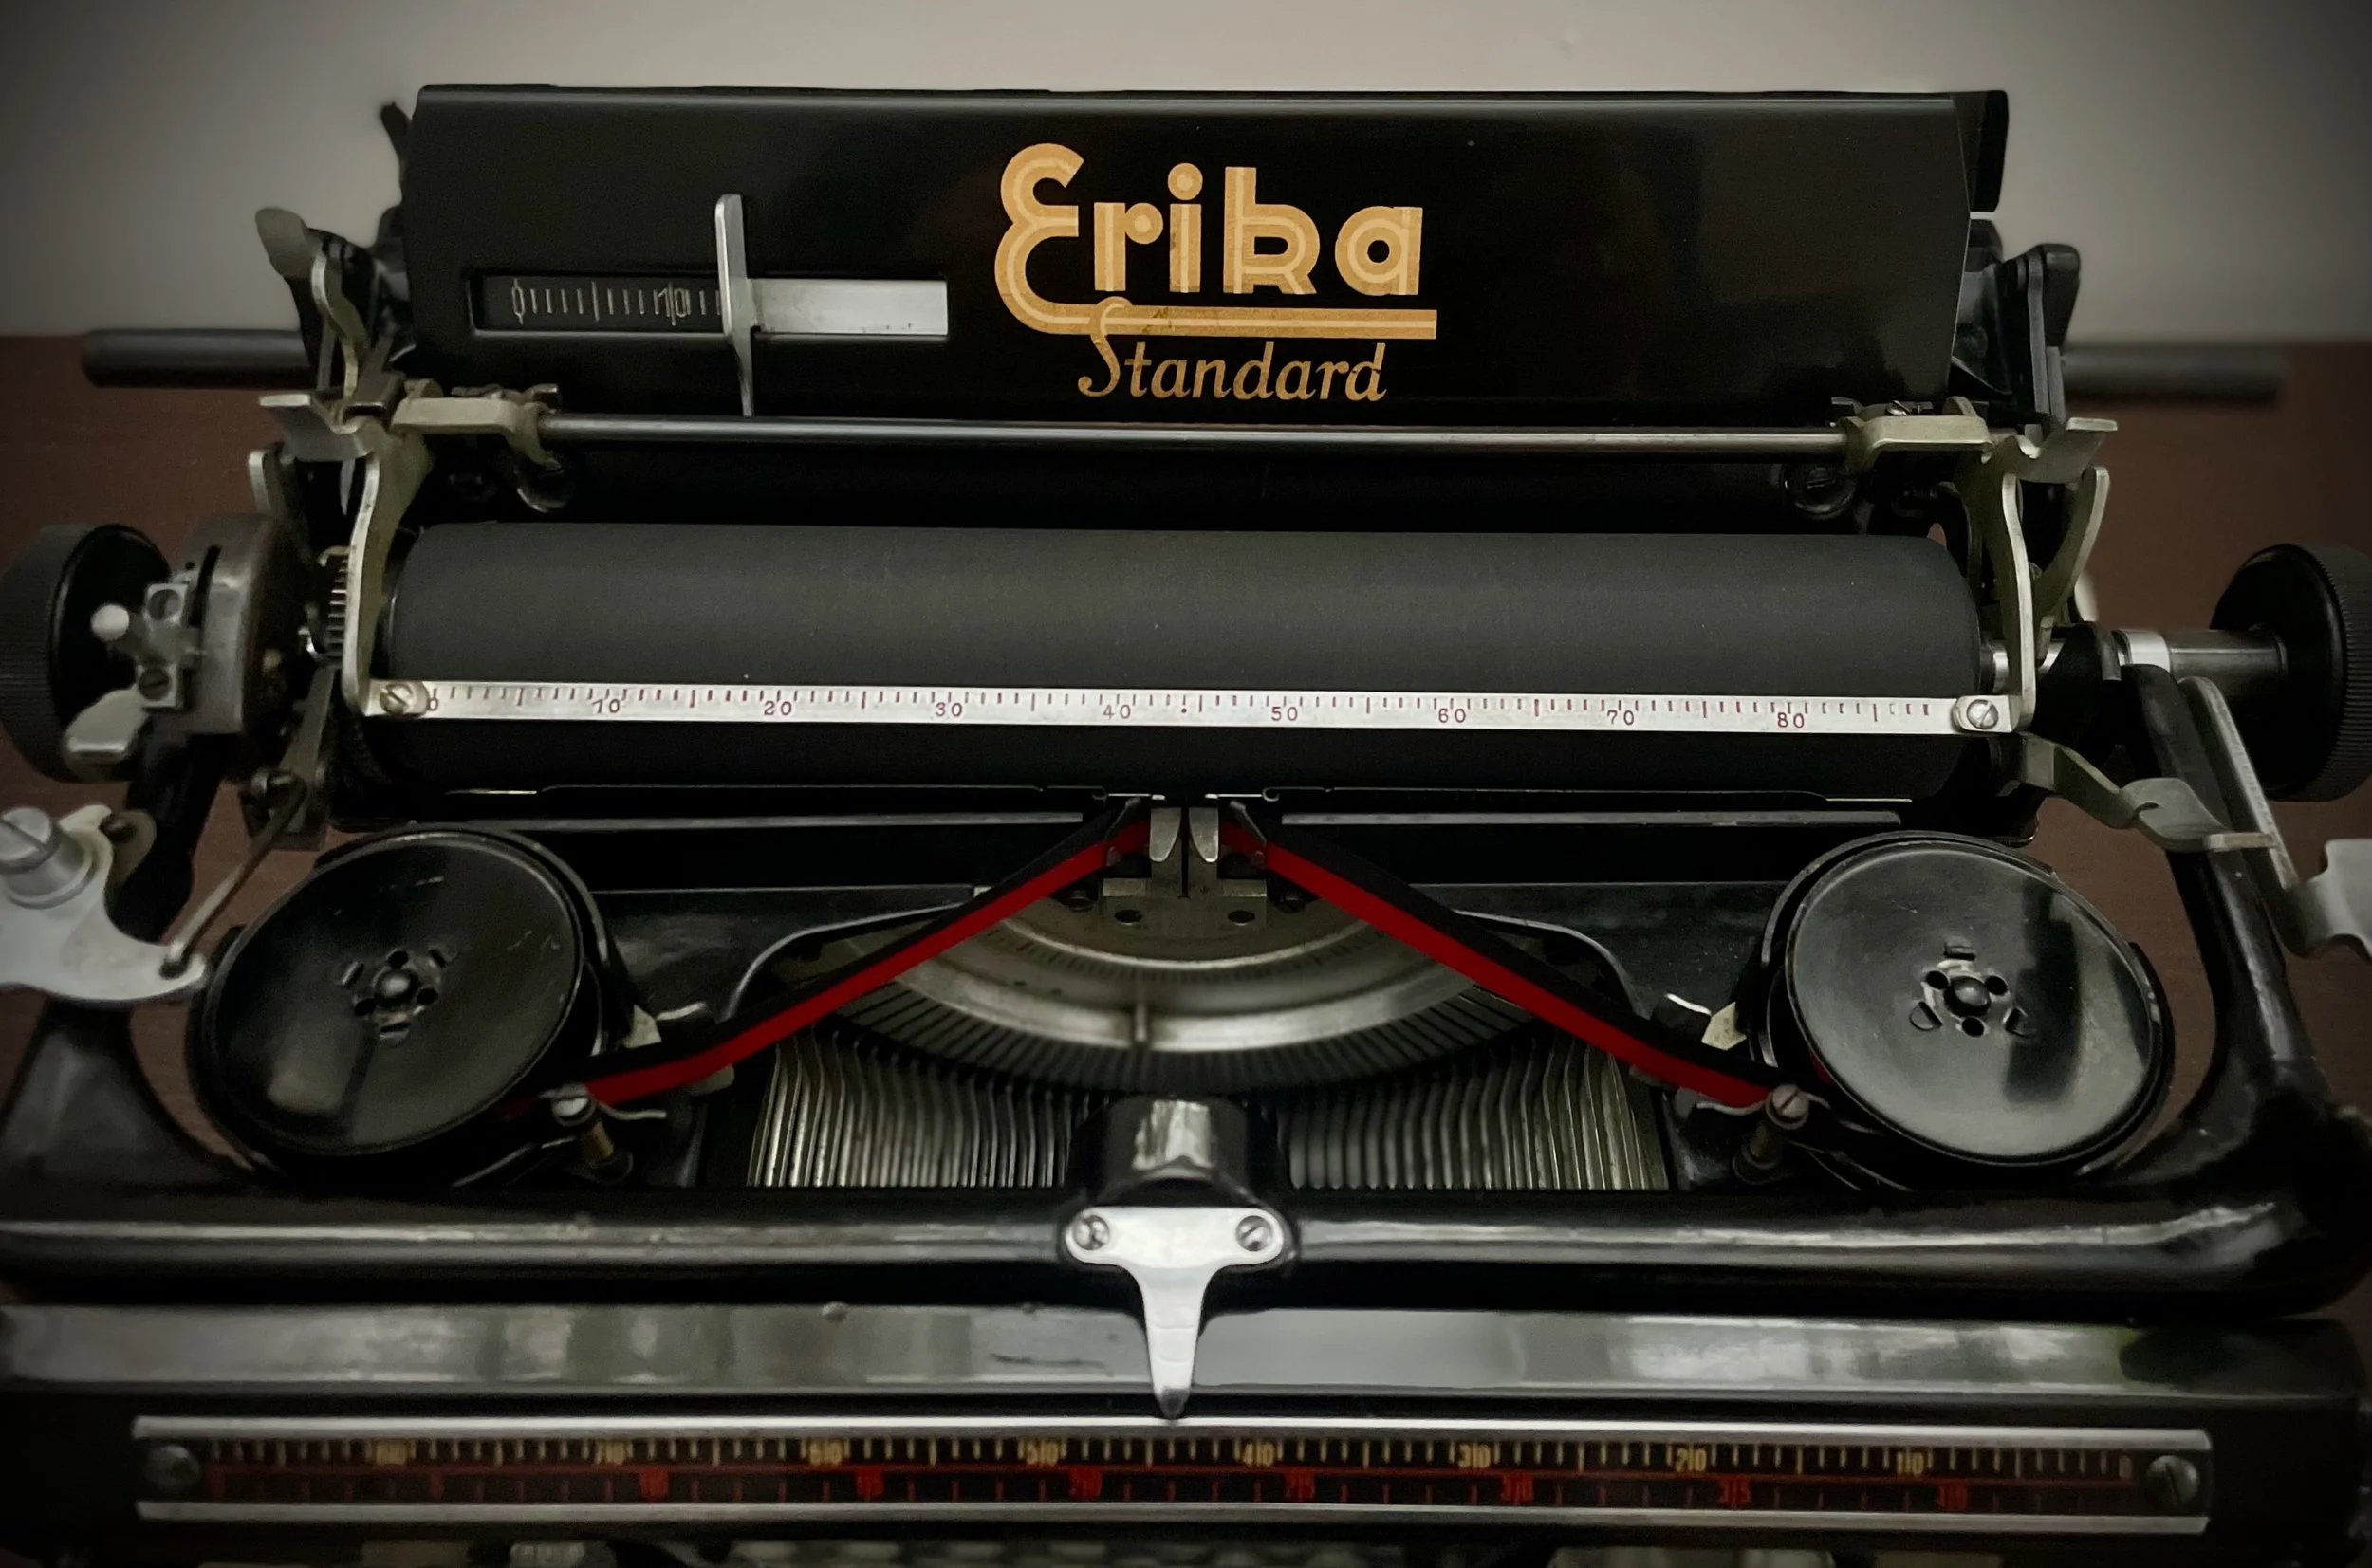
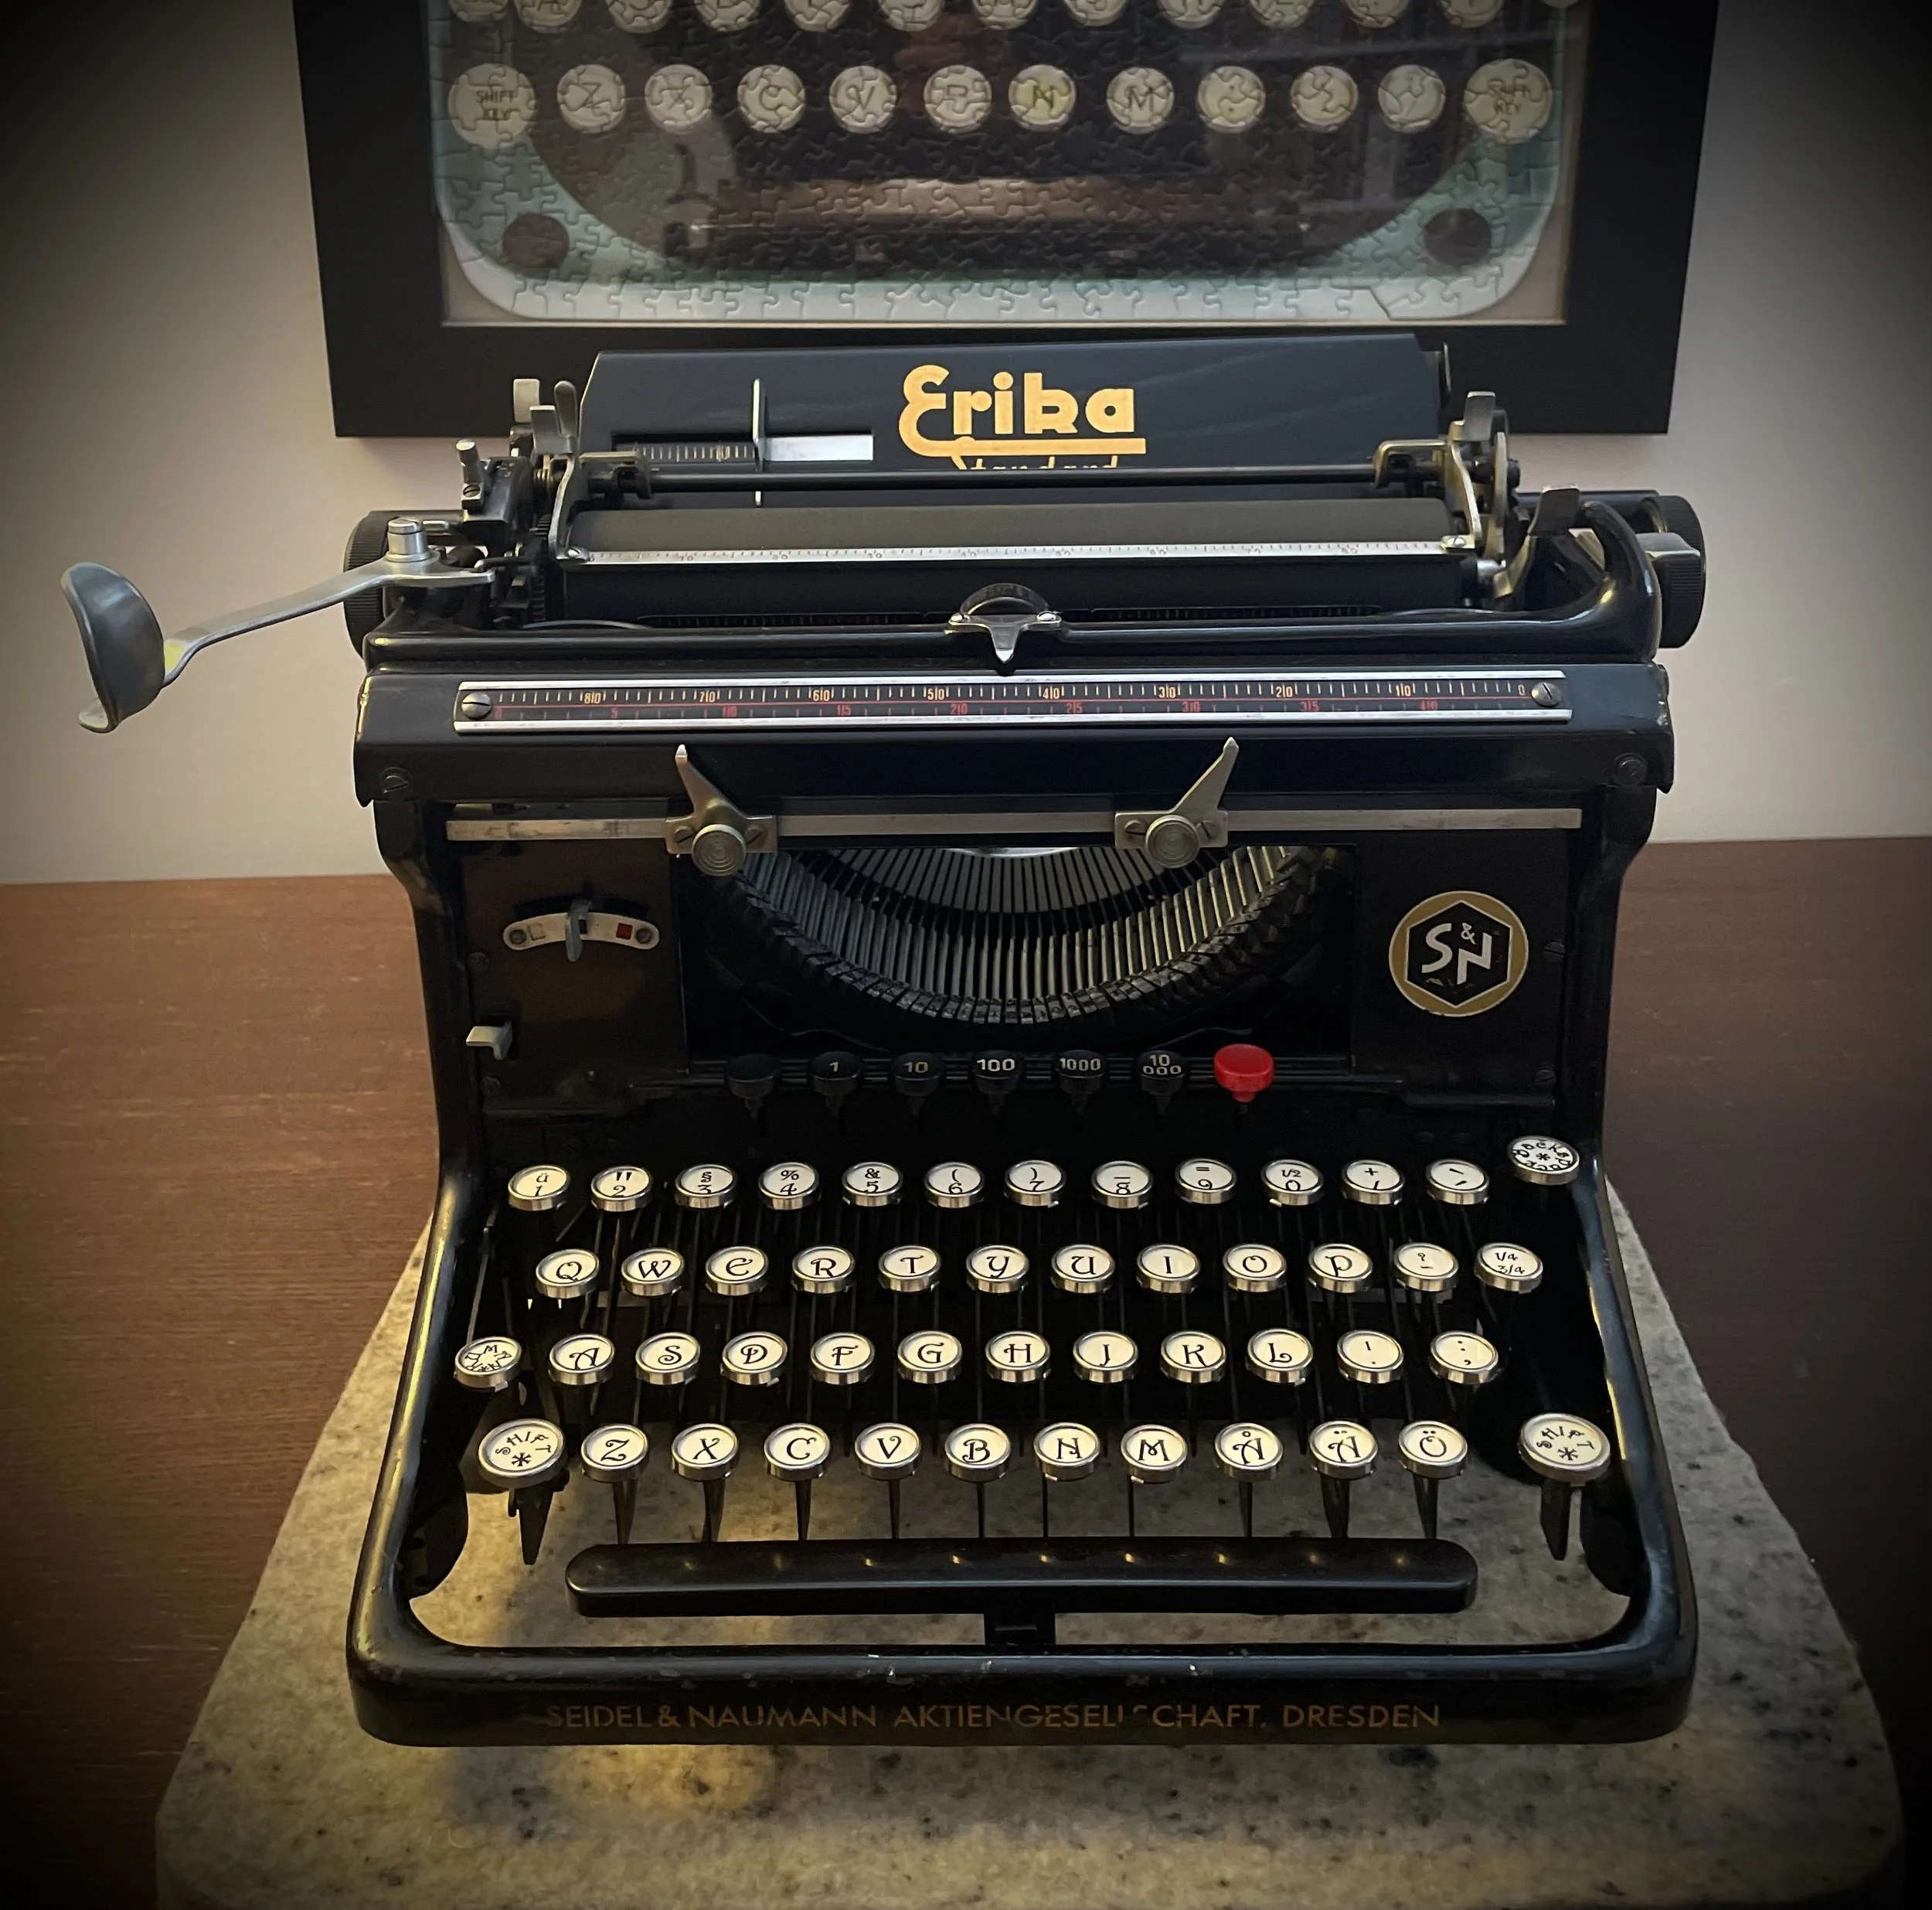
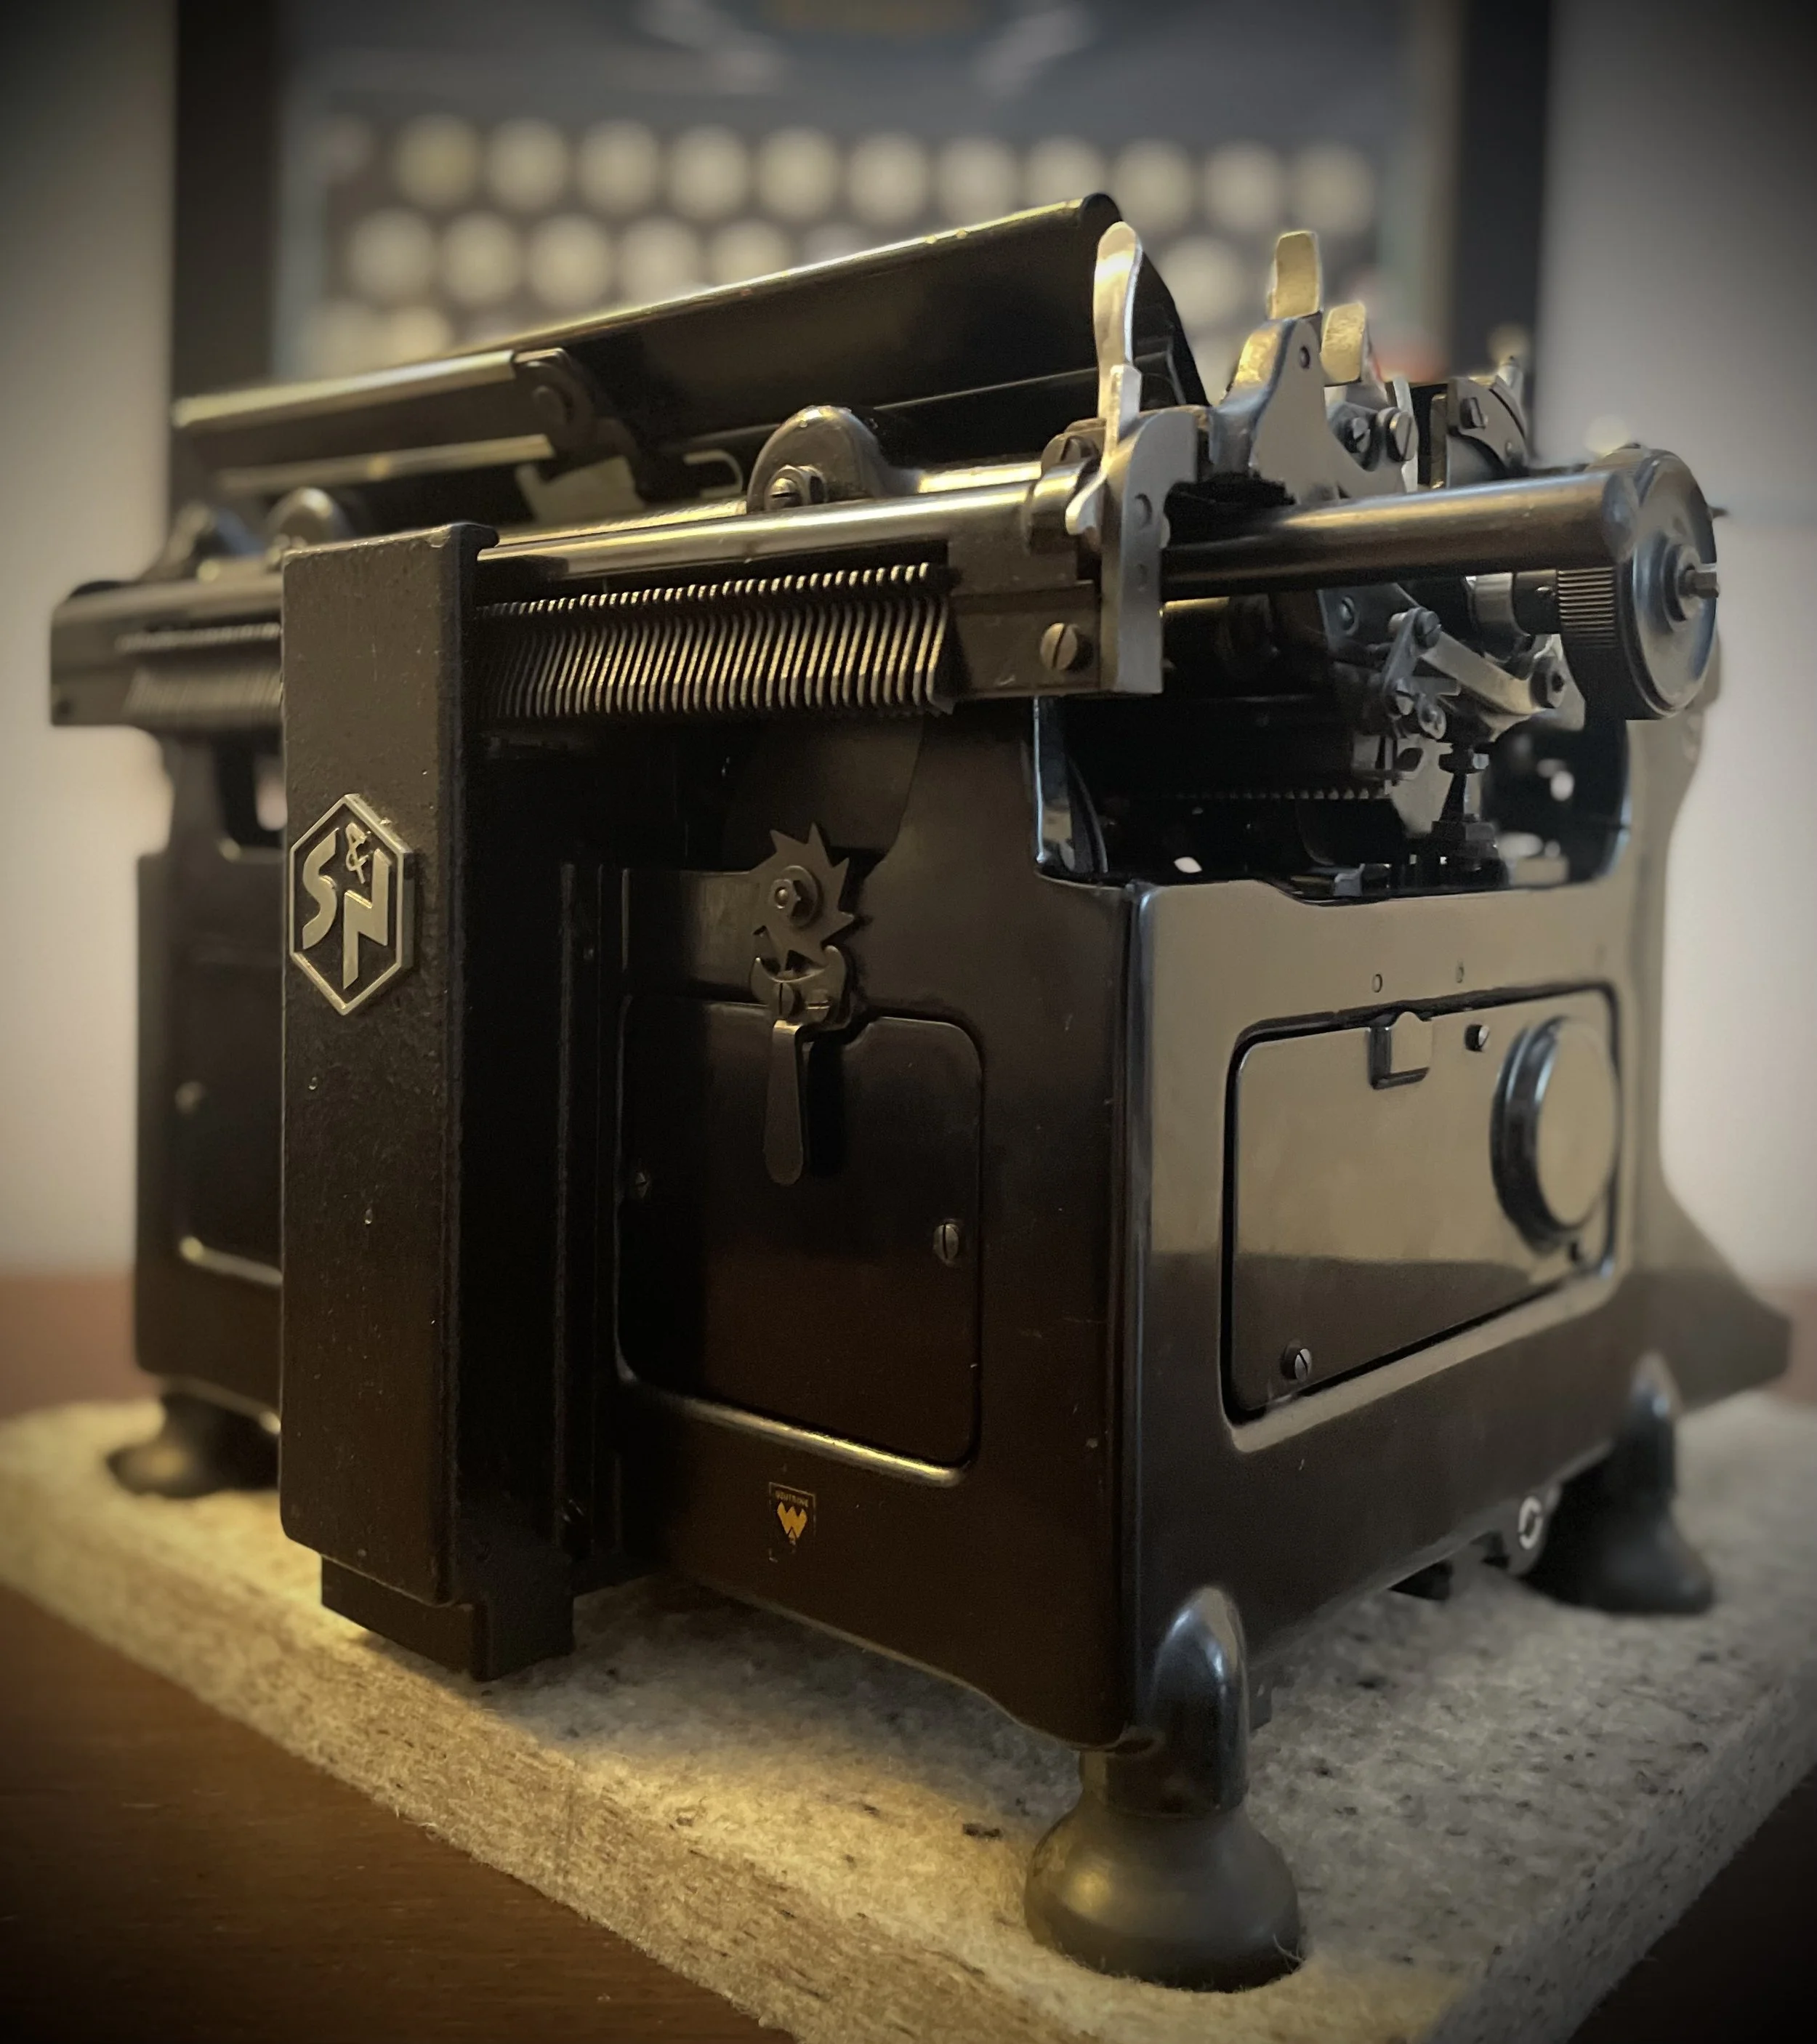
Erika Standard after face-lift
I got her through an auction in Gävle some years ago, former owners and the whole history is gone. As an Erika-fan I wanted to put my hands on Erika Standard and make it part of my arsenal.
Grim offered similar Erika, in very rough shape, as a donor for mine, in case I need to swap some worn parts. After coming back from him I decided it is time to put her on the bench.
She was working, if not a bit reluctantly. Main issue was general dirt and sluggishness of the whole mechanism. Plus many slaughtered screw-heads, as if someone approached her with a chisel not a proper, hollow-ground screwdriver.
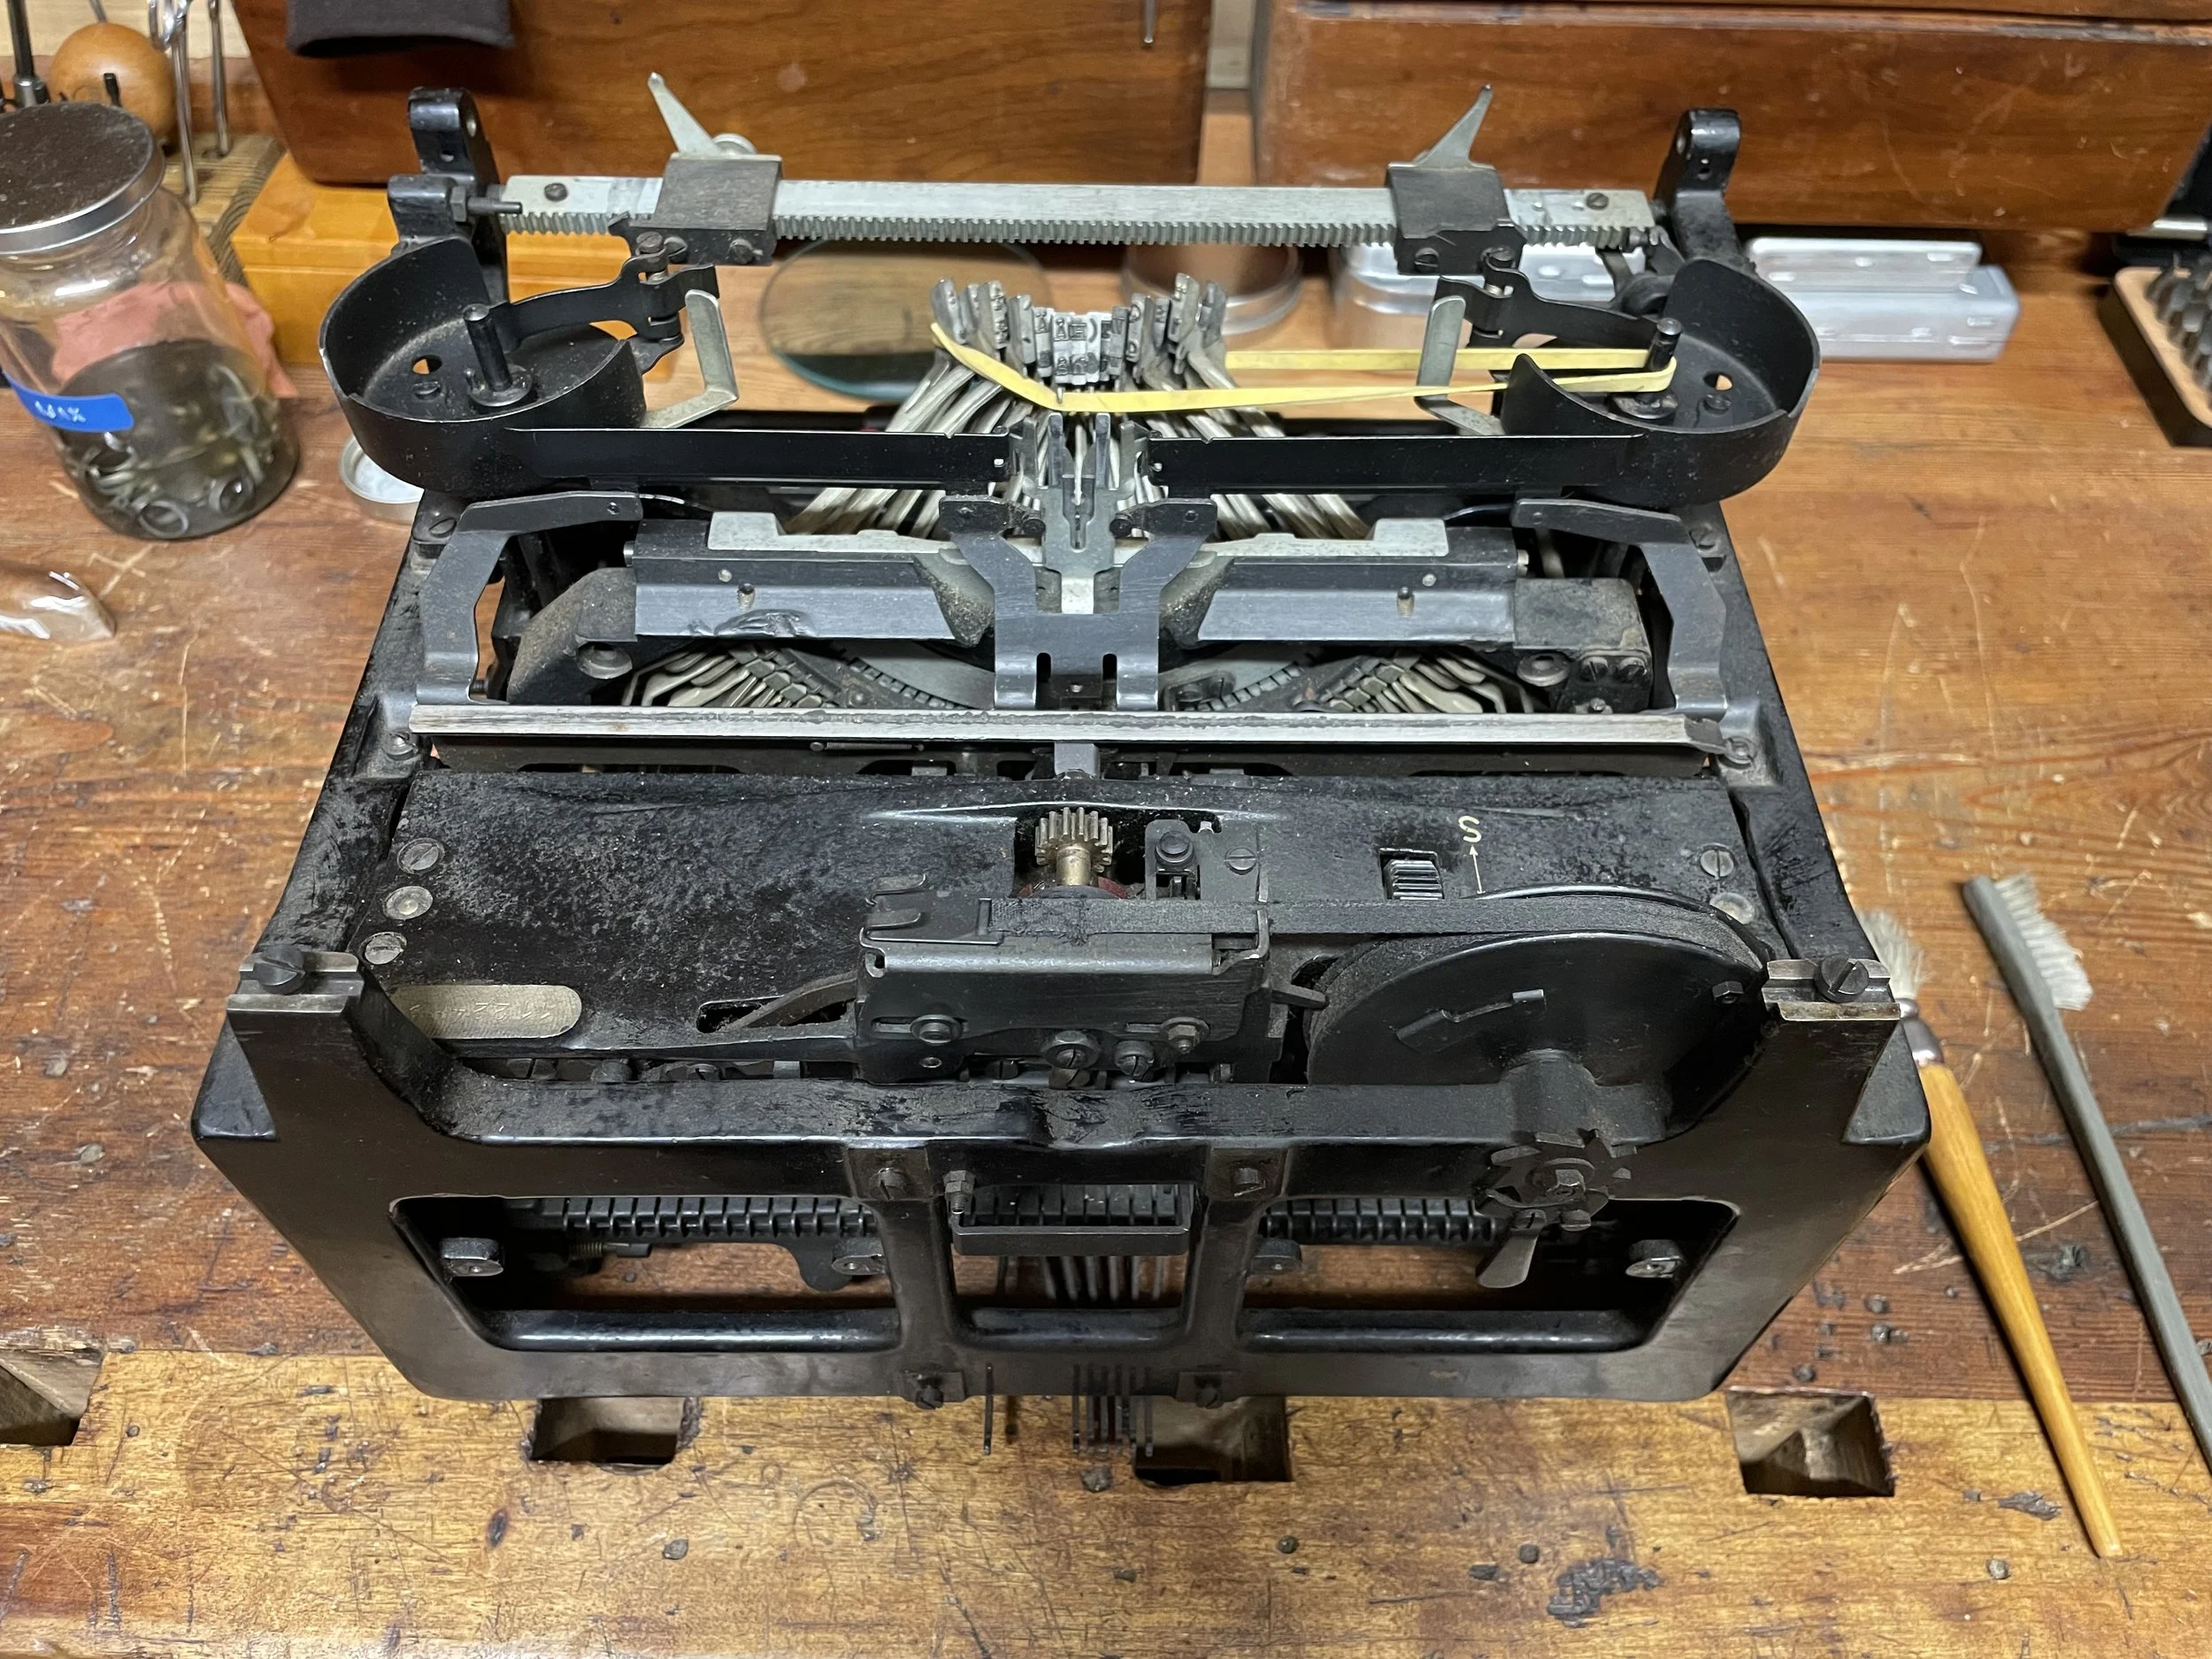
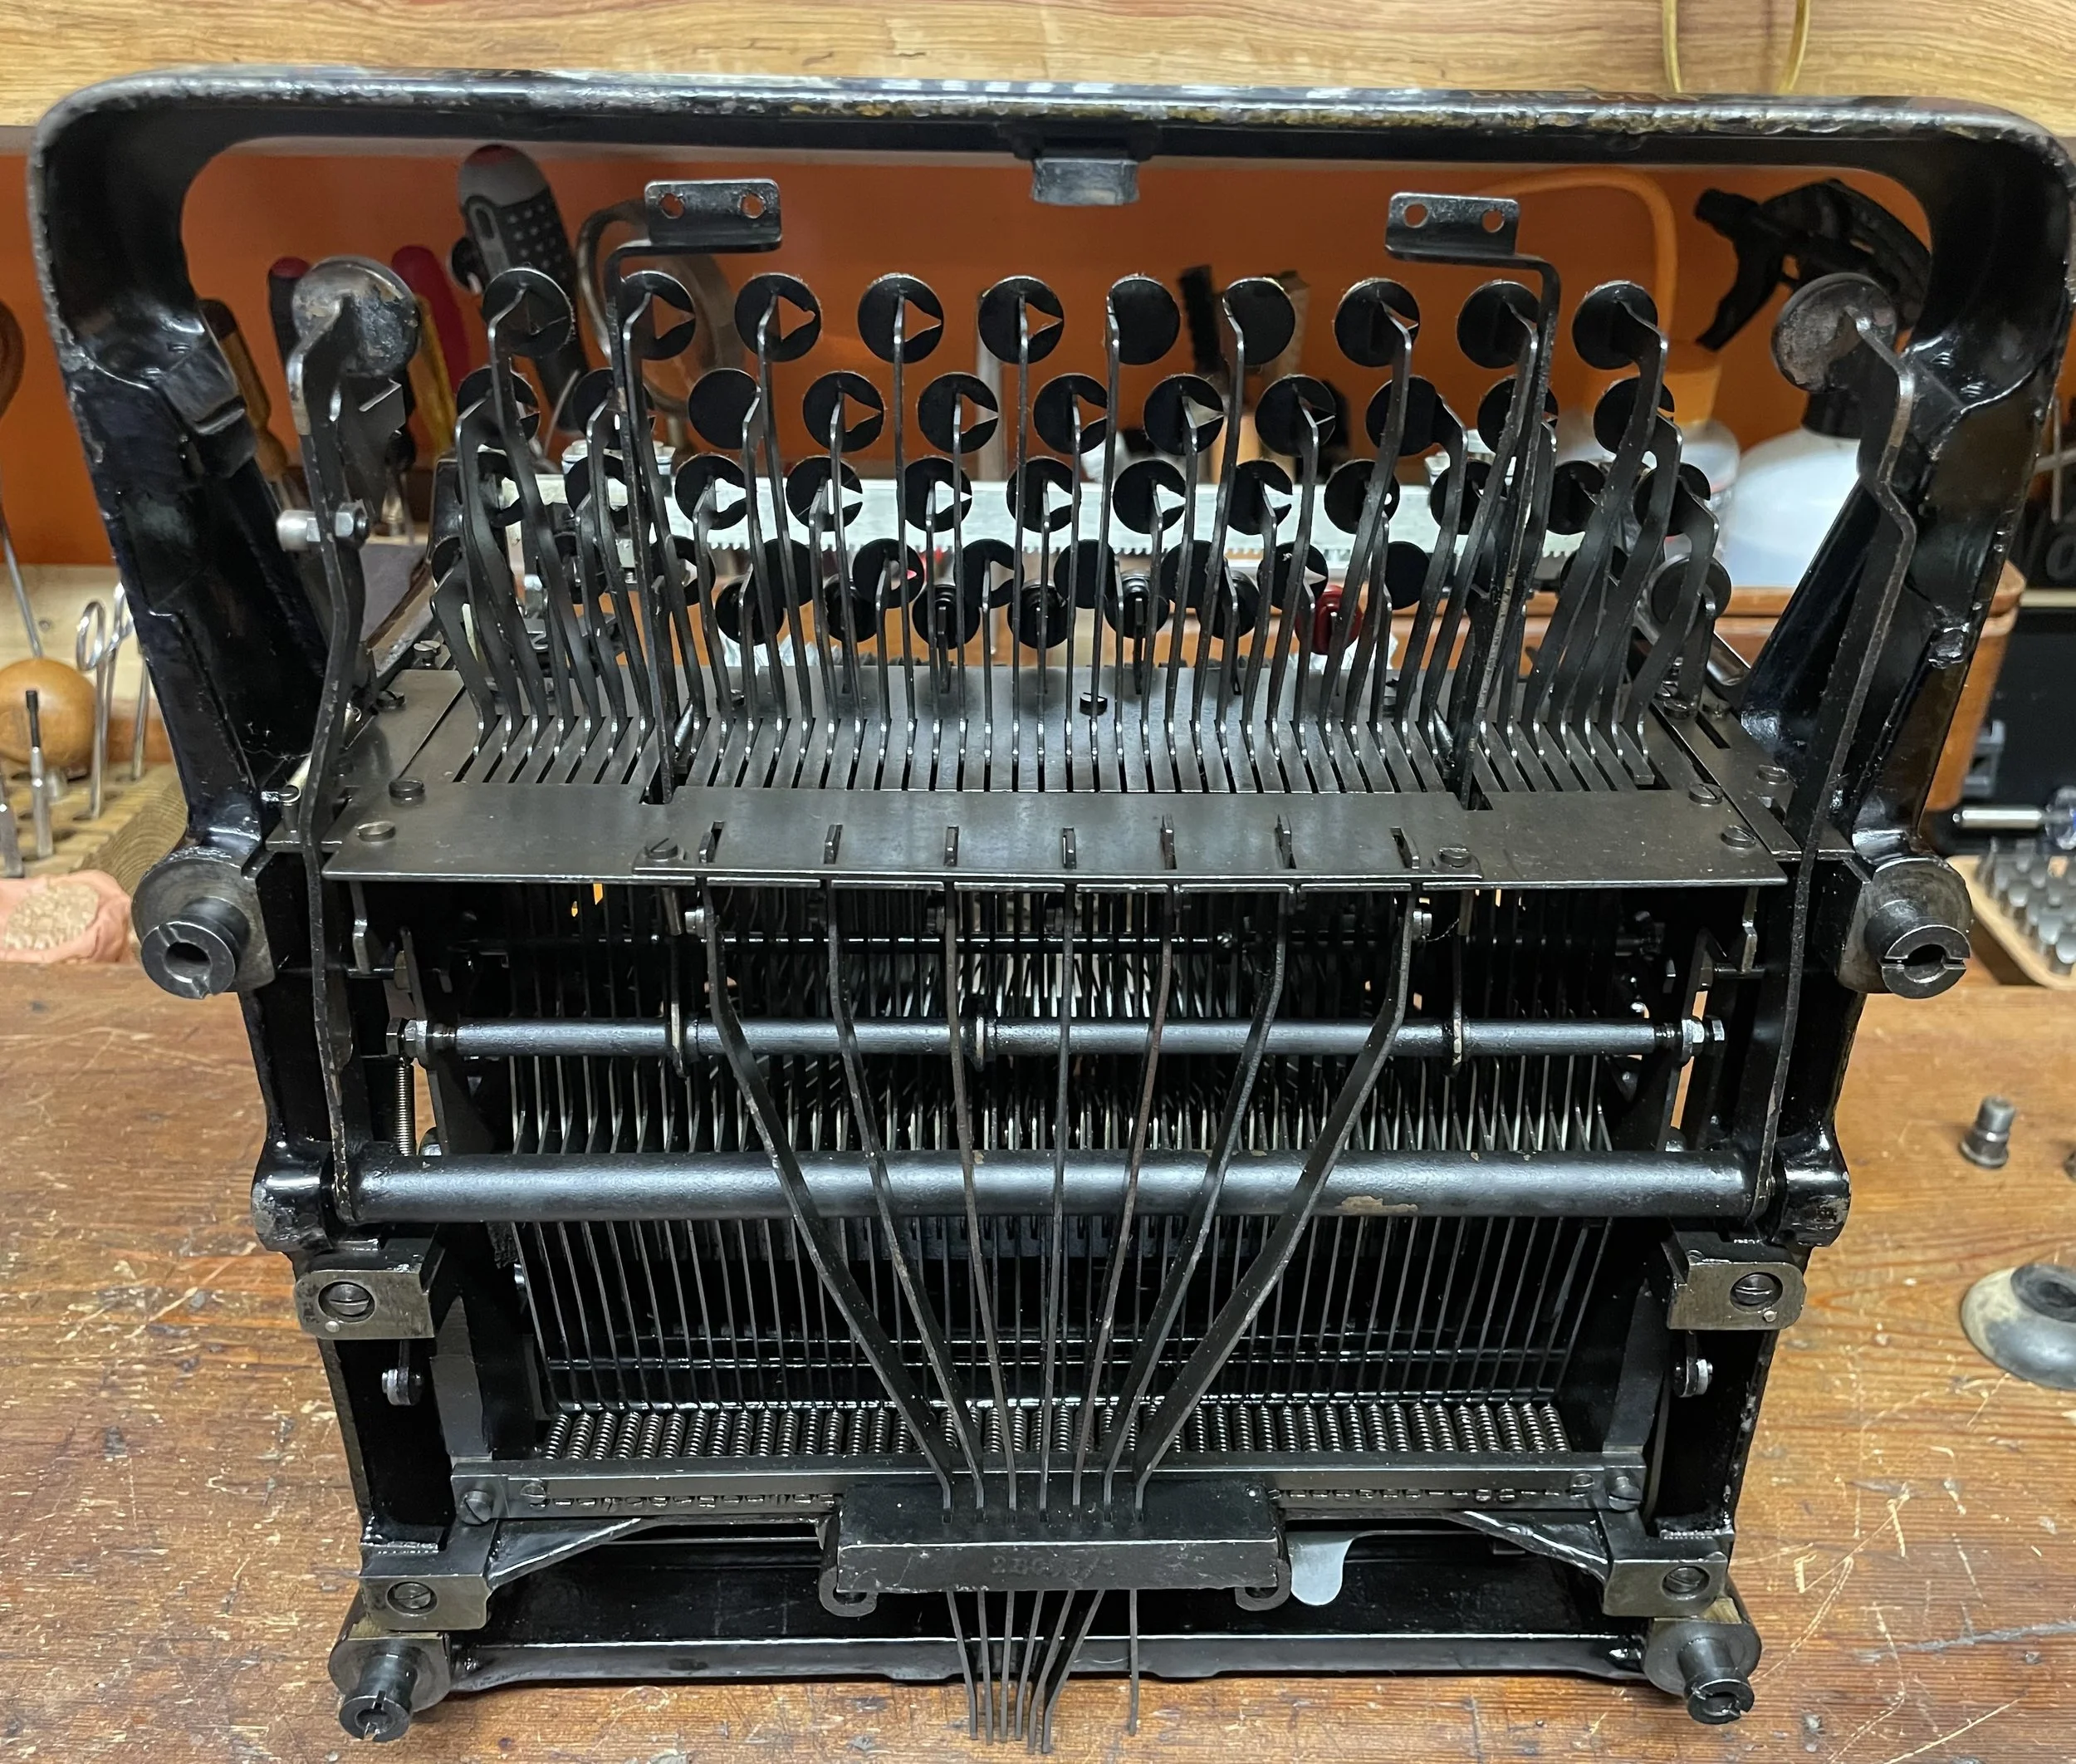
Disassembly of main modules.
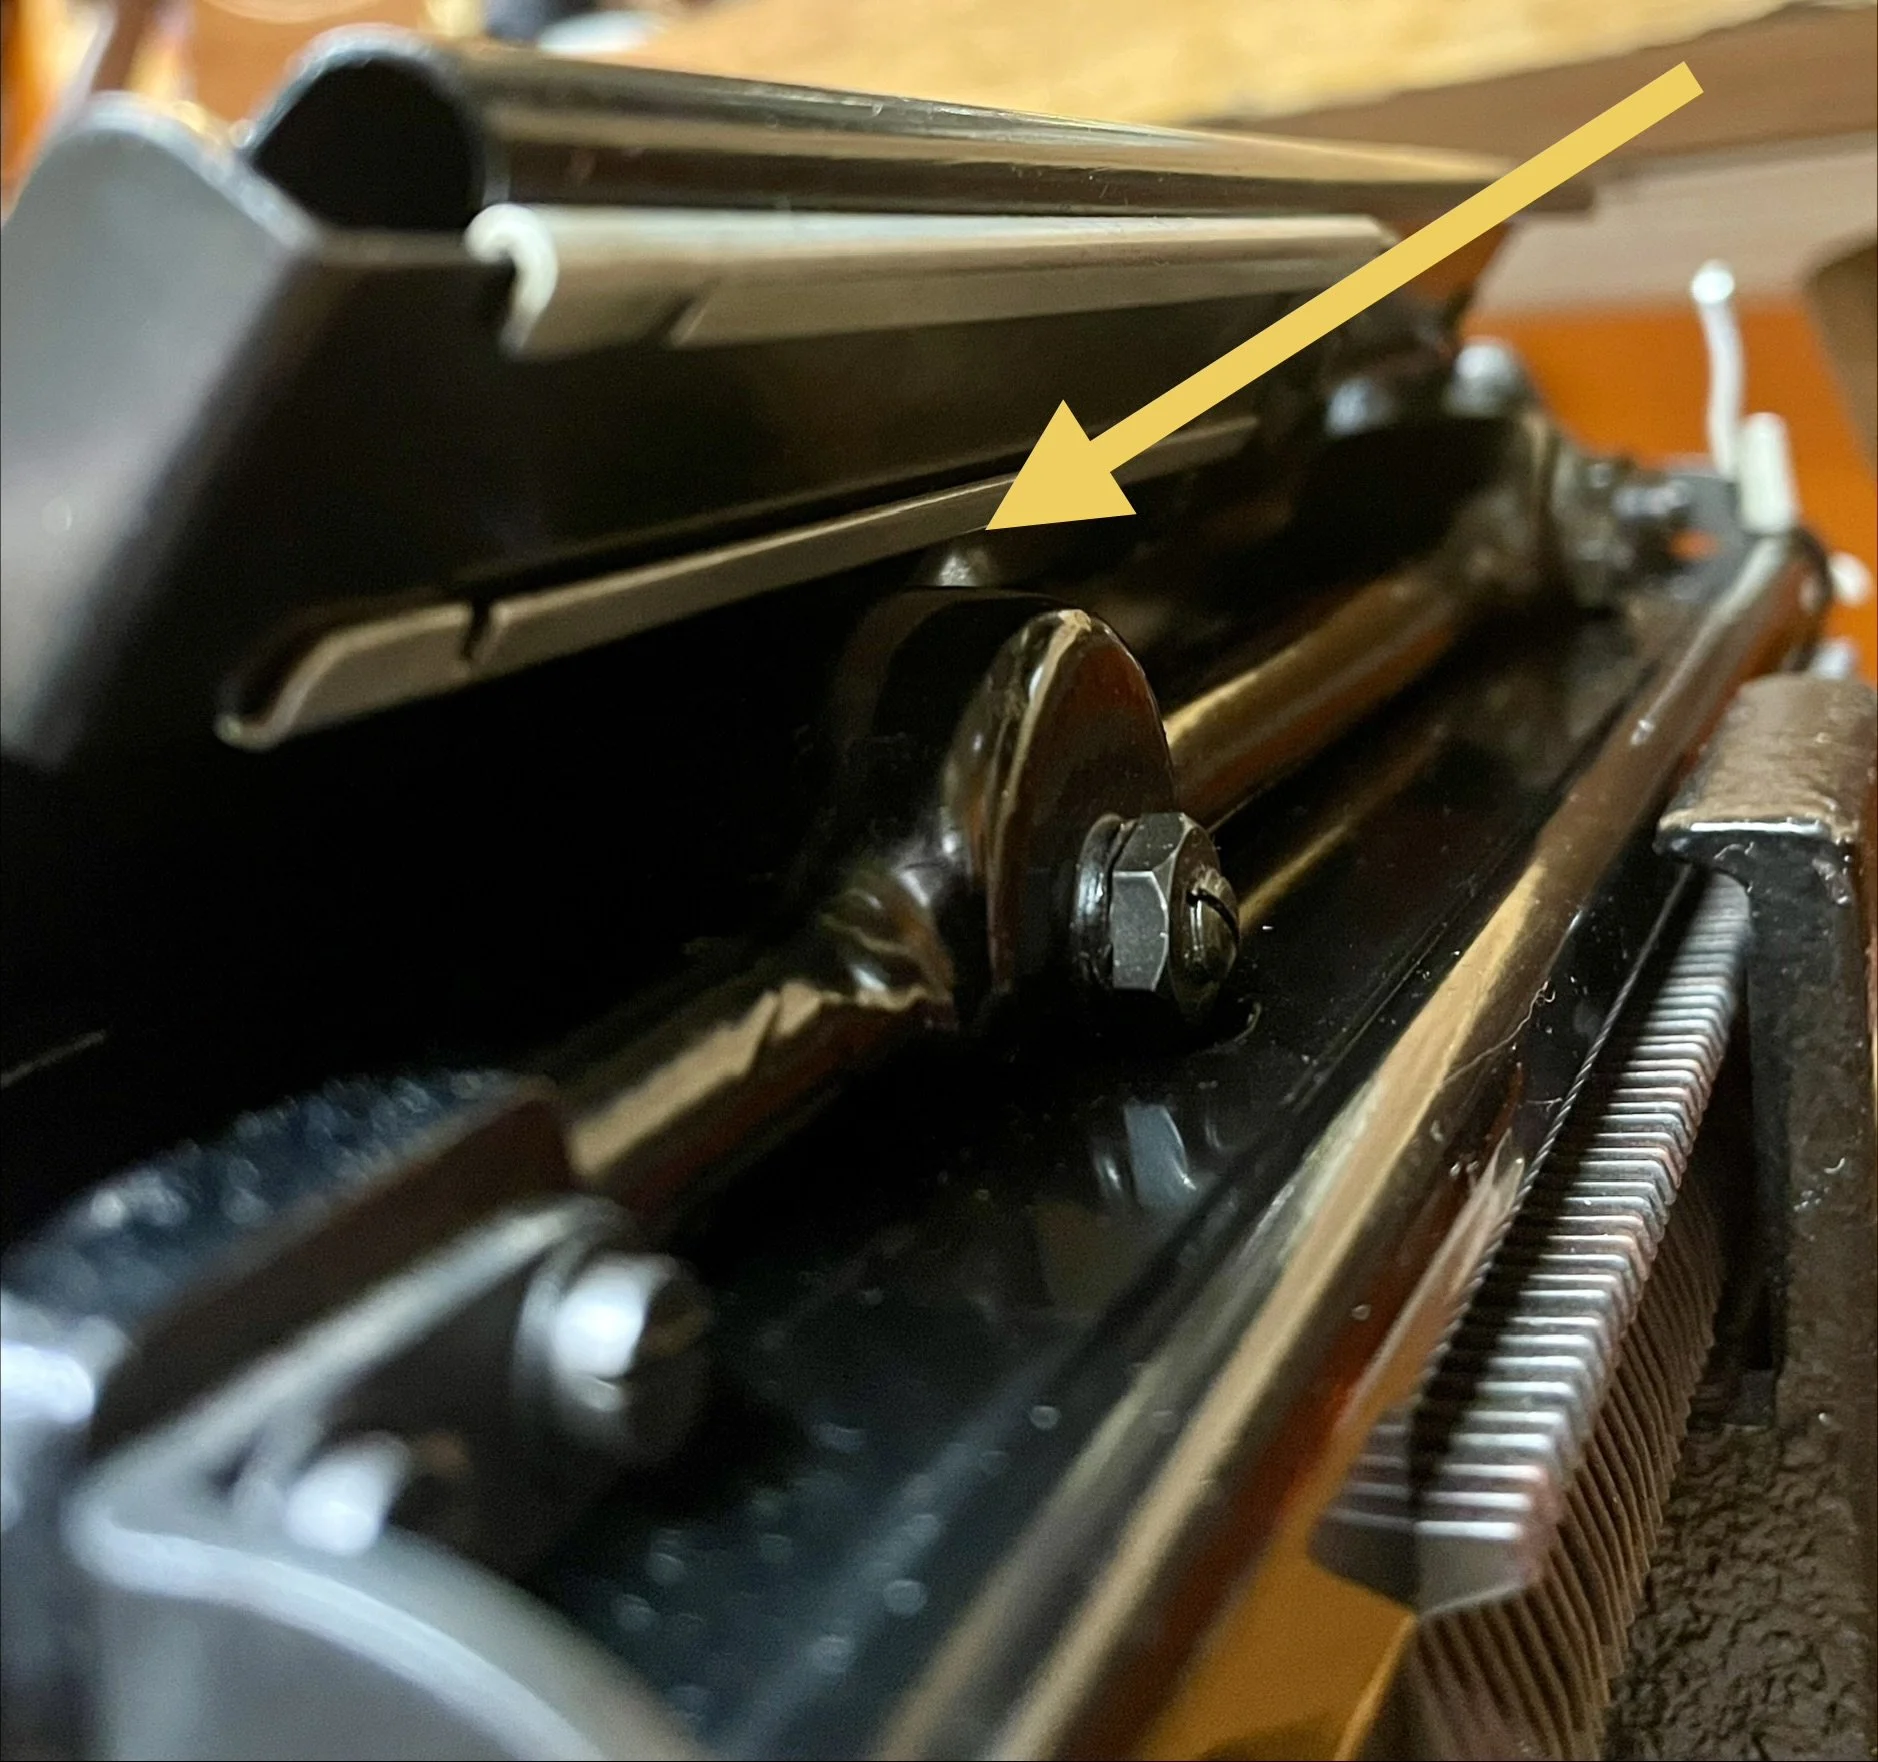
Tabulator mechanism comes apart easy. Black arrow shows triggering subassemby already removed. To detach tab-rail one unscrews 4 screws shown with yellow arrows.
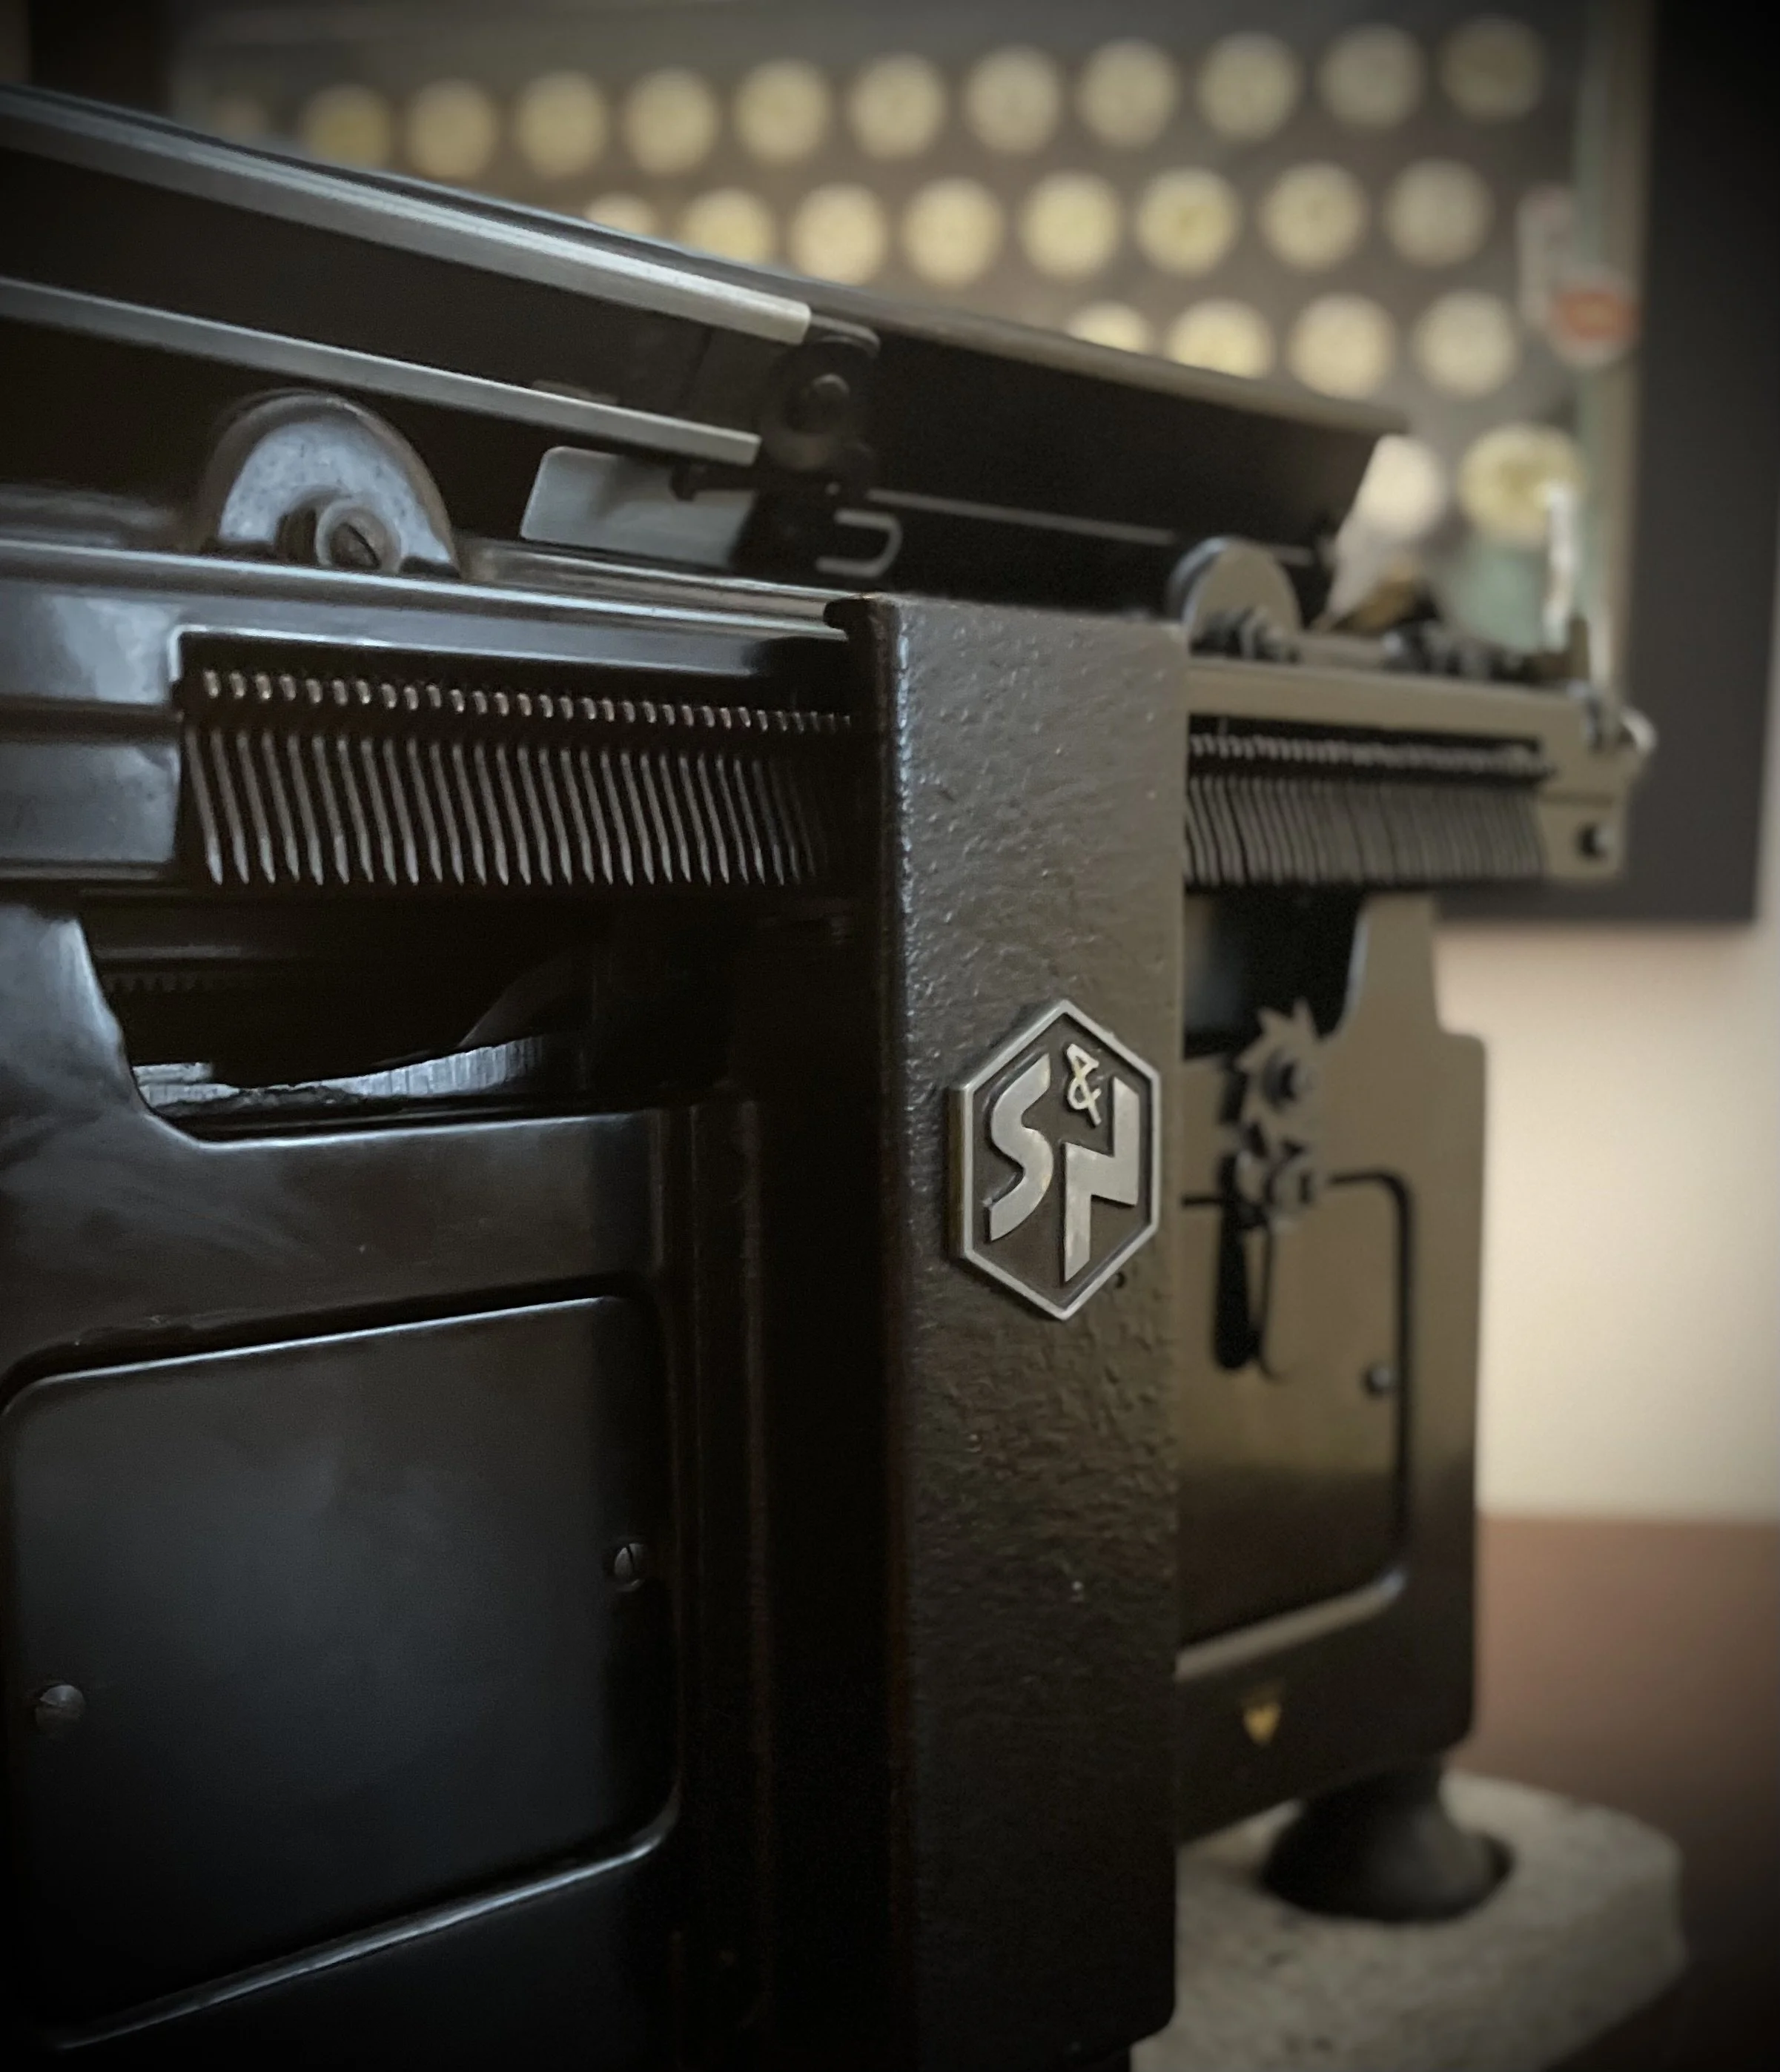
Following that I detached the whole carriage. Easy on this machine, just four screws.
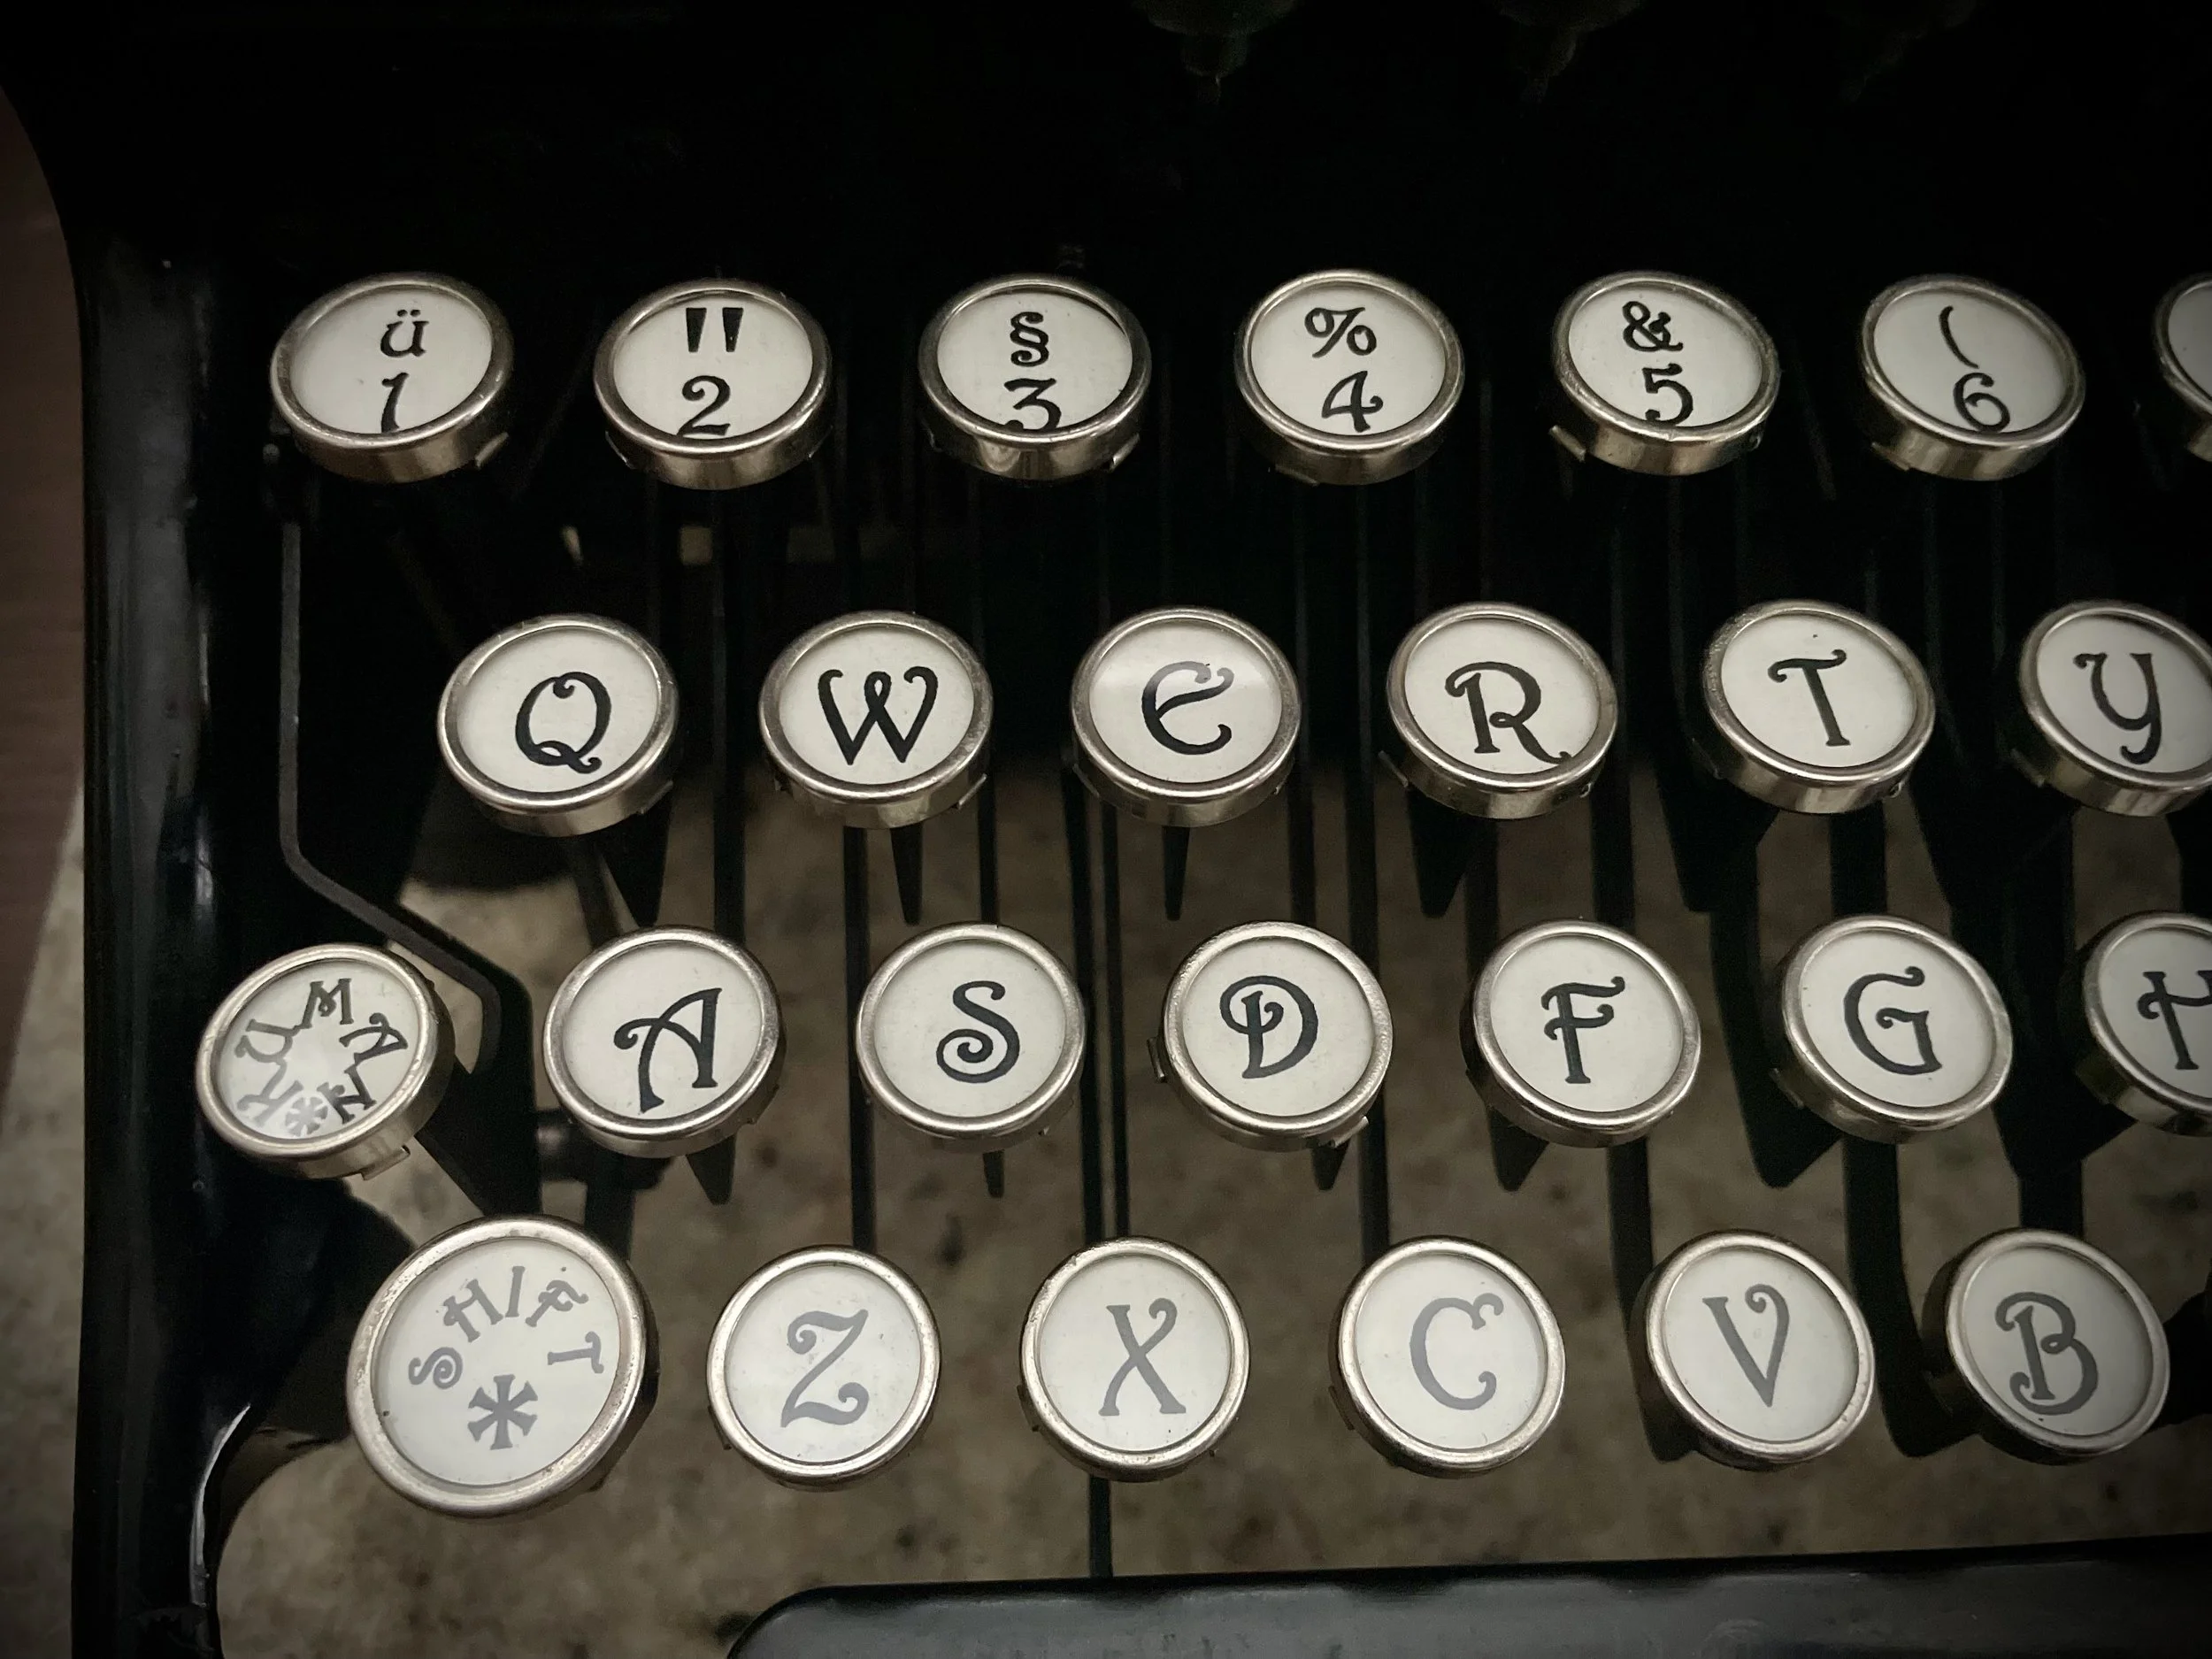
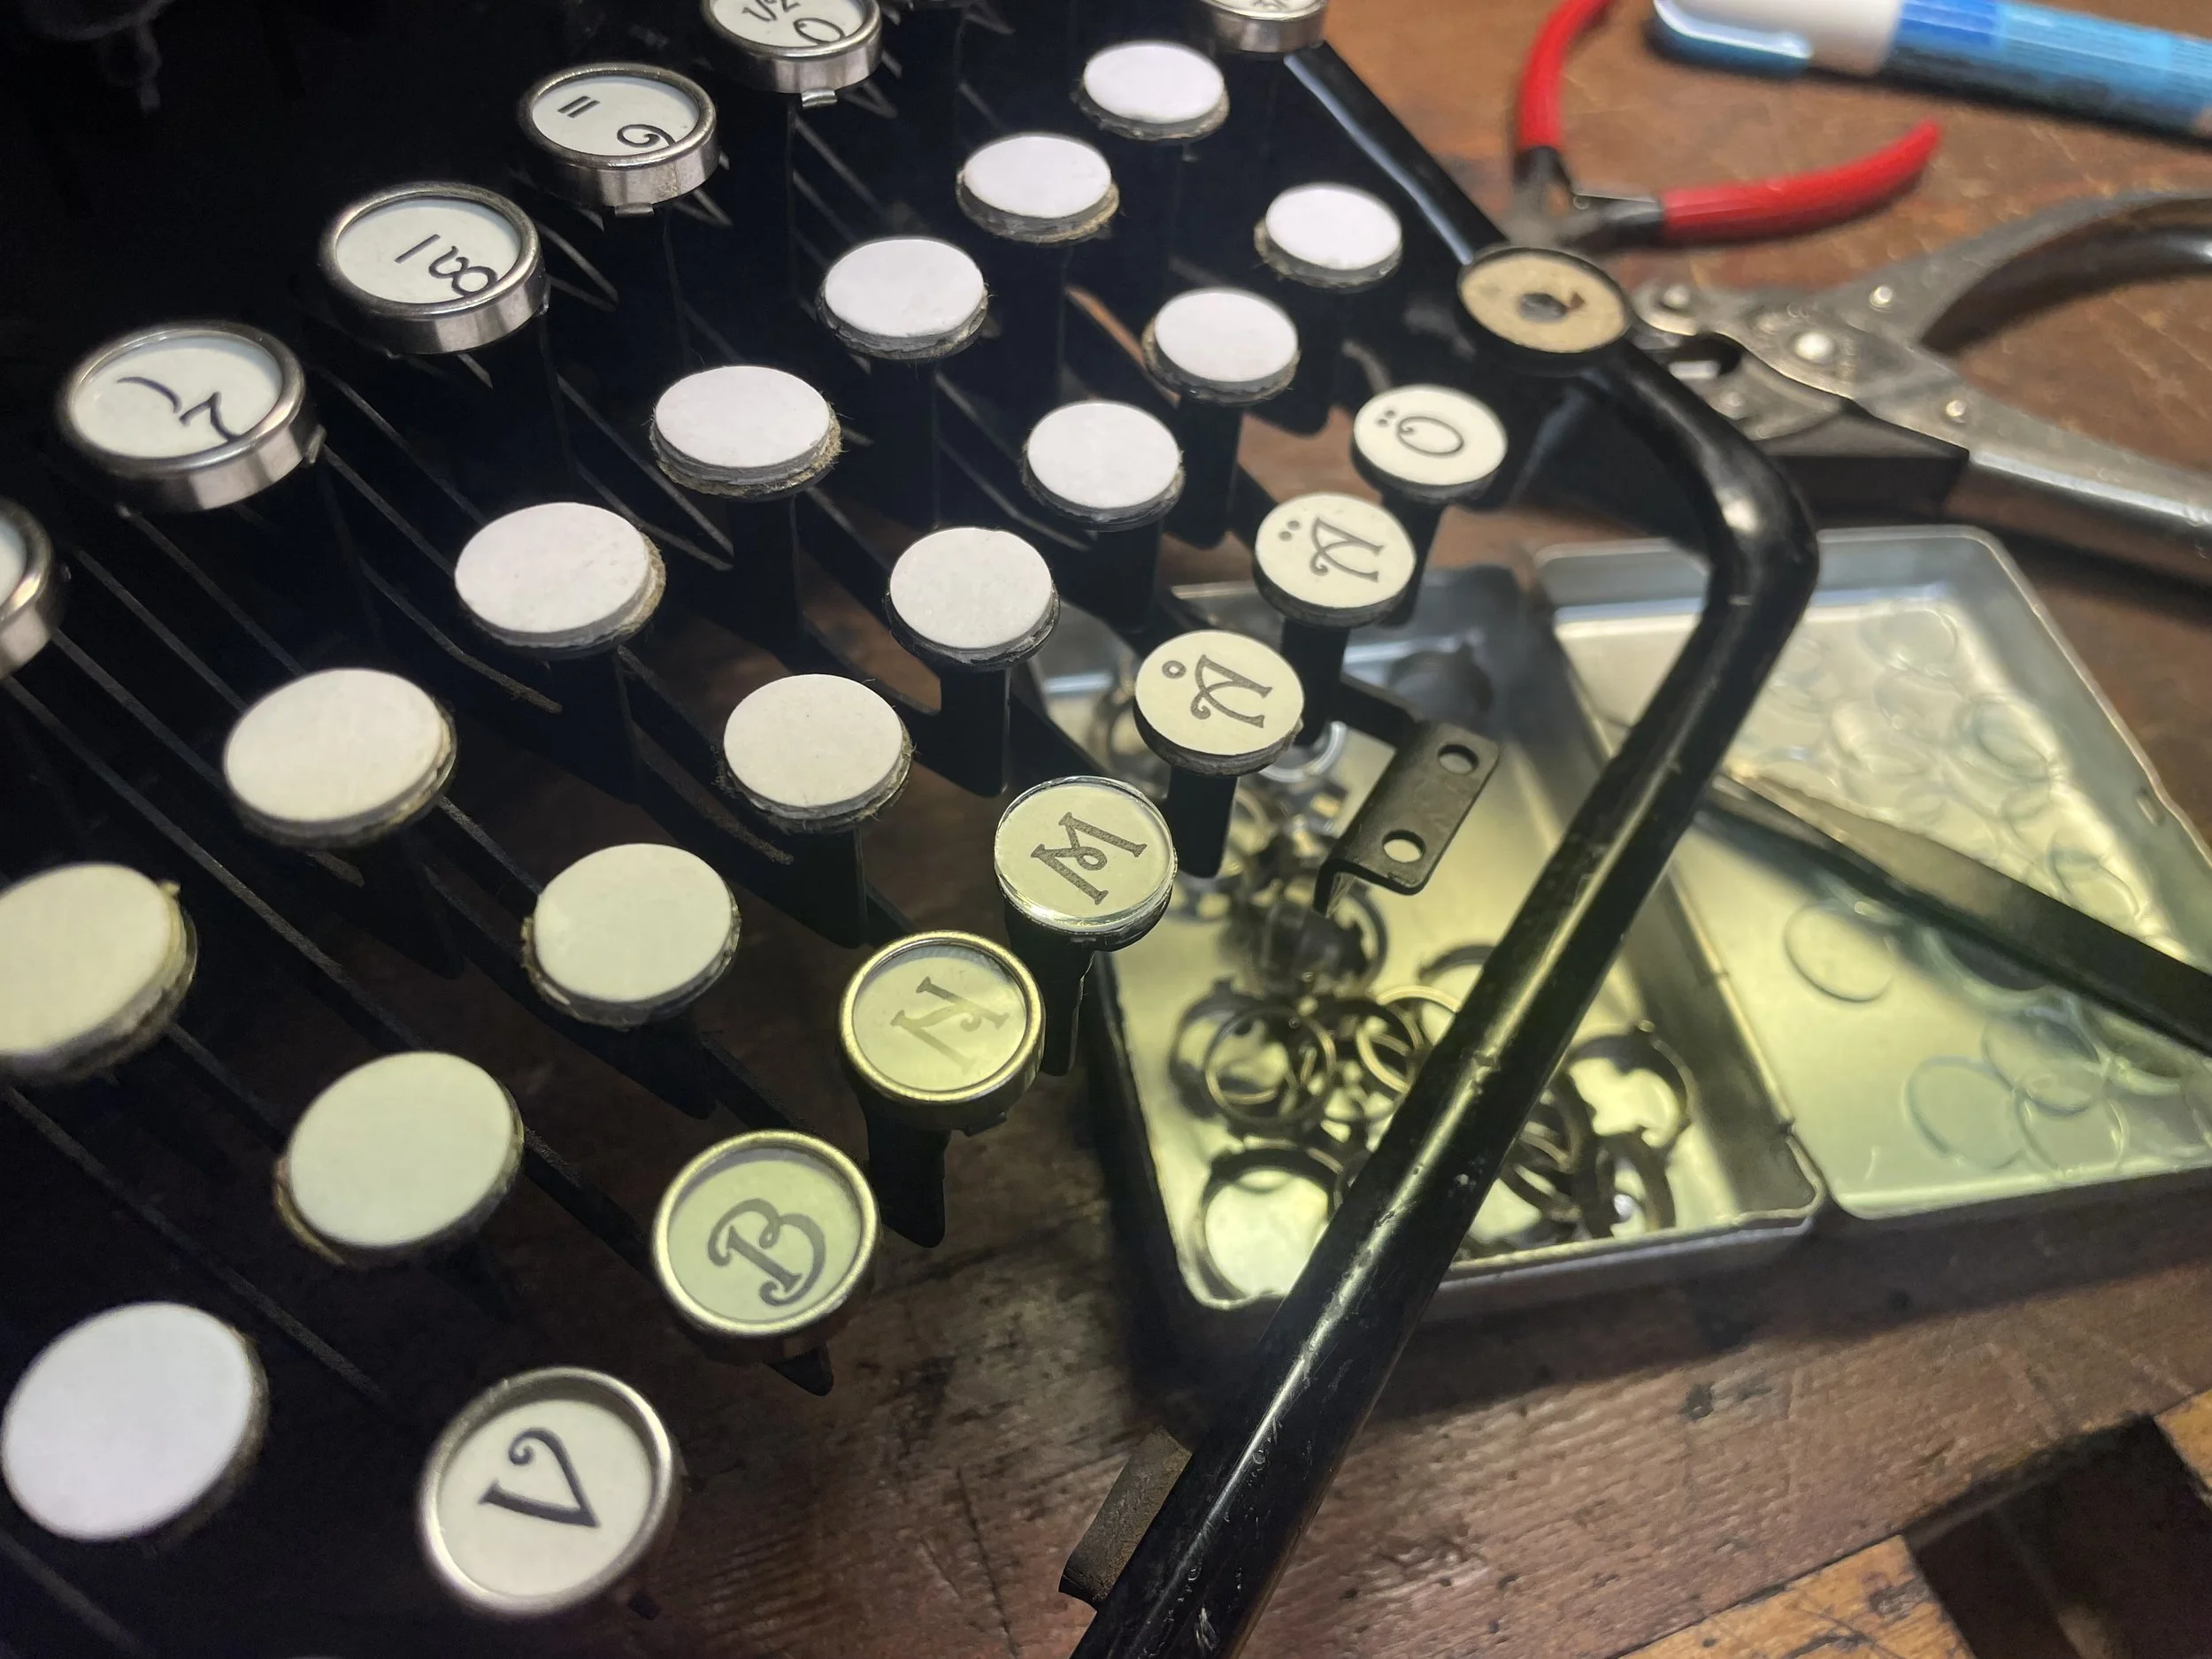
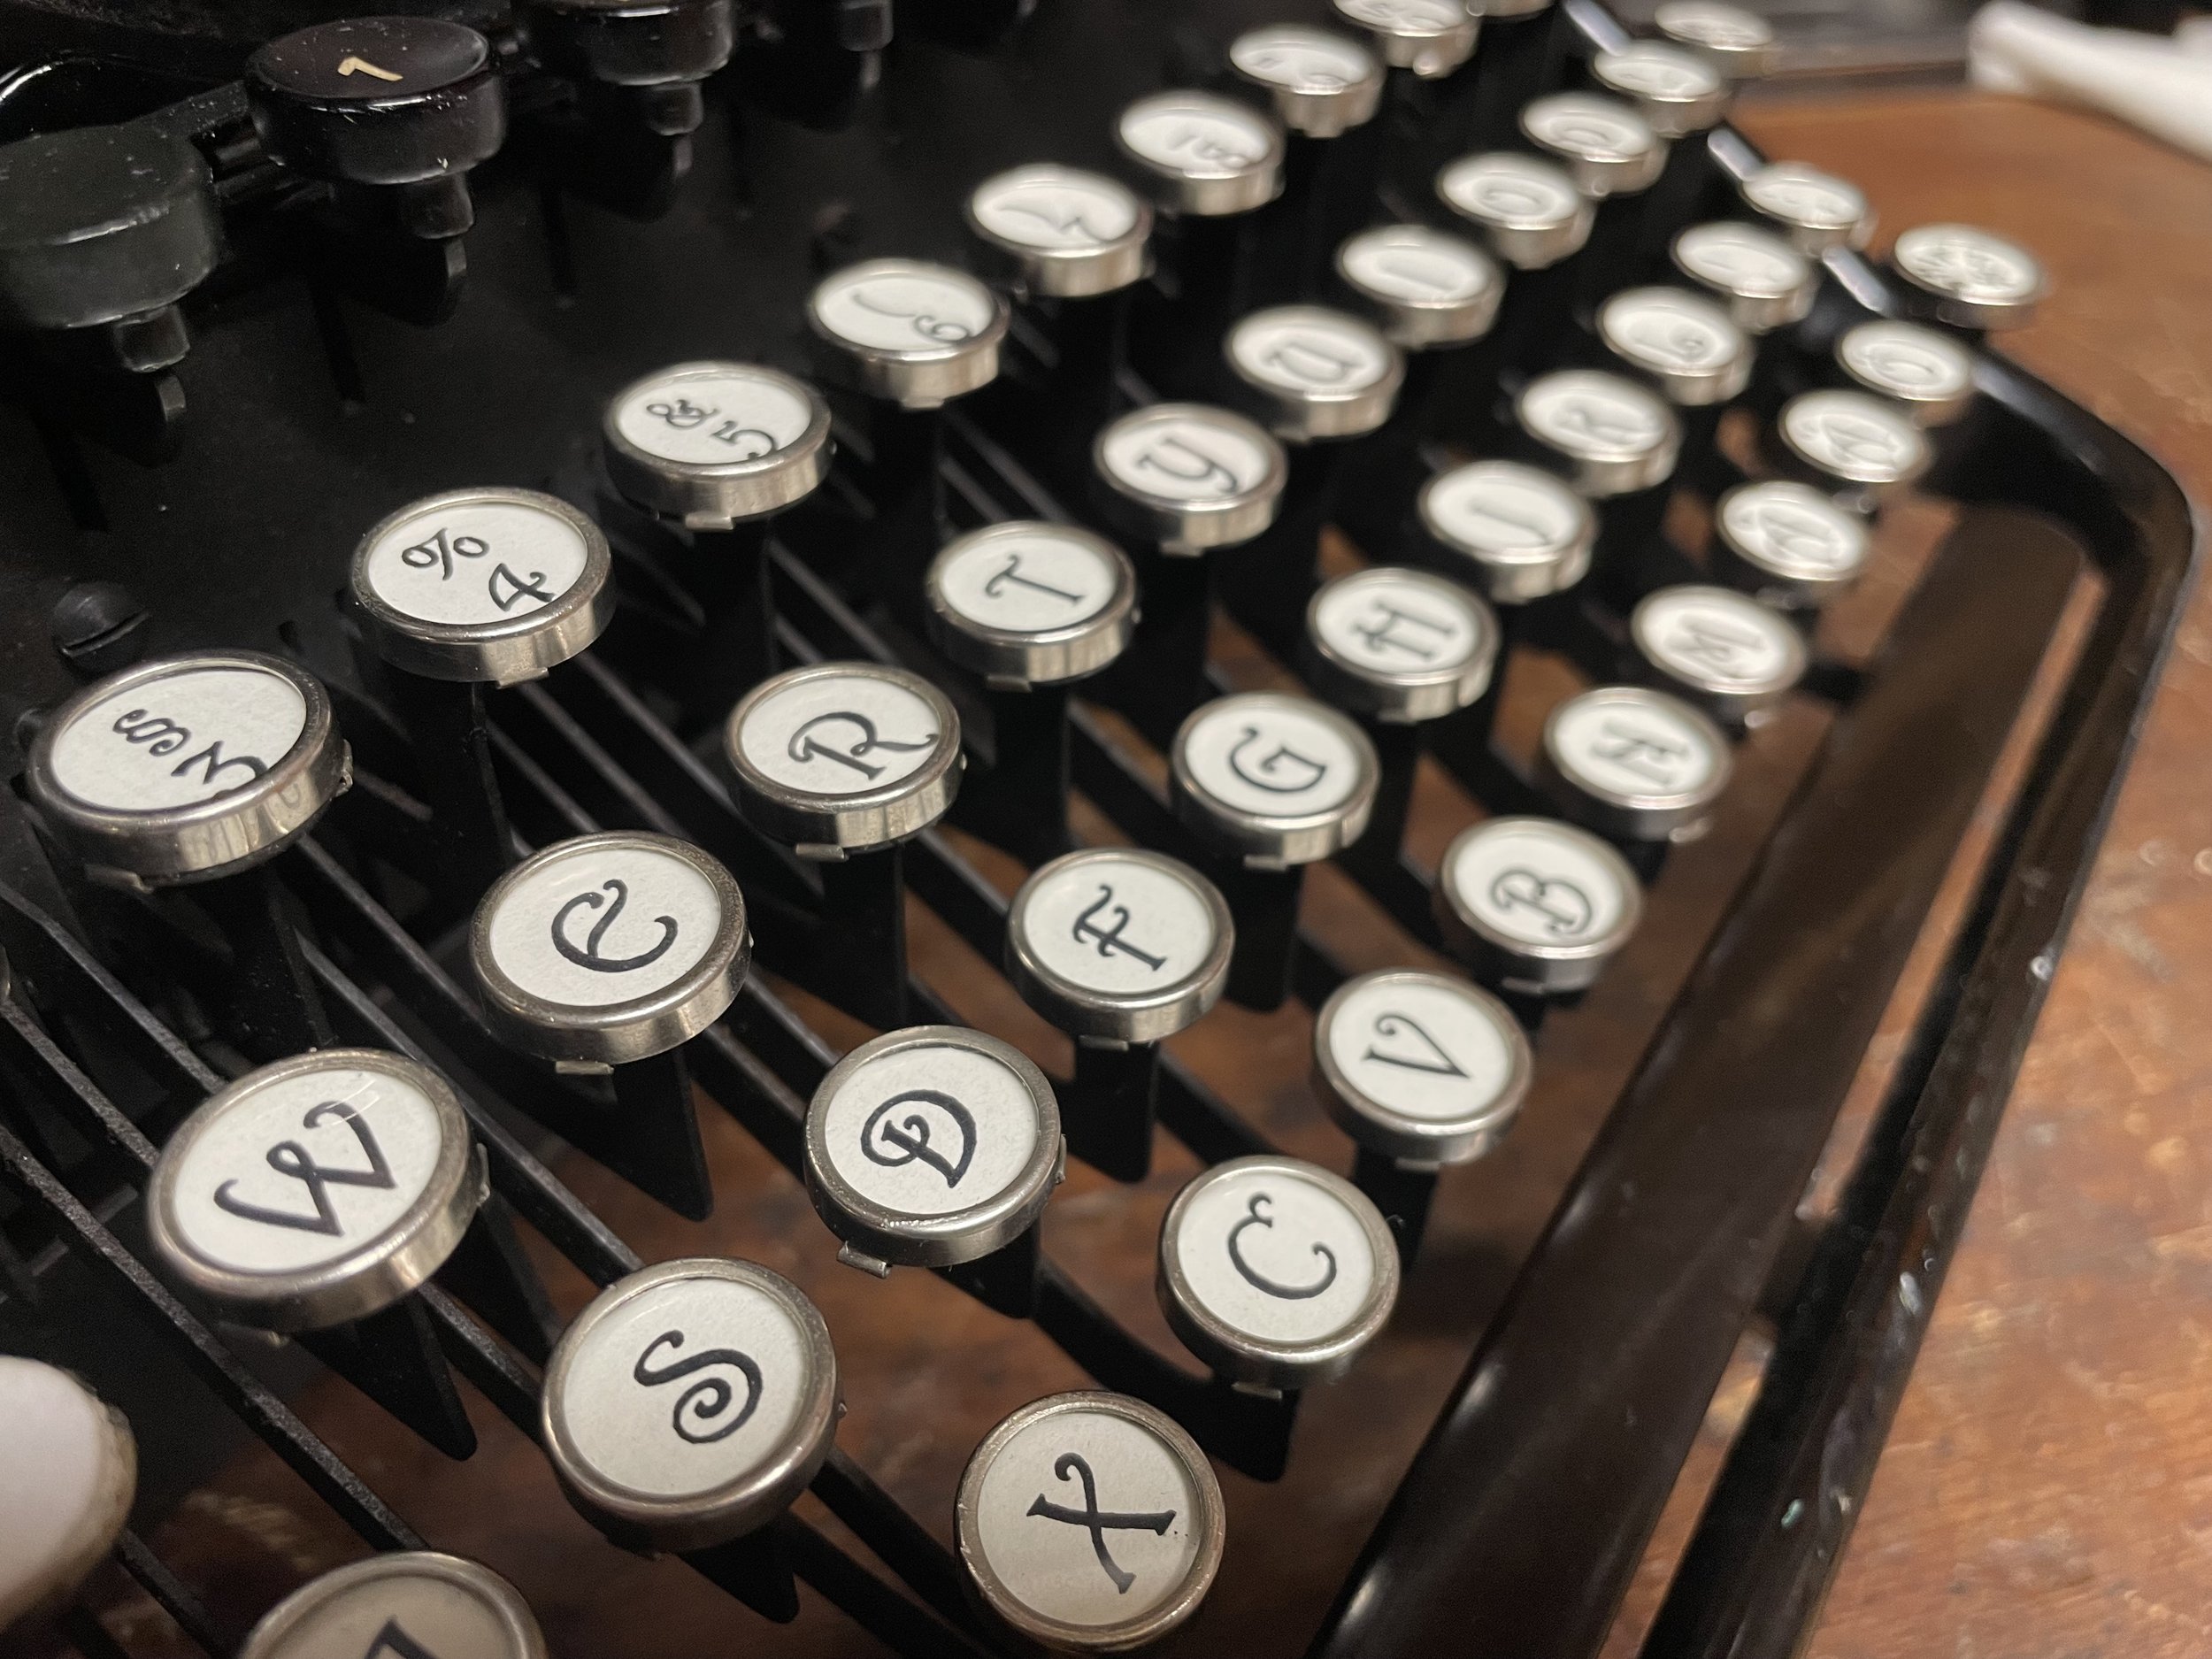
Apart from general dirt the keys were in a state of despair: seemed like oil-damaged legends, rings dirty and darkened. Too much for simple cleaning - I decided to rebuild them from bottom up.
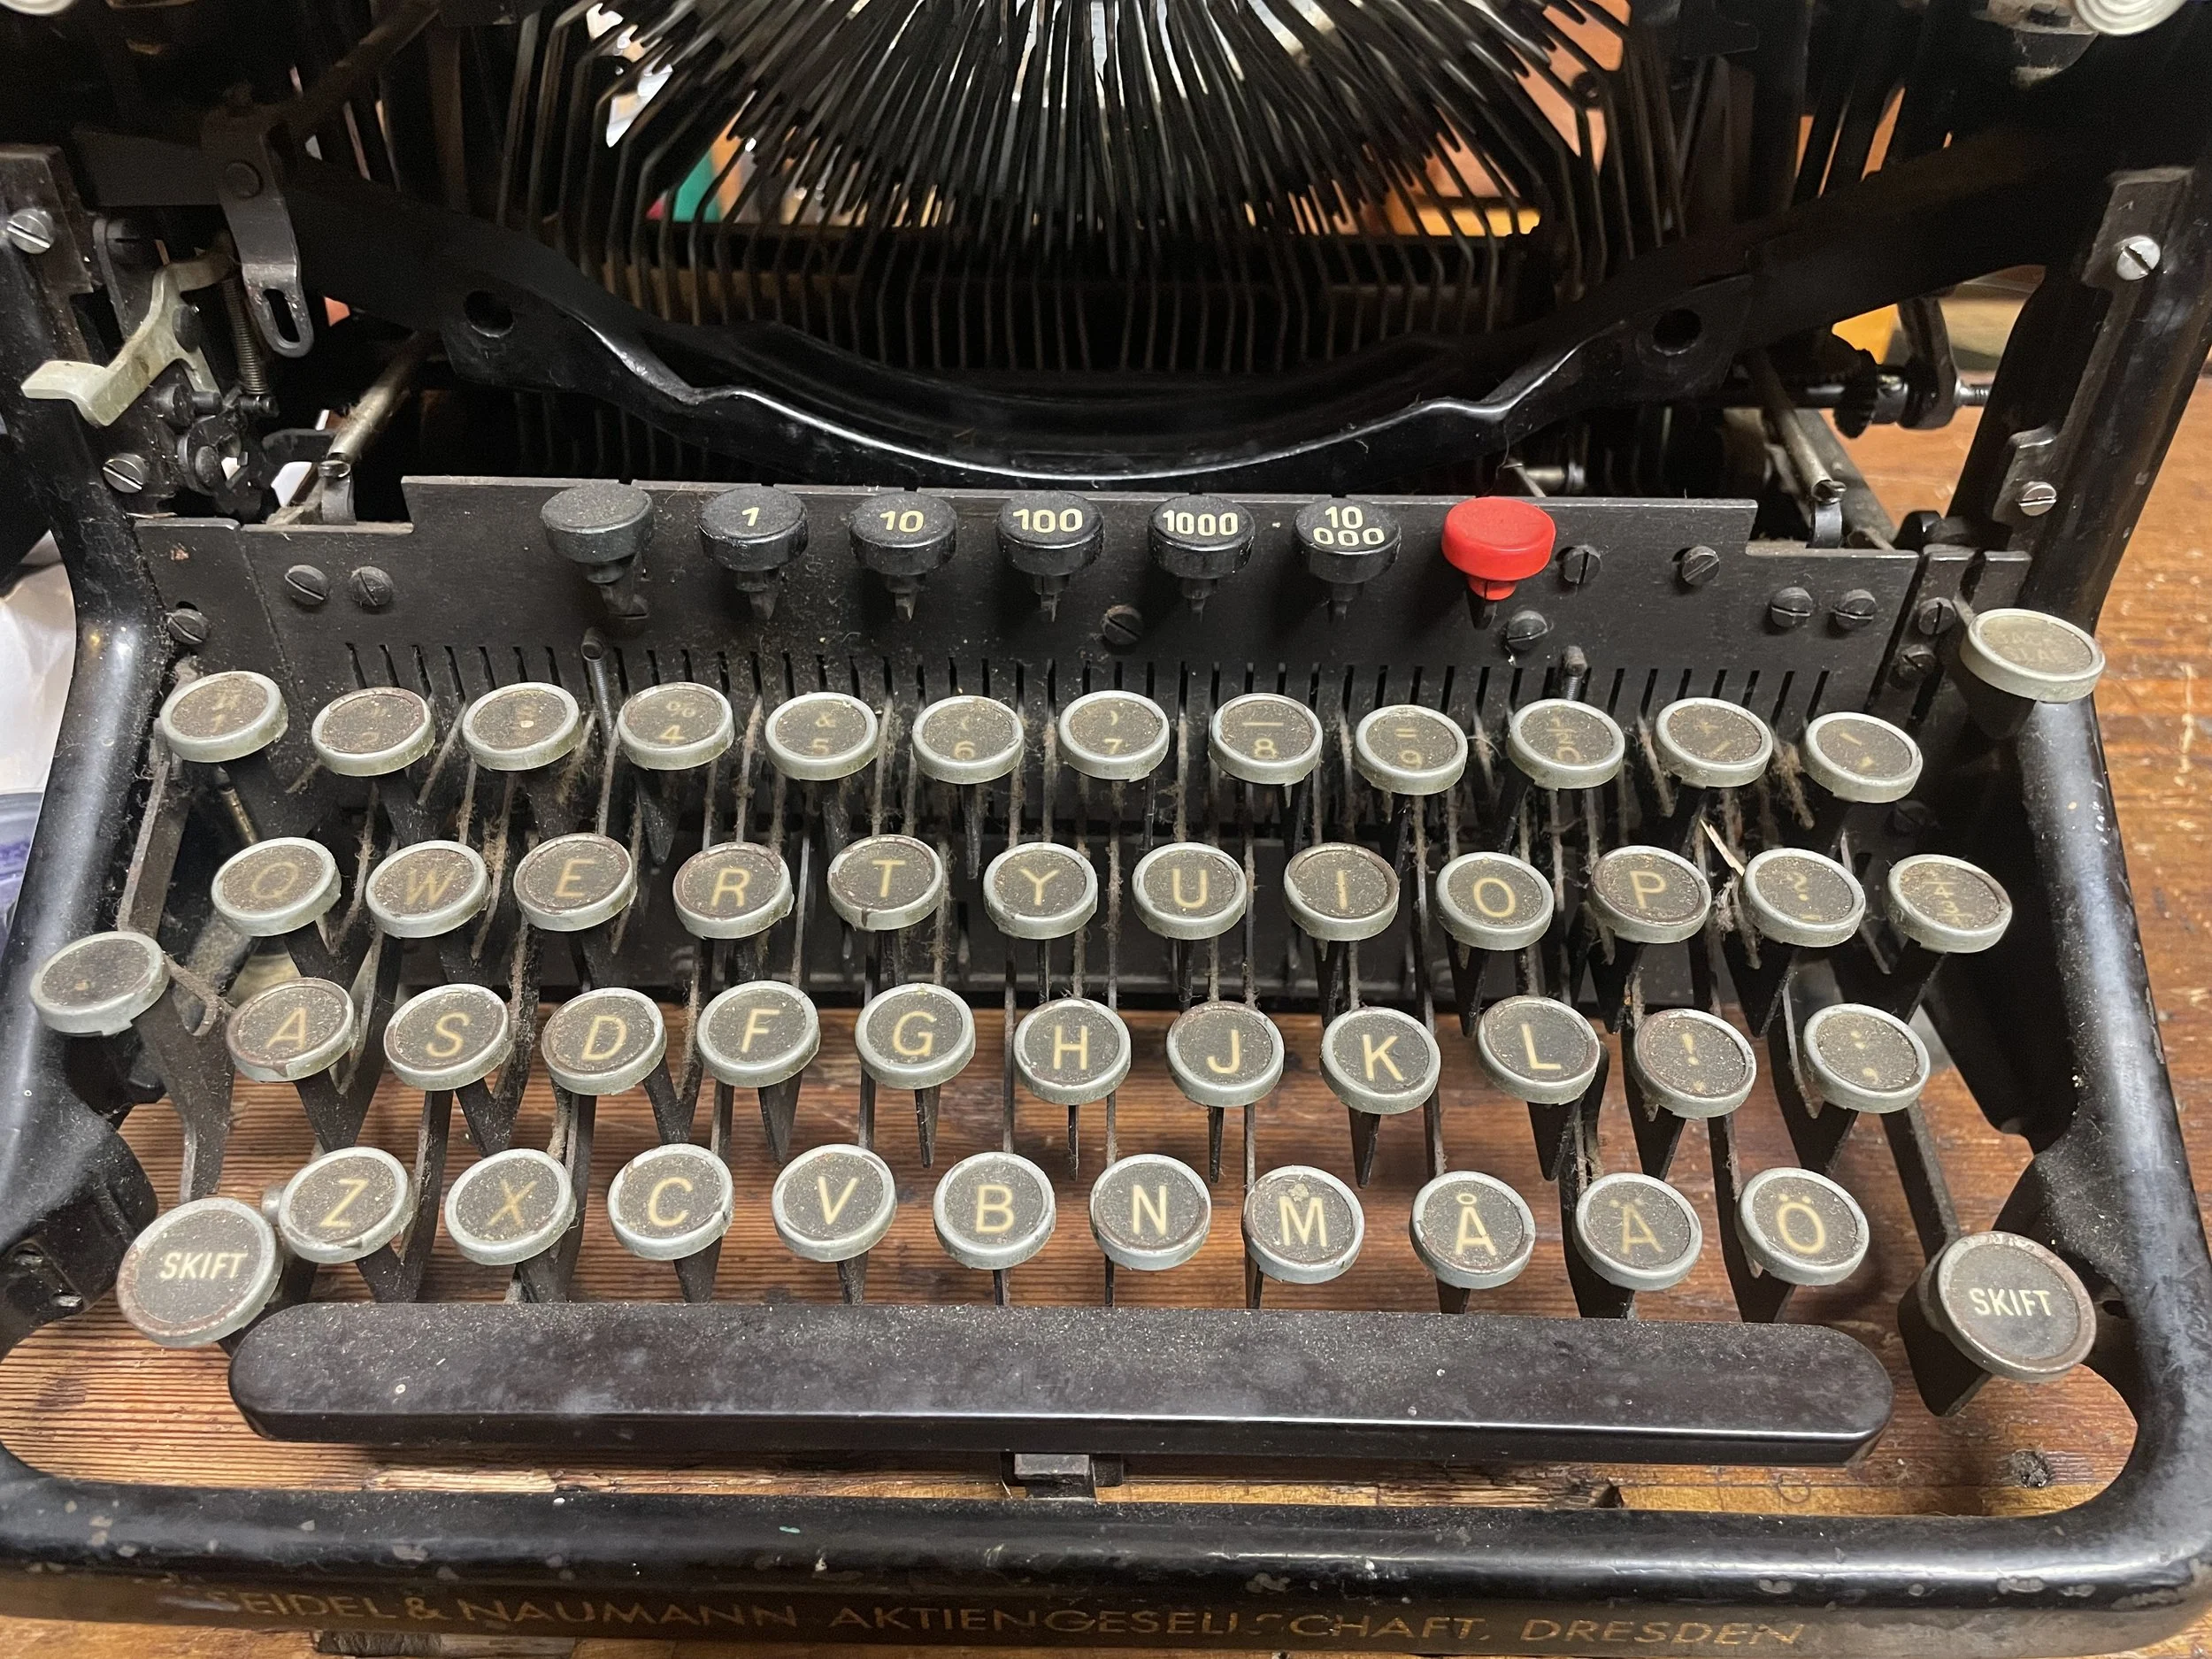
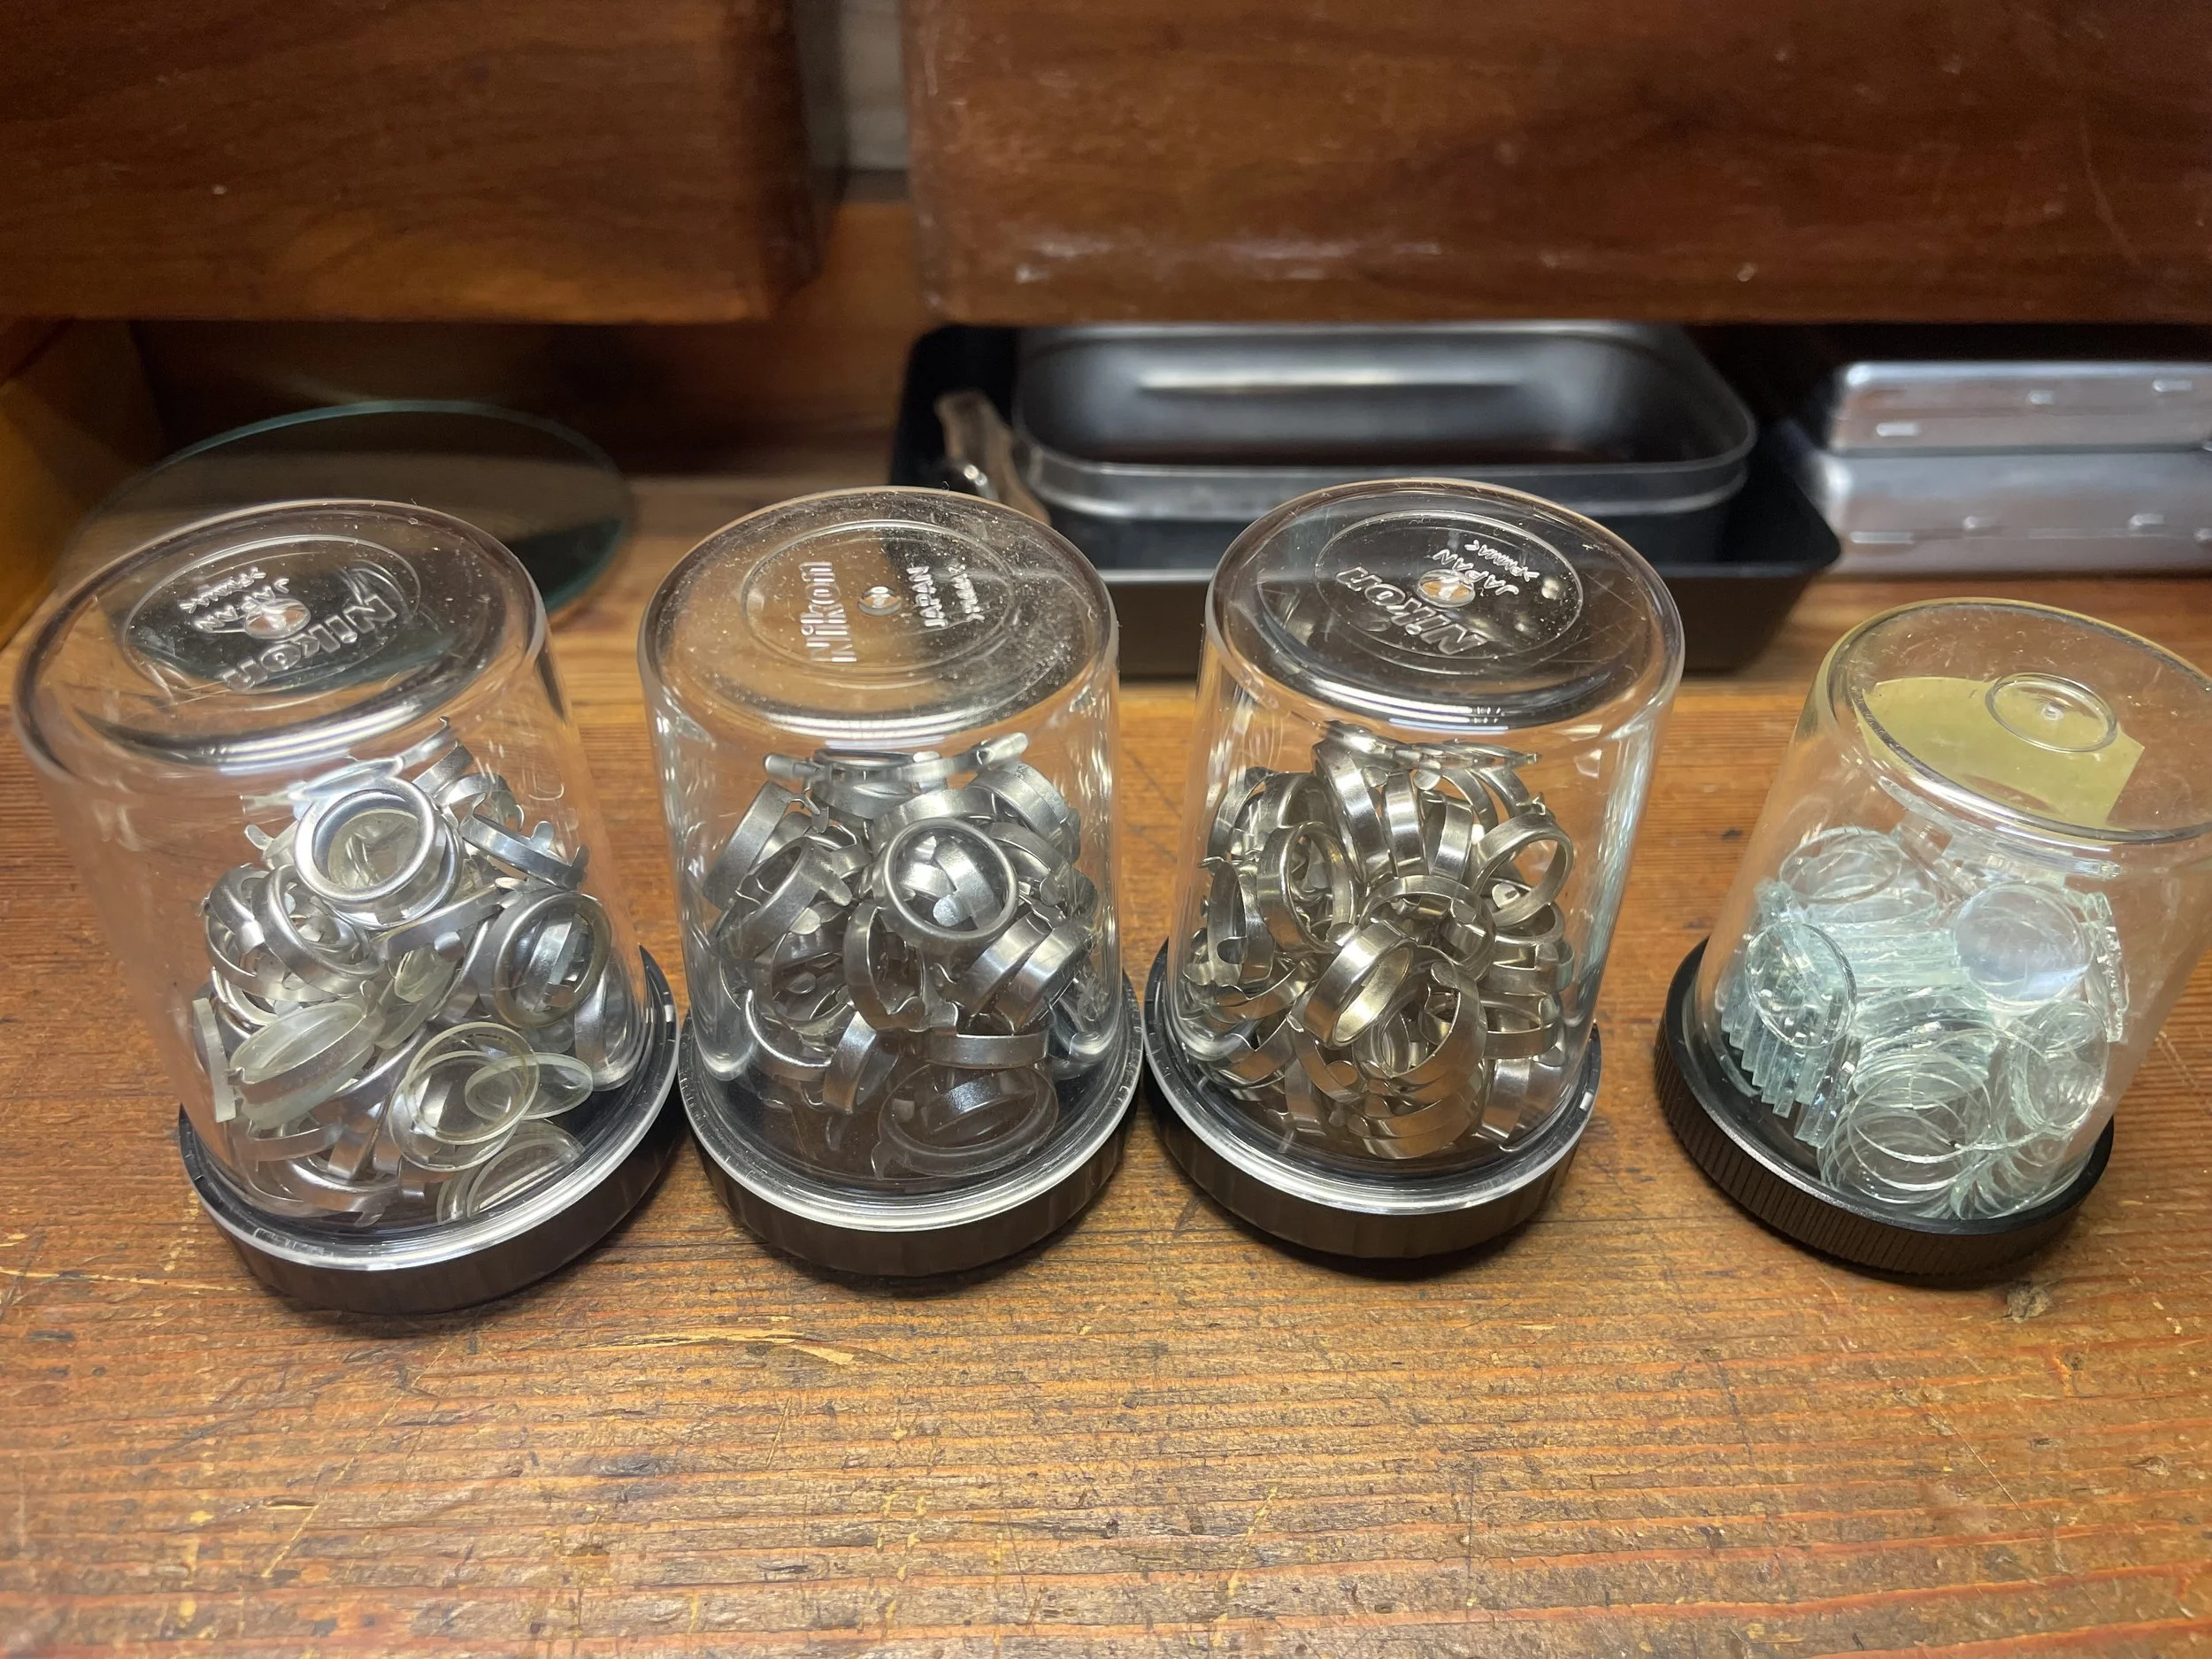
I prefer key-rings which are of press-fit style, with no underneath metal tabs as they are less susceptible to damage. This Erika has the second type, with tabs.
I carefully un-bent them before popping the ring out. I have no dedicated tool for that so it takes a while (and a good deal of patience).
Cardboard spacers below are glued to metal. These will also be replaced.
Old legends look better than I thought. It was dirt on glass which made them look awful, not oil damage - I could put them back again.
But I won’t.
I want this machine to be more welcoming, less serious. For me black legends with “whitish” lettering gives very serious look to the whole machine.
I’ll change that - now when I put so much time in removing all these keys there is a good opportunity for that change.
Key rings got doped in cleaning solution.
While keys are soaking I take a look at type-arms rest assembly. It is loose and seems incomplete. I use the machine from Grim as a reference - yes, there are rubber spacers where the type arms rest attaches to the frame.
They are missing on my machine, holes through the casting are then too wide for bolts keeping the whole thing together.
I will need to fabricate new spacers.
Now it was time to properly clean the whole mechanism.
Grim´s Erika got screwed apart to tiny-tiny bits and all useful parts and screws were harvested. Being a rust-bucket and non-functional she at least had all screws in pristine shape. Just dirty and with surface rust.
Not much left after that but still very useful in postmortem study: how things are put together, without risking damaging my machine.
Compressed air, brushes, white spirit and then more compressed air.
Rest of the machine waits for its turn at the far end of my bench.
Key-rings were soaking long enough to start working on them. Metal brush comes handy in removing gunk rests.
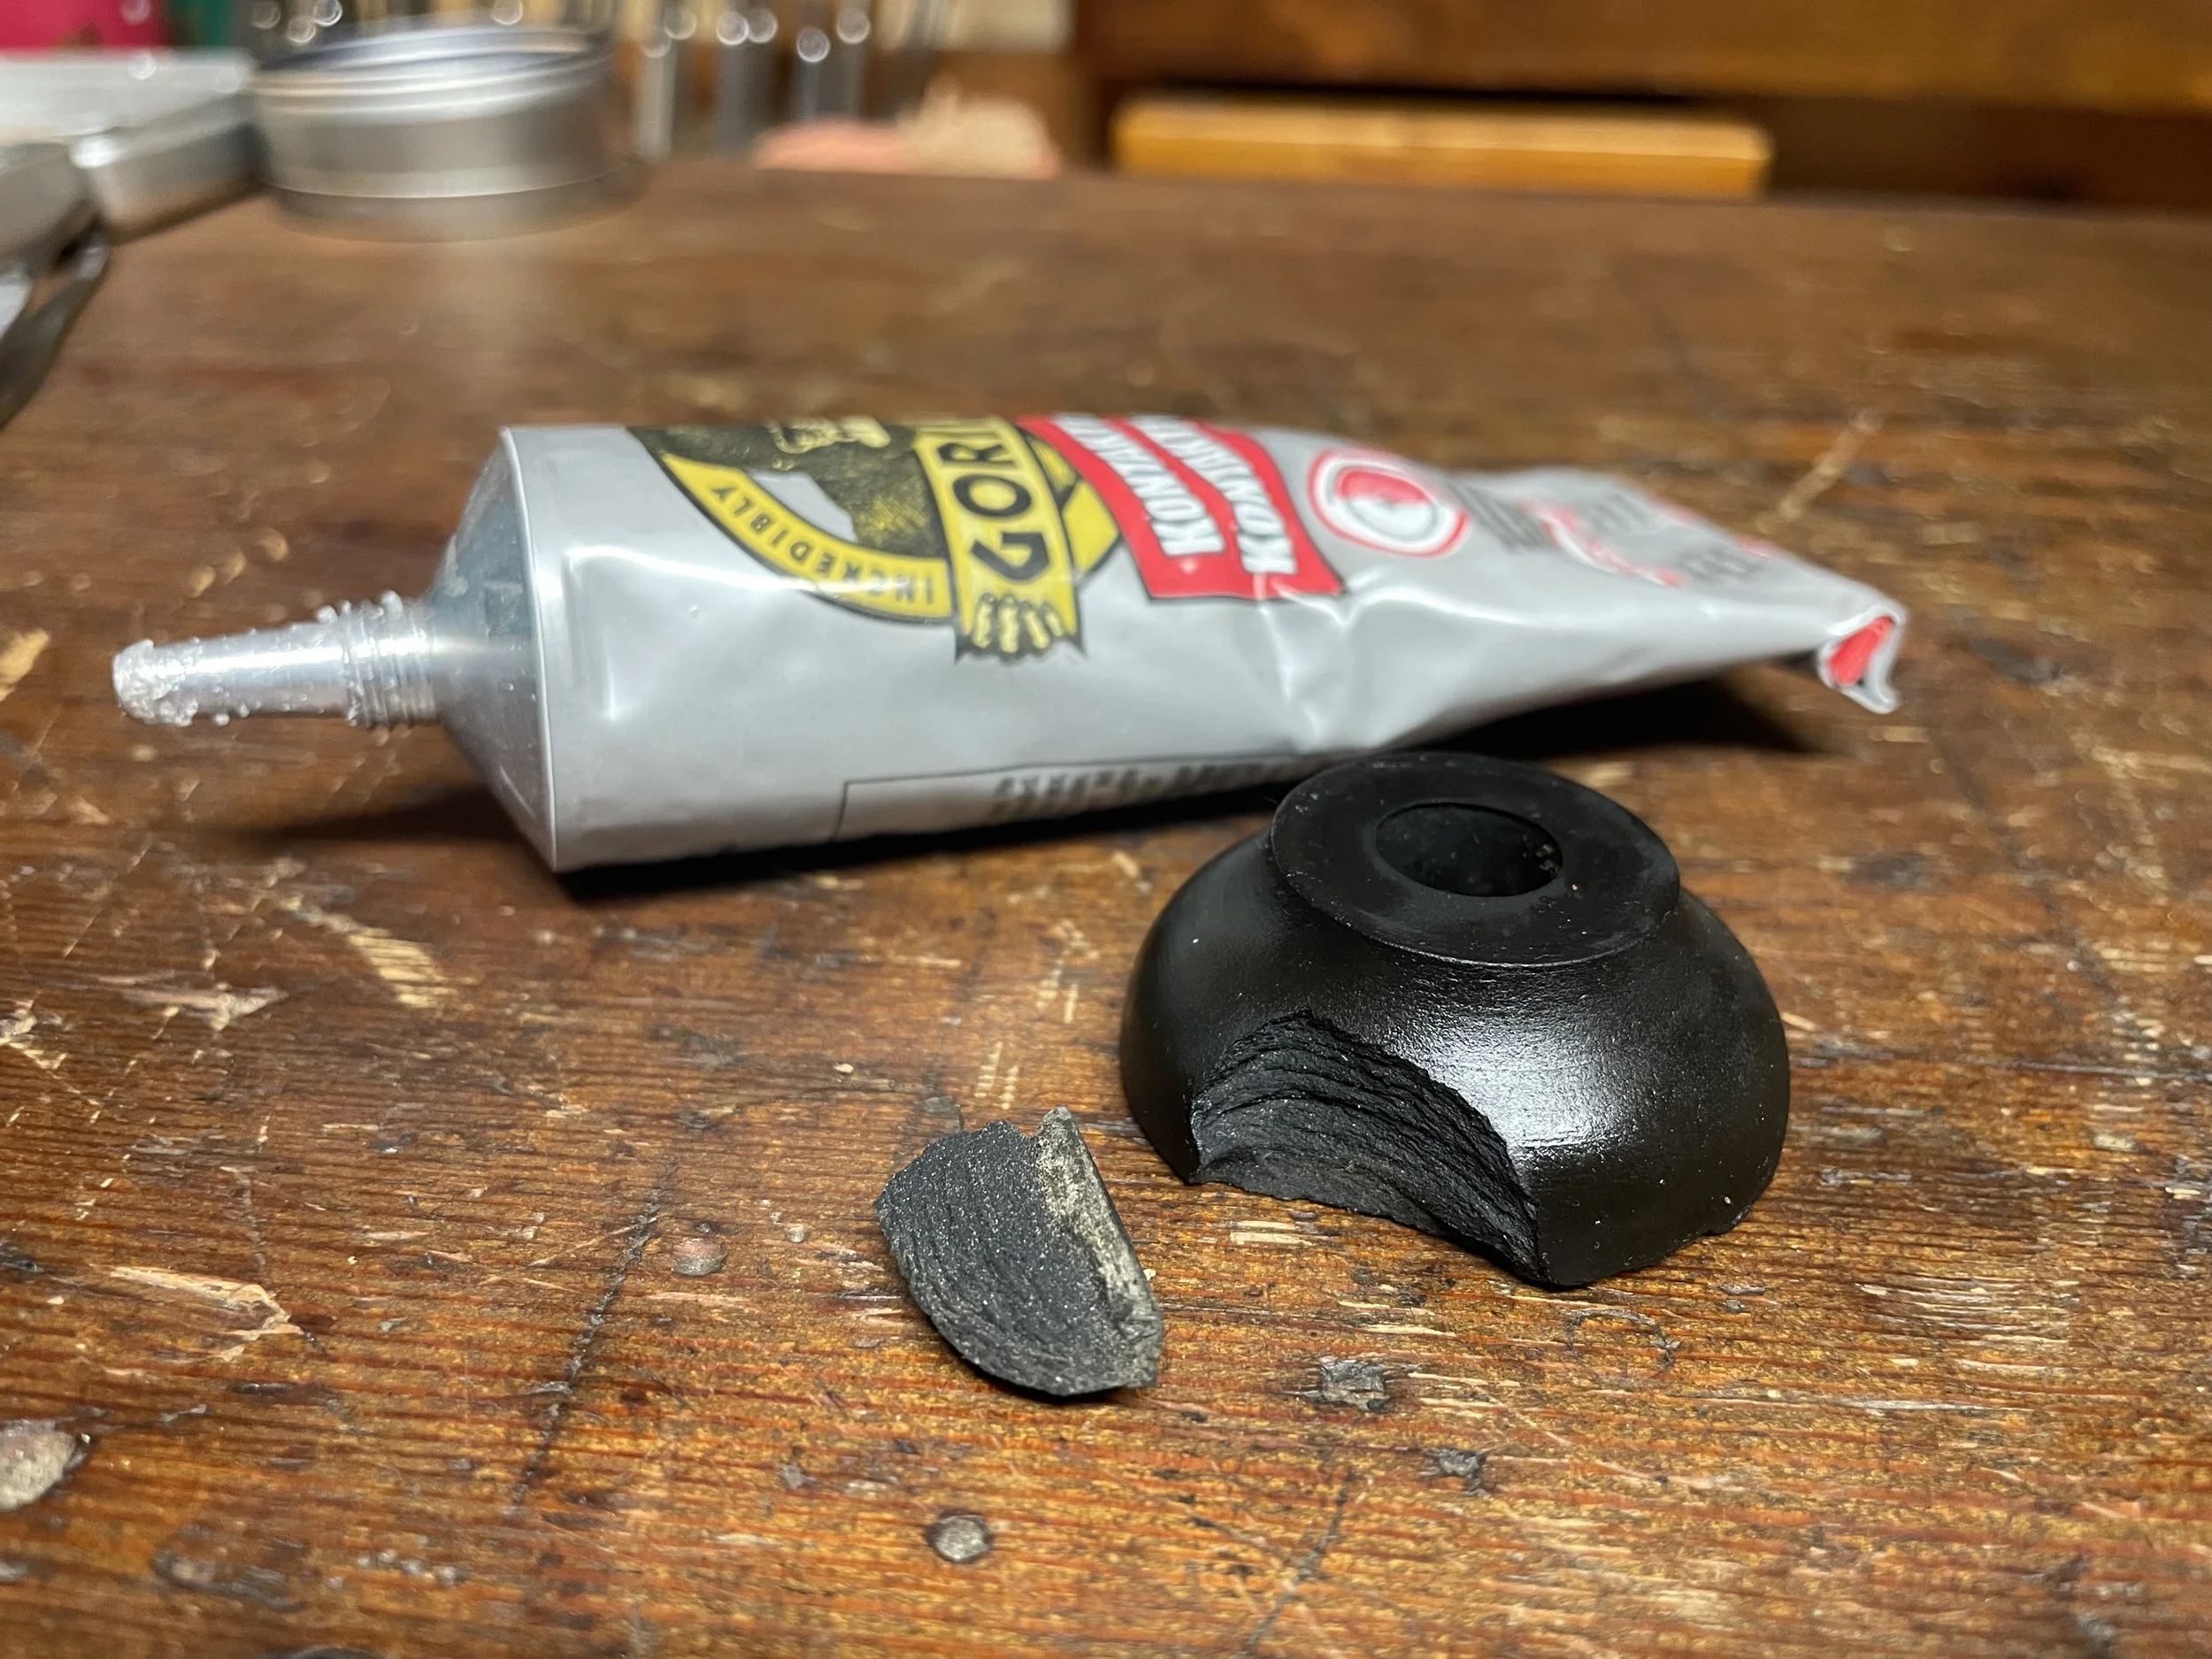
Rubber feet were damaged on my machine. They are robust, thick and nicely formed. Donor machine had them in better shape so I will use these but my old ones can be useful in other project. I repair broken rubber.
Withe the machine clean I start putting things back together.
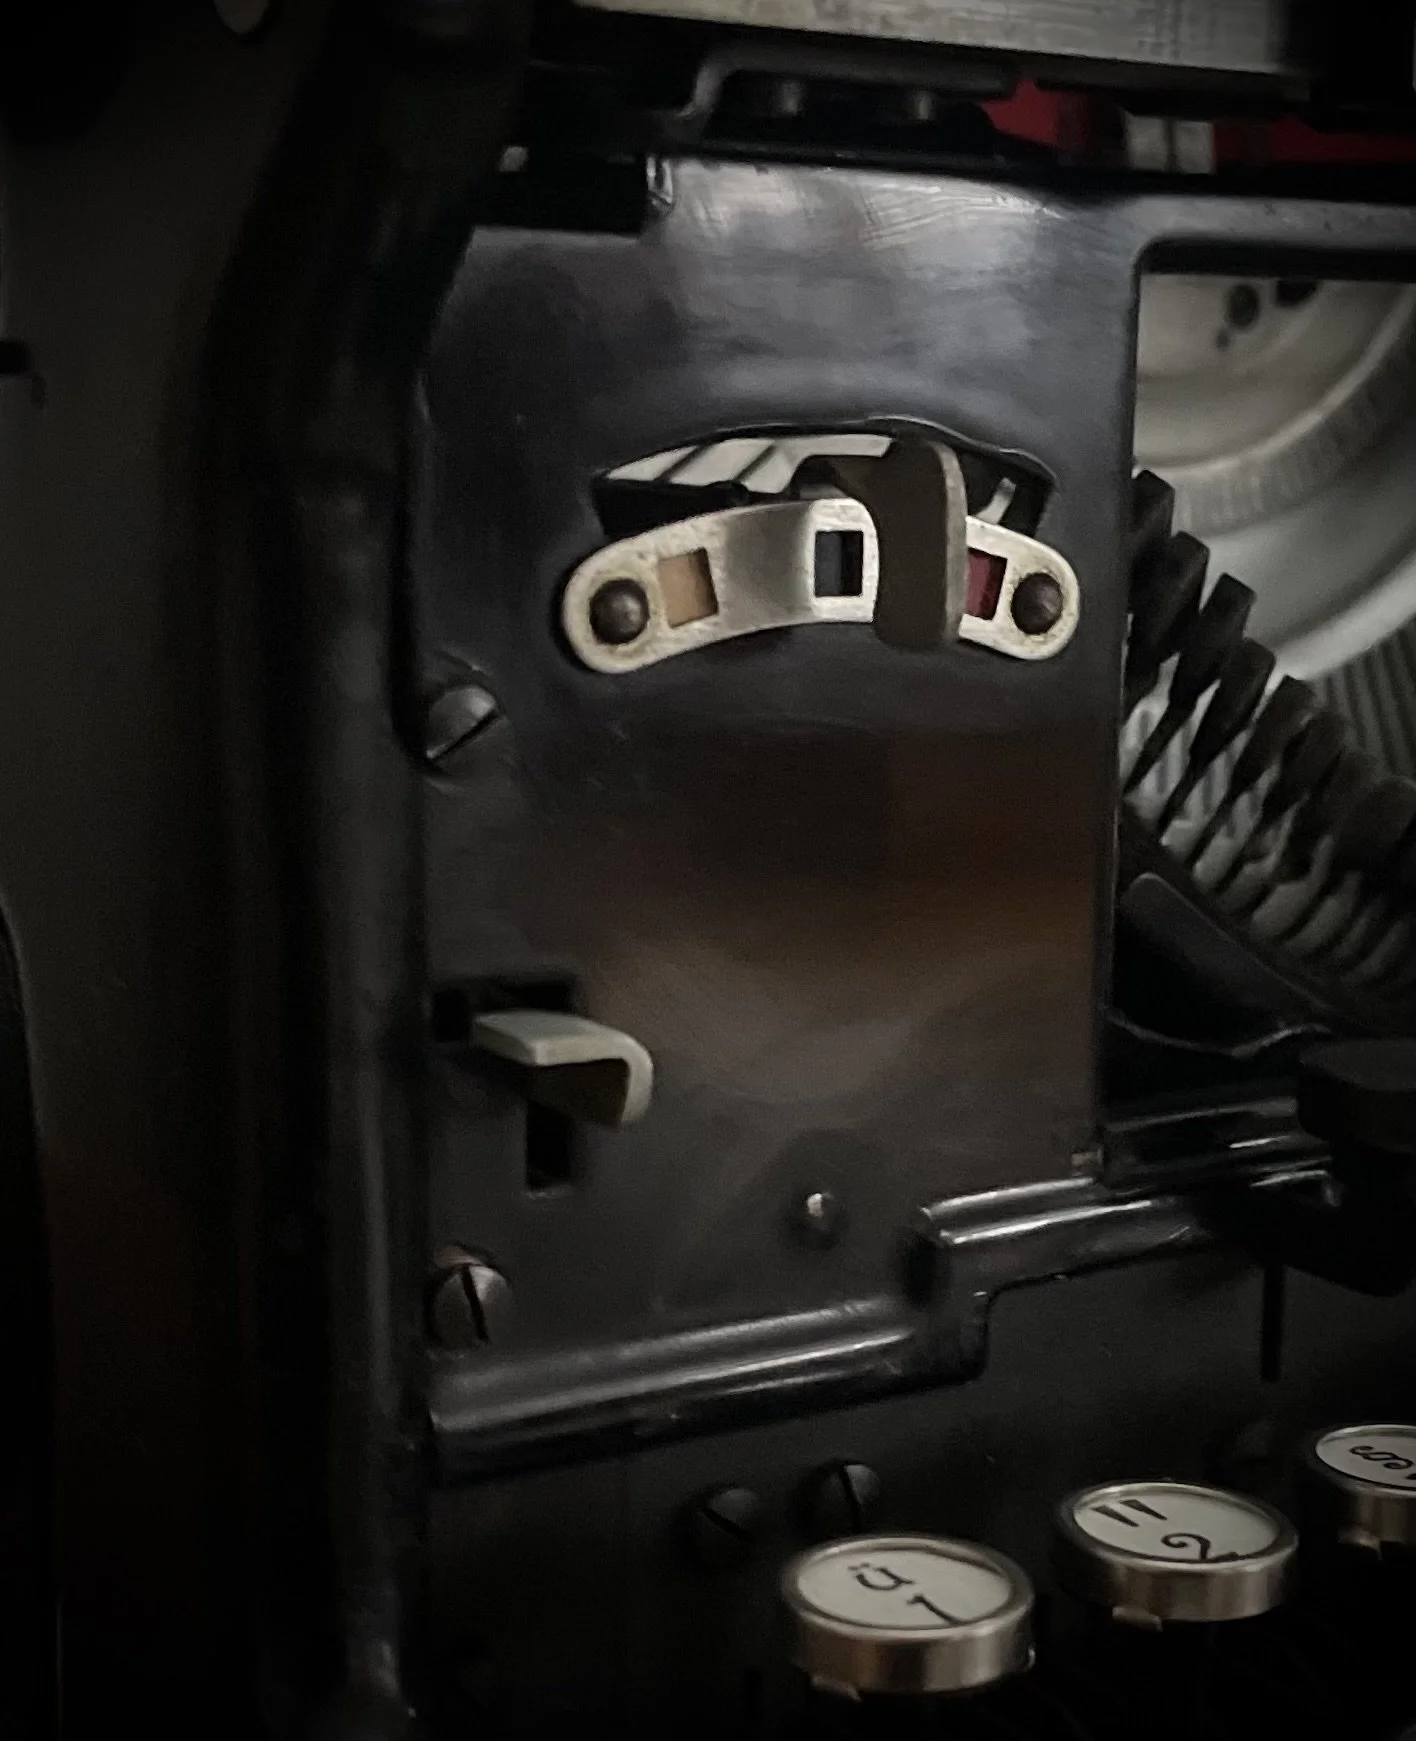
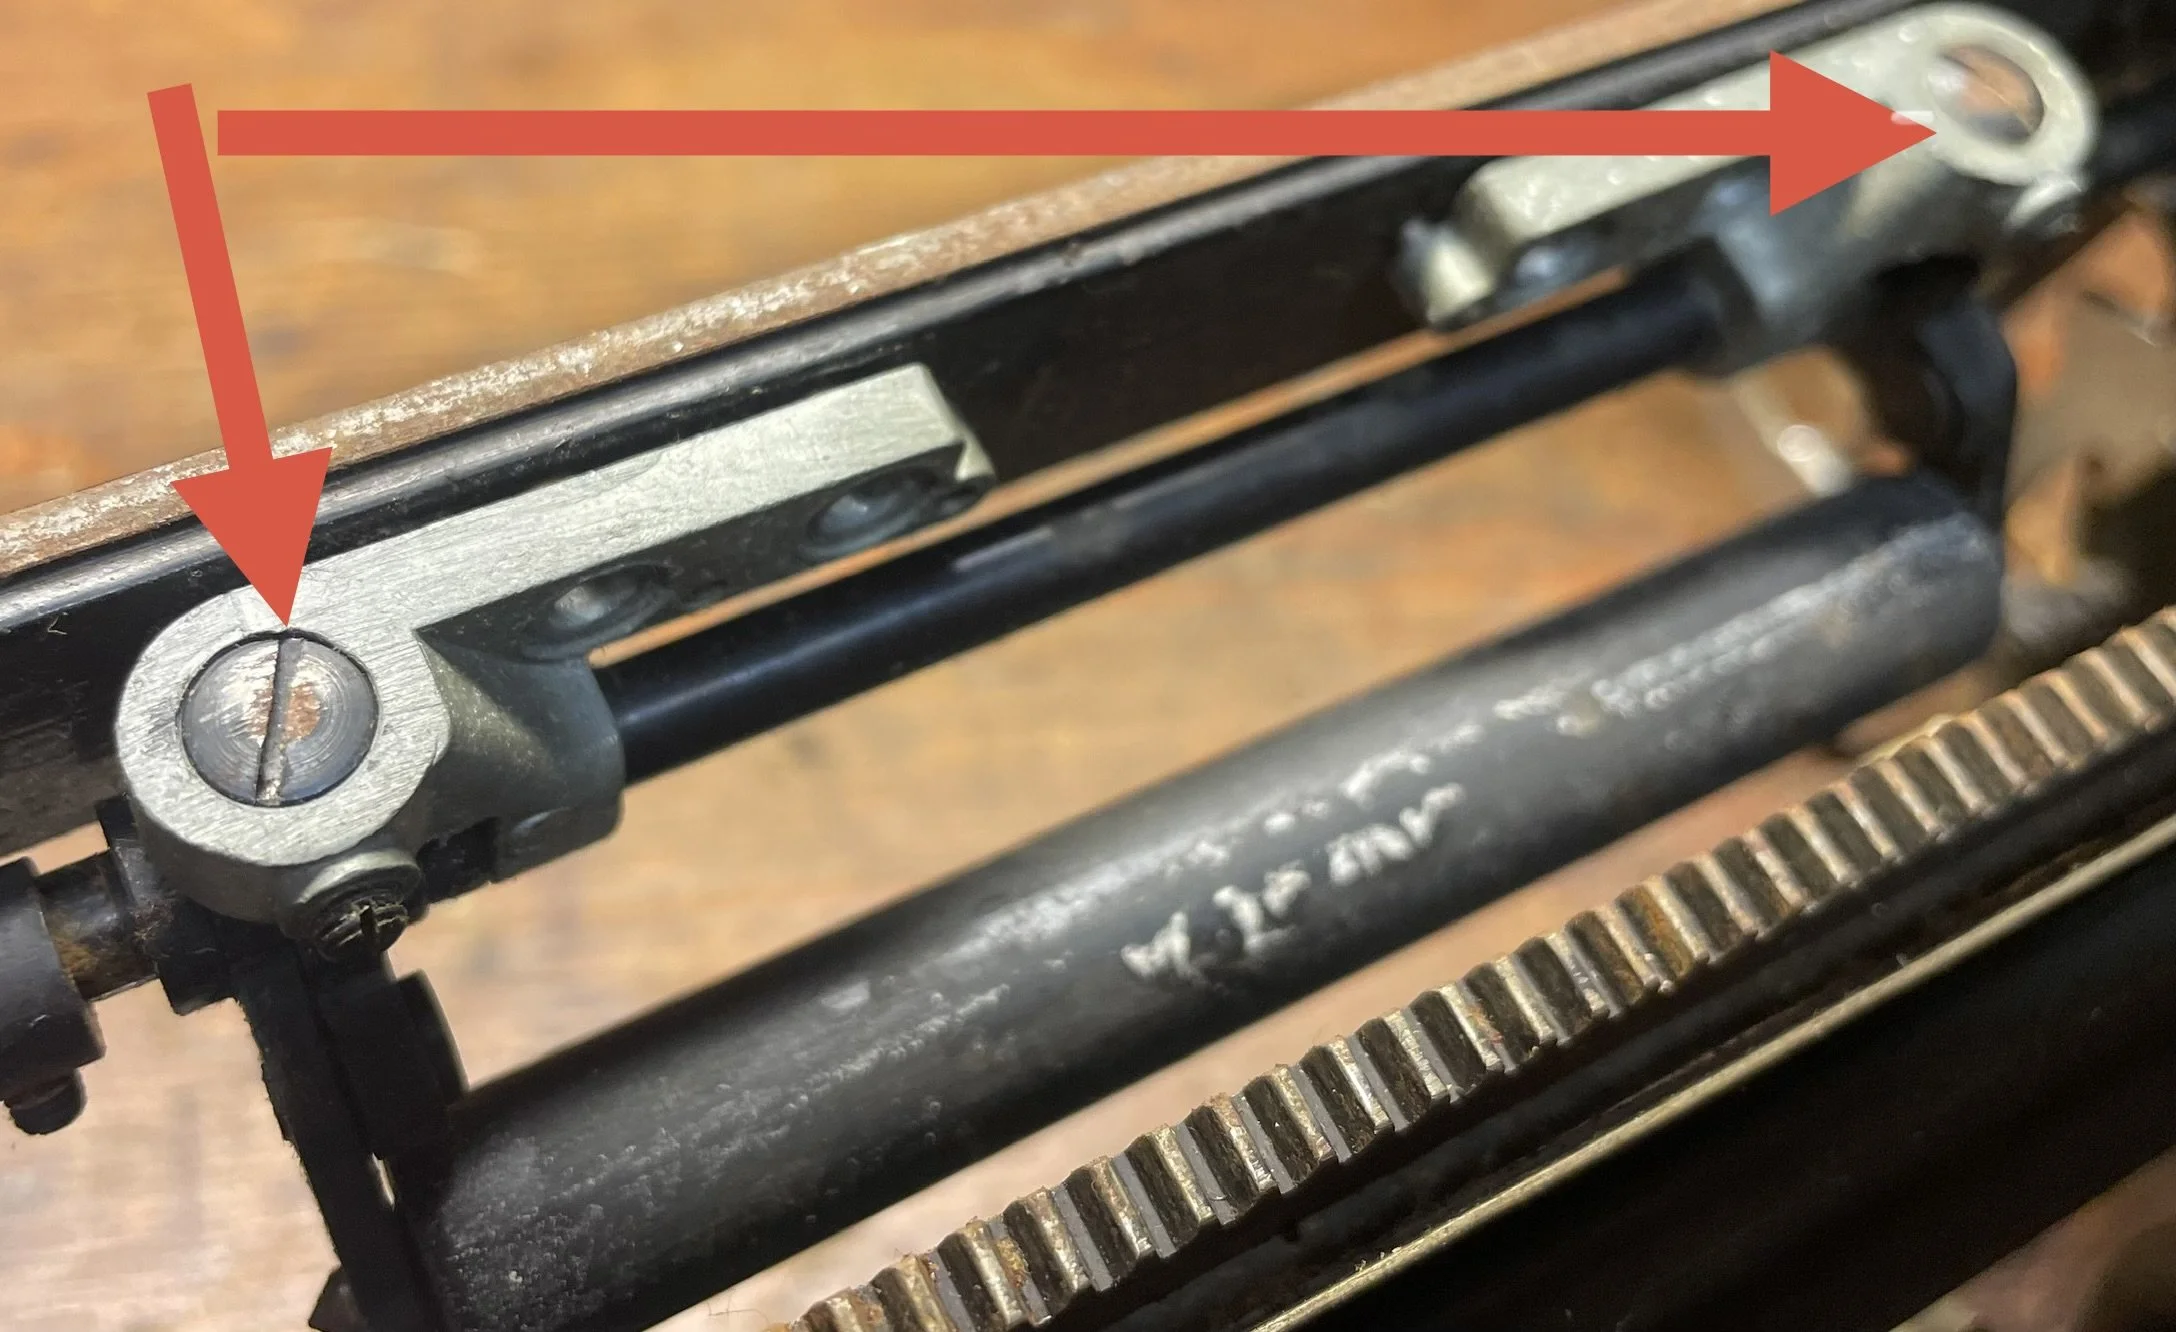
Tabulator triggering assembly is a bit tricky as the pushers are spring loaded. Notice also that there is a date stamped on the inside, dating this machine to 1943.
These tabs need to meet when all is screwed together so they need to be in retracted position.
My way of keeping them so is to use tooth-sticks. They hold spring-loaded tabs with friction, well enough to make them mate on the machine.
One needs to wait with attaching this until the carriage is in place, otherwise the tab assembly is in the way.
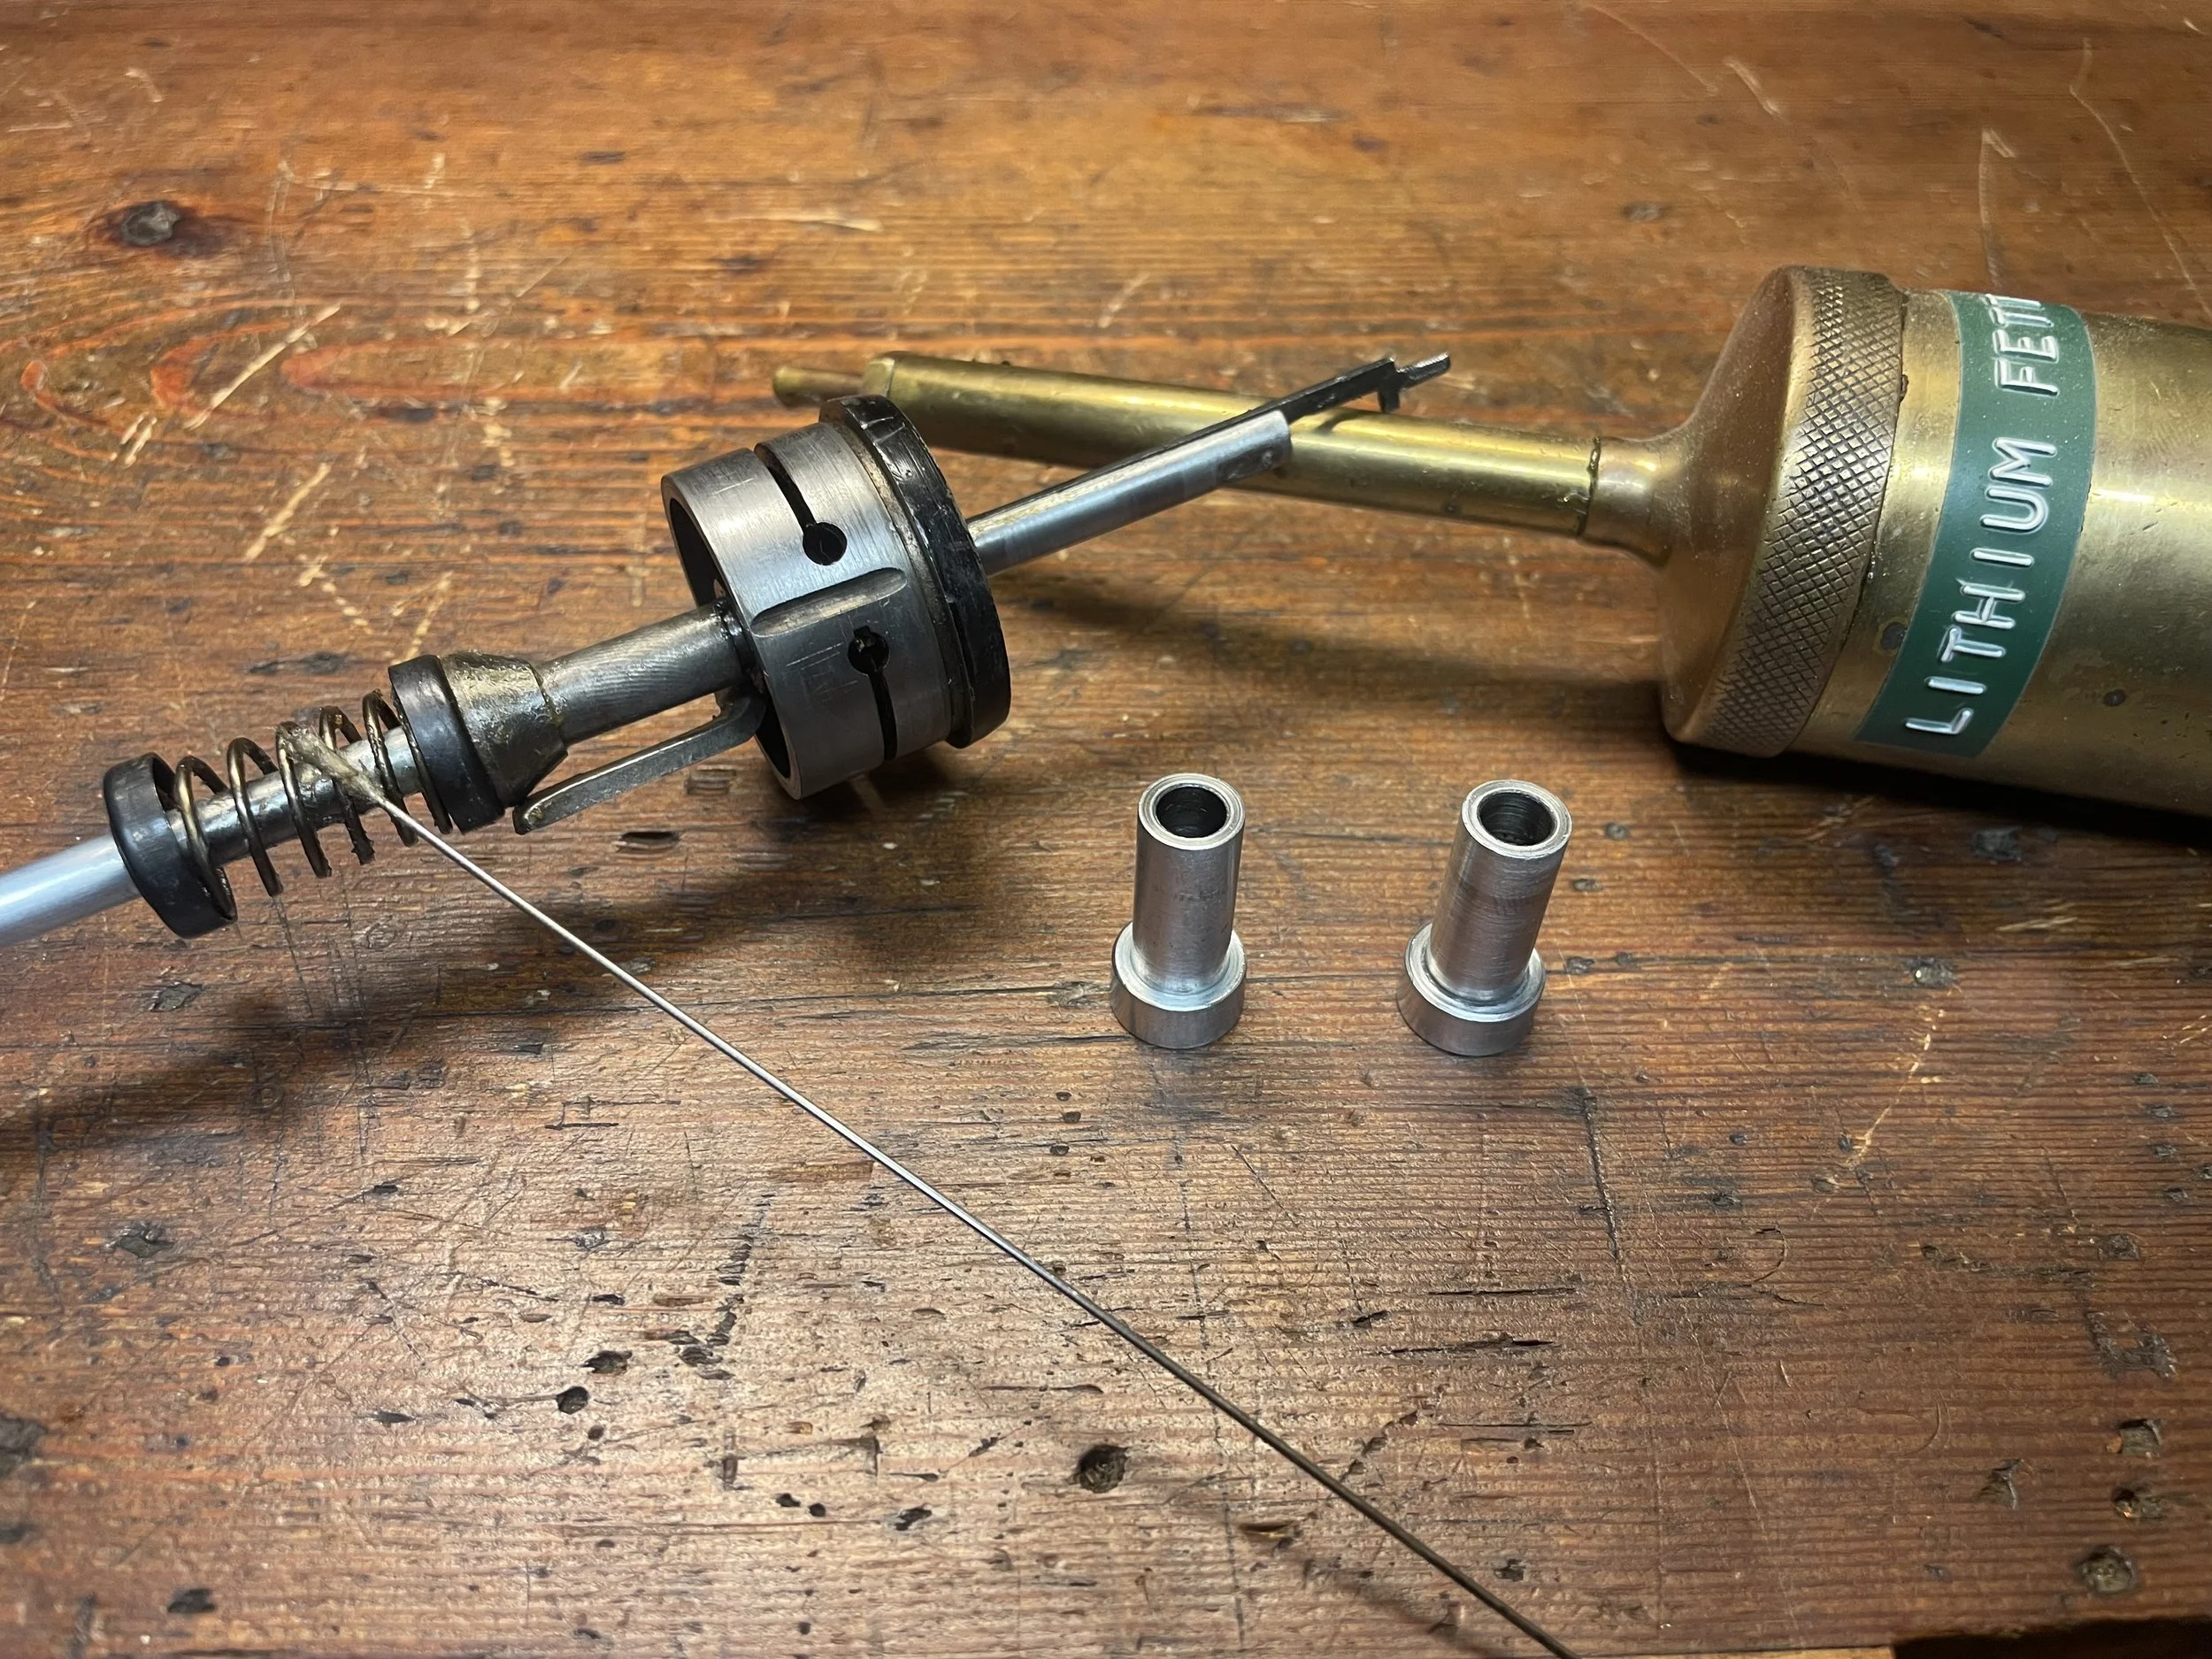
I fabricate new rubber spacers which will keep type arms rest in place and provide additional sound dumping for the type arms rest assembly.
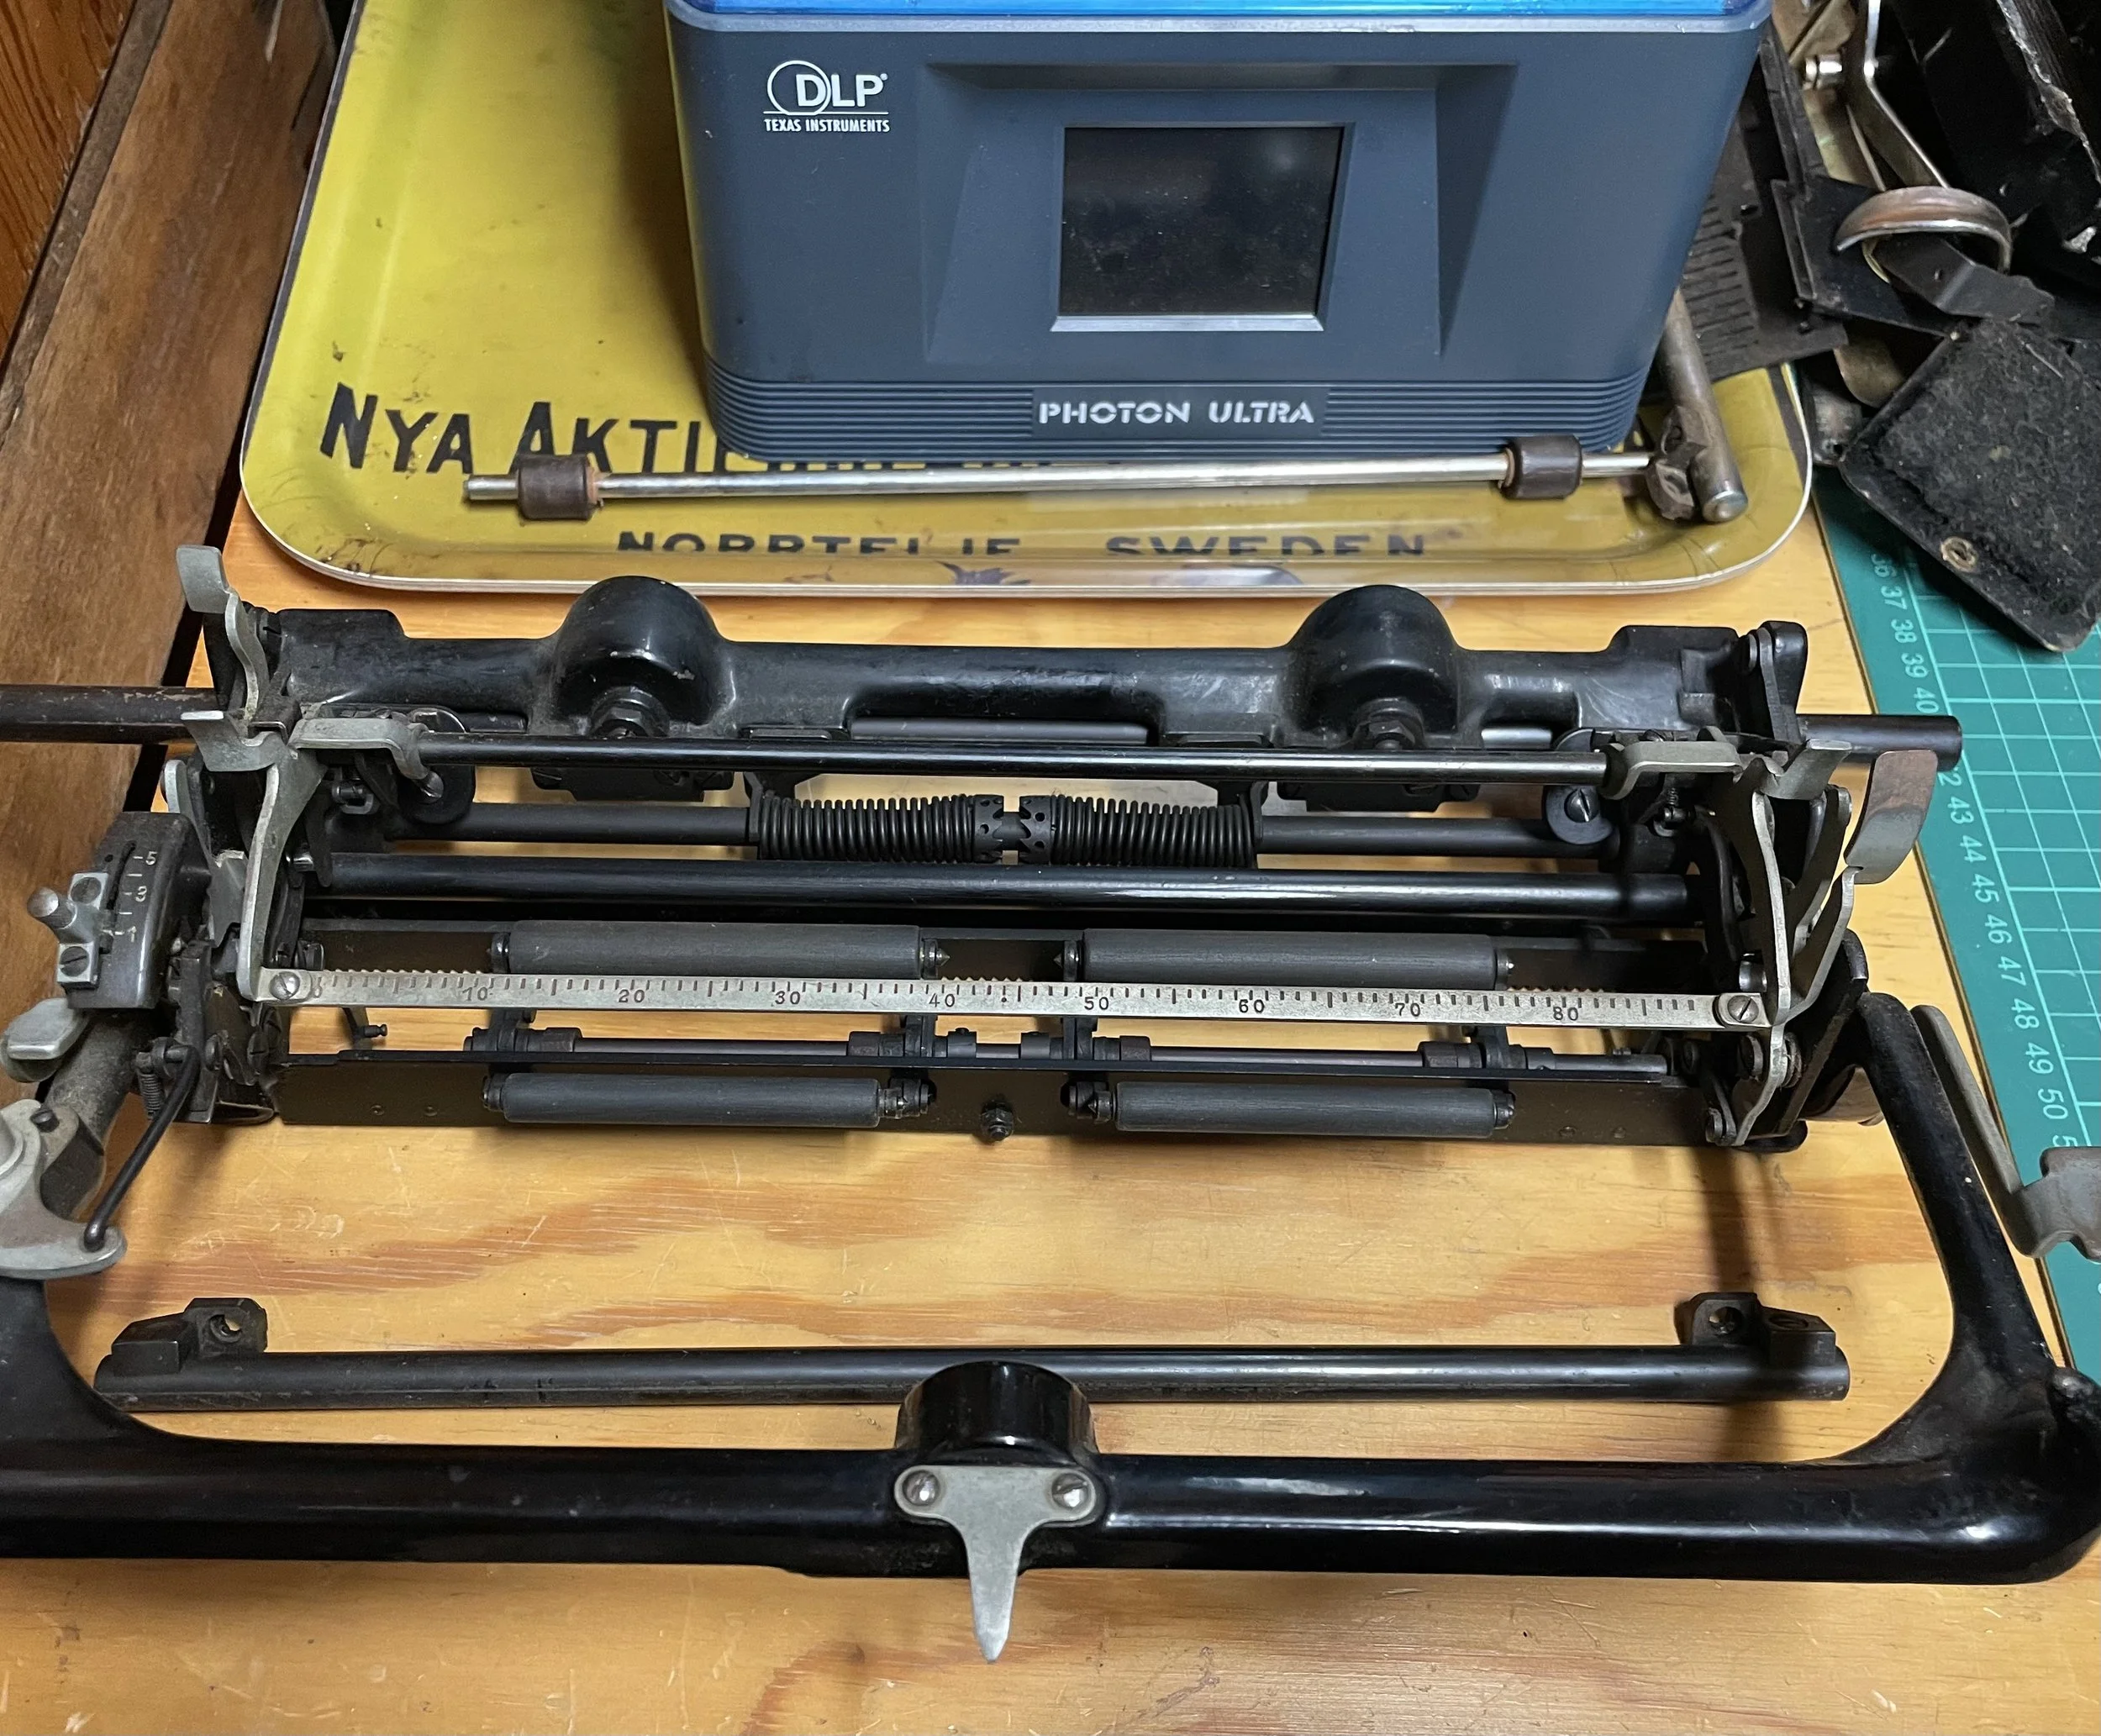
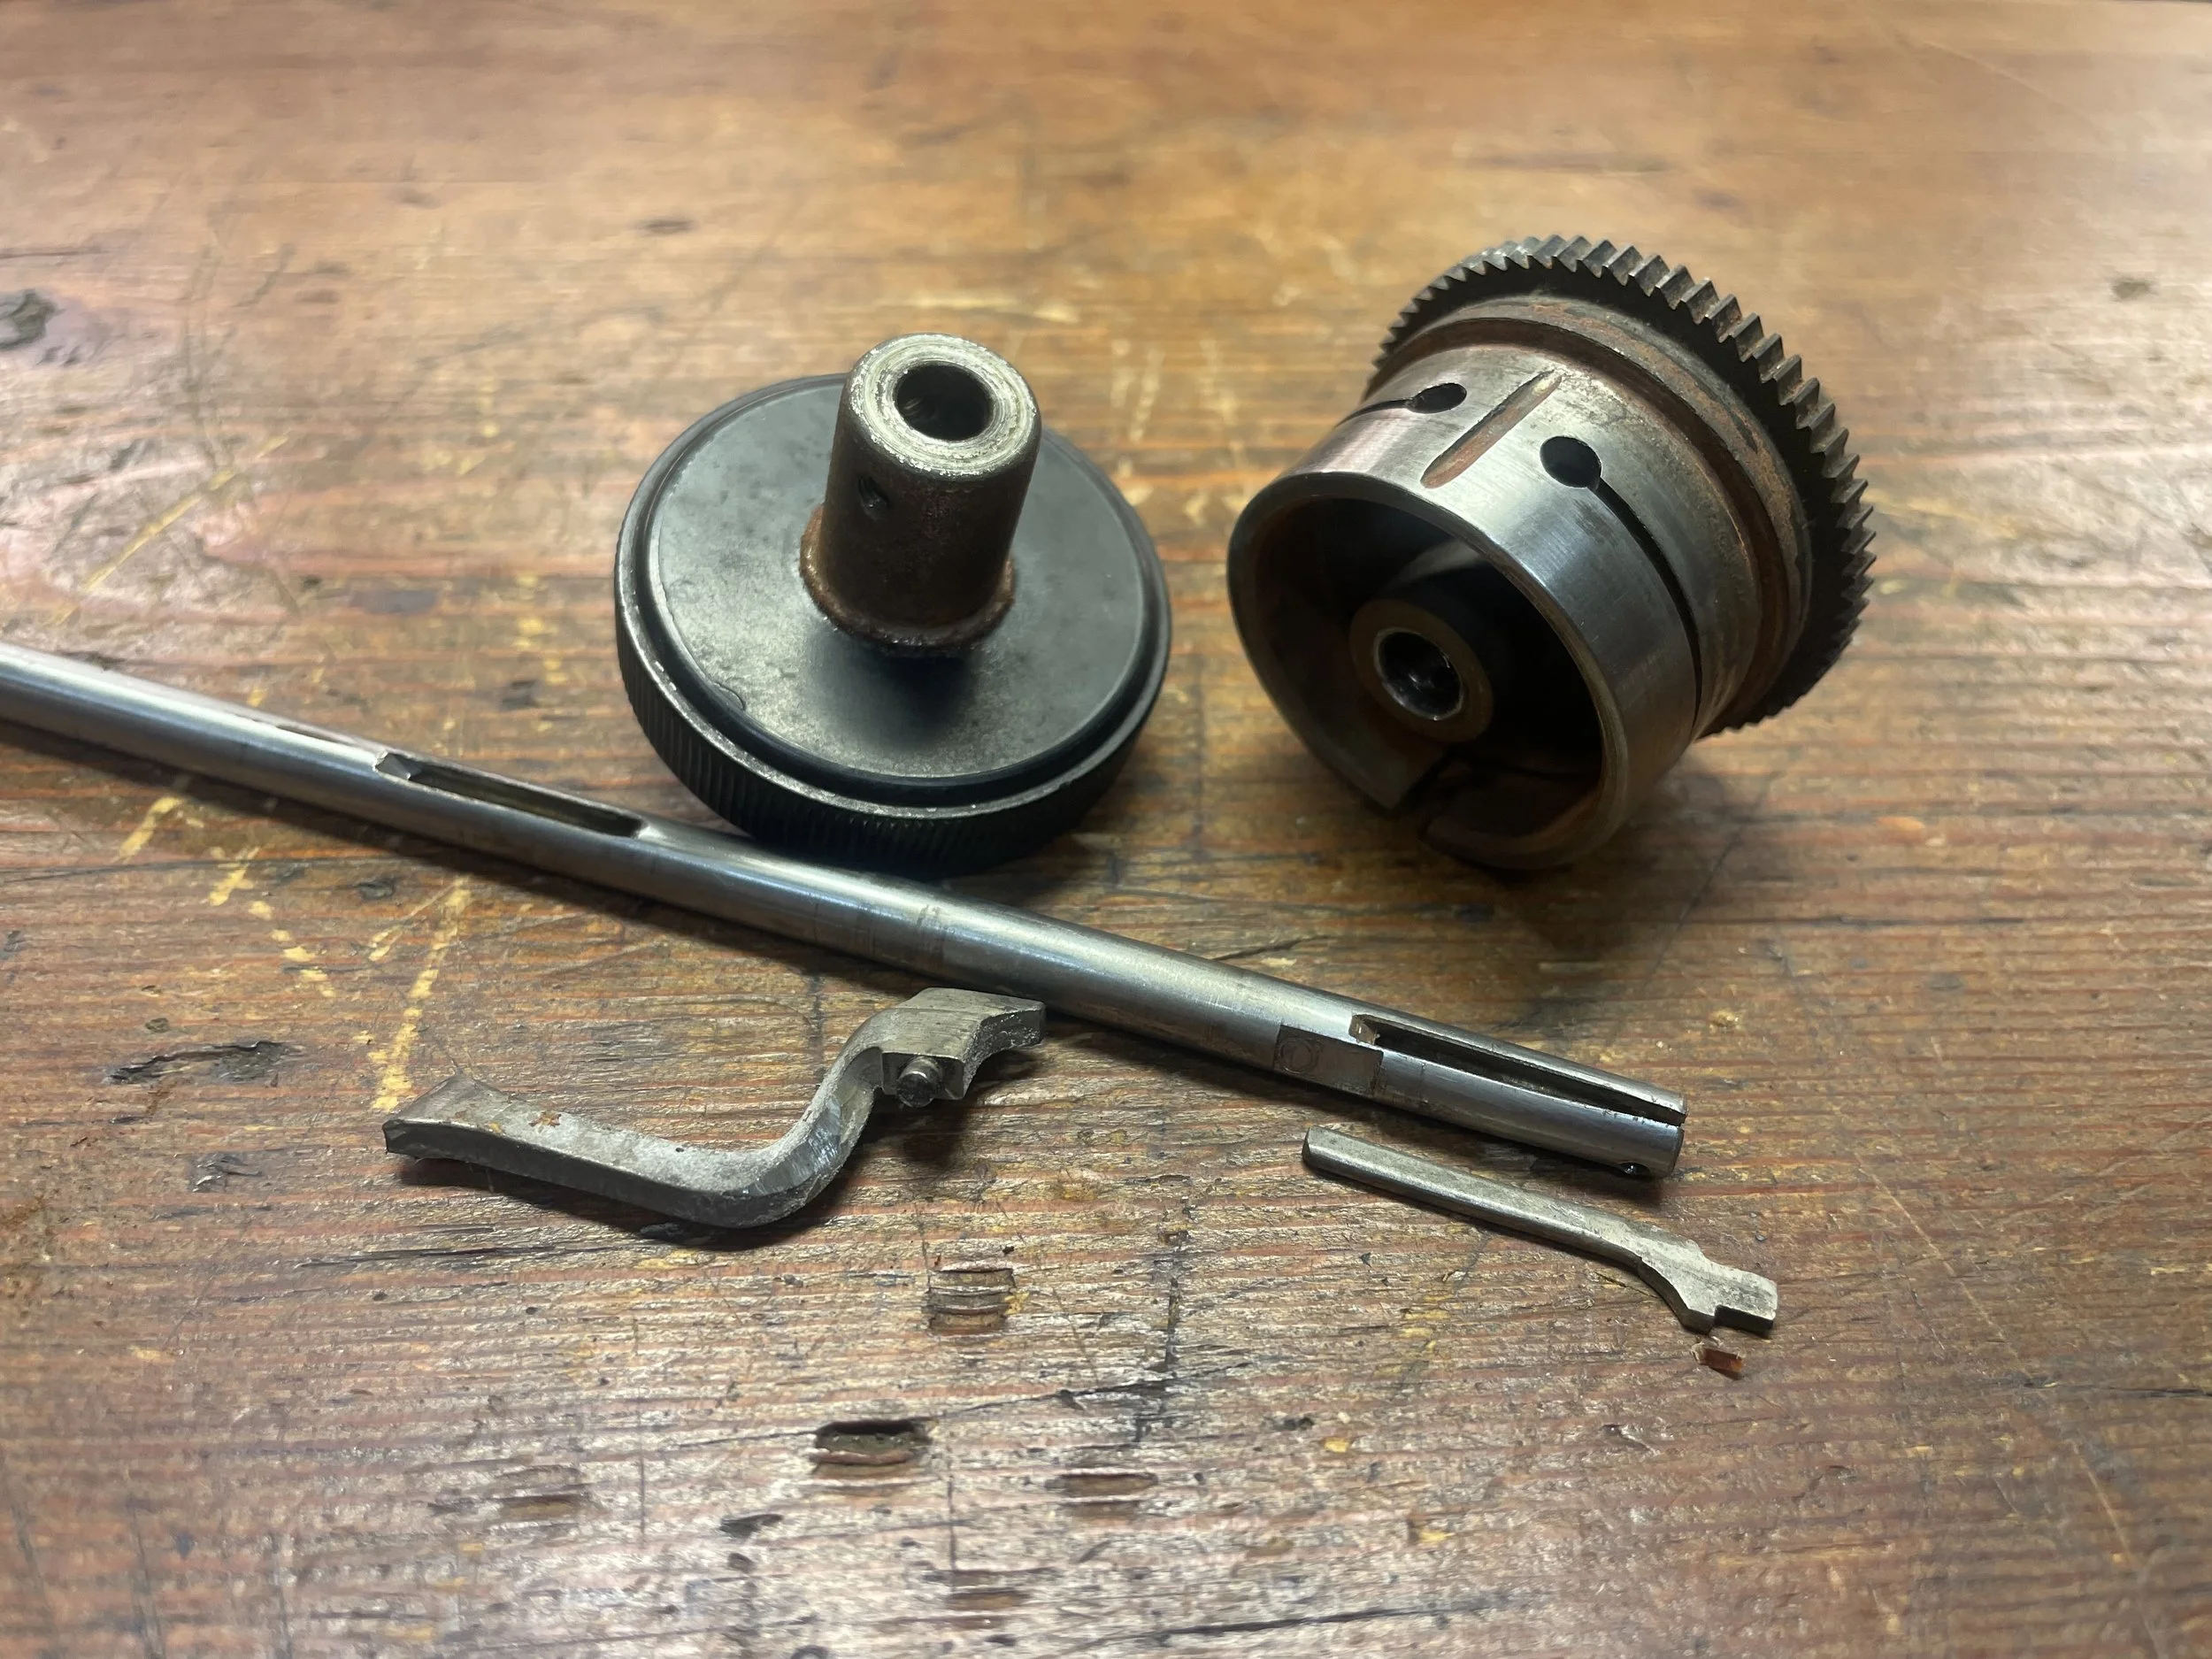
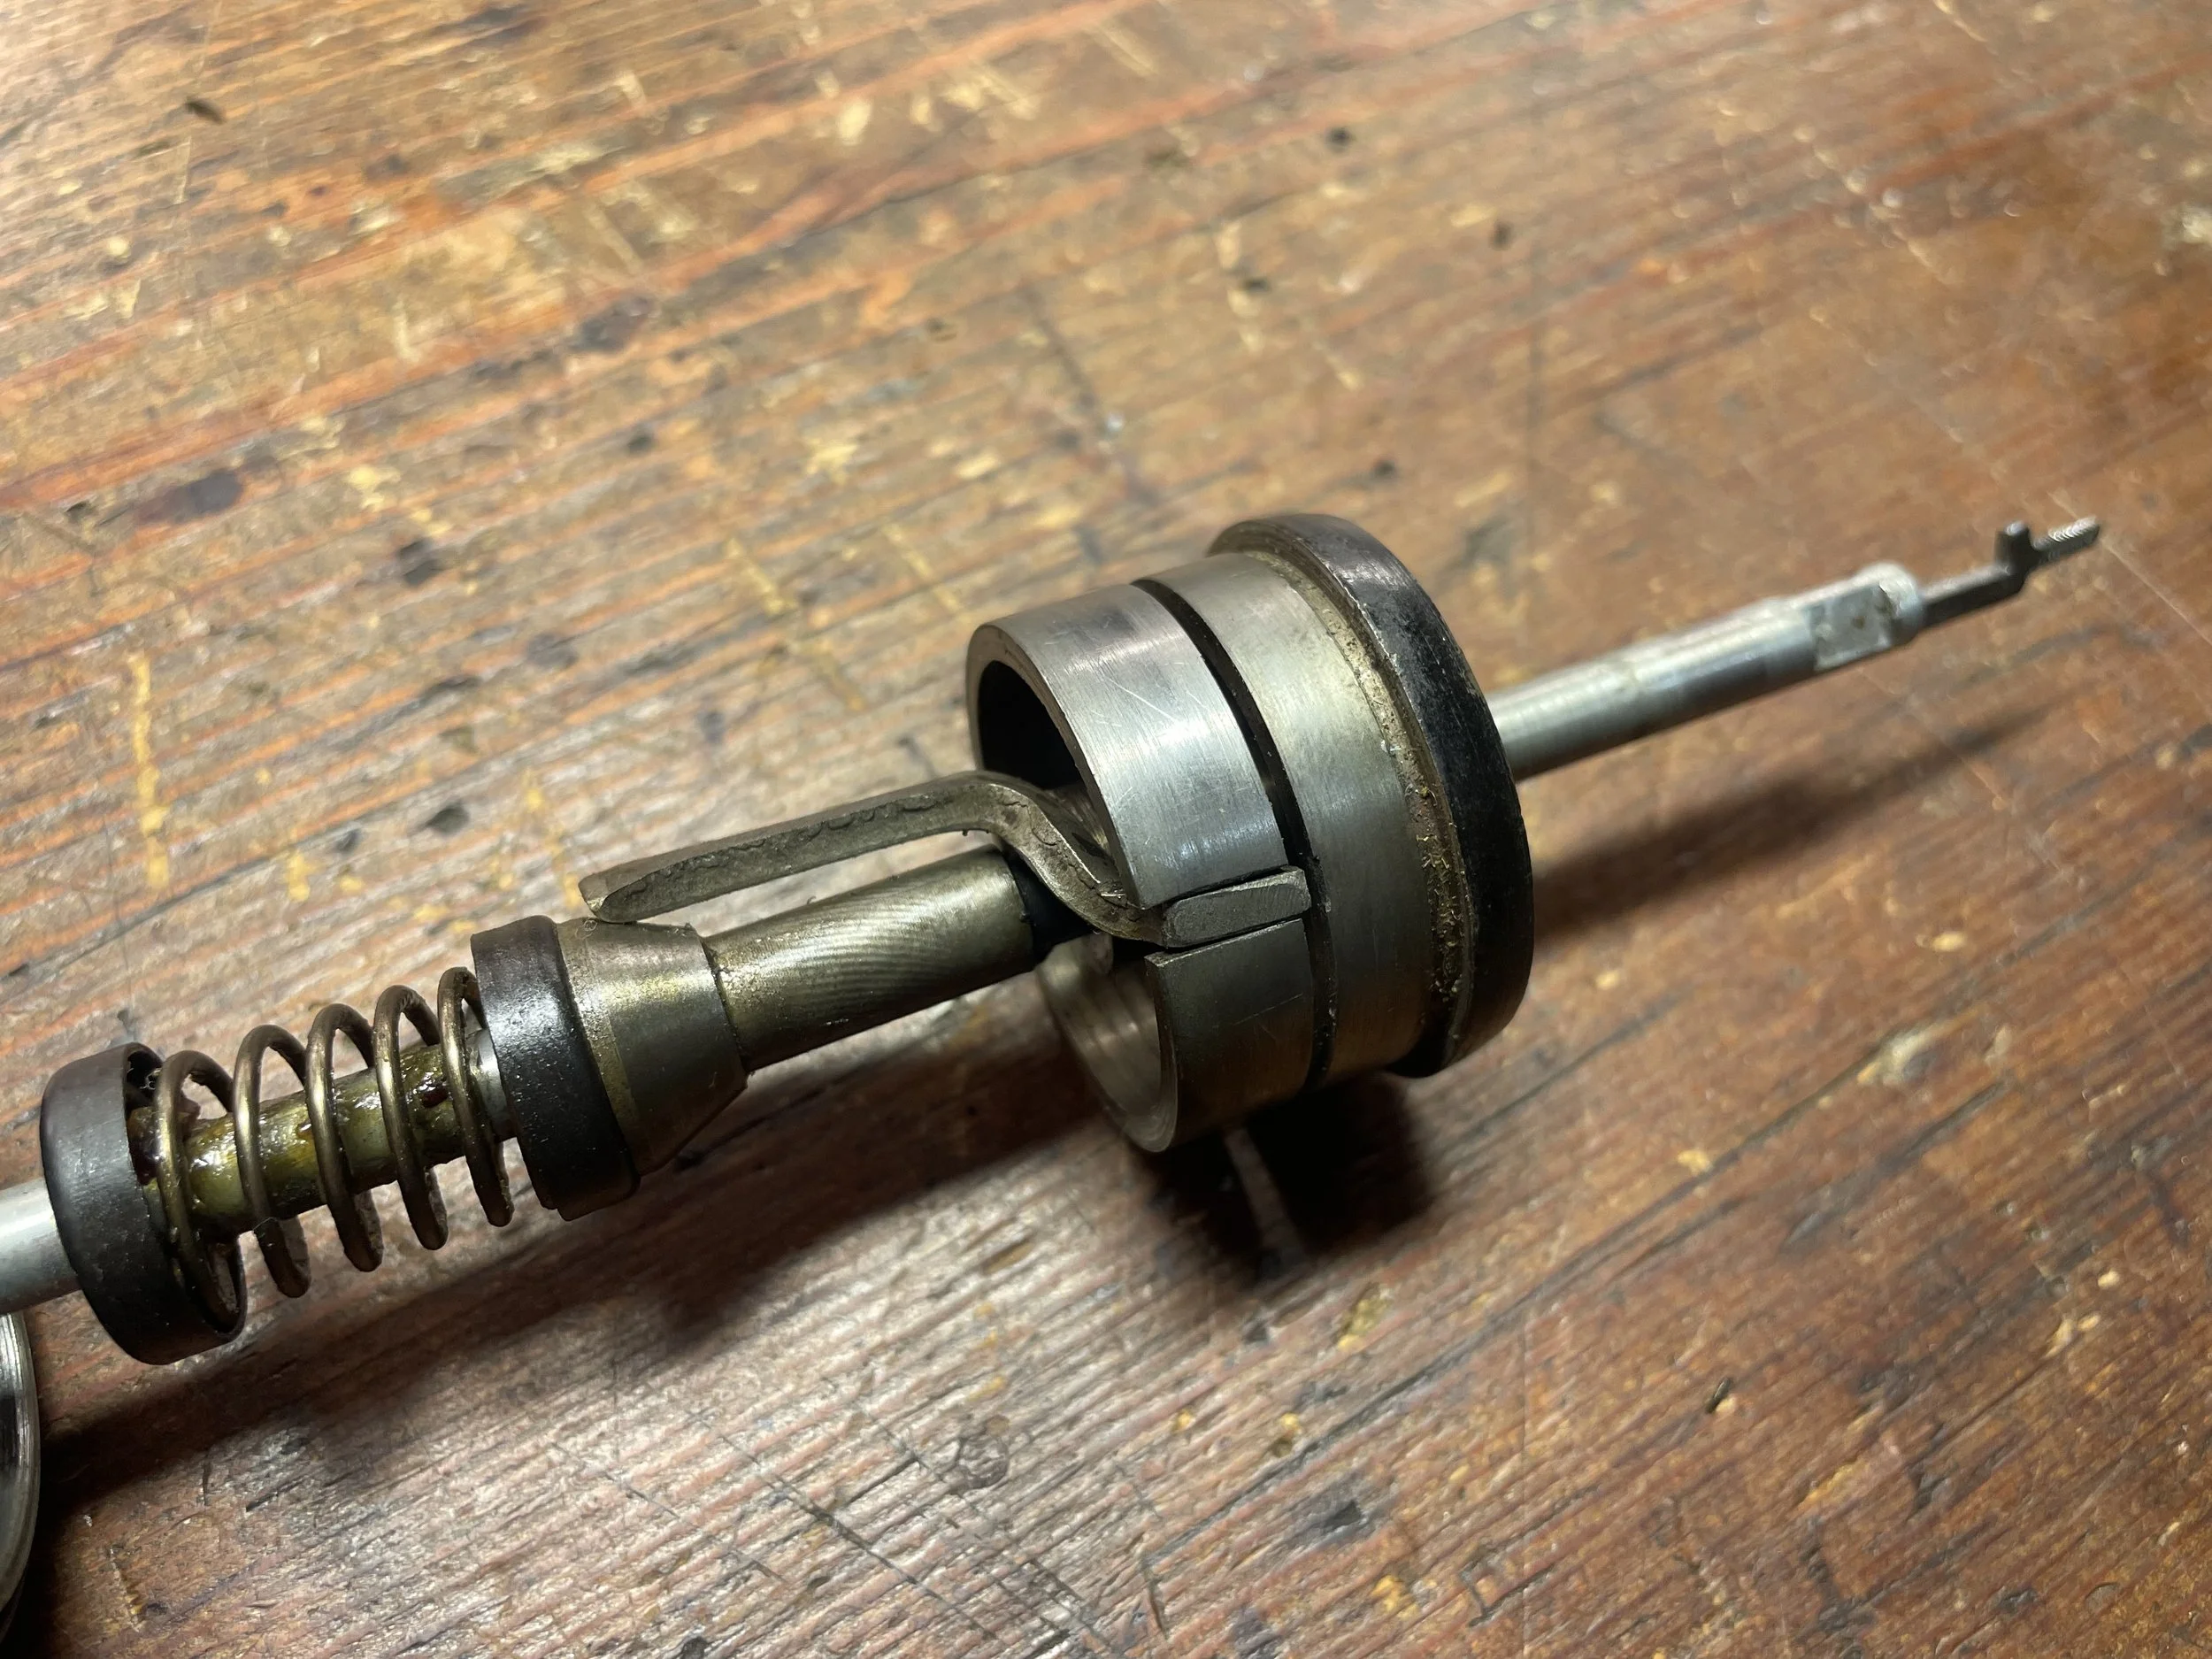
Time for the platen assembly. I compare with donor machine. Grim´s Erika is younger, I can see how the factory was simplifying the construction to reduce machining costs.
In the foreground lies Grim´s machine platen. Clearly platen knobs and free-line clutch assemblies are different.
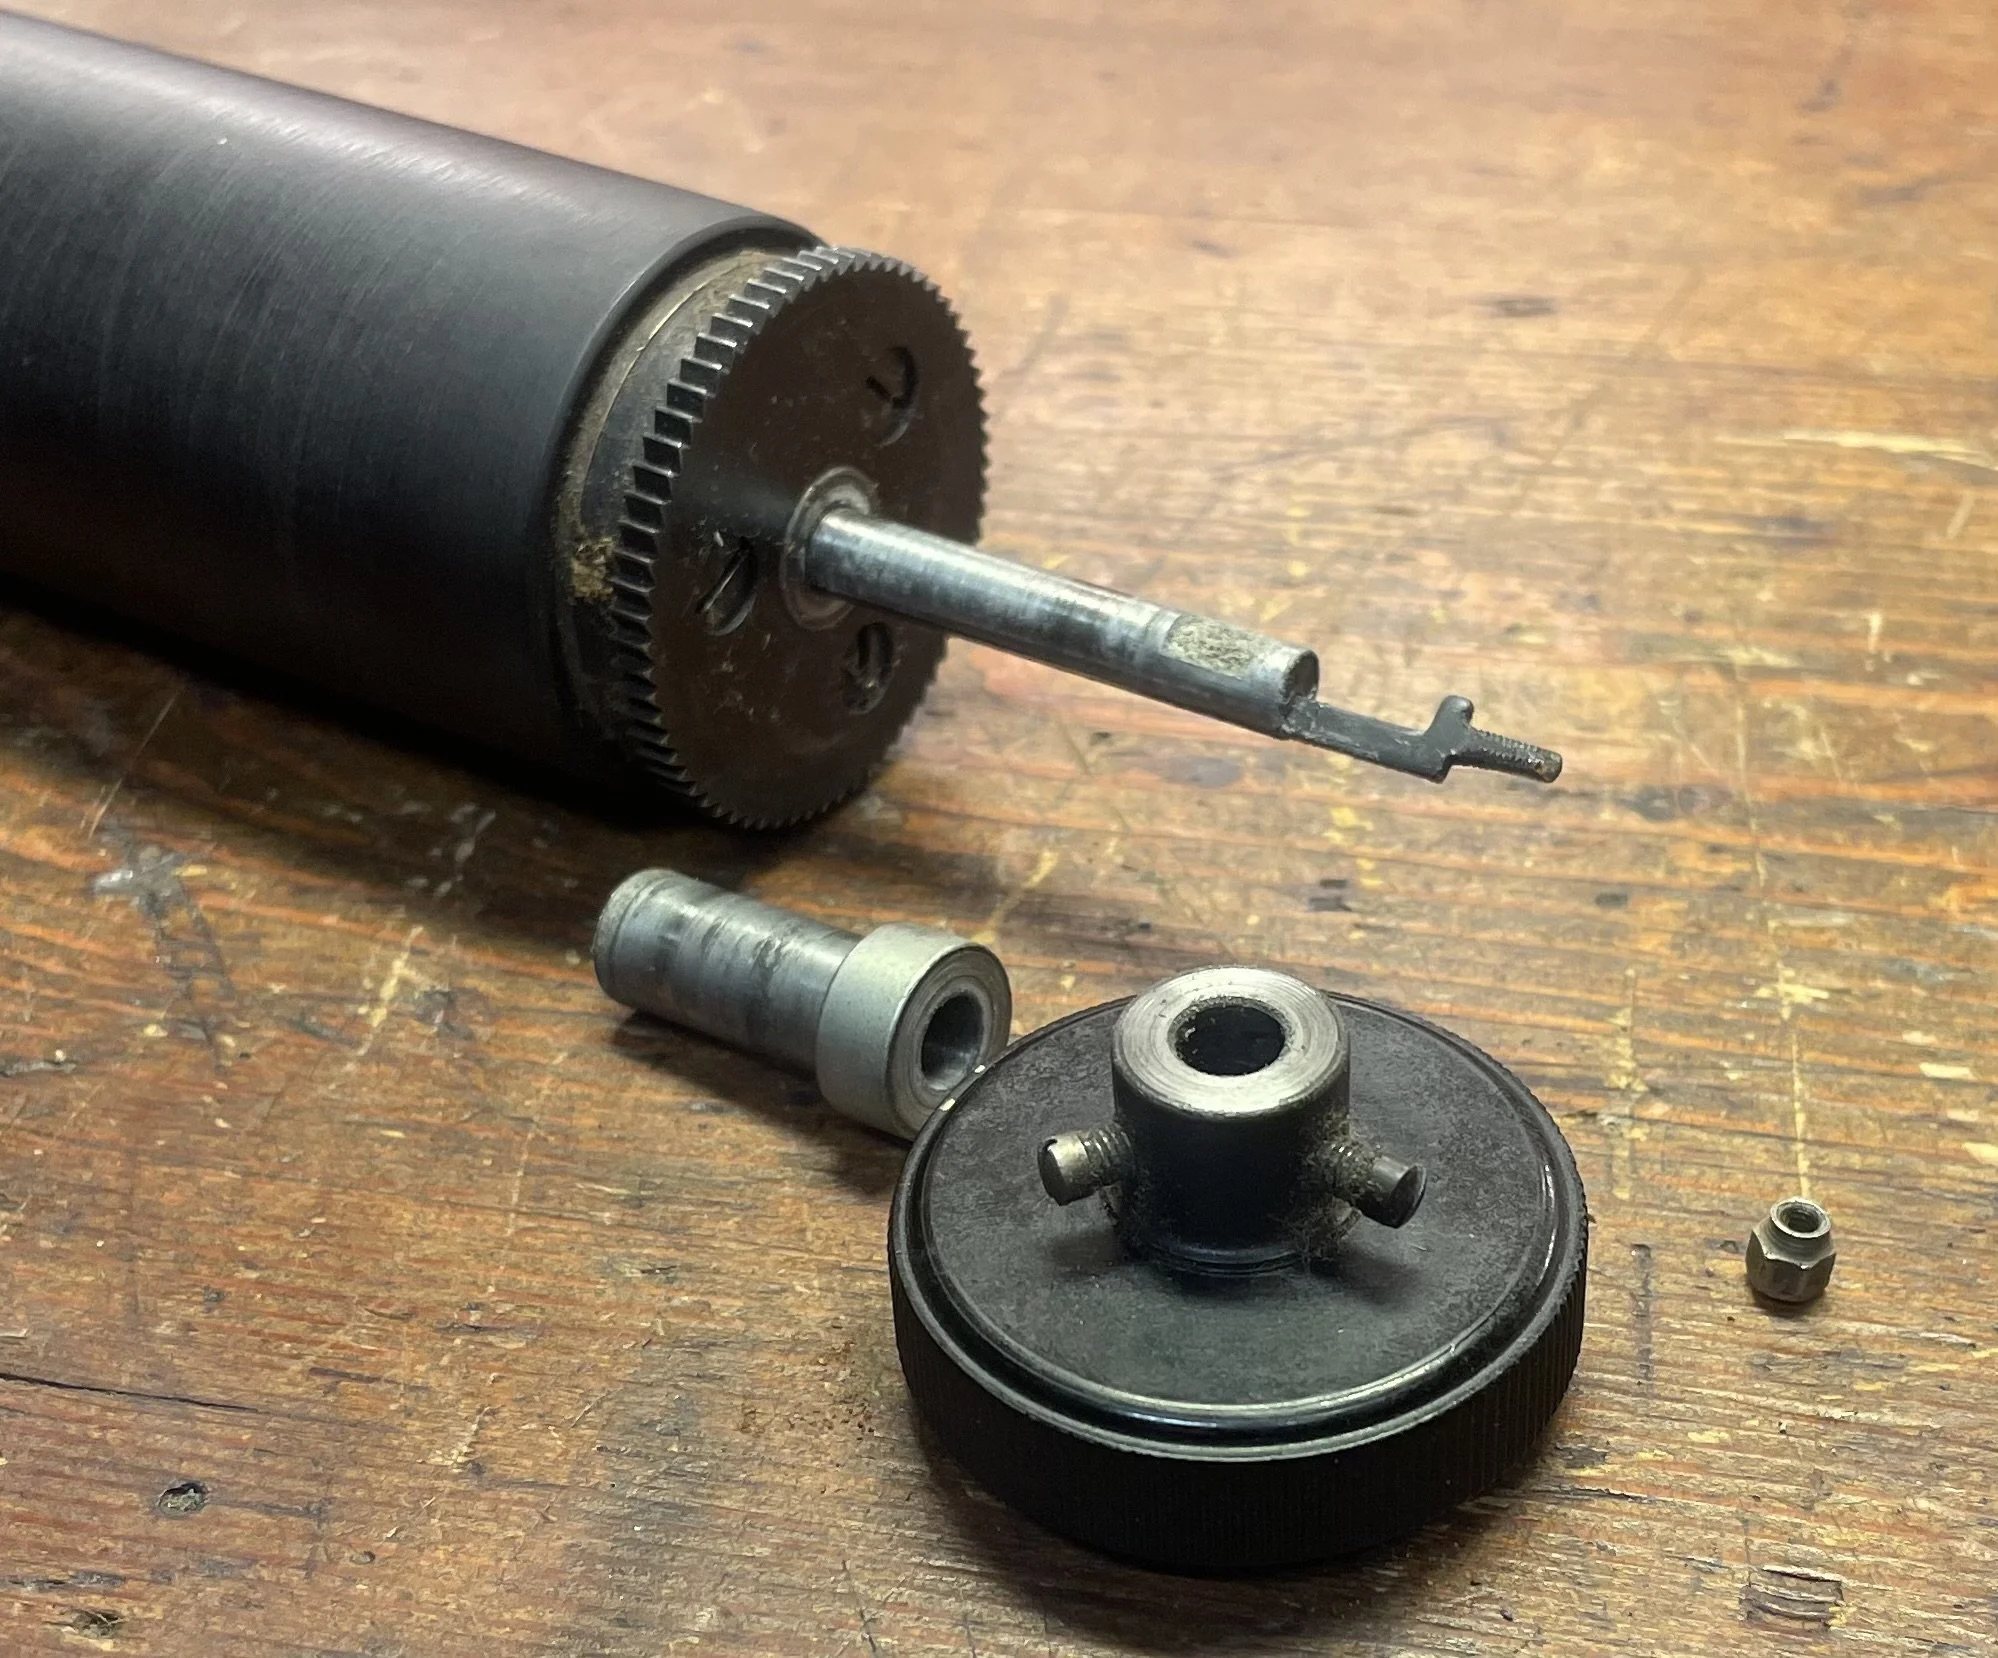
Putting apart the newer, Grim´s machine - clutch assembly:
Now for my older machine:
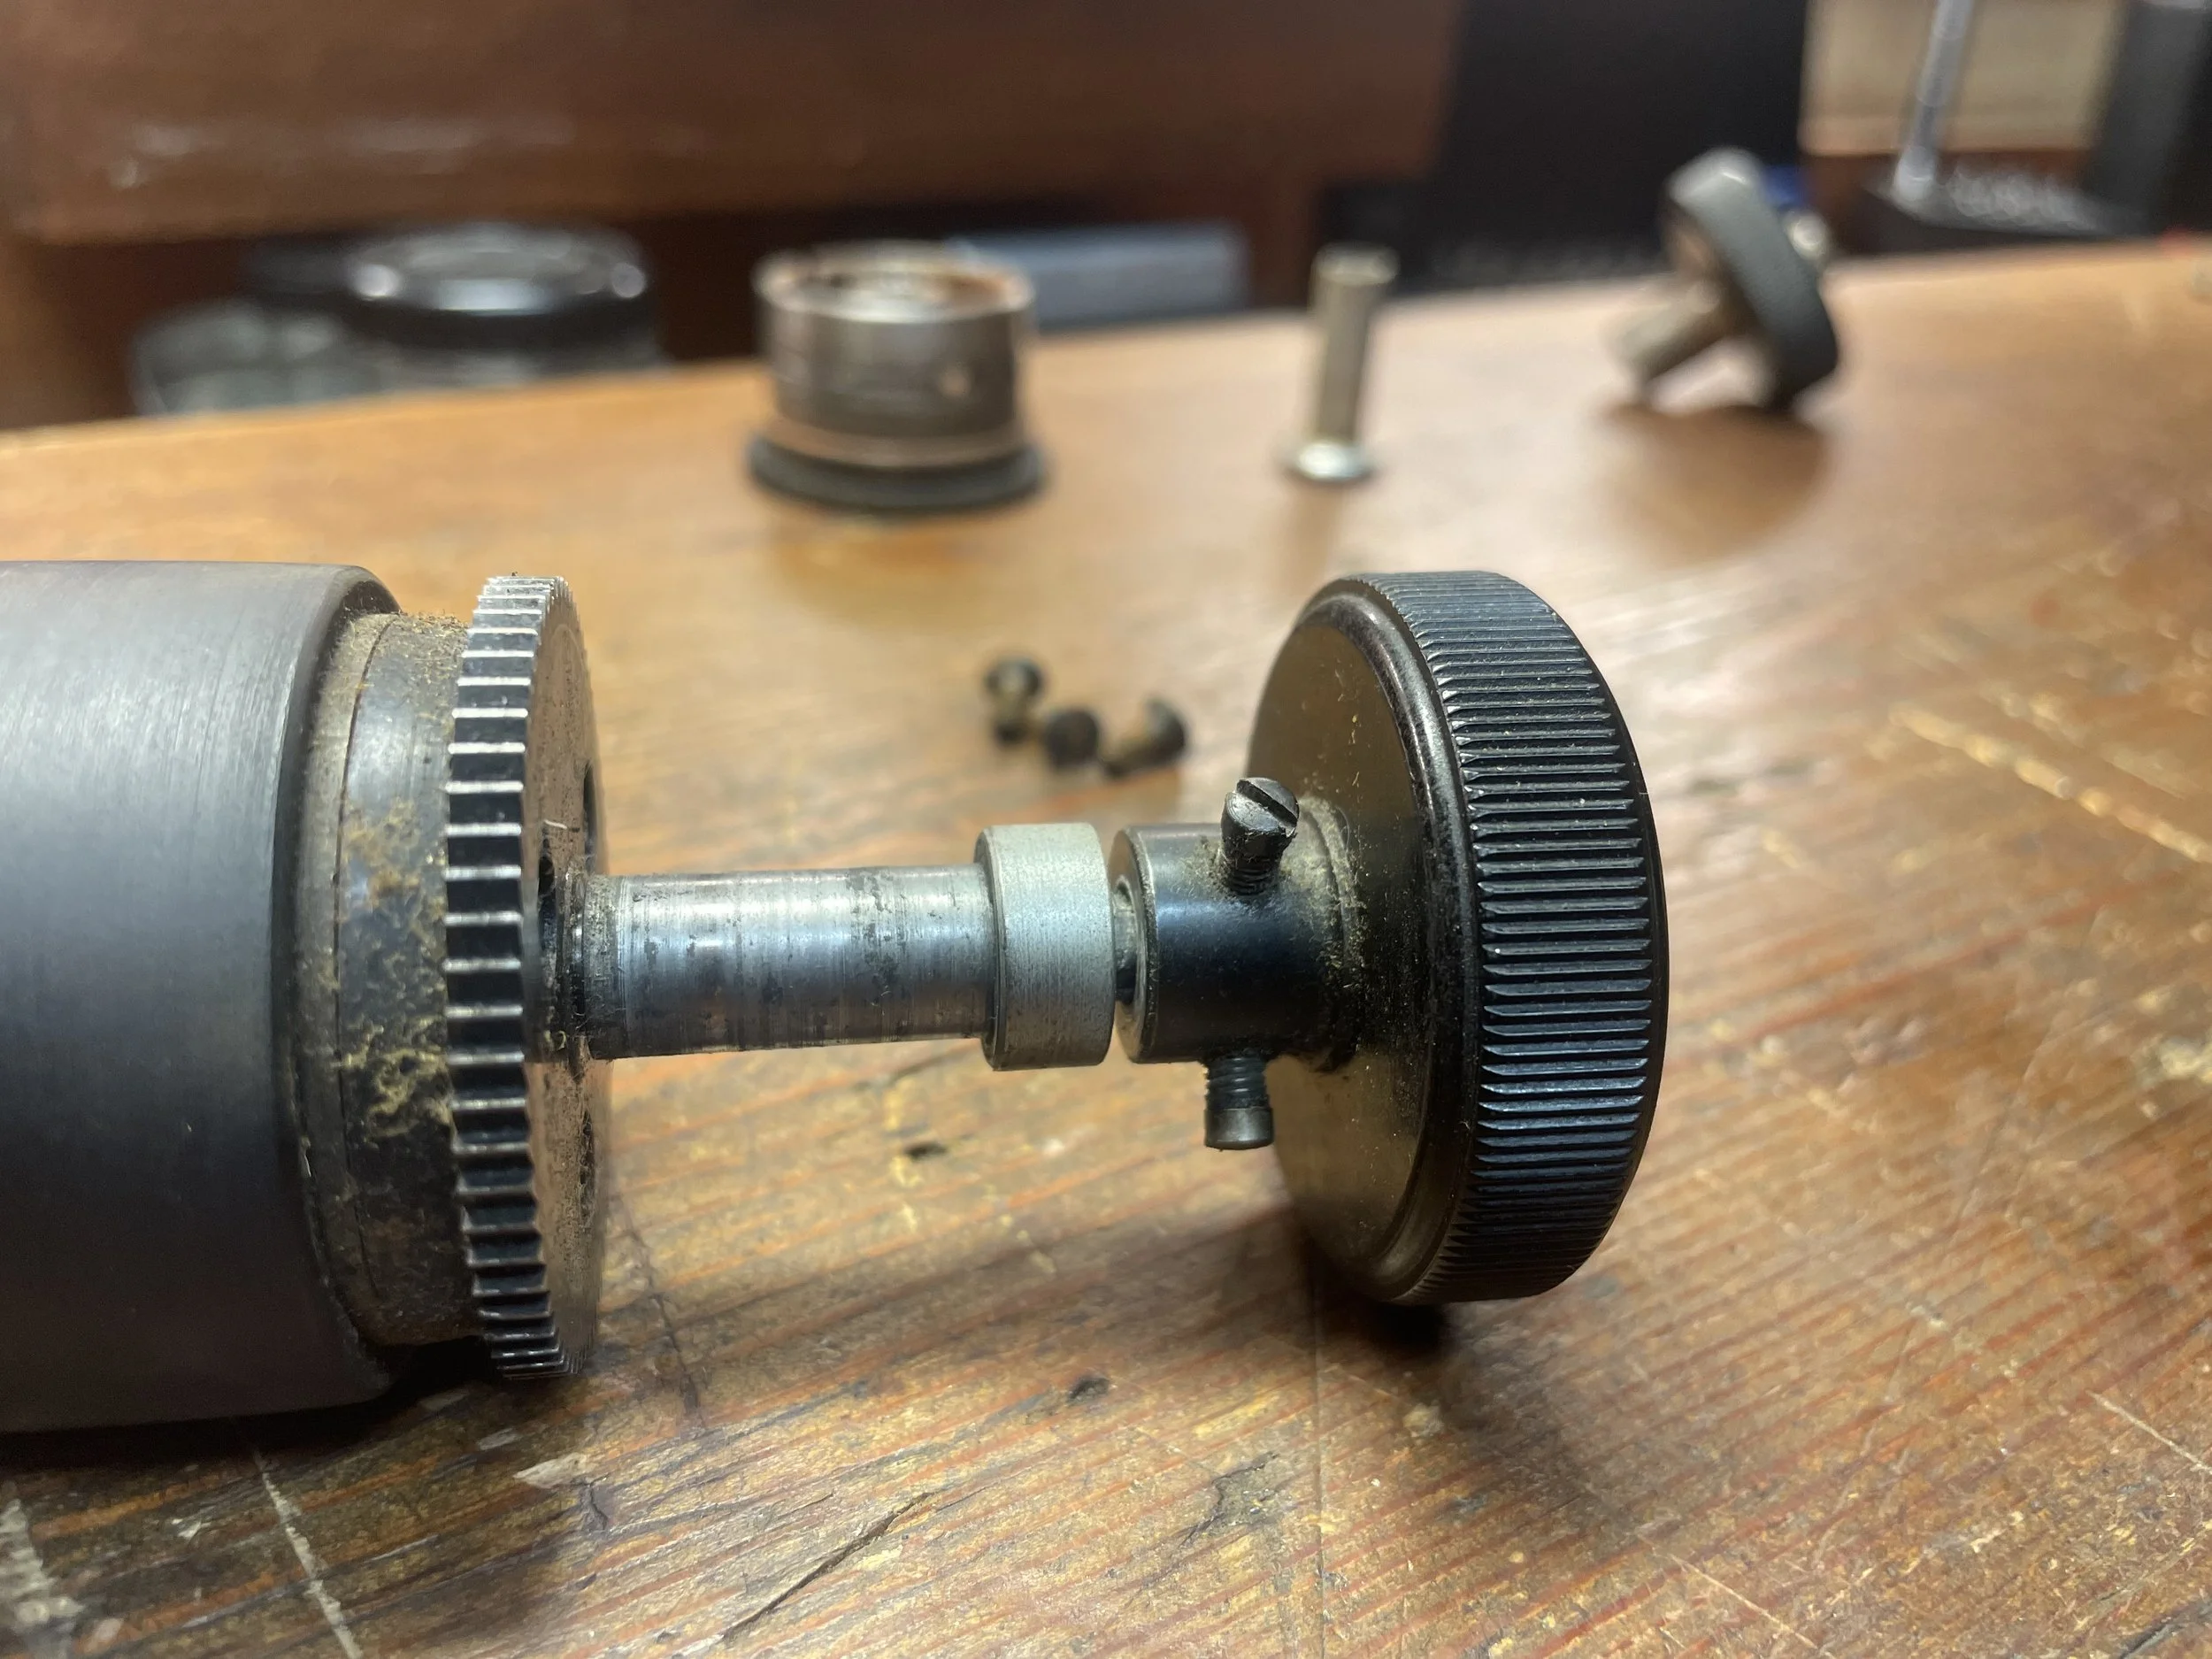
Comparison of platen shafts, older being much more complicated to manufacture for sure:
Before removing the clutch I need to take care of these butchered screws.
Replaced with fresh ones, looks much better.
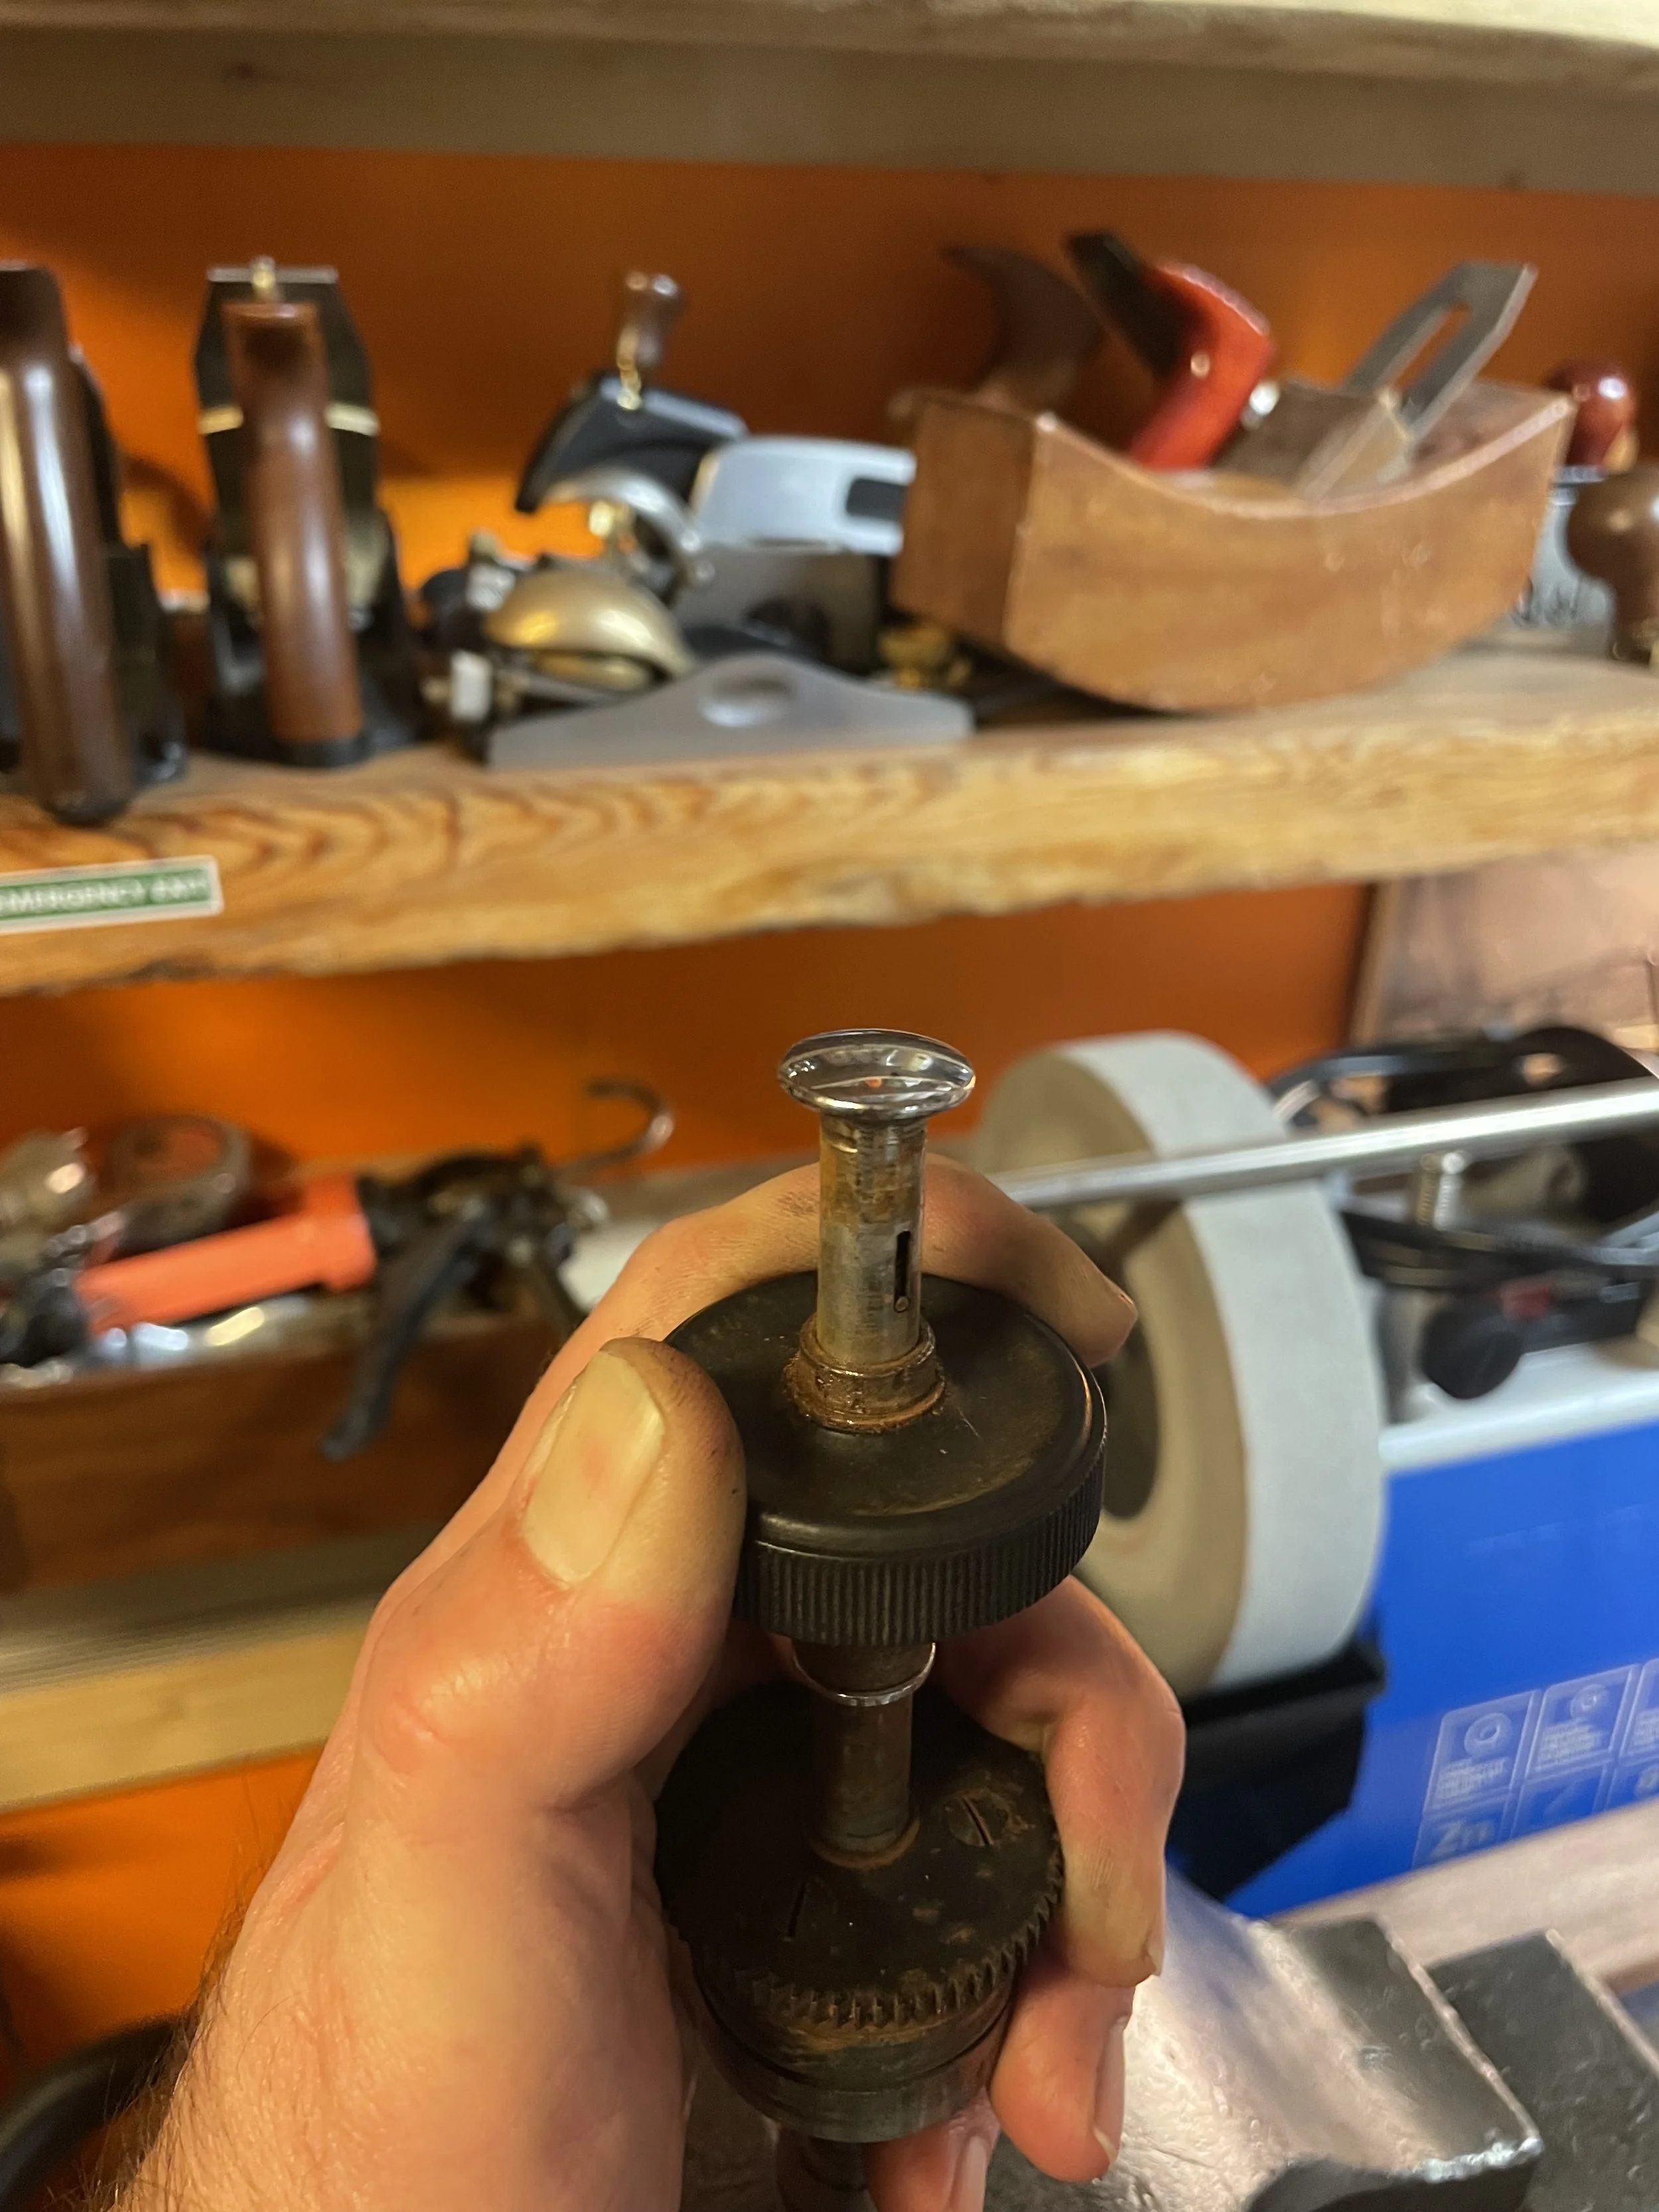
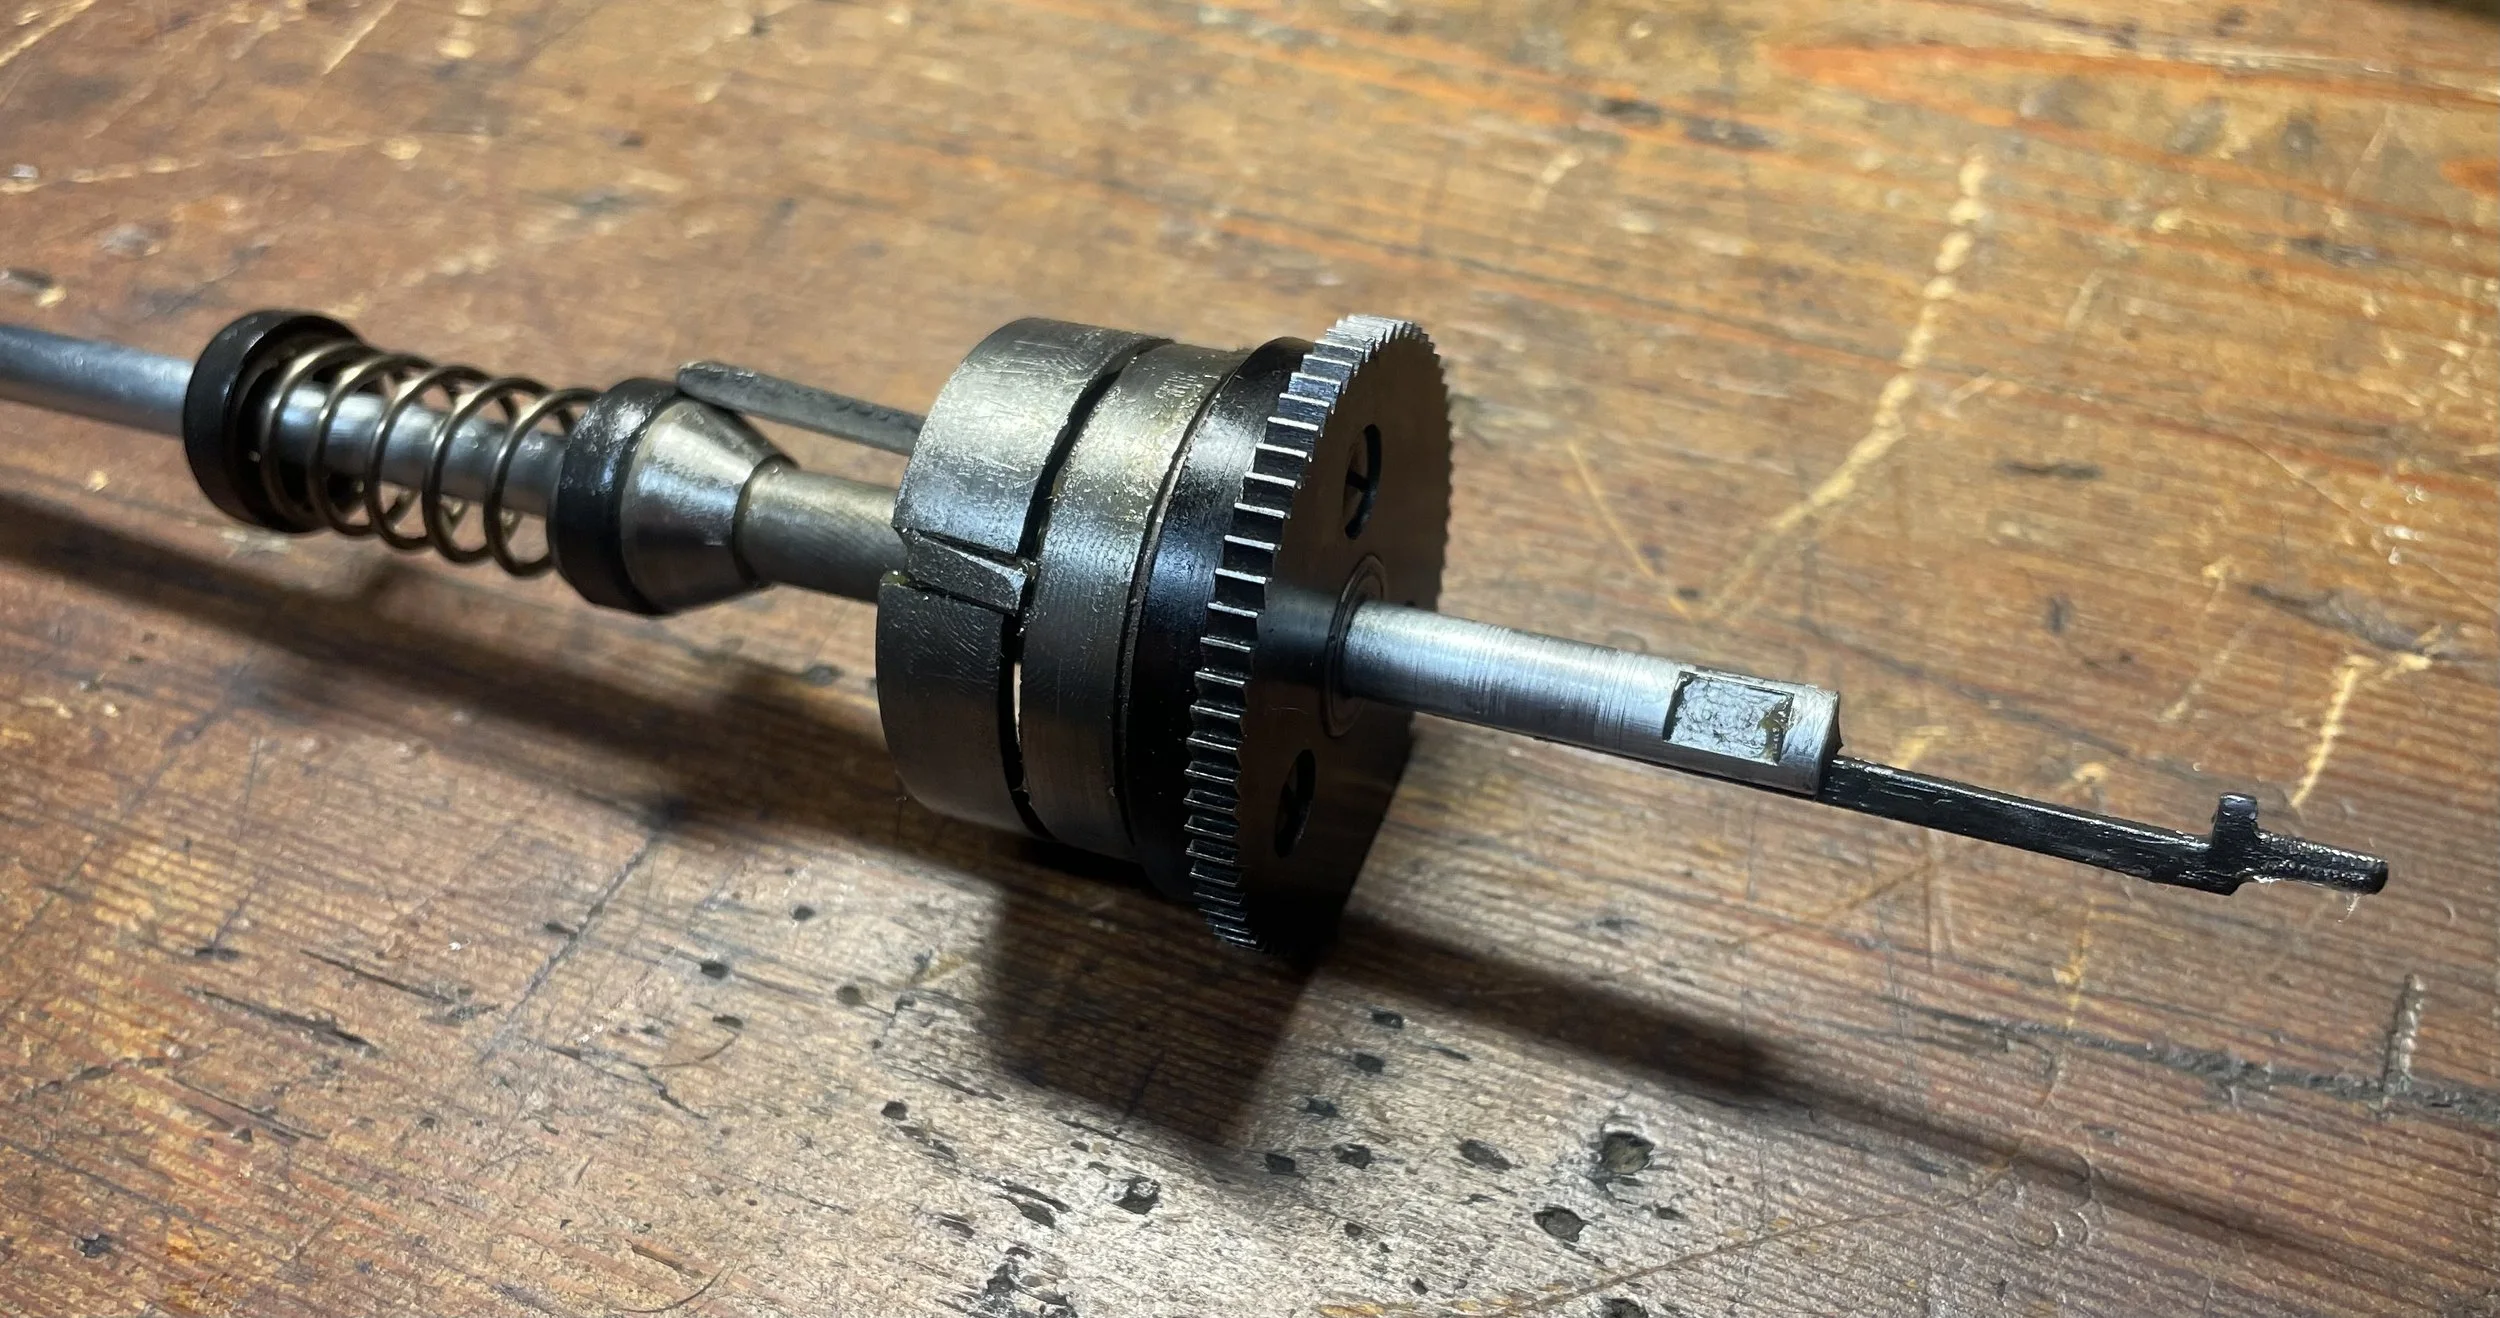
I carry on with removing the clutch and platen shaft. It is seized in place so good, abrupt twist is needed to remove the whole assembly.
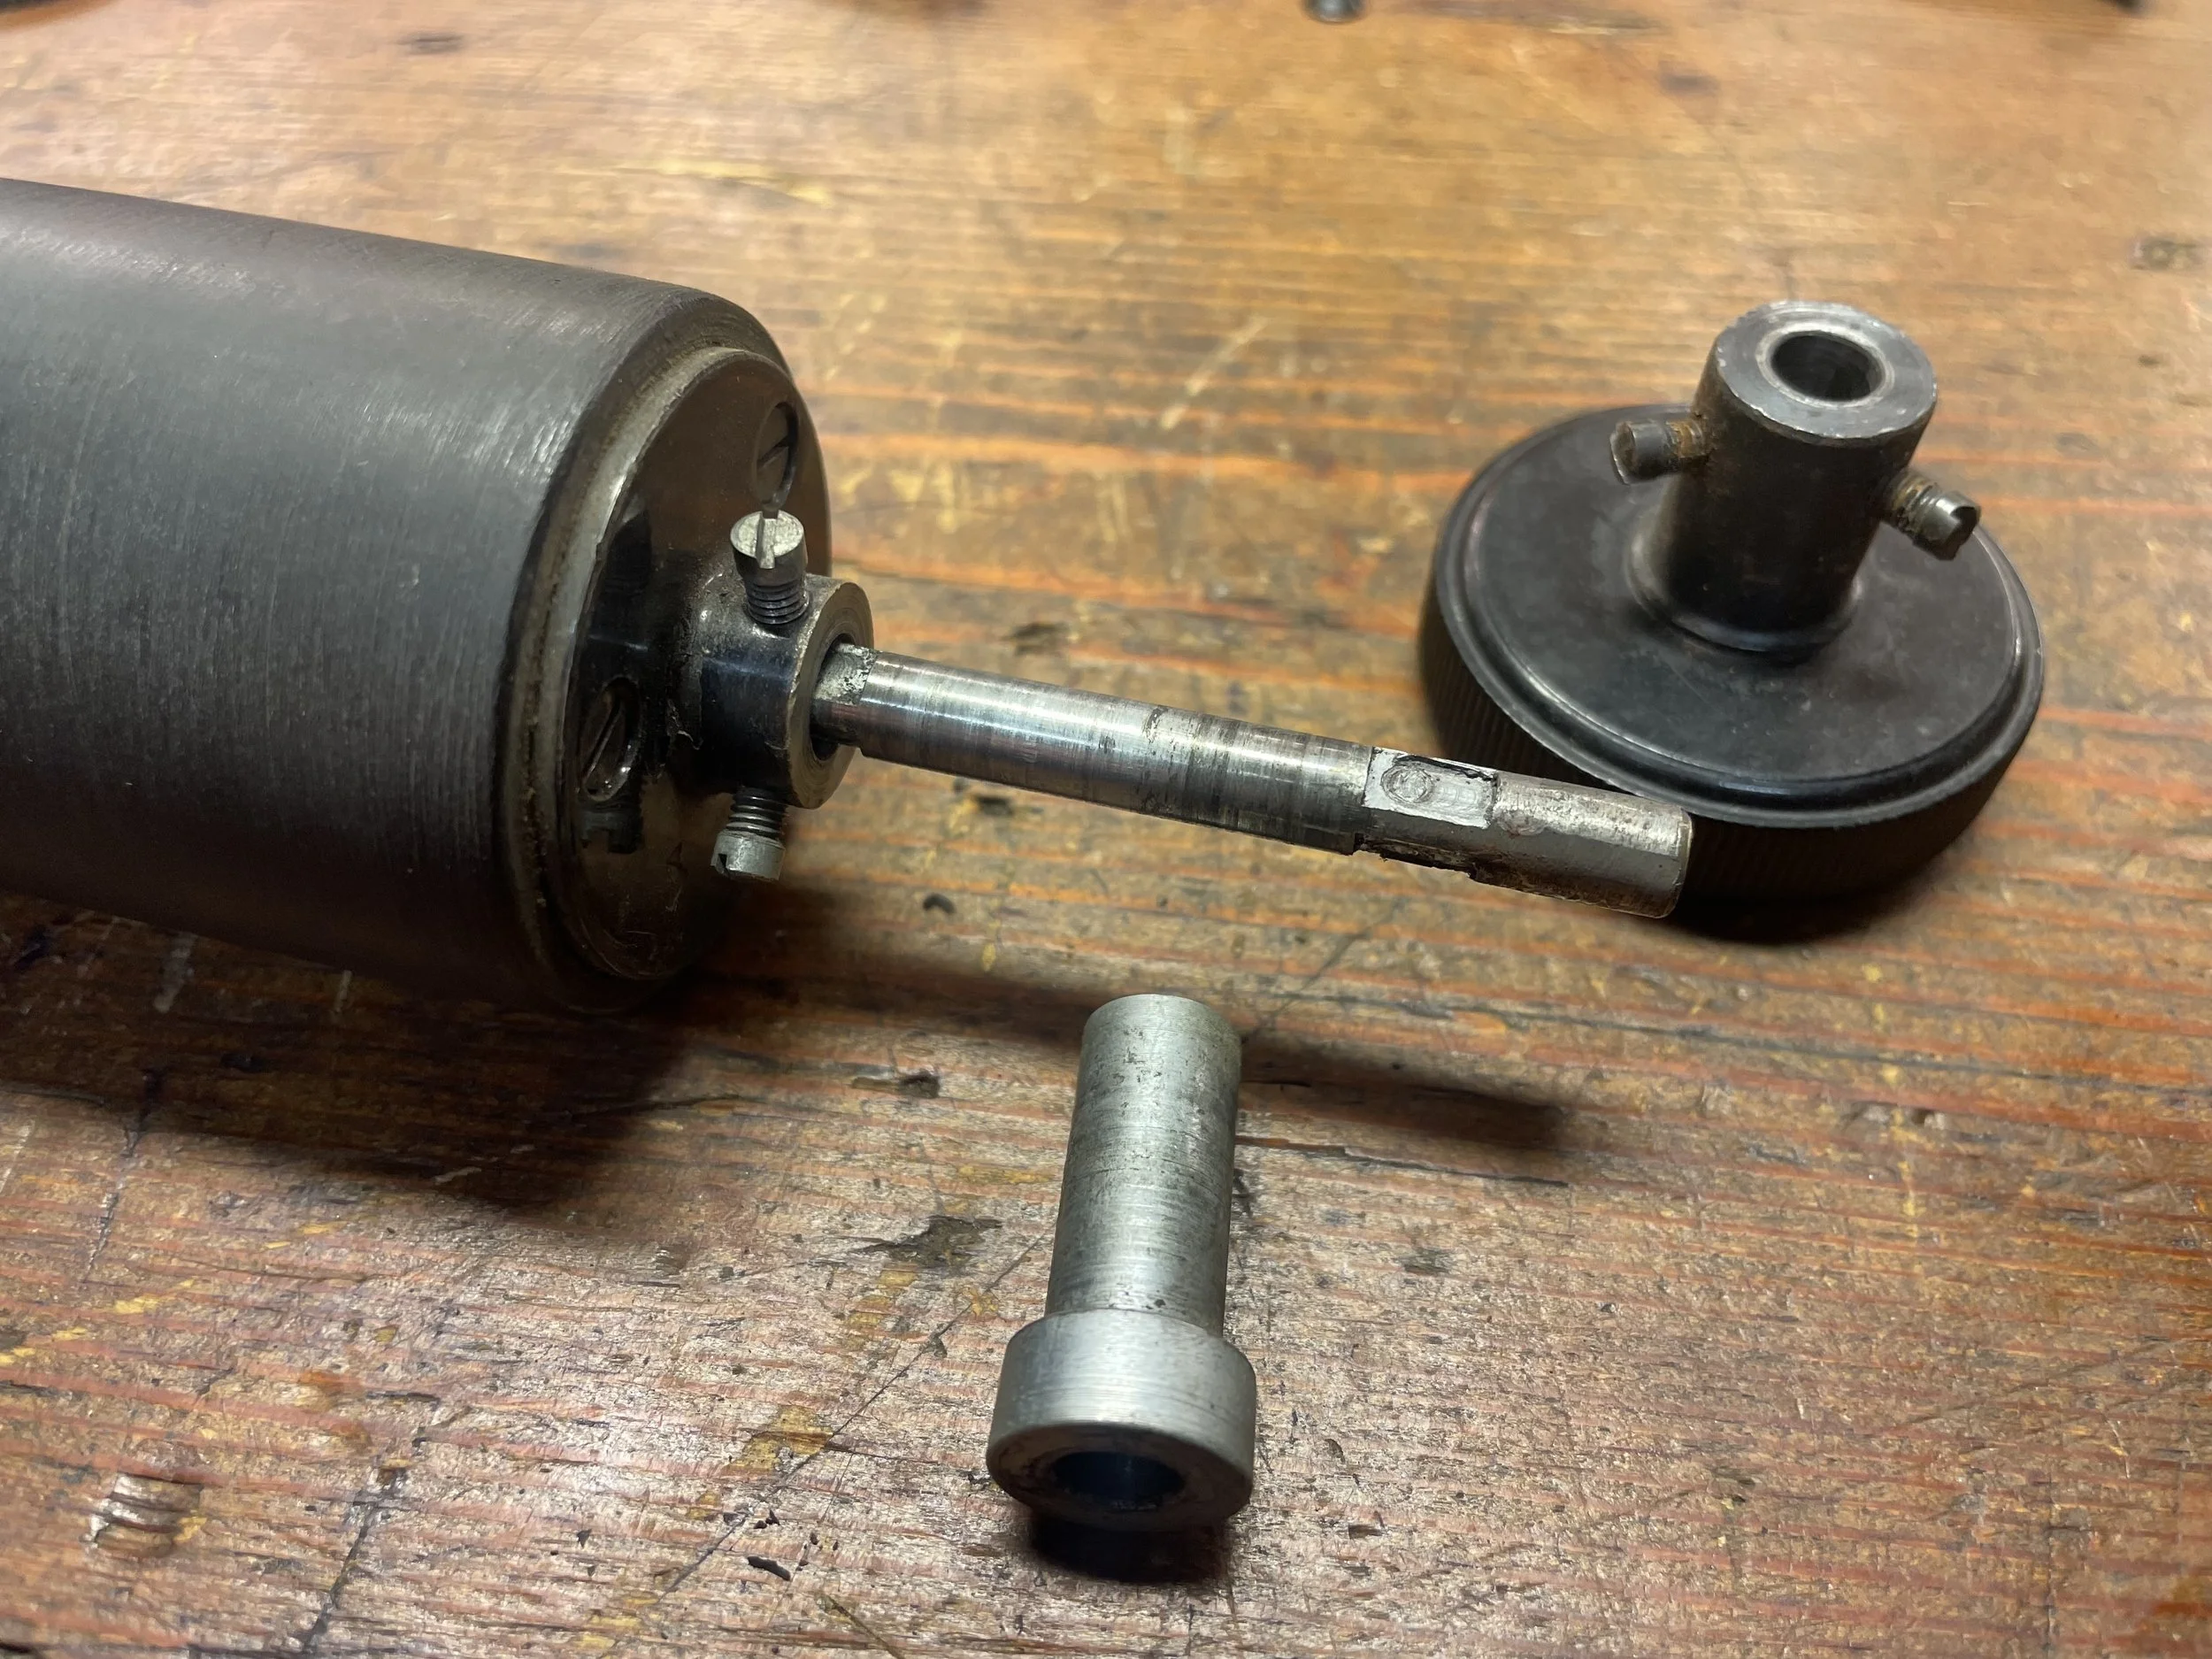
I needed to soak the clutch to get it moving before attempting any further.
It took a good day to make it moving and be able to put apart properly.
Cleaning and lubricating.
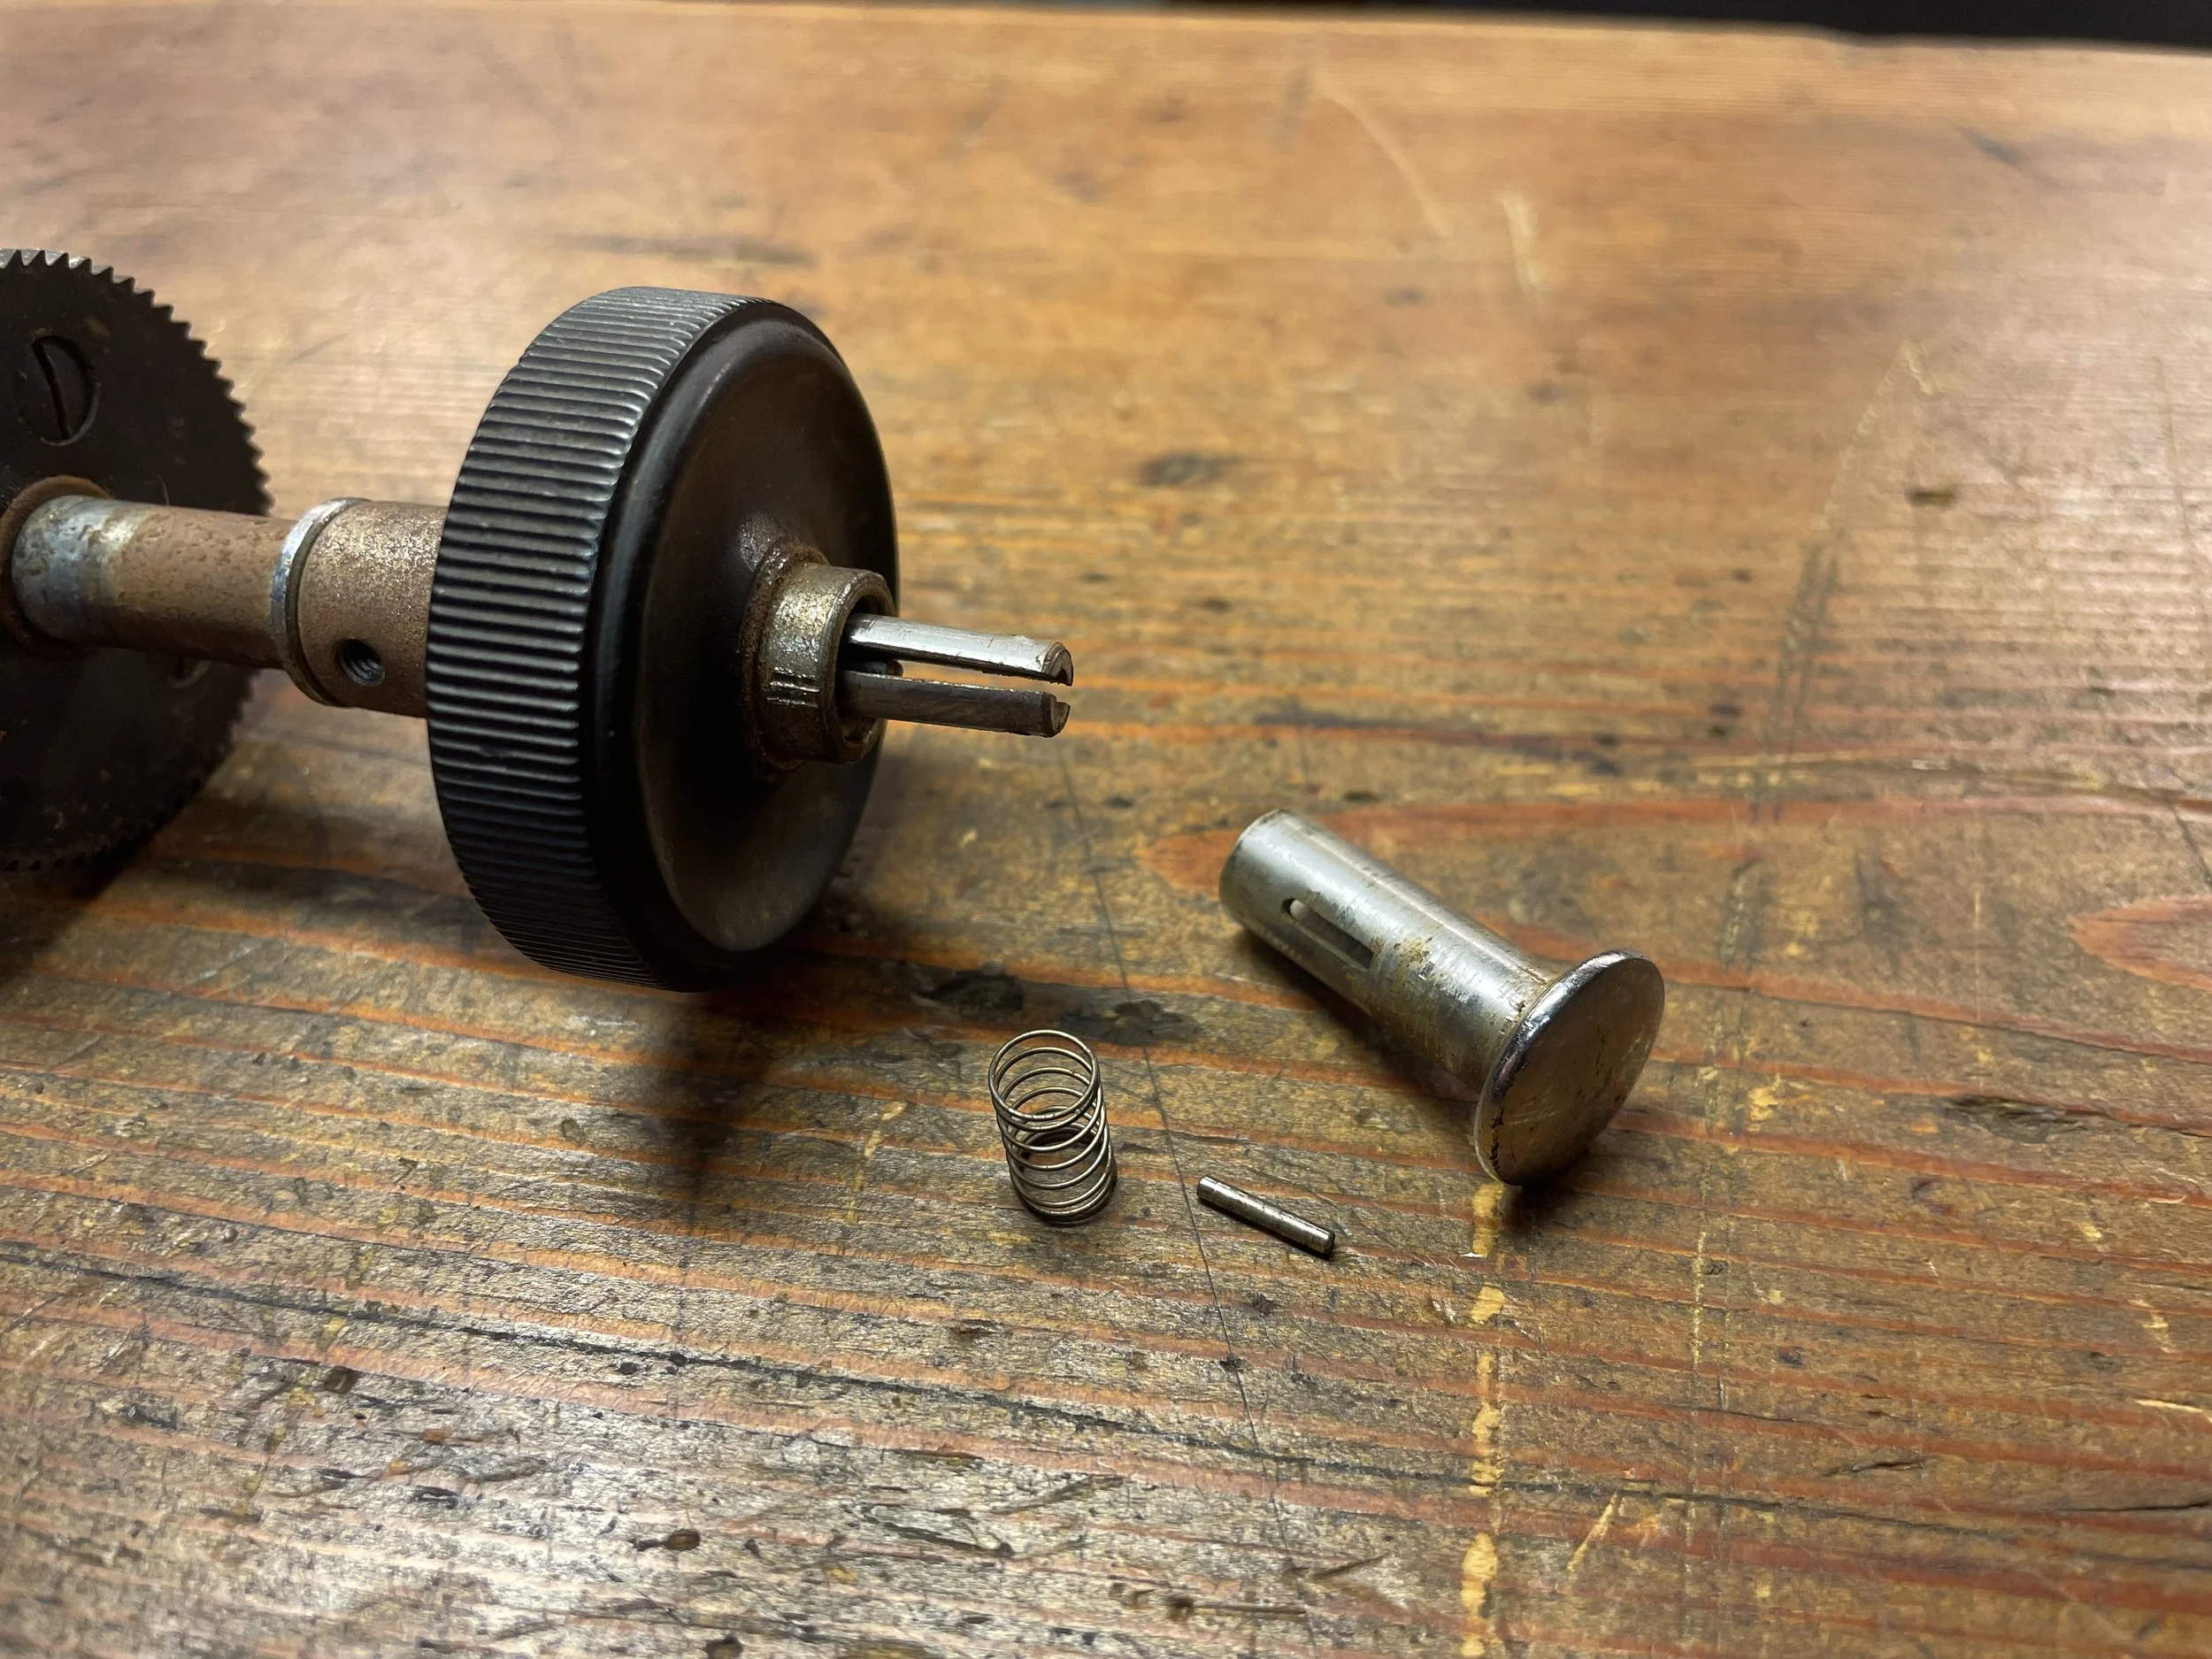
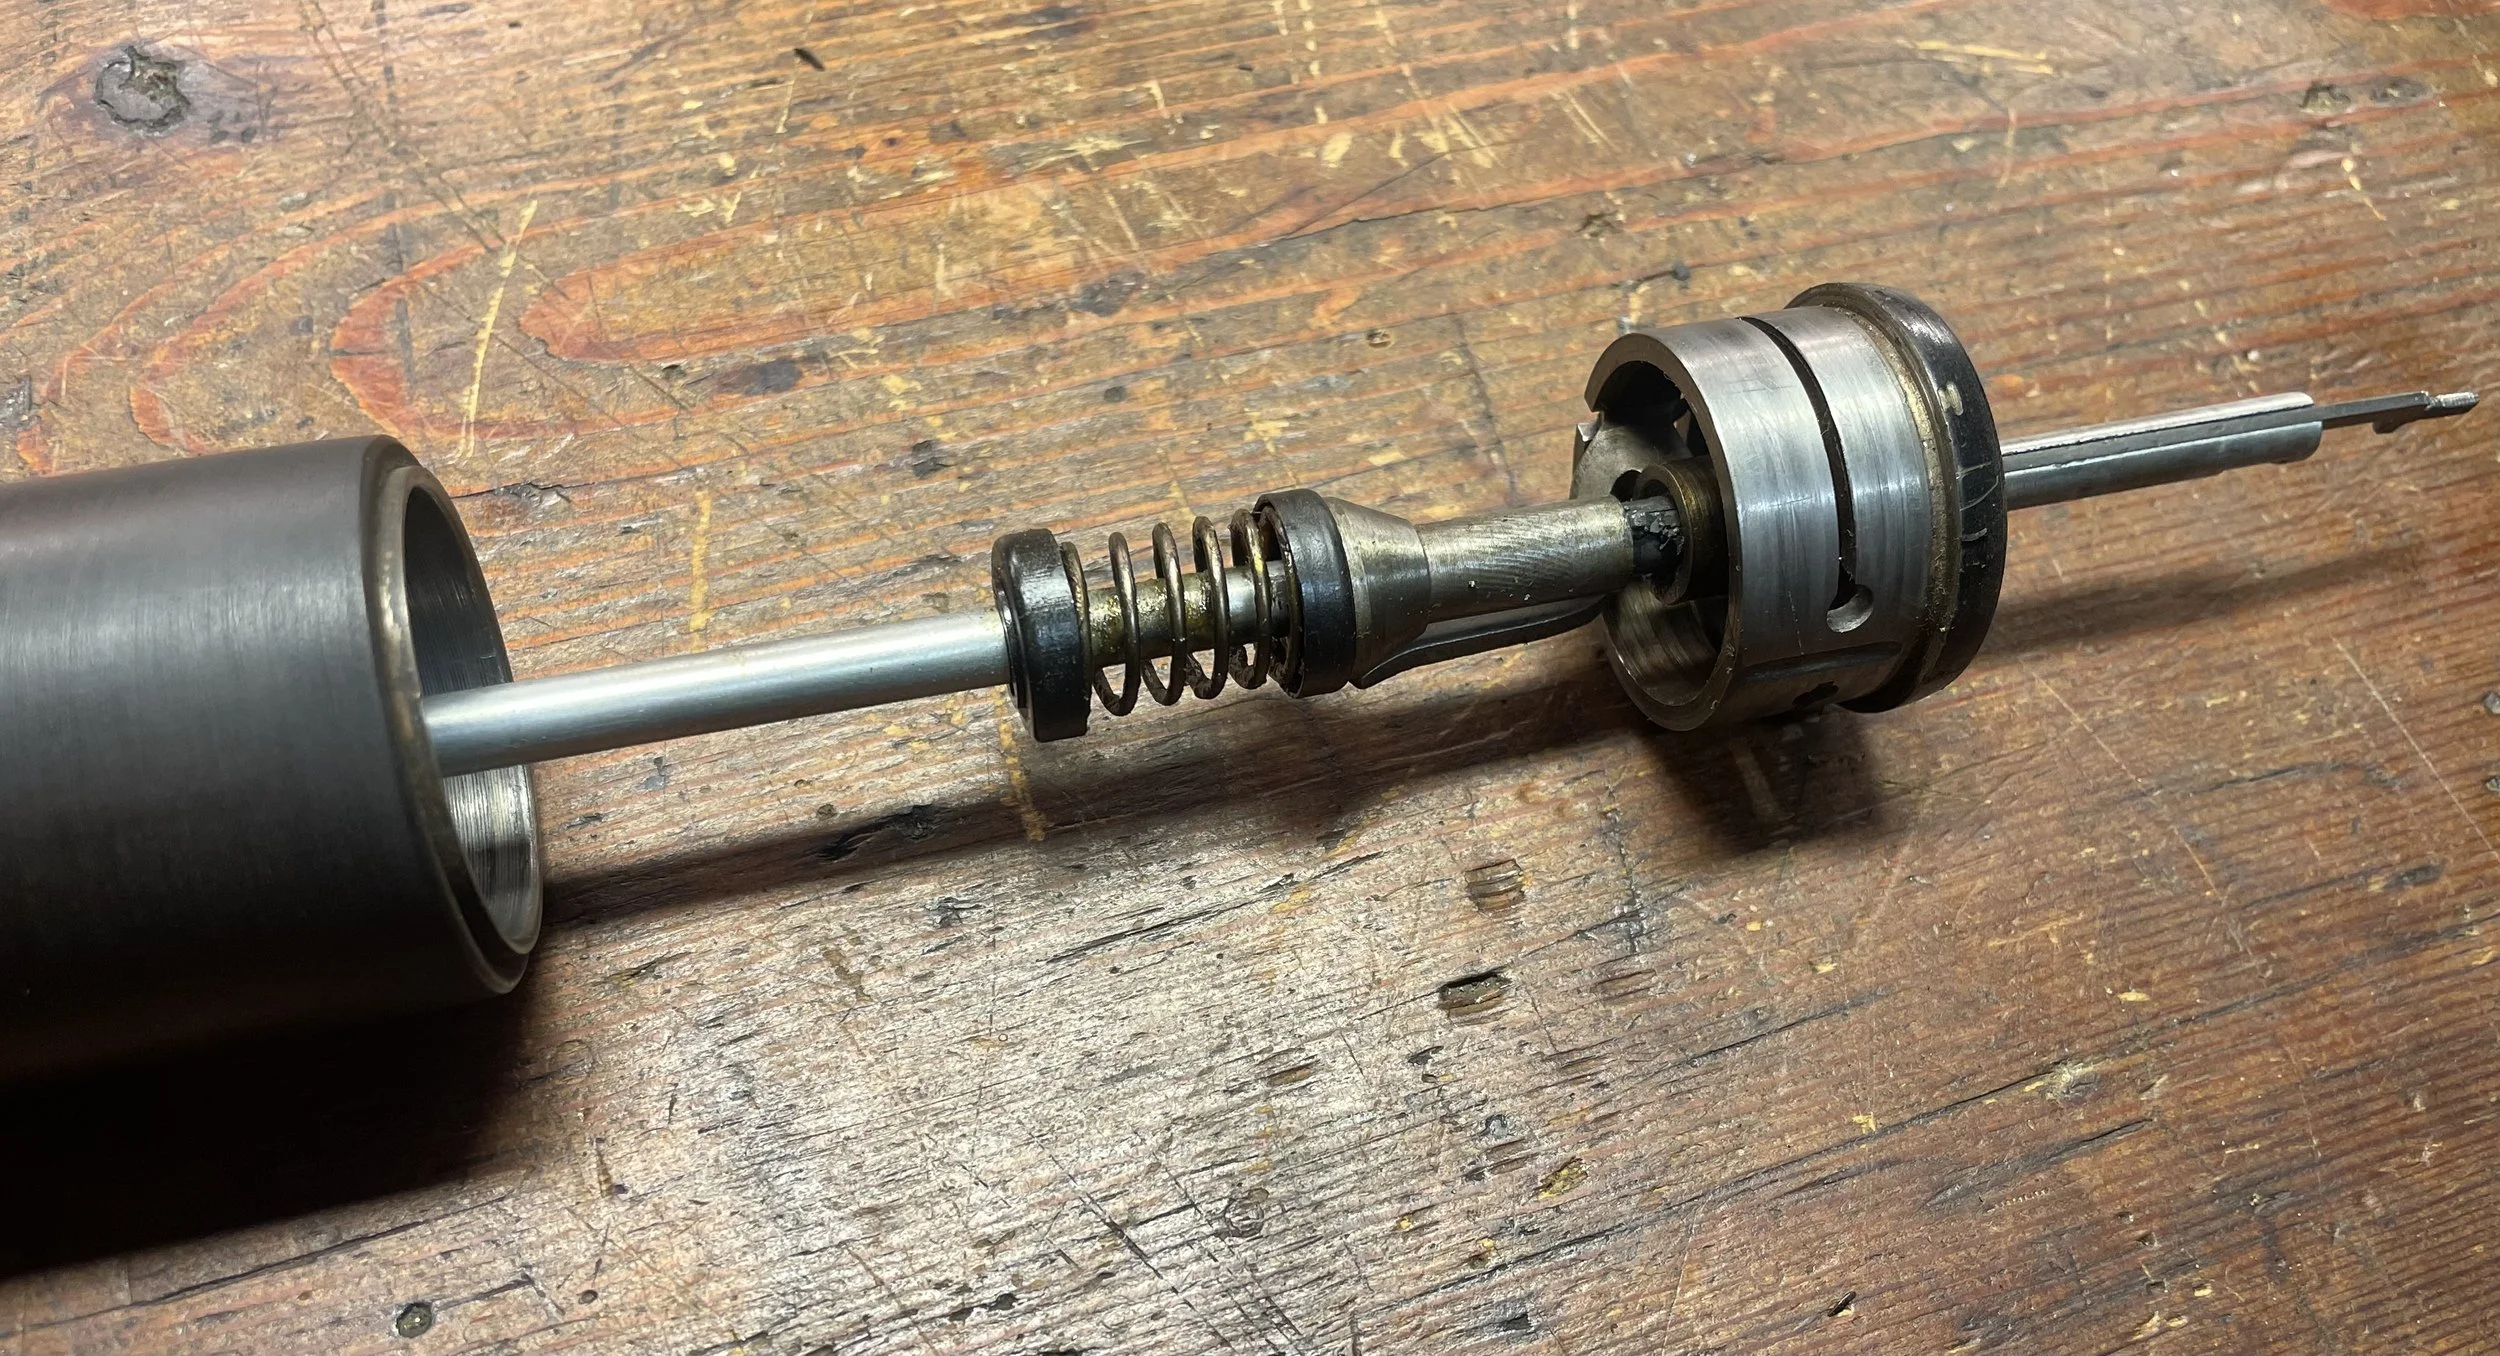
To put it back one needs to disengage the clutch pivoting arm, otherwise it will prevent the assembly to glide into platen´s cylinder. Easiest is to turn the platen up-side-down and press the business end towards the bench. This compresses the clutch and retracts pivoting arm. Now the platen can freely glide over it.
It is this arm which holds against internal cylinder and keeps line ratchet from spinning in normal operation. To release line ratchet one compresses the spring which pulls back the arm, removing the friction.
As on all other machines. But on Erika it is a bit more elaborate, seems like.
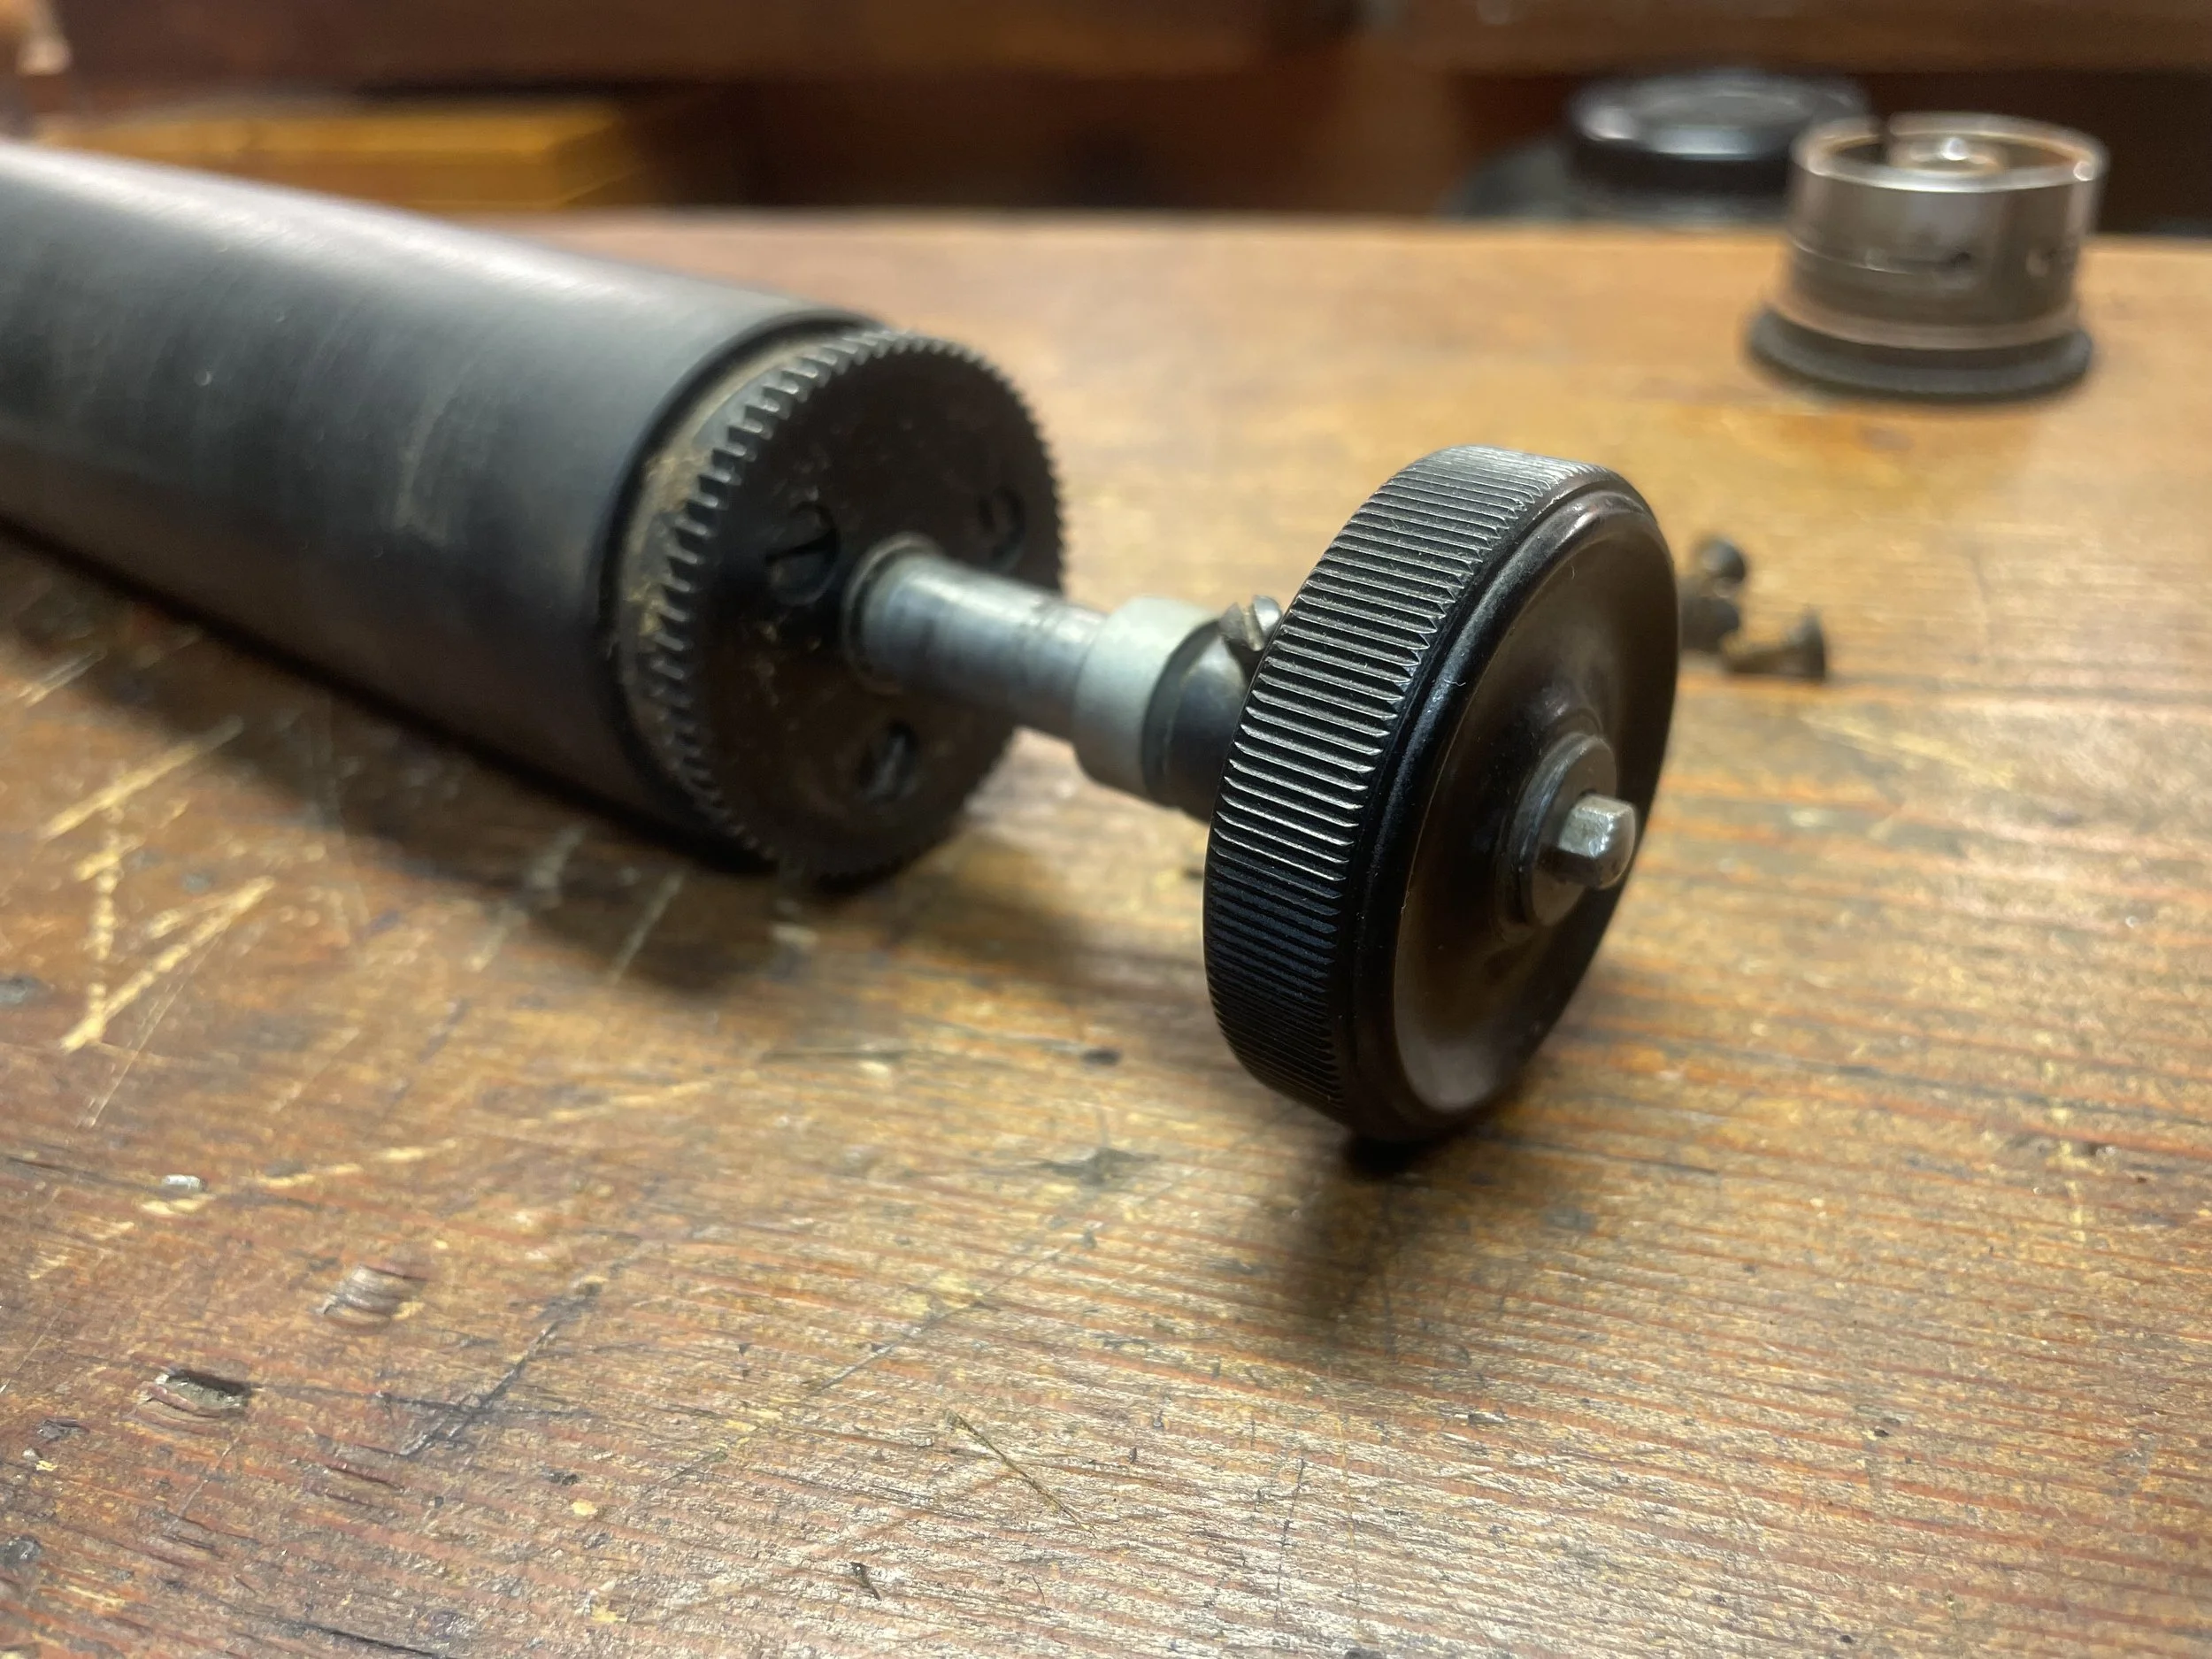
Now onto the platen itself. It seems it was re-coated at some stage, the rubber still has some life in it.
I decide to keep it and just smooth up the surface. Turns out very well.
A side note about butchered screws: when disassembling Grim´s machine, deep in the intestines of mechanism I found some spectacular examples of servicemen bad job. It cannot be the user, it was accessible only after removing big part of the mechanism:
So there were “butchers” in the old times, too!
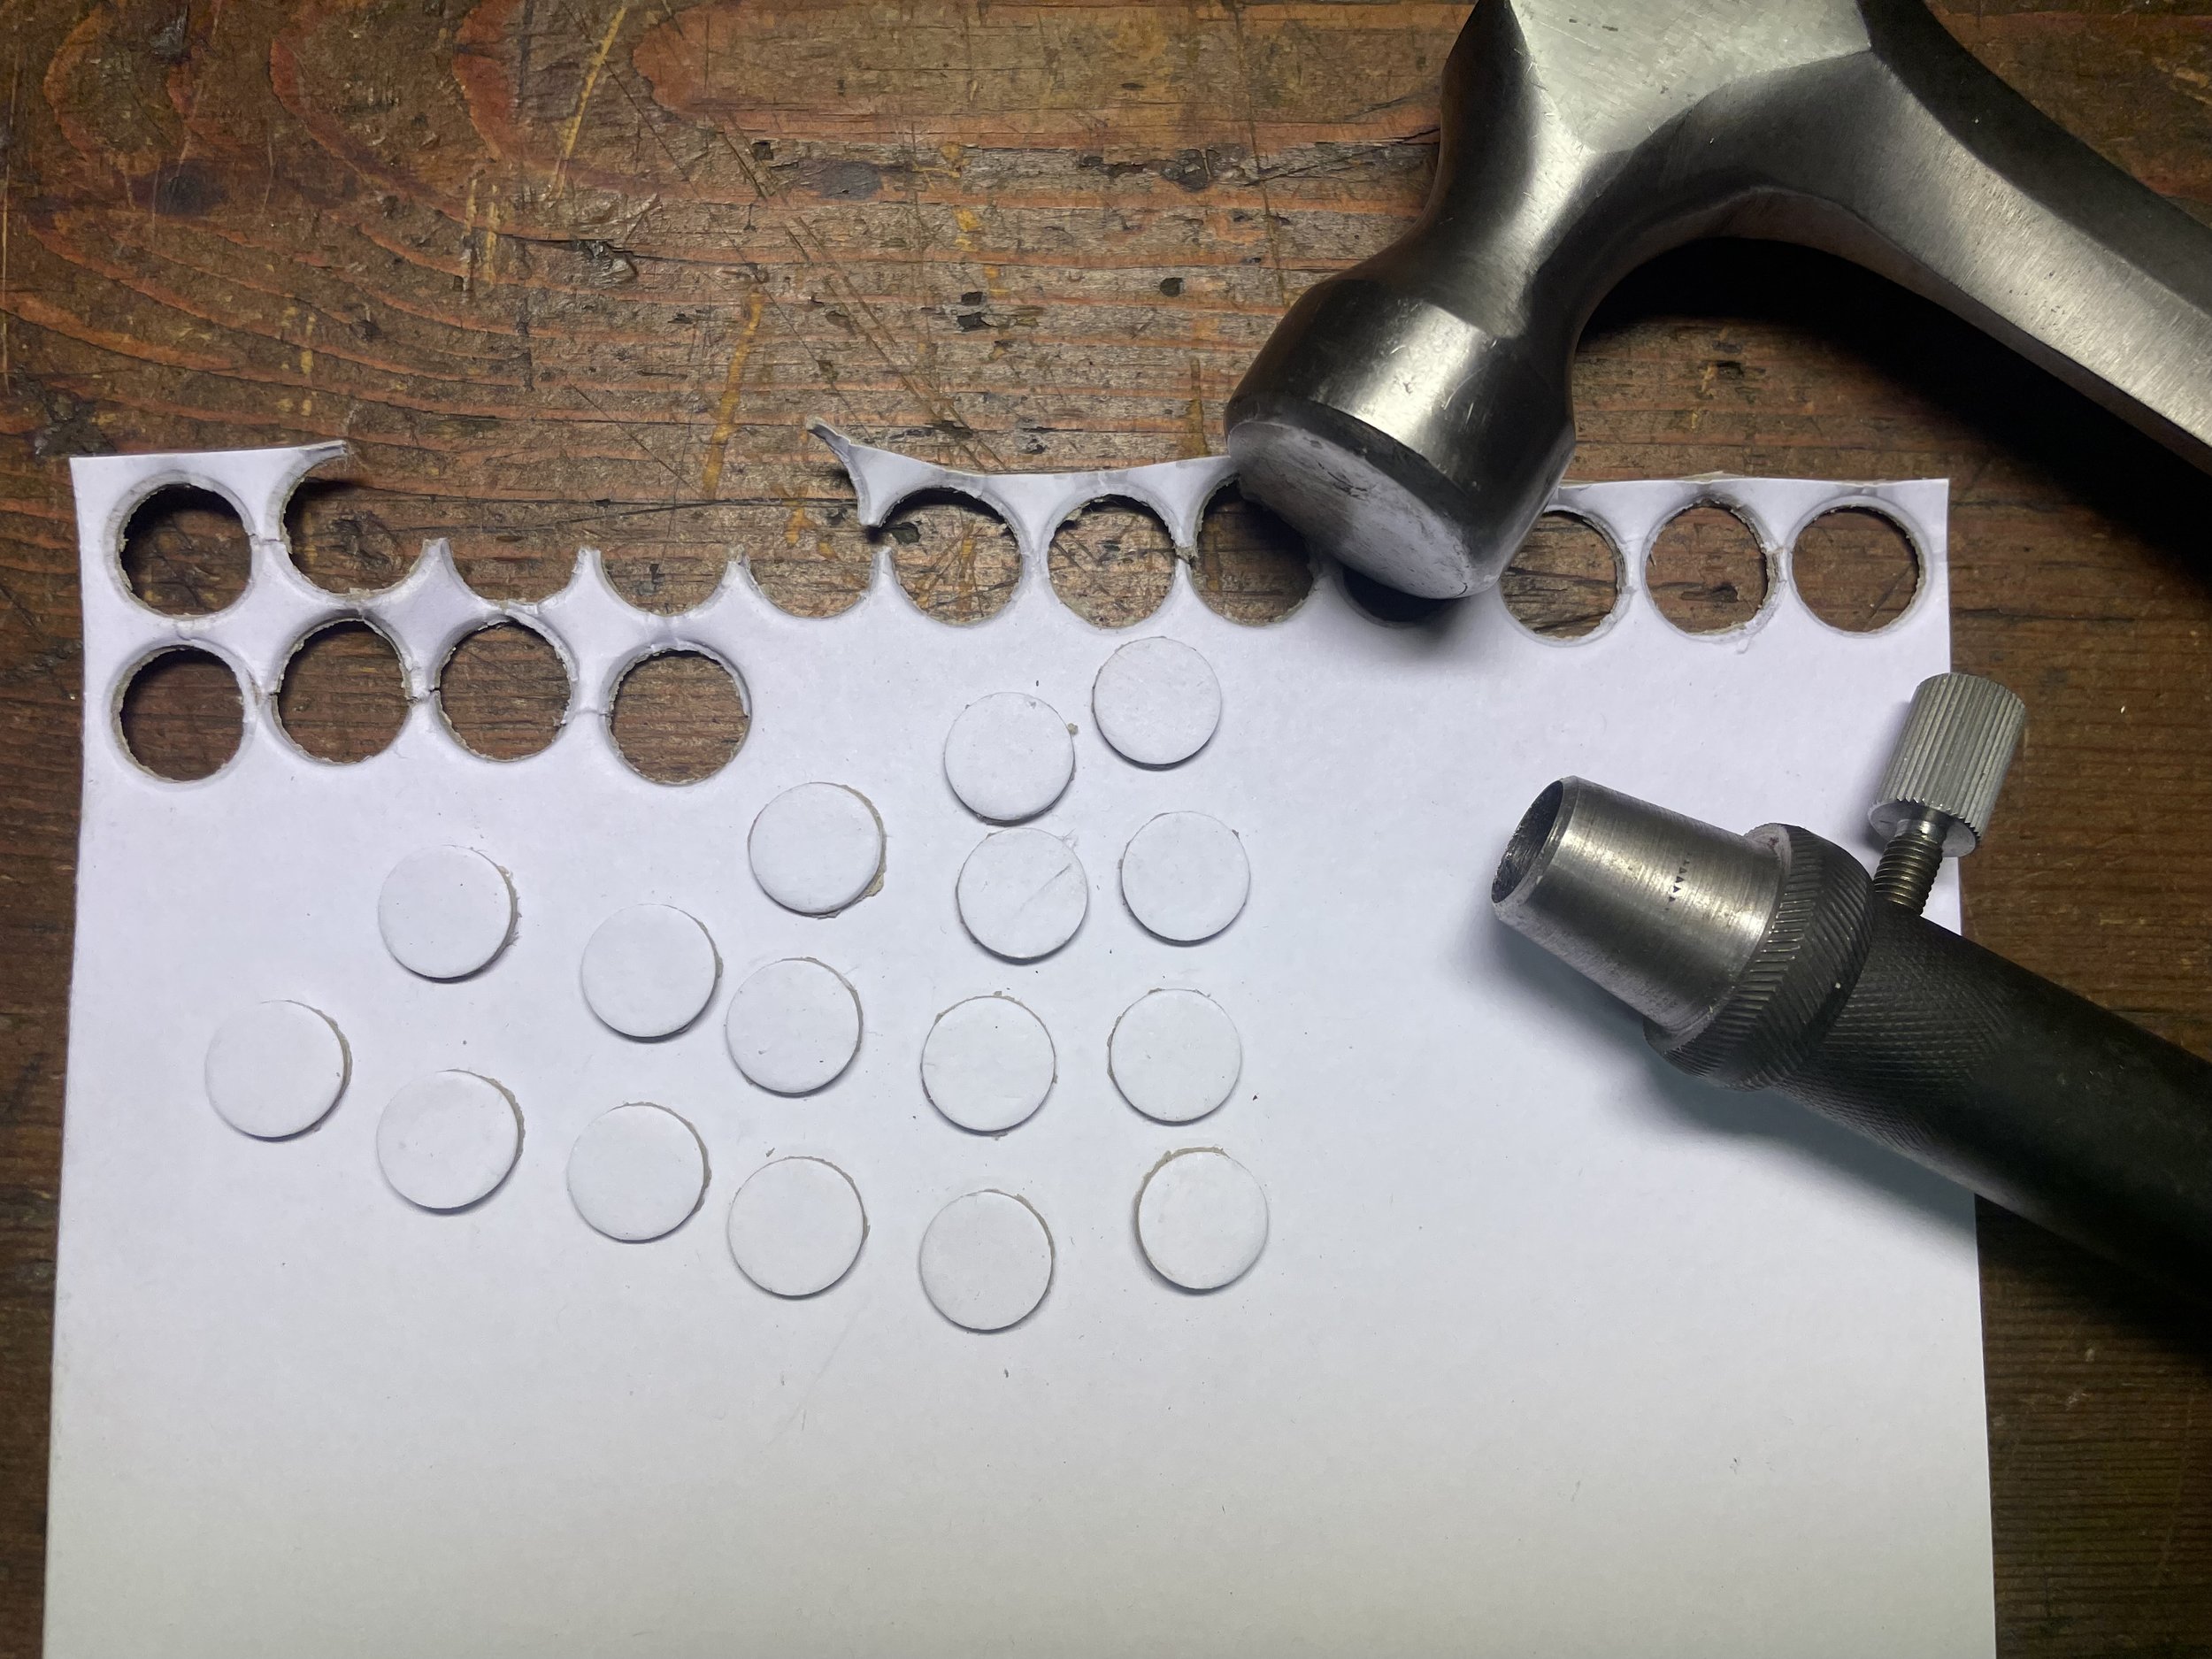
Now to the keys. I made two sets of key legends, printed on Sweden Bond (ivory white) and on standard, white paper (for Anton, extra-white fan):
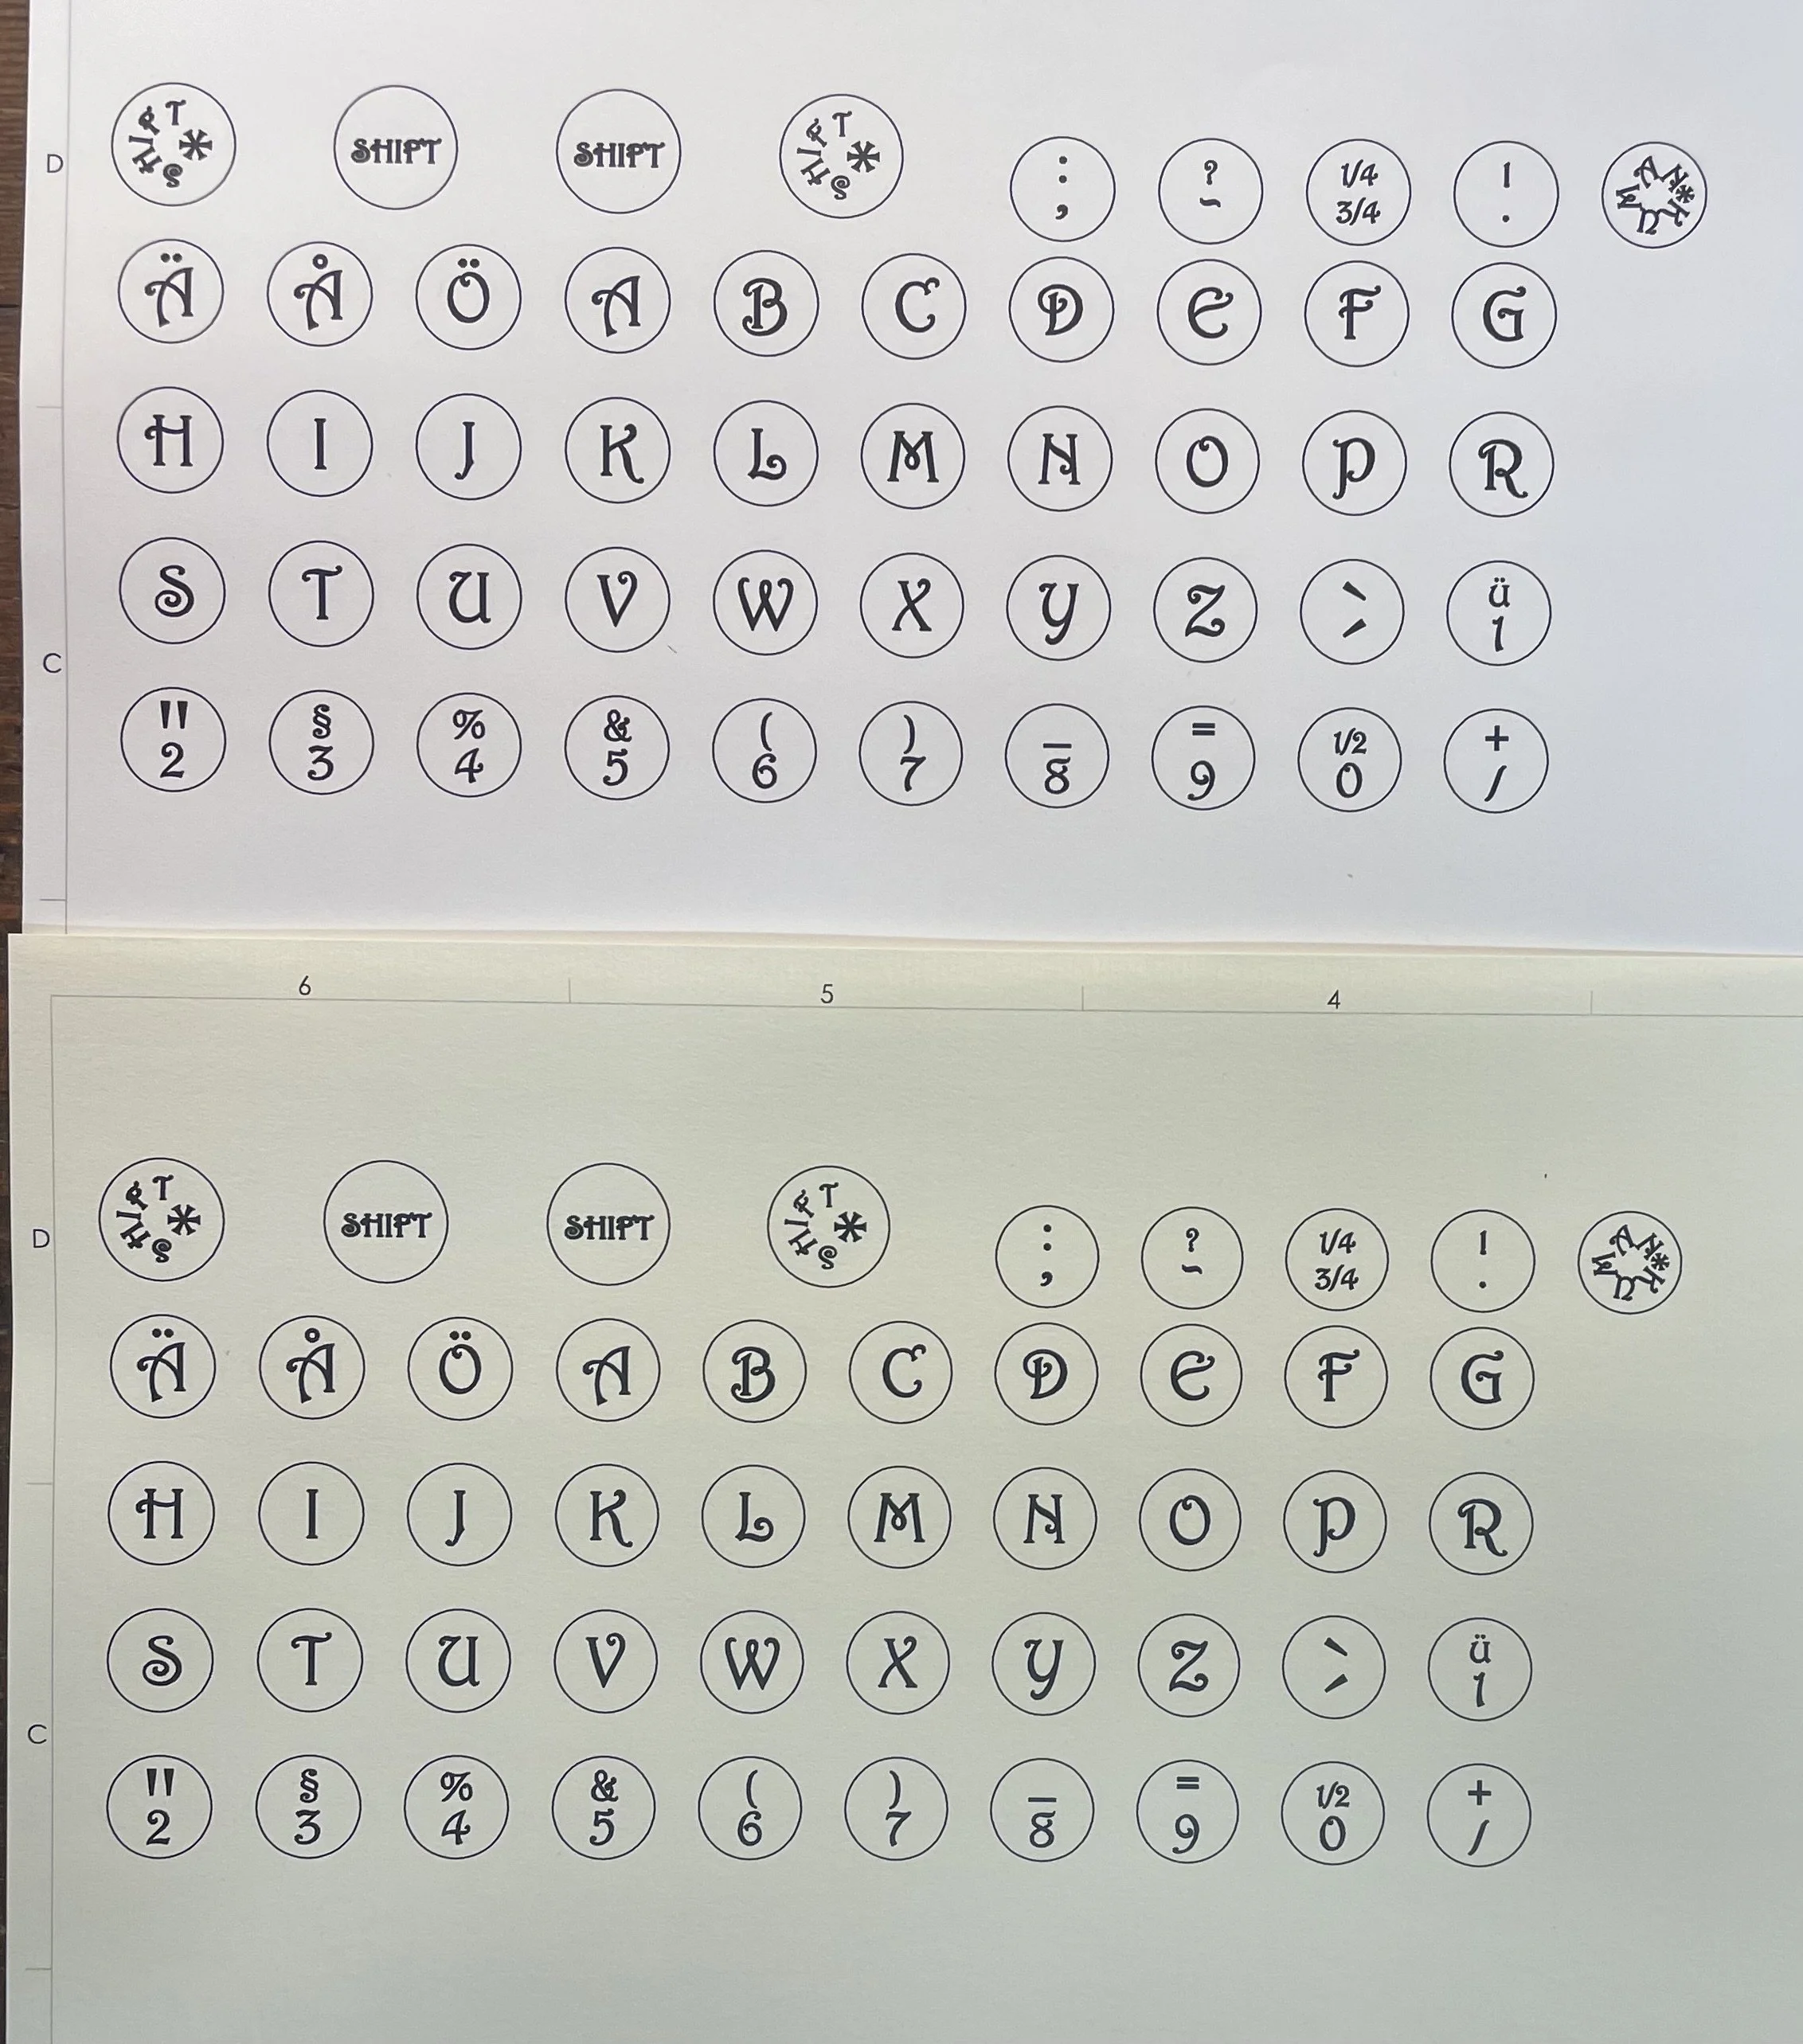
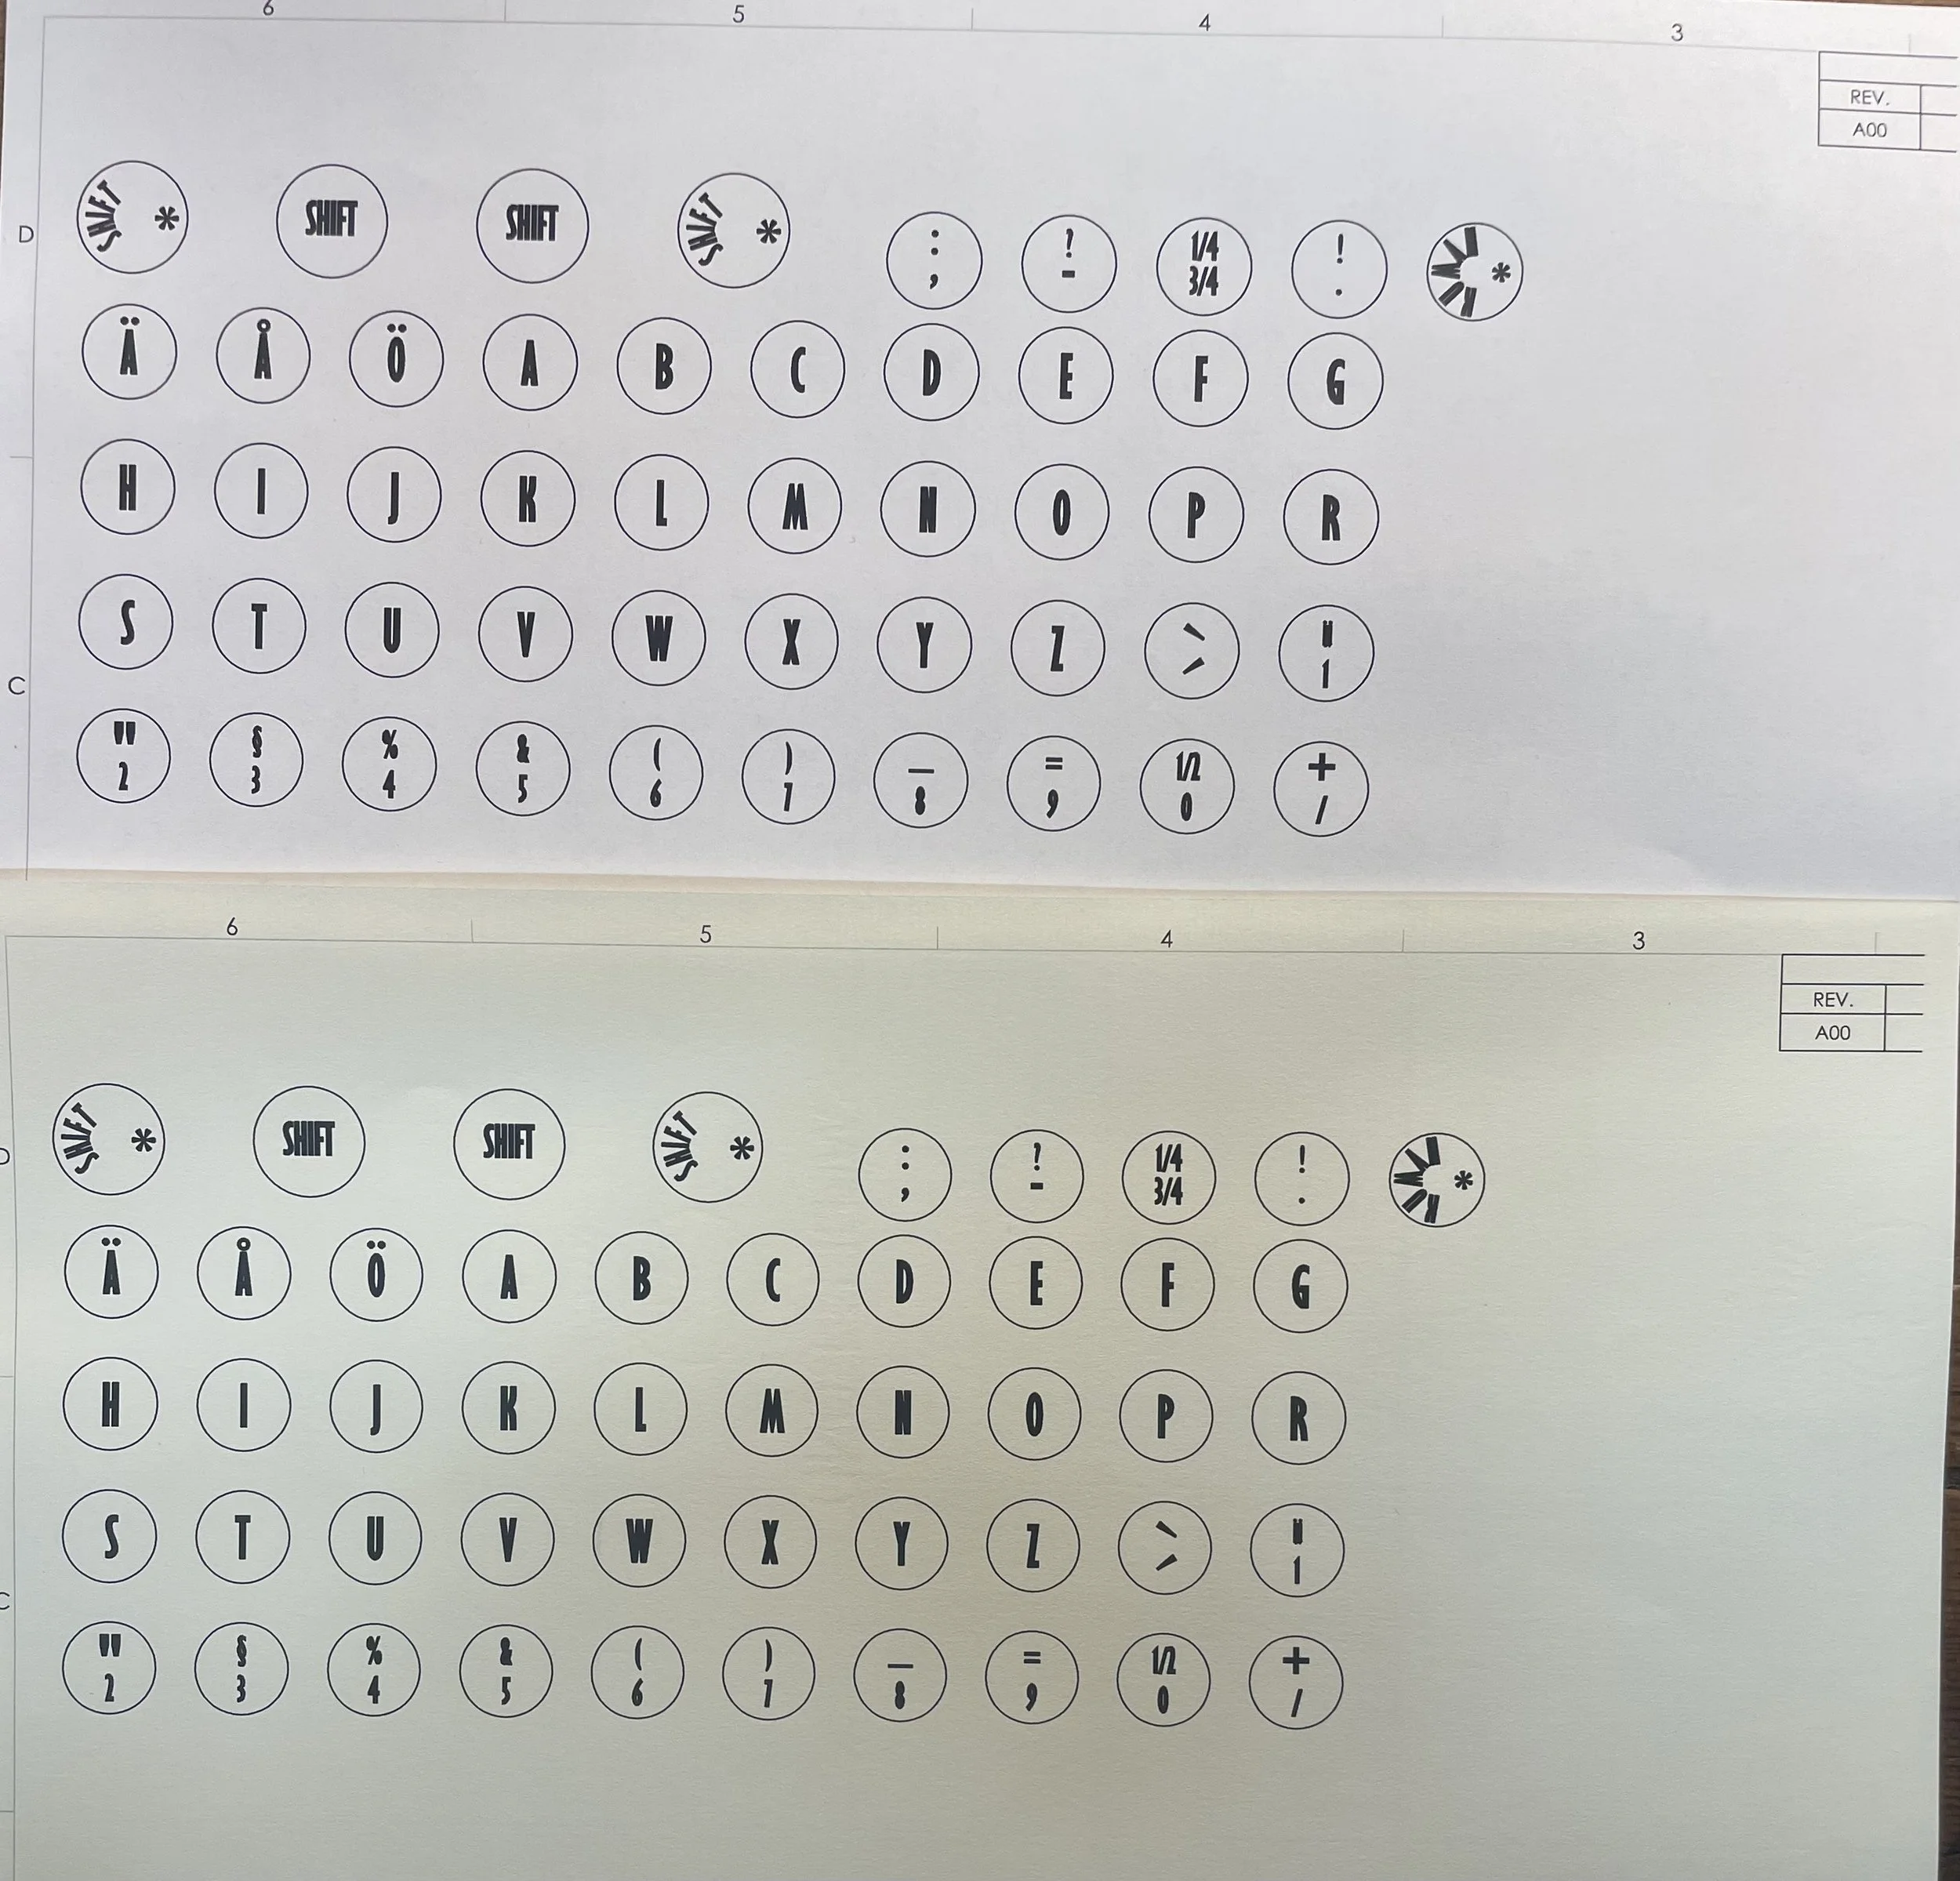
Given age of the machine I chose Sweden Bond, ivory paper. Typeface - I tried with key ring to have a better look.
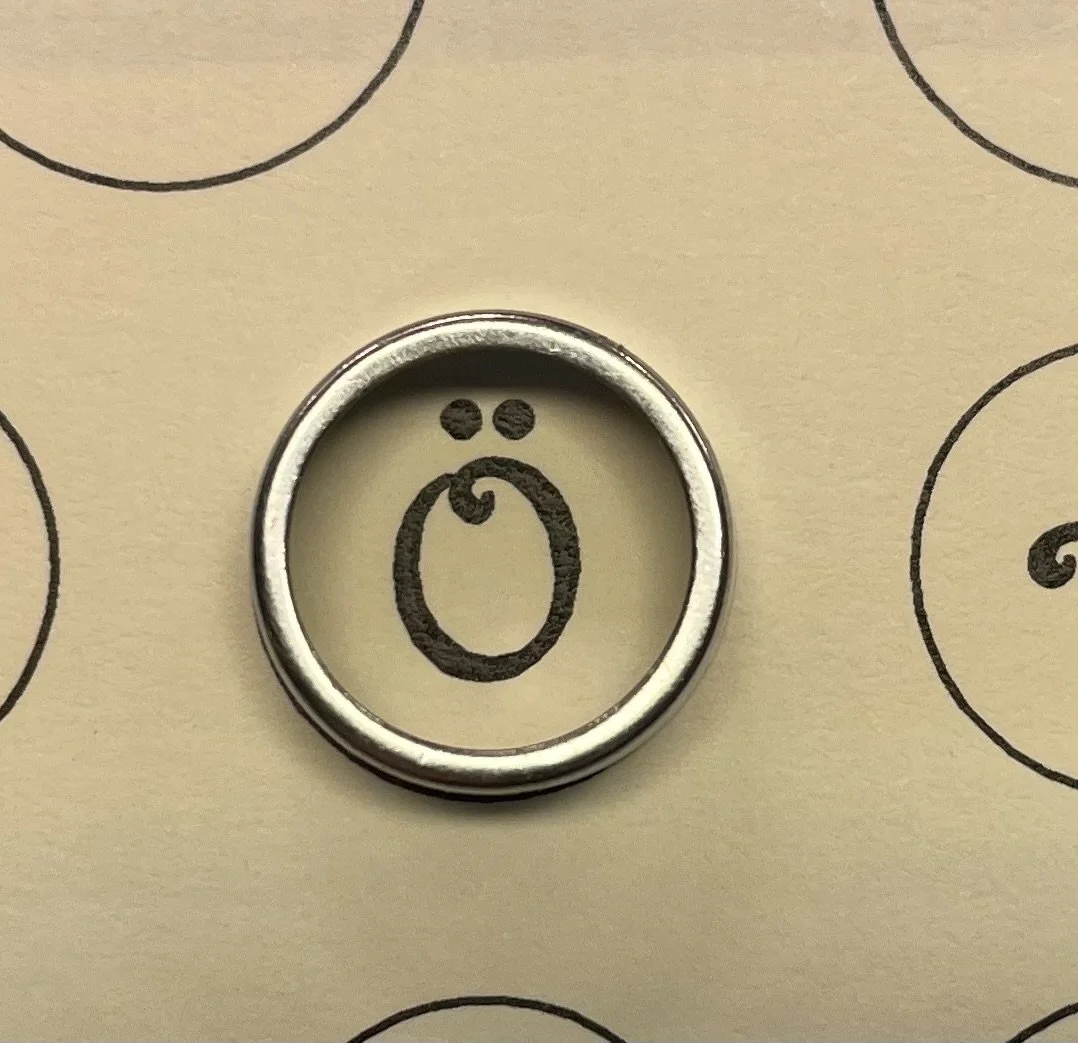
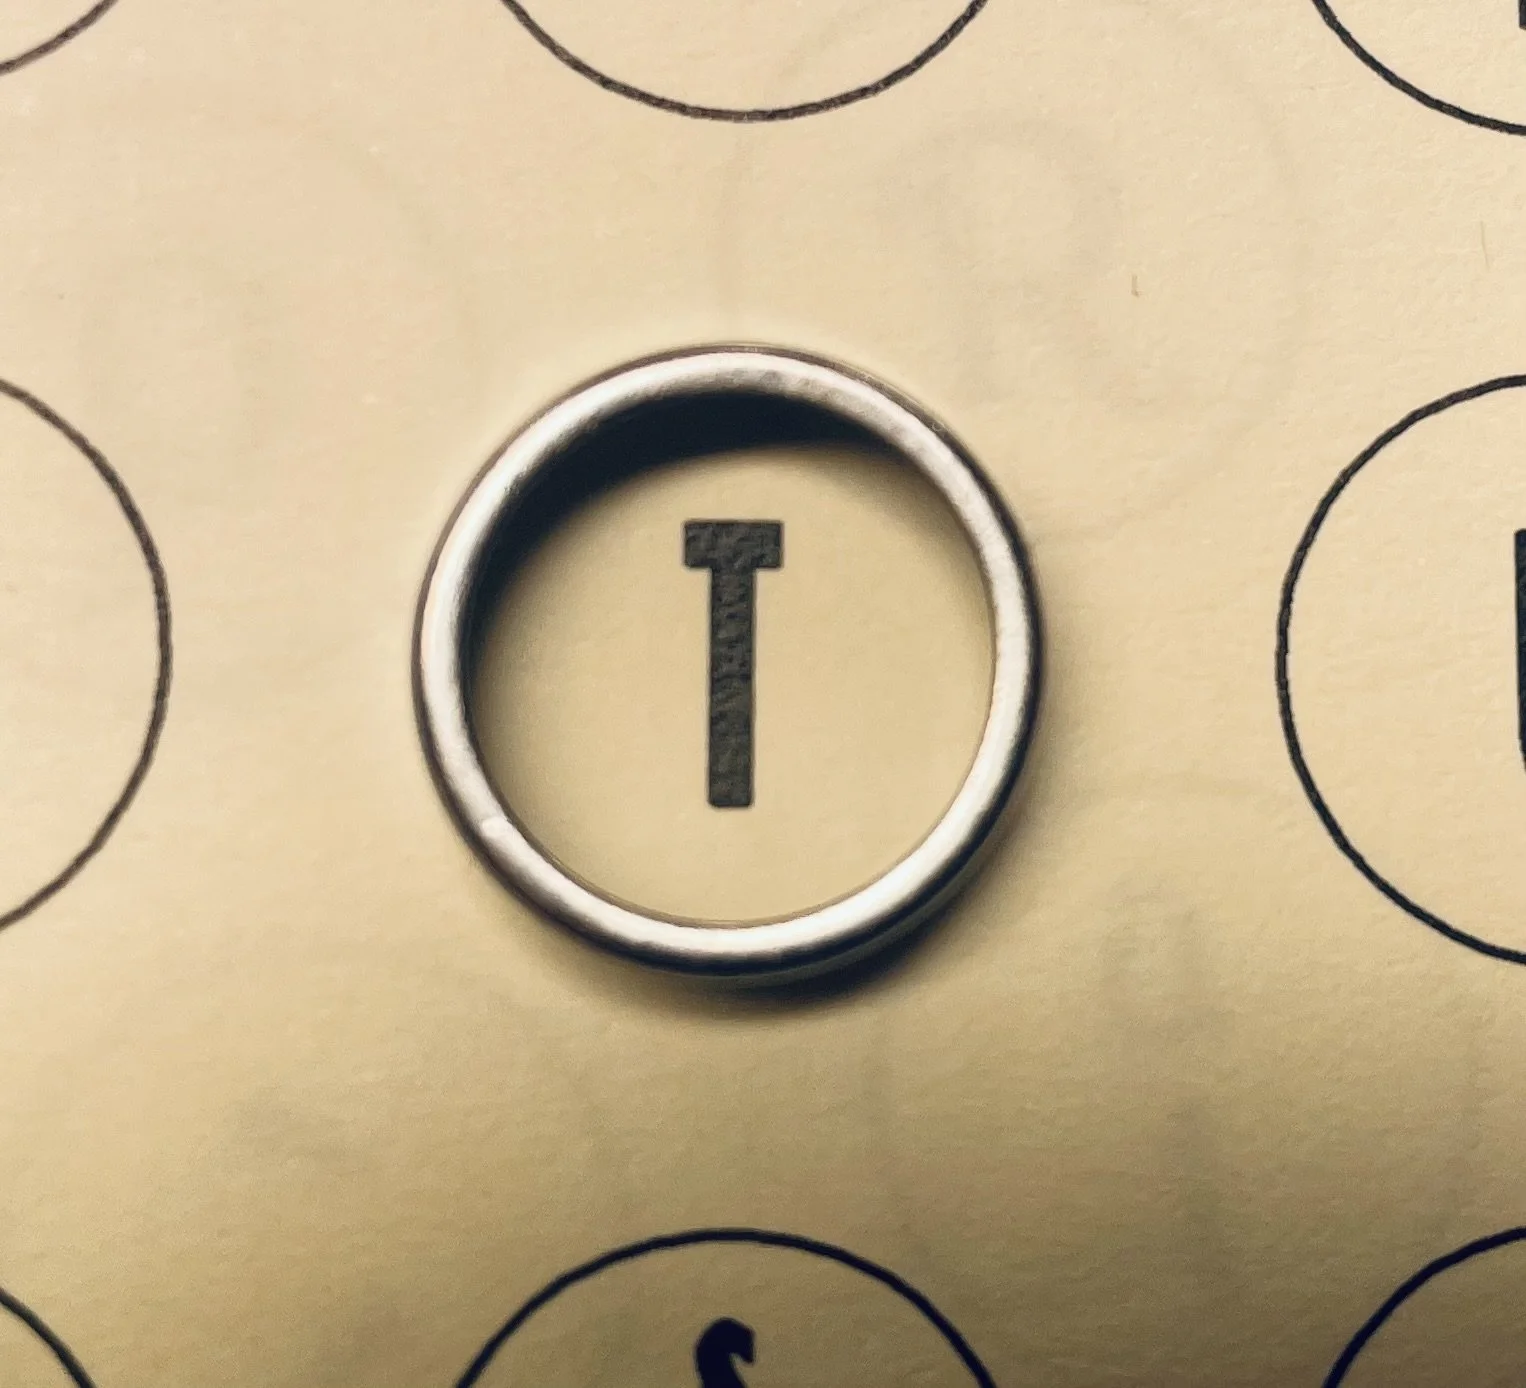
Harrington must it be!
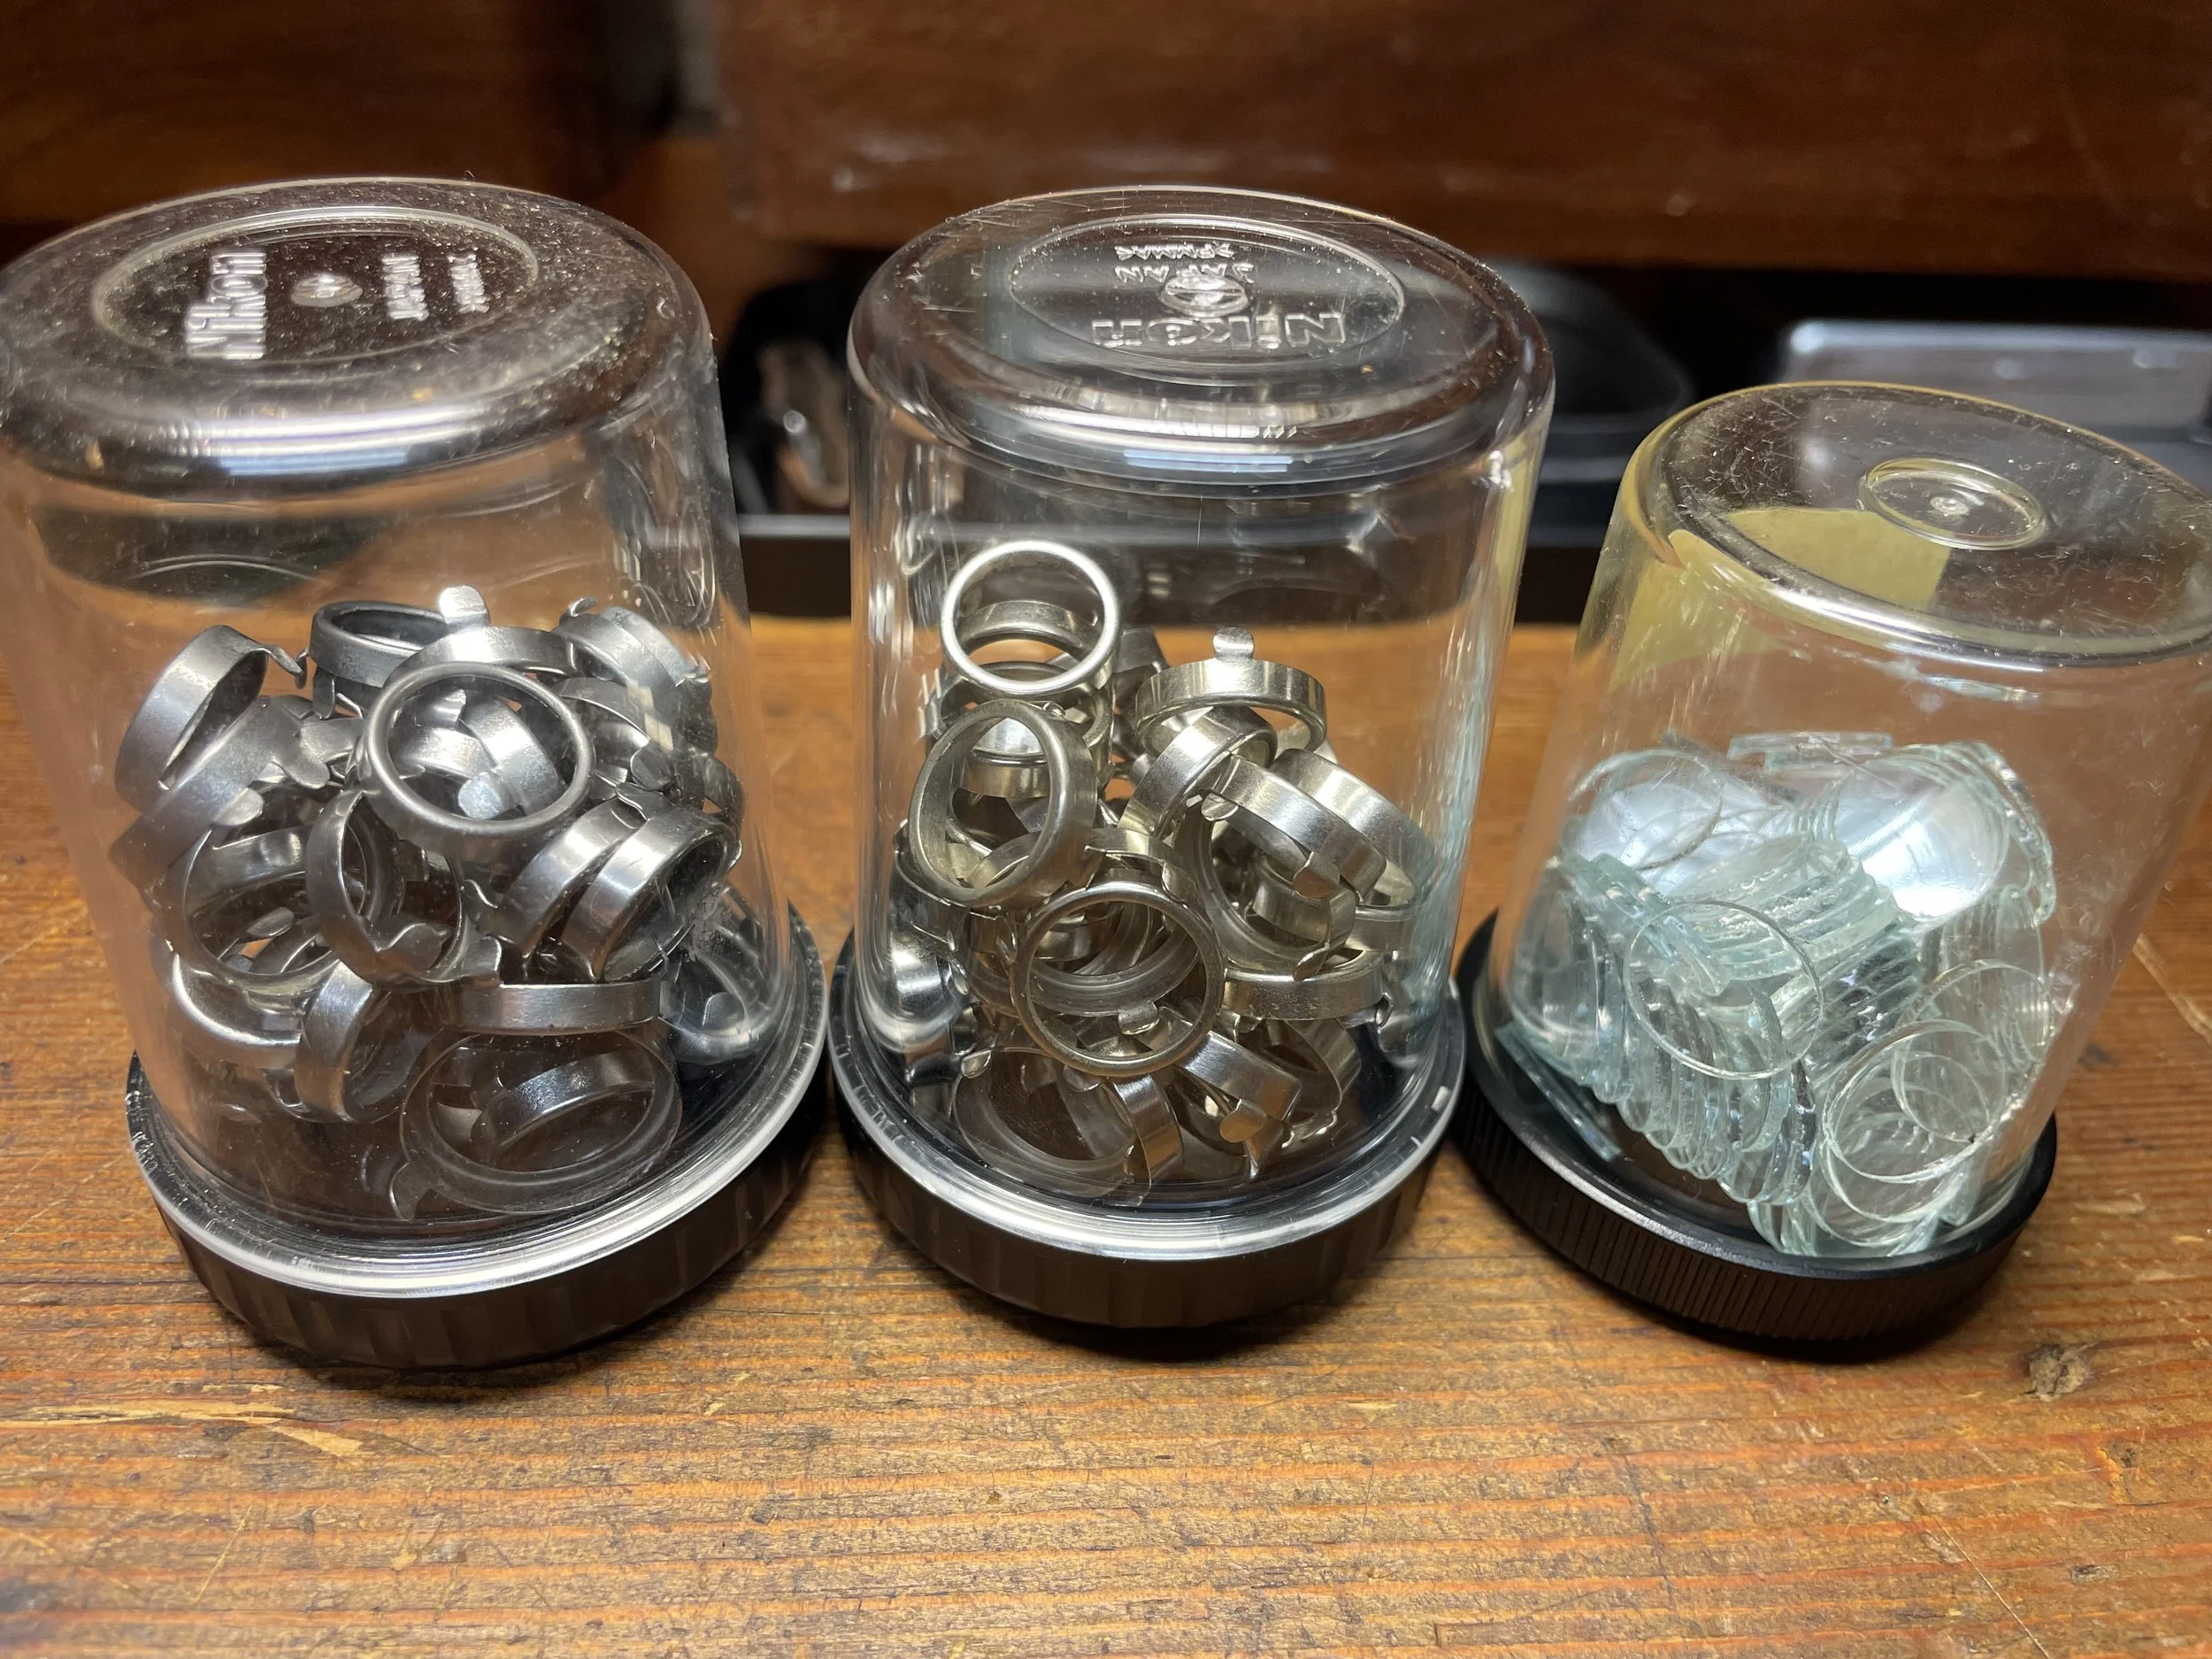
I have different sets of key rings and plating color differs on these when one puts them side-by-side.
That´s why I never mix them in one jar but keep different batches separately. Small differences, maybe, but will be visible if mixed up on one keyboard.
For ivory-white legends I chose warm-silver rings.
We need new cardboard spacers so I cut a set and glue onto key arms as it was originally.
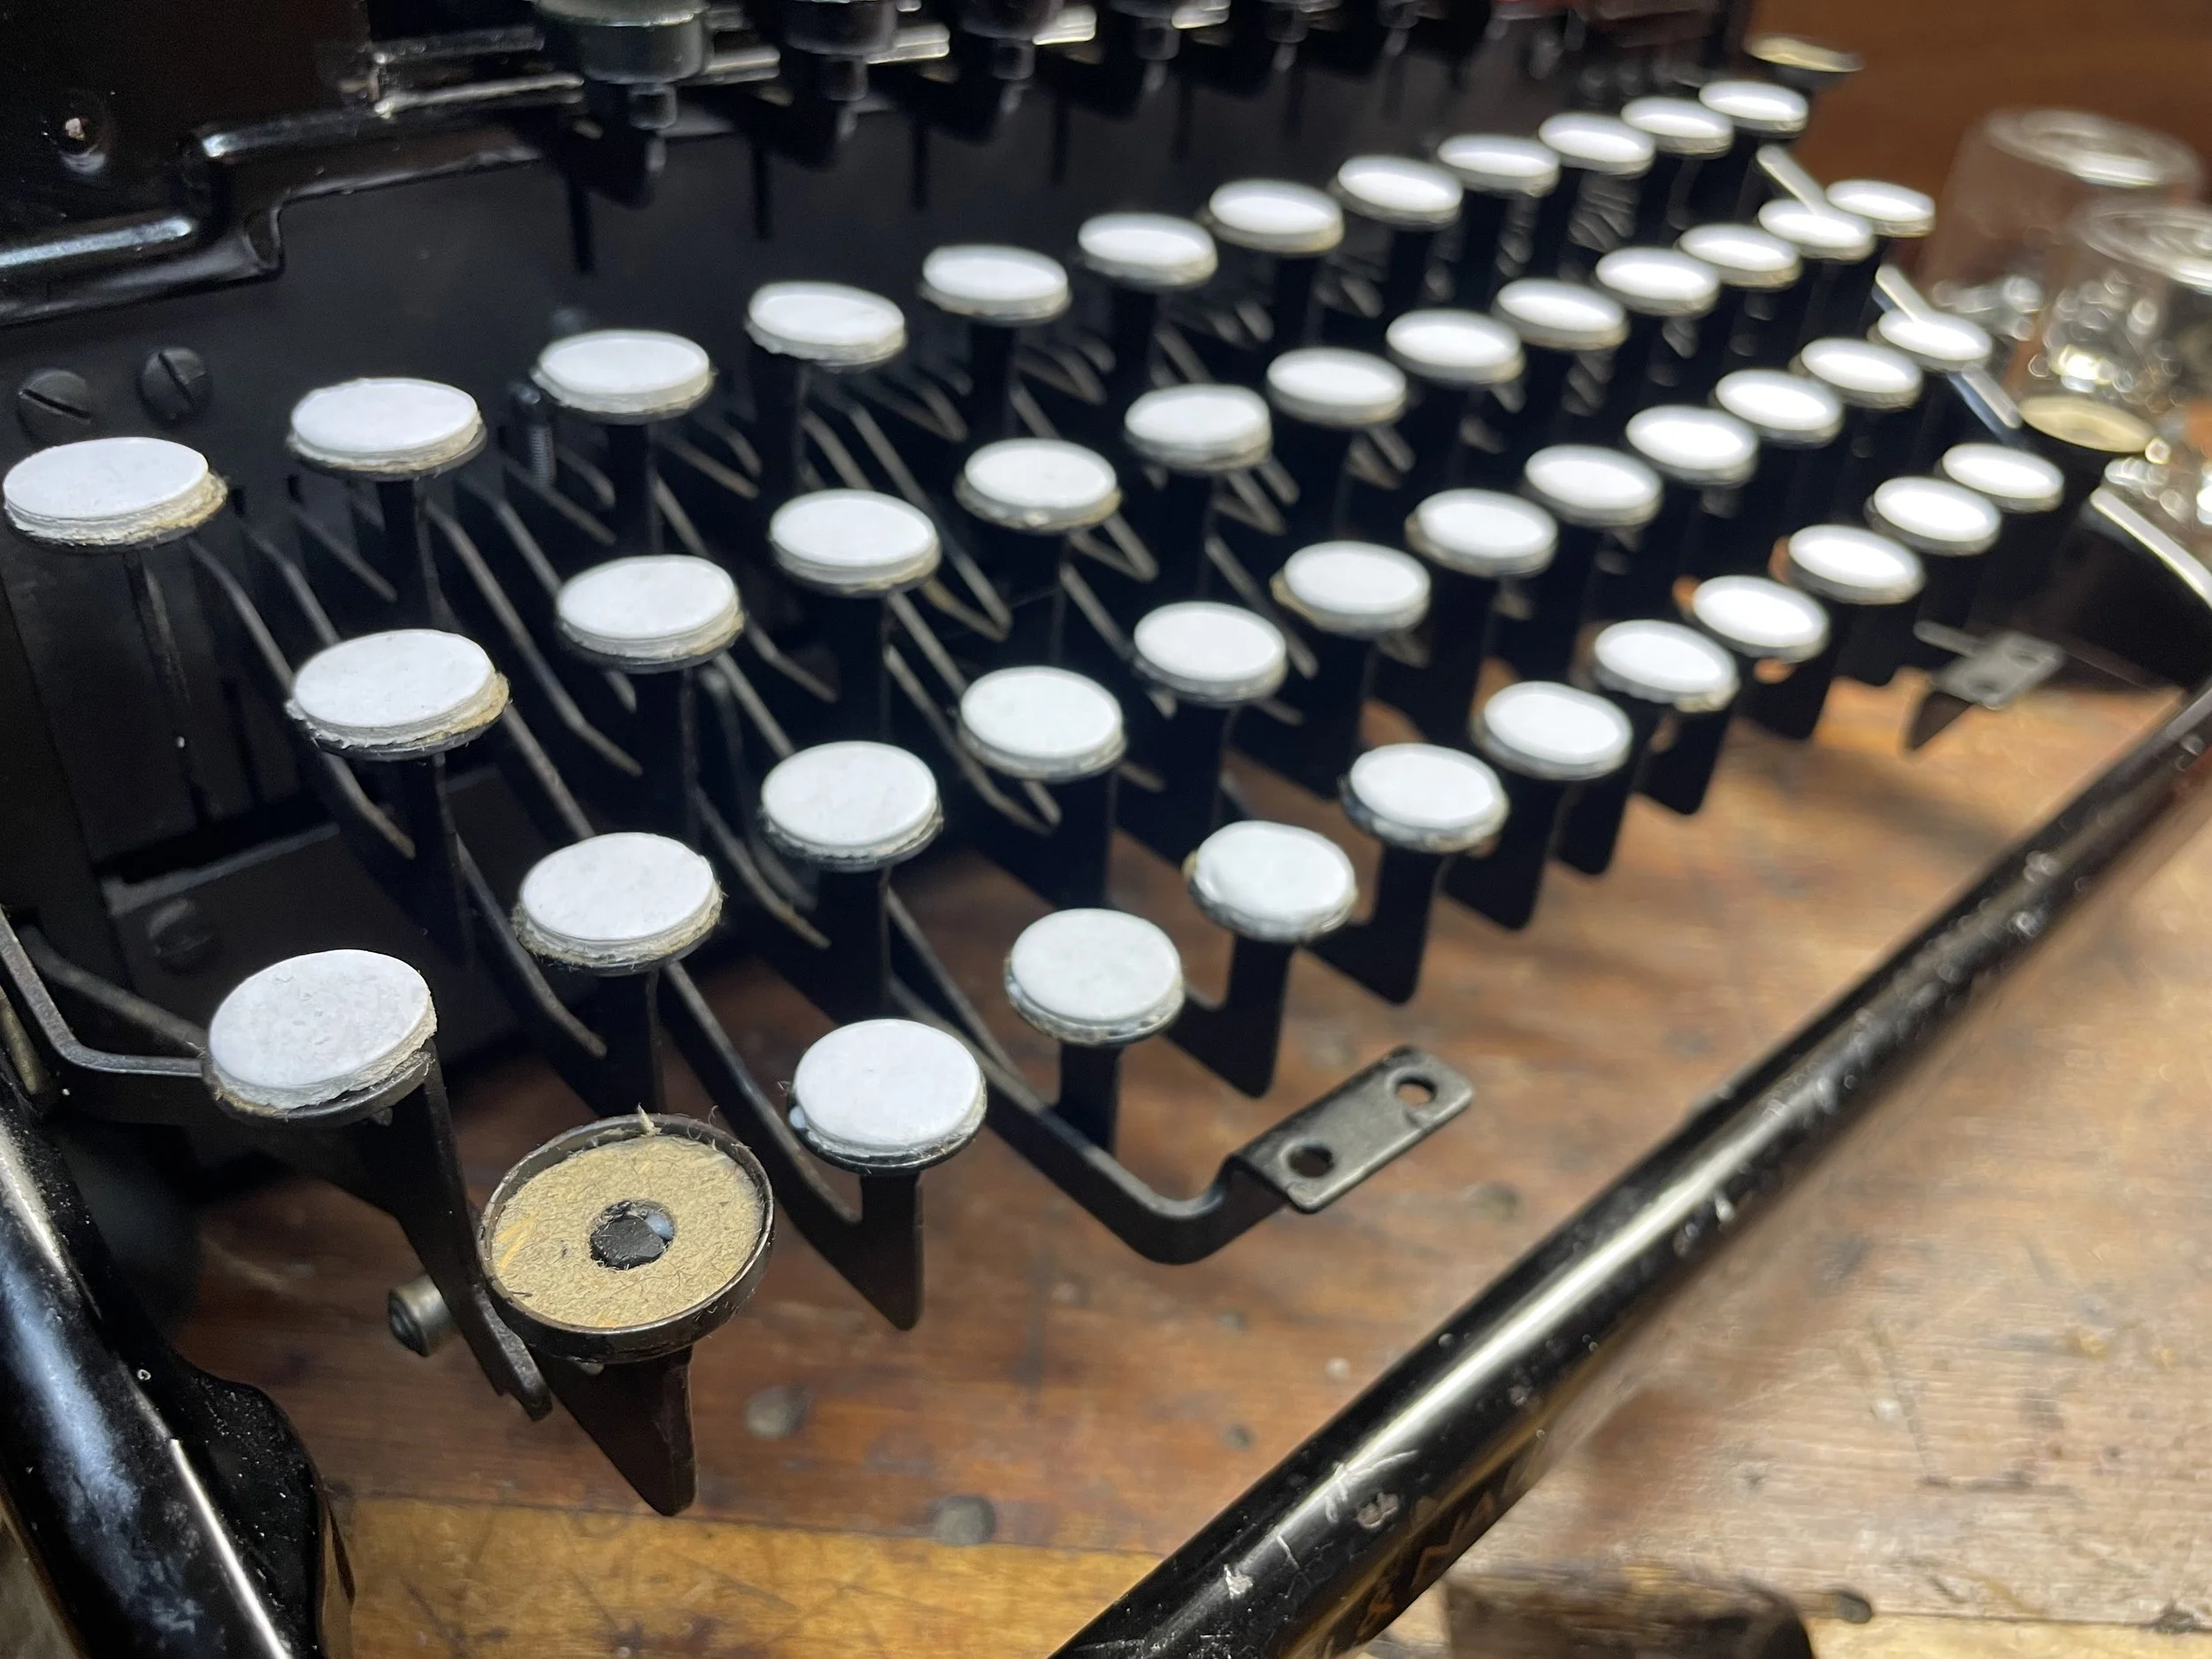
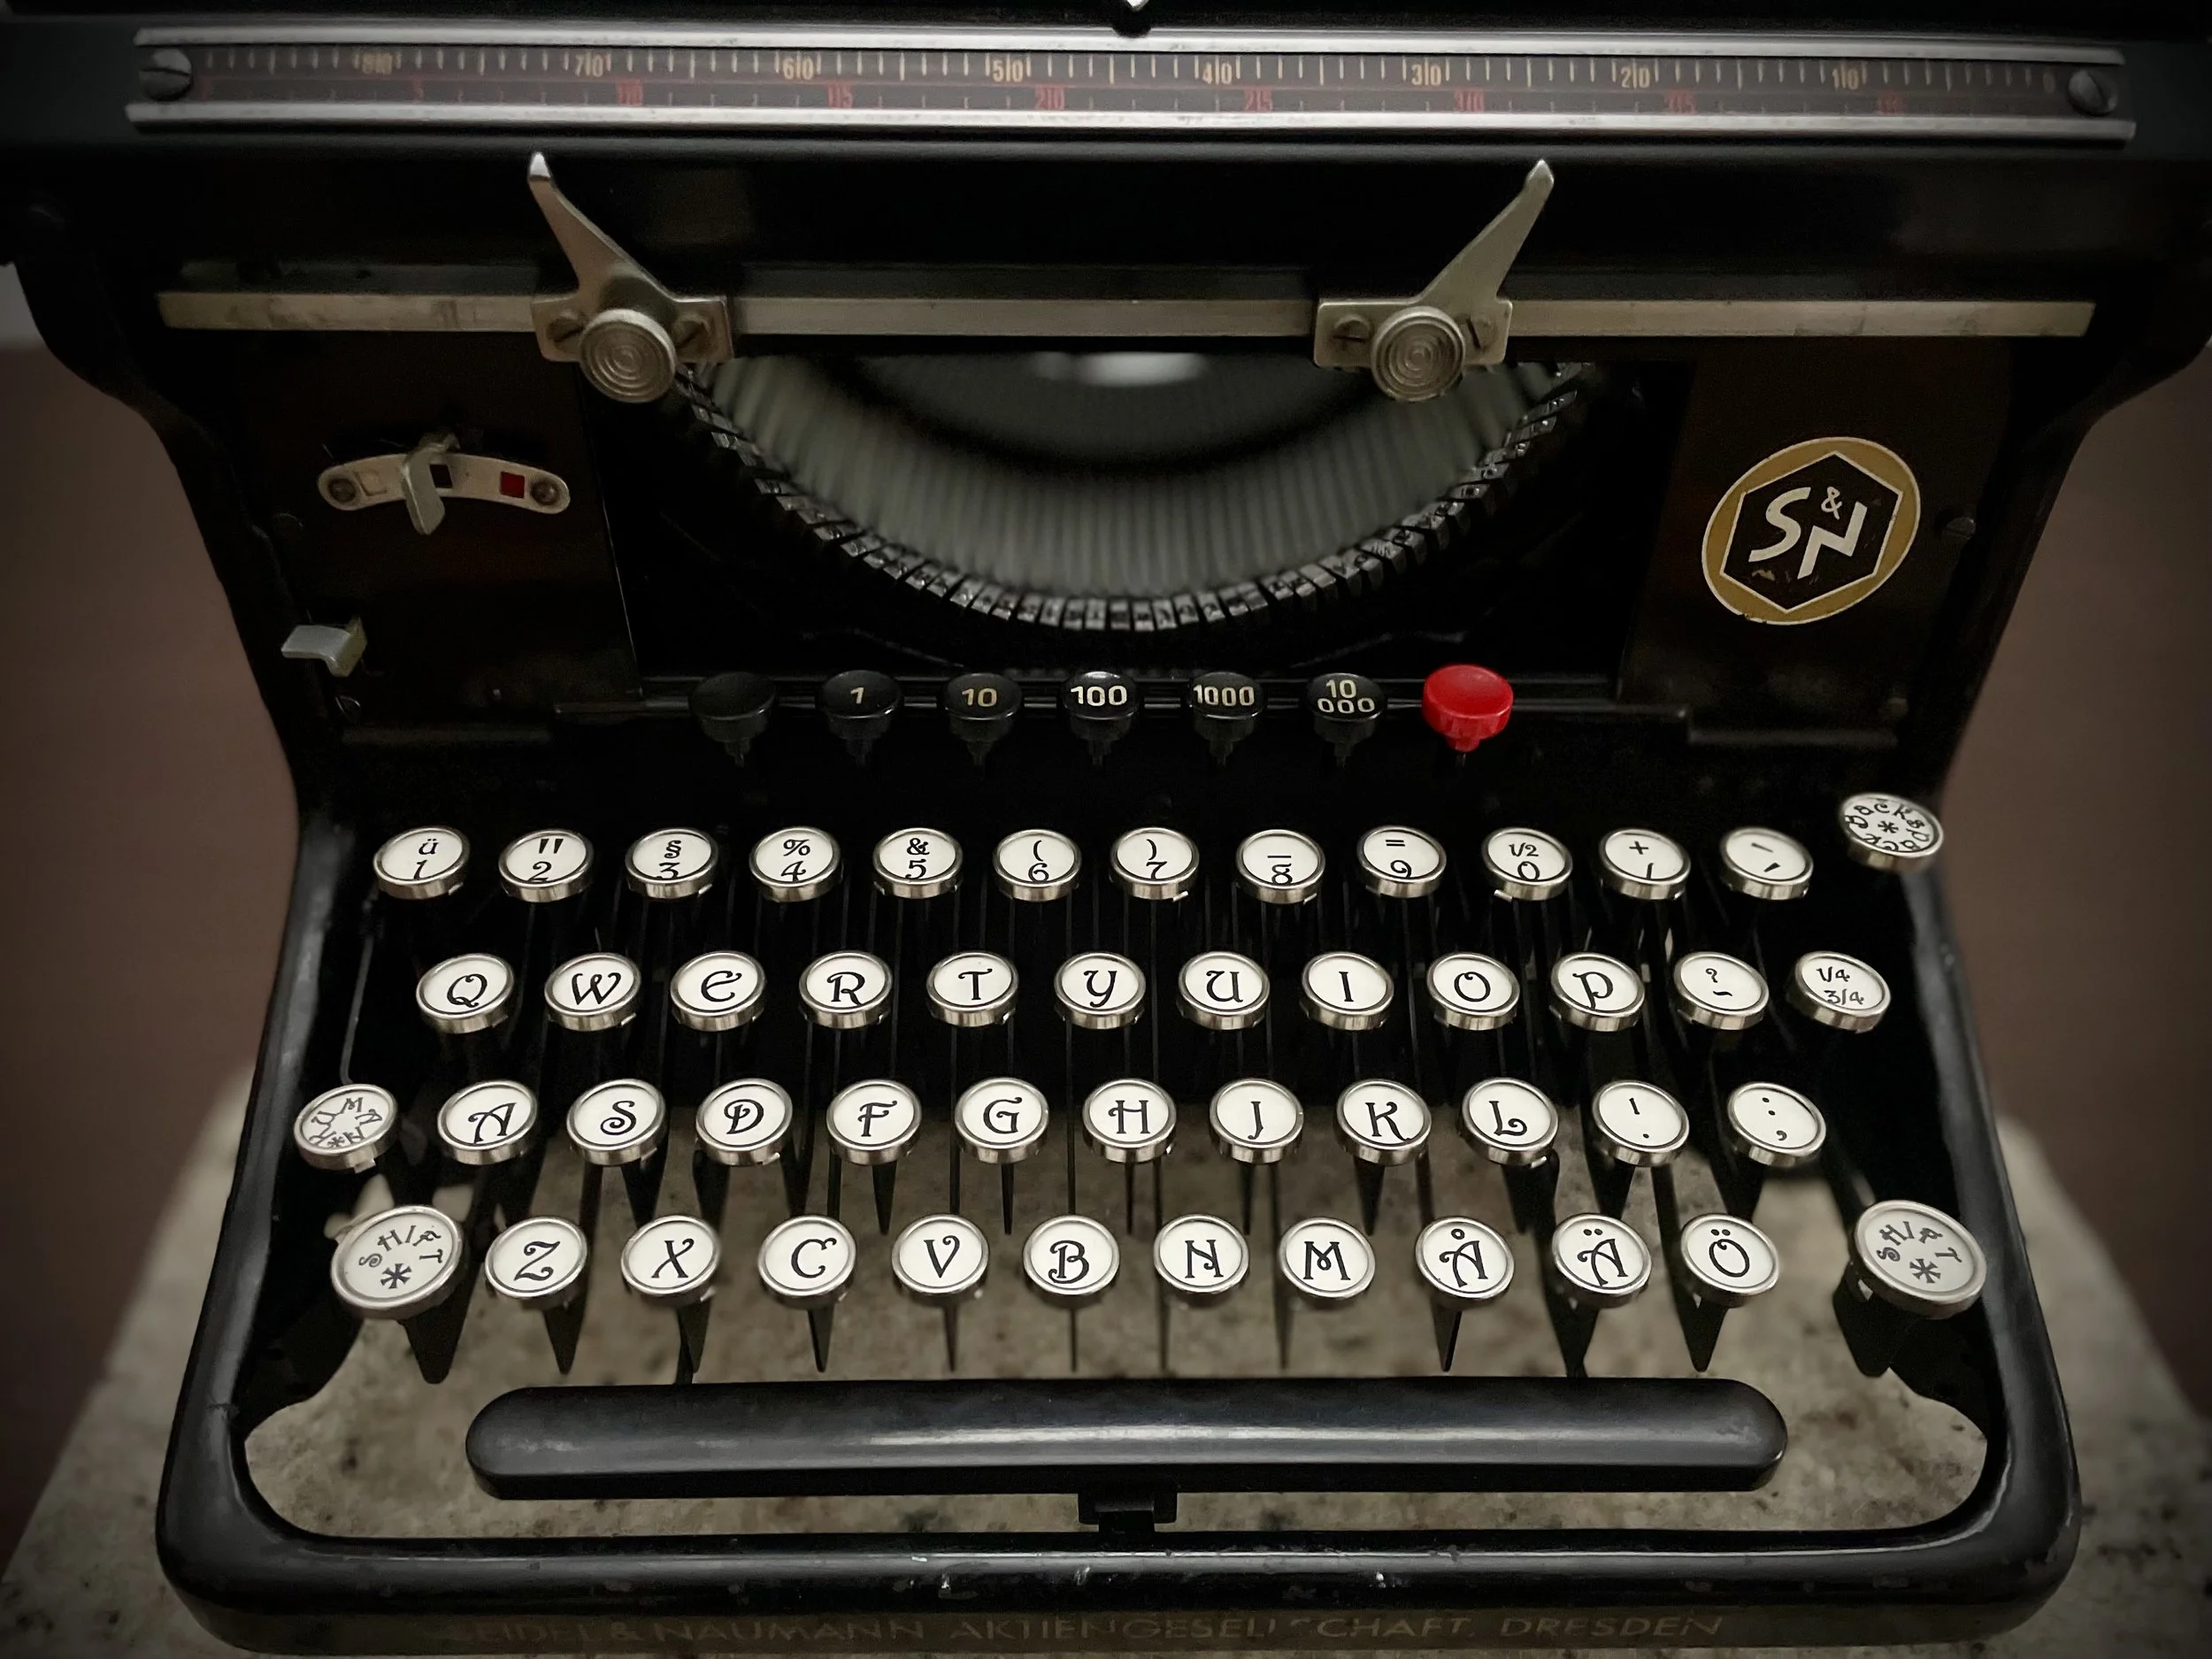
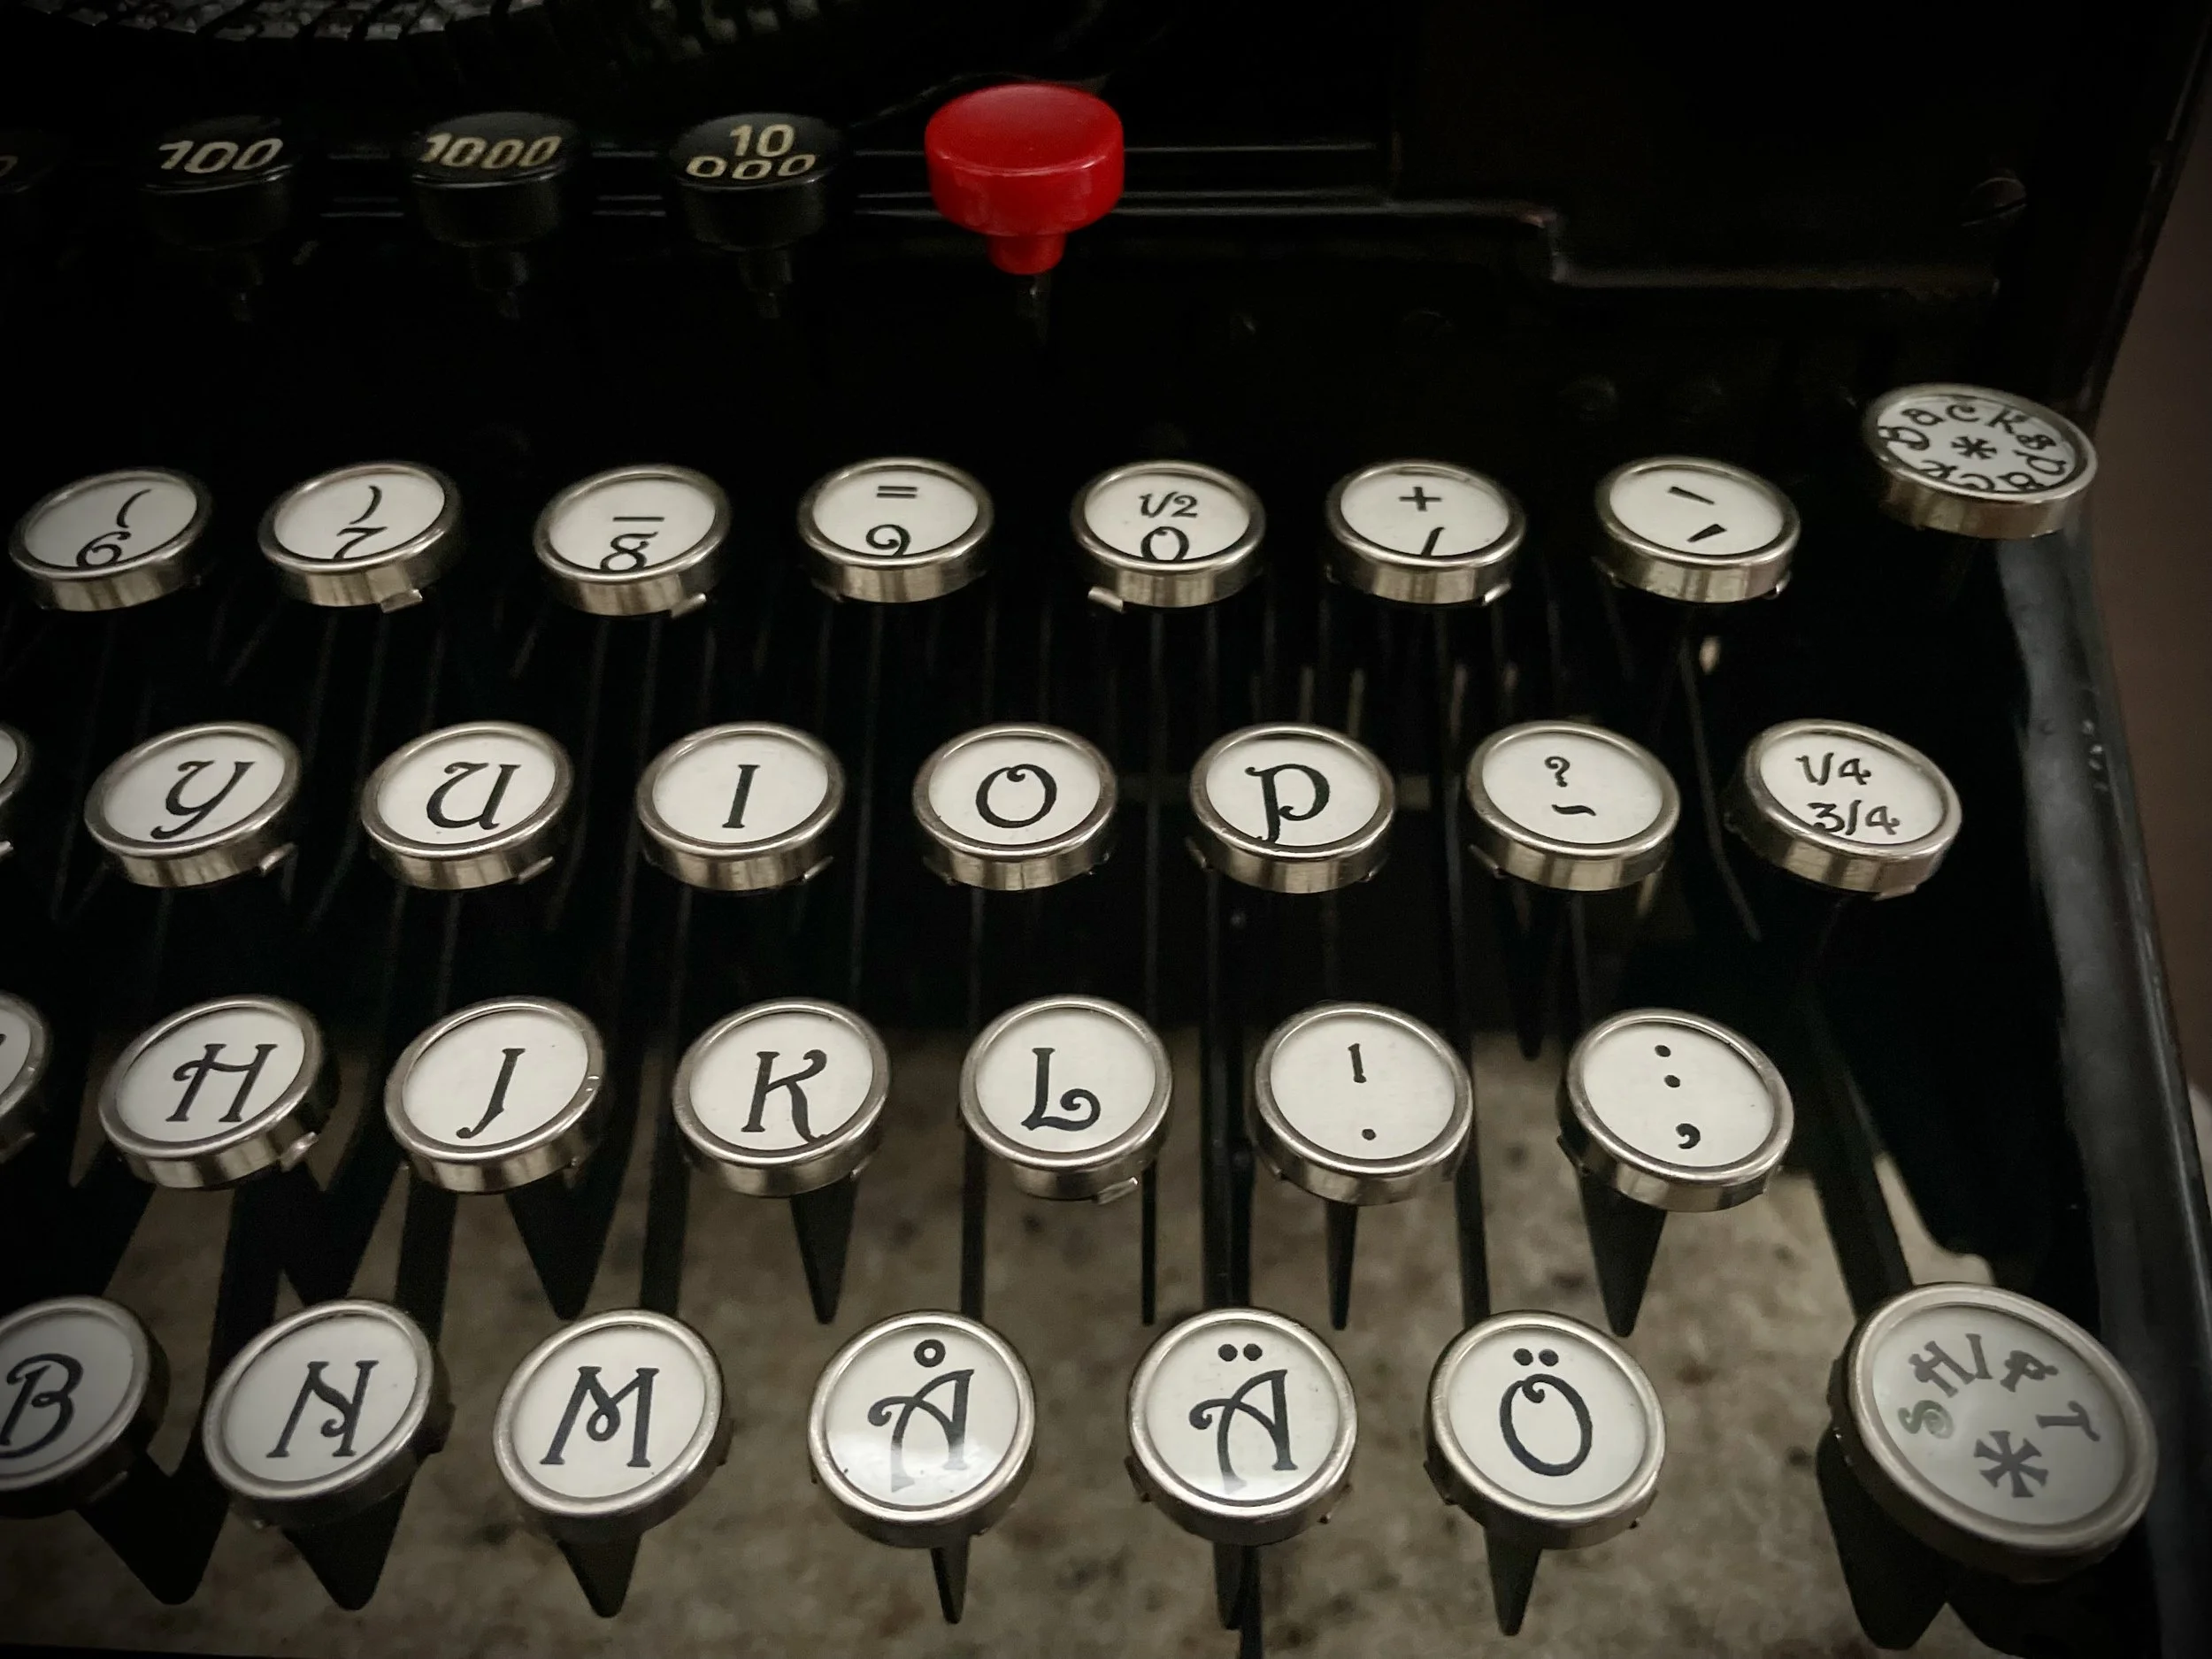
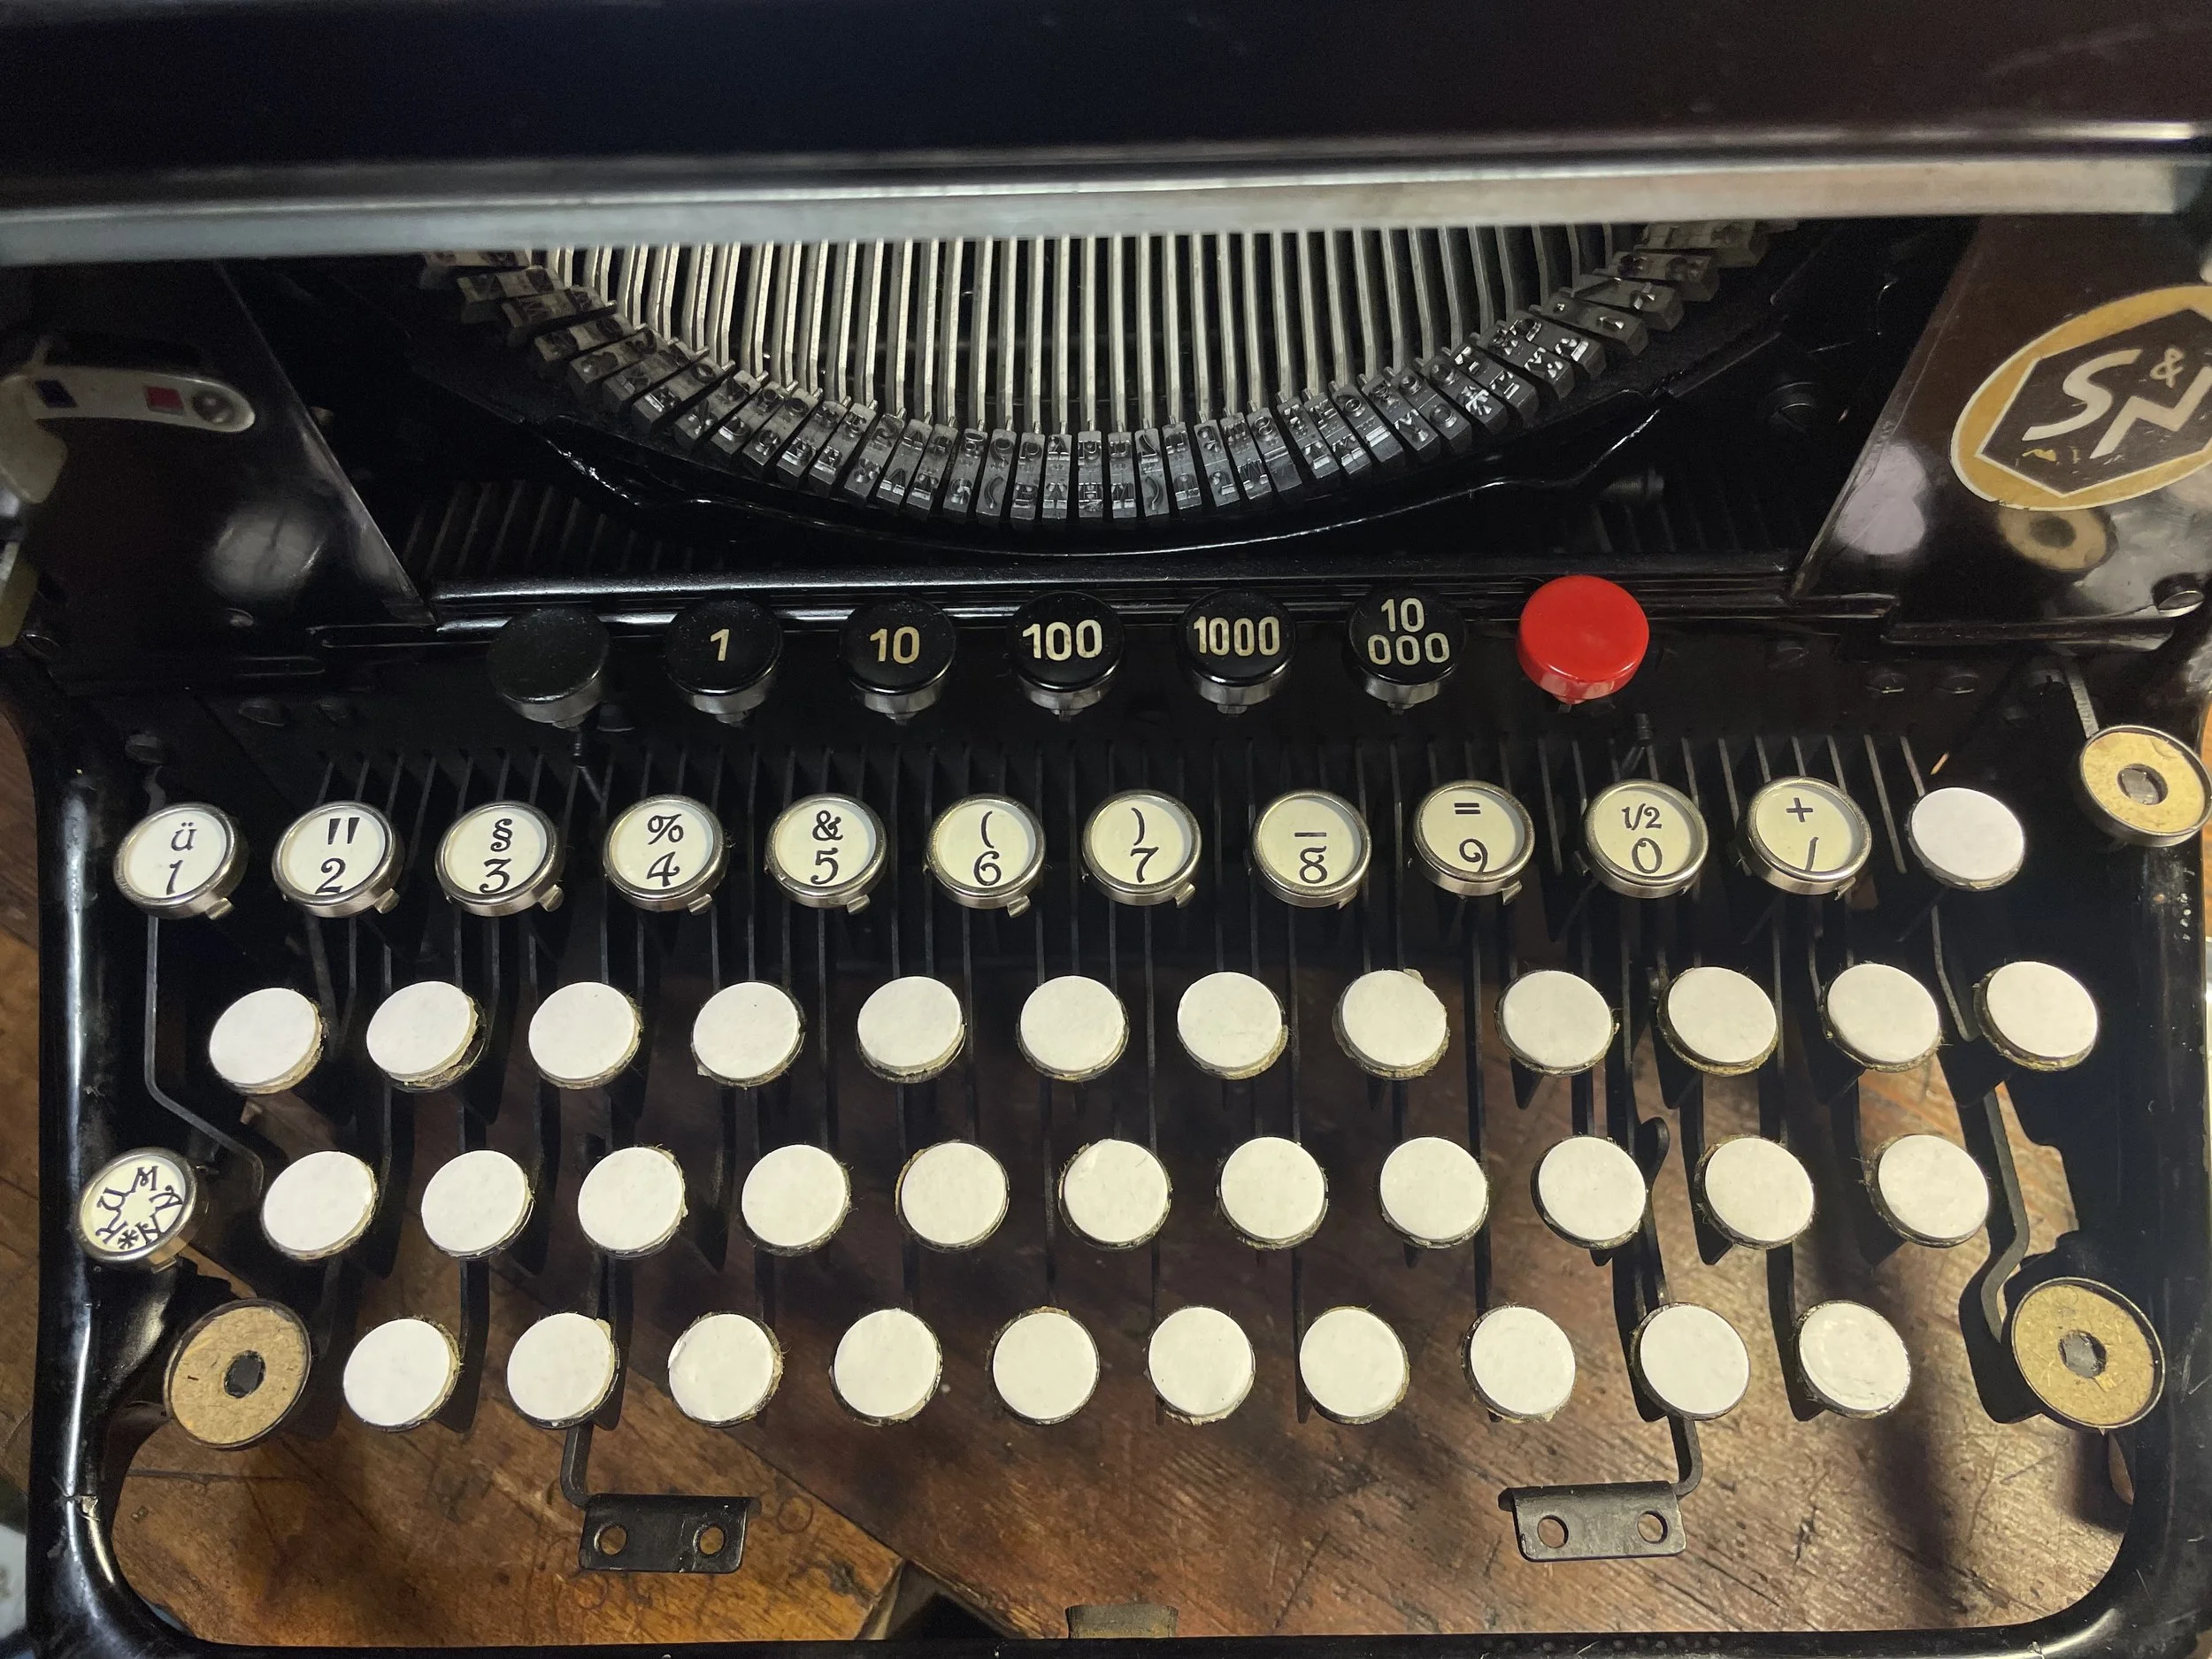
Putting legends and rings back on place. It is tedious job without proper tools but the effect is the same. The machine starts to look as a typewriter again.
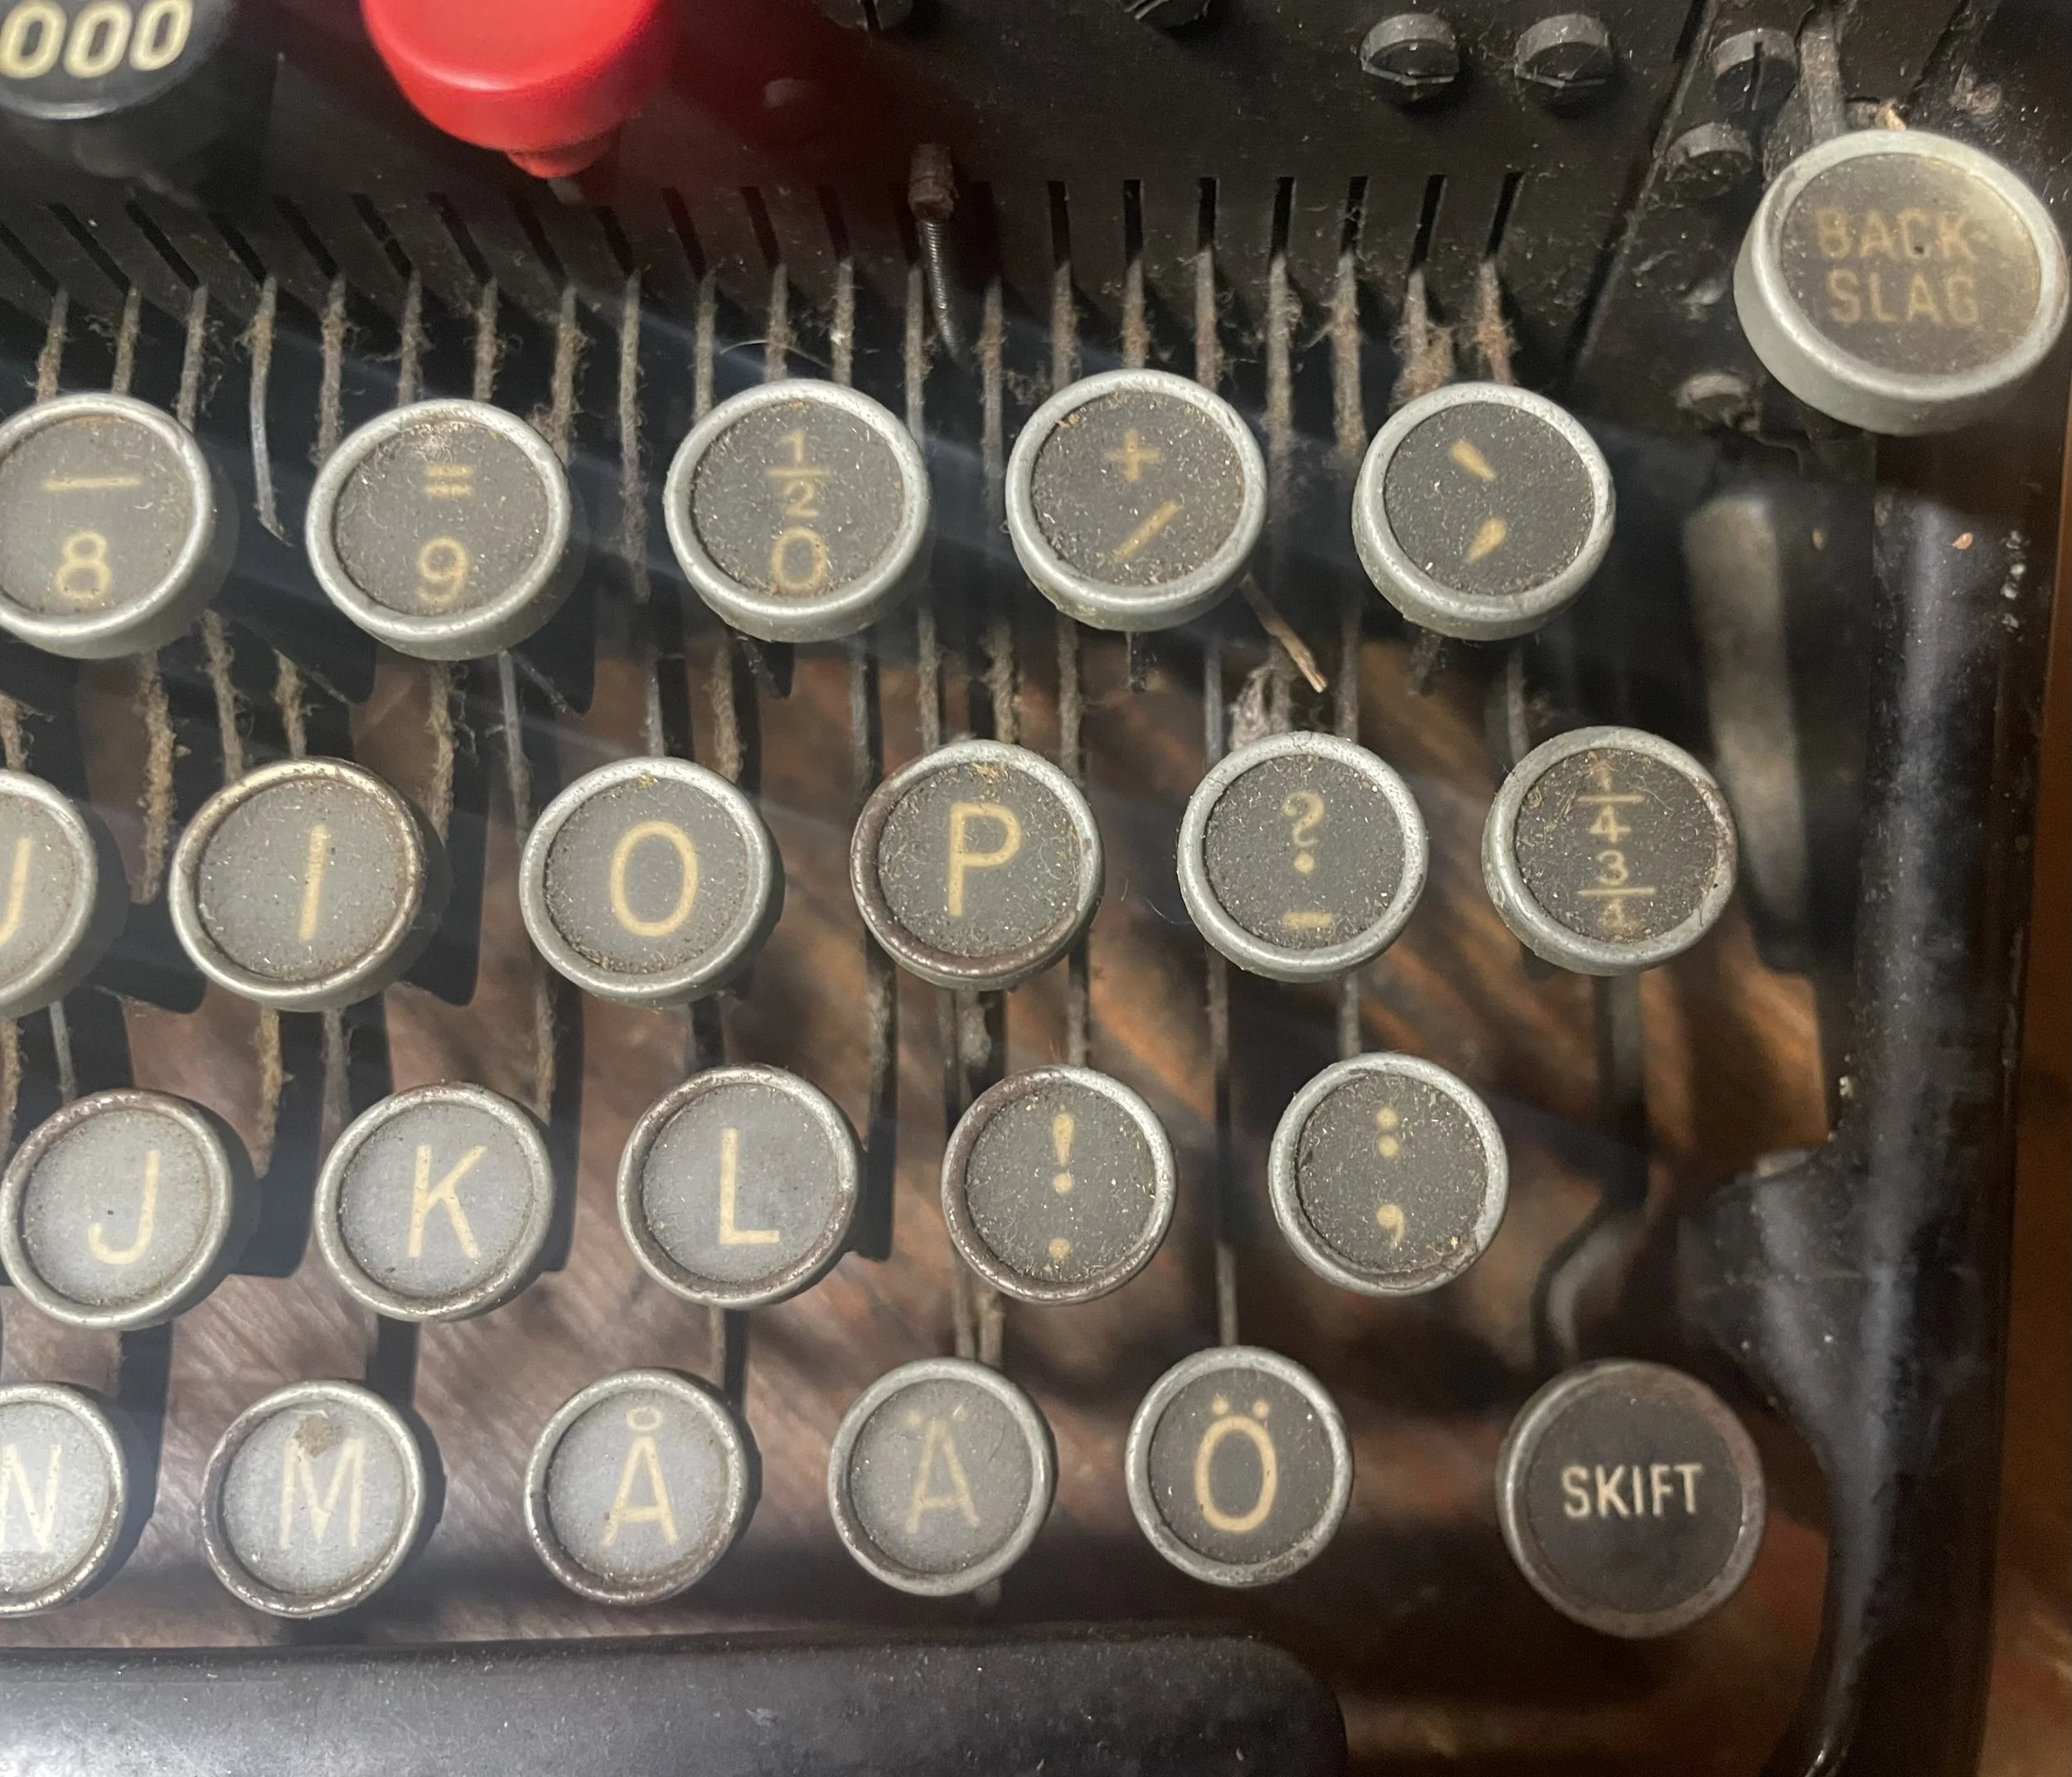
Tabulator red key transplanted from Grim´s machine, mine was cracked at the base.
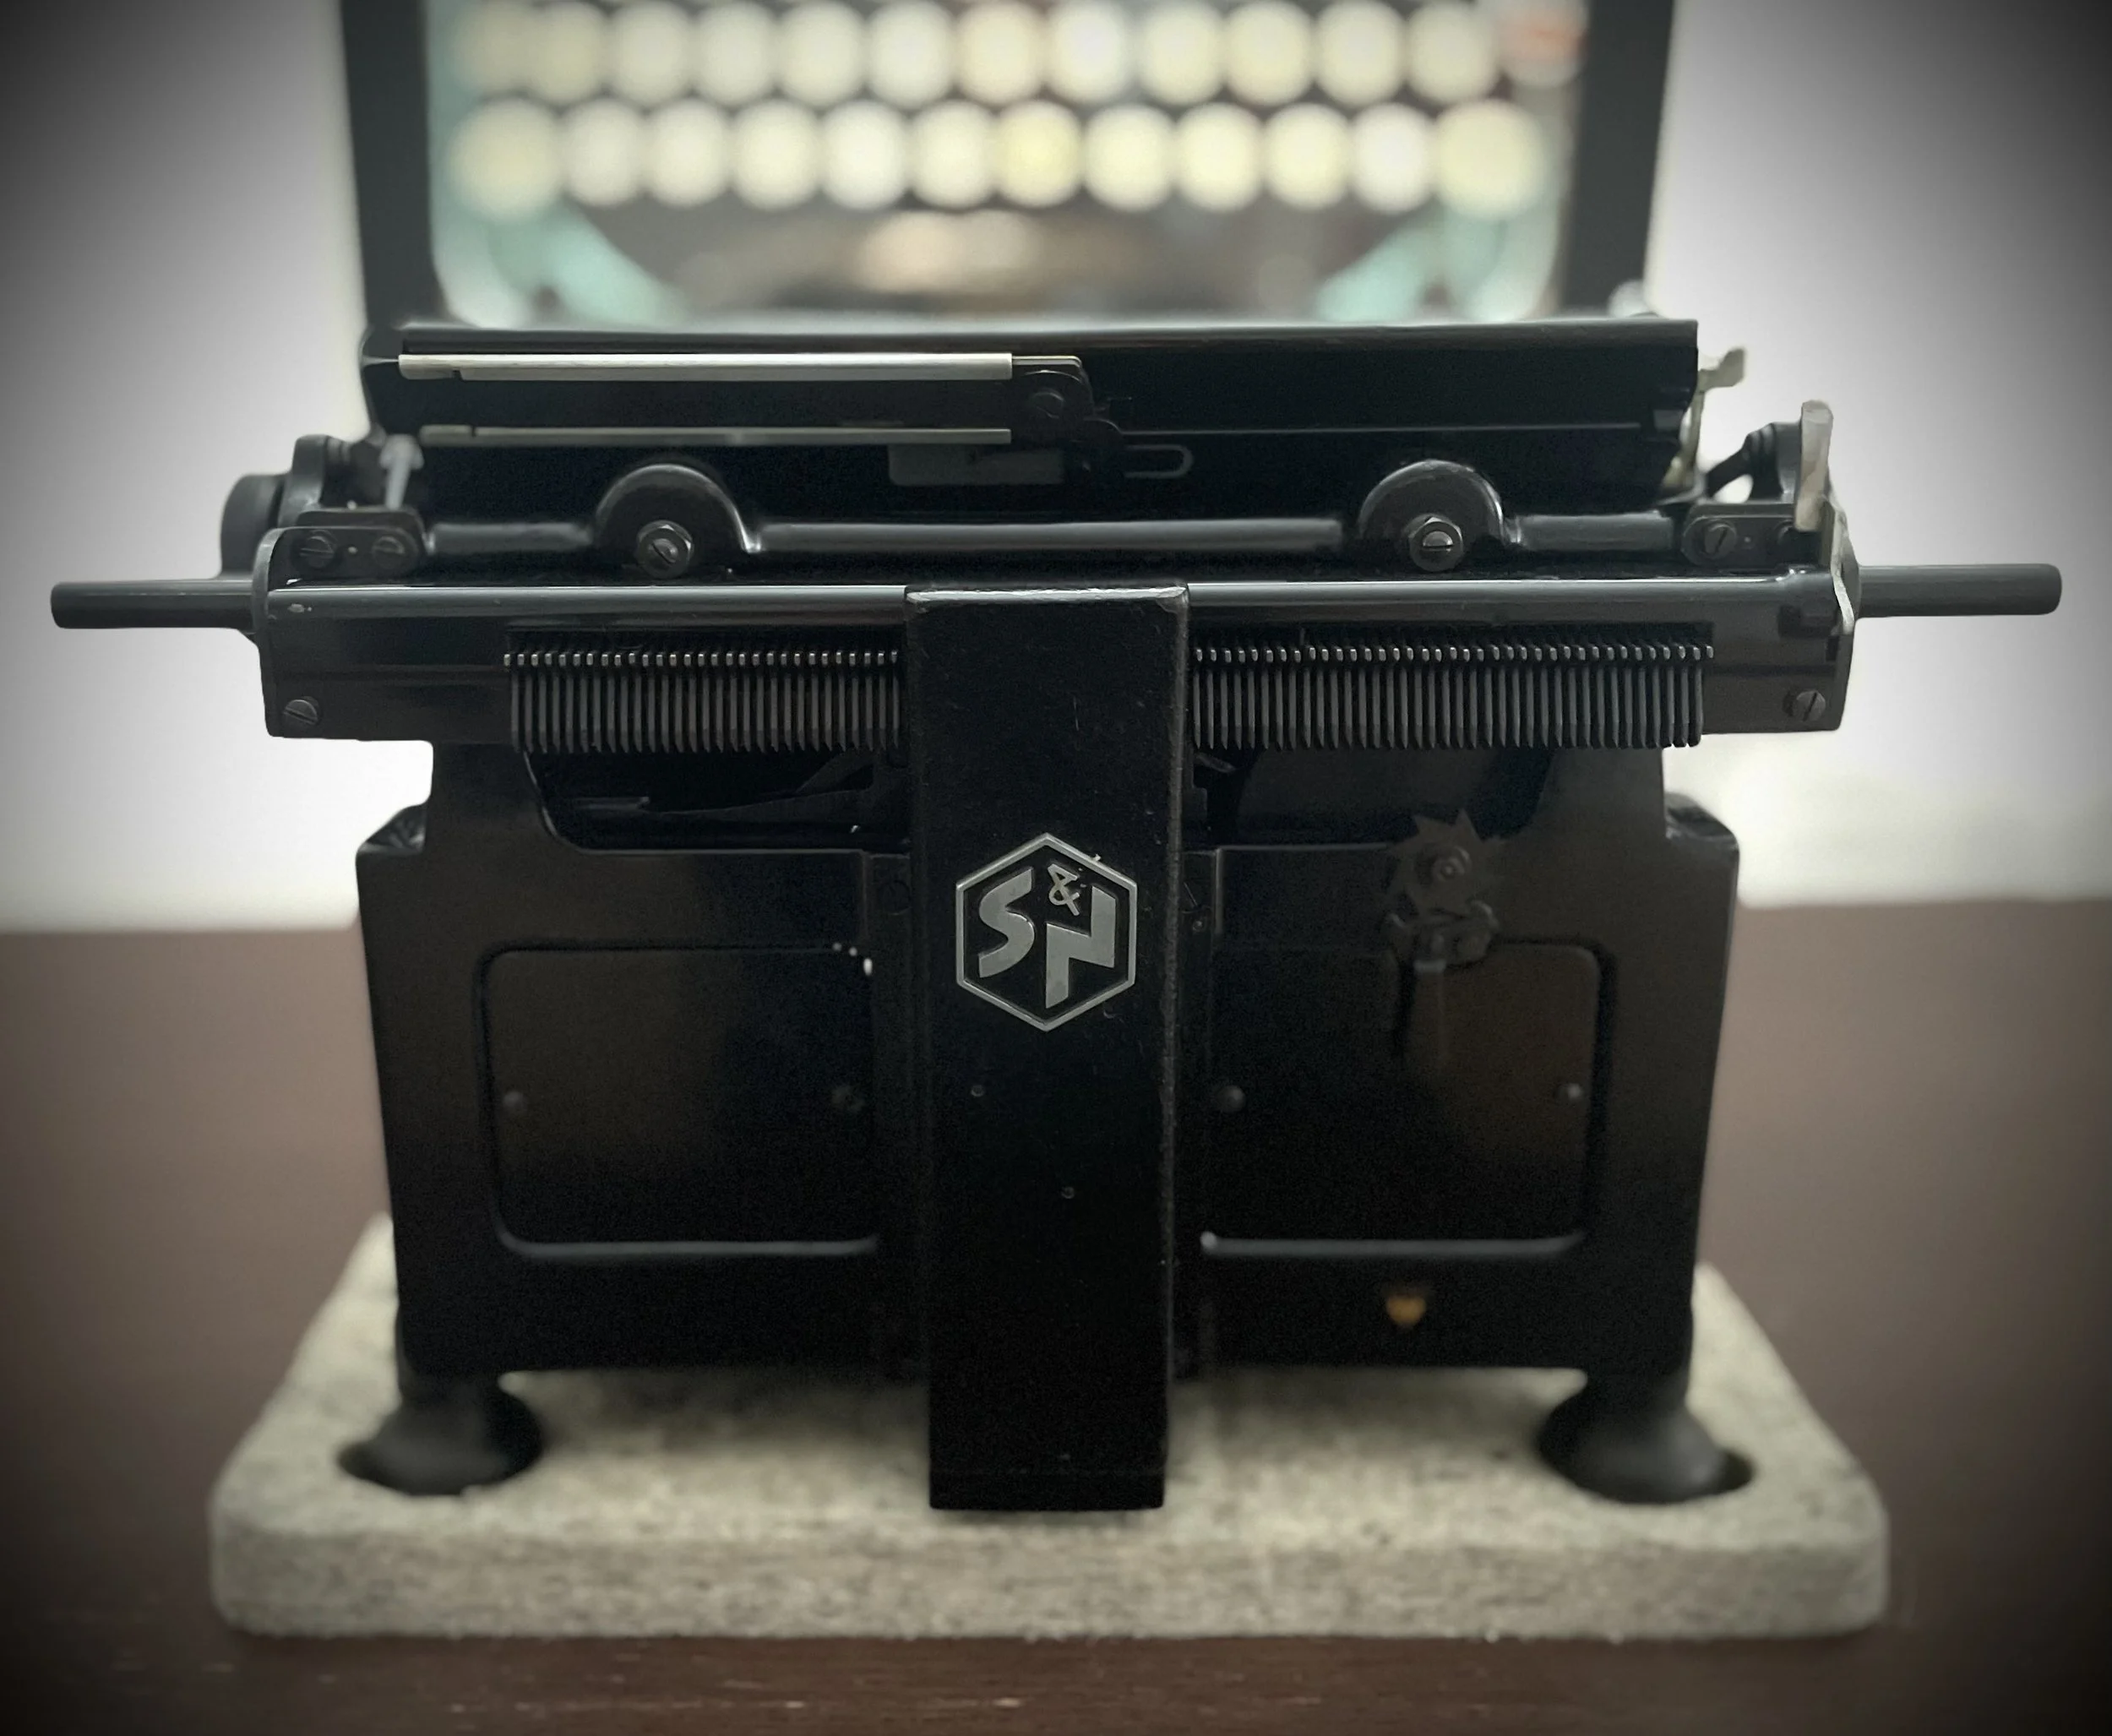
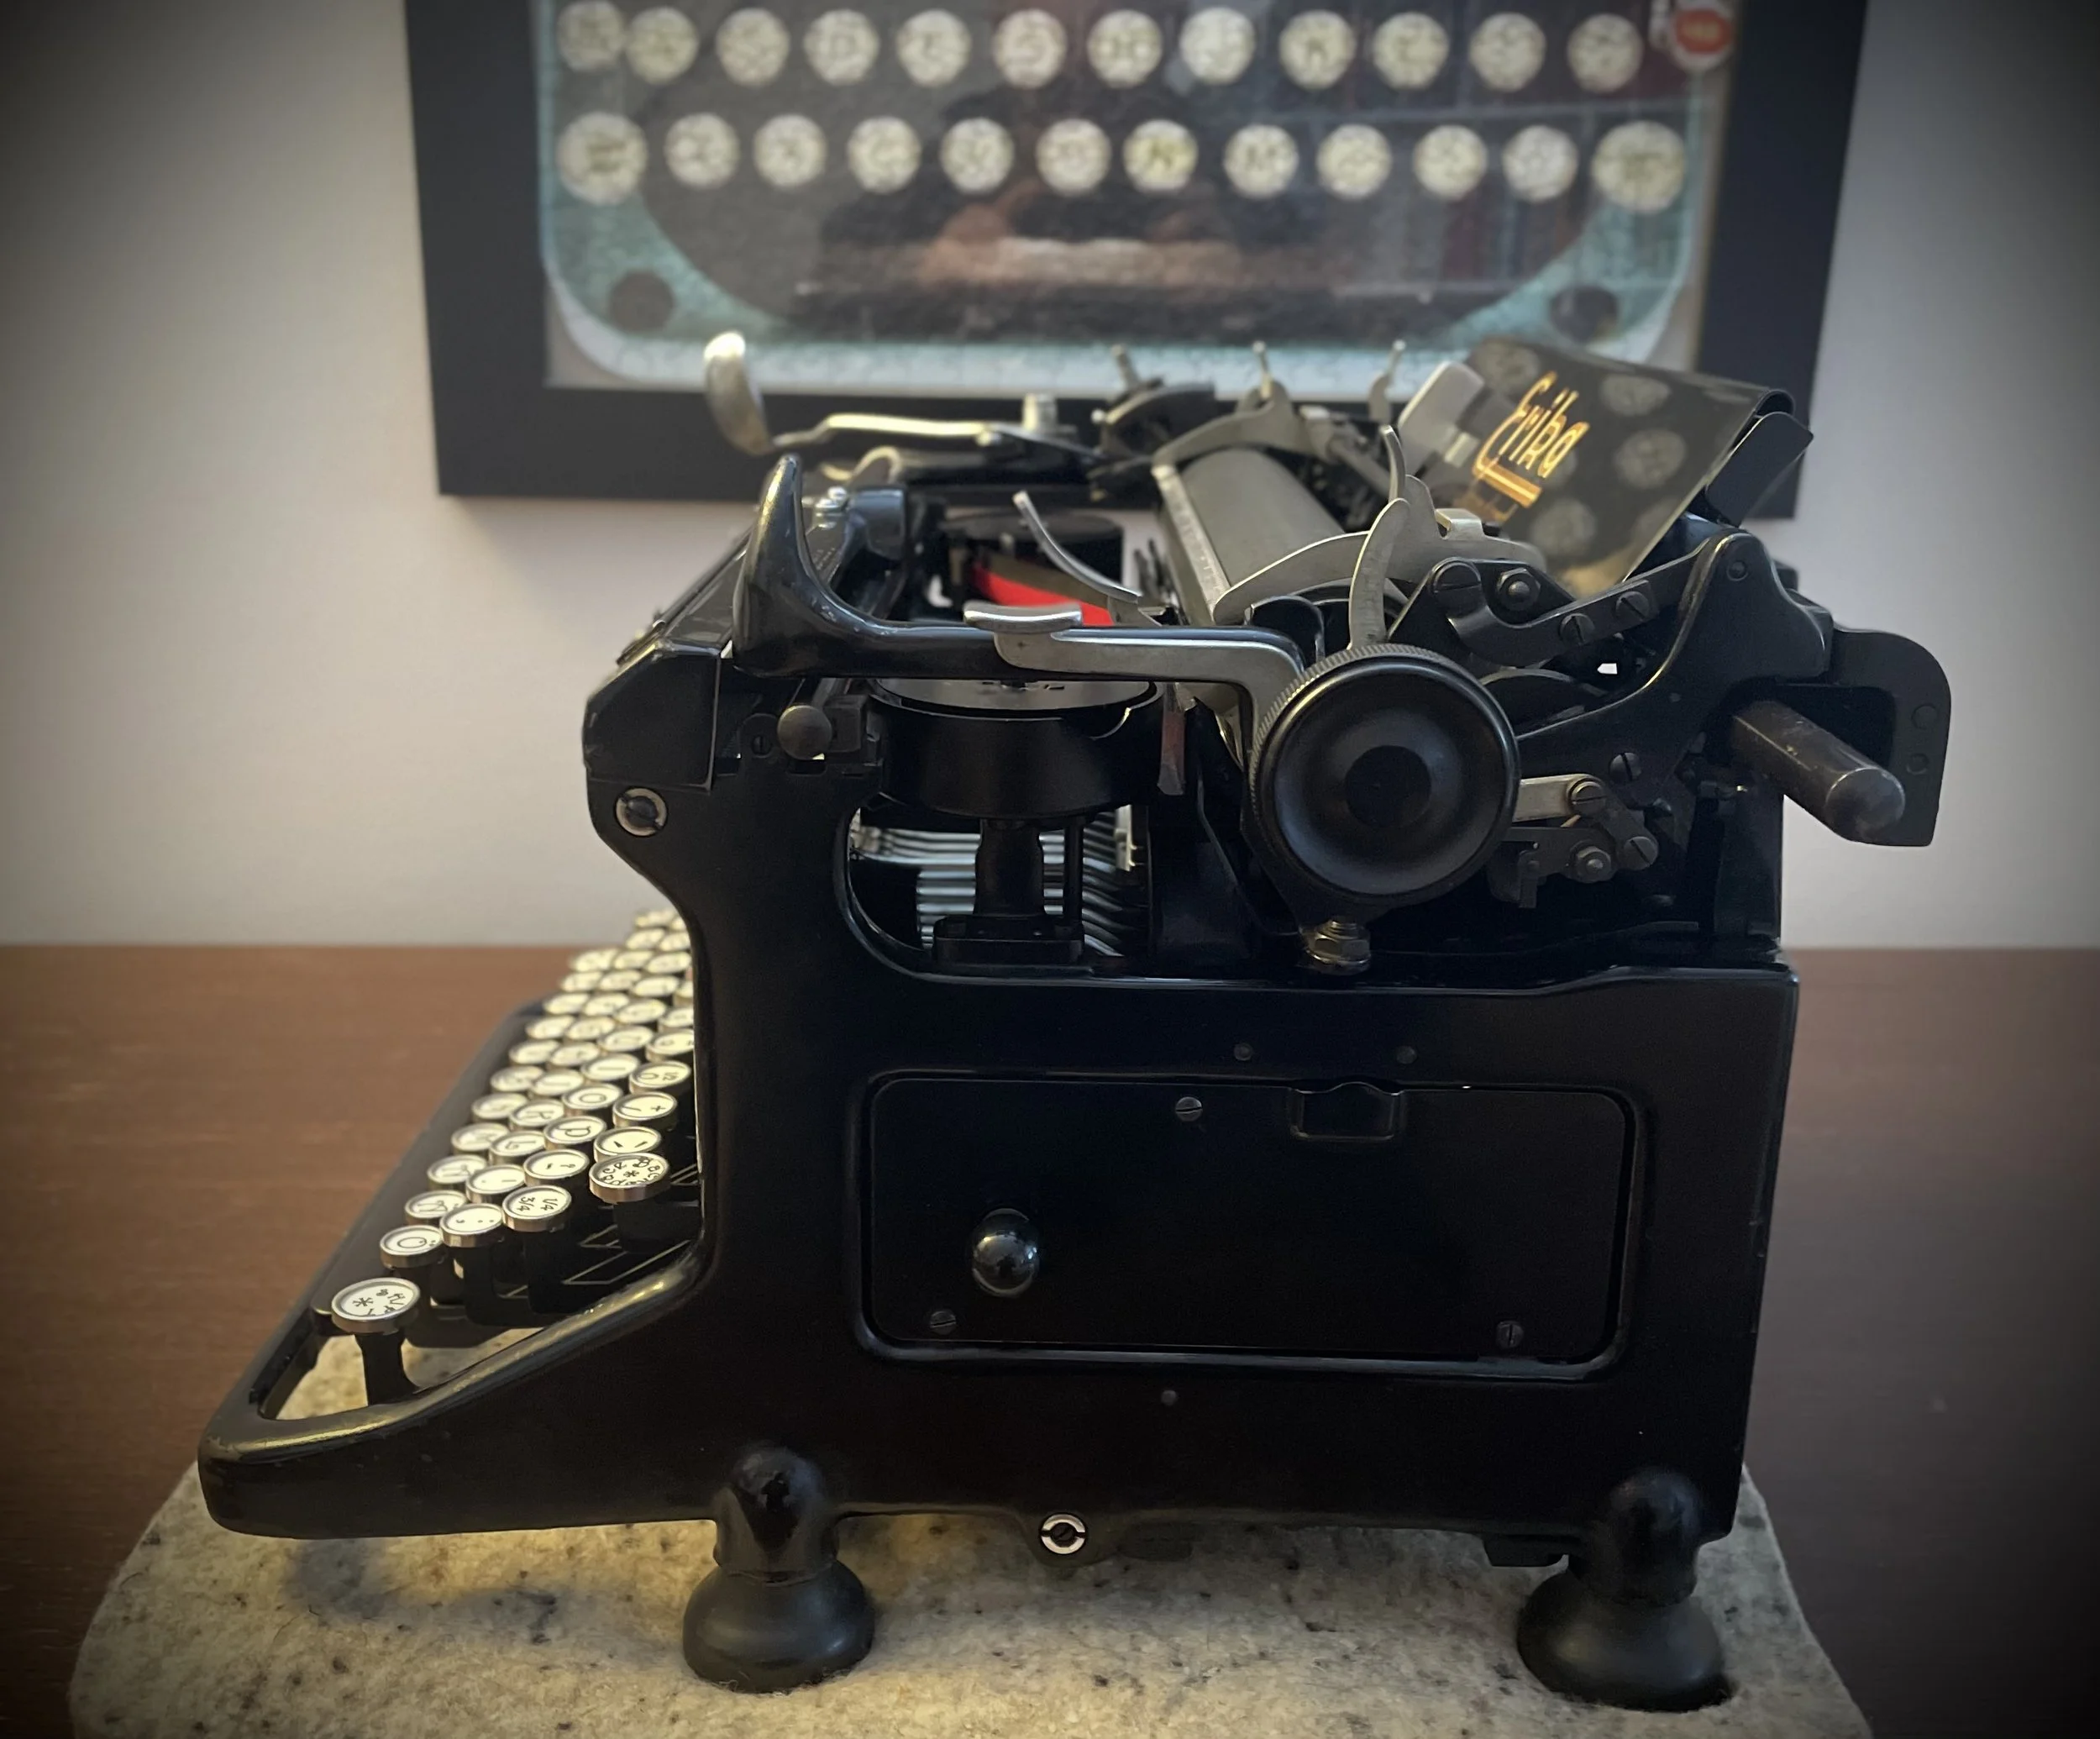
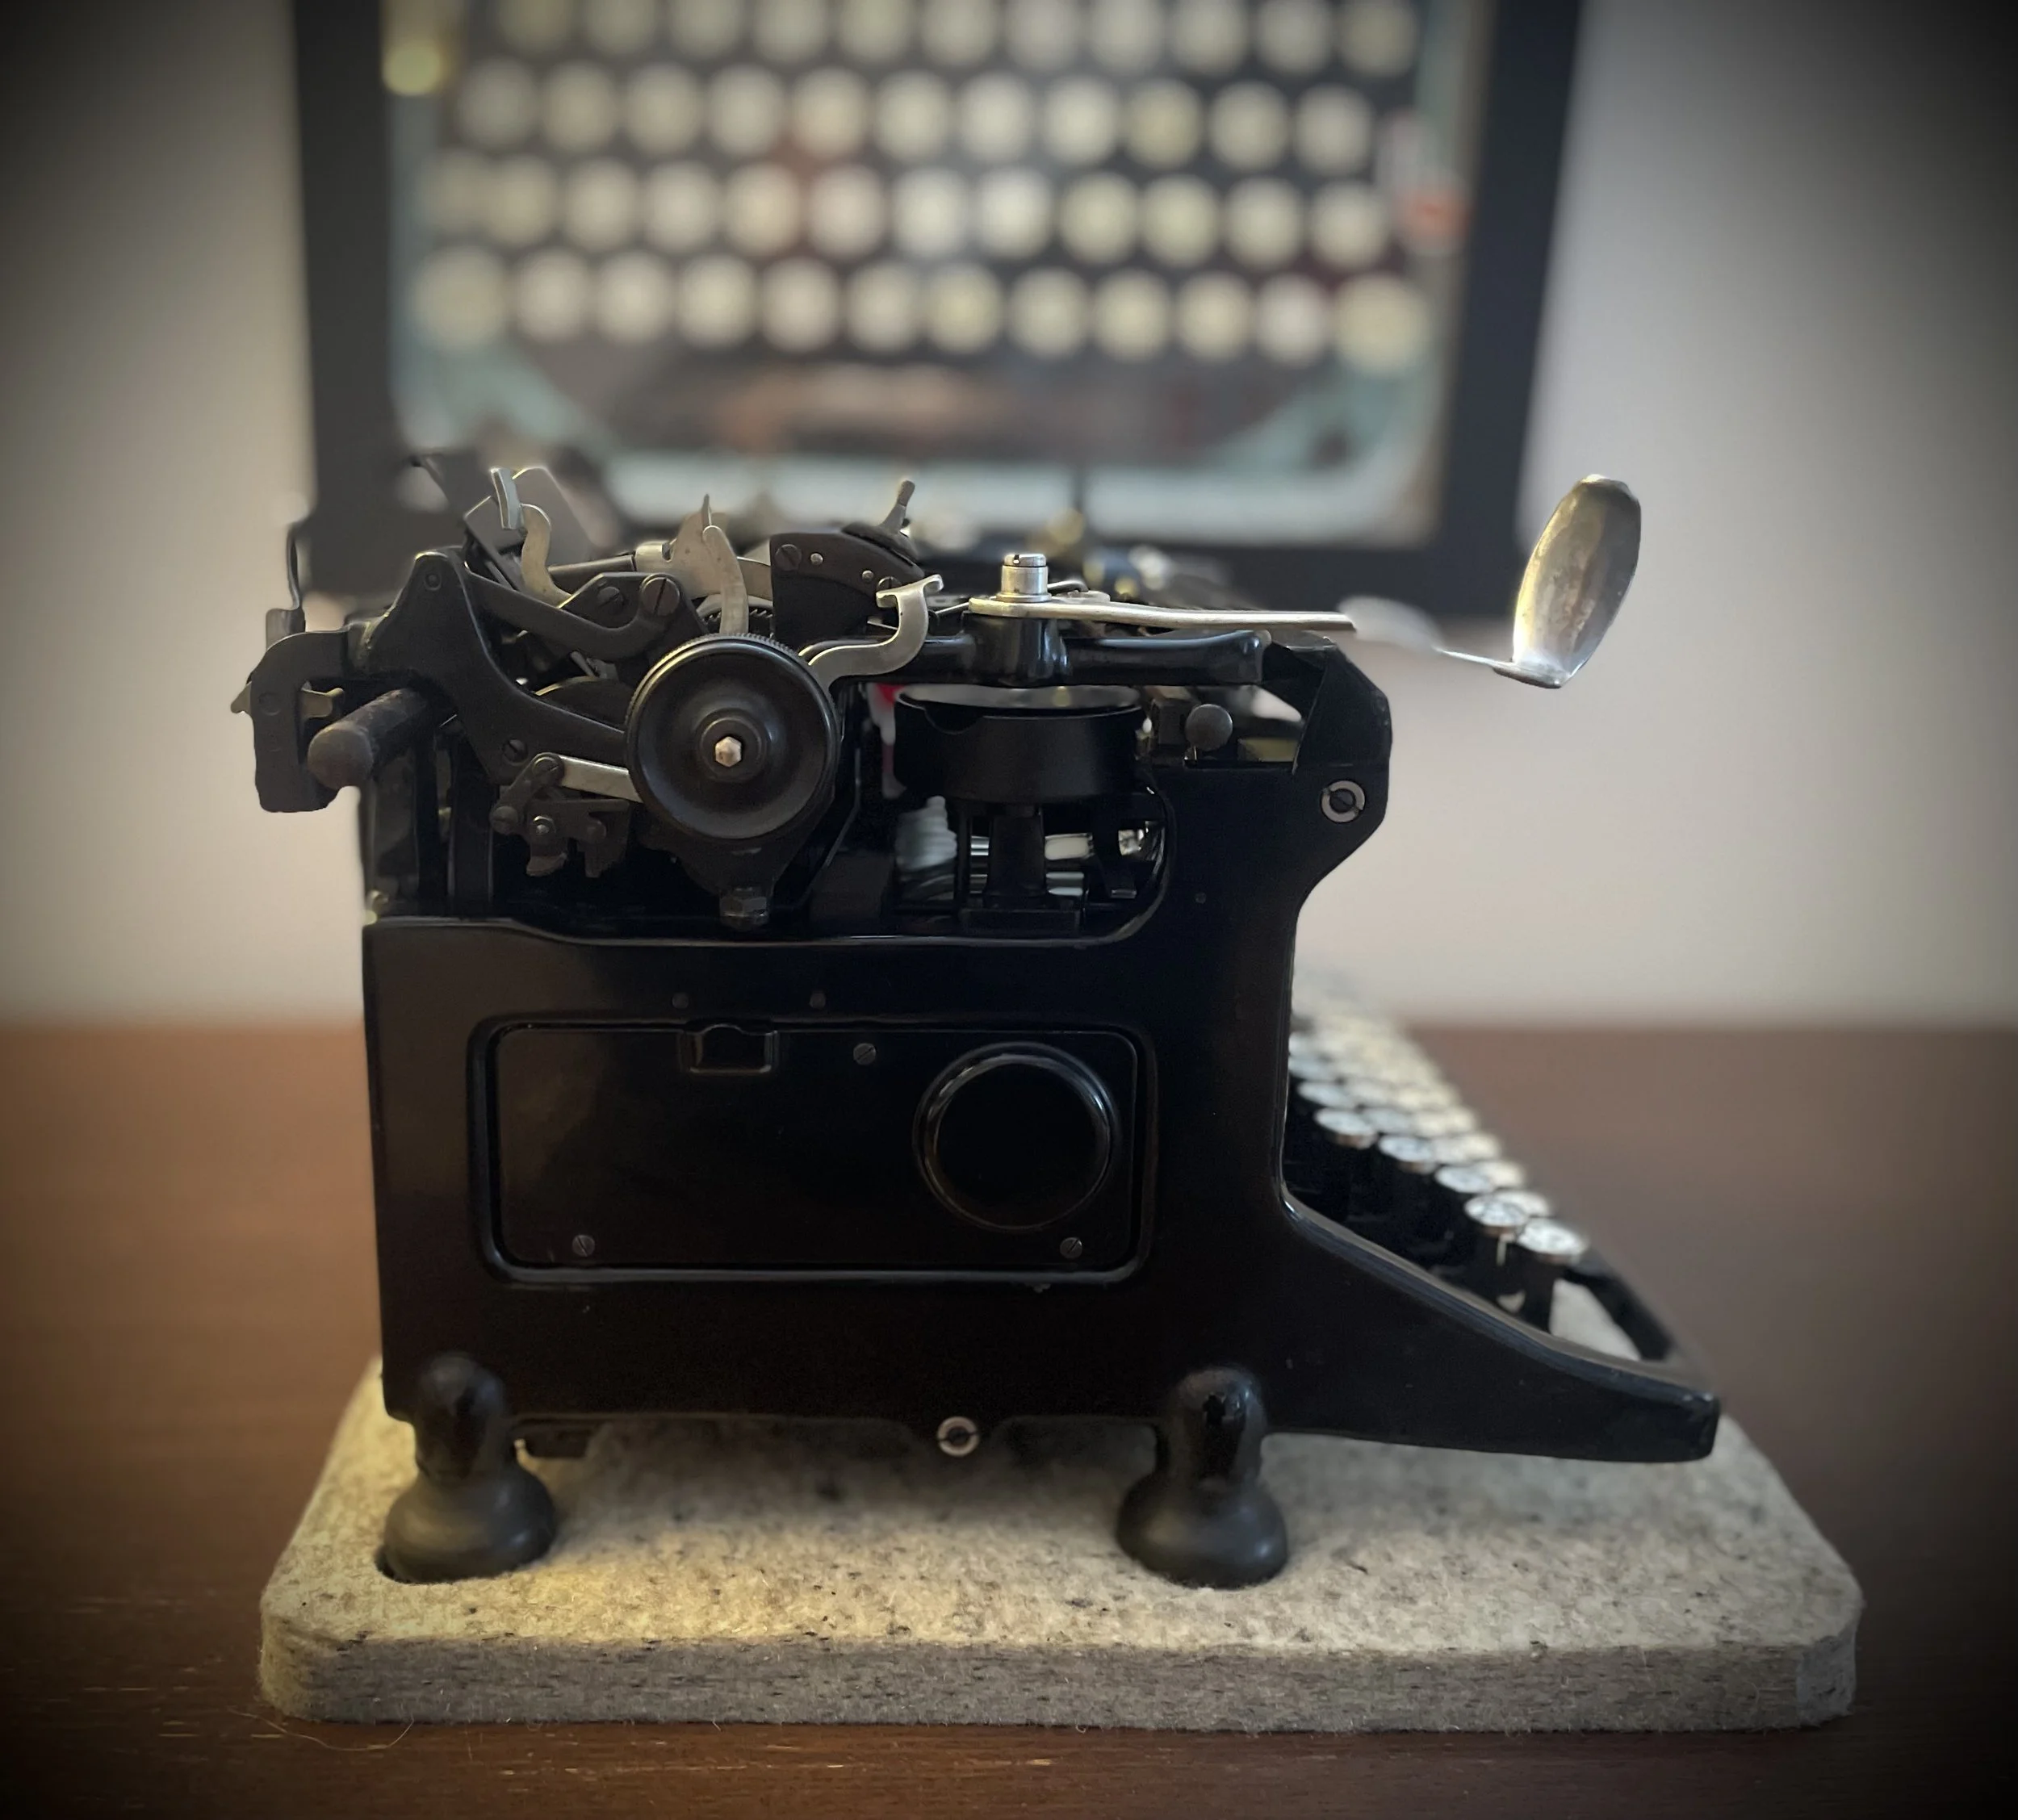
Putting all back together, clean and waxed with Fulgentine.
There is one detail though which can escape ones attention: paper table screws. They must have a spacer installed, otherwise the table will rub against carriage rollers housing.
On my machine they were gone, donor machine had only one, made of leather.

I make new ones from rubber.
Paper feed rollers gave me headache - it took a while to figure out how to remove them for cleaning and truing.
The whole machine is so well thought-over but for the life of me I could not see how servicemen was supposed to remove these rollers without screwing (and hammering) apart the whole carriage assembly.
I used donor machine carriage for my trials.
Eventually I came to the process as follows:
First remove springs which keep rollers under tension towards the platen. Quite ingenious design indeed.
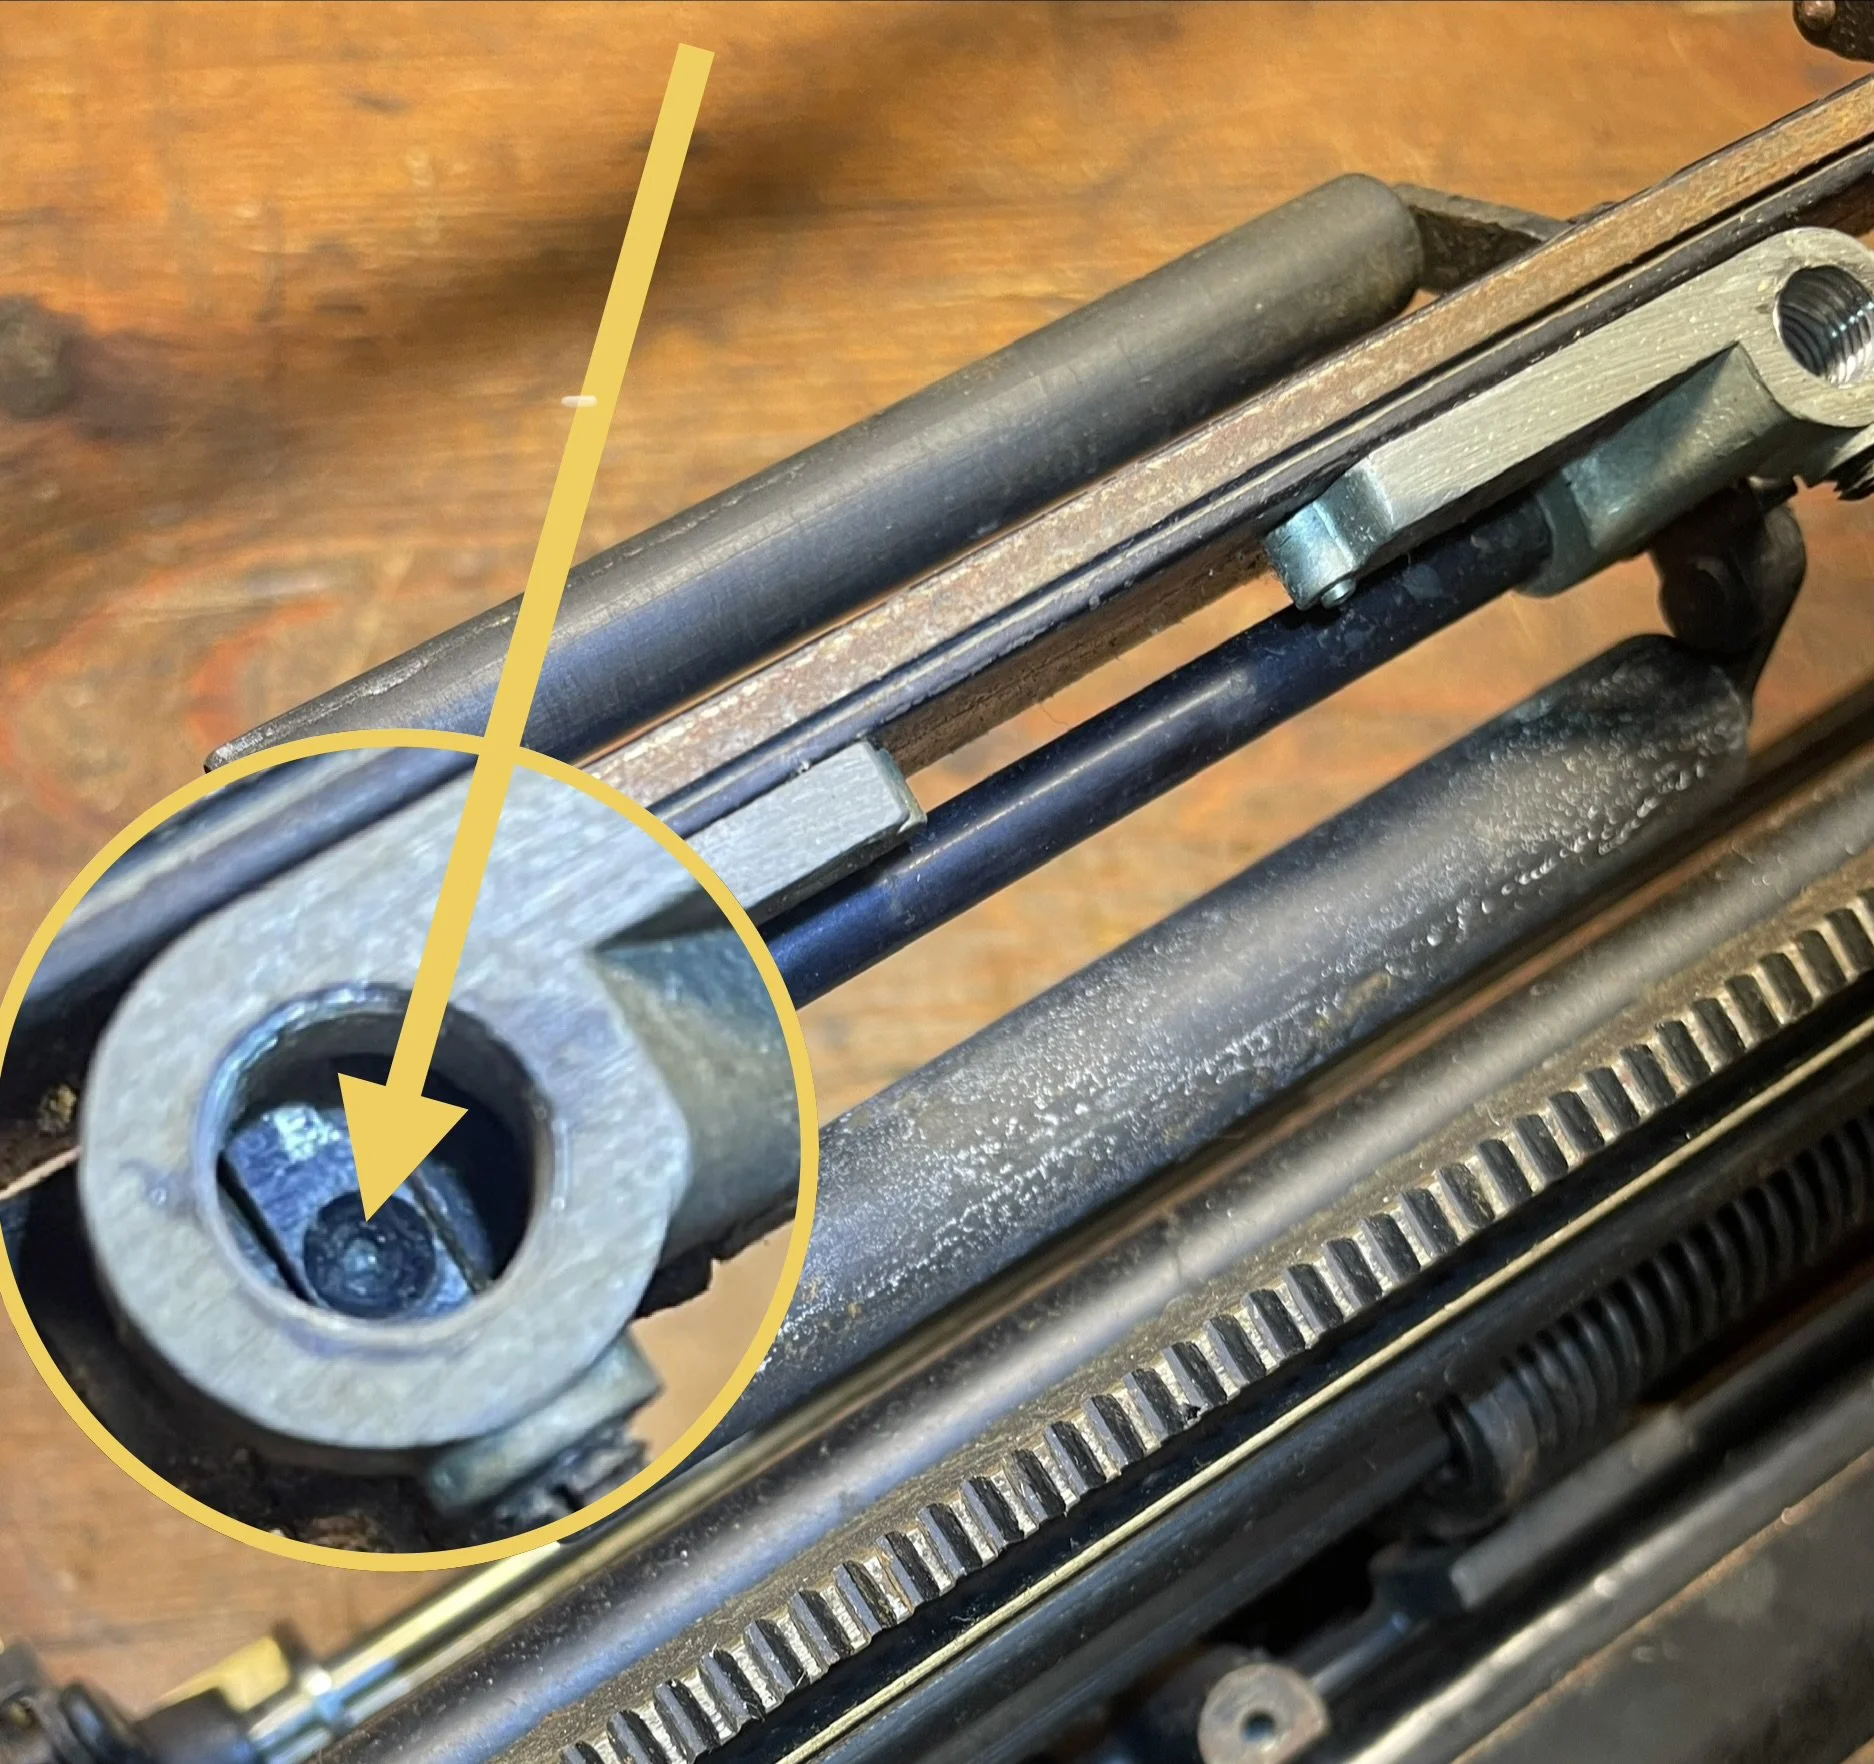
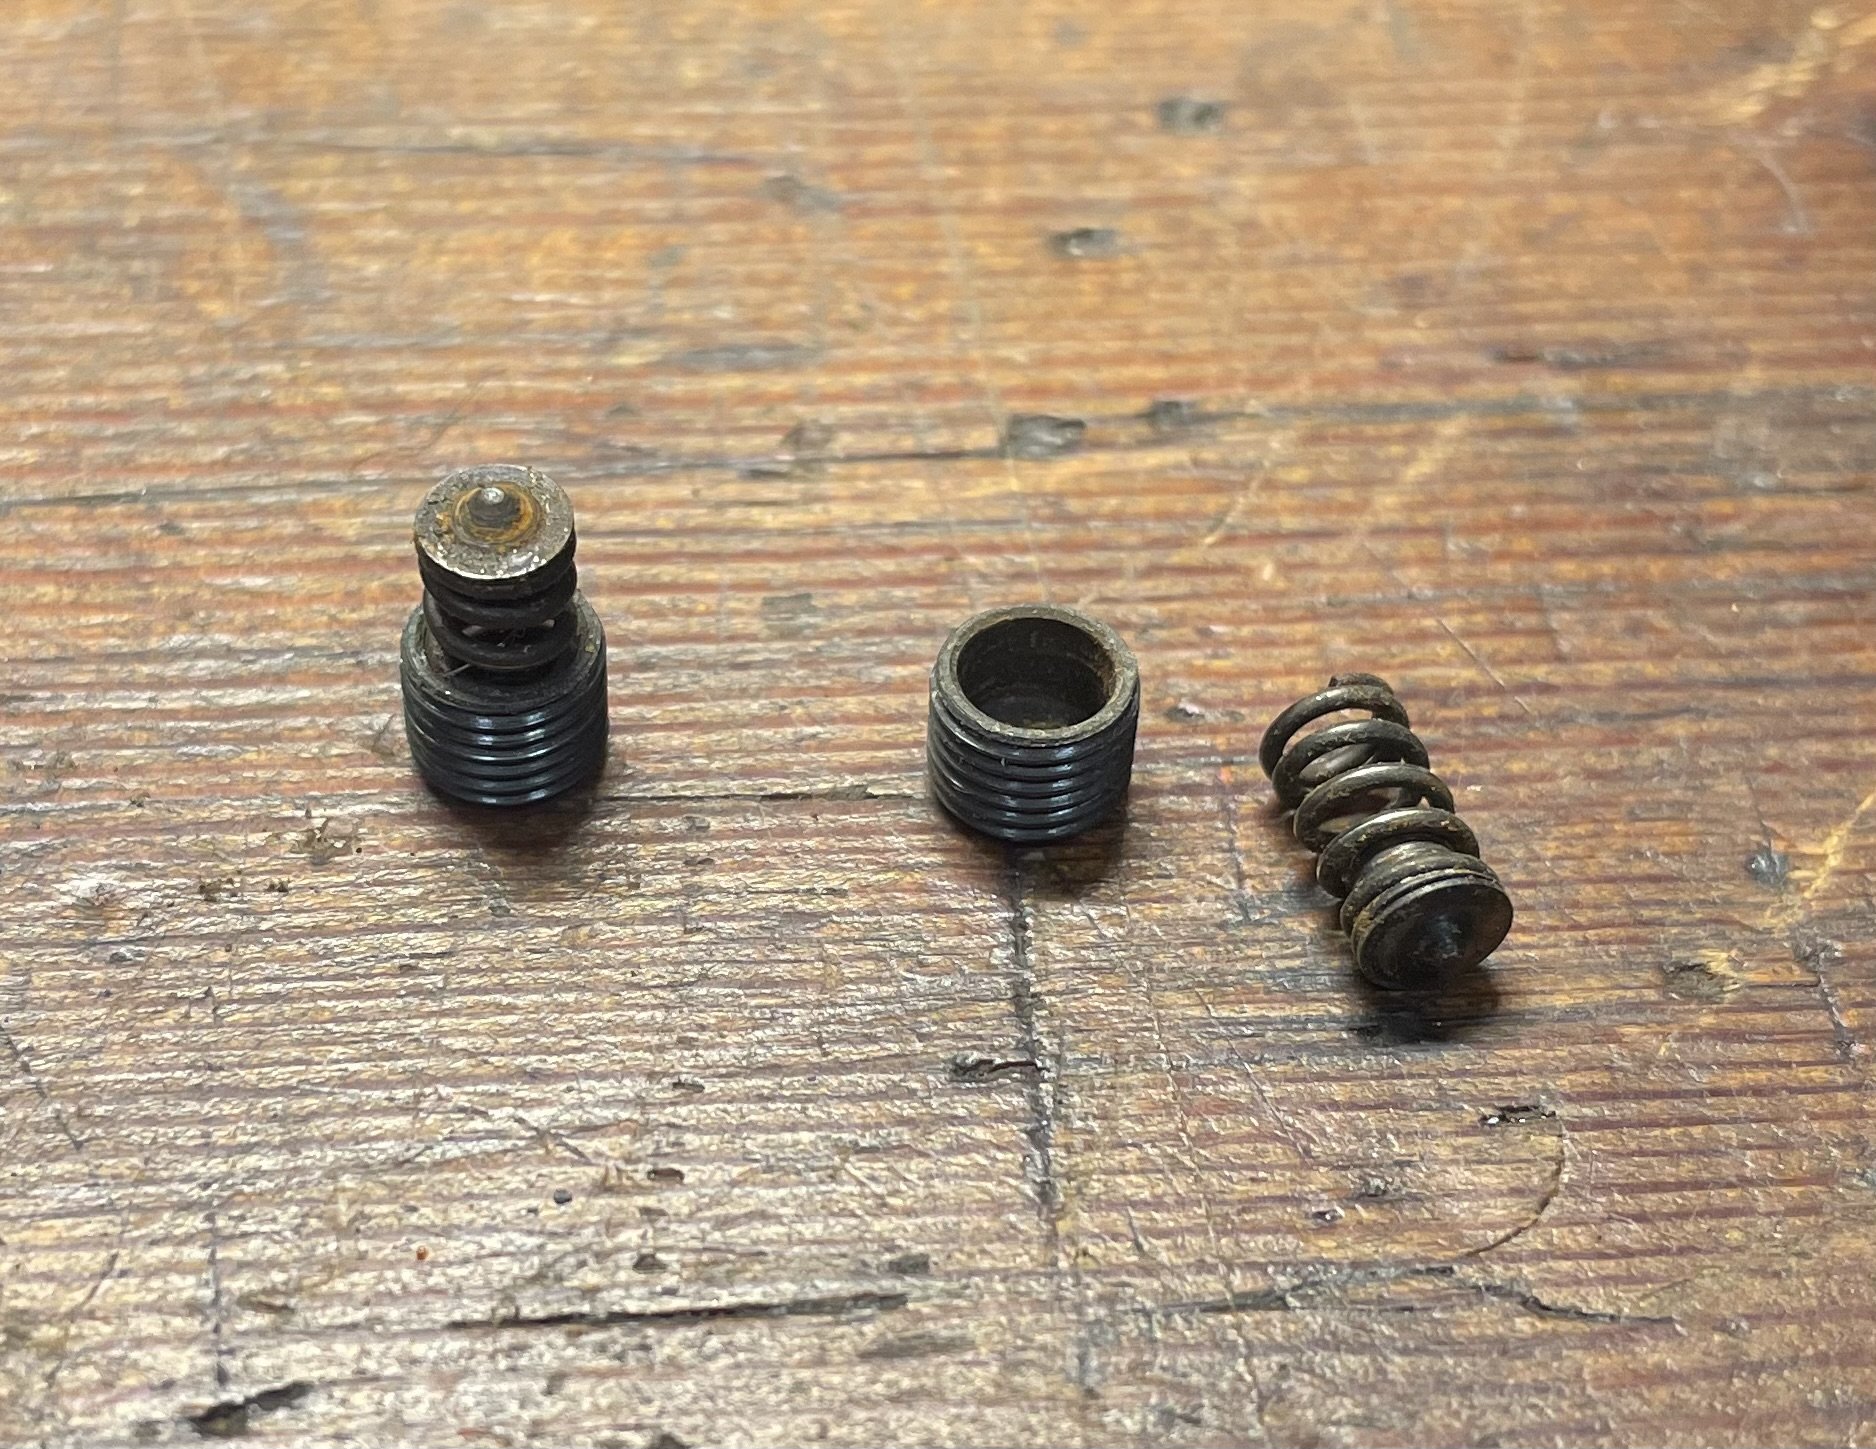
Next undo set screws holding spacing tubes on place, to get more room for wiggling rollers´arms.
That is enough to spread these arms a bit to free paper rollers with a flat screwdriver.
That does the trick.
Is it how it was supposed to be done? No idea. Nothing was damaged this way and after putting things back together all works as it should so there you go, we figured it out.
Just for kicks I removed old rubber from donor platen, to expose beech-wood core in very good shape. Might be useful in renovation of some other old-timer.
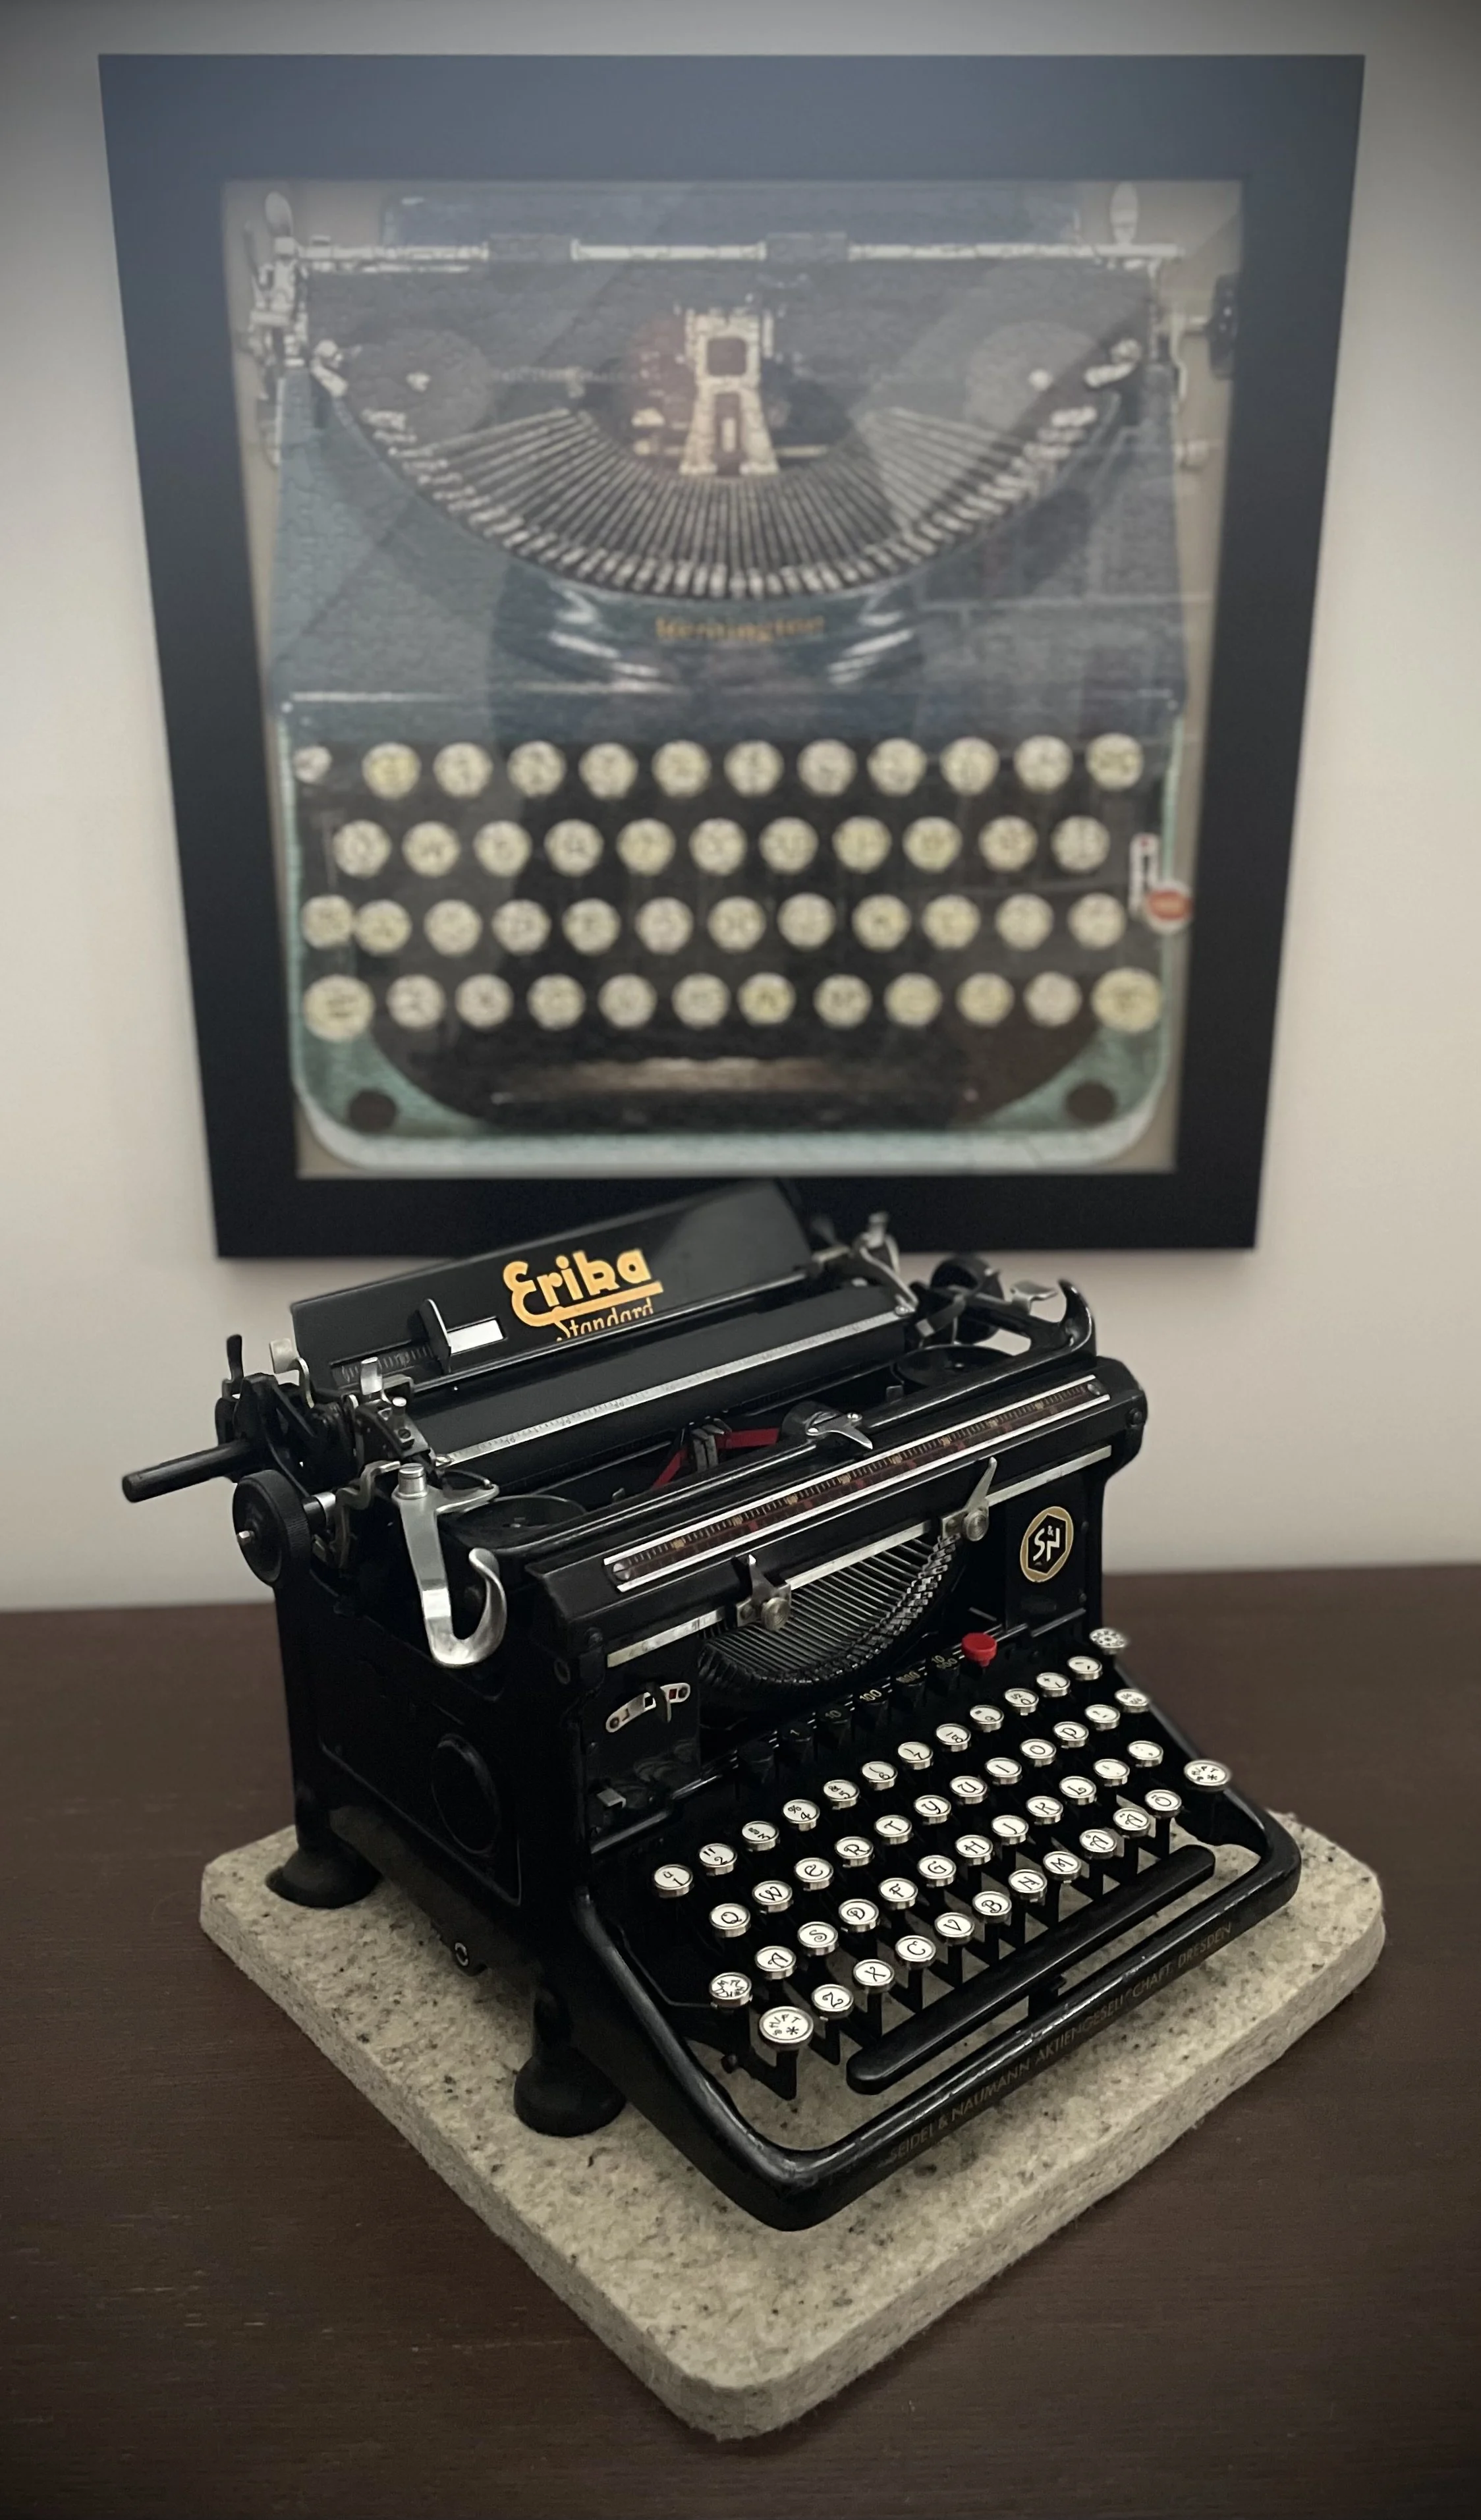
Keyboard assembly done, I am pleased with the result.
Time for long waited typing-test!
How does it feel?
Well, if one expects the “wow!” factor as in case of portable Erika 5 vs Remington or other brand then no, there is no big difference between Erika Standard and other standard from this era.
With Underwood 5 being a benchmark here I would say that my particular Erika Standard types equally well but not better.
Which means it is a great typer!
But nothing sticks out good or bad as compared to other standards. For Erika enthusiasts like myself I want to keep her as a part of collection but if someone looks for a machine to type then it does not matter if it is Underwood 5, this Erika or any Continental for that matter. My opinion.
Photo session follows!