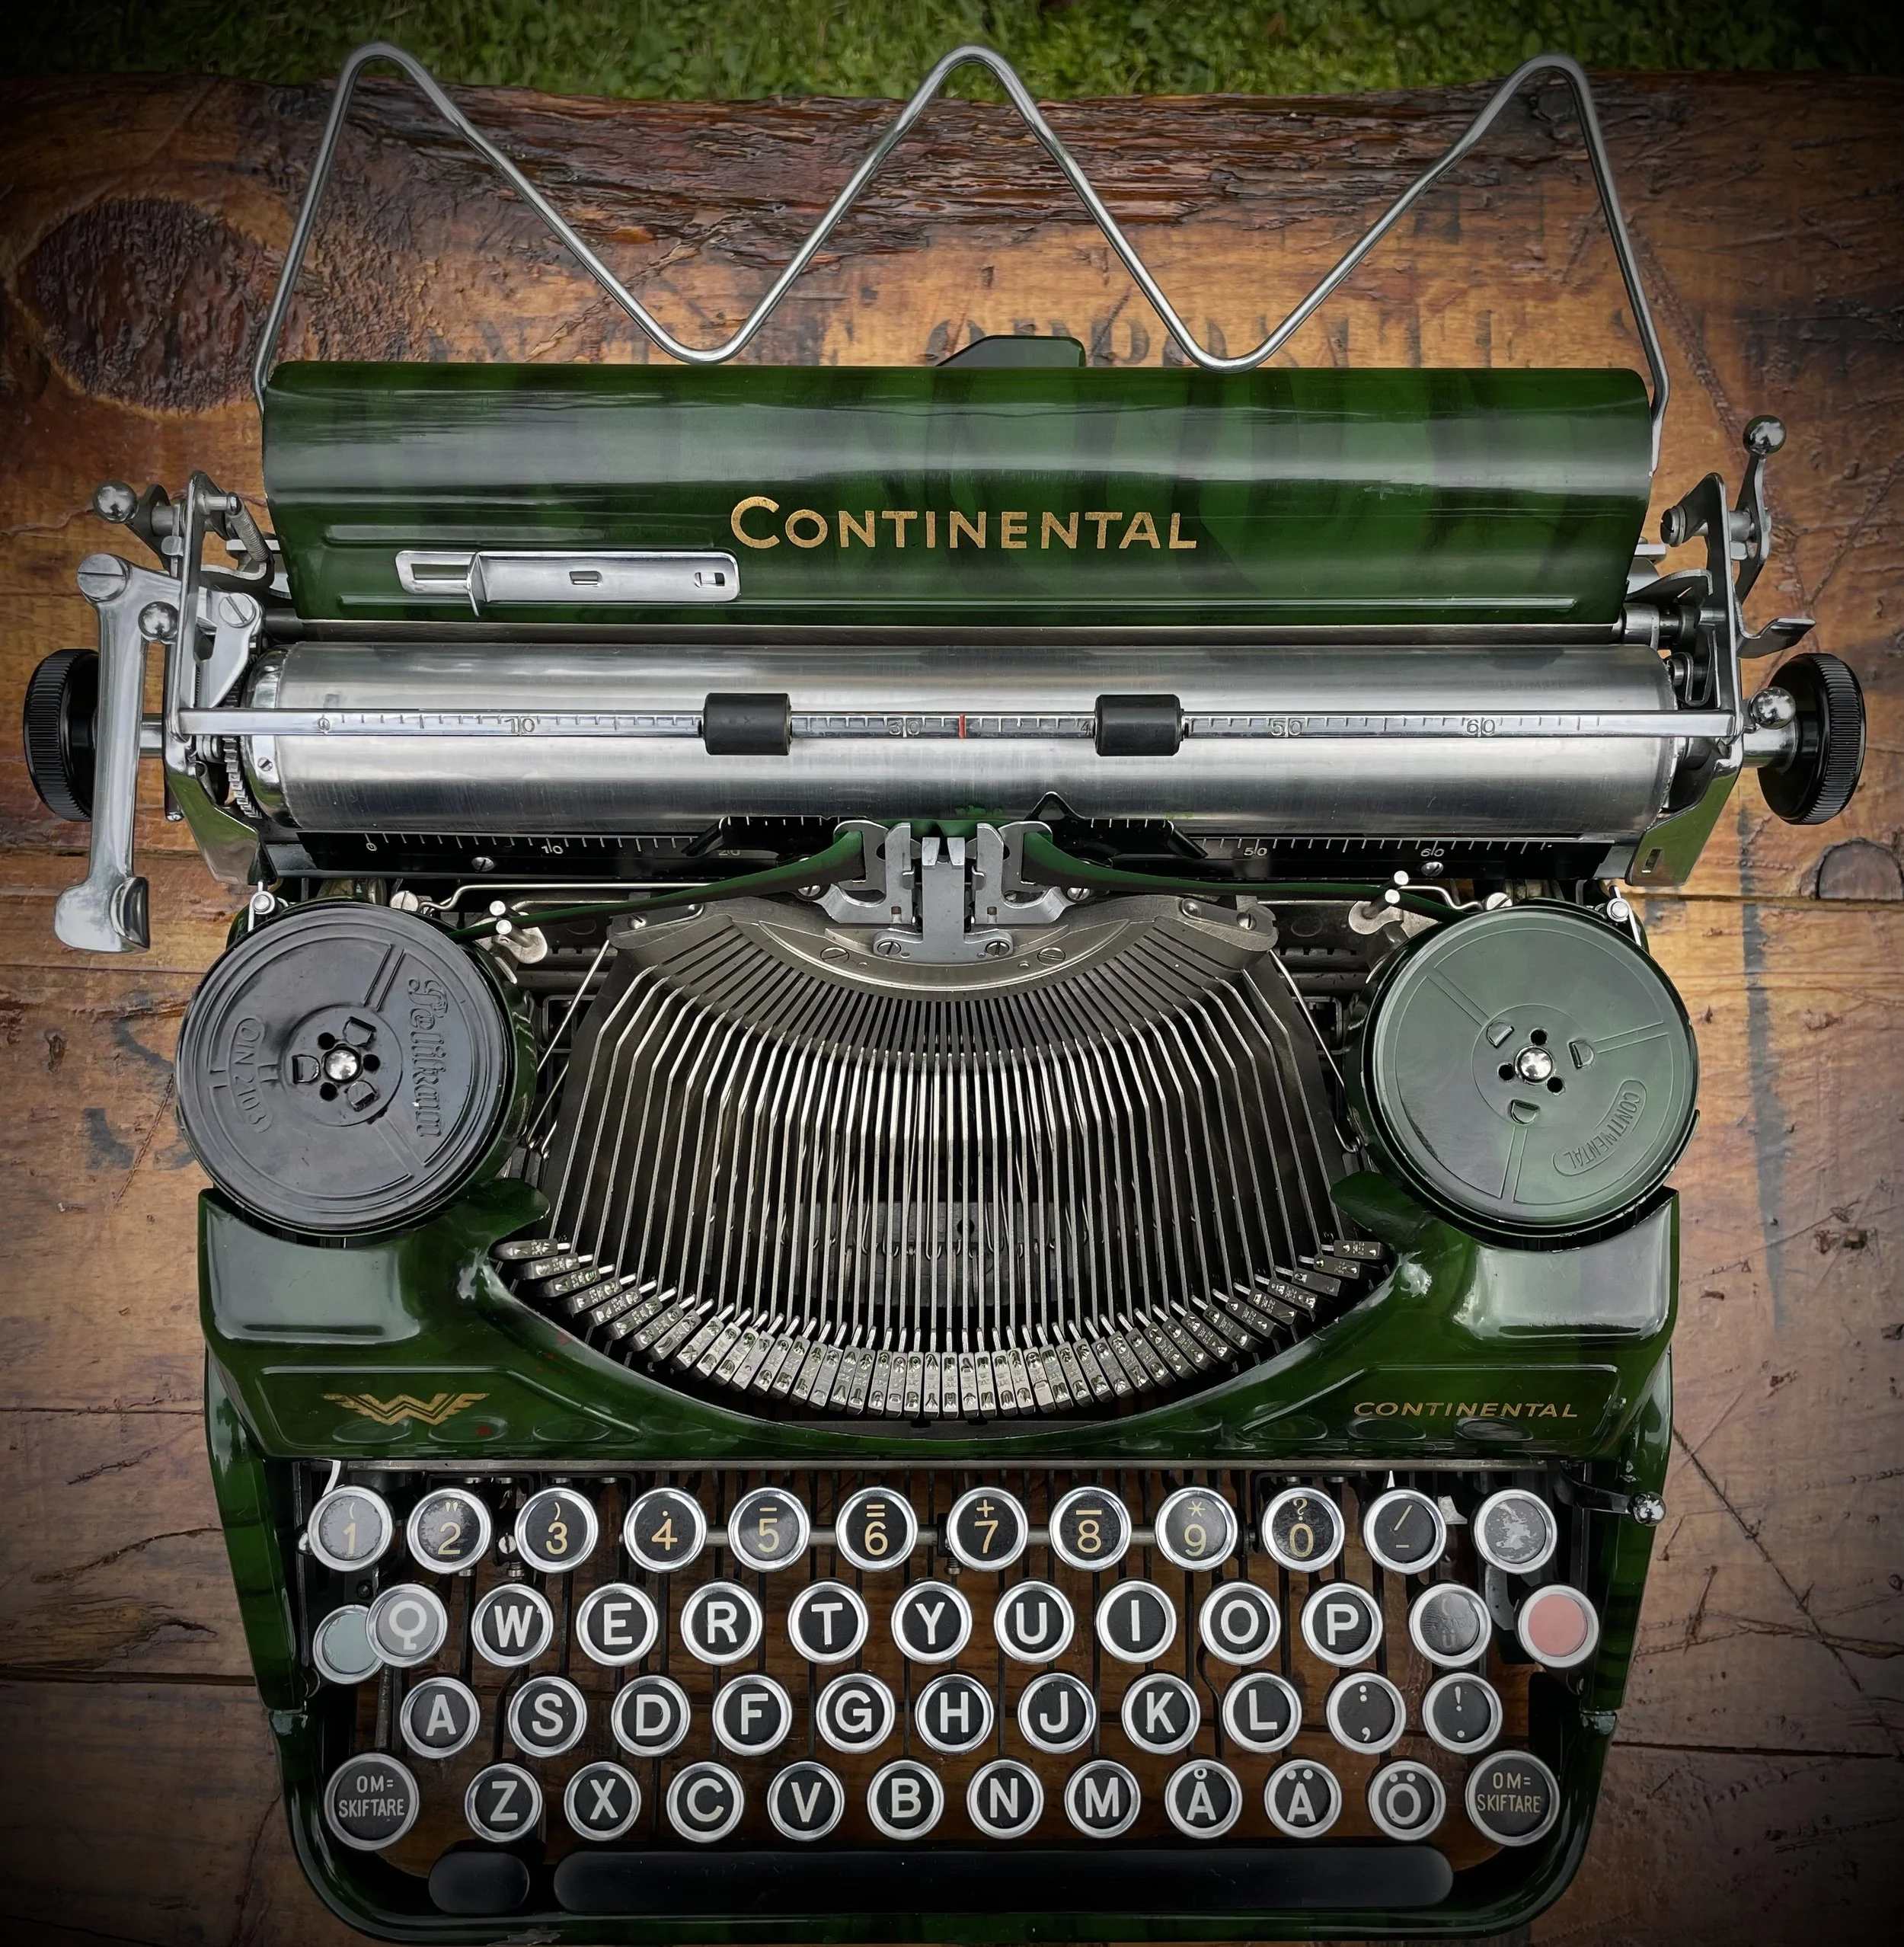
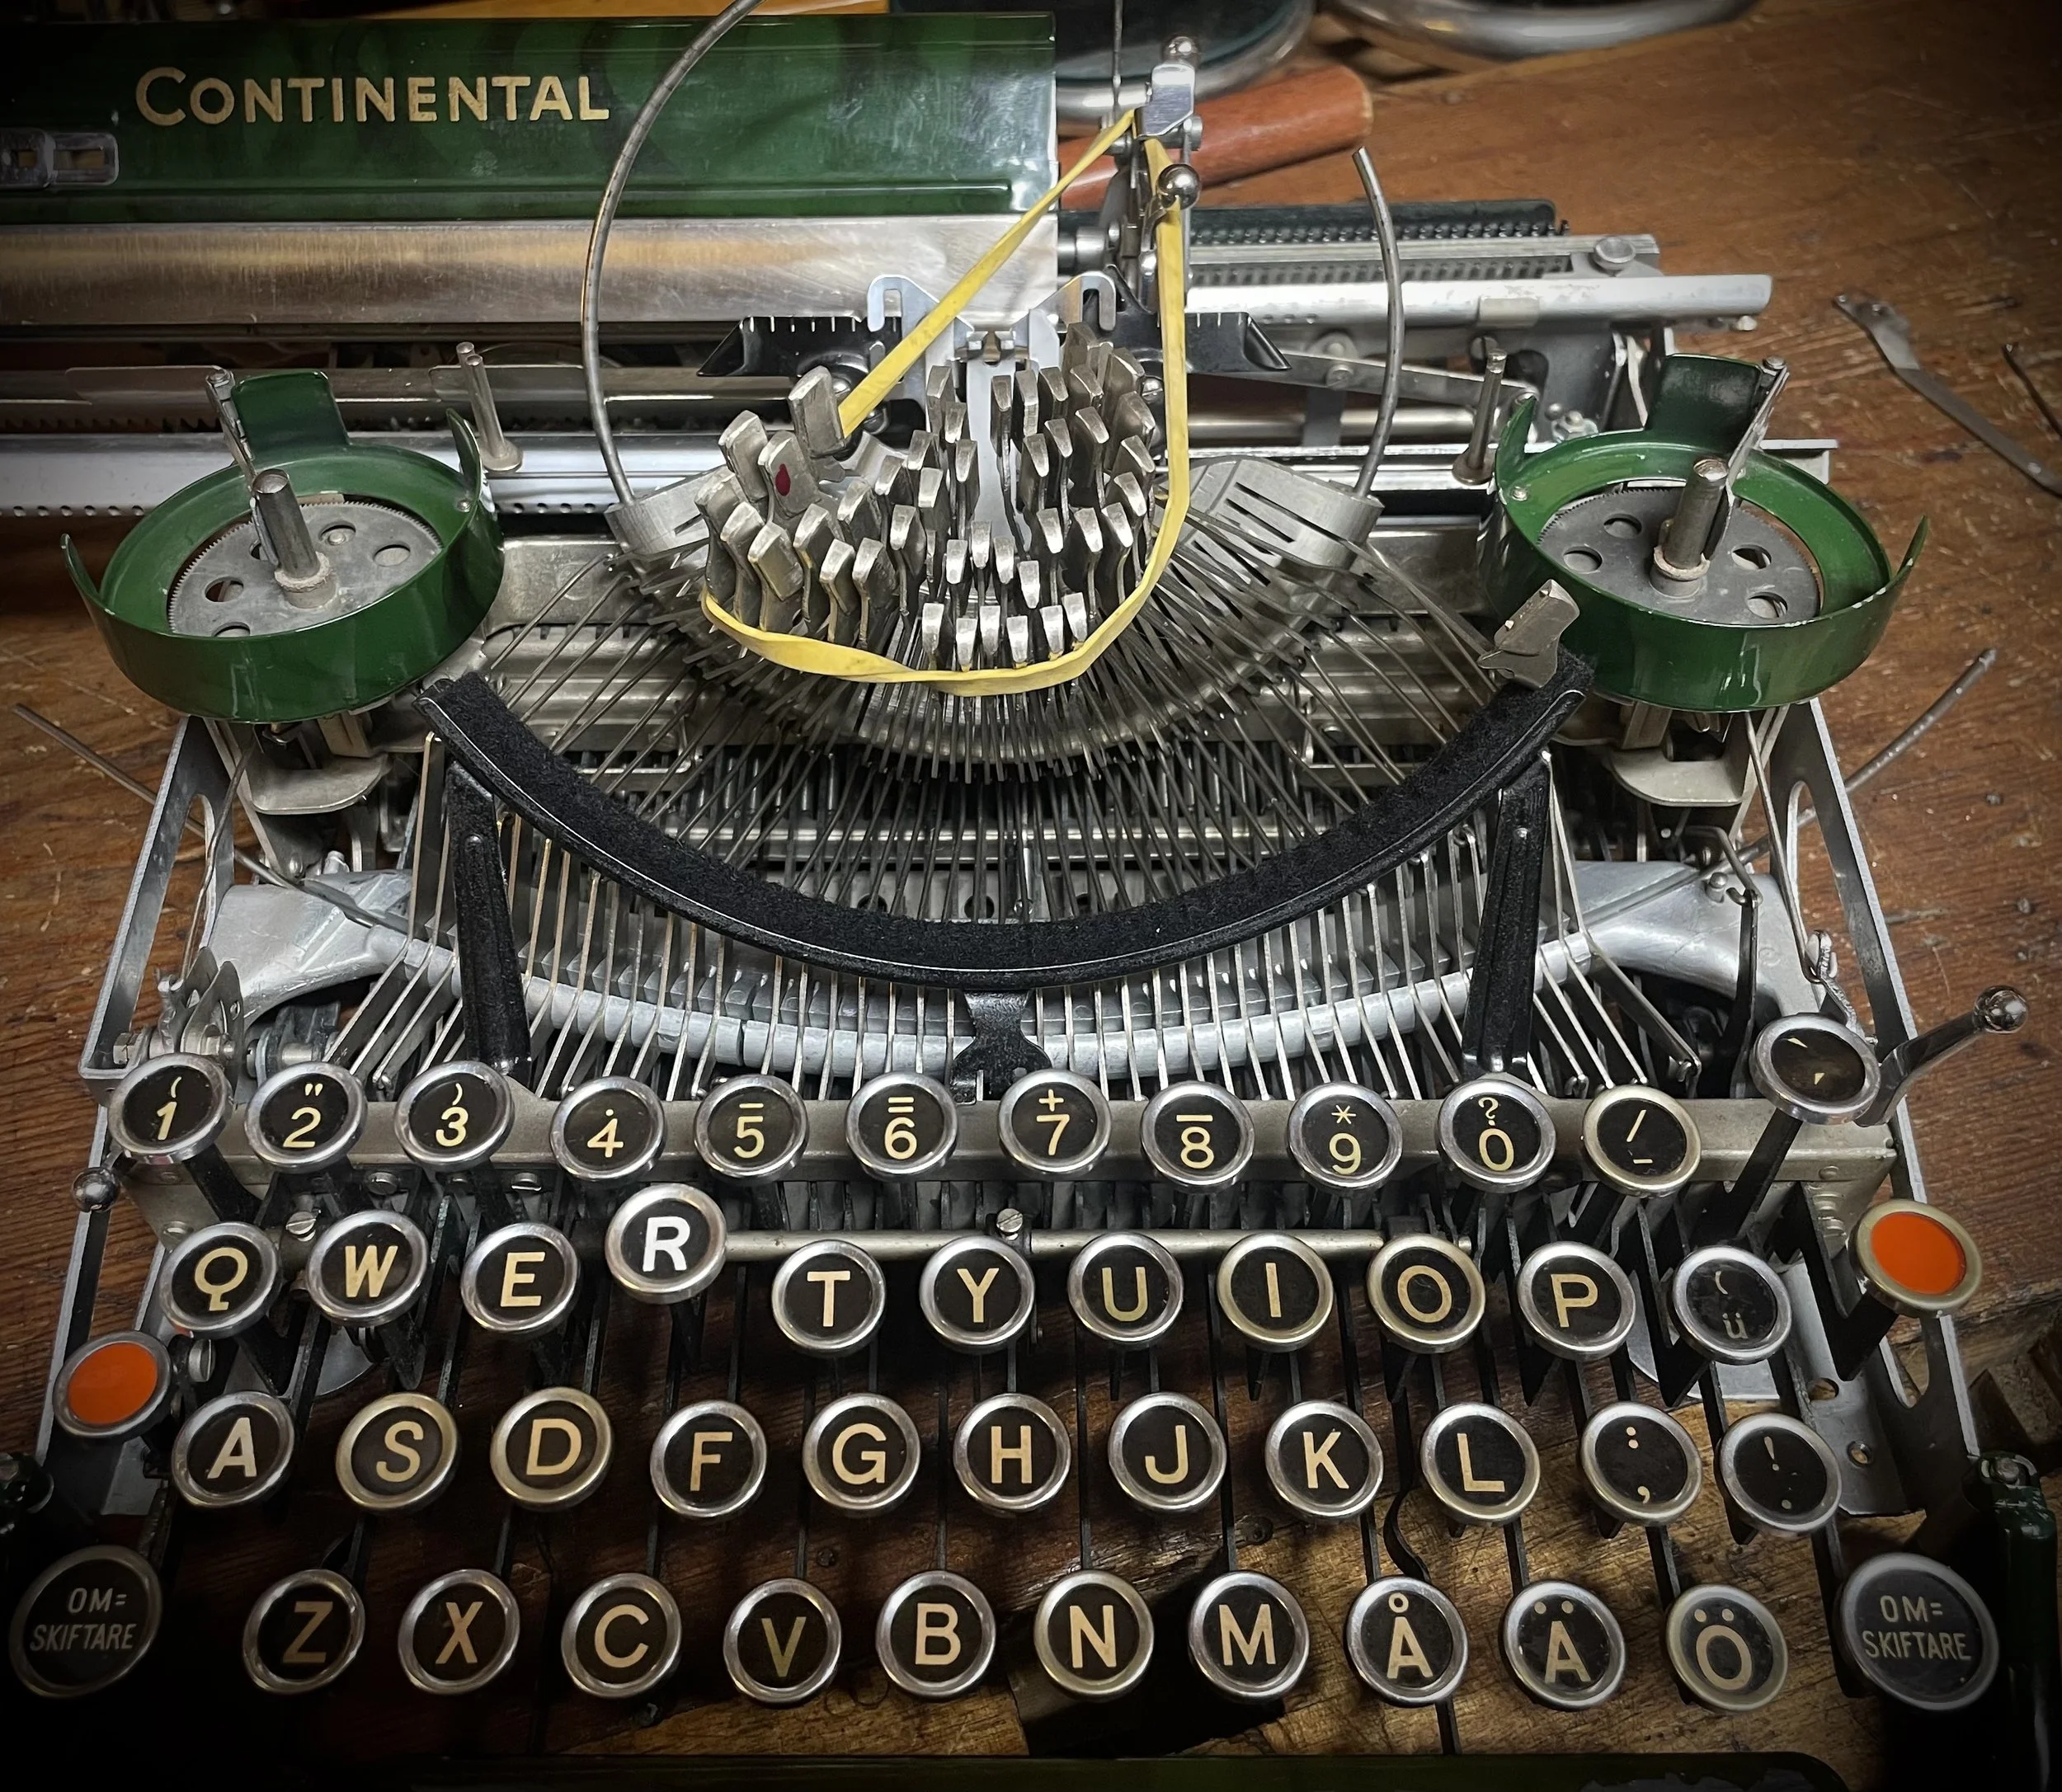
Klein-Continental with tiny typeface
I bought this machine on Internet auction, which now seems like a good luck. Would I be able to test her before buying I would probably not do it - and that would be a shame.
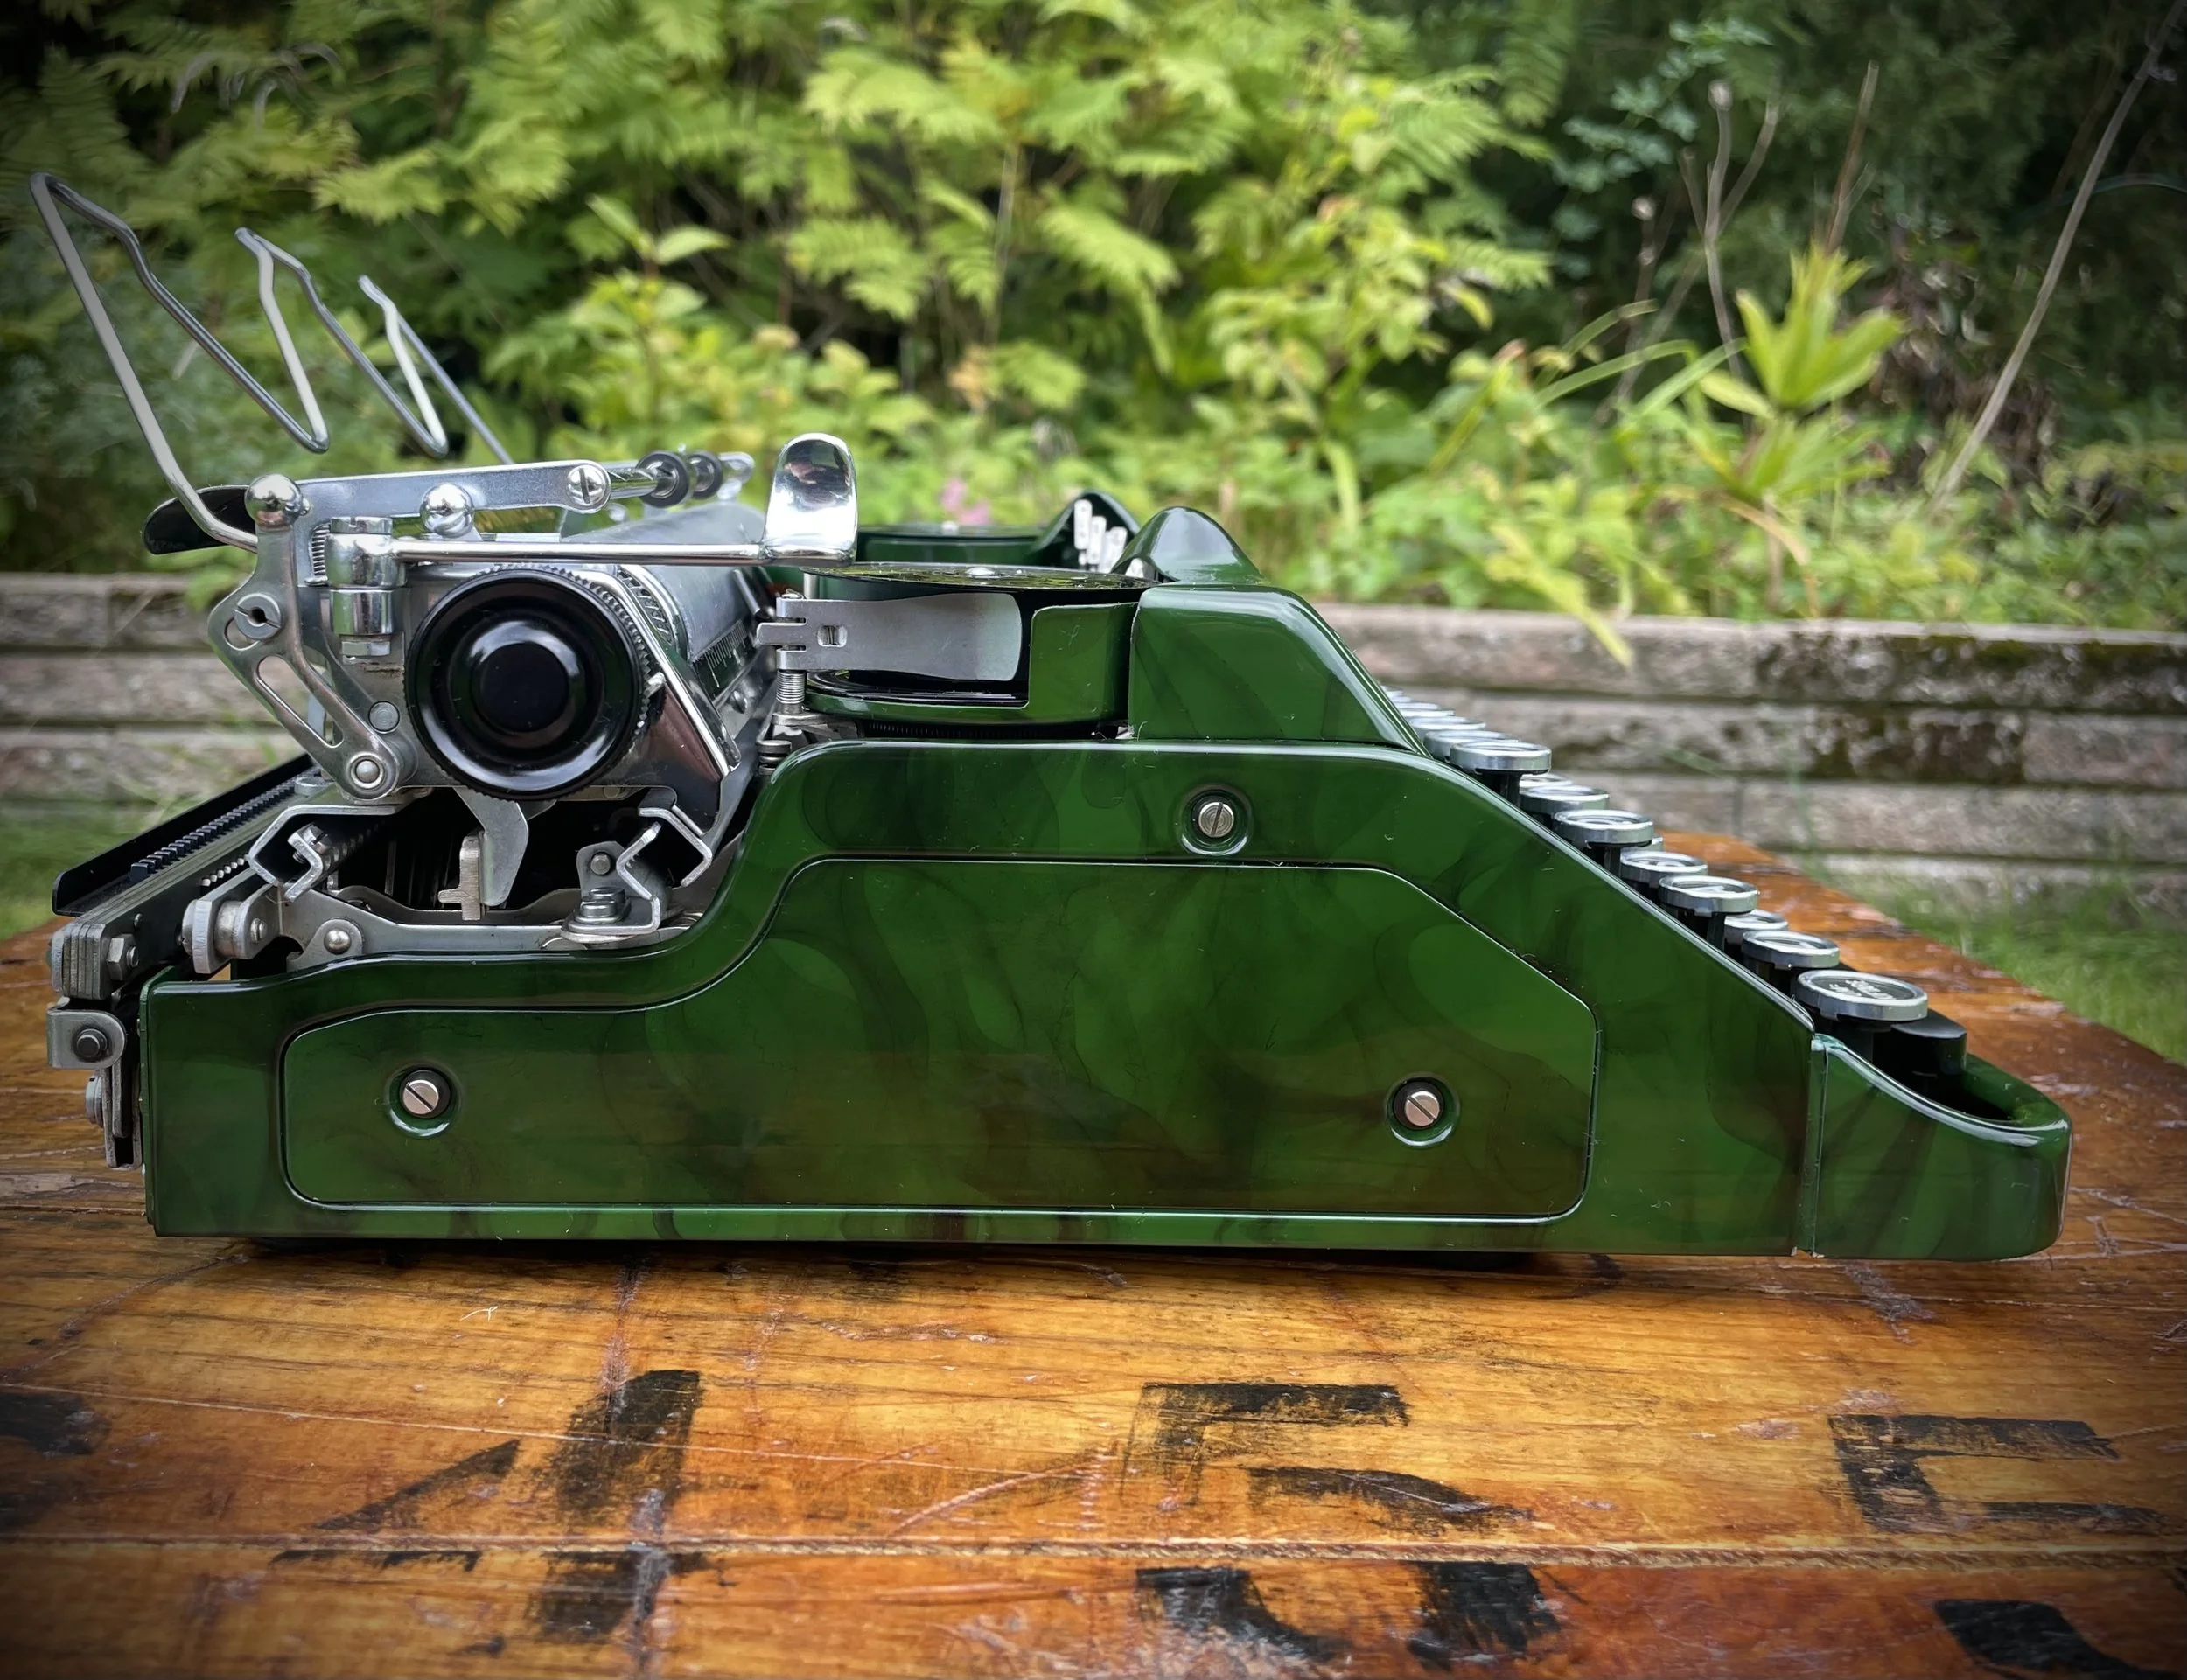
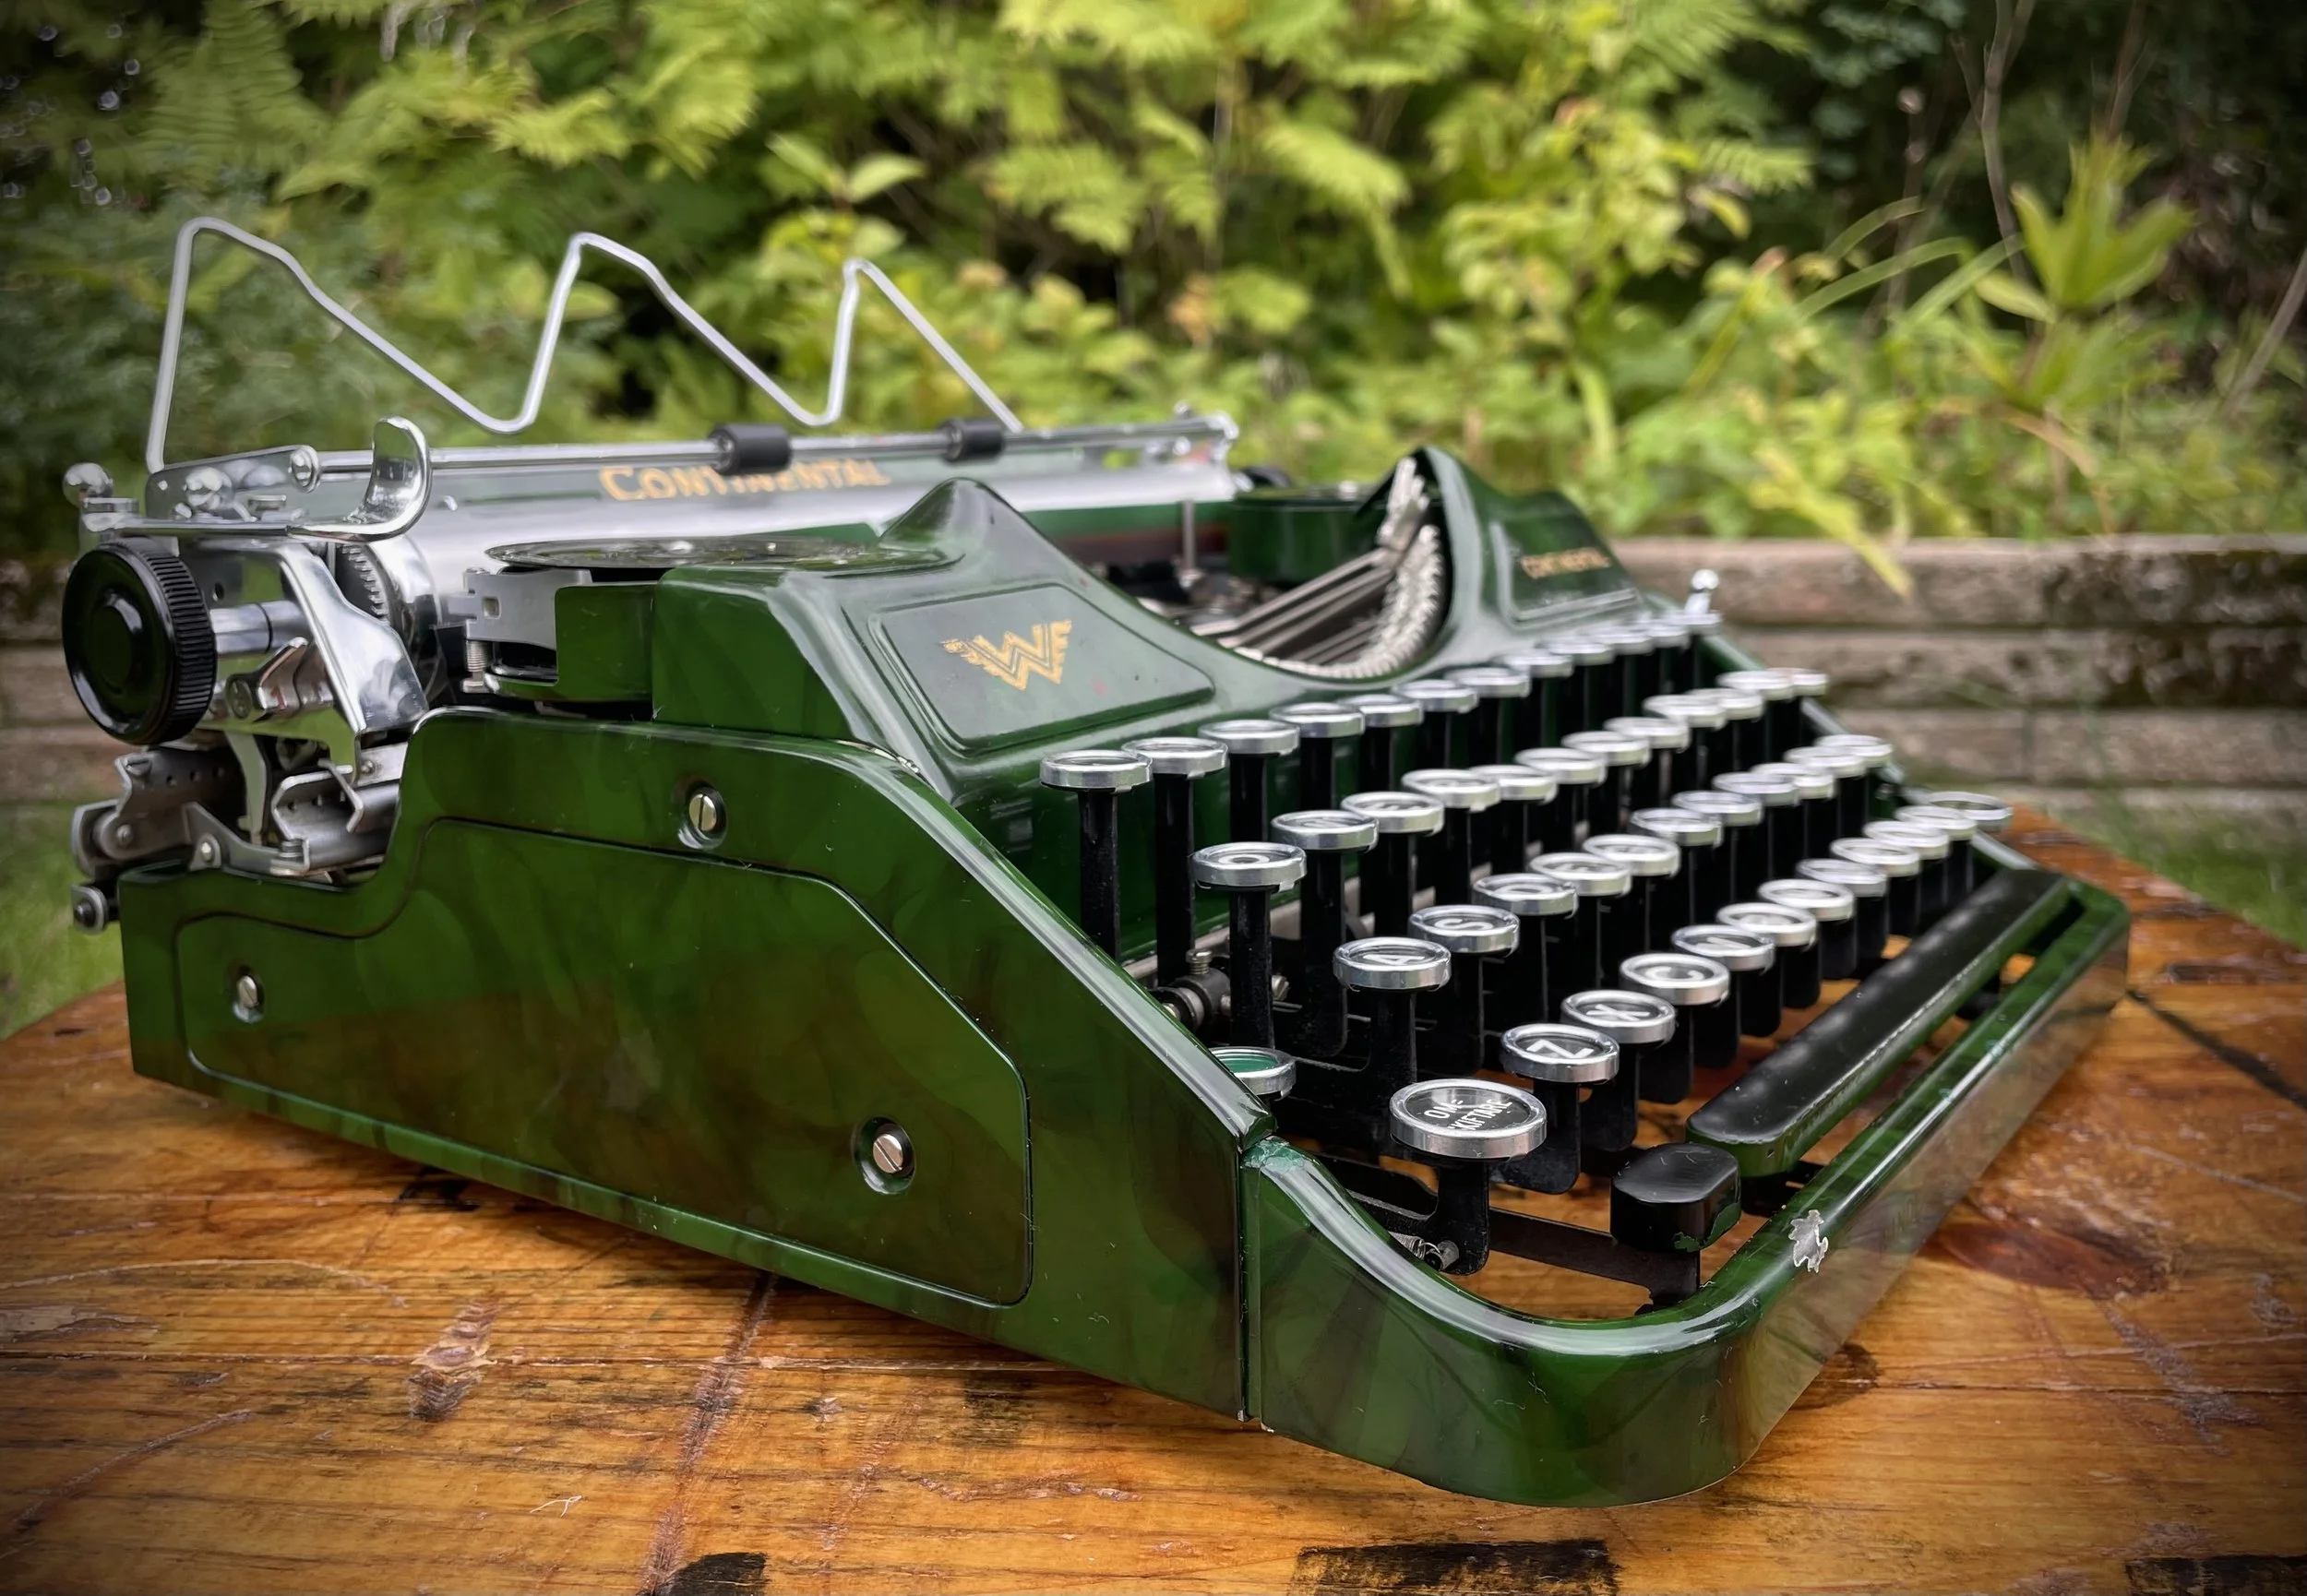
This is Klein-Continental typewriter, luxury model in their range. It is a bit tricky to follow model line for these machines but Typewriter Database and oz.Typewriter are fantastic help here.
The ultimate guide for figuring out which model of Conti we have is Pelicram´s web page.
There was a lot wrong with this one. I knew that type arms are in half-erected position but I thought it is usual WD40 glue issue:
Well, it was not. It was far more serious.
At first I doped the mechanism in mineral spirit for one day, with hope that it will dissolve the old oil and free the movements. No, it did not make the trick. Many type-arms were properly seized and hardly moving, still.
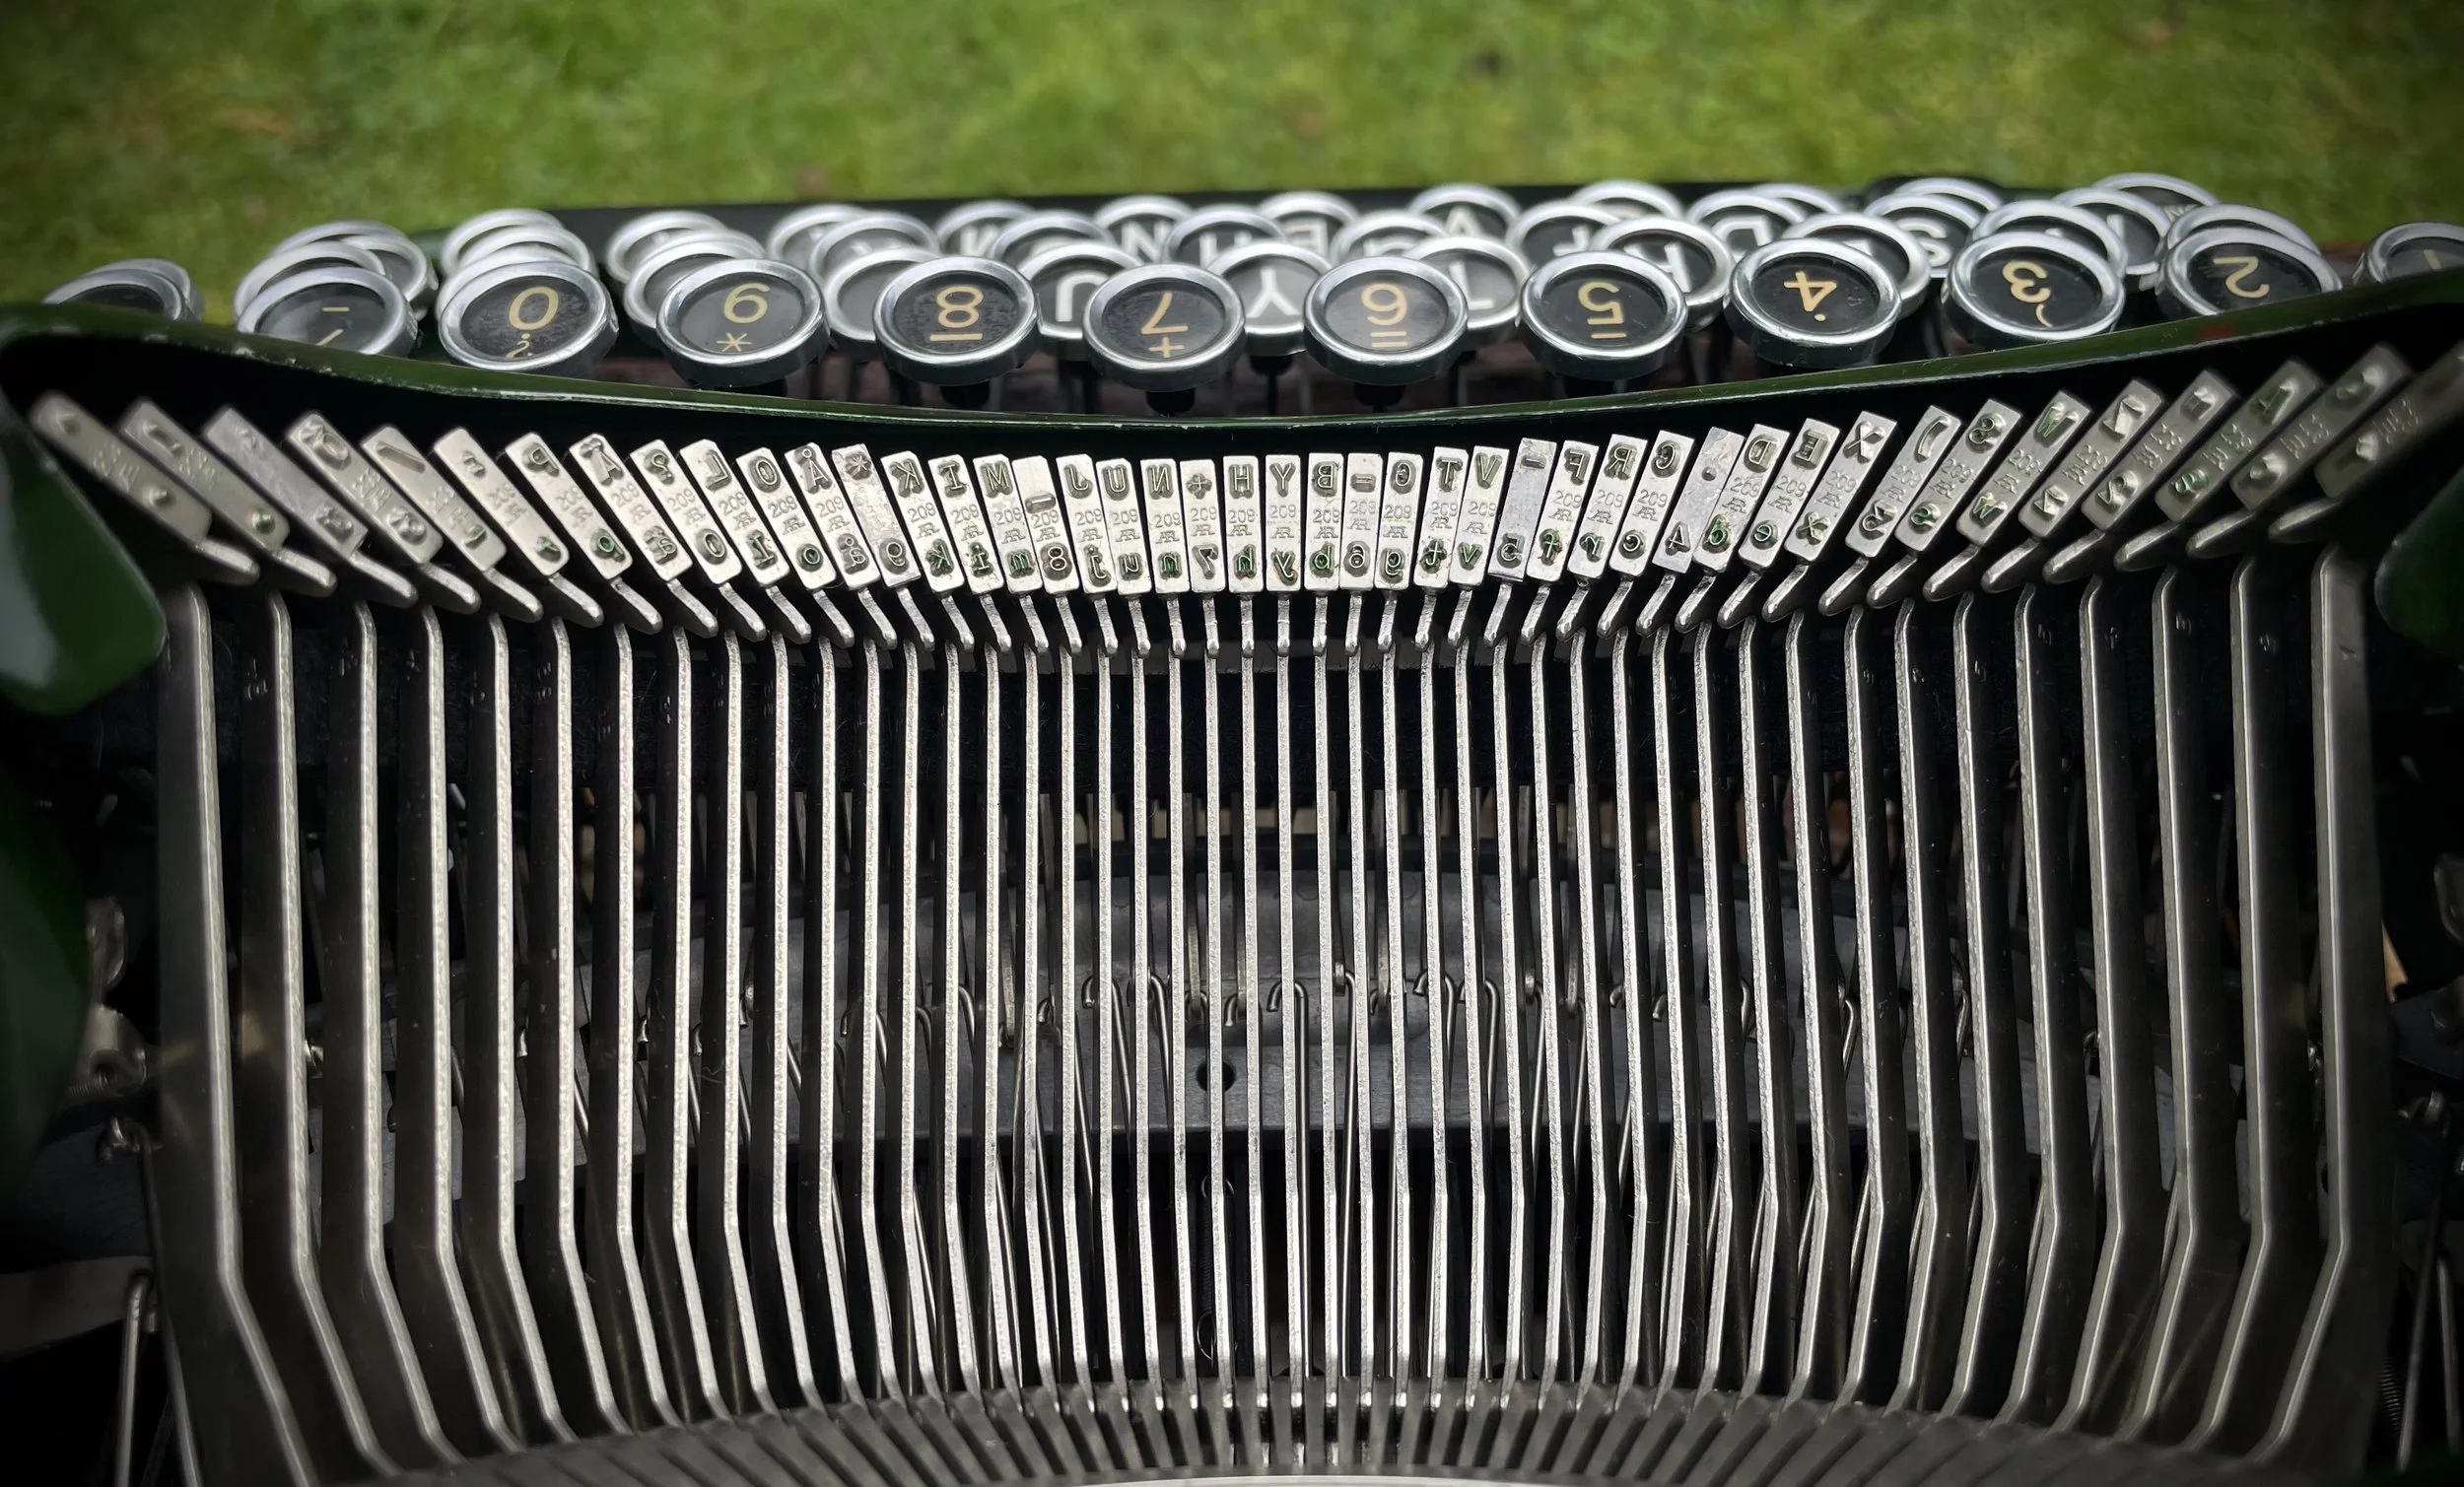
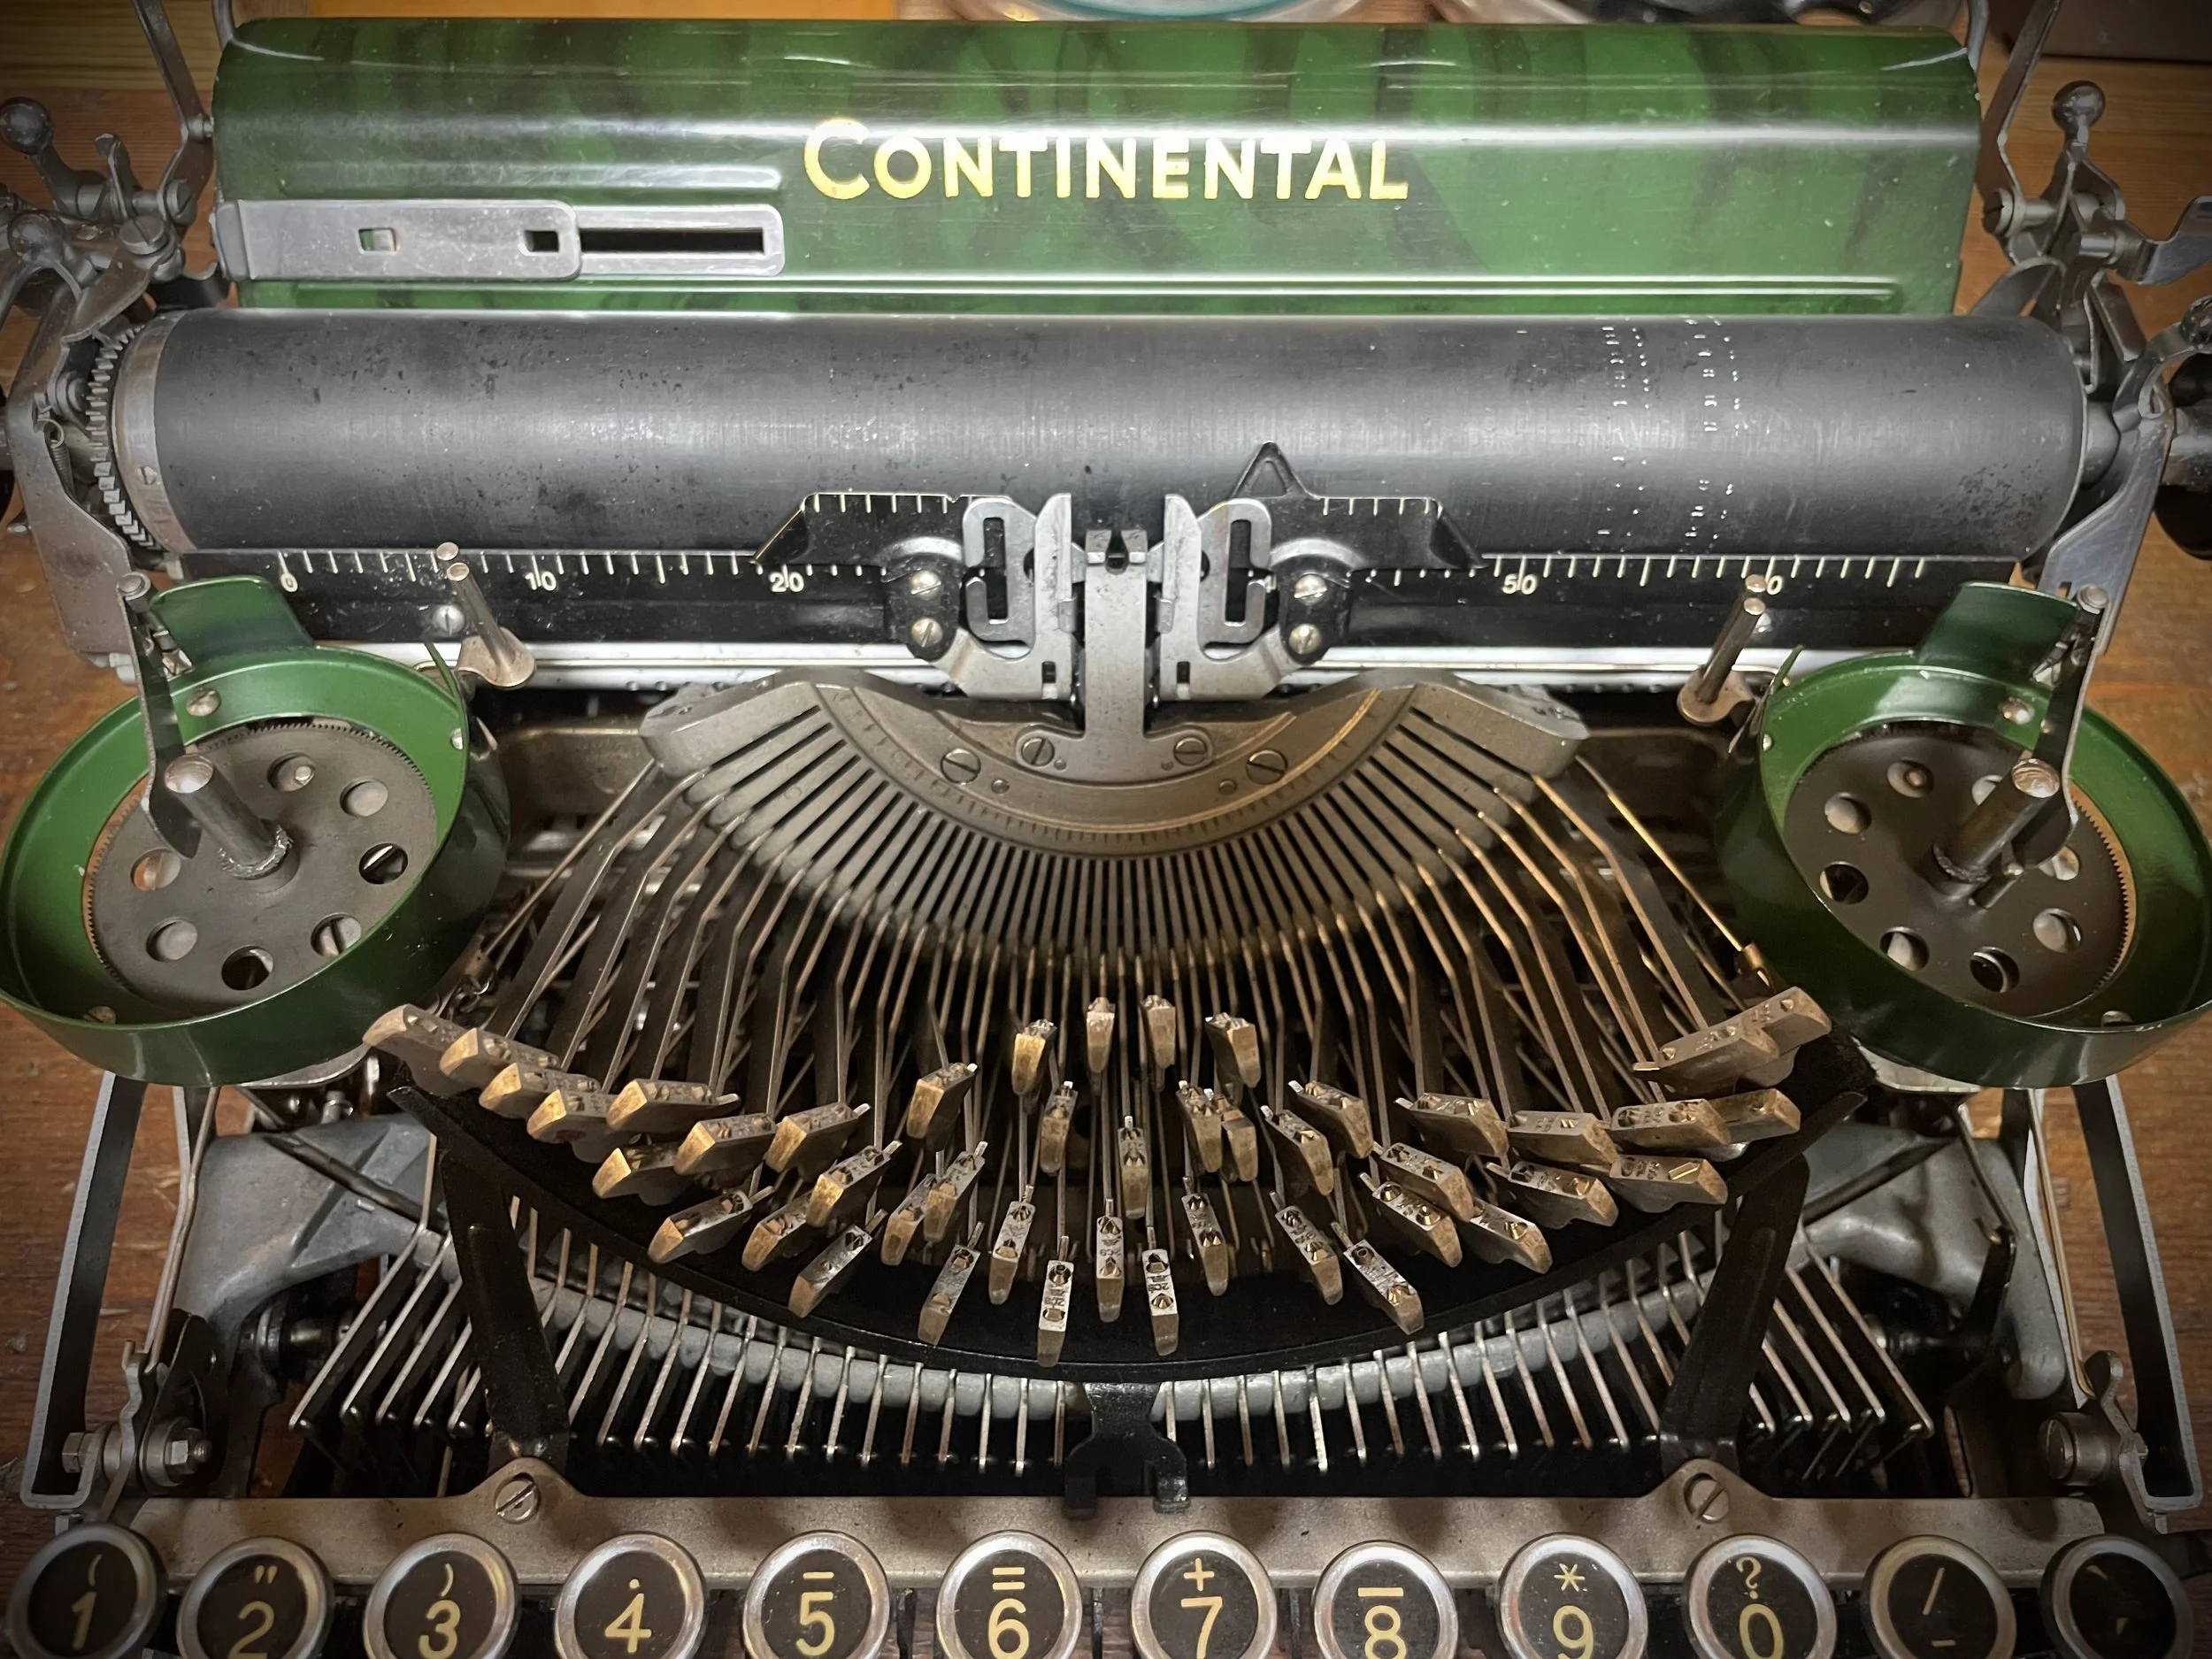
She needed a proper cleaning so I removed all type-arms and links, to open the operation theater.
It became apparent that it was not WD40 when bits of comb fell off, too.
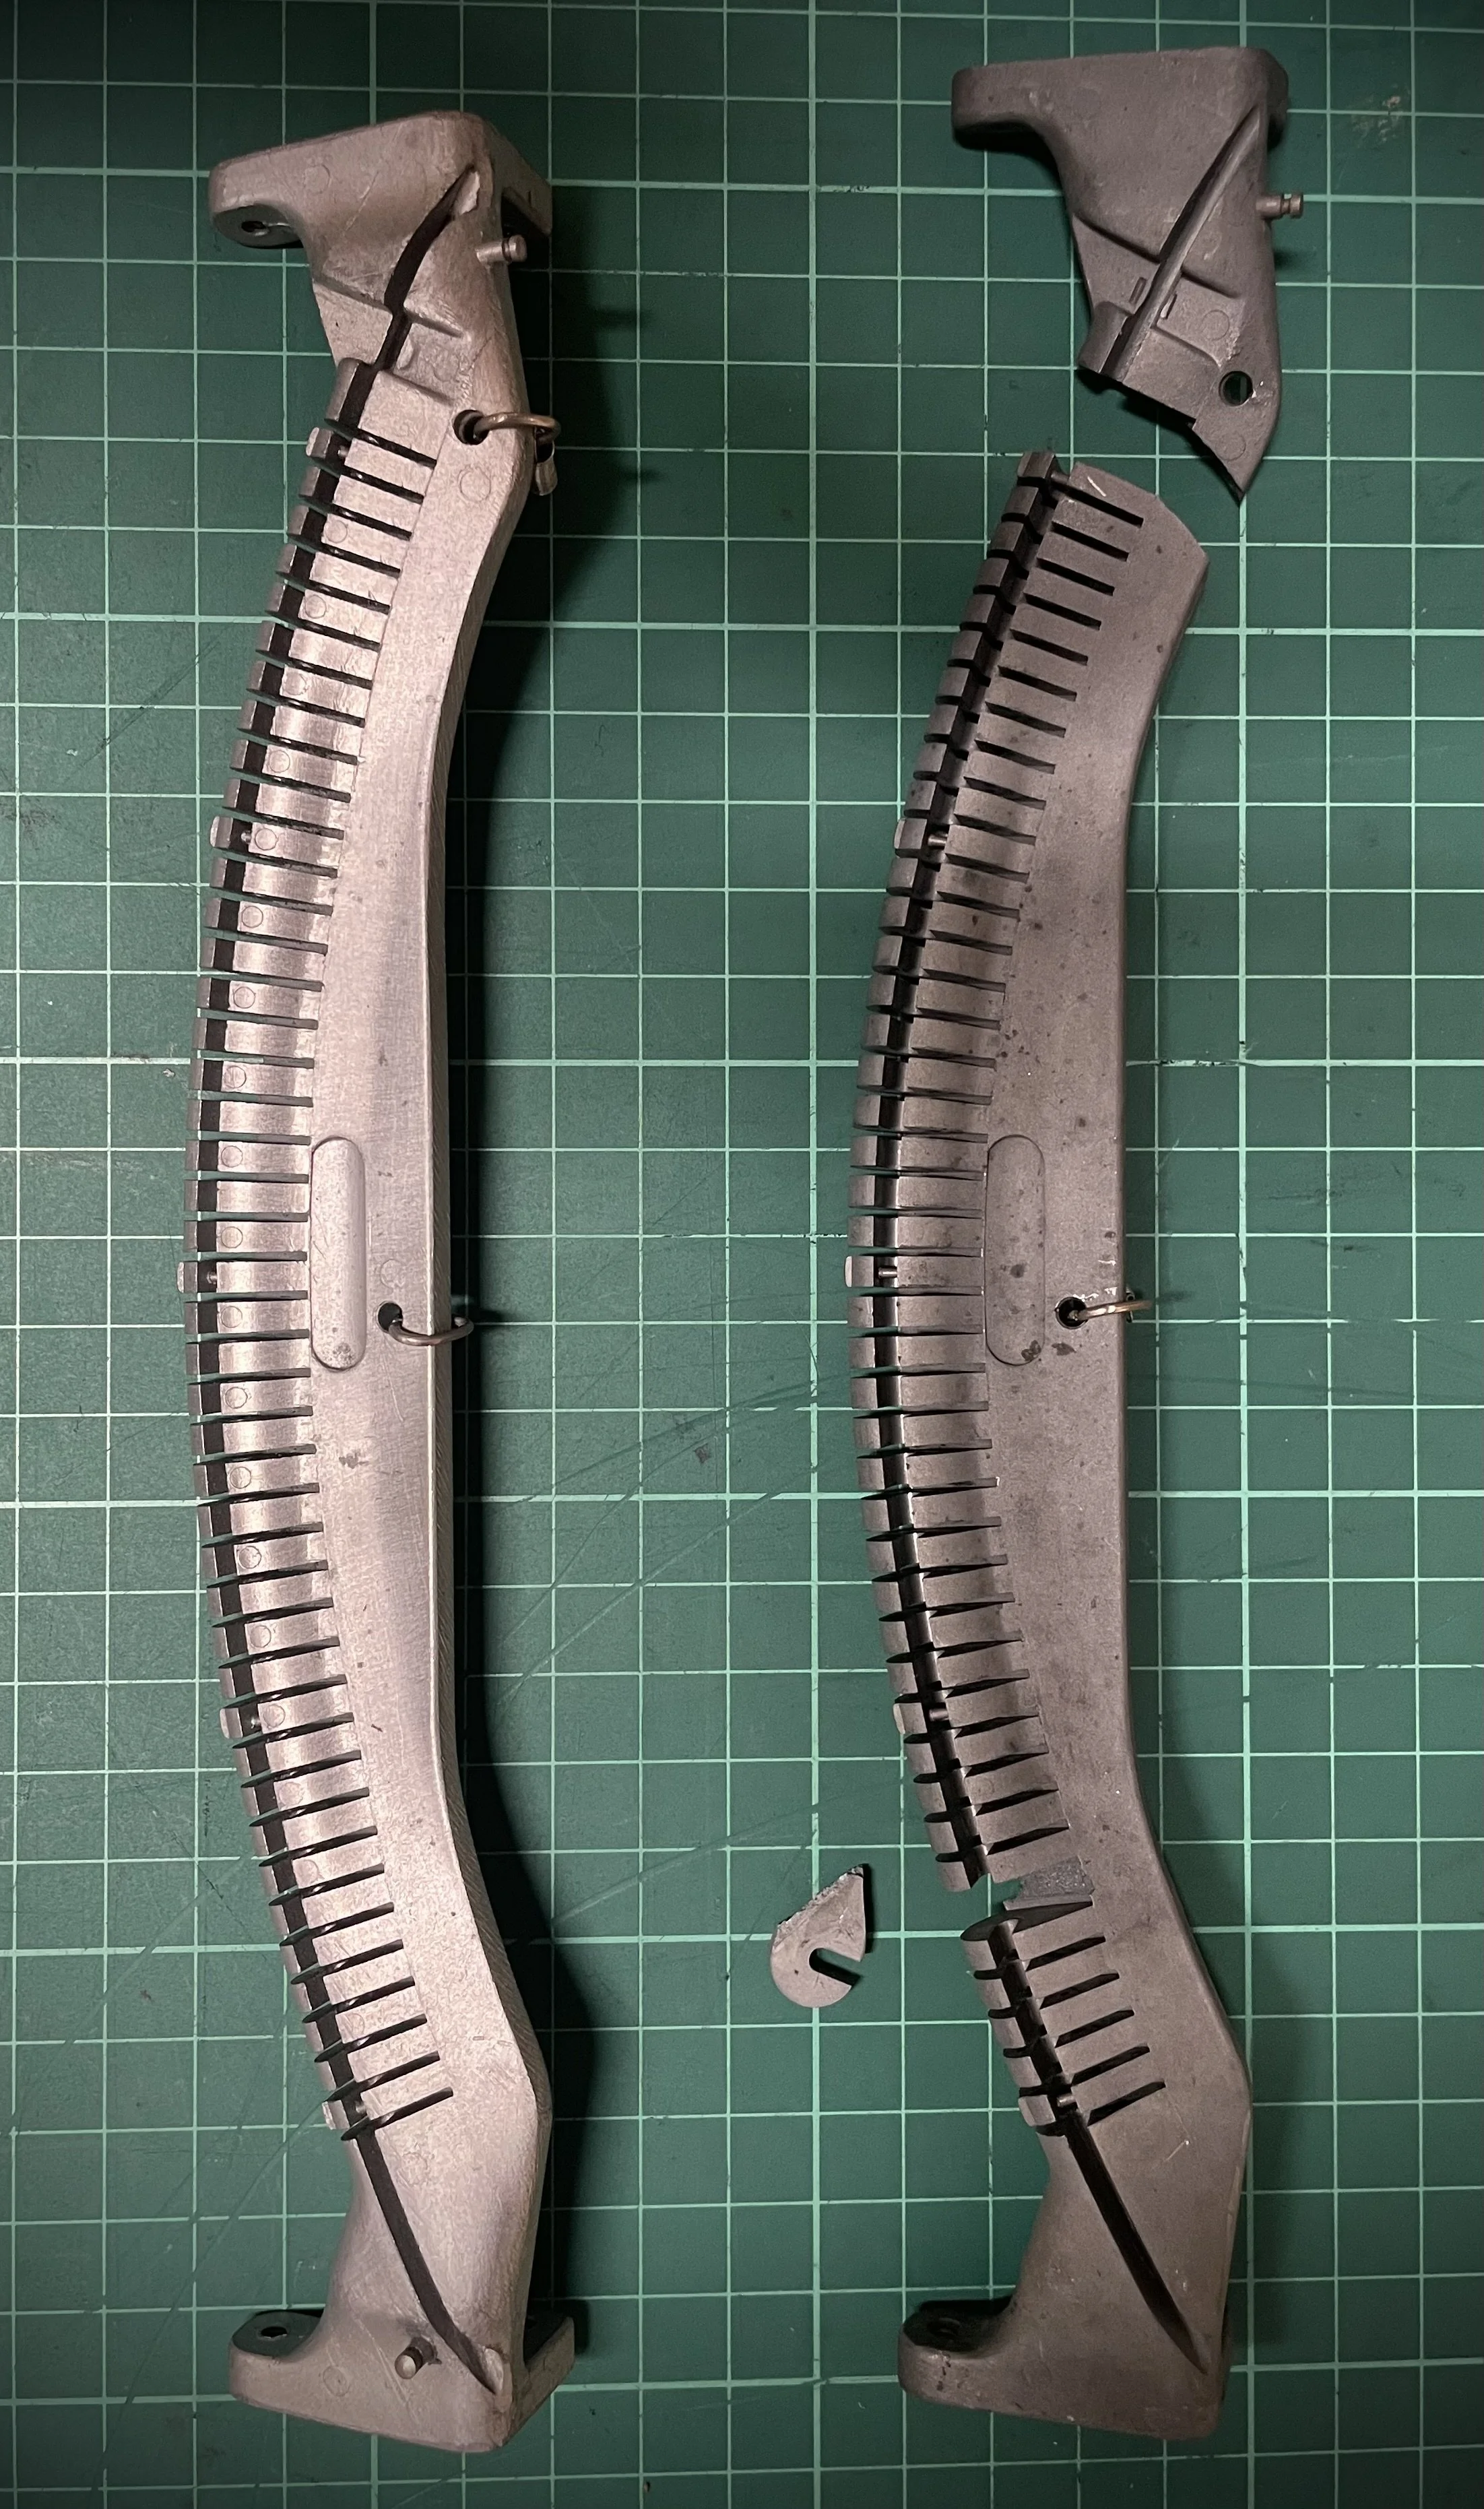
It seems someone was “running her wild and leaving wet” - in arctic temperatures. What otherwise could cause such damage and cracks, casting looking porous and brittle.


With heavy heart I decided to sacrifice my otherwise perfectly working Continental 350 and transplant broken part to this patient.
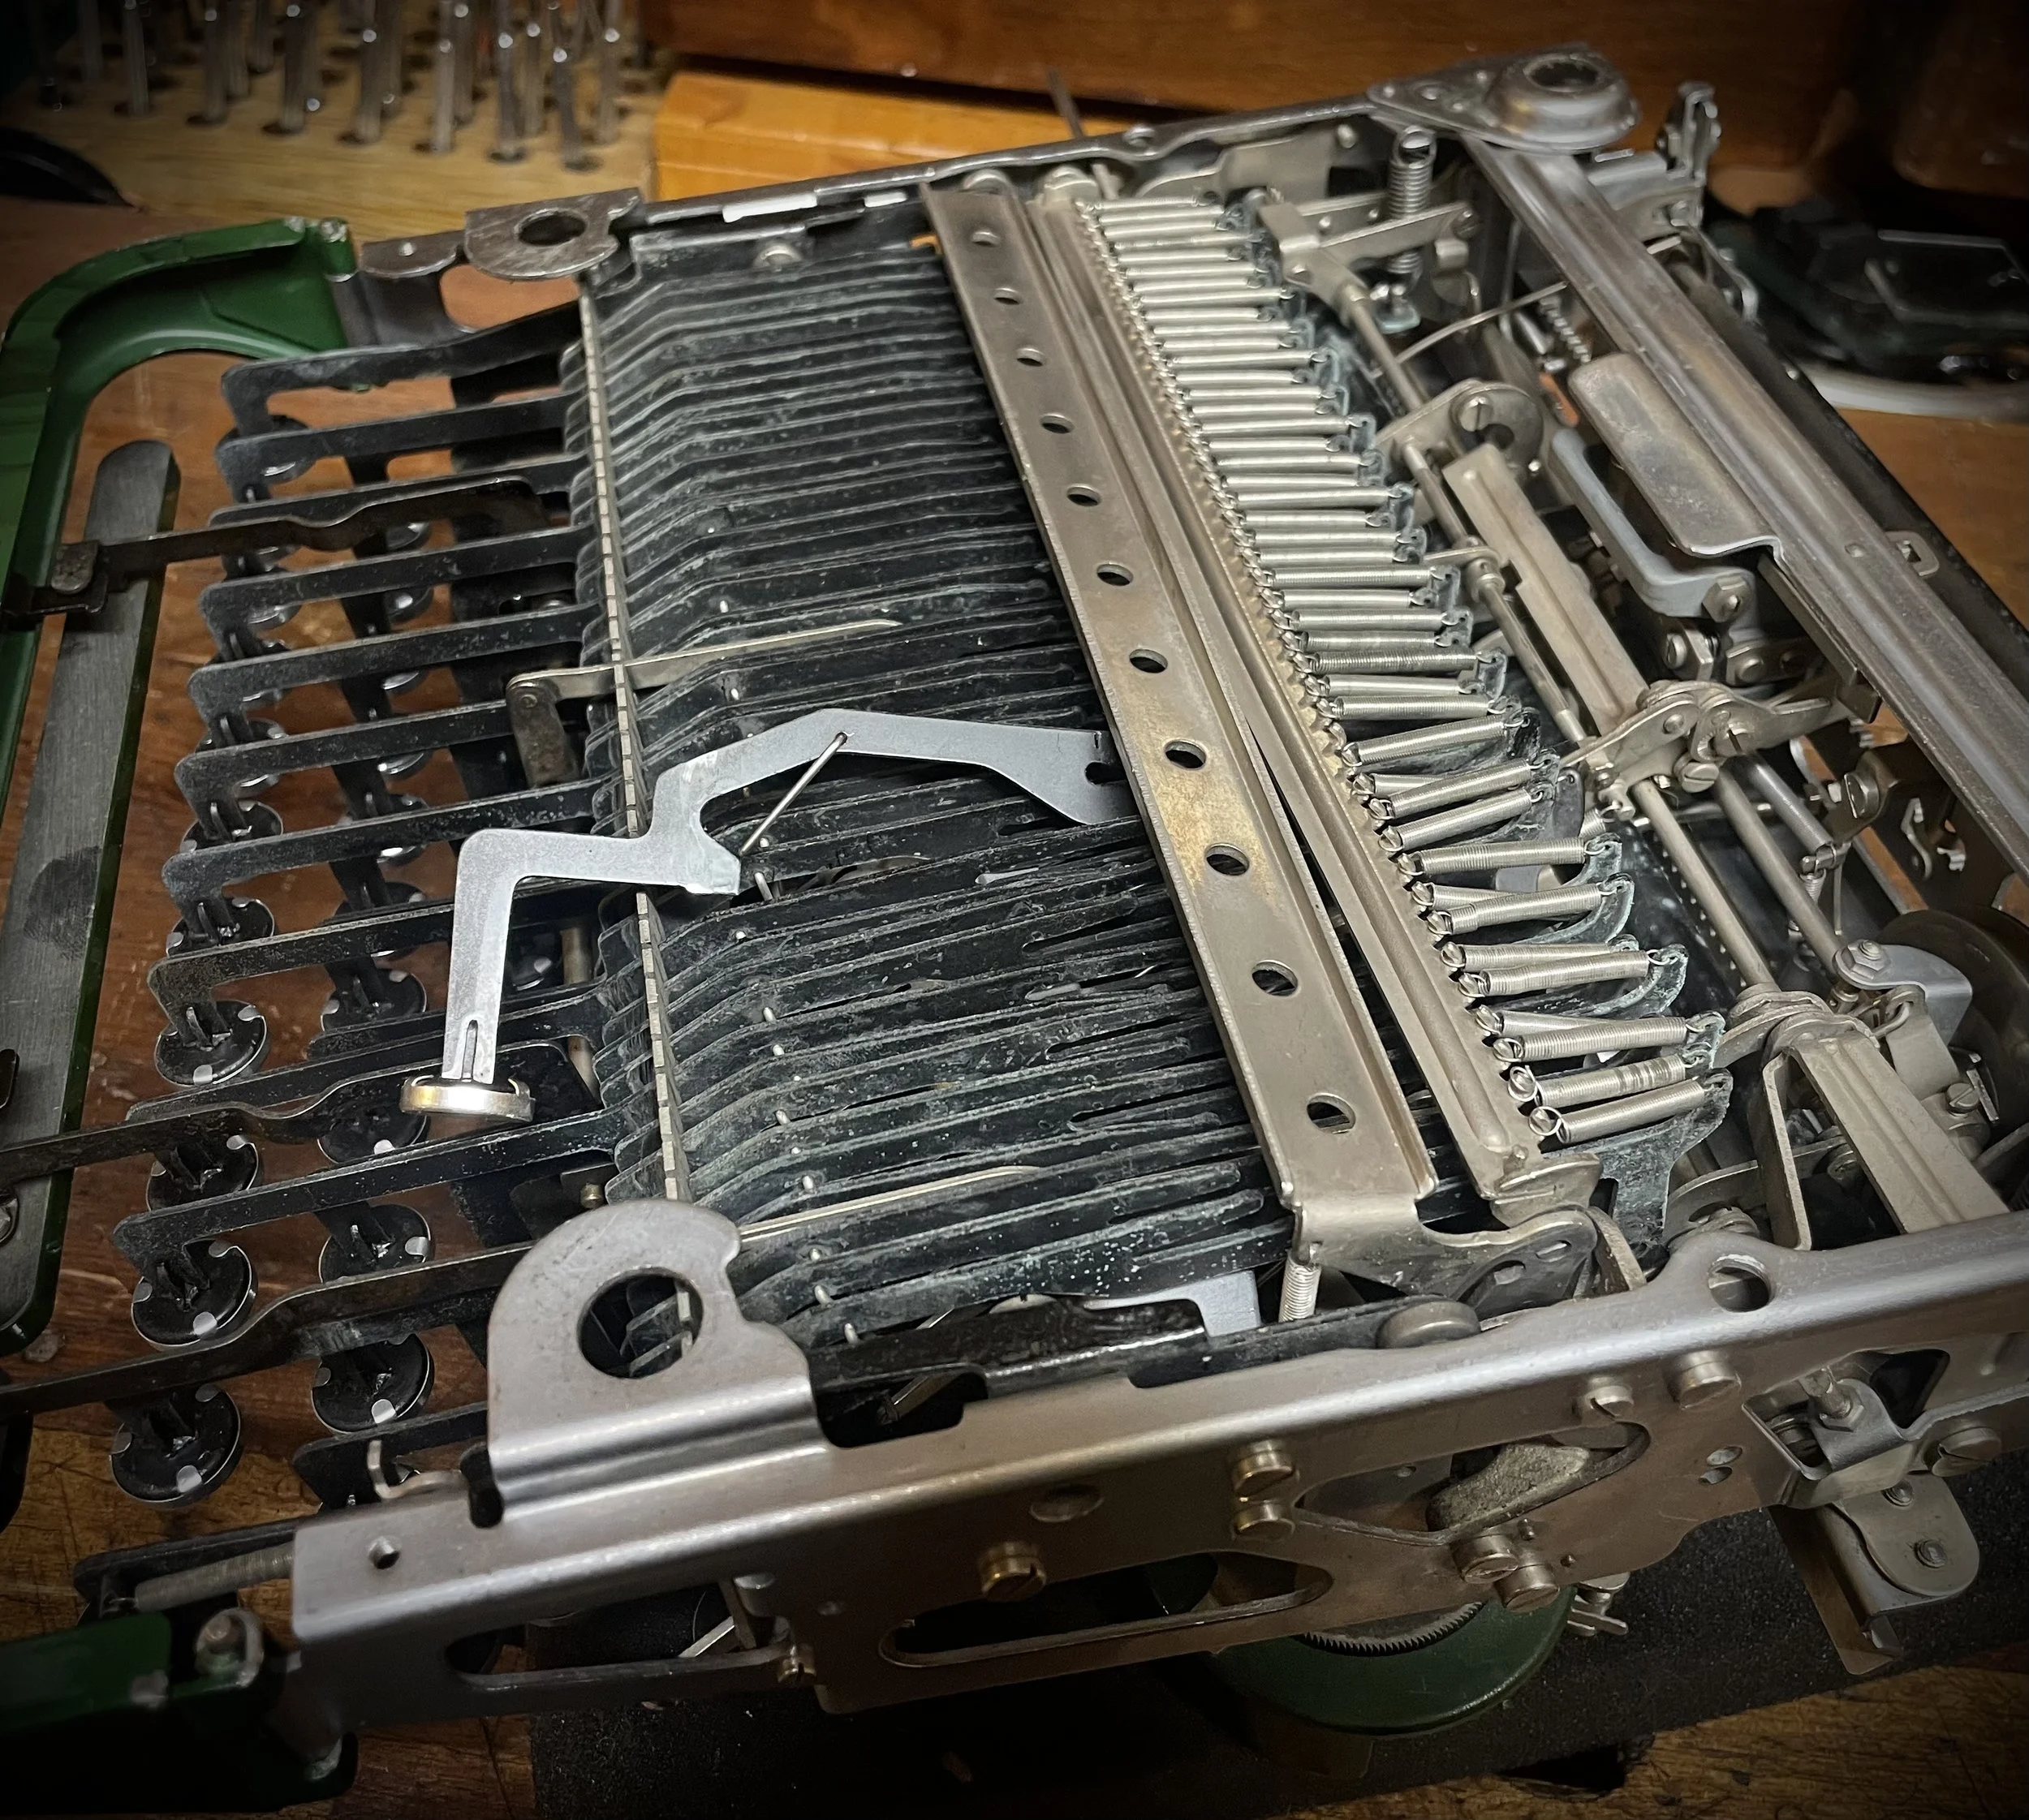
Rebuilding the whole mechanism - but something still was wrong.
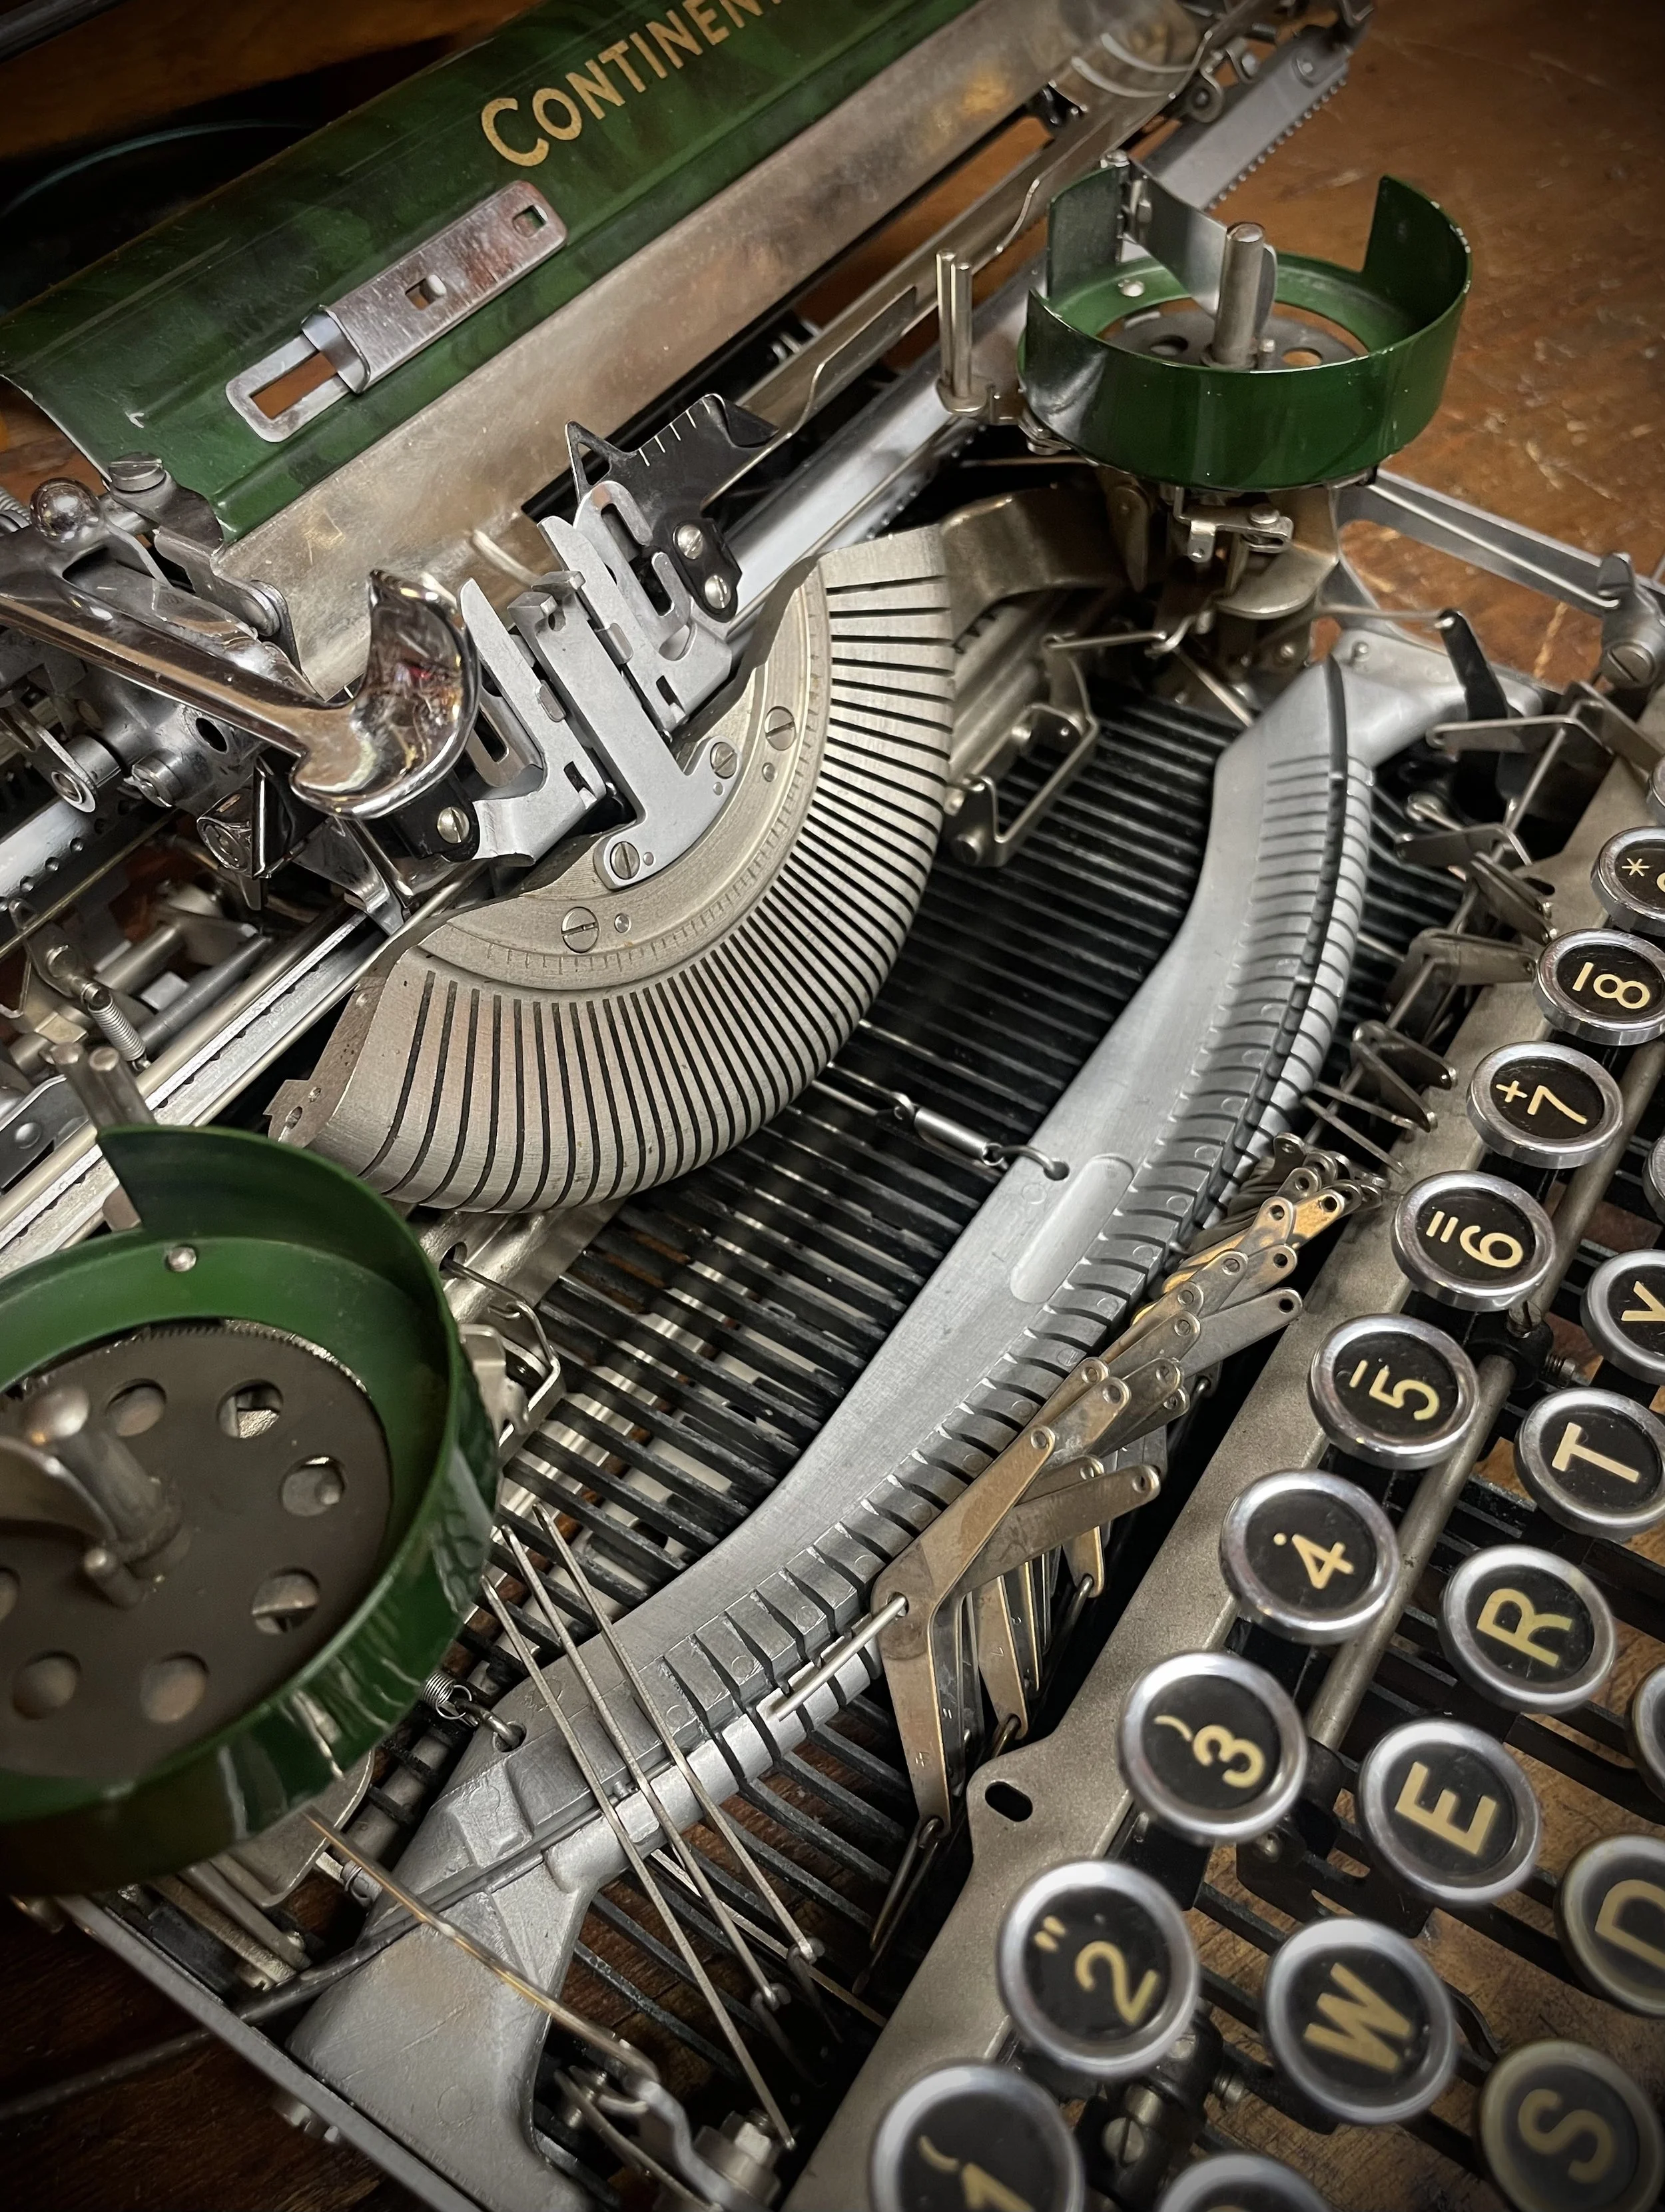
Turned out that the segment had also same issue and in some slots it “swelled”, prohibiting type-arms to move freely. Well, another transplantation was needed.
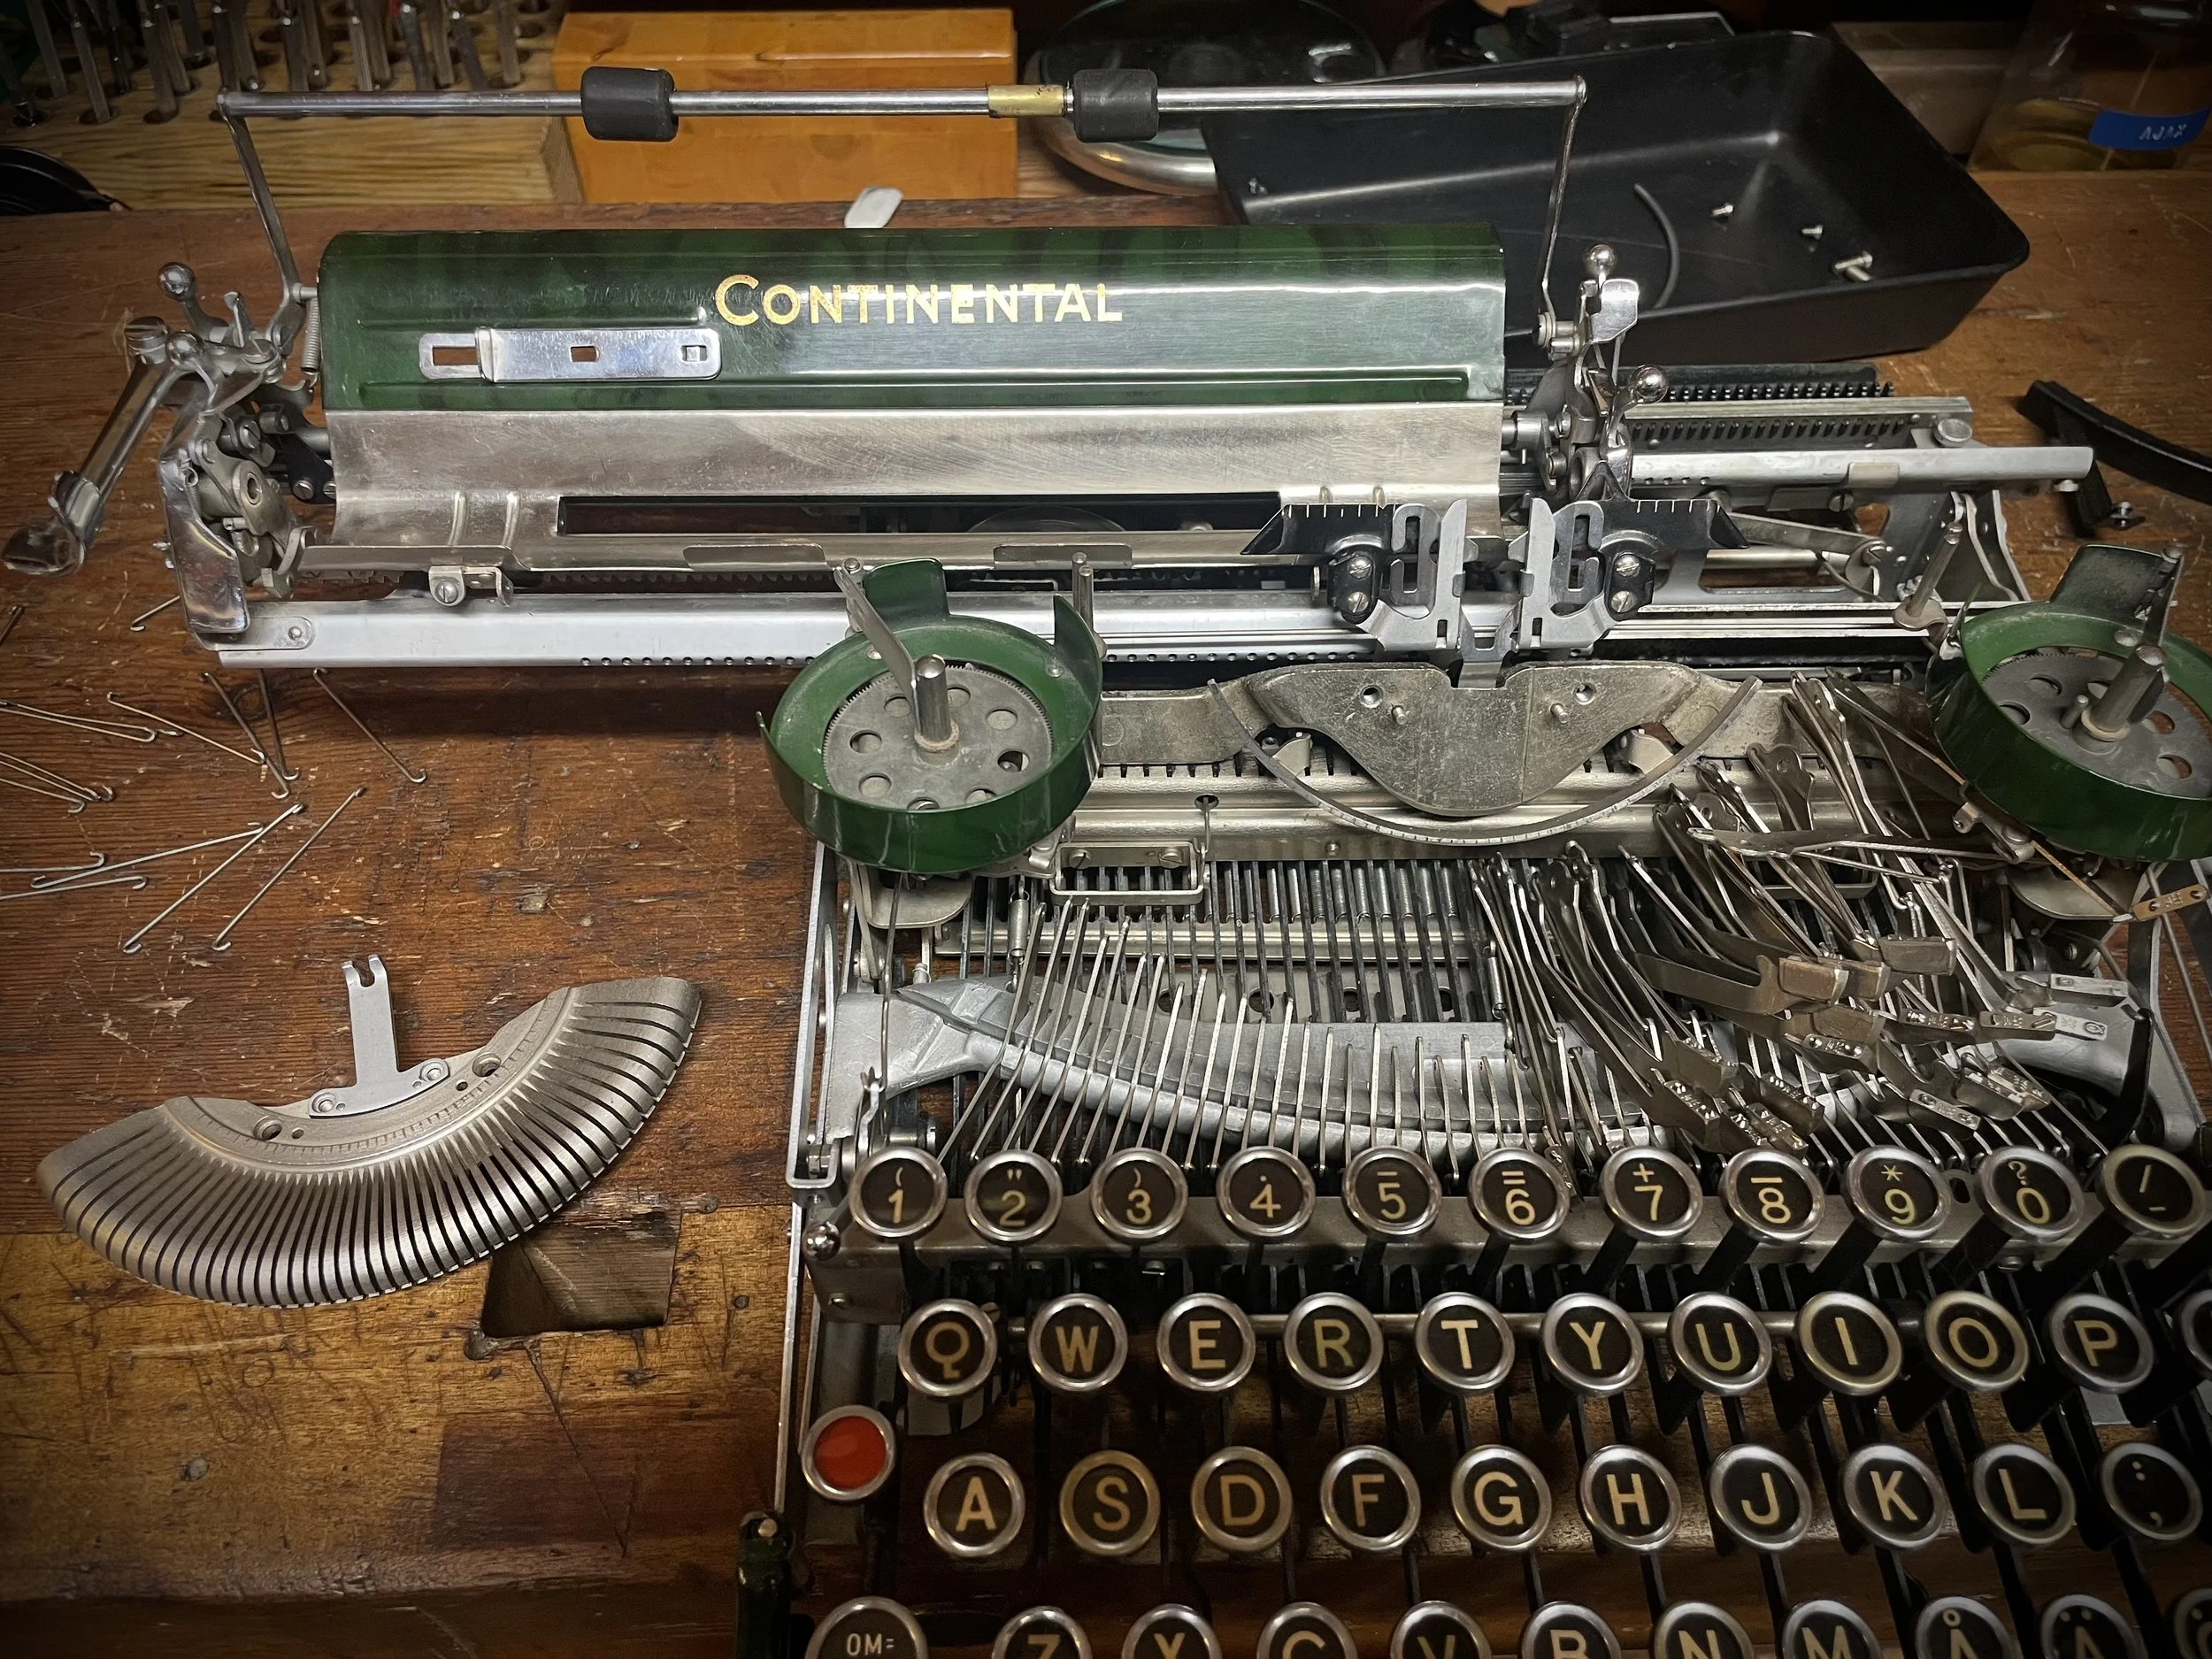
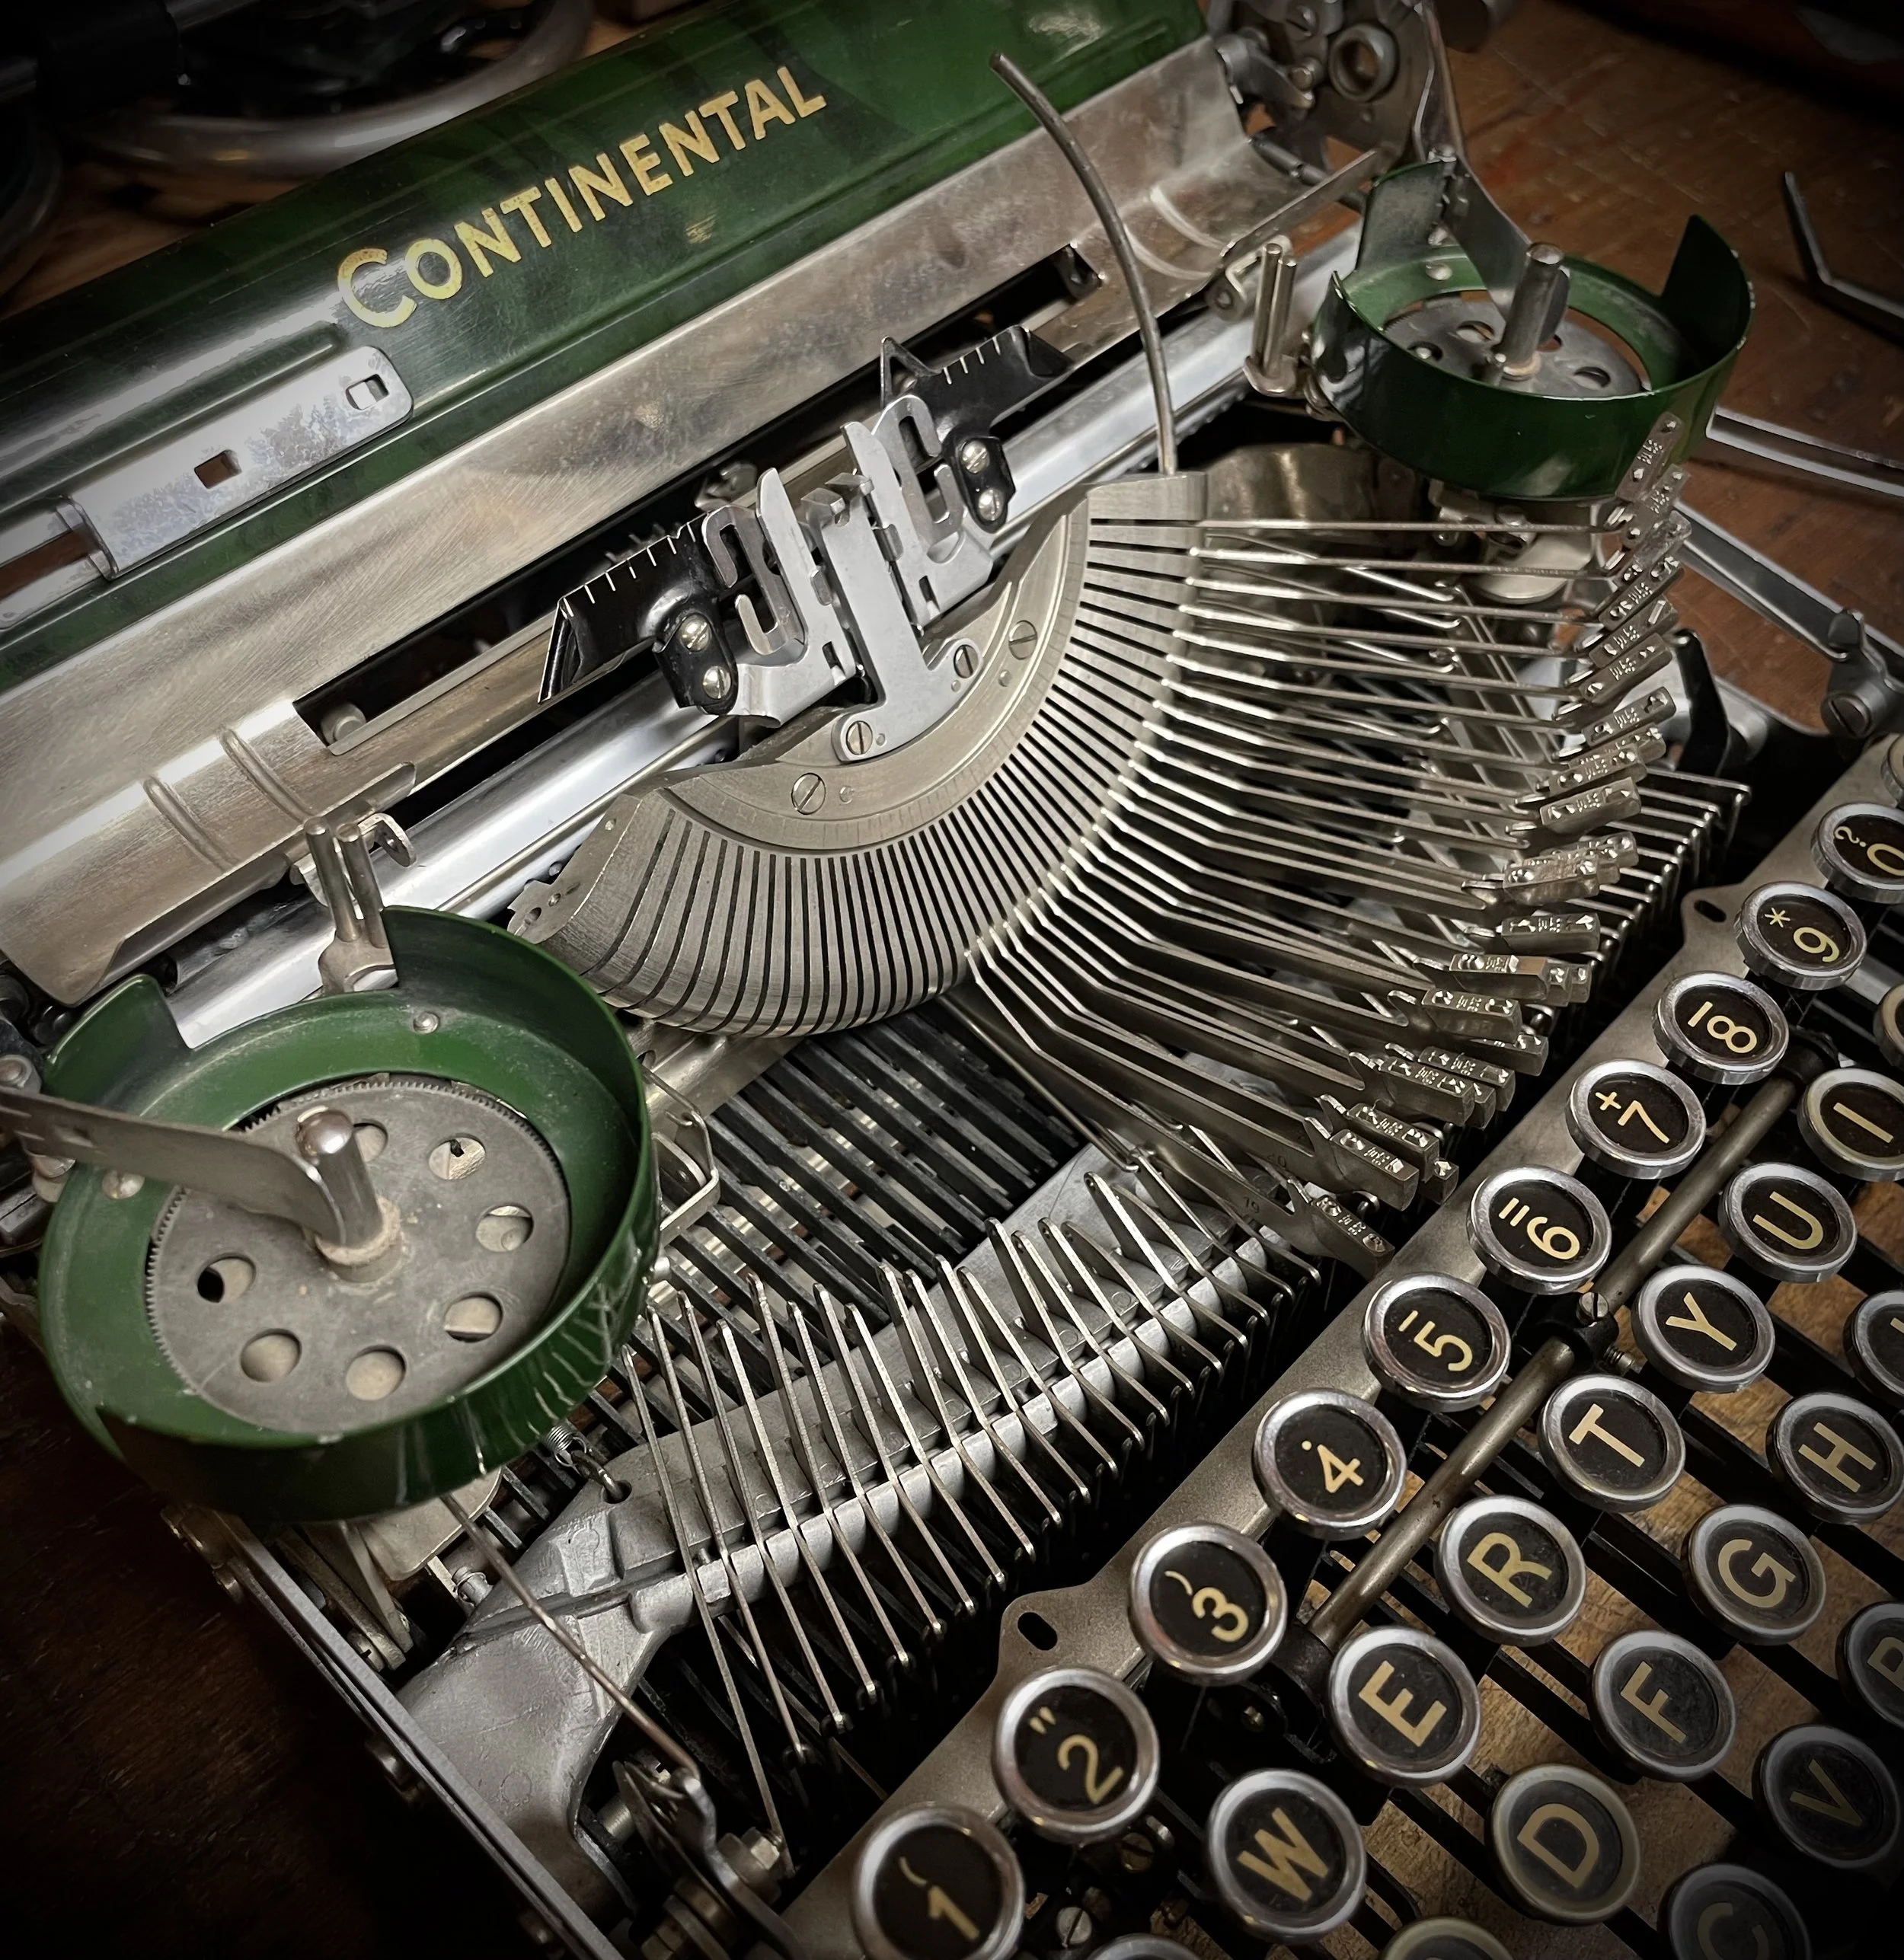
The next challenge was to get all the links fit together, in sometimes very crowded constellations. I had to make some fine-tuning so they move freely side-by-side in confined space.
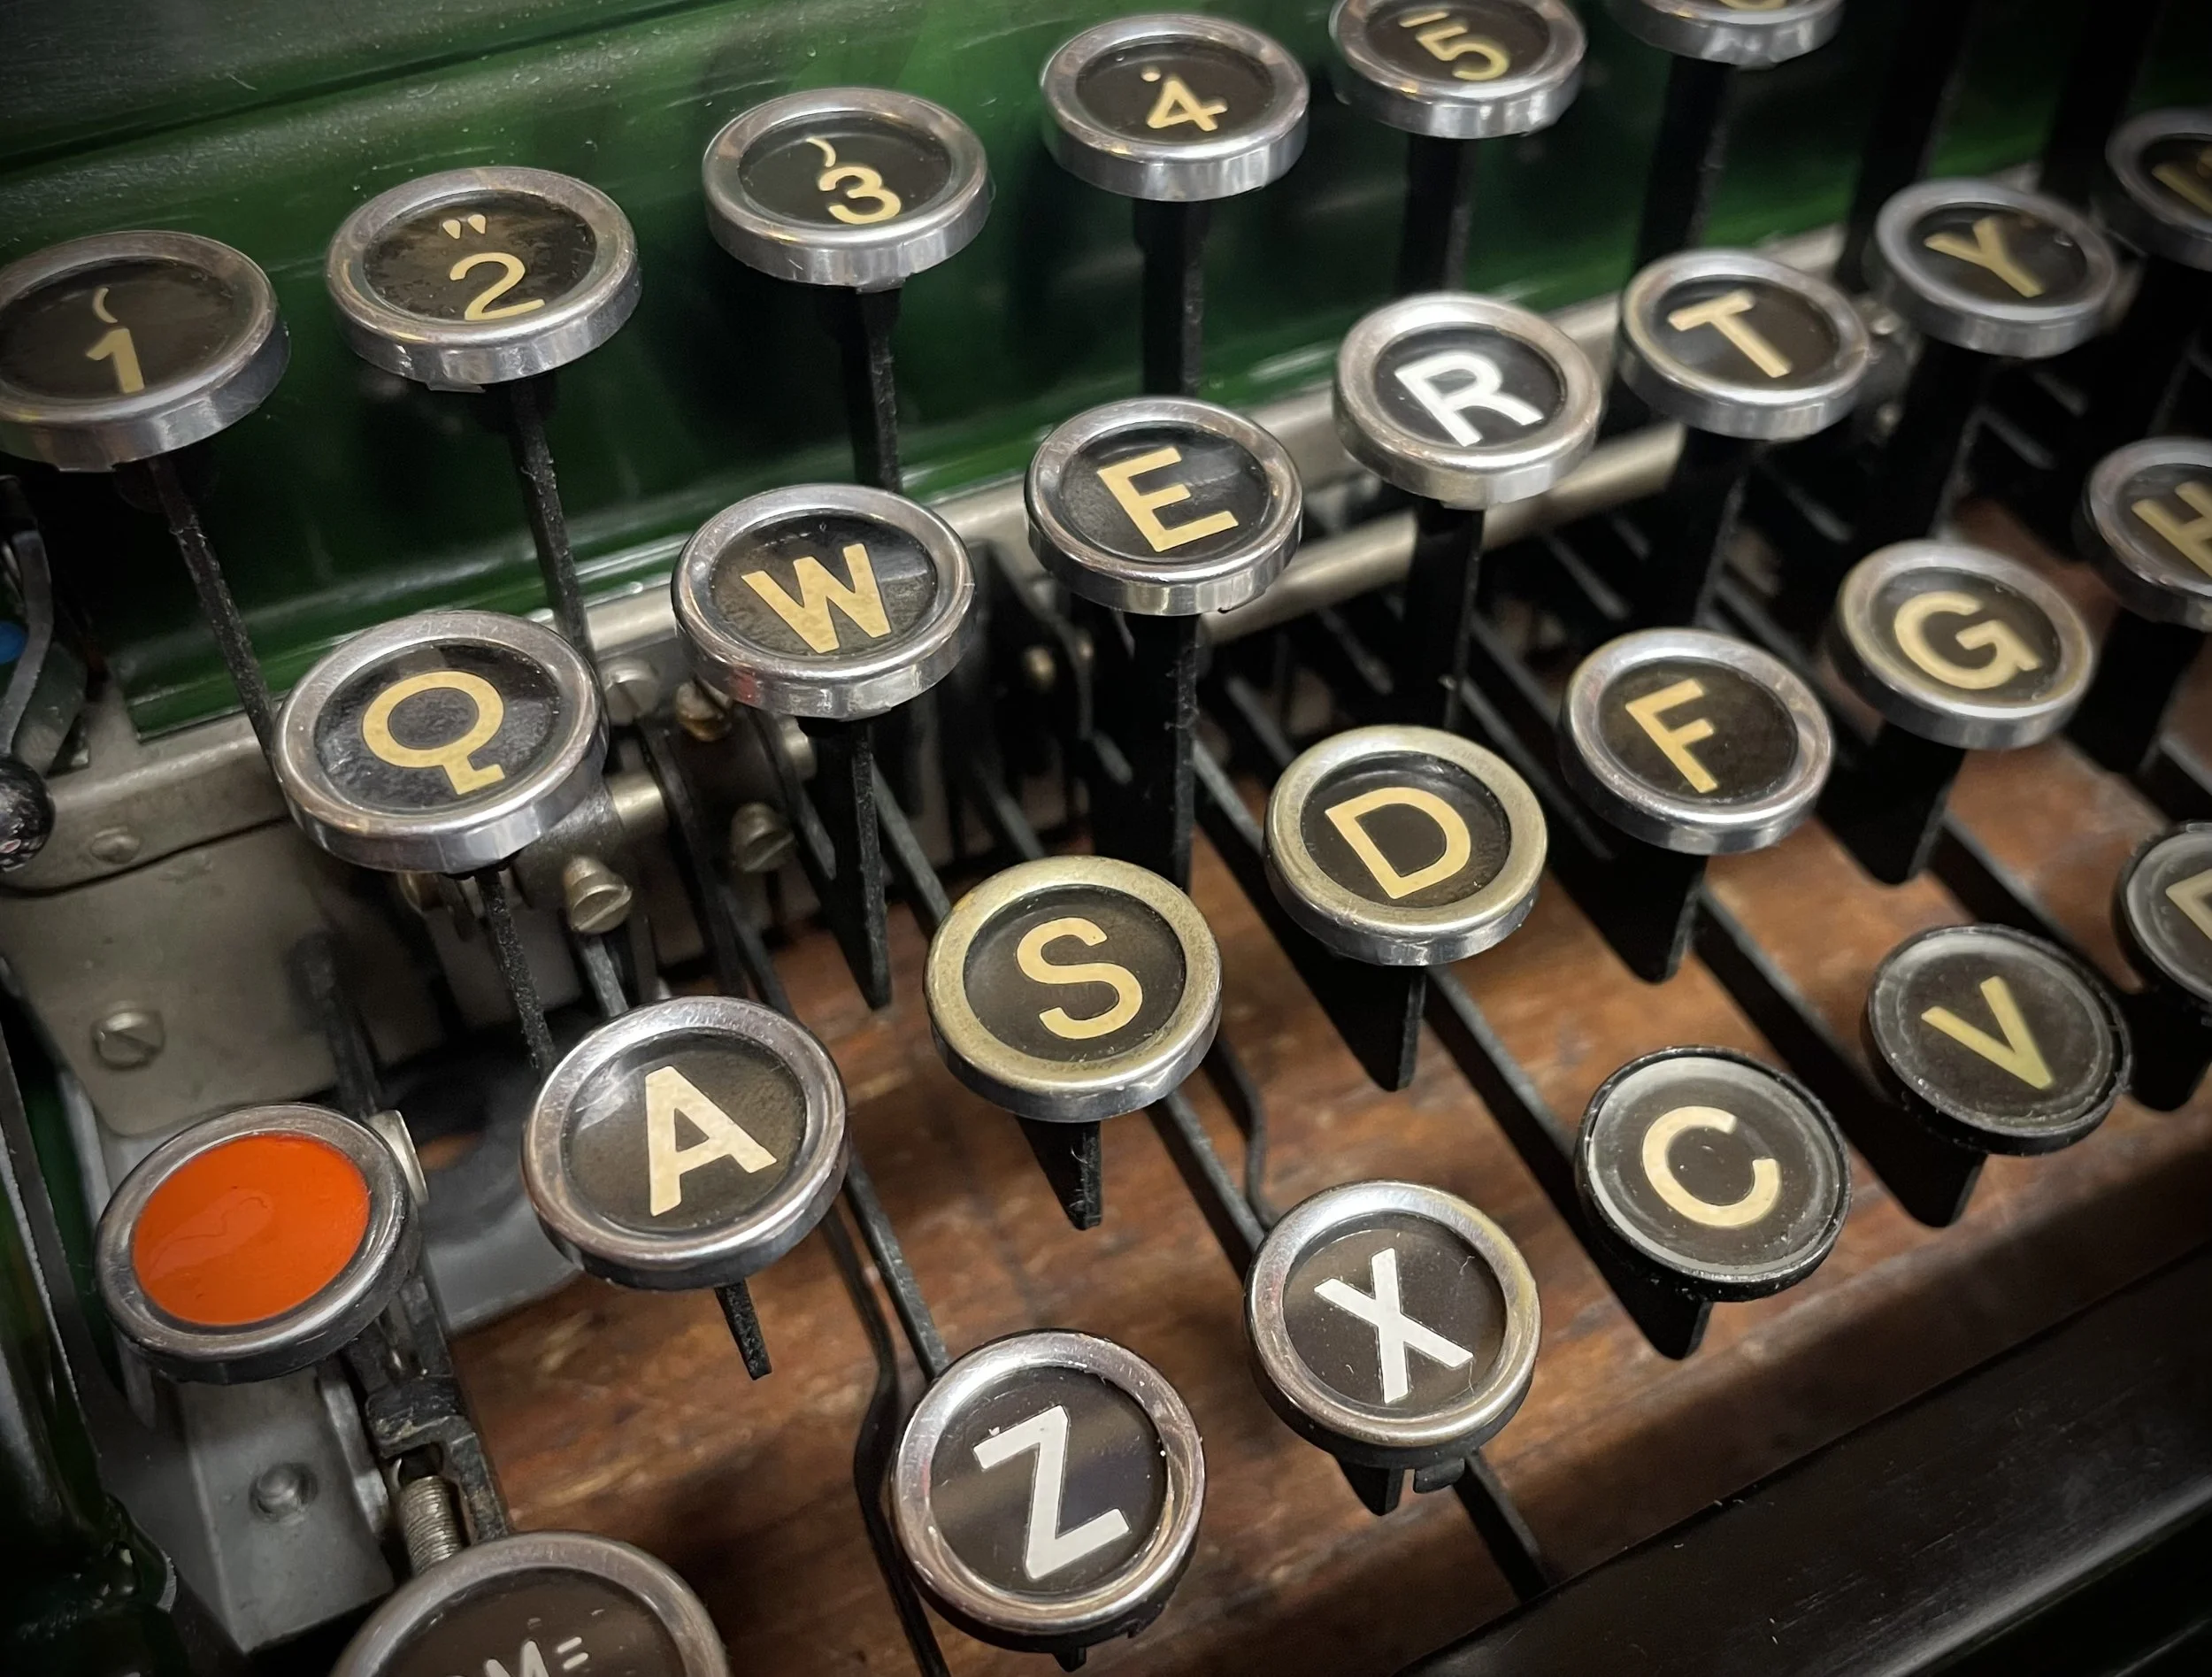
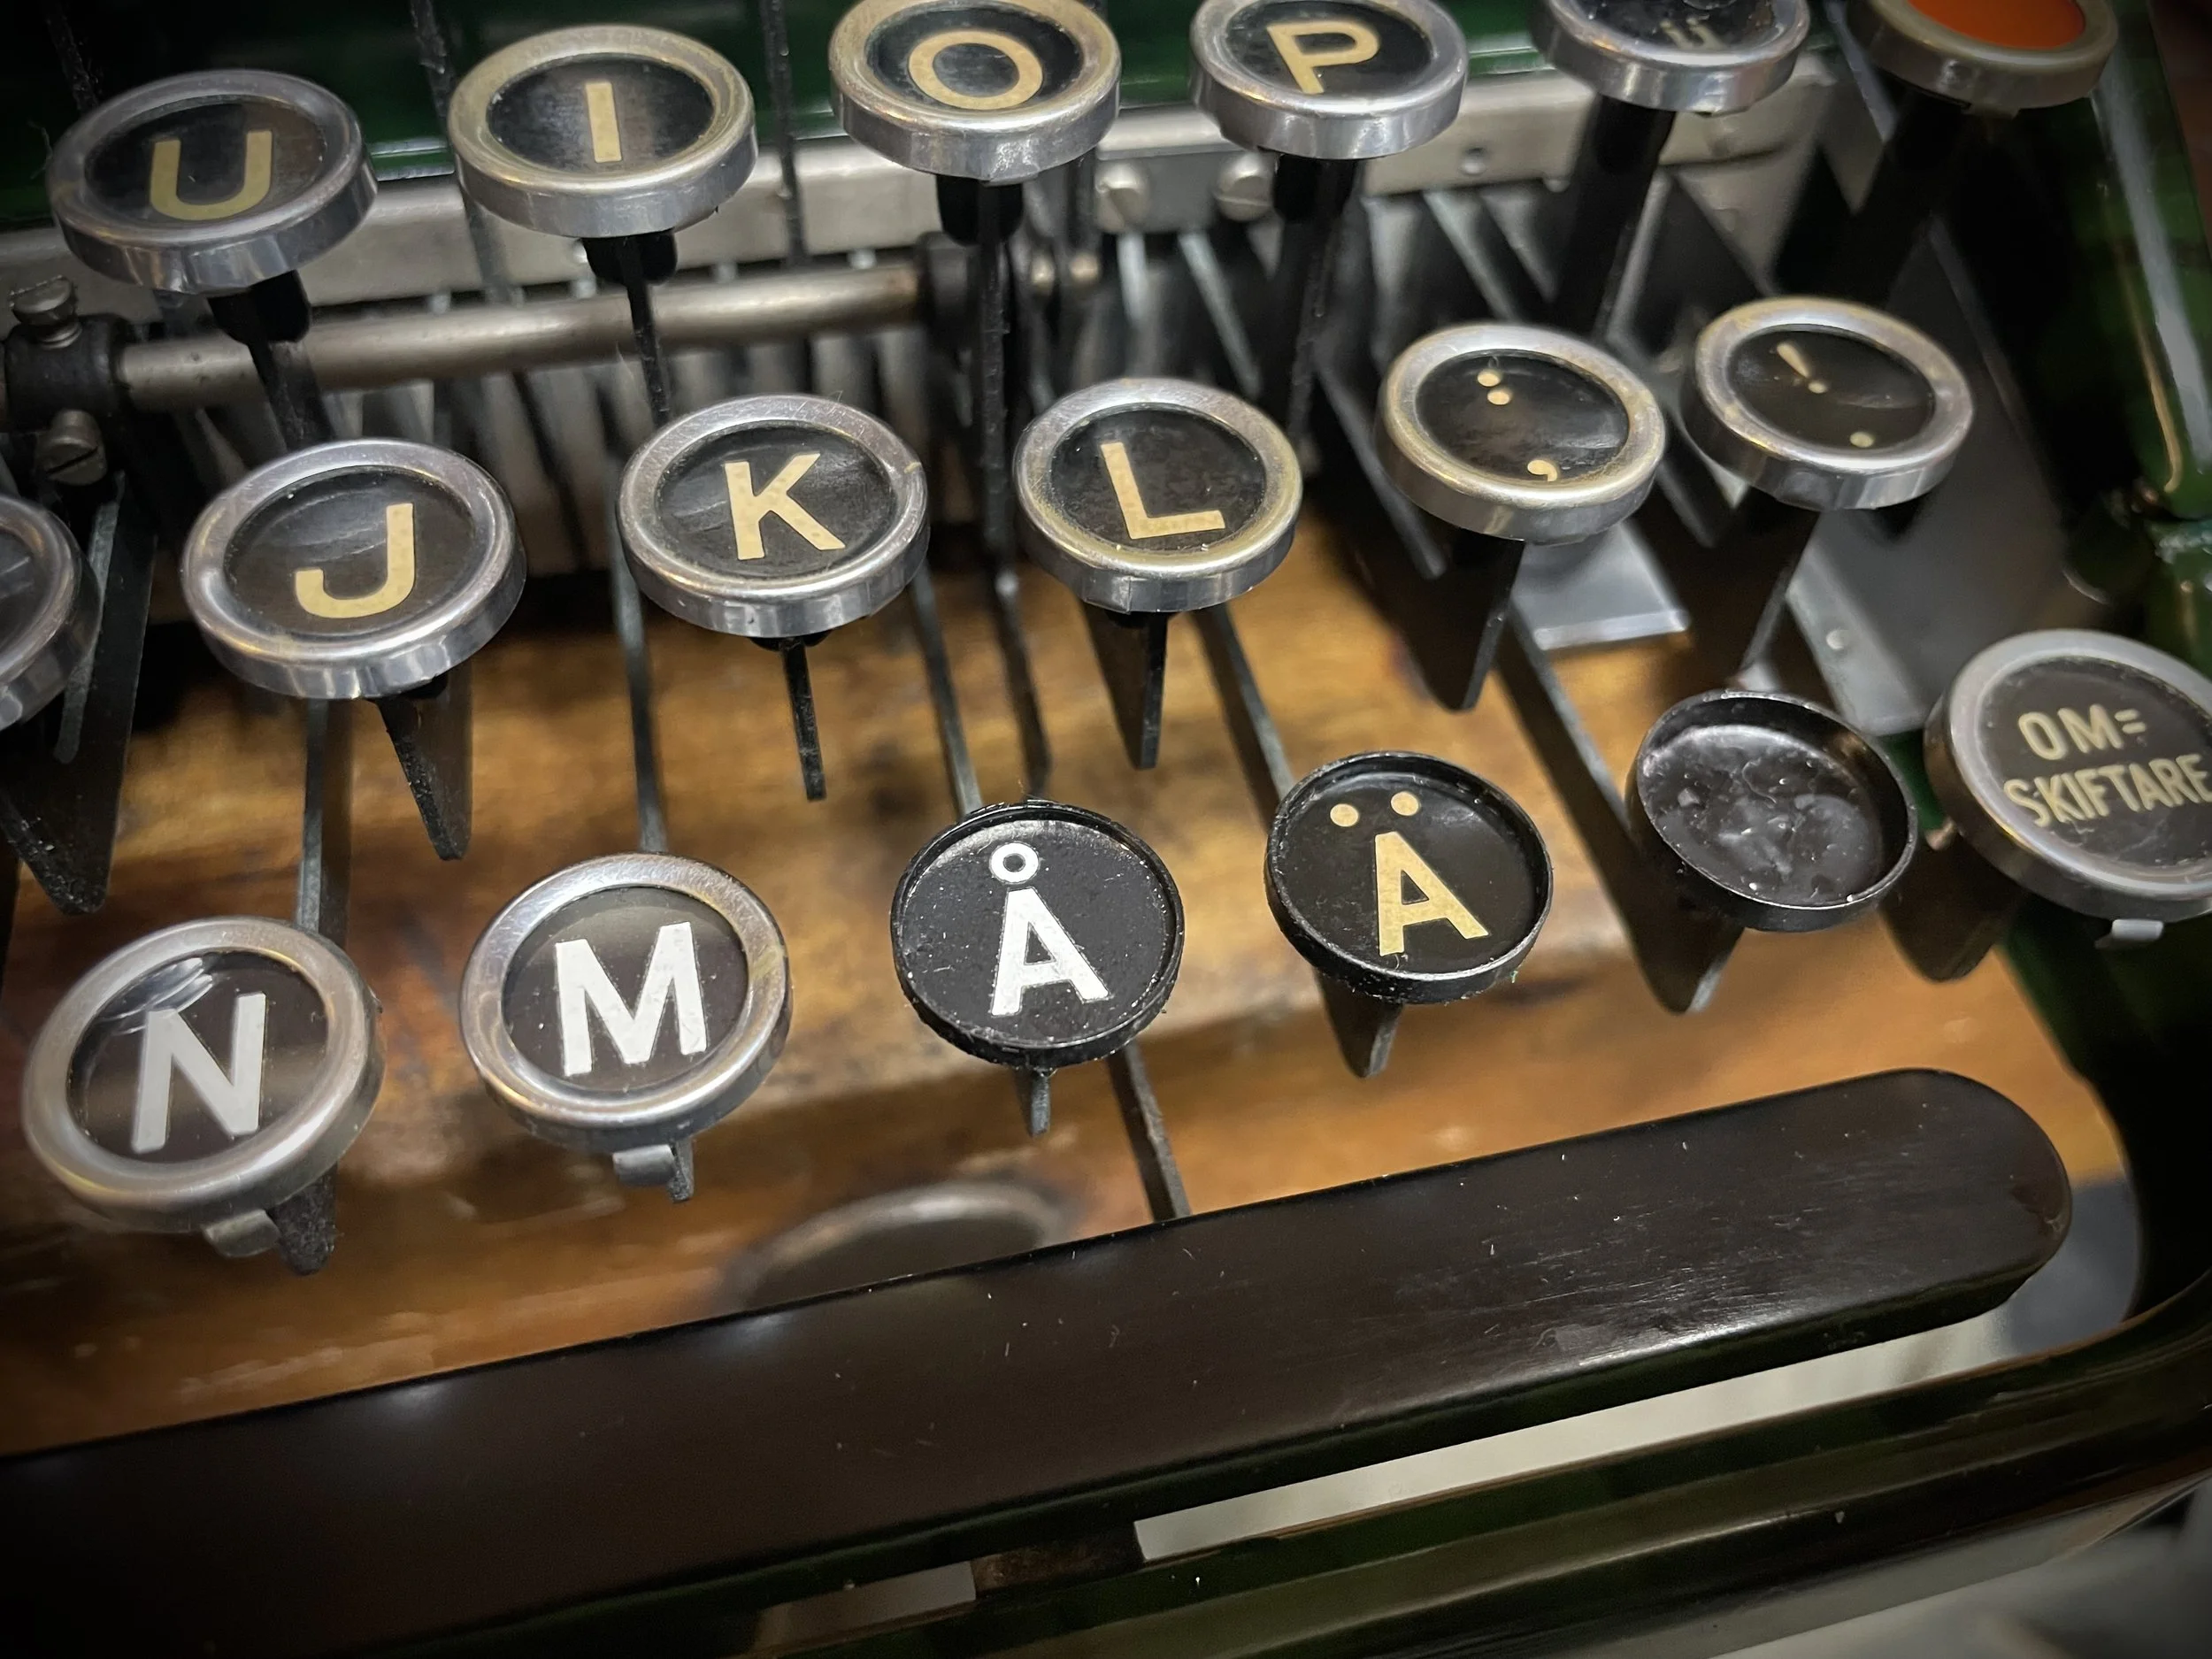
Finally - all in place and all type-arms resting nicely on type-rest.
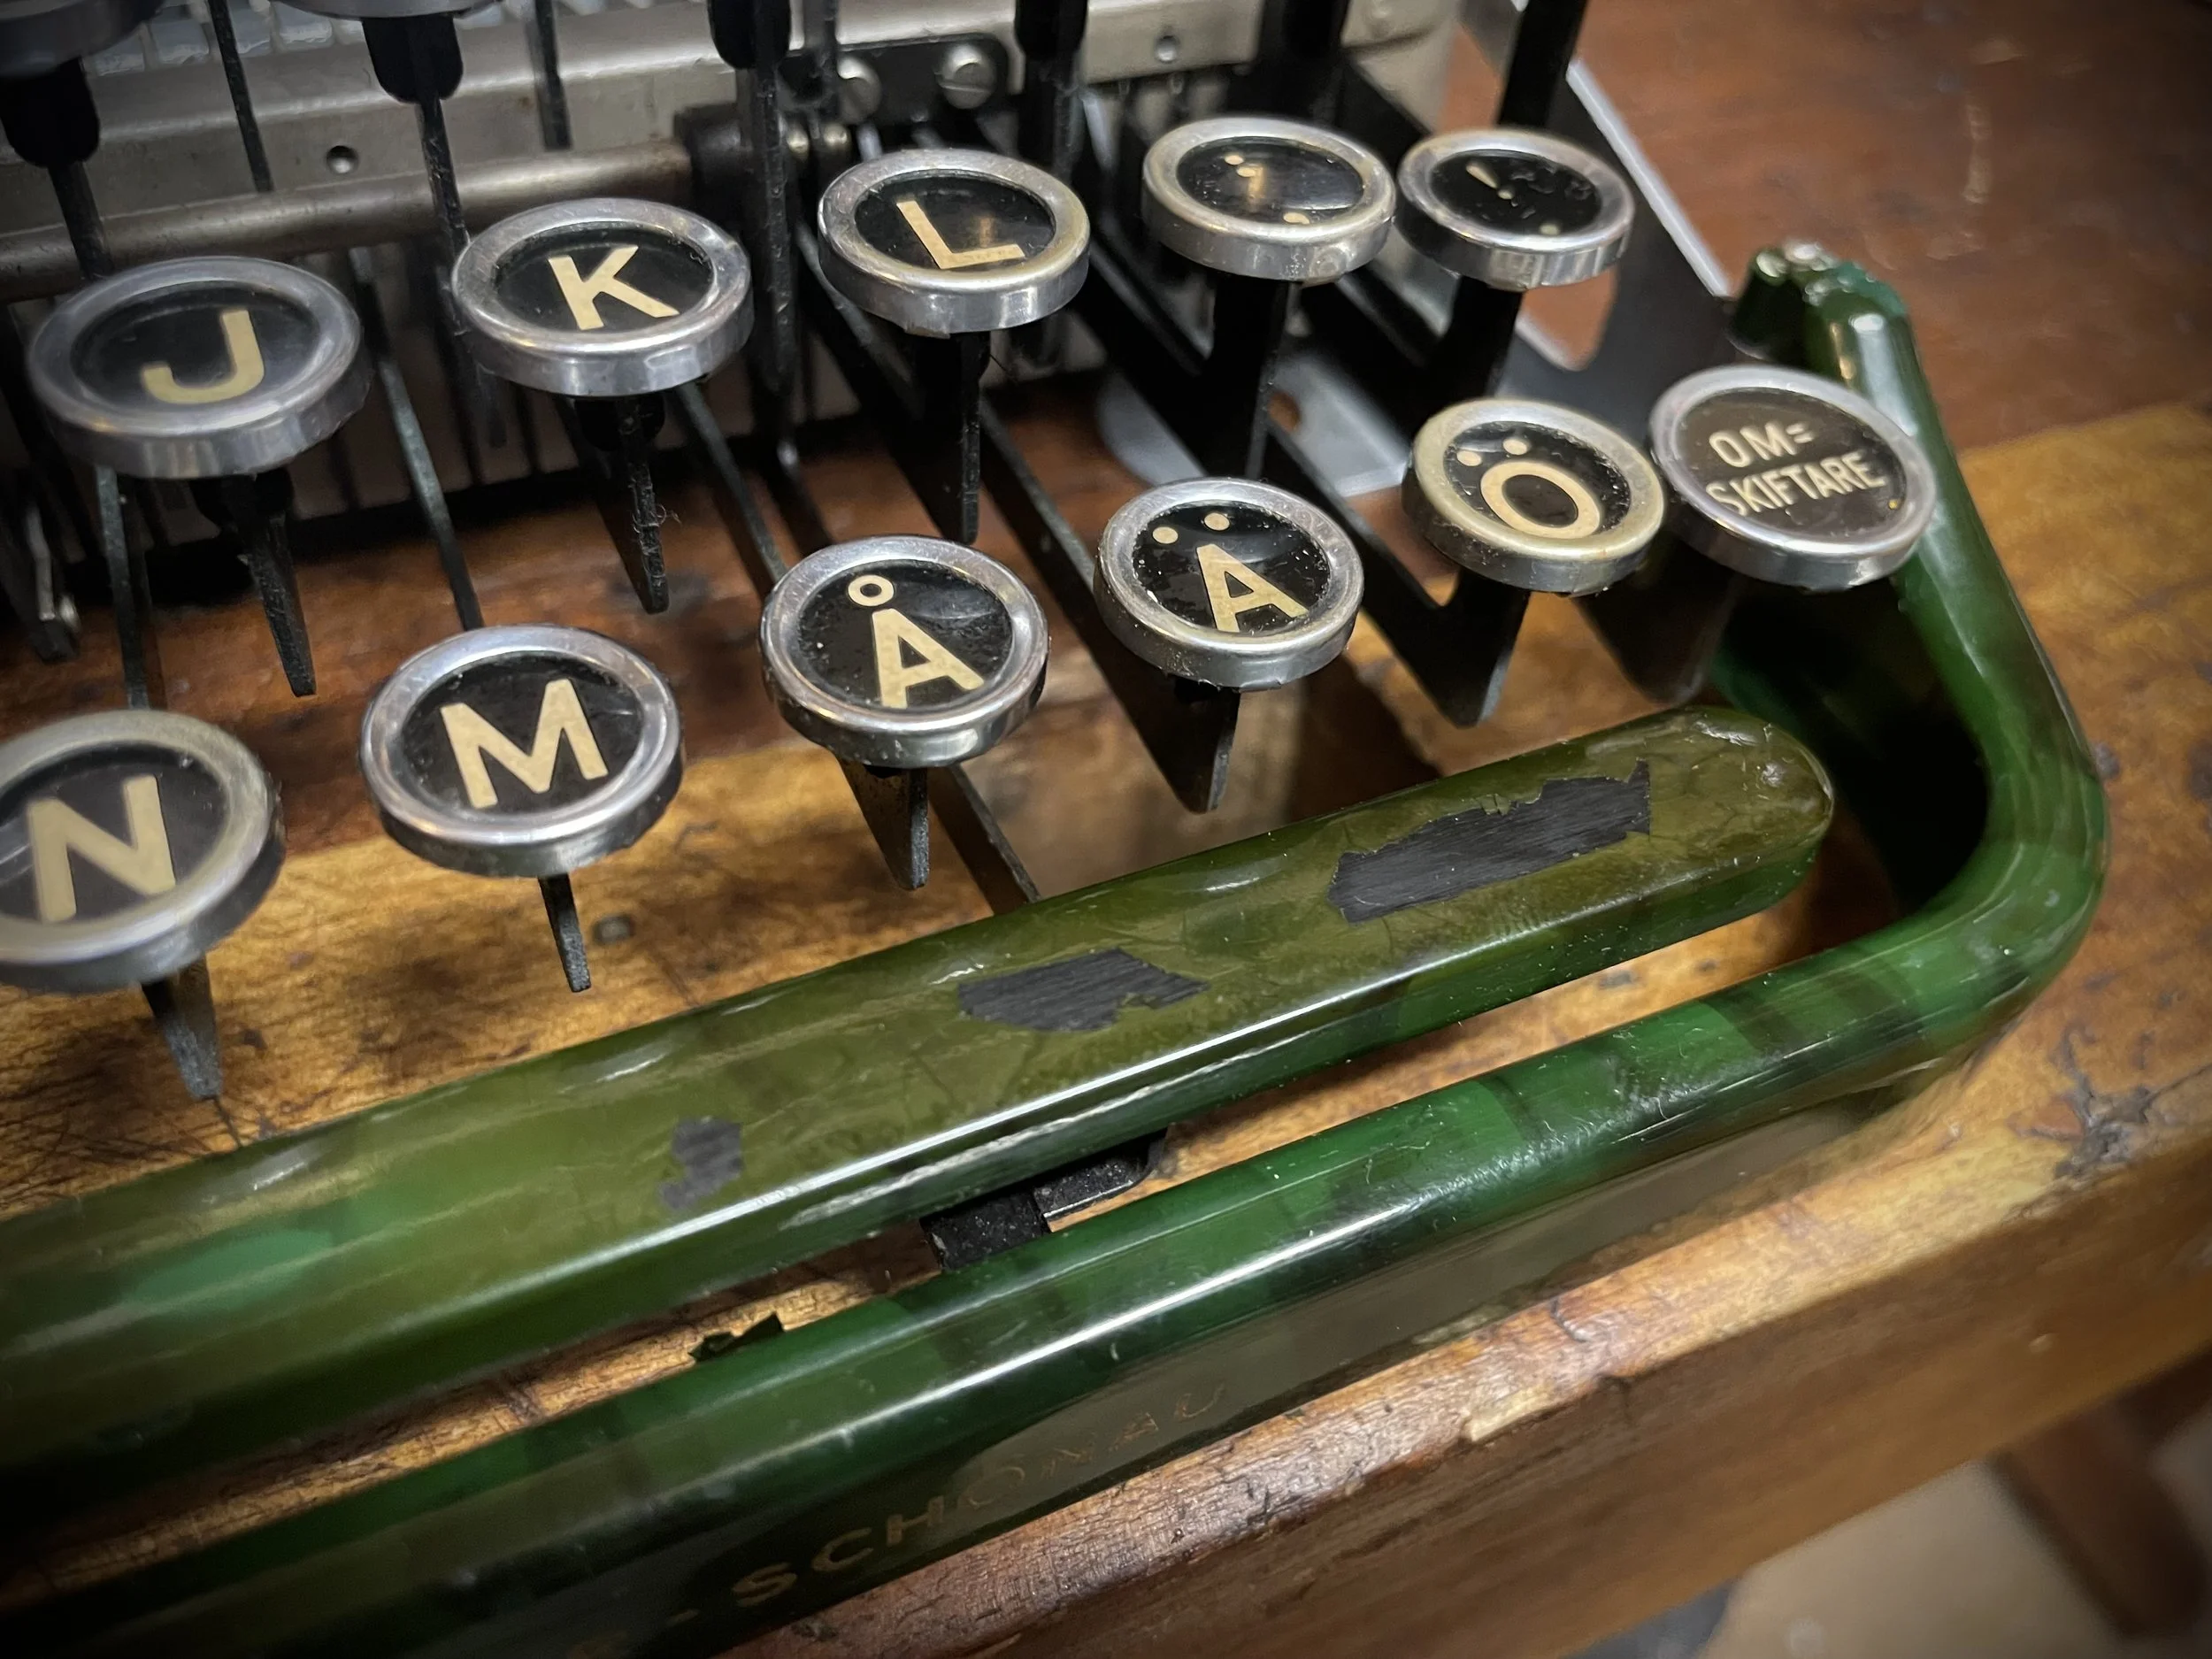
Still keyboard to fine-tune: keys are on different levels now.
But before further surgery - test typing!
Oh yes, it is worth the effort to save this machine, the typeface is so small (18 CPI) and so nice!
Moving on to correct keyboard levels. Another catastrophe happened when I exerted too much force on a key lever. It has a soft spot where spring attachment hole is drilled.
Another transplantation then. It requires opening the whole mechanism again - bummer!
Once this was done I tweaked key levels by adjusting links length - instead of trying to bend key arms. More work but much safer.
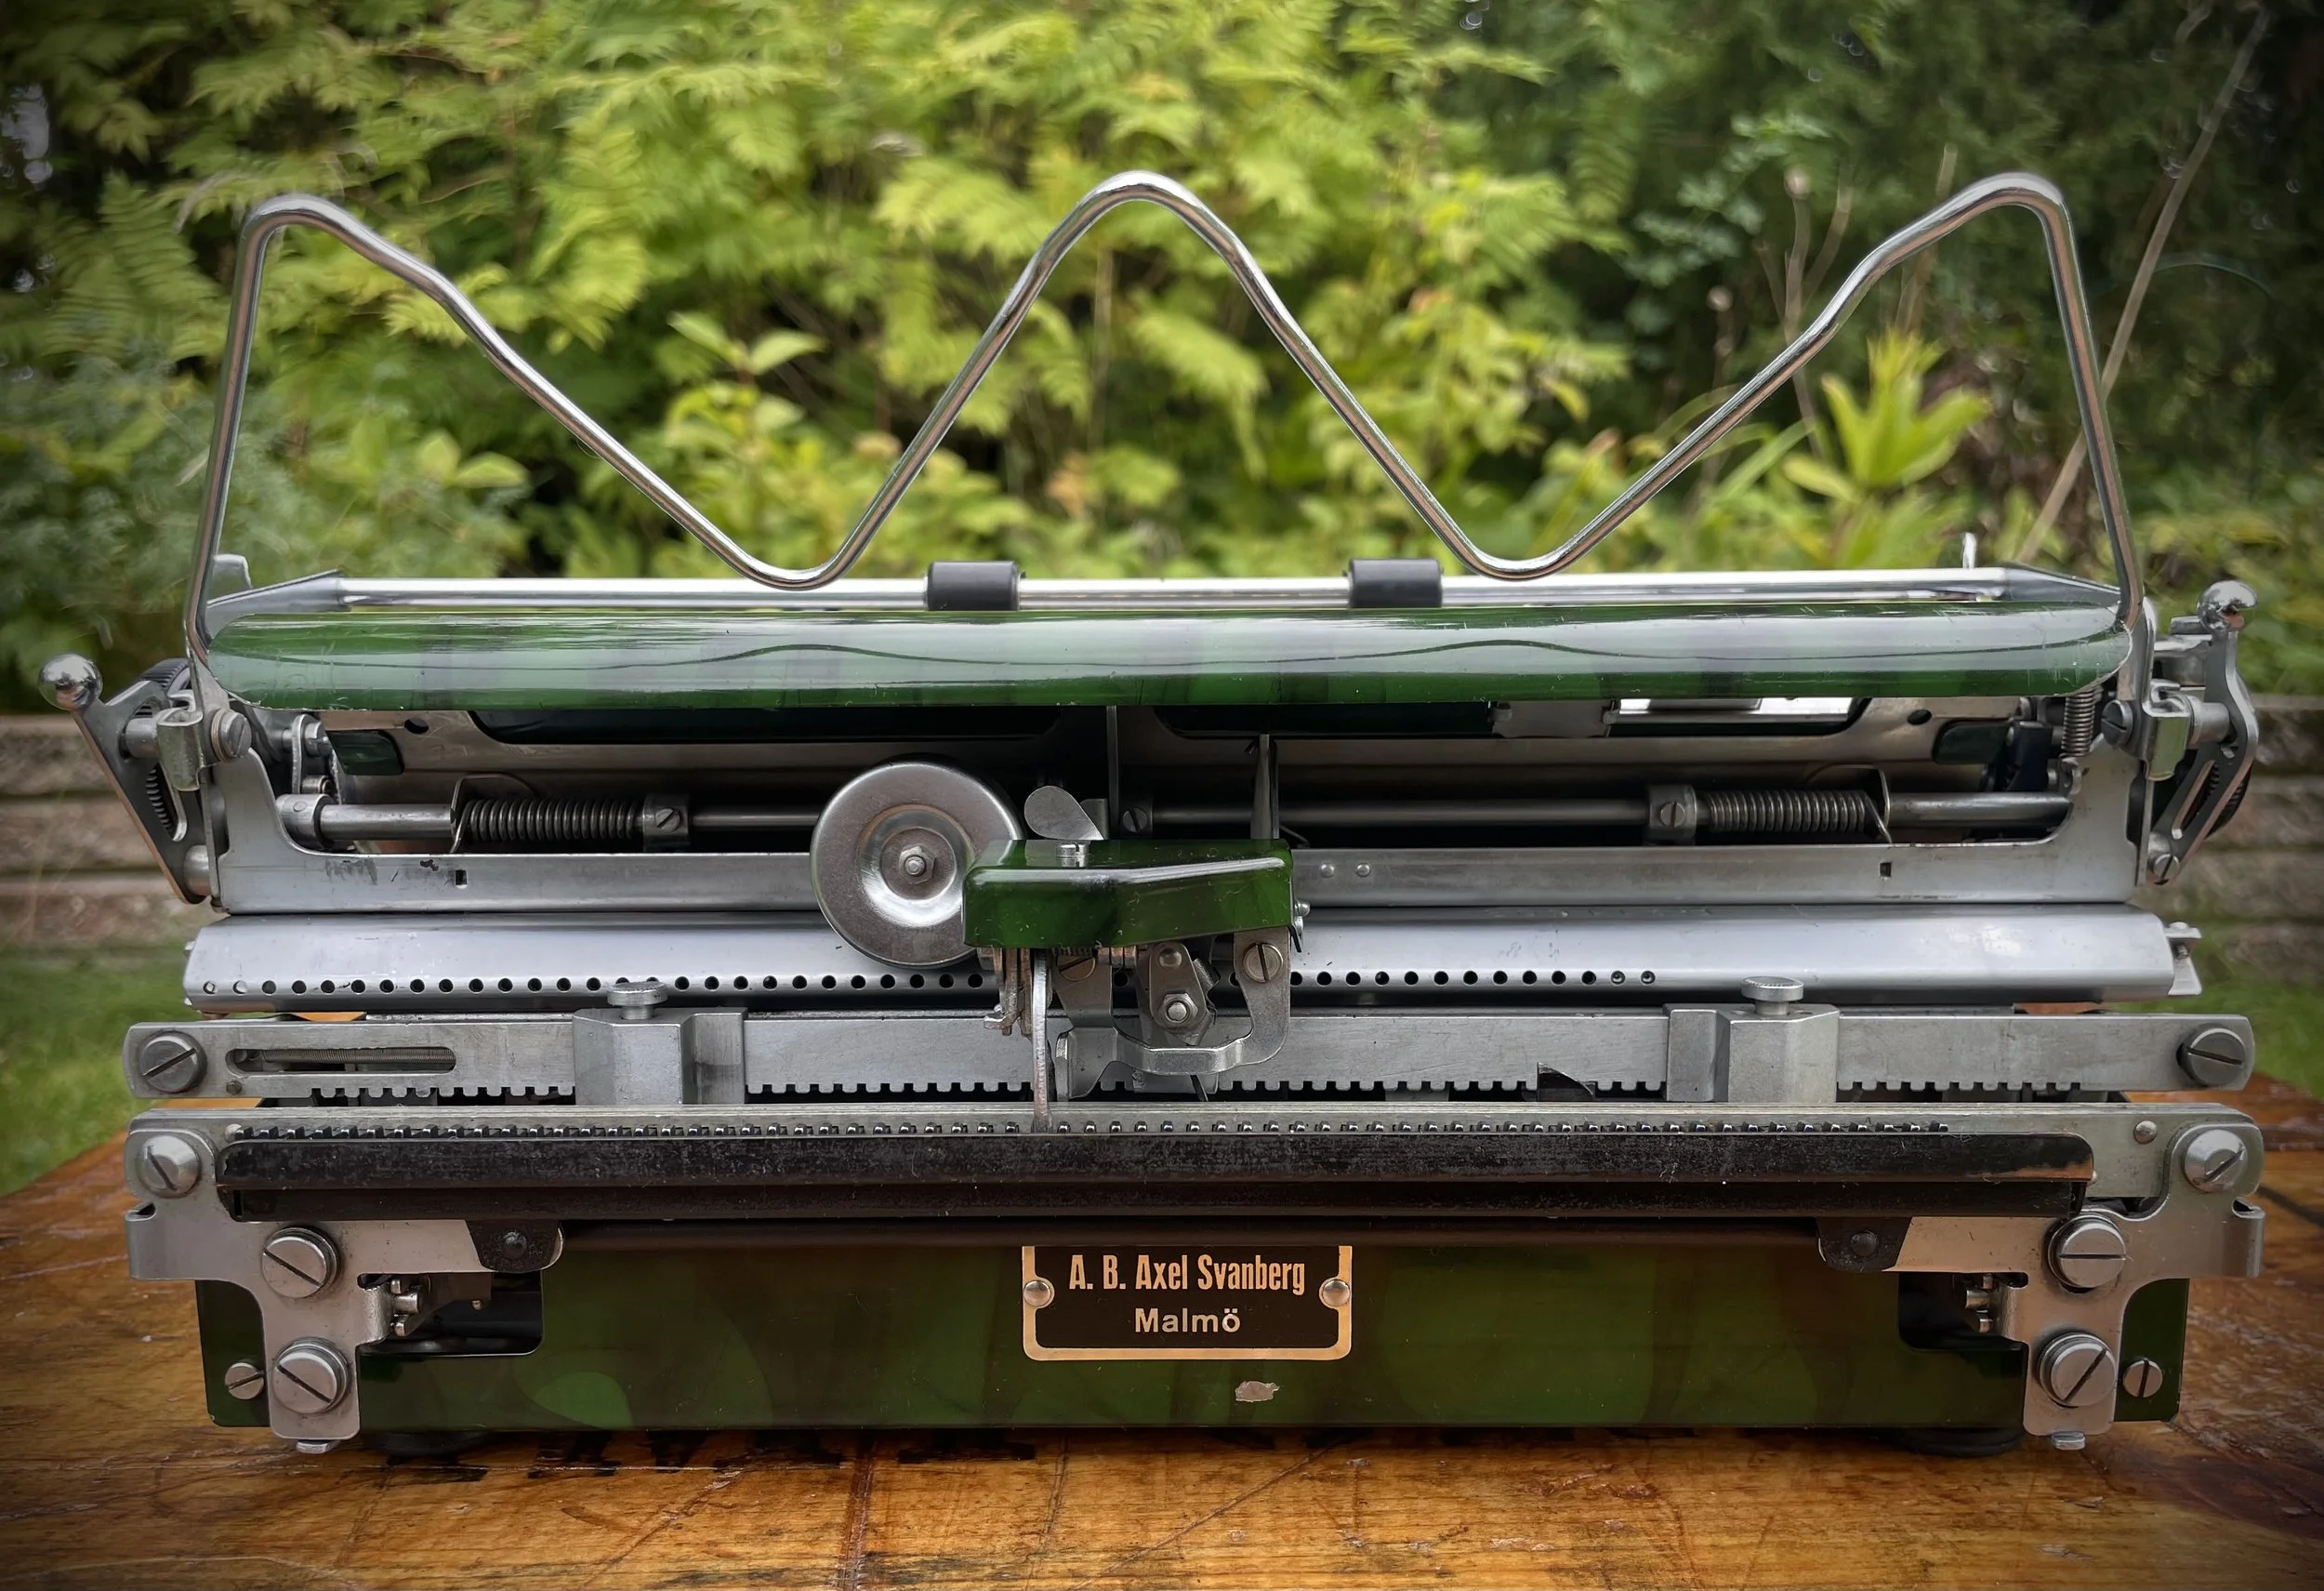
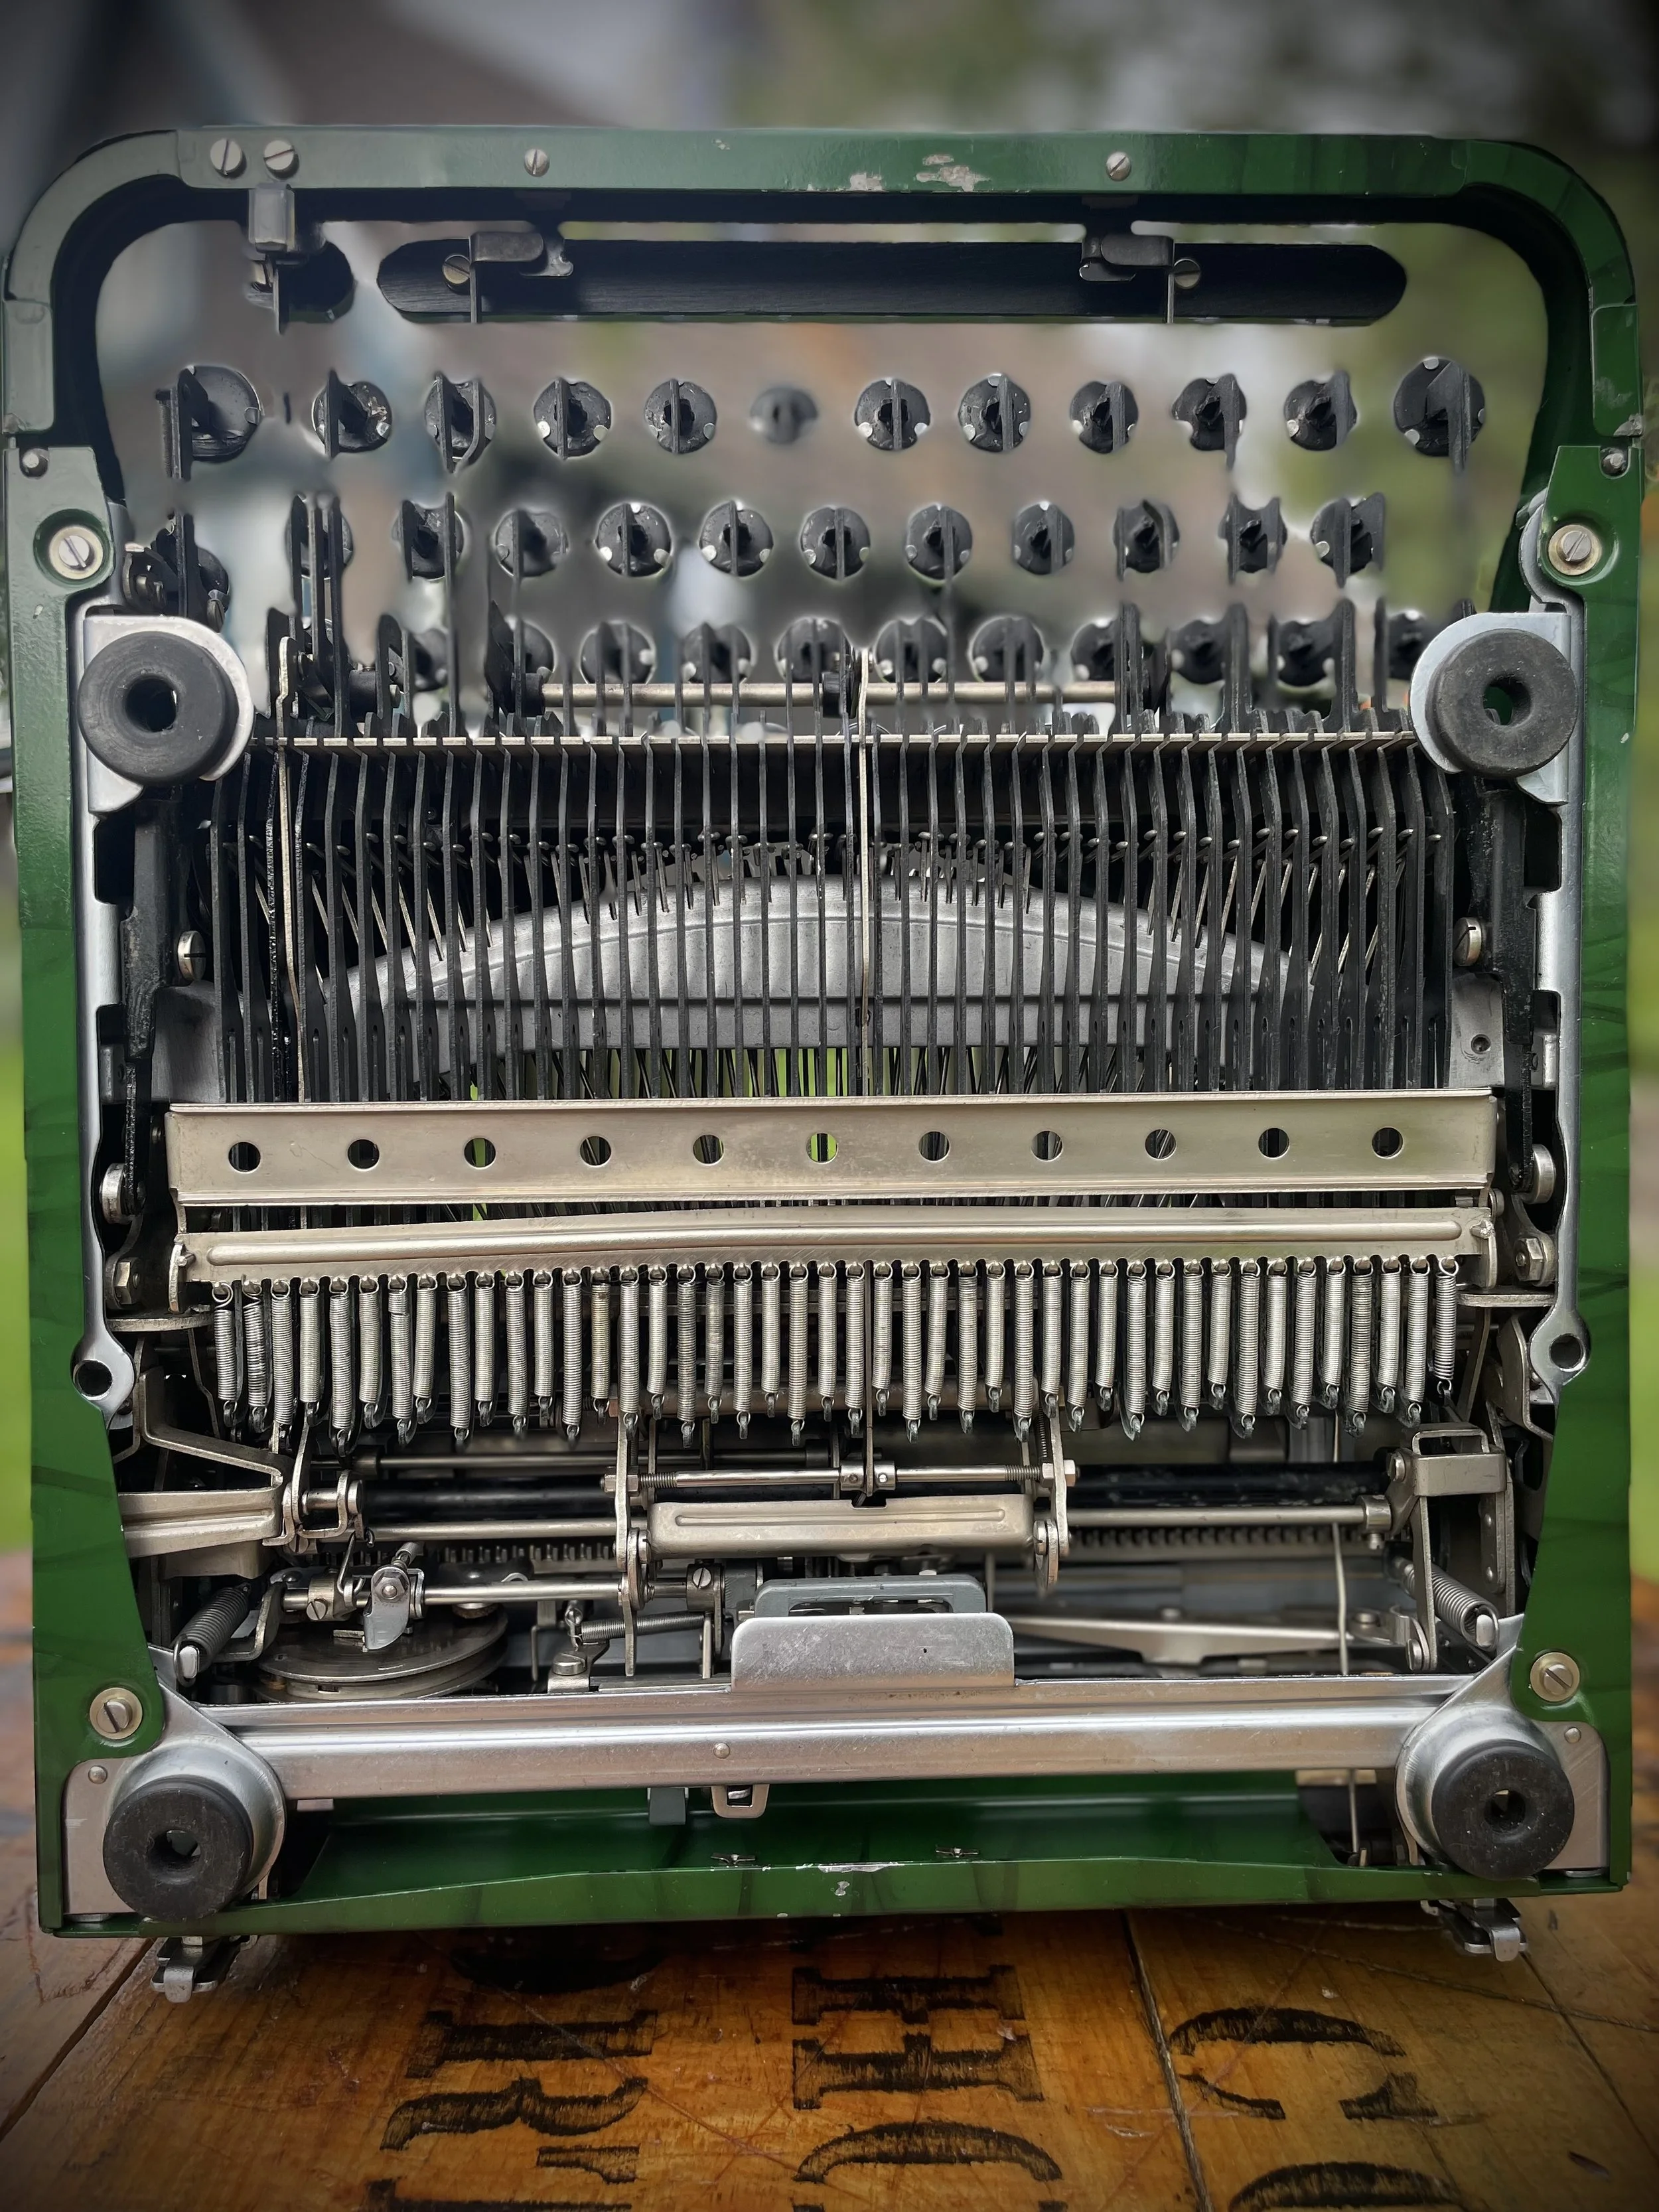
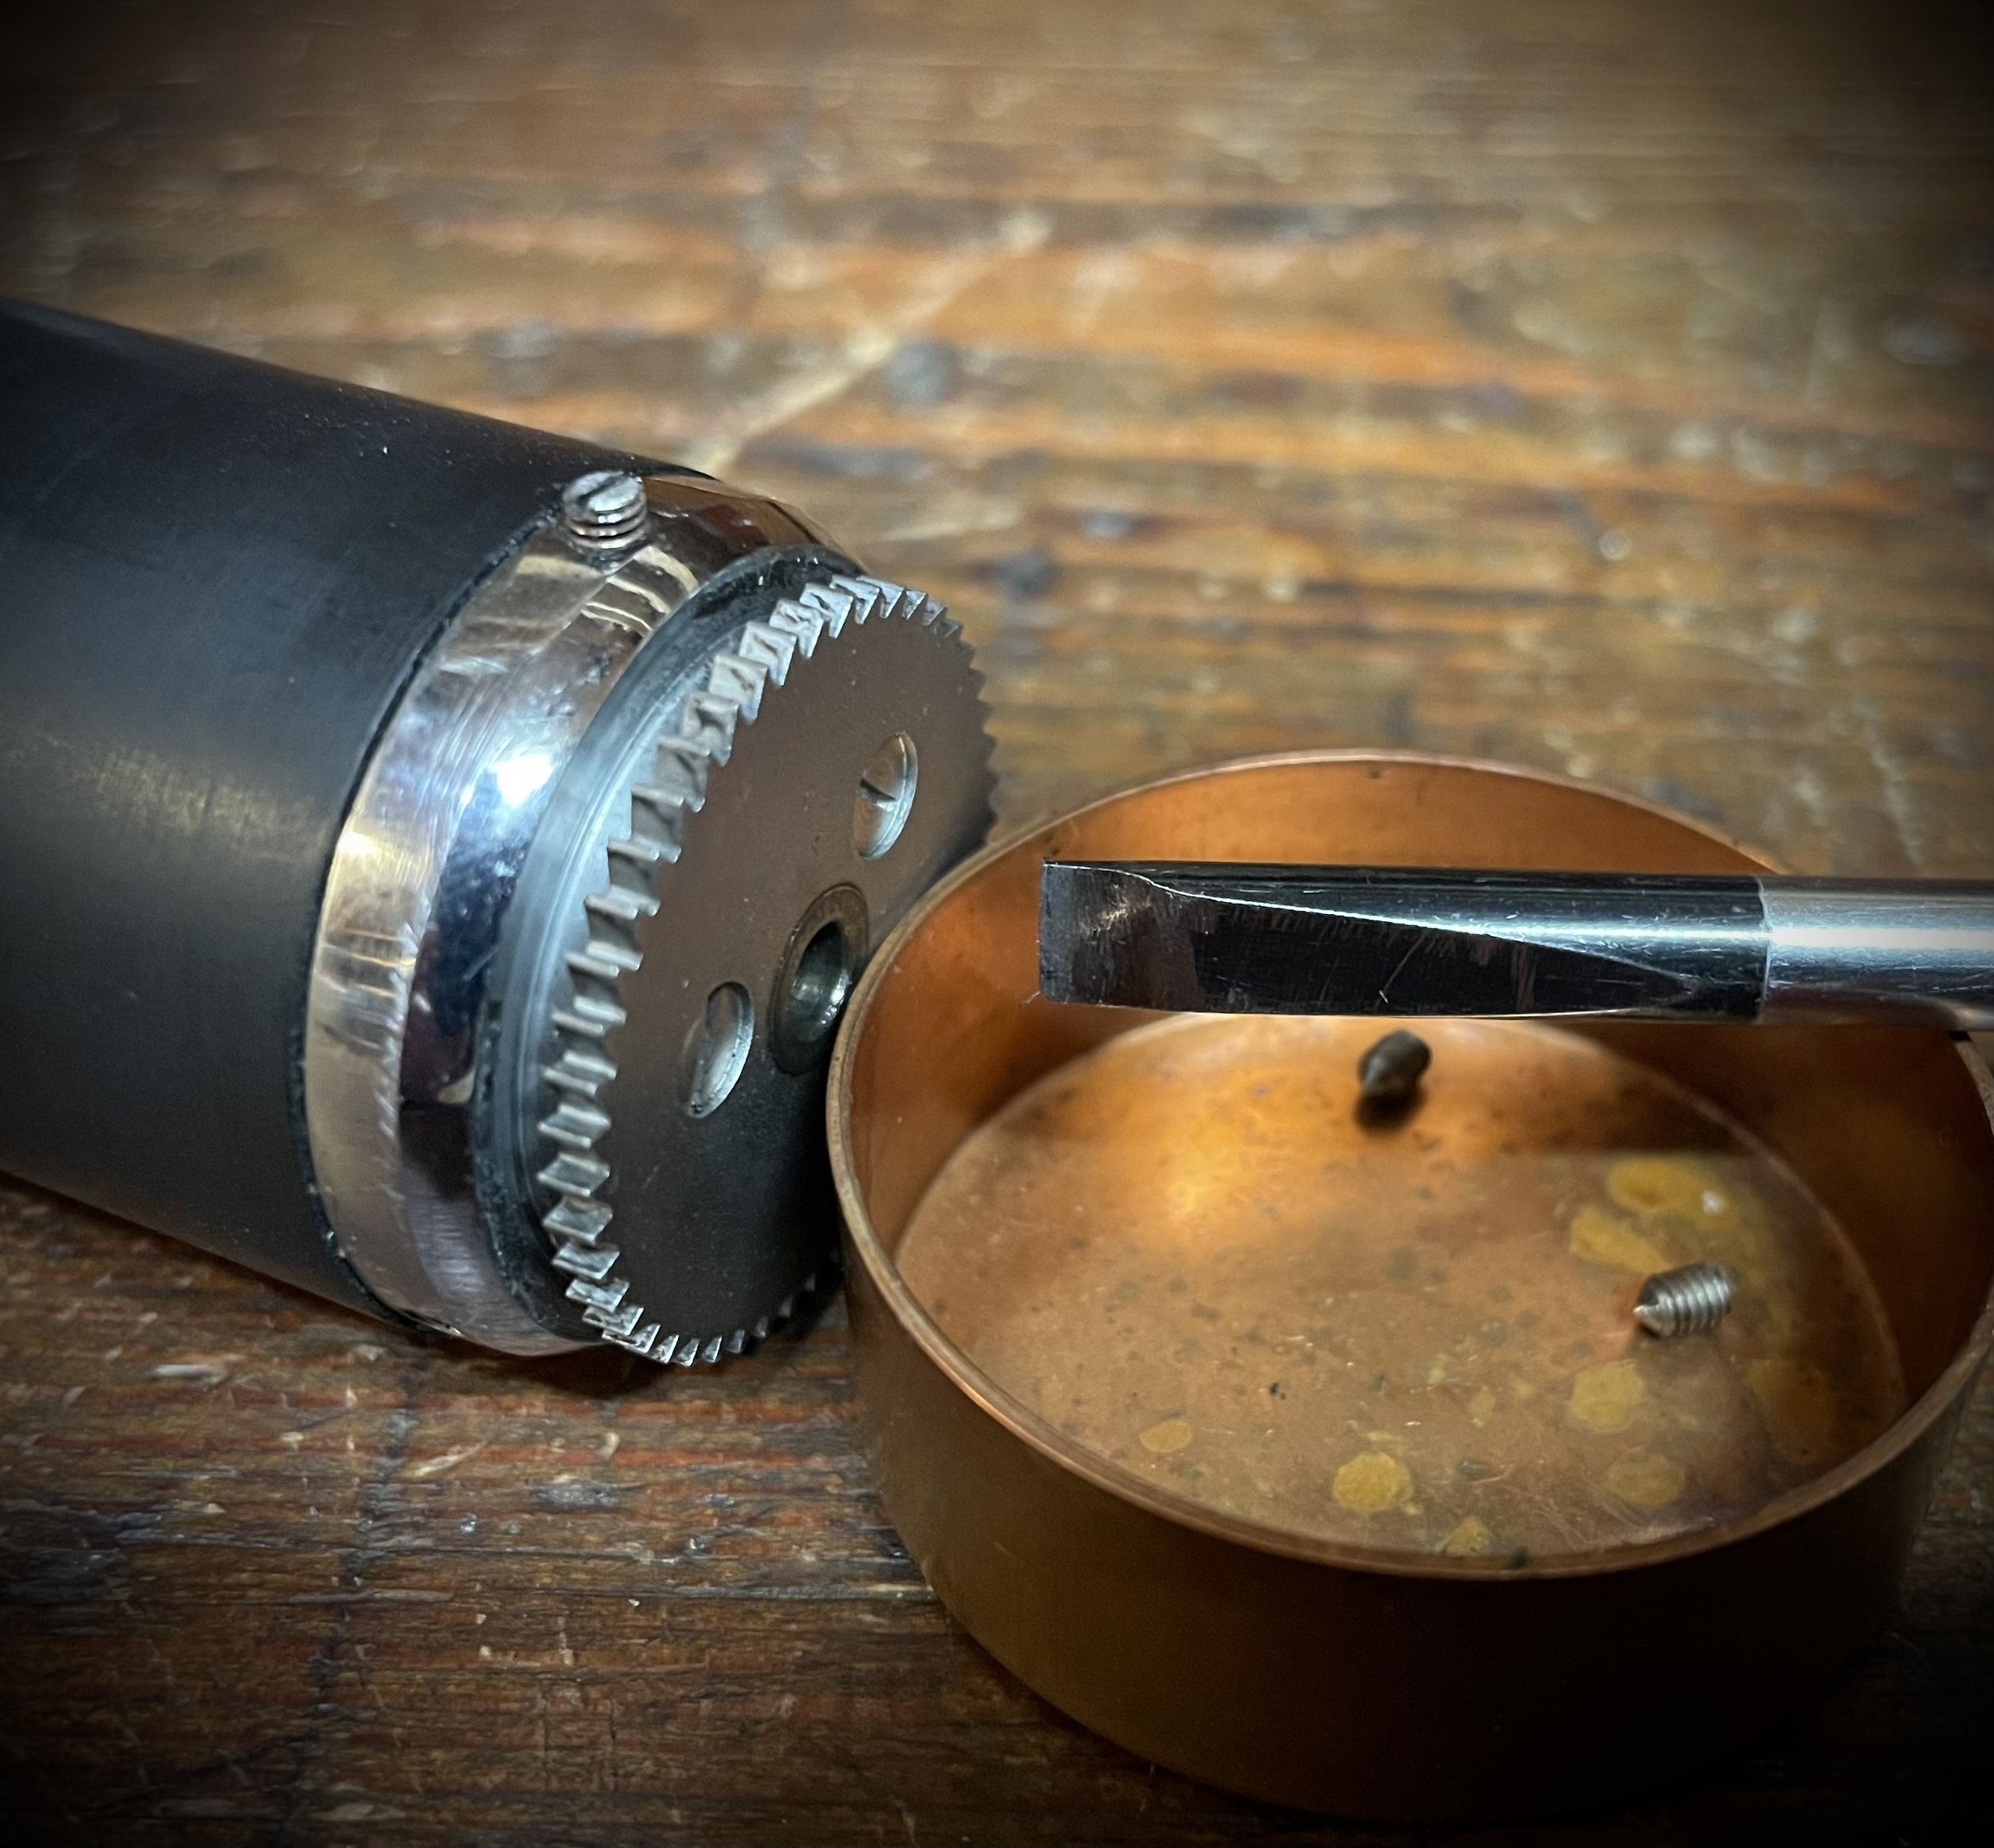
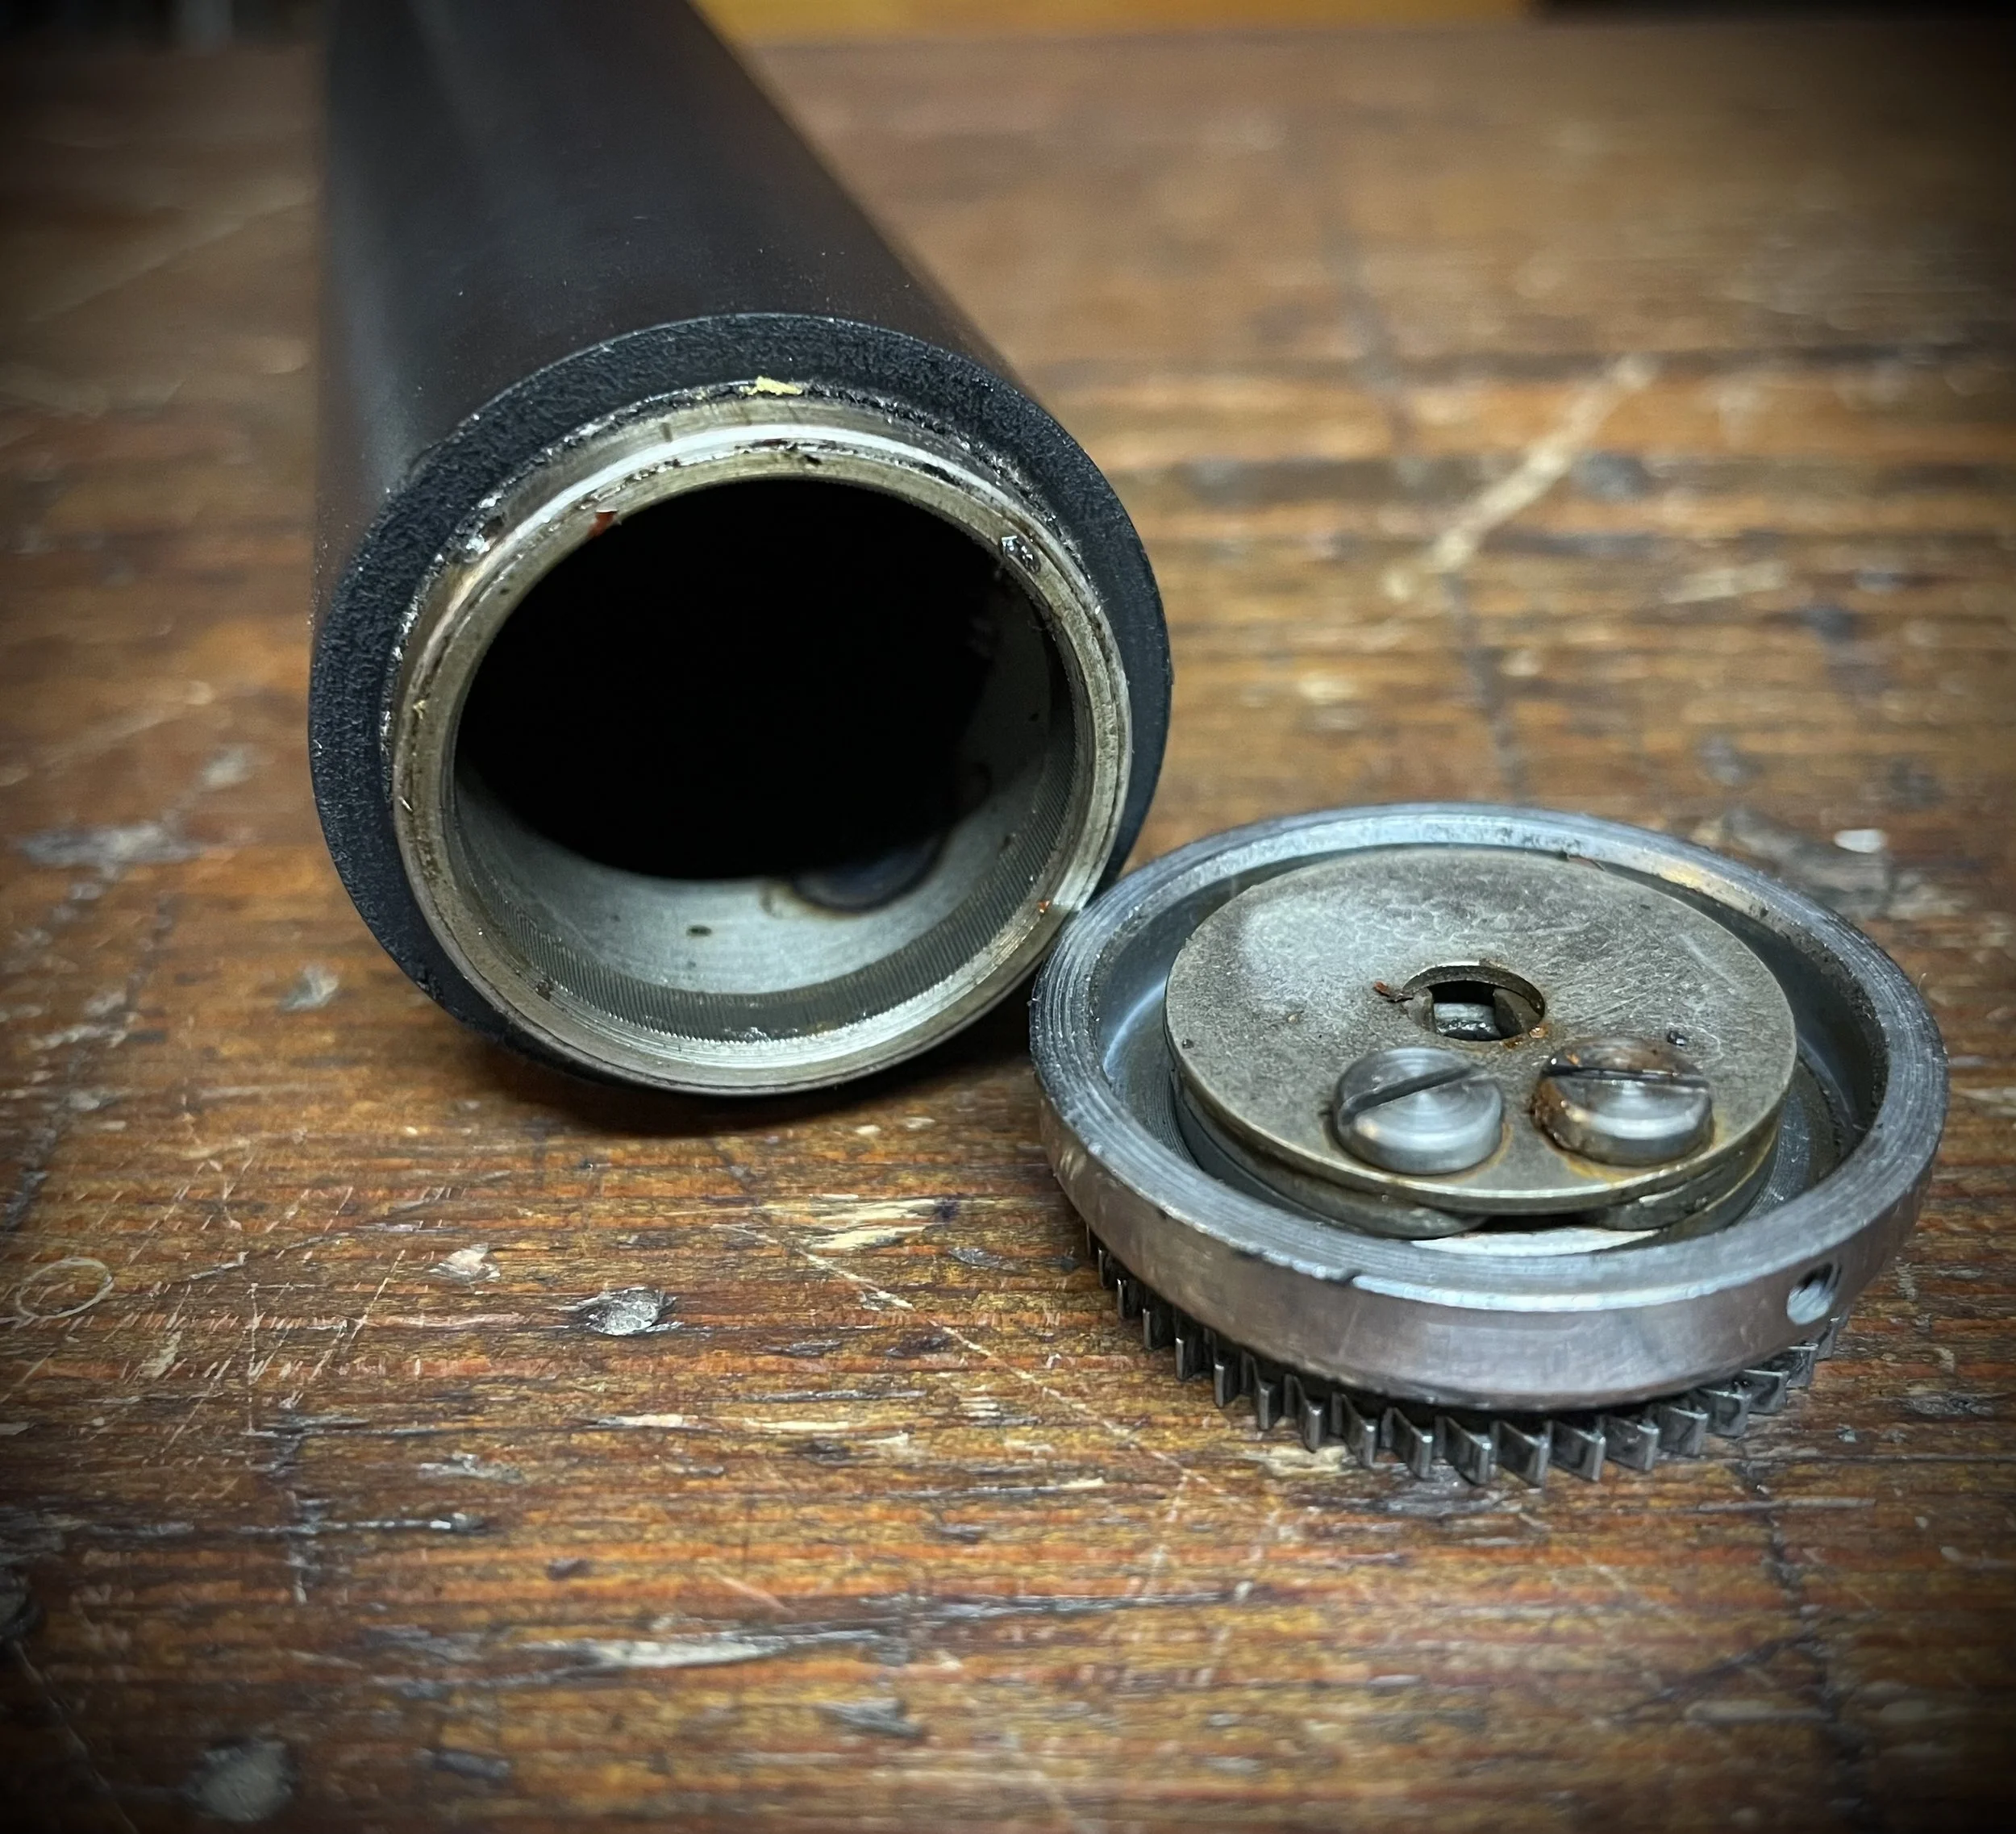
Next thing was to renovate feed rollers and the platen.
To access feed rollers one needs to unscrew two small screws on the bottom of the carriage.
With this unscrewed it is easy to wiggle out both rollers.
Trued and clean - back in place.
Another issue - TAB was not working reliably, sometimes releasing the carriage, most often not. By setting these two stops a bit higher I got the TAB to work reliably again.
Space-bar and TAB-button were flaking paint. No use to keep that - I scraped it back to black and sanded satin-smooth.
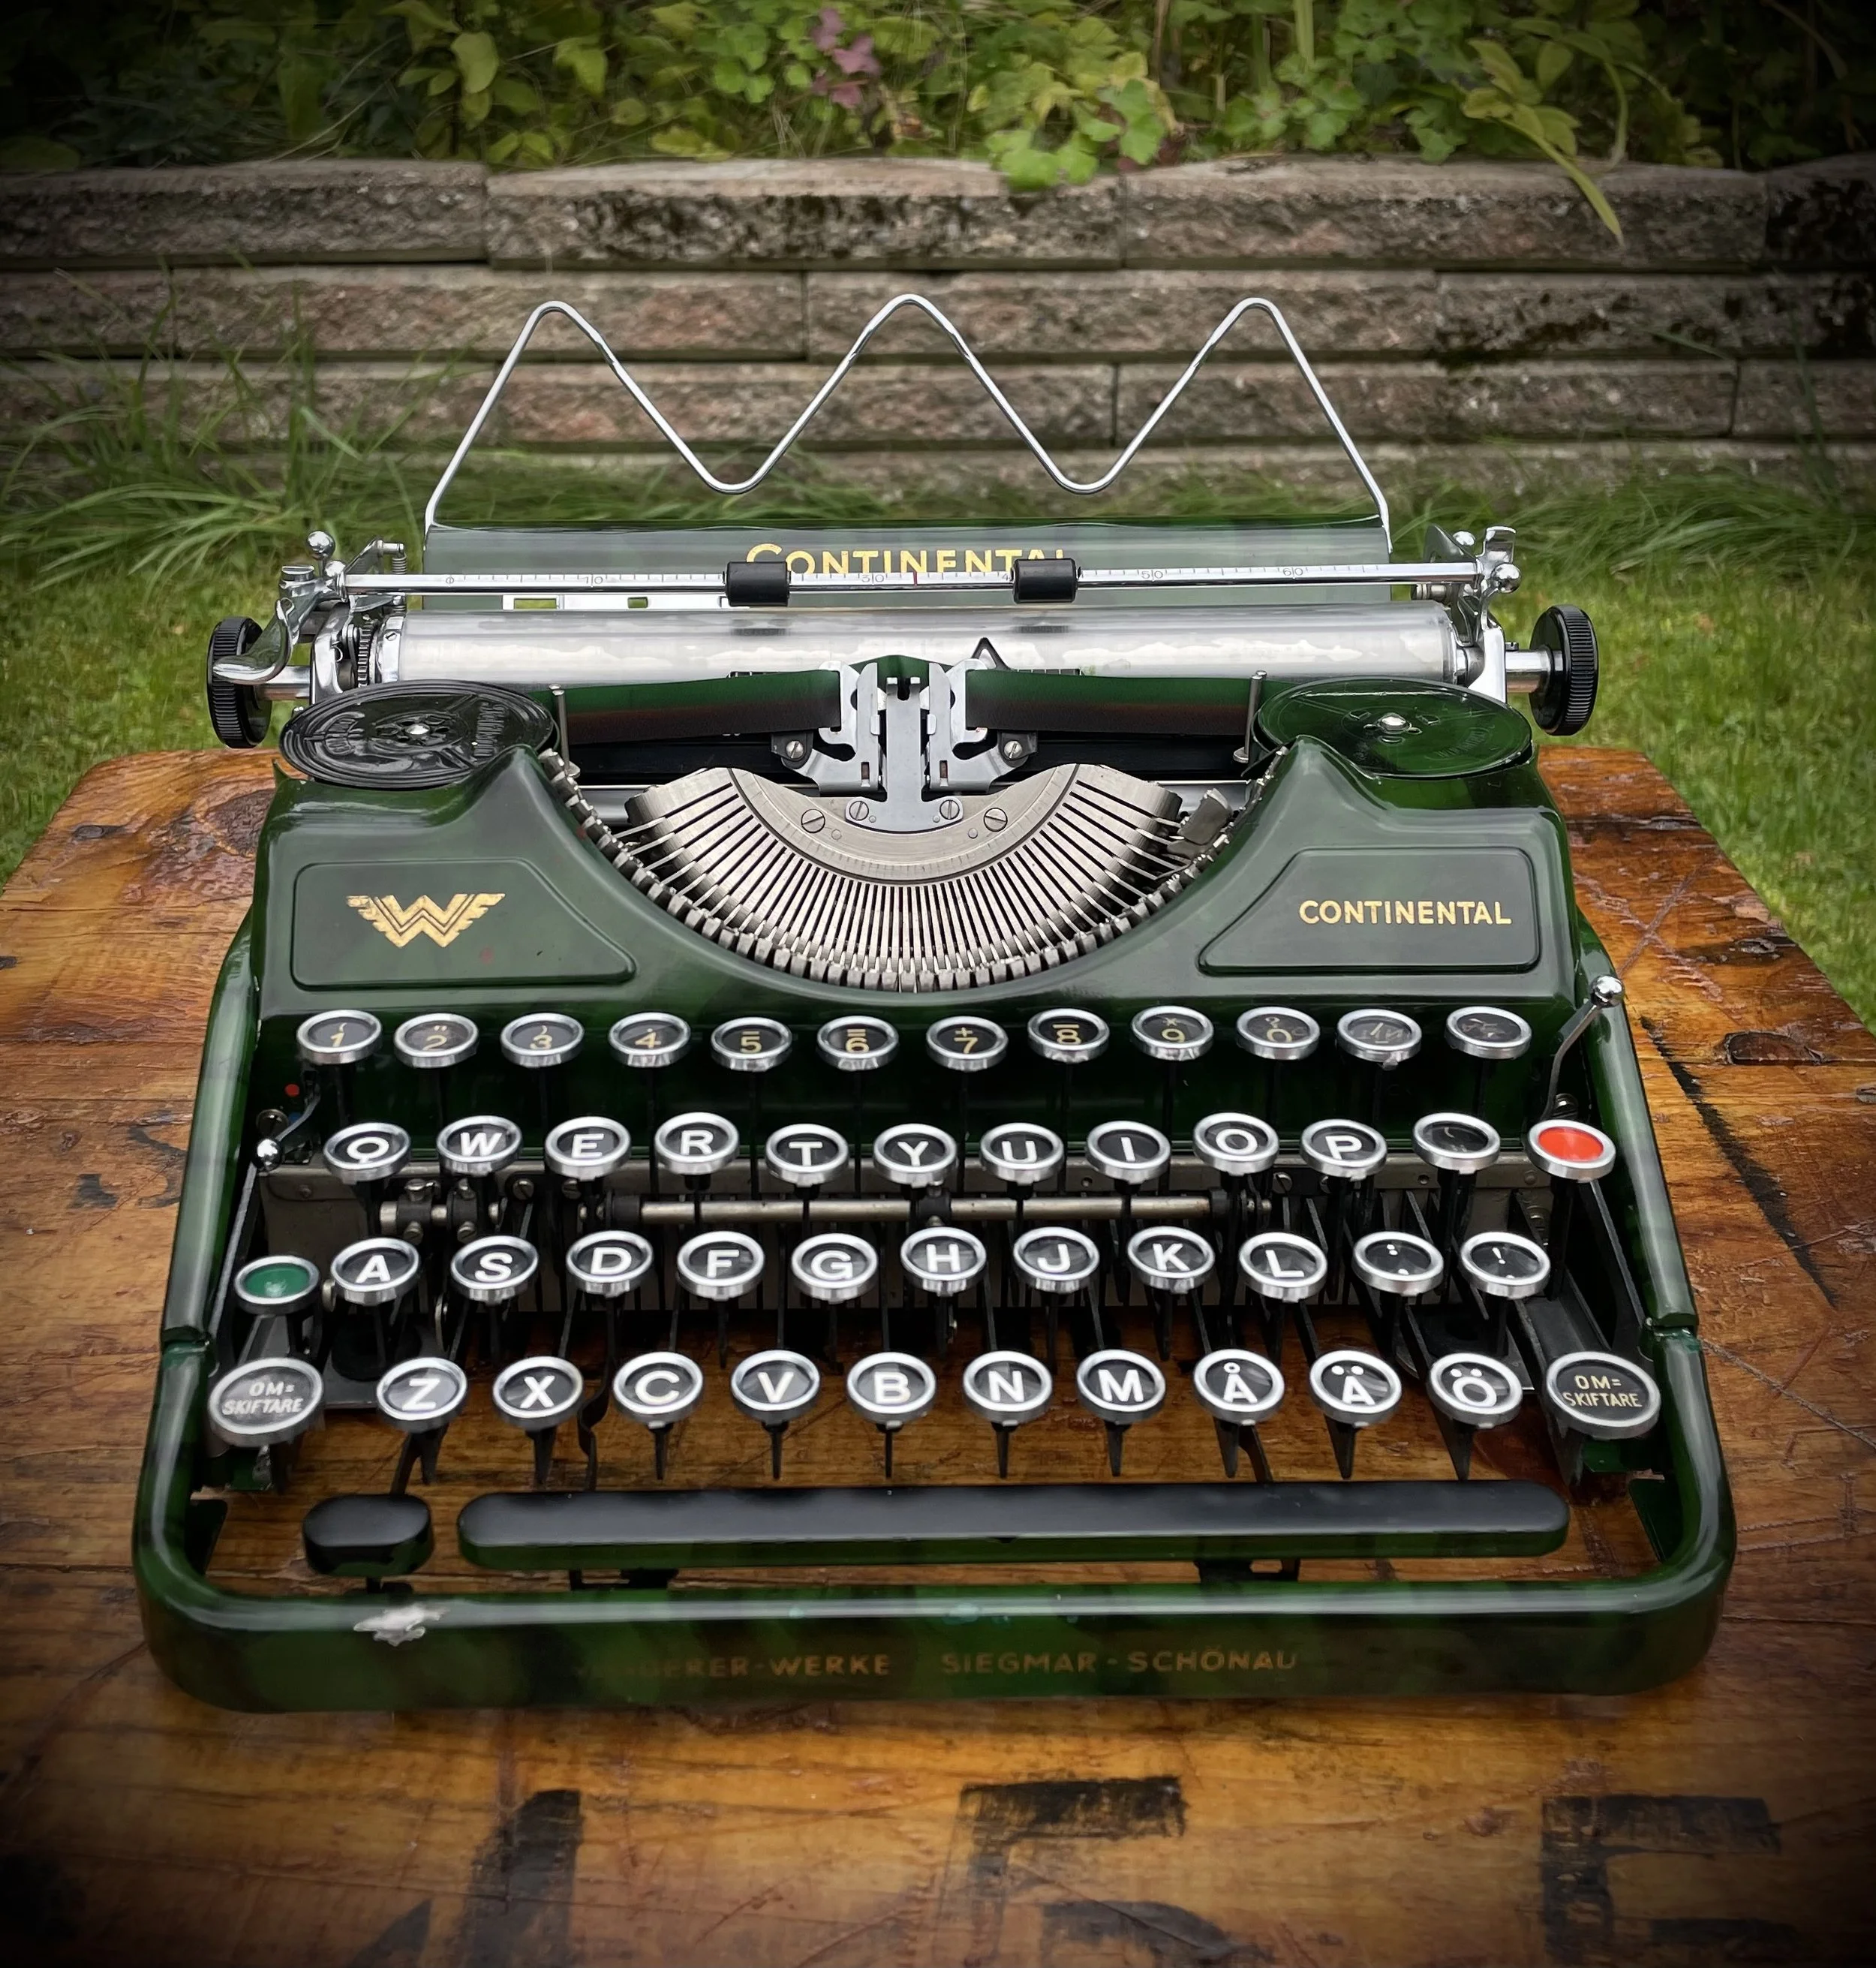
Assembling back the whole machine. Body panels got cleaned and waxed with Fulgentine.
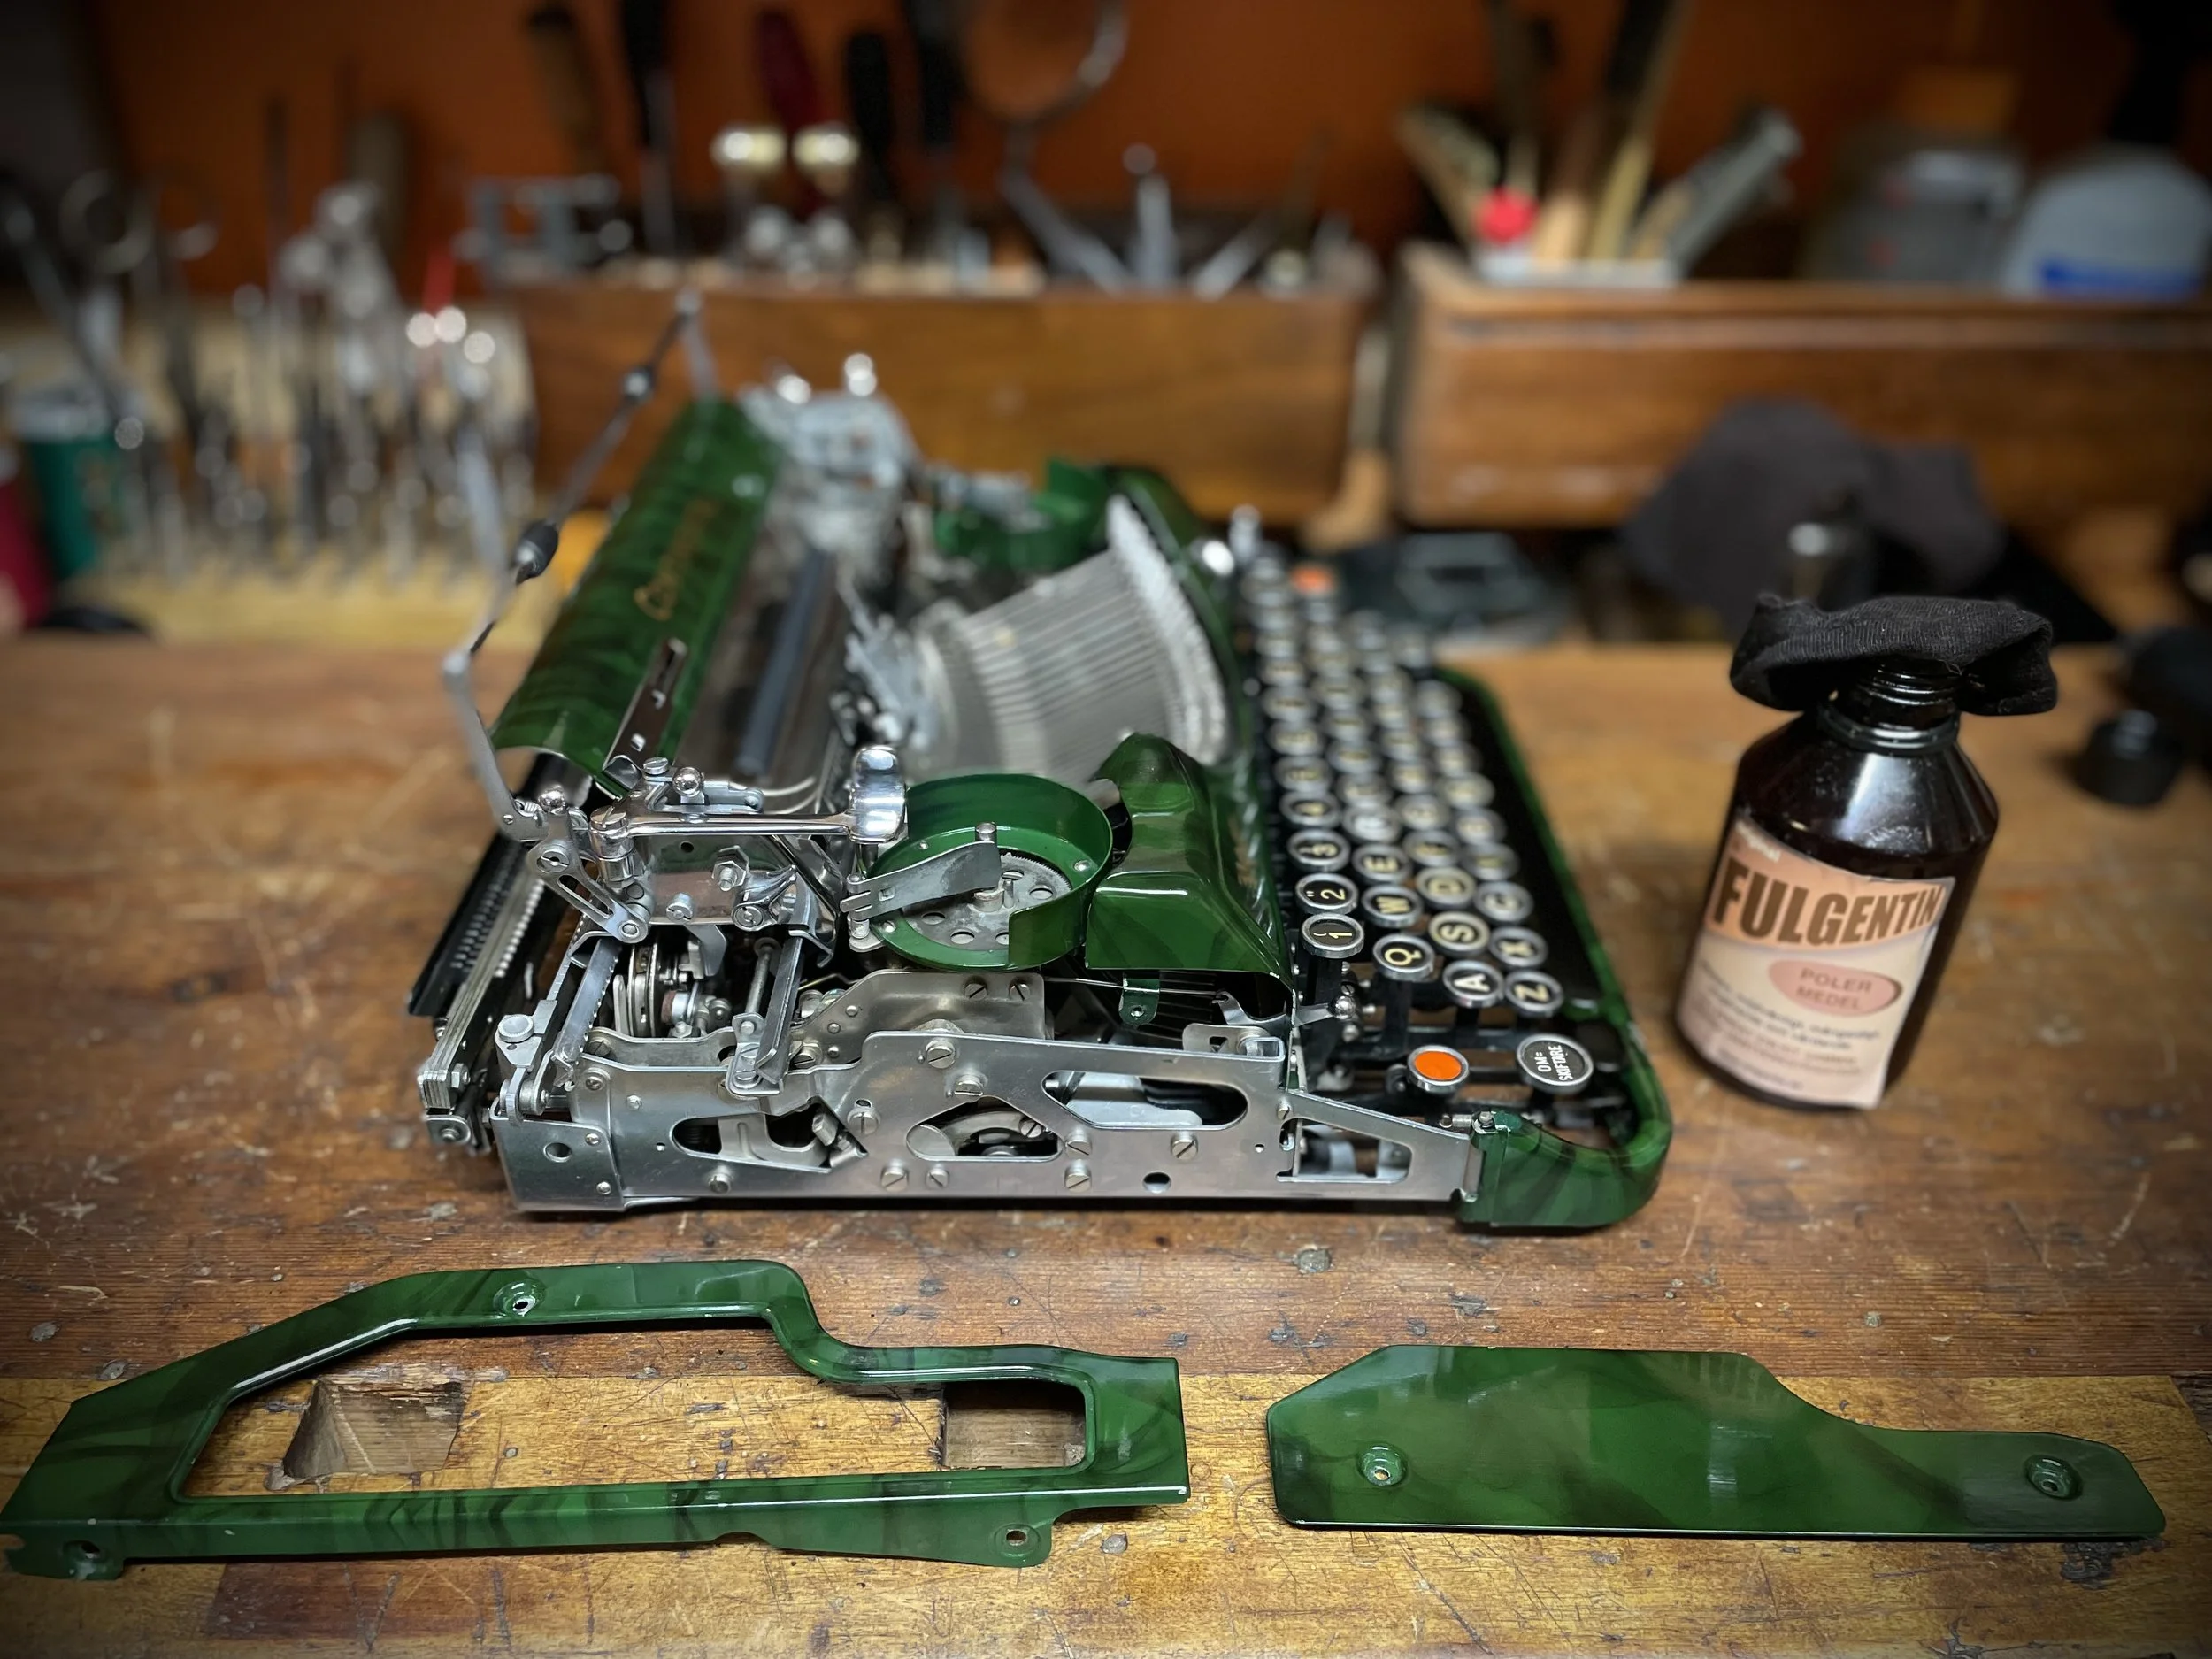

Side panels have lead-stripes taped on the inside. I can tell by weight and white lead-oxide forming on the outside.
My theory is that this was to prevent vibrations during typing, dampening the noise by changing resonant frequency. But that is just my theory - anyone knows why some machines have this?
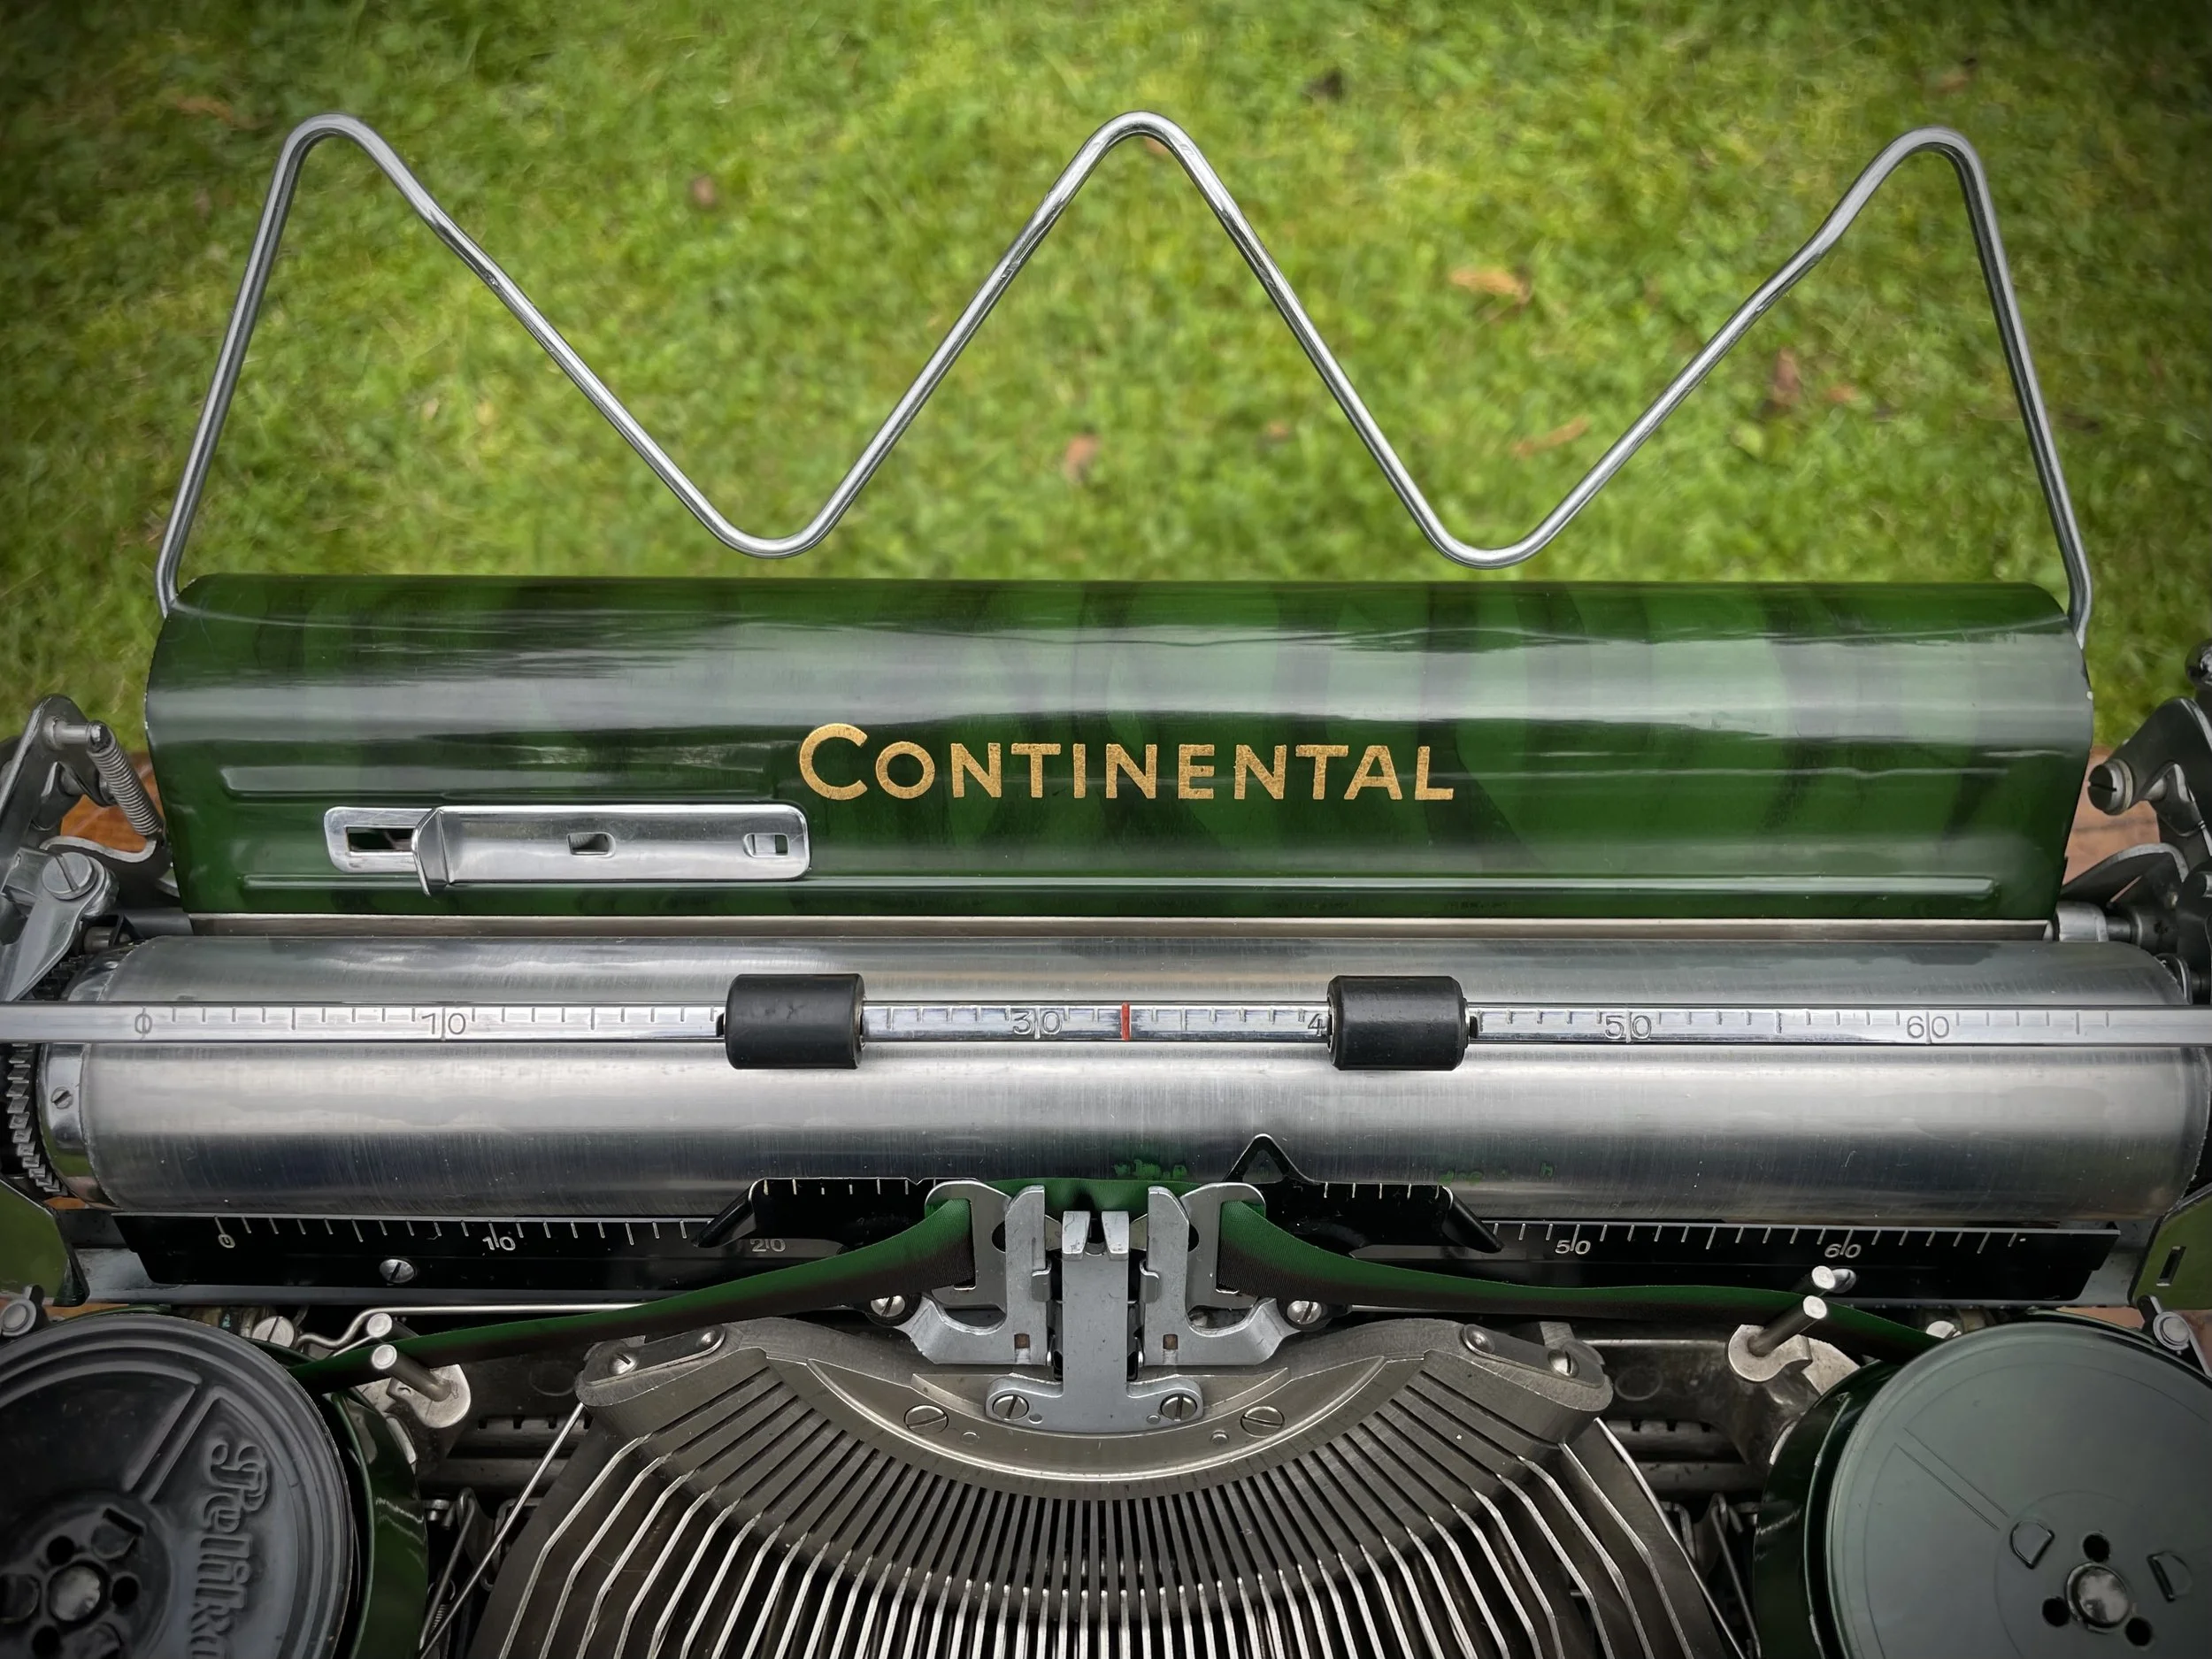
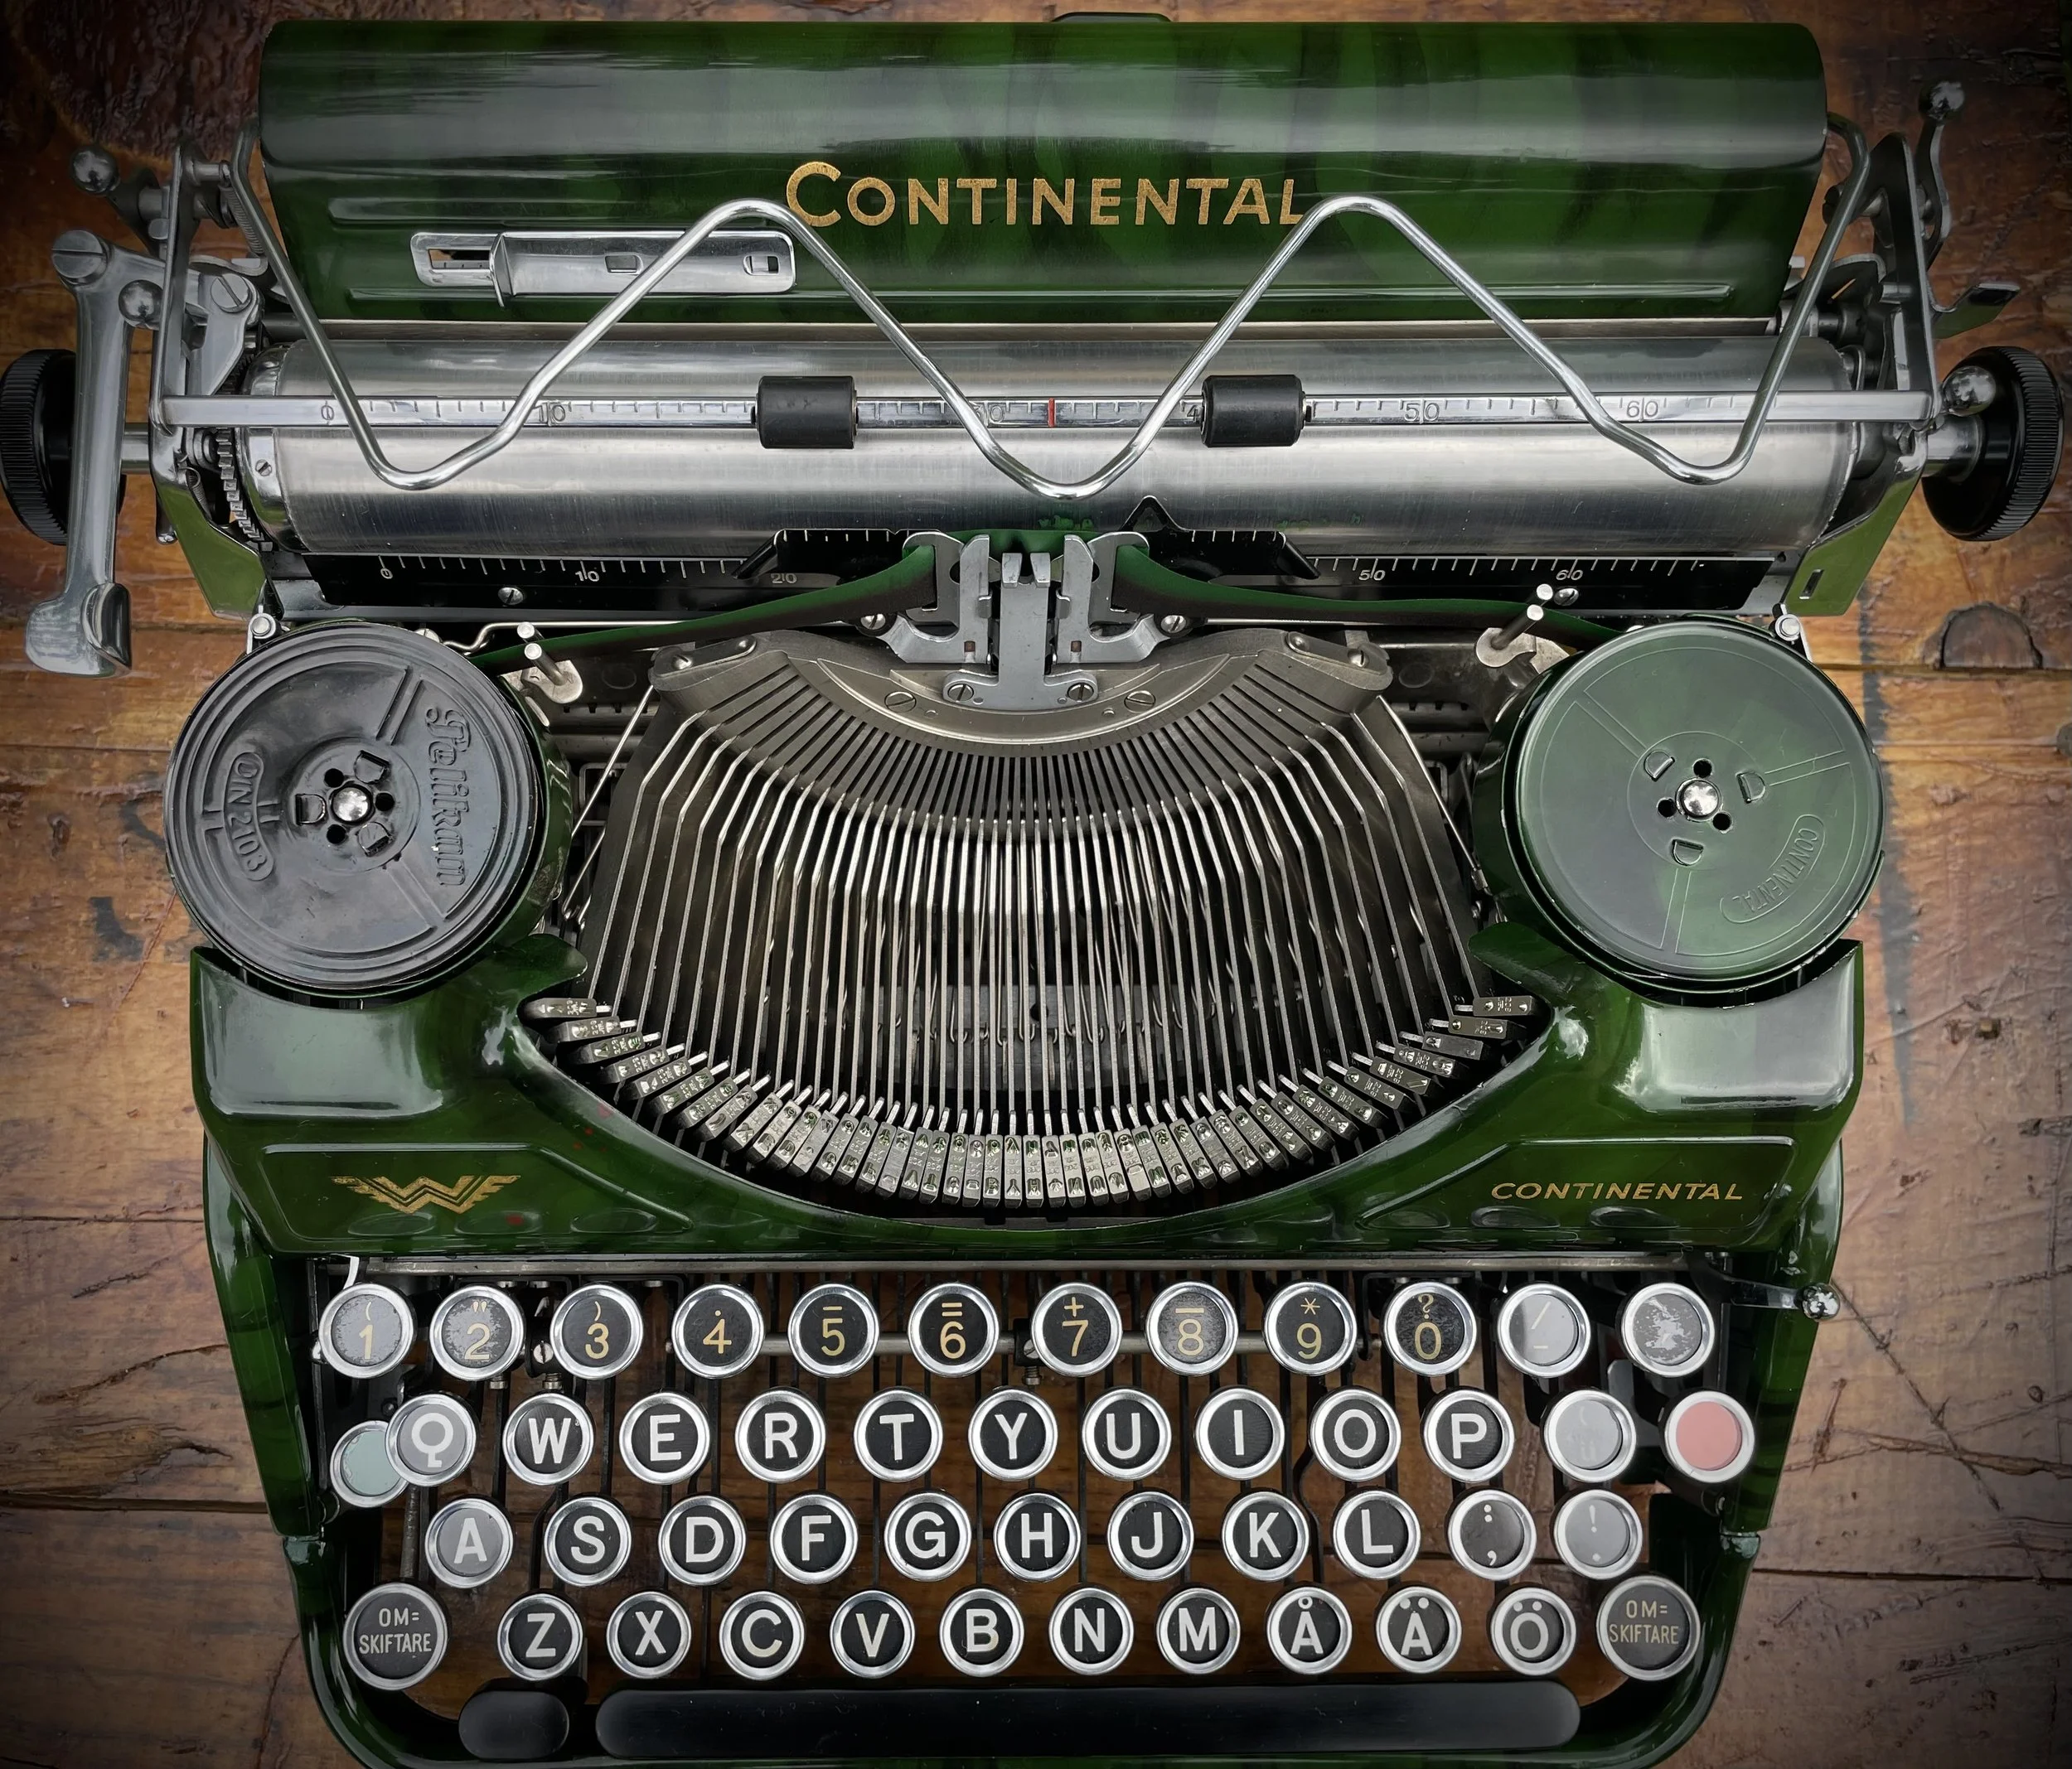
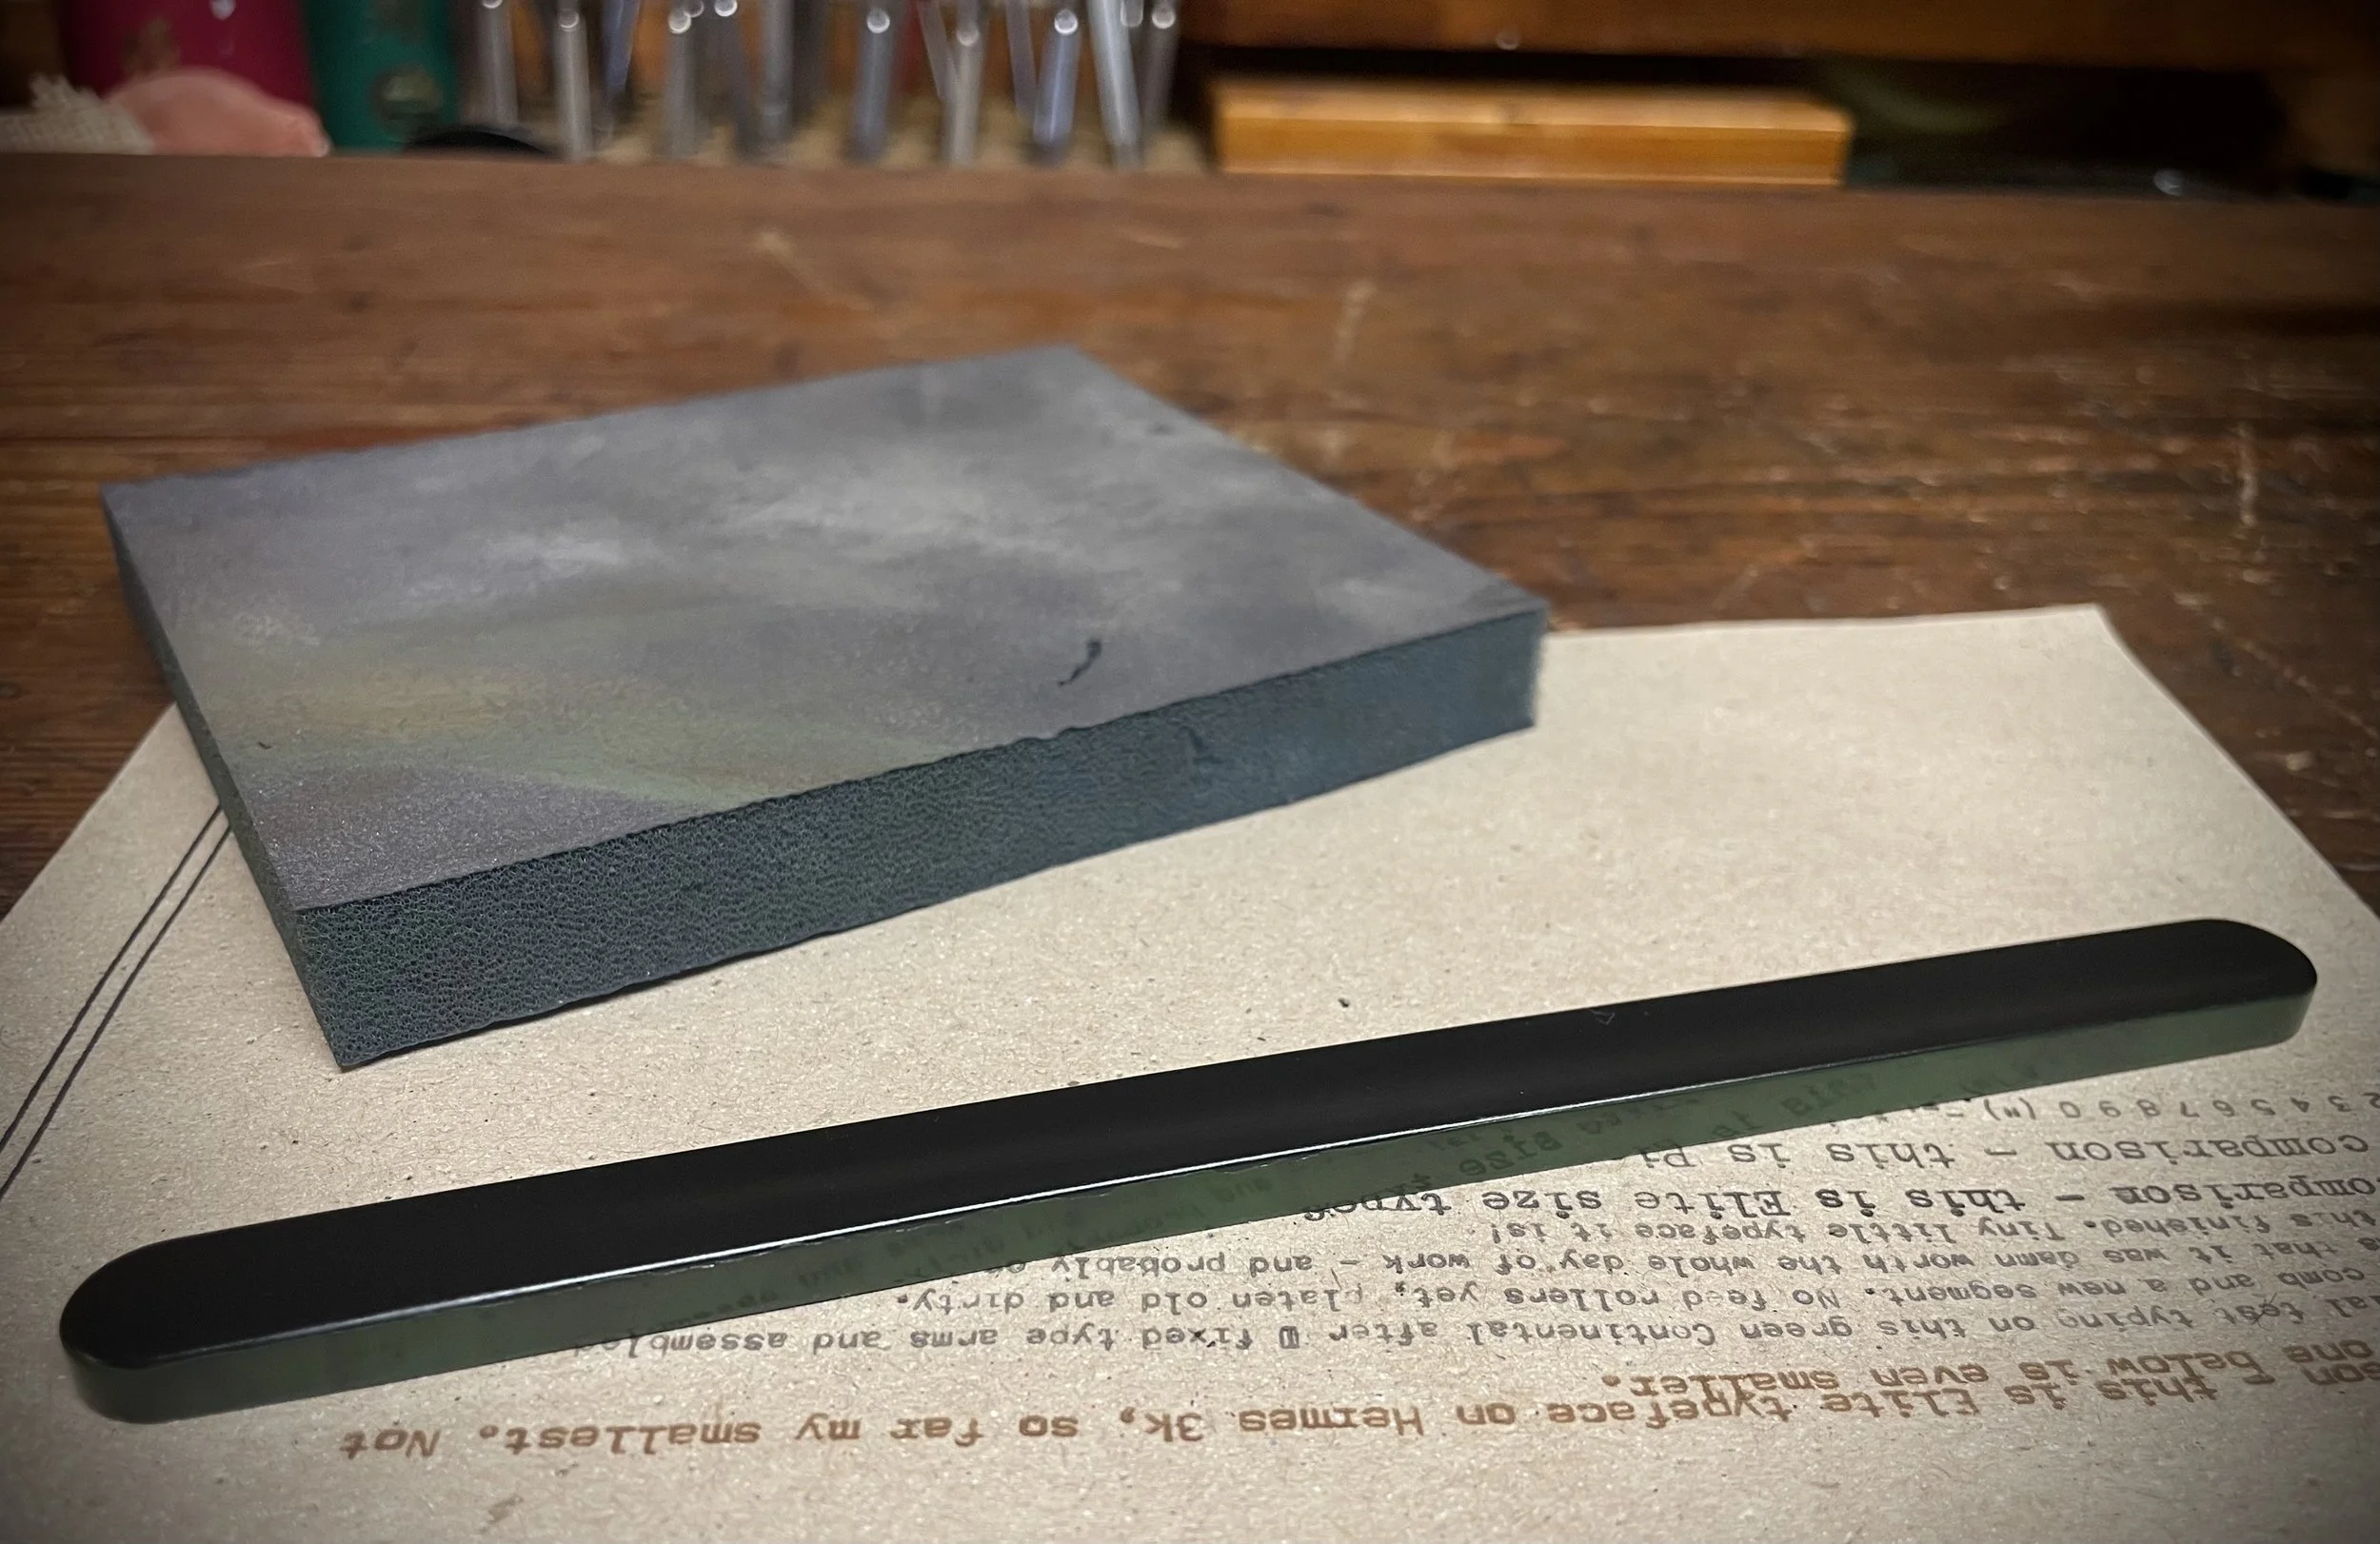
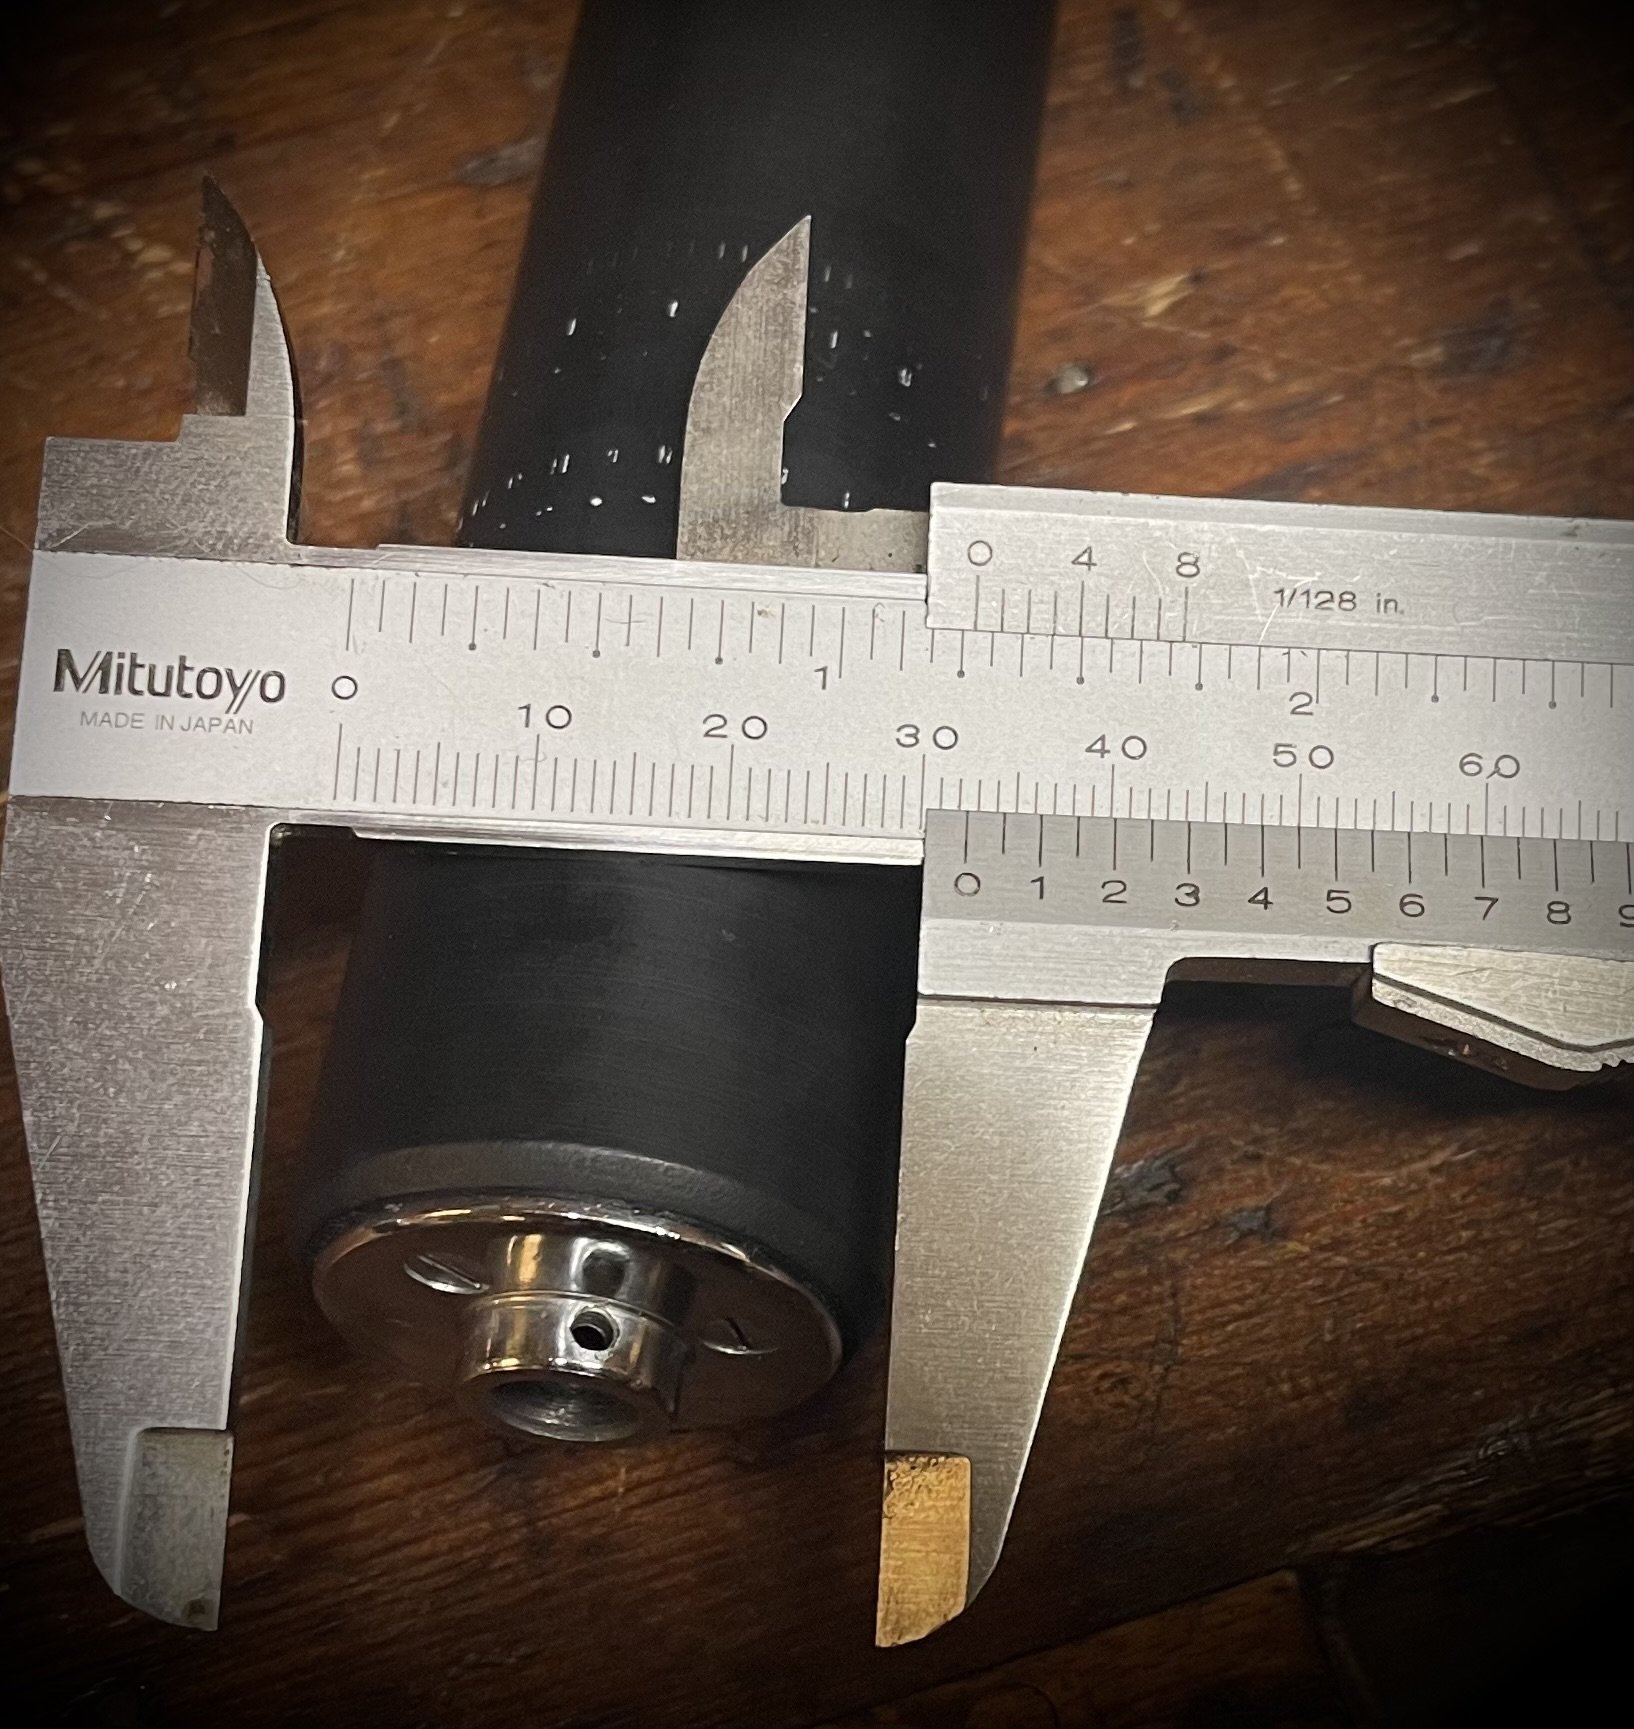
Next step was to fabricate new platen: the old rubber was hard and uneven.
To protect plated line-ratchet assembly I remove it and fabricate an adapter to be used on the lathe instead.
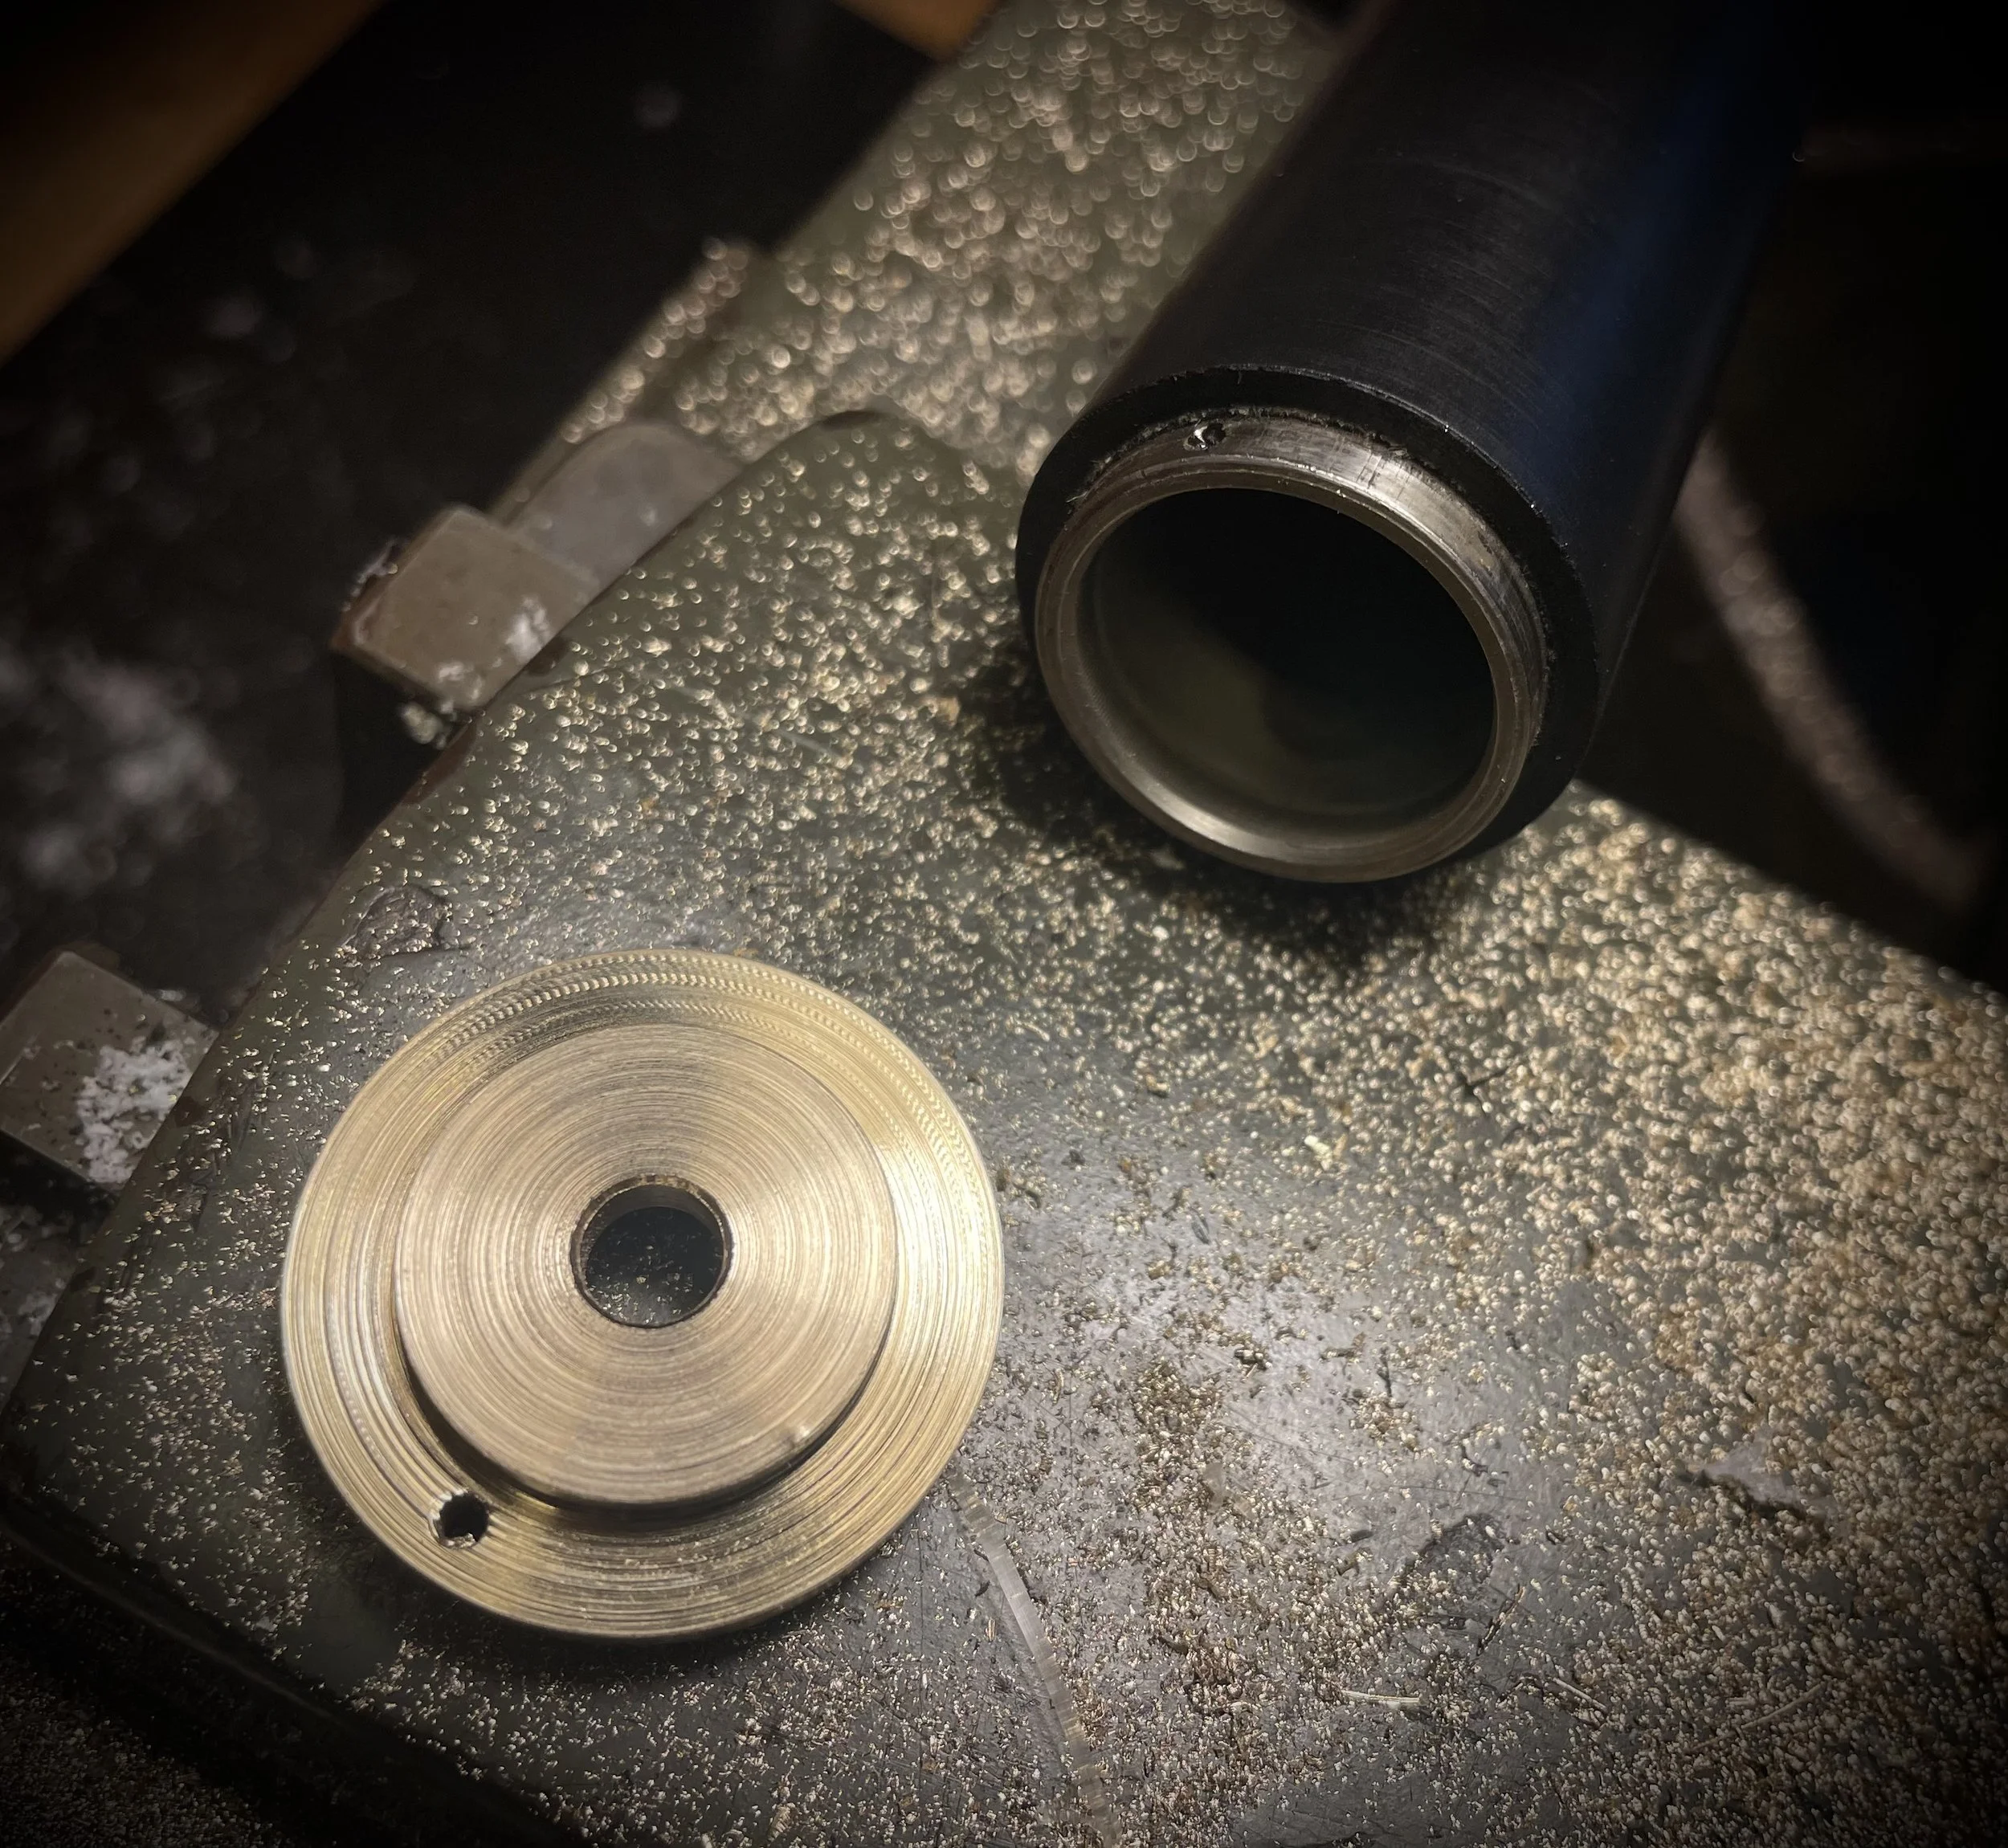
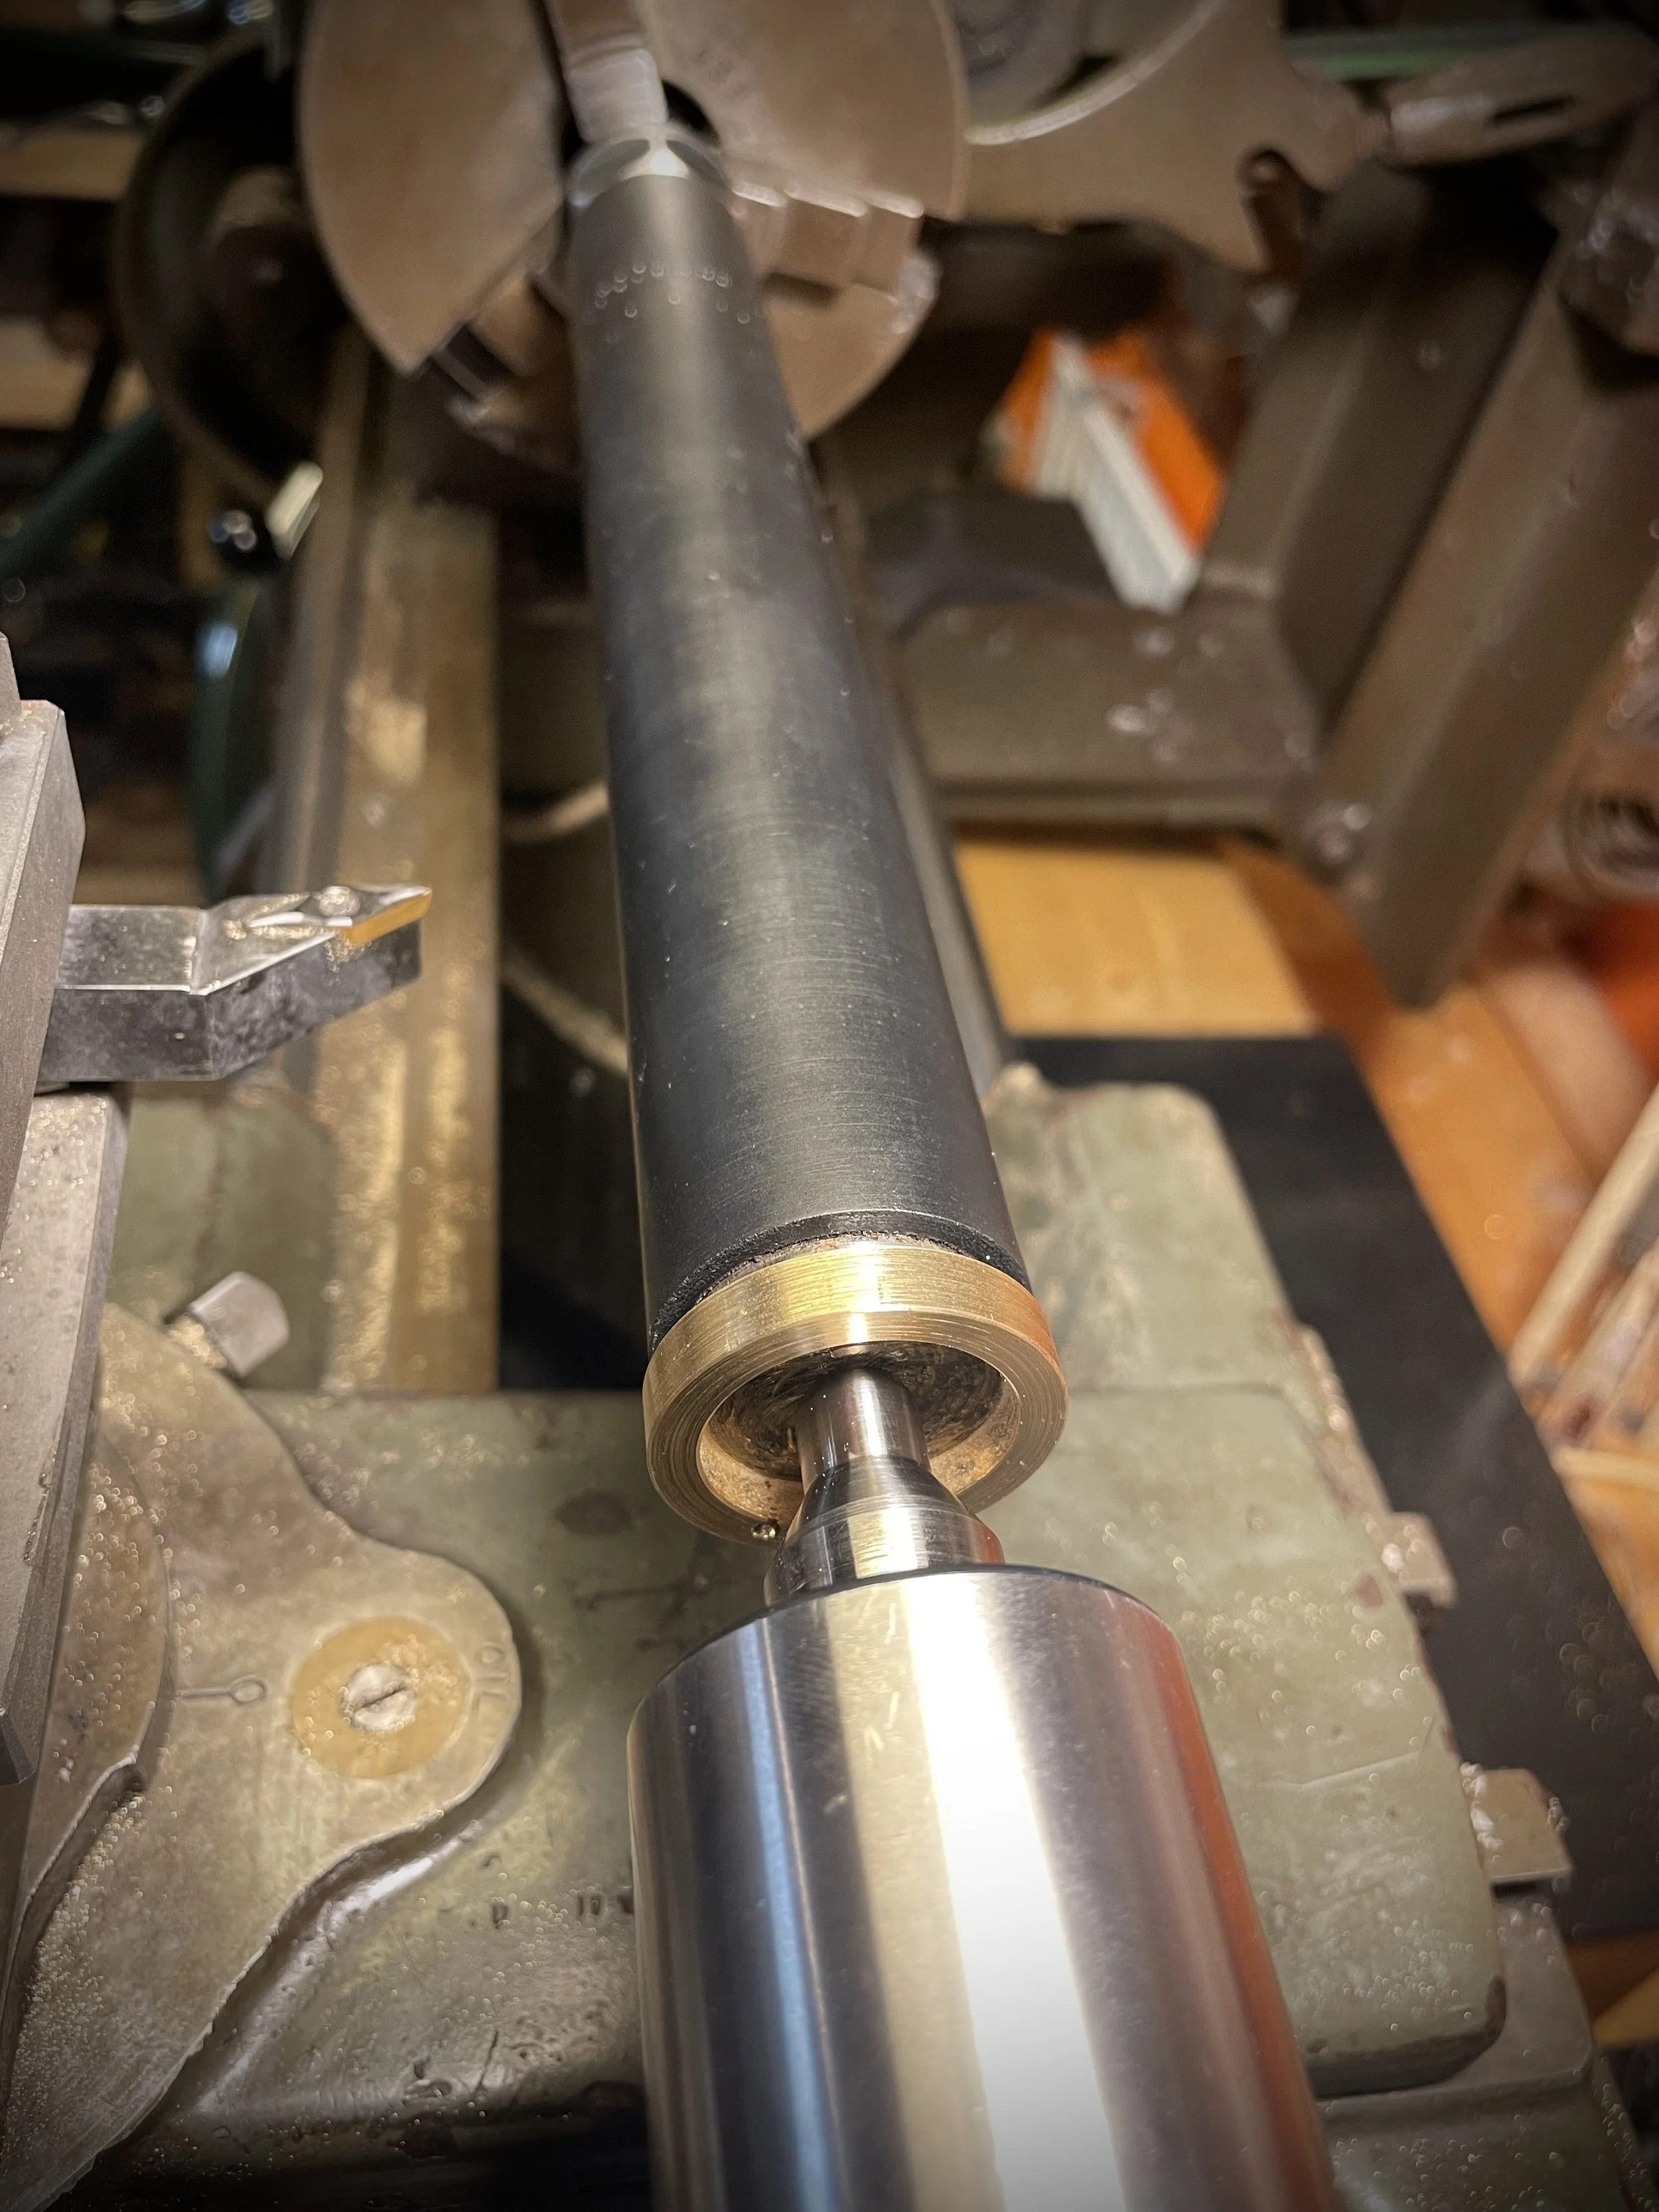
After removing a few millimeters of hard rubber one arrives at non-oxidized layers.
Just for kicks: I measured hardness of the original rubber coating.
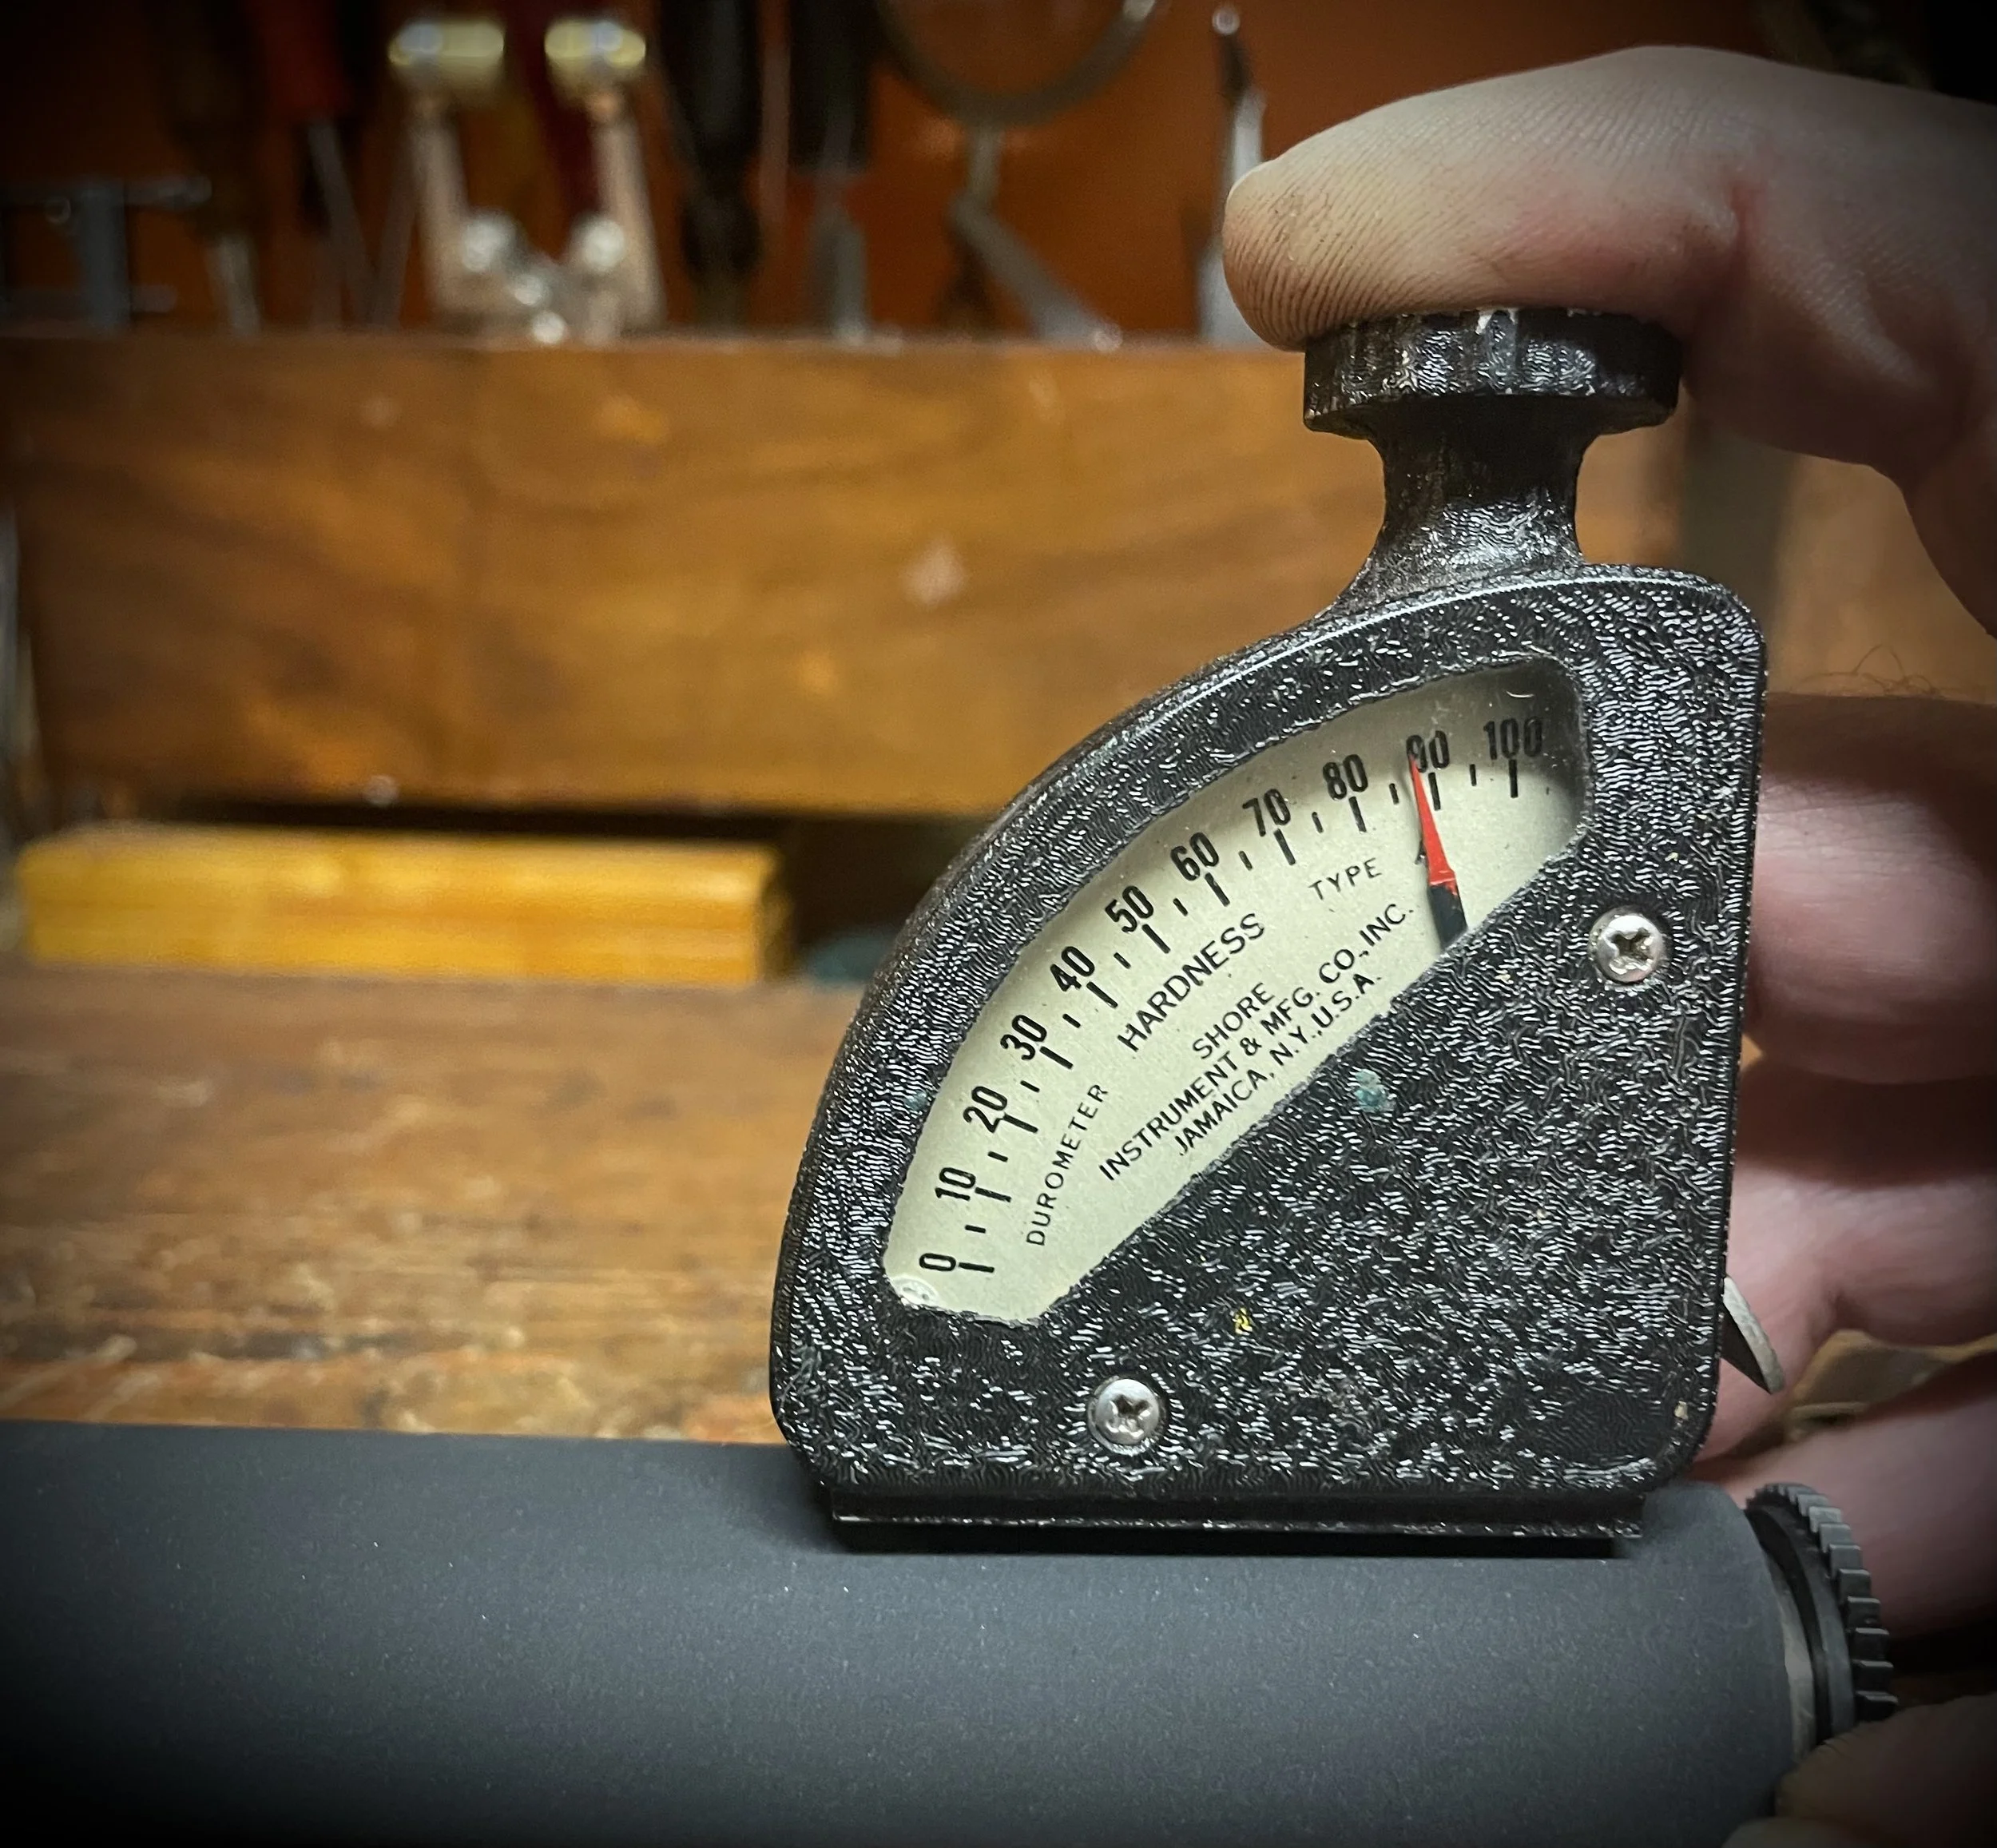
I chose to use transparent vinyl of hardness very close to the original: 85 Shore A. Leaving the steel core polished and visible will make a nice match for green body panels.
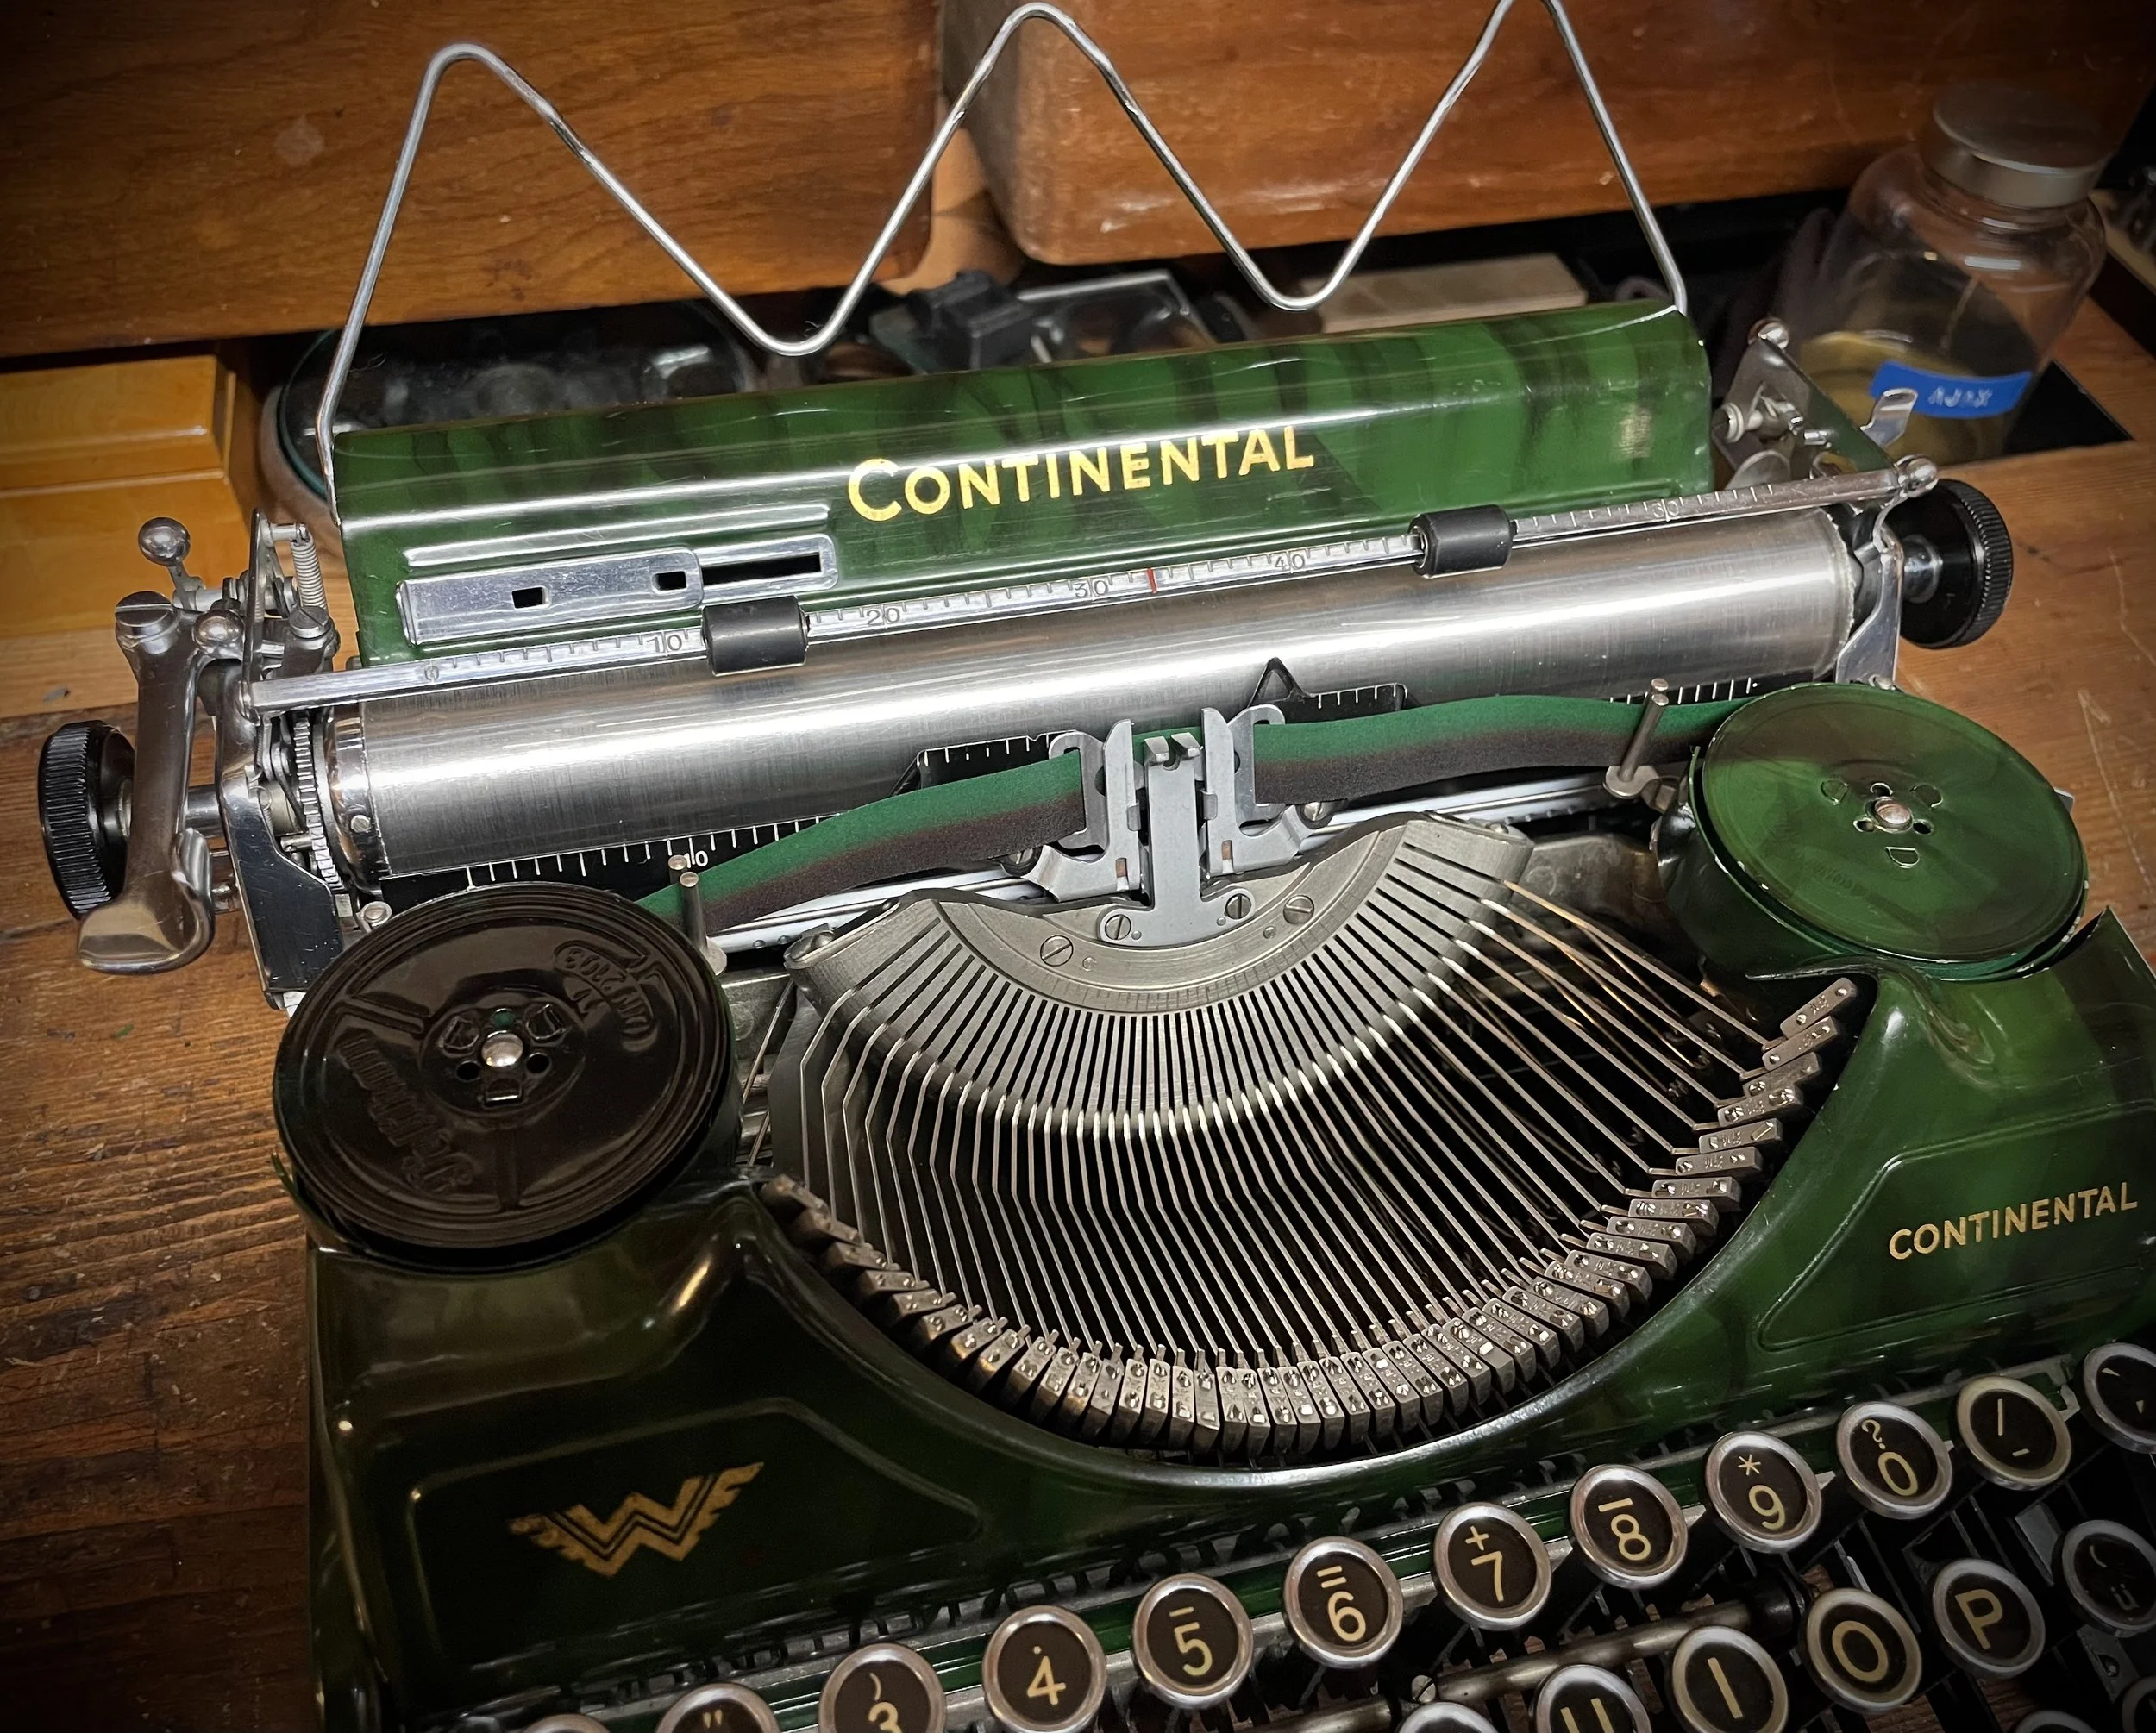
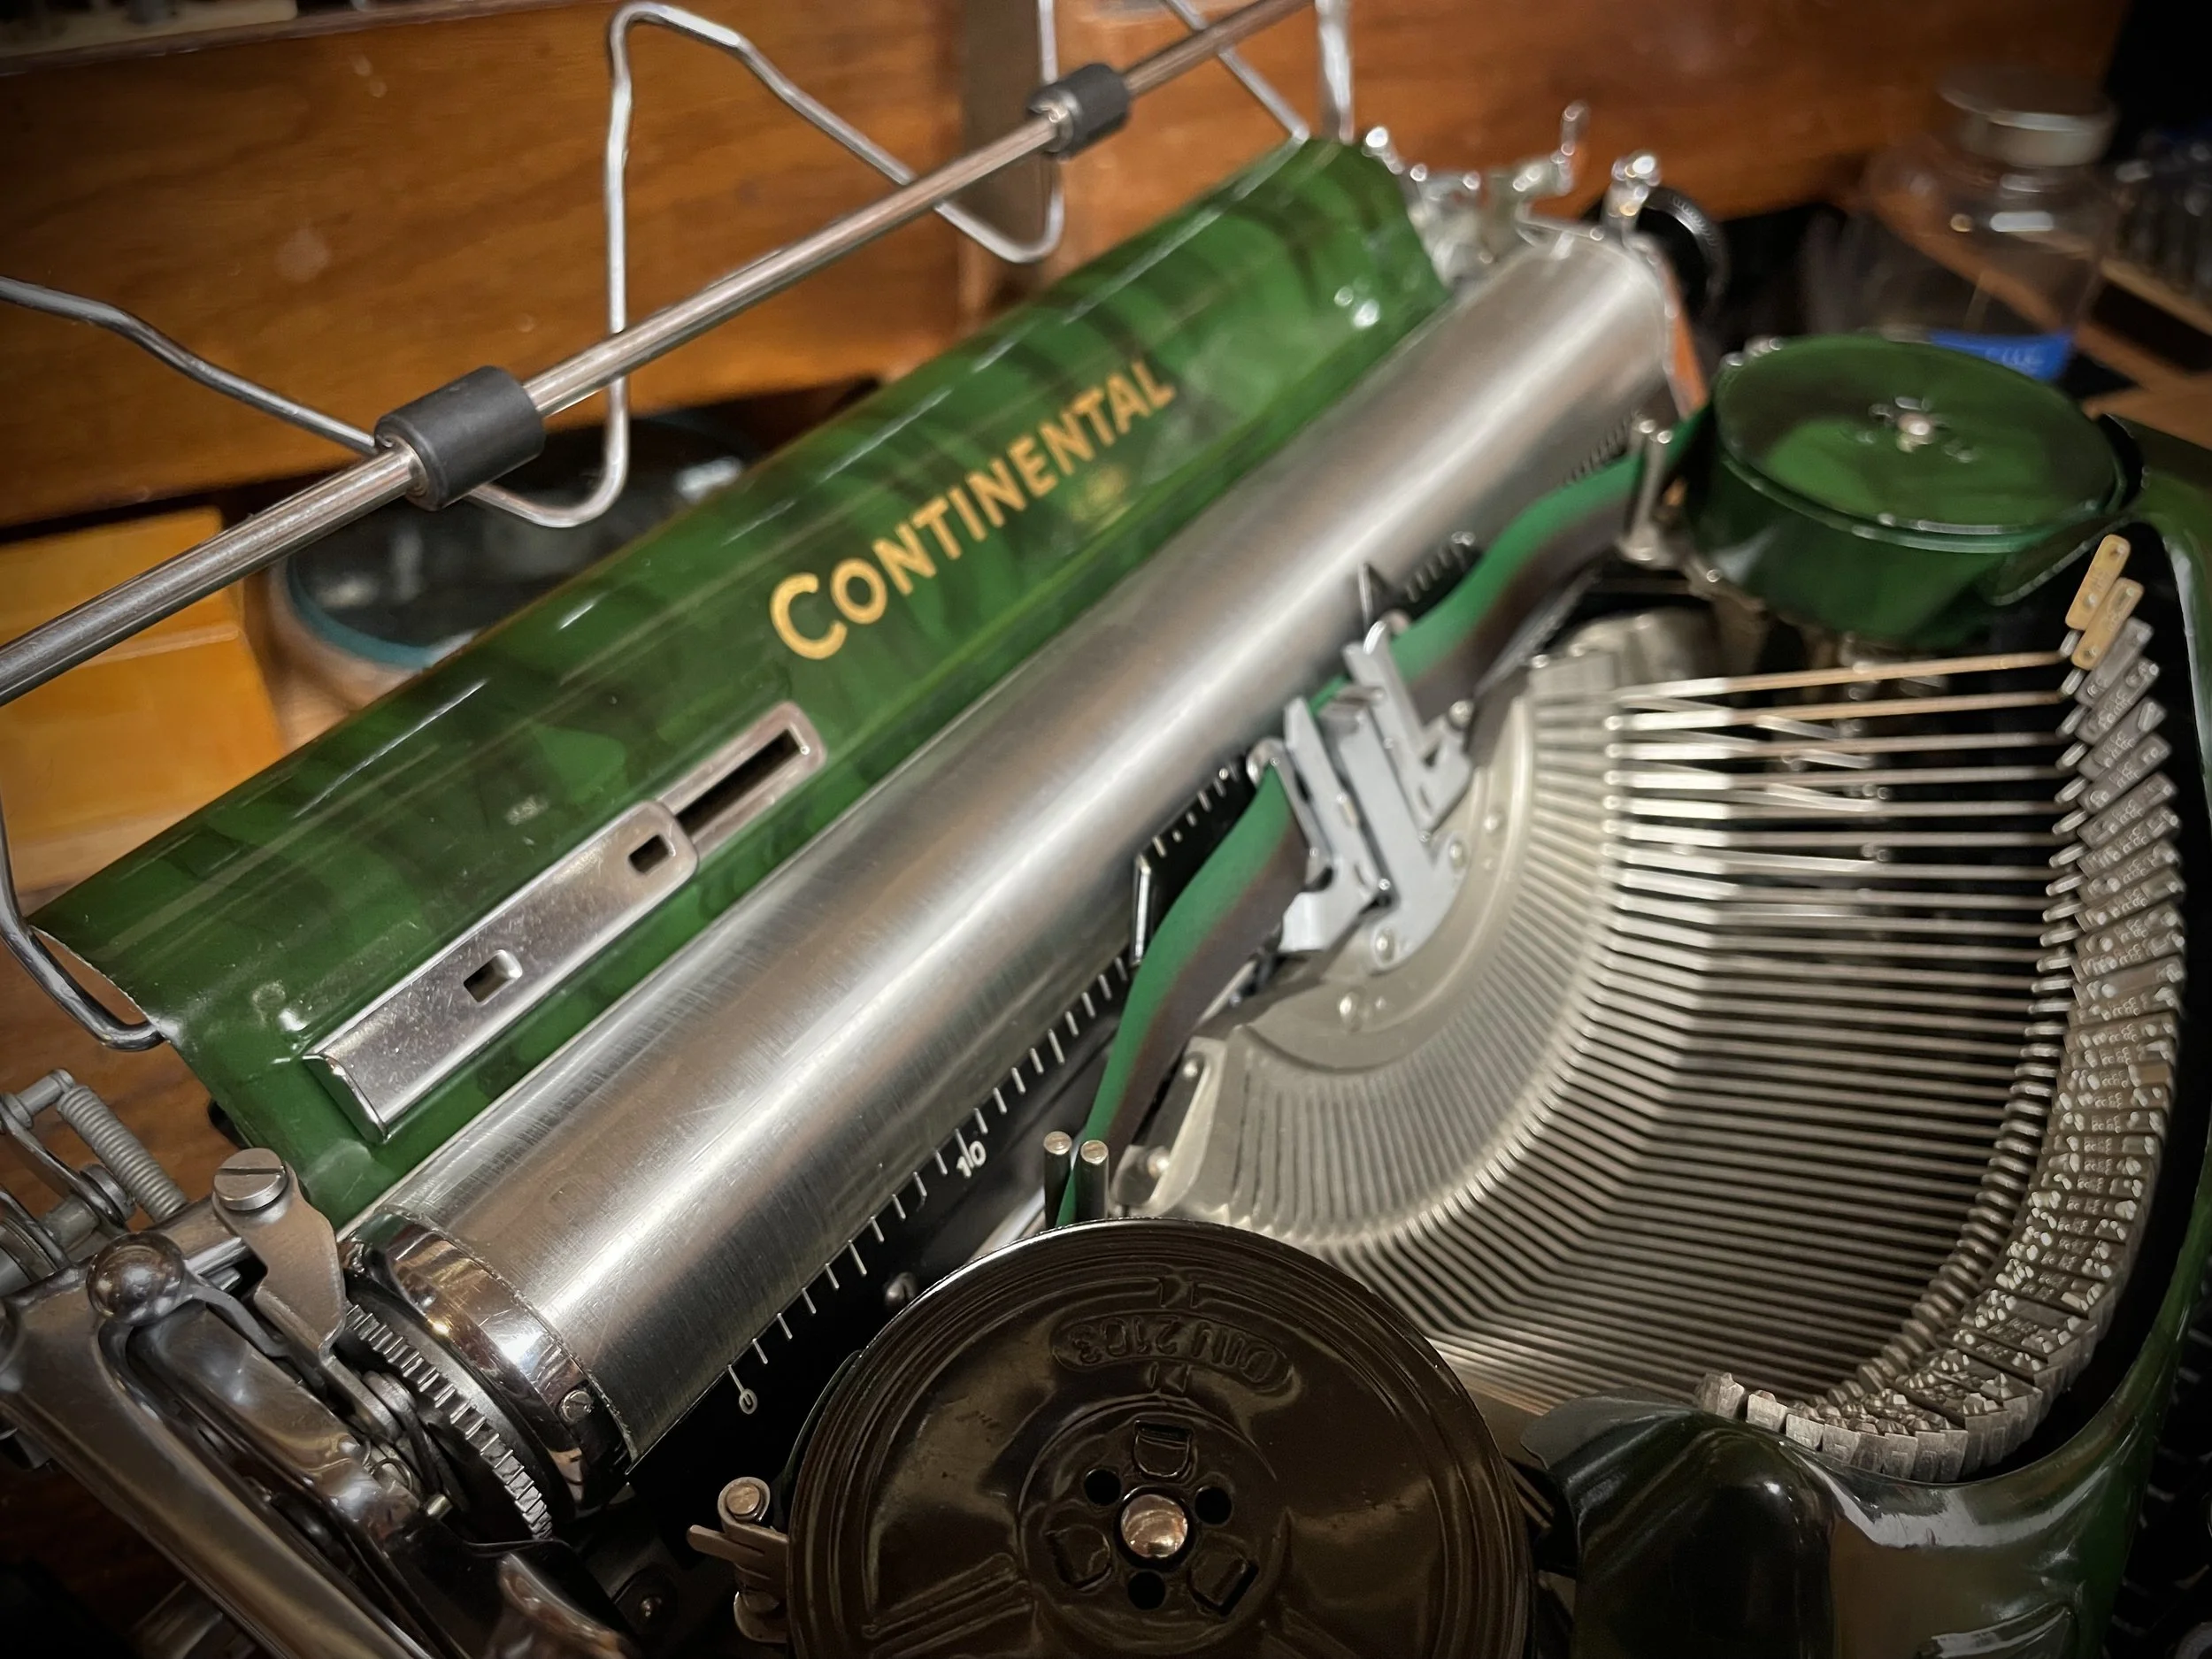
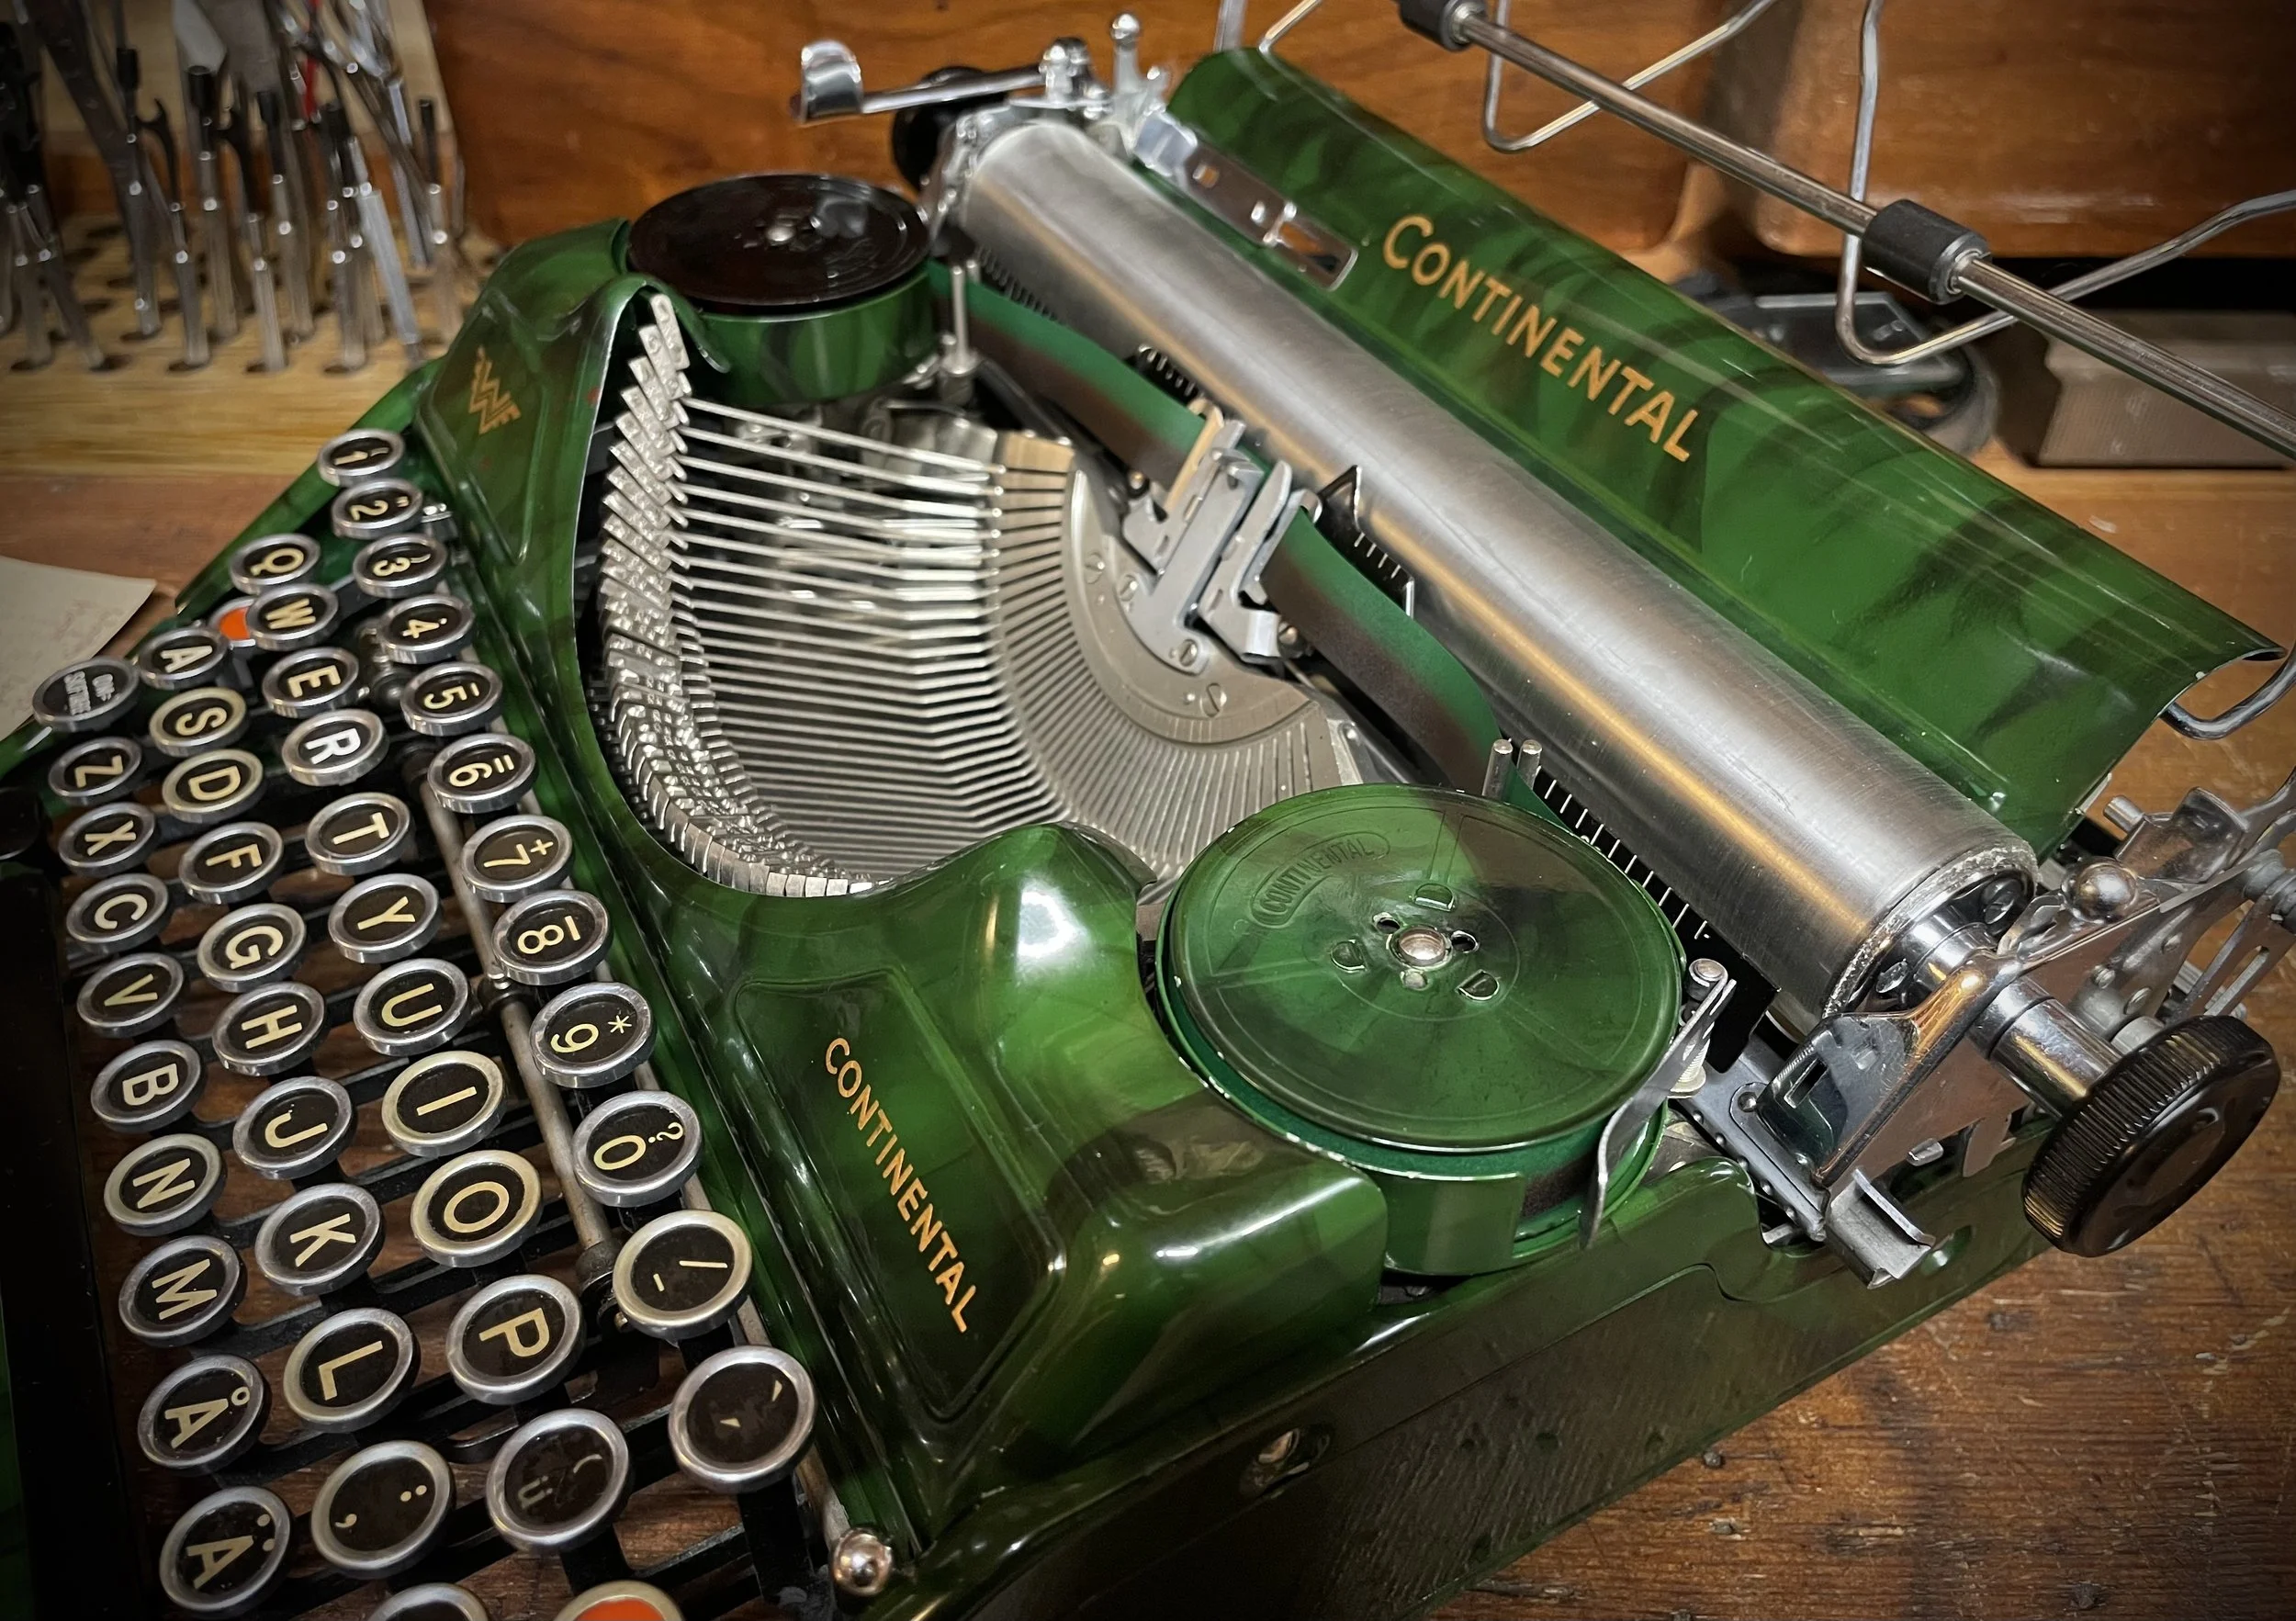
With new platen and fresh ribbon - time for long-waited typing!
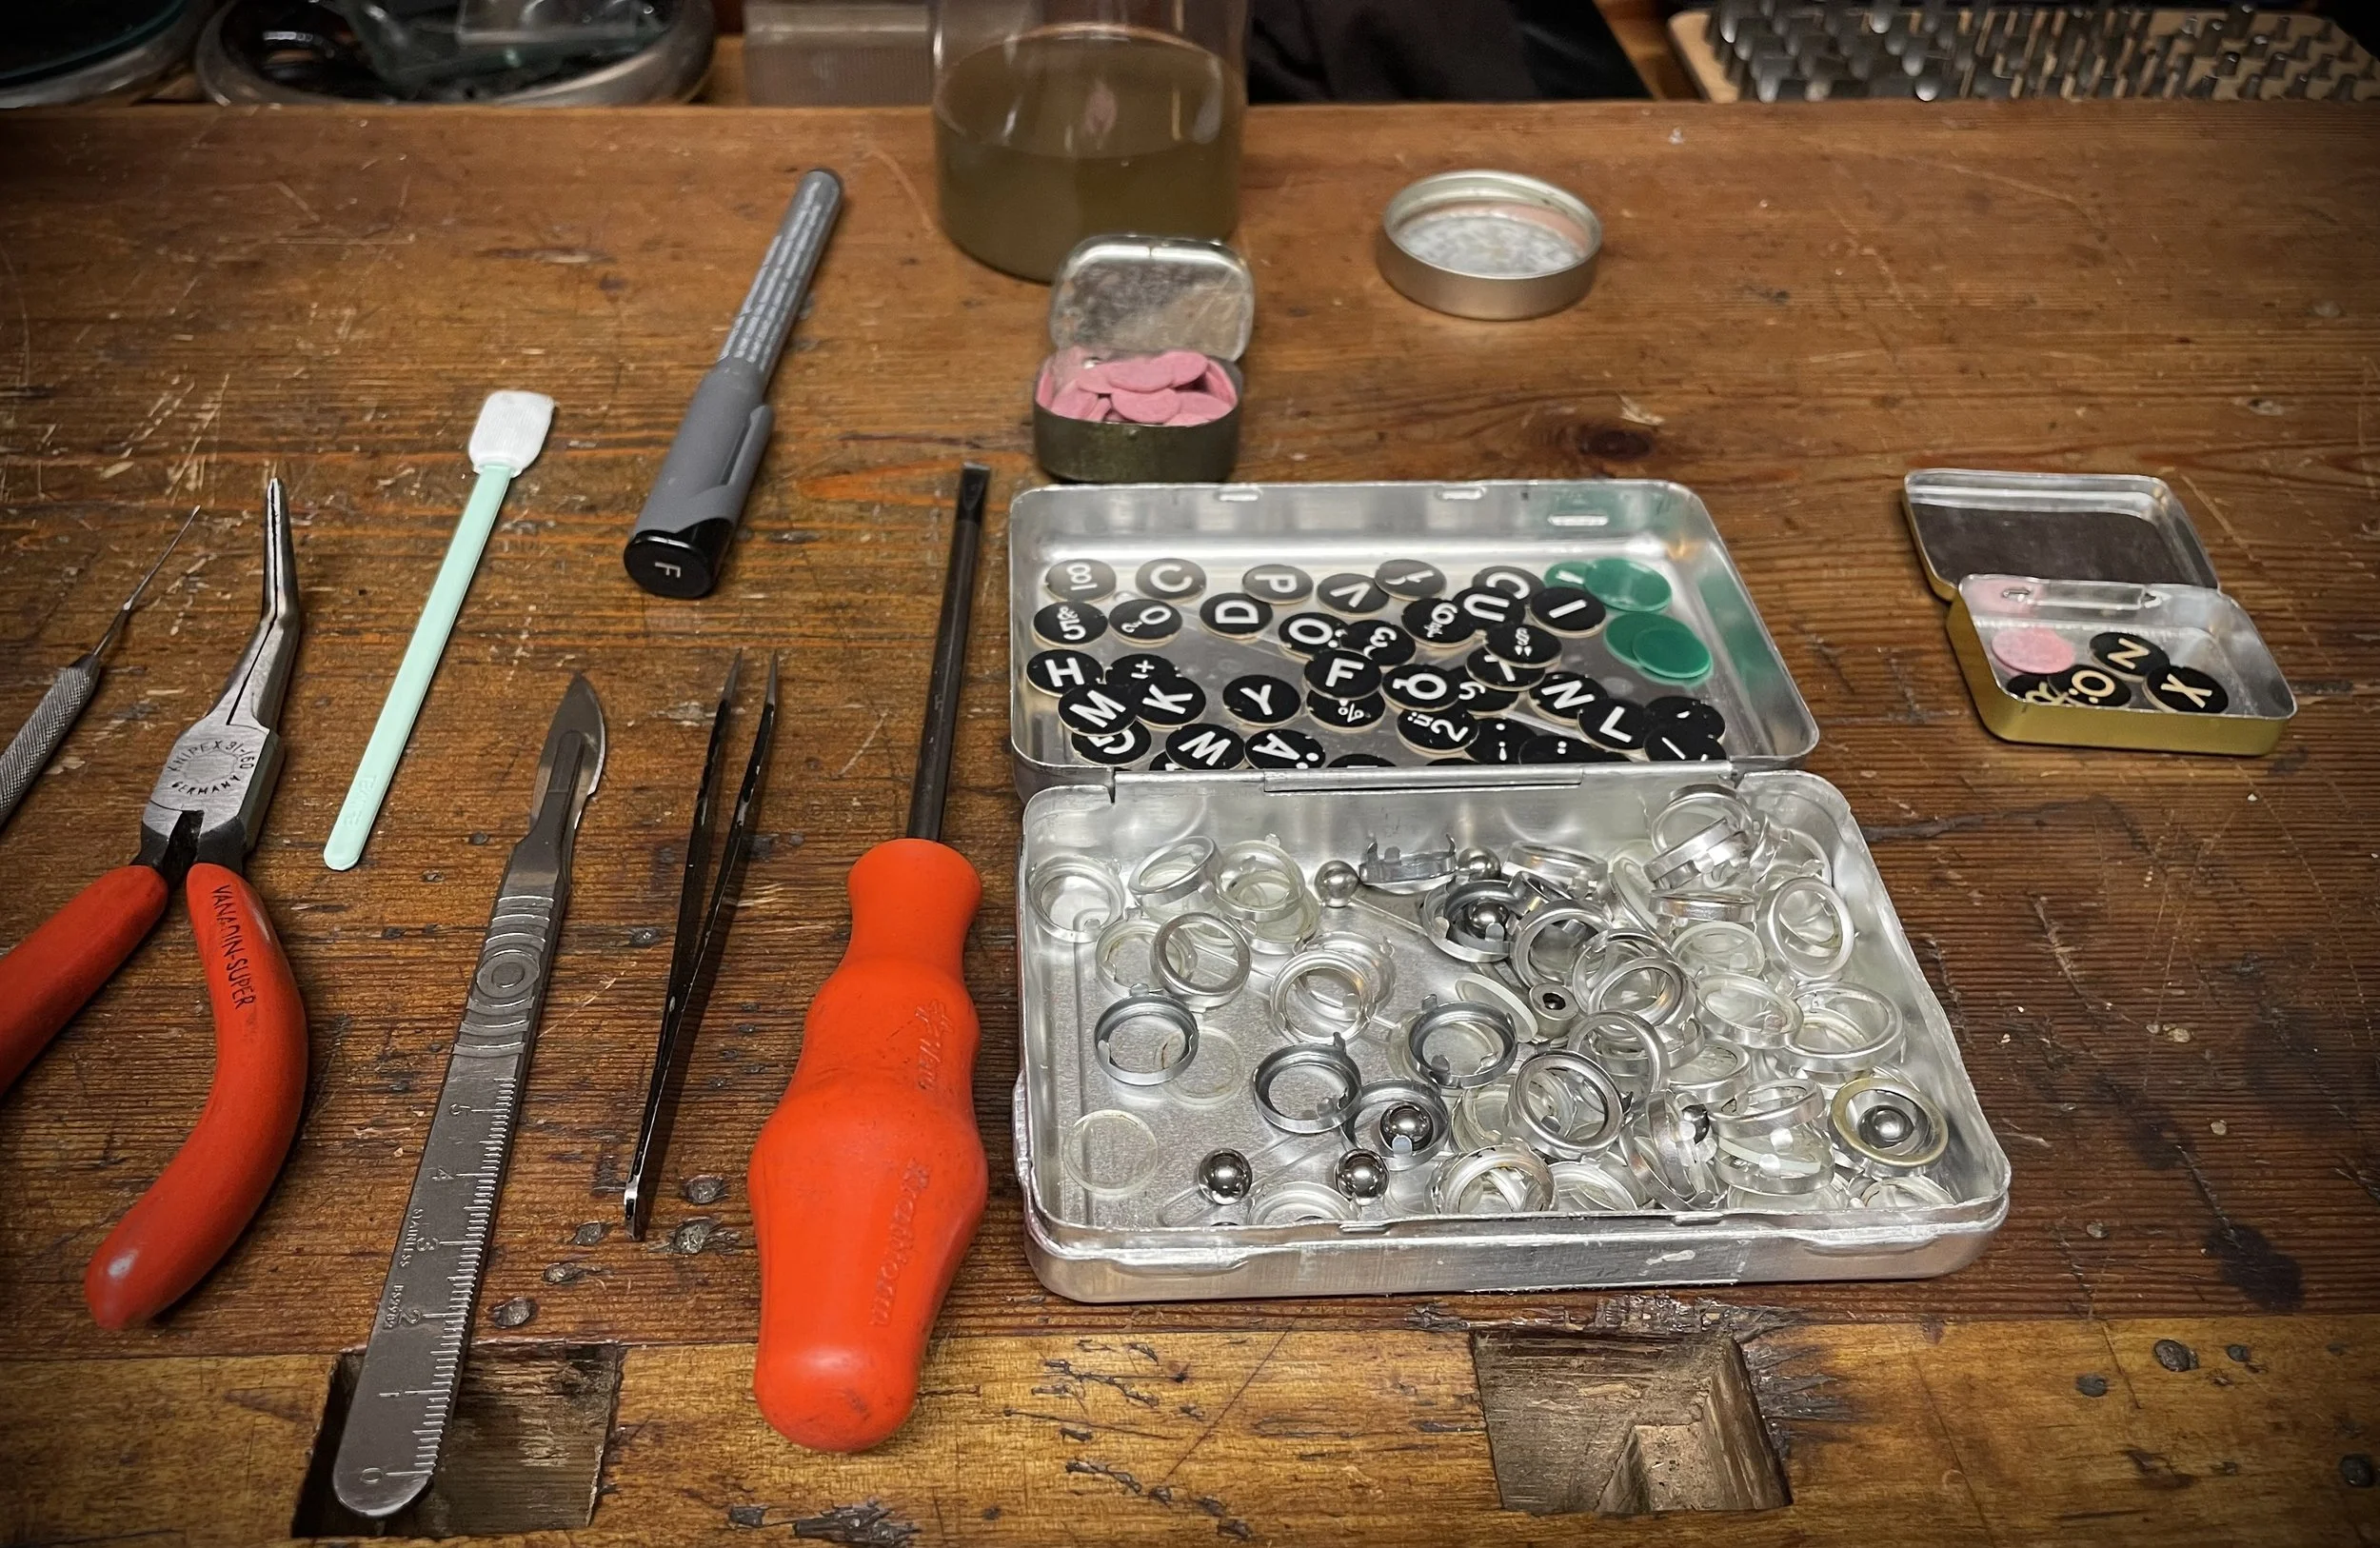
Last thing to do, for now, is to change key legends. At some point someone sprayed the machine with oil and it soaked into paper legends, making them yellow and dark. I substitute them with fresh ones, that usually makes the whole machine pop up in presence.

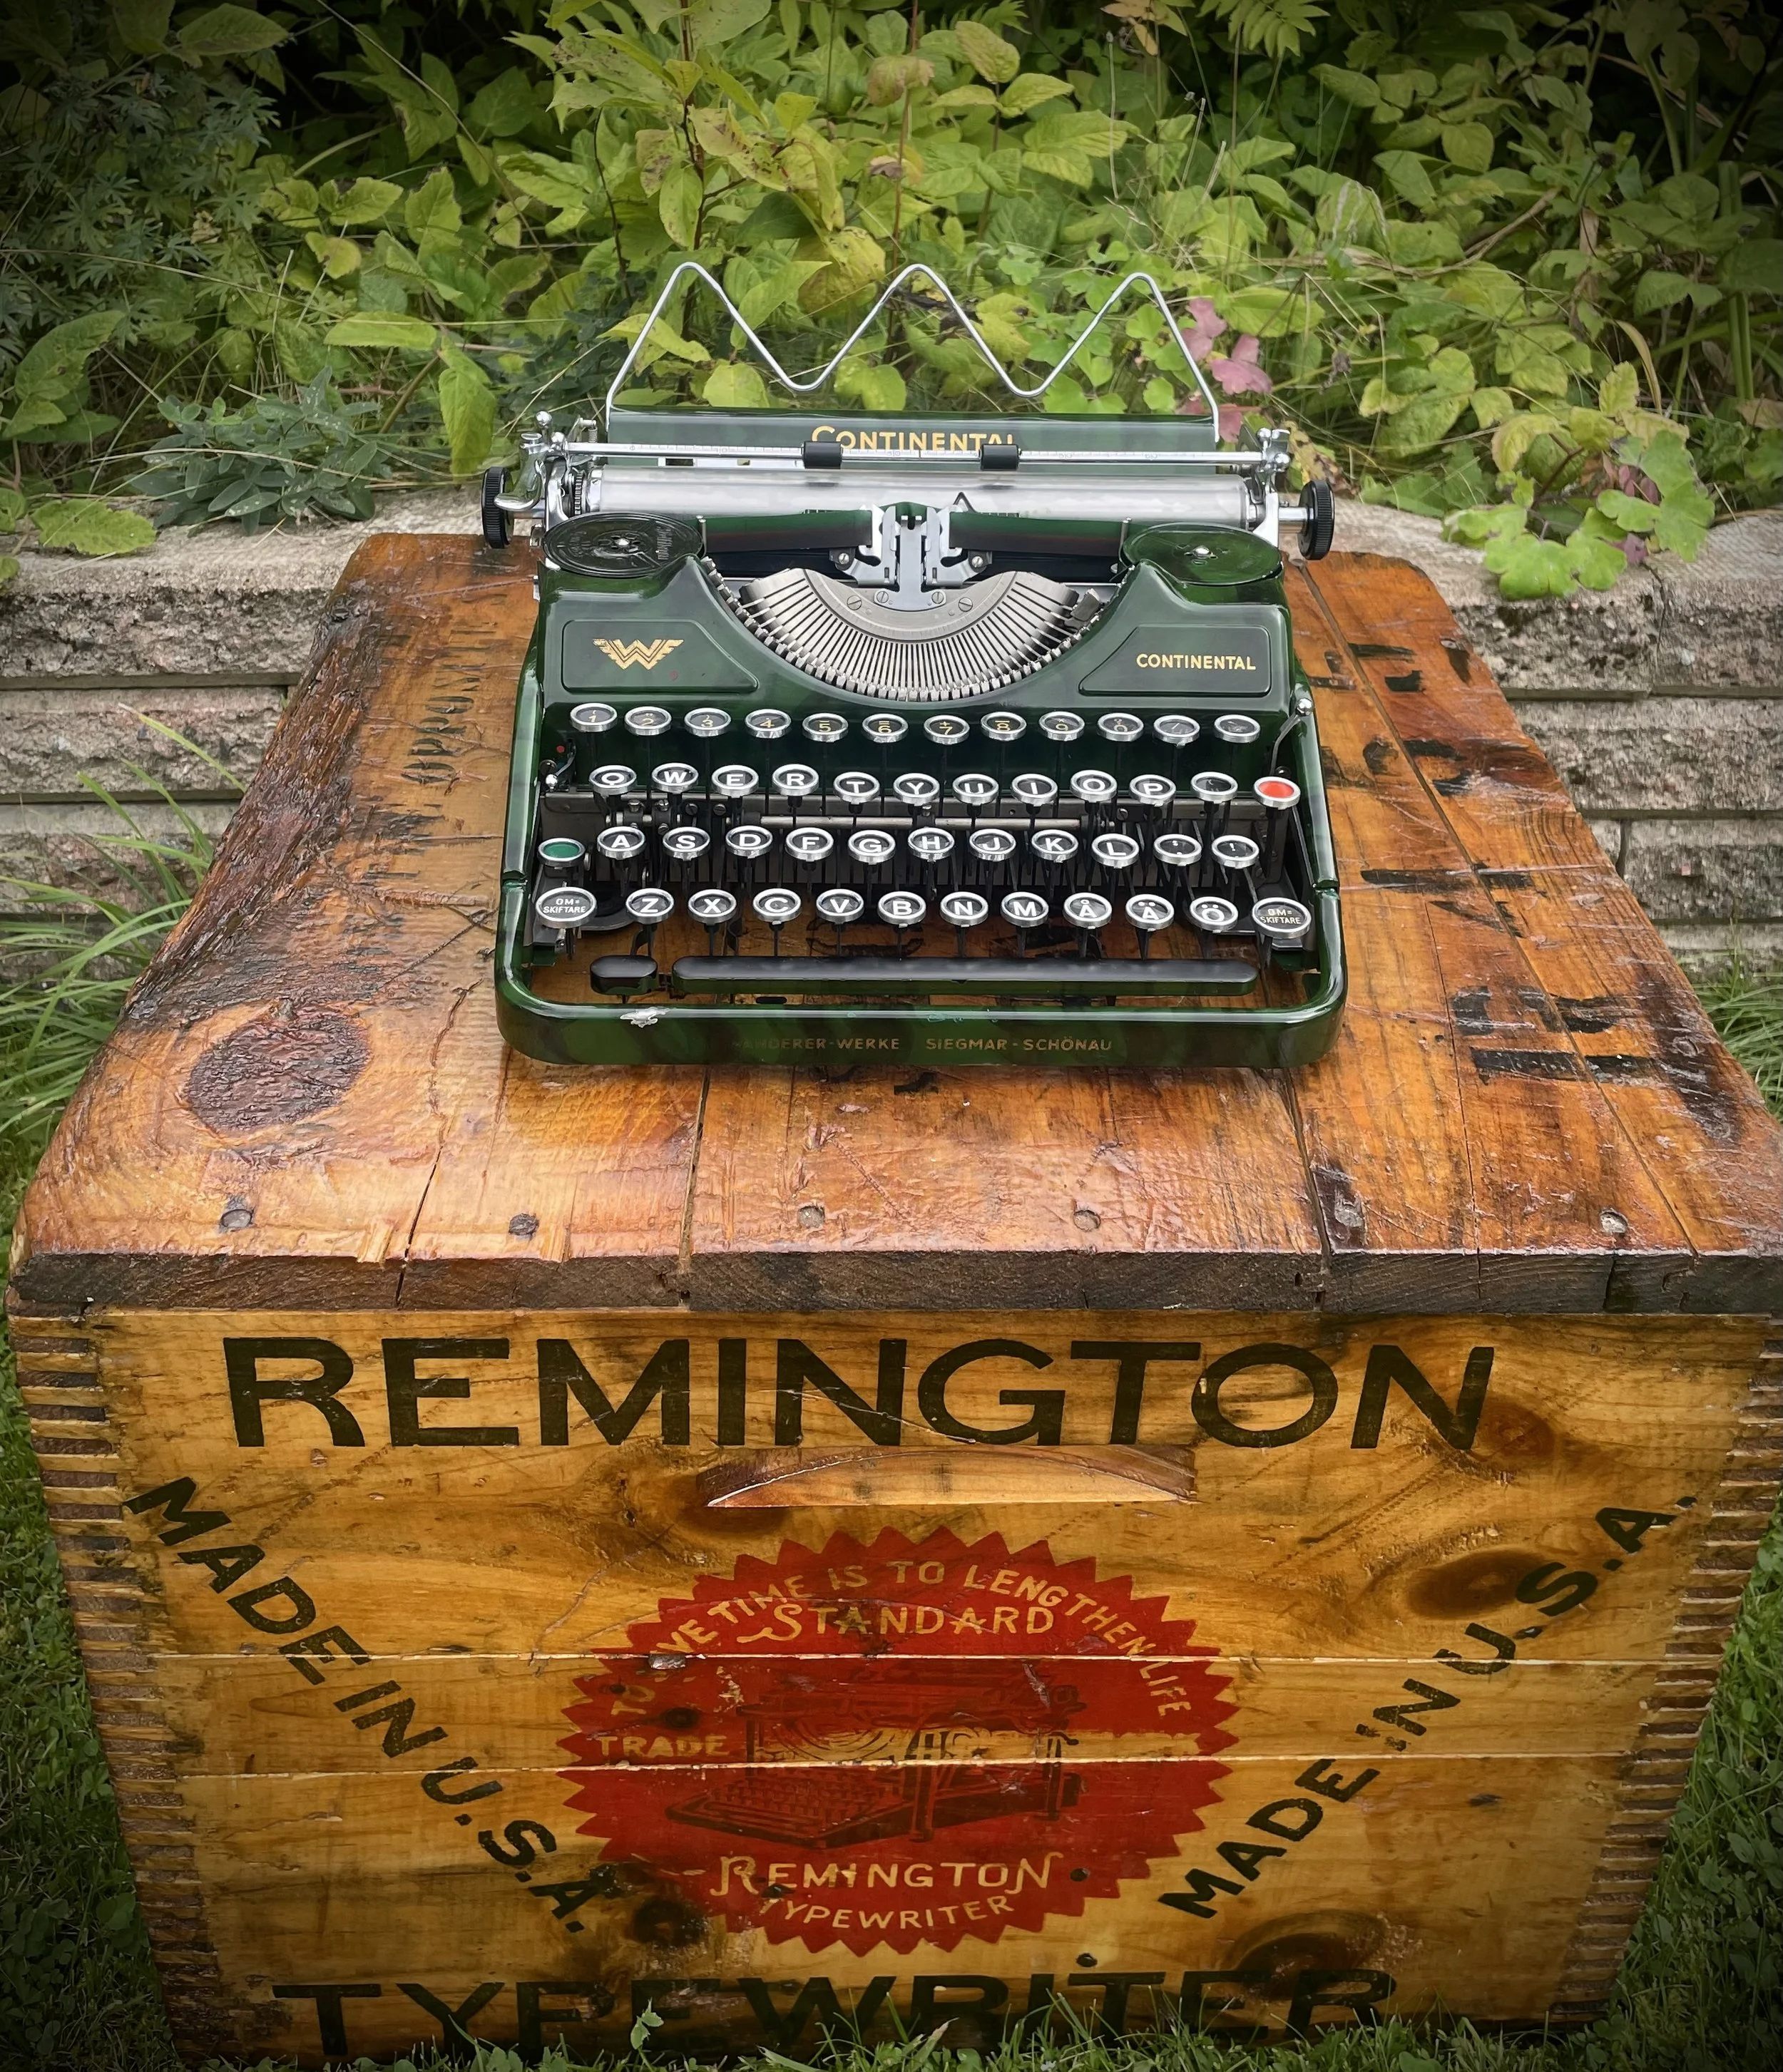
Job done!
Time for final photo-session before she gets employed in typing routine!