Boatworks

  • Main
  • Louve
  • Typewriters
  • Workshop
  • Meritaten
  • Glypto
  • Motoko
  • Inspirations
  • About
IMG_8601.JPG

Ceiling, cabin sole, sum log and new table

November 10, 2019 by Lukasz Kumanowski

I got used to shity weather during weekends. This one was no exception: rain, fog but luckily warm: 5 degrees.

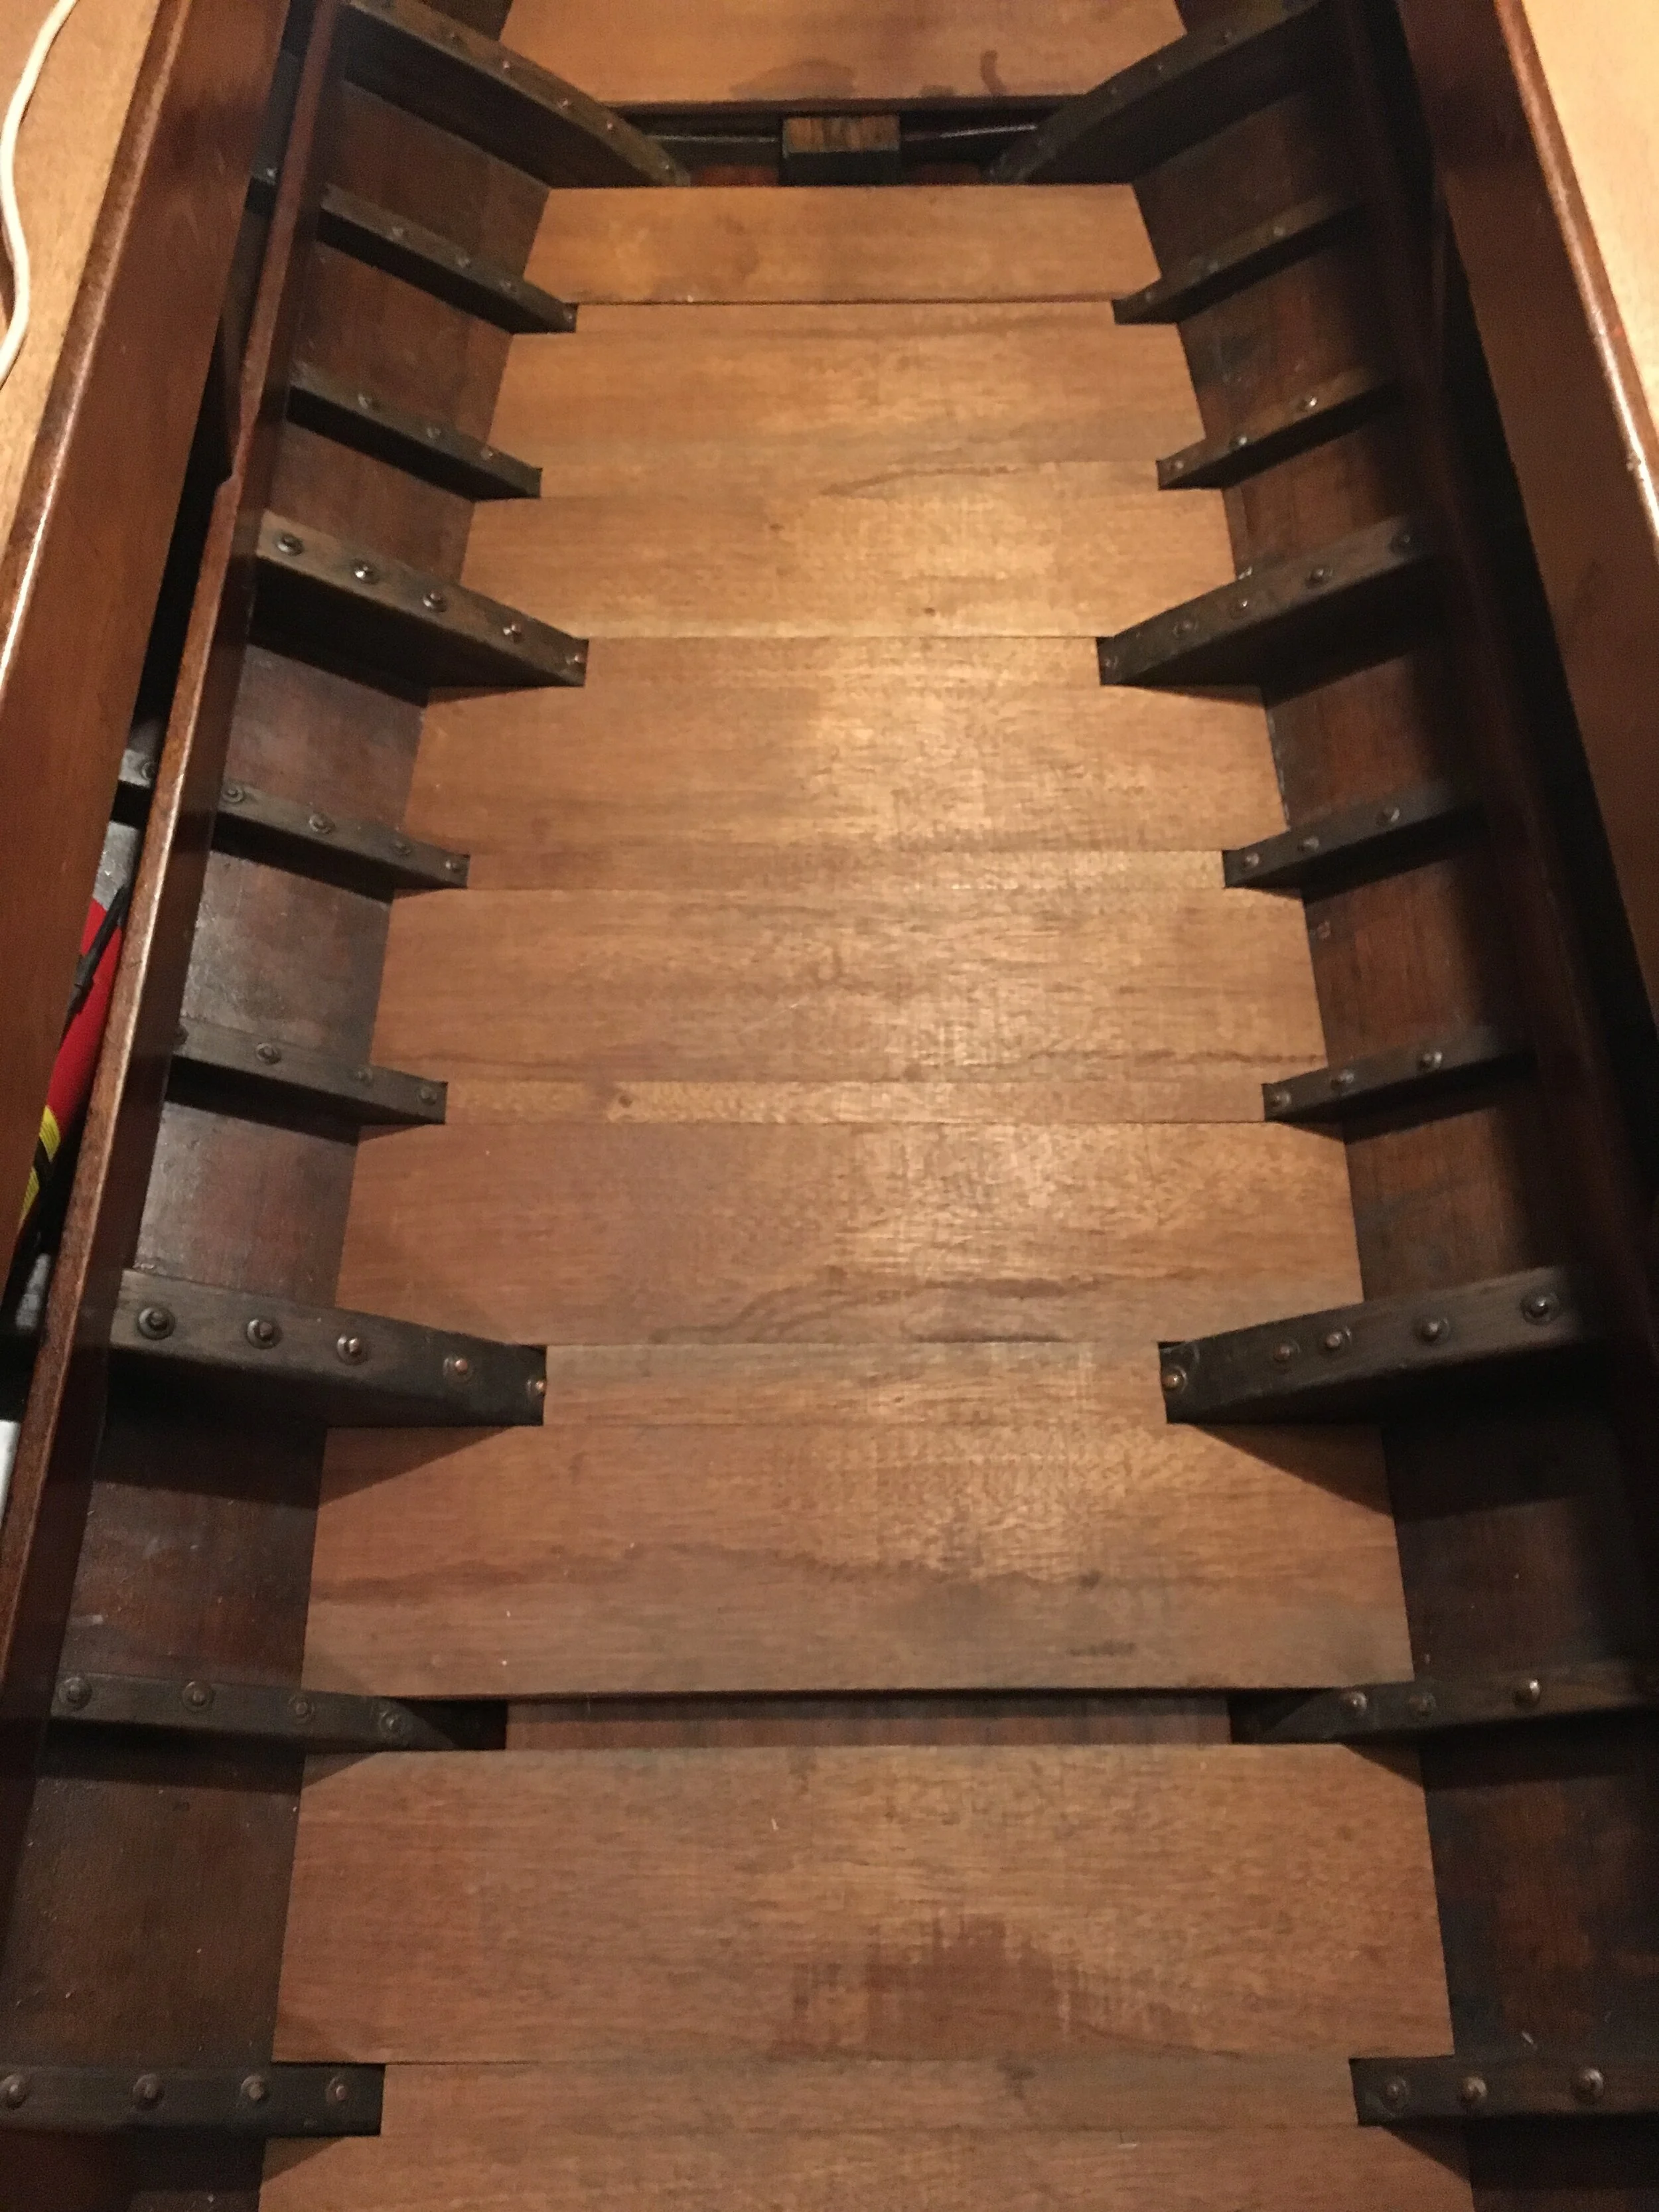
After painstakingly adjusting all pieces of new cabin sole I could finally start assembling. I’ve decided to use temporary screws as indexing points for epoxy gluing. Since there are so many components and alignment is crucial for fitting between frames the floor must be possible to be assembled back to its original shape as measured on the boat.

Temporary screws will be removed after the glue sets in. Normally I would plug the holes with mahogany plugs but I’ve decided to do differently here. The sole will be epoxied and varnished so it might be slippery when wet. I will install brass tubes in each screw hole - this way shoes will get better grip and bilge will get some more ventilation.

Brass tubes for this project are extracted from chucks which we normally throw out at my factory. Originally they were made to spin blood but since we don’t do that - they land in a container and the machine is modified to our purpose. To make a story short: I get them for free and they have nice, pressed collar. Ideal for my purpose.
Each chuck contains 18 pieces, so far we bought 7 machines. Simple math.
It takes a bit of effort to remove them without damaging soft metal.

View fullsize IMG_8547.JPG
View fullsize IMG_8548.JPG

Each screw hole will be re-drilled to match a tube. I had to be careful in placing screws in positions which will be then beneficial for ventilation and will not weaken the sole.

IMG_8604.JPG

It took some time to find a pattern both pleasing to the eye and suited to purpose. In the end I have two rows of screws, spaced evenly along the whole floor.

IMG_8608.JPG

Some screws were left proud so I have something to grab and lift the floor. After gluing I will drill finger holes for brass rings, with simple catch mounted below, holding sole to the floors.

Crawling on the floor with pencil and rulers took me long time so after drilling and driving all screws home I headed to mine.

The work continued on Sunday - I removed all plates and took them to my workshop for disassembly and preparation of all surfaces for glue. Abrading with 80 grid paper revealed beautiful mahogany colour - not visible so far under weathered surface.

FullSizeRender.jpg

After sanding and dust removal all pieces were assembled back and taken home for acetone cleaning and coming epoxy work.

IMG_8624.JPG
IMG_8621.JPG

Top surface will be plained and sanded after gluing - I keep my pencil marks as aid for assembling.

To be able to finish the sole I had to unmount the log. It does not work properly so I need to repair it or remove entirely form the hull. Thanks to the Internet I found good description of possible problems and how to take the thing apart. Old bicycle multi-wrench became handy for thin, wide screw holding the propeller.

IMG_8599.JPG

Most probably it is the steel wire running in thick housing which causes the problem. I’ll see to it after finishing the cabin sole.

While I still had a floor in the cabin I solved the puzzle of cabin ceiling. I removed the mahogany ceiling 2 years ago when cleaning thoroughly the boat. Seeing thick layer of dust and dirt under the ceiling I decided then that these planks do not come back into the cabin. I kept them in my workshop as a material for future projects and was happy with “naked” boat inside. I still like the look of exposed frames and planks but we noticed during sailing that it would be more cosy with these planks around berths.

I took all wood back onto the boat and tried fitting them into old places. Not easy as each plank is spilled to fit exactly into certain position and matches only specific planks around. In the end I had the puzzle solved, with ceiling sitting temporary in its position.

IMG_8618.JPG
IMG_8619.JPG

Well, I noticed that my enthusiasm in cutting wood has reached one of these planks, on port side, so half of it is missing. Lesson learned: wait at least 3 years before you cut any wood!
I will have to spill a new plank in place - or maybe I’ll leave this opening as a reminder to myself to not be an idiot again!
These planks need refreshing - they have blobs of cured linseed oil and many scratches. I suspect that they were stained to this dark colour so removing it will lighten the cabin considerably. I plan to finish then with Owatrol D1 only. It will give them satin, soft finish and while protecting wood it will also be pleasant to occupants and easy to re-apply when the time comes.

At the end of the day I re-circulated oil and headed home. In the evening I started designing new cabin table. The one which came with the boat is wobbly and not comfortable. I tried fixing it last year, with new screws mounting legs to floors, but it is the construction which is wobbly. Besides - even though this table is made to swing aside when not in use - it is always in the way when we move inside the cabin. Especially annoying when 3 persons are about to go to sleep.
We need a table which is big and stable for 3 persons but which folds aside when not in use and leaves the middle of the cabin open.
Sounds like mission impossible but I think I have a solution.

Stol rozlozony.JPG
Stol zlozony.JPG

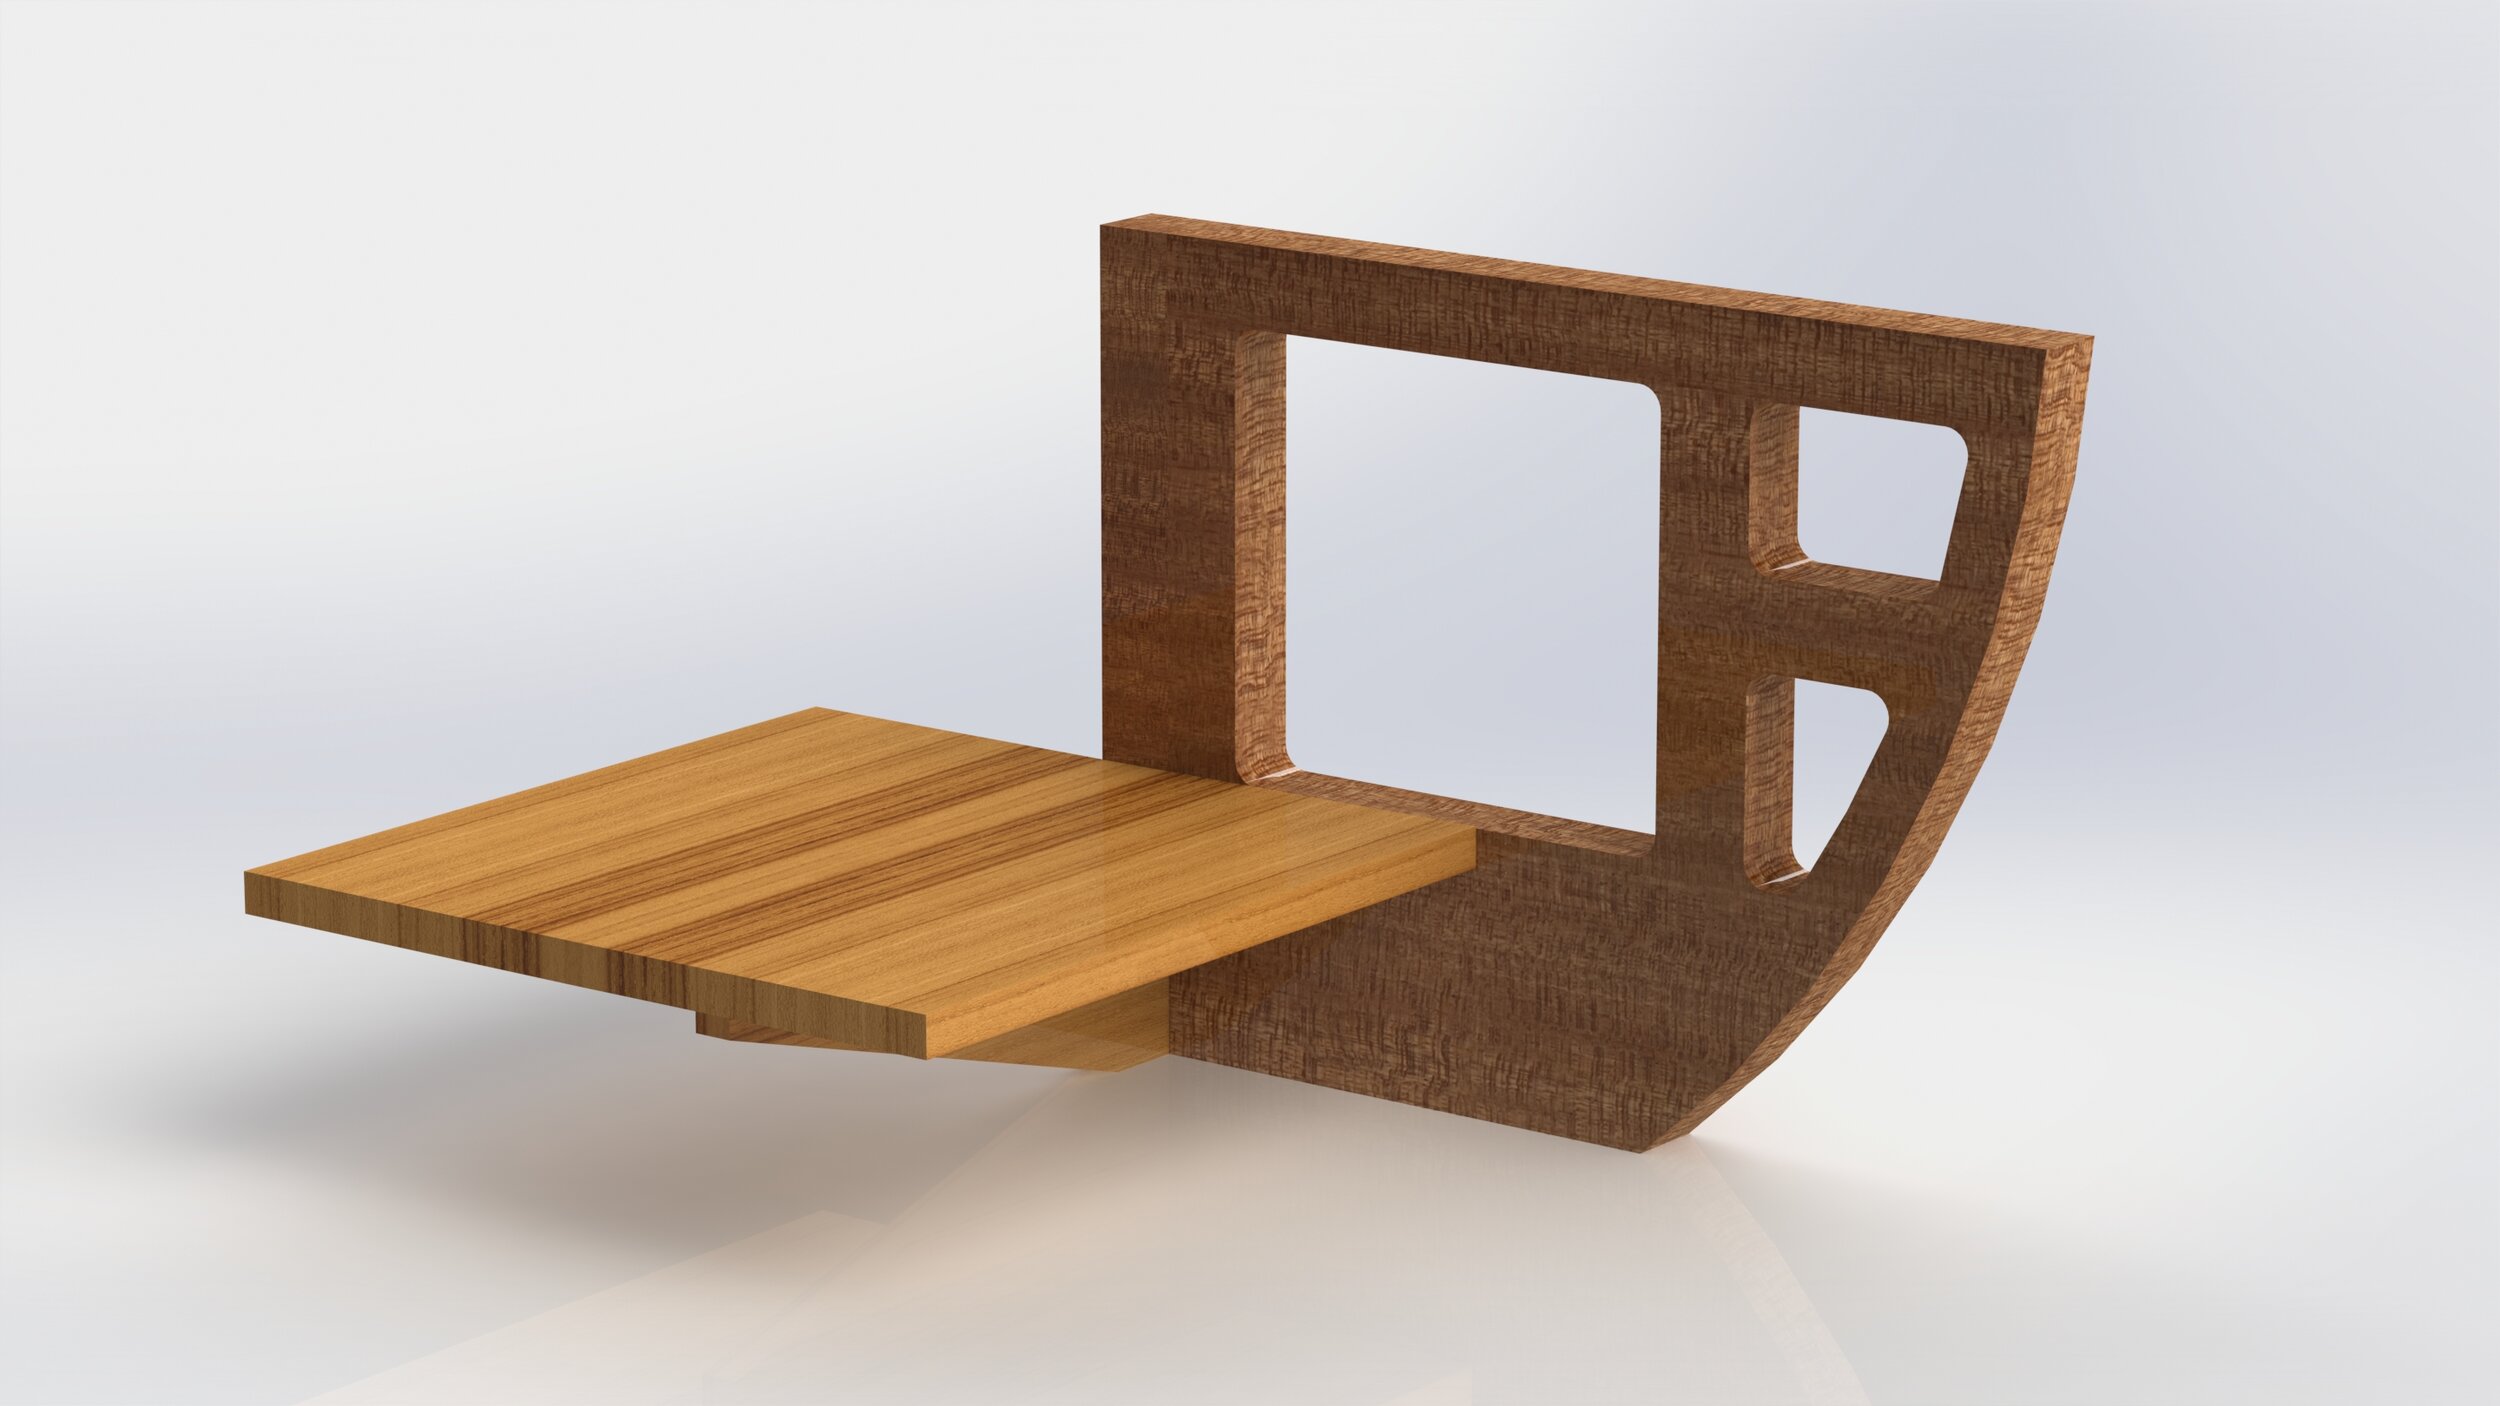
Tze donated her huge teak table (which buckled in Swedish dry climate) under condition that I make her two small, bed-side tables. The remaining wood will be for boat table.

I know that cutting such thick teak will make my heart-rate peak. Before any sawing I’ll make a mock-up table from foam, to check if all fits nicely in Meritaten’s tiny cabin. Only then I will butcher this teak!

November 10, 2019 /Lukasz Kumanowski
Comment
IMG_8542.JPG

Cabin sole - cutting finished

November 03, 2019 by Lukasz Kumanowski

I started early today, to use as much daylight as it gets at this time of year. The target was to finish cutting all sole boards and adjust length/fit of these which were made before.

It took some fiddling when I got to mast foot but in the end all boards are in place. In some cases there was an additional challenge of dodging rivet heads - they caused edge damage to the original sole boards so I adjust mine as not to collide with rivets nor rest on them.

In pentry area I have a VDO mechanical log cable running into the bilge. Originally I intended to remove the log as it does not work properly but after investigating the topic I found that these logs can be easily repaired and can serve almost indefinitely. For now I keep this case open - if I manage to repair it I’ll adjust the floor board to accommodate the cable. I could not remove the log today - it needs thin, flat wrench to access the nut (bicycle universal key should do the job) so for now one floor piece is just hanging above it.

The sole is now ready for assembly. Due to slight difference in thickness some boards stand proud above the surface but I will plane all down to the same level.

I will temporary screw all parts together on the boat and then take the assembly home for epoxy gluing. Then they will be fitted again onto the boat - to check if all landed where they should - and then I’ll plane and sand the whole floor in the workshop. Epoxy and varnish coats will follow.

IMG_8540.JPG

Before leaving for home I replenished oil system with additional 5 litres of oil & turpentine. Seems that the wood is still thirsty so I’ll continue until it stops taking any more oil.

November 03, 2019 /Lukasz Kumanowski
Comment
FullSizeRender-3.jpg

Cabin sole - filling boards

November 02, 2019 by Lukasz Kumanowski

Warm and rainy. Only a couple of hours in the shipyard today. I continue building the cabin sole - this time filling boards in between wide pieces, frame facing. A bit tricky as I need to take rivet heads into account.

As all boats mine is no different - it is not symmetrical so these narrow boards are not simple rectangles. I need to pattern each piece separately. Joggle stick would be overkill here so I use simple cardboard templating.

FullSizeRender-5.jpg

The plan was to use short boards left after old sole demolition. They are old and worn mahogany, slightly thicker than my current stock. After fitting two pieces I took a look and didn’t quite like the effect - the new wood differs in colour from old stock, it will make distinct strip pattern which I don’t like.

FullSizeRender.jpg

I could of course stain all these boards but the purpose is to have light-coloured sole so I abandoned this idea and cut from the same stock as wide boards. The effect is much more pleasing.

FullSizeRender-2.jpg

For final fitting I cut filling boards at 89 degrees, to get perfect fit on the surface. This is a bit tricky as wood is expanding with humidity. Today’s perfect fit - at humid weather - will became less tight when freezing temperatures come. Even though mahogany is a very stable wood I will further minimise movements by encapsulating it in epoxy coat.

FullSizeRender-4.jpg

After fitting boards on half of the floor I needed to call it a day and head home.

Re-circulated oil in the system, added 2.5 litres more oil + turpentine and slowly drove home through foggy woods.

IMG_8538.JPG
November 02, 2019 /Lukasz Kumanowski
Comment
IMG_8531.JPG

Ancient Tufnol winches

November 01, 2019 by Lukasz Kumanowski

I love this material.
Tufnol is a man-made material invented in 20-ties in England. There was a period in boatbuilding when most blocks, winches and such were made using Tufnol. Peak of popularity was around 50’ and 60’ - when my boat was built.
After all these years I still use original genua blocks and mast winch made of Tufnol. It shows no signs of age apart from surface patina. Most other parts of running rigging were replaced by previous owners with steel and plastic parts. I’ve replaced all of that already with newly made Tufnol fittings. There are only two ugly (and worn-out) aluminium winches on Meritaten that I wanted to move closer to helmsman’s position (as they were originally) and possibly replace with Wilmex bronze snubbing winches.

And then, as a Blocket addict, I stumbled upon the add about two Tufnol winches at the price of almost nothing. Quick search on the Internet revealed not much - just that these things are old and not used any longer but if used - they serve well.

Quick telephone conversation and few days later I arrived at the small boat landing on lake Mälaren. Lady in small alu motorboat casted away from her home island and after a while we met at the bridge. She handled me winches - perfectly operational and complete with massive handles. I just opened my eyes wide when I saw the winches - they appeared as small on photographs but in reality they are big and heavy beasts! Adequate size for Meritaten, to replace old alu winches!

FullSizeRender-2.jpg

Two rings of bronze and Tufnol all around. Bottom-action winch was always my favourite - handle does not stay in the way for ropes and can sit in a winch all the time. To keep it from loosing there is a hole for tiding a safety line.

Back in the workshop I examined closer the handles as they appeared too heavy to be made of steel. Indeed - they are from copper alloy, probably brass, with ebonite spheres as handles. Chrome finish is worn and tired so I will remove it to expose brass for weathering and to get brown patina.

Even though winches operate smoothly I disassembled them to check internal gearing and how these things were built. Single screw holds the assembly together.

FullSizeRender.jpg

Gears, locks and springs are in perfect condition. Lubrication was adequate so no need to re-do it at this point. I got to know also that Tufnol soaked with oil can expand and seize moving parts, if the design is invalid. No such danger on these winches - all moving parts exposed to grease are made of bronze.

Since these are simple-speed, non-complicated winches it was easy to convert one of them to counter-clockwise operation. This way I have now port and starboard winches, each turning the proper way for easier rope work.

They will need to wait a bit before I get into cockpit renovation but the plan is to do it this winter. I plan to add Tufnol cam-cleats to each winch so that sheets holding will be accomplished directly on the winch. Something similar to Wilmex solution.

IMG_8530.JPG
November 01, 2019 /Lukasz Kumanowski
Comment

Cabin sole build continues

October 31, 2019 by Lukasz Kumanowski

Beautiful weather today so I took a day off to work on the boat.

Since winter is already here I top-charged boat batteries, to protect them from freezing.

Re-circulated oil - seems I need to add additional 5 litres already.

Then I continued measuring and cutting cabin sole boards. With new joggle stick the work proceeded much faster.

IMG_8518.JPG

At the end of the day I had all main boards cut. Some of them are still a bit proud - leaning on freeboard rather than just touching it - but that will be adjusted after final assembly.
I continue now with boards around mast foot and further into fo’c’sle. Next step will be cutting filling boards - narrow pieces between main boards, leaning against frames. For that I will use old mahogany pieces left after demolition of the old sole’s ceiling.
Alternatively I think about making these from rubber - to get a good grip on otherwise smooth floor.

View fullsize IMG_8523.JPG
View fullsize IMG_8521.JPG

It’s always stunning how much time it takes to properly fit work pieces and how small effect in the end of the day this is.

Anyway - new cabin floor should be more stable and make the interior look better so it’s worth the extra effort to fit all bits properly.

October 31, 2019 /Lukasz Kumanowski
Comment
  • Newer
  • Older

Powered by Squarespace