Boatworks

  • Main
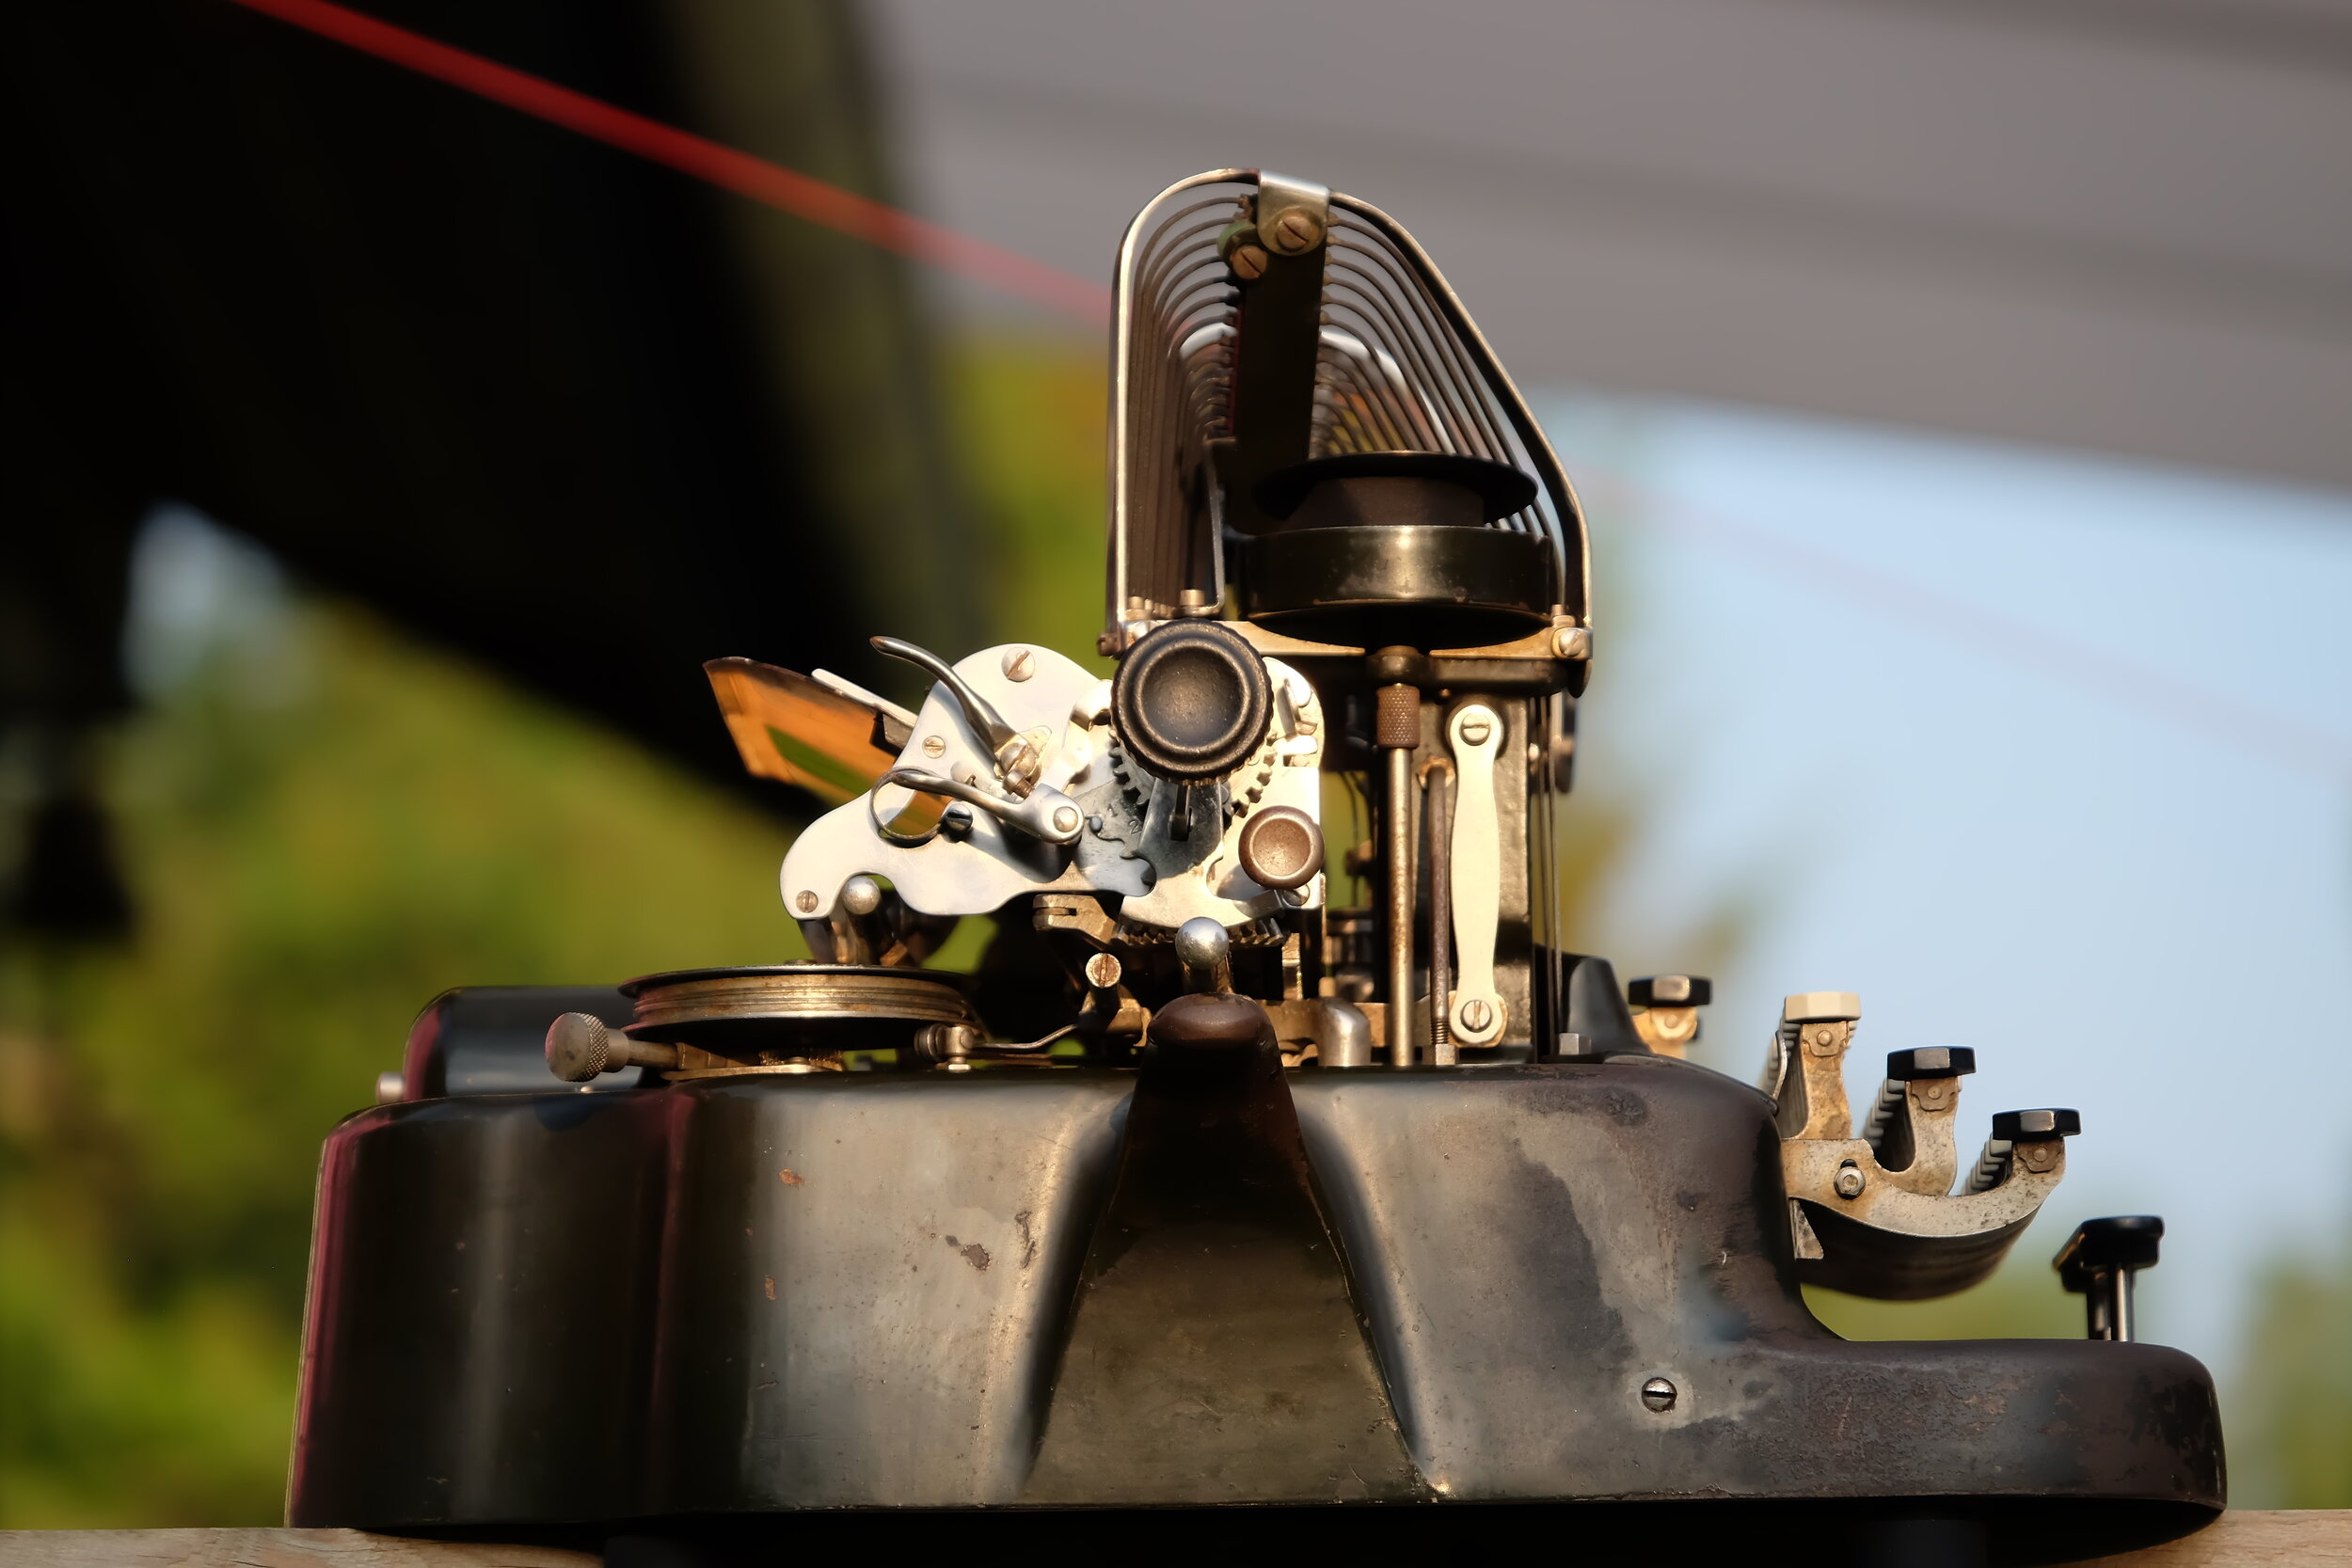
  • Louve
  • Typewriters
  • Workshop
  • Meritaten
  • Glypto
  • Motoko
  • Inspirations
  • About

Triumph Tippa 1 - carriage rack frame repair

August 18, 2021 by Lukasz Kumanowski

I bought this small typewriter when I was searching for Olympia Splendid. Both share the same streamlined body and are very small and reliable typewriters. Now, when I own both, I know that they are, however, quite different mechanically.

This Triumph Tippa was my kid’s a favourite machine - because of its light colour, in contrast to my other machines which are mostly dark in colour and much bigger. However - she does not use it and I have too many machines so I consider giving it away or selling.

As to be sure that I trade a functional typewriter I cleaned it again and run extensive diagnostics - which is typing on it really fast. All seamed good until I noticed that it jumps a letter in one certain position along the carriage.

I took a closer look and discovered a problem. I describe how I handle it in more details here.

August 18, 2021 /Lukasz Kumanowski
Comment

Triumph Tippa 1 - repairing damaged carriage rack frame

August 18, 2021 by Lukasz Kumanowski

This little fellow had a problem which I didn’t notice at first: when typing really fast it was jumping a letter. It happened always in the same position, with whichever letter and only once in the whole line which directly pointed me away from escapement gear itself but more towards rack frame.

I removed it from the carriage and upon closer inspection I found a suspected spot just about in the position where skipping occurs - in the middle of the line.

A tiny bit at the lower end of one tooth is missing. I suspect it happened when the machine was carried in its case and dropped or bumped hard into something. Probably the previous owner did not use locking mechanism which decouples the escapement and by that secures this fragile bit from damage. Tippa has this mechanism very well engineered but, of course, it serves no purpose if not used.

To be sure that this is indeed the cause of the problem I temporarily rebuilt the tooth tip with steel epoxy.

I dispensed excessive amount onto the damaged area, waited 12 hours for it to fully cure and then shaped it with needle files to become a tooth again.

Mounted back in the machine it proved to work - but for about half a page. Then it failed - but this was to be expected.

This part resides on the bottom of carriage assembly and interfaces escapement mechanism which controls movement of the carriage as one types. Schematic from US War Department typewriter manual shows more details (it shows other machine but the principle is the same).

Having nailed down the problem I employed heavy machinery to fix it. I routed out the damaged area and cut a piece of steel matching the thickness of the cavity.

Some shaping to match the cavity followed.

Once happy with the fit I pressed new steel into the cavity.

Recreating teeth with needle files concluded the repair.

Assembled machine was taken for some more tests. All works fine now and no skipping occurs regardless of how quickly or badly one types!

Now - one can argue that fixing such machine is not worth it. It would be easier to get another one and use this one as a spare parts donor.
The point is: I like this particular machine and I do not intend to get more of these. It types so well, has my favourite Elite font, is lightweight and has rubber parts still in good shape. It would feel bad to dump it just because 0.89mm of hardened steel cracked in one spot!

Besides - it was fun to fix it.

So now I feel confident to hand it to someone who wants to actually use it.

Maybe Marek’s son will like it?

August 18, 2021 /Lukasz Kumanowski
Comment

Antares Parva

August 03, 2021 by Lukasz Kumanowski

Italians have a sense of humour giving such a name.

Antares (anti-Ares in Greek mythology), know also as anti-Mars or Scorpions'-Heart is a gigantic M1 red supergiant in Scorpion constellation, close to end of its life.

Parva, on the other side, means little in Latin (as opposed to magna).

So there we have it: skinny ultraportable typewriter, relatively unknown in Typosphere. Given it’s resemblance to Hermes Rocket/Baby which I have I was not sure if I want to get yet another one. But the price was a real bargain so I bit the bullet and got it.

Oh dear, and I’m not disappointed! Oh no, indeed.

More about the machine can be found here.

August 03, 2021 /Lukasz Kumanowski
Comment

Tiny red-supergiant: Antares Parva

August 03, 2021 by Lukasz Kumanowski

It resembles Hermes Baby in a way the outer shell is covering the machine. But that is all regarding similarities.

This machine is a different and I dare to say much better than any other ultra-portable typewriter I have or tried.

It came to me at the price of peanuts and the only problem it had, apart from being dusty, was dried-out ribbon and deteriorated feet. Otherwise all was working fine - and once I test typed on it I got so impressed by the feel and smoothness that I rushed to open it, to see the guts and give it a good clean.

The whole frame and panels are made of aluminium. Very lightweight and sturdy. Sound-isolation on bottom and side panels is accomplished with thick paper-like cloth. Apparently to save space, it is an ultraportable after all.

Panels have cleaned very well, as a last touch I treated them with Fulgentin - it makes colours more vivid and stand out nicely.

Bare-bone machine started to reveal its features.

Interestingly, the crown is made as a separate piece, standing away from the basket. I recon it makes the machine more silent while performing its function of stopping type bars and causing them to “snap” onto paper.

I brushed and blew out all dust. No chemical cleaning was needed (thanks goodness nobody sprayed it with WD-40), only for ribbon vibrator’s arm I had to use a bit of my typewriter’s soup.

Quick job!

Before assembling back the machine I had to fabricate new feet as old ones were far gone.

Same with space-bar cushions. Luckily, typewriter repairmen has an easy life in Sweden - spare parts can even be bought in Biltema!
Well, they call it gummigenomföringar but don’t be fooled by that.

In this case I build each feet from three parts.

No glue needed - they sit just with friction. Final product fits the bill.

The machine is assembled in no time, the only fiddling was needed when mounting side panels - one needs to simultaneously mount spring-loaded side pins, used by the outer shell.

Unlike Hermes Baby the outer shell in Parva is made of bakelite. I’m tempted to entirely remove this paint - this amber gold material beneath can look intriguing when entirely revealed.

I leave it for now and search for new ribbon for this jewel.

Although the machine came with nice, metal spools I wanted to try carbon tape I got from Charles. My trial to use it on Urania failed miserably, I was hoping that Antares - being much more modern construction - can handle such thin ribbon.

Yes it can! As seen on used part of the tape: the mechanism spaces characters apart enough to not cause overlapping.
I was cocky enough to put Olivetti-type spools (with carbon tape already on them) into Parva. They seemed to fit although are a tad wider.

Type quality did not impress me thou. I was expecting dark, sharp print. Instead the characters are sharp, yes, but not that dark as I want.

To have a benchmark regarding how carbon text will look like - to rule out that the tape is deteriorated - I put carbon paper sheet and type through it, in Stencil mode.
This is how it must had felt before “visible” typewriters appeared on the market - typing blindly, not seeing the result directly.

Comparing both methods shows - apart from smudges caused by carbon sheet - that the print is marginally better using the sheet than with this NOS-grade ribbon.

Well, seems that Parva and Columbia tape do not like each other. I was not satisfied - such fine machine needs to have proper ink ribbon to show its full potential.

Moreover - after a while I managed to jam the machine. It turned out that Olivetti spools, being too lose on ribbon-advance shaft, were wiggling around and occasionally going too far on the side and jamming the machine.

Disappointed, I removed carbon-tape spools and winded fresh, Pelikan ribbon onto original spools. The result was stunning! How light typing became and how much darker the print is!

Now we are talking! Fresh ribbon and “Bob is yer uncle”!

Out of curiosity I took out my other ultra-portables: Groma Kollibri and Hermes Baby, to size-compare them with Parva.

Although bigger than other two - and not as sexy as Kollibri - Antares has the best typing feel of them all. It also shares carriage-tilt idea with Groma, shifting is so light that feels like basket-shift mechanism.

While Kollibri is still the smallest and thinnest of all - mechanical MacBook Air of that time - it is also very heavy, compared to Hermes Baby and Antares Parva.

Parva has nicely marked line spacing options - with free wheel setting marked as “0” position.

Overall Antares Parva beats them all, at least for my taste. Typing action is soo light and smooth that touch-typing is no problem at all.

Lightweight machine with small Elite-like font and nice design makes it a go-to typewriter to take with me on a hiking trip.

August 03, 2021 /Lukasz Kumanowski
1 Comment

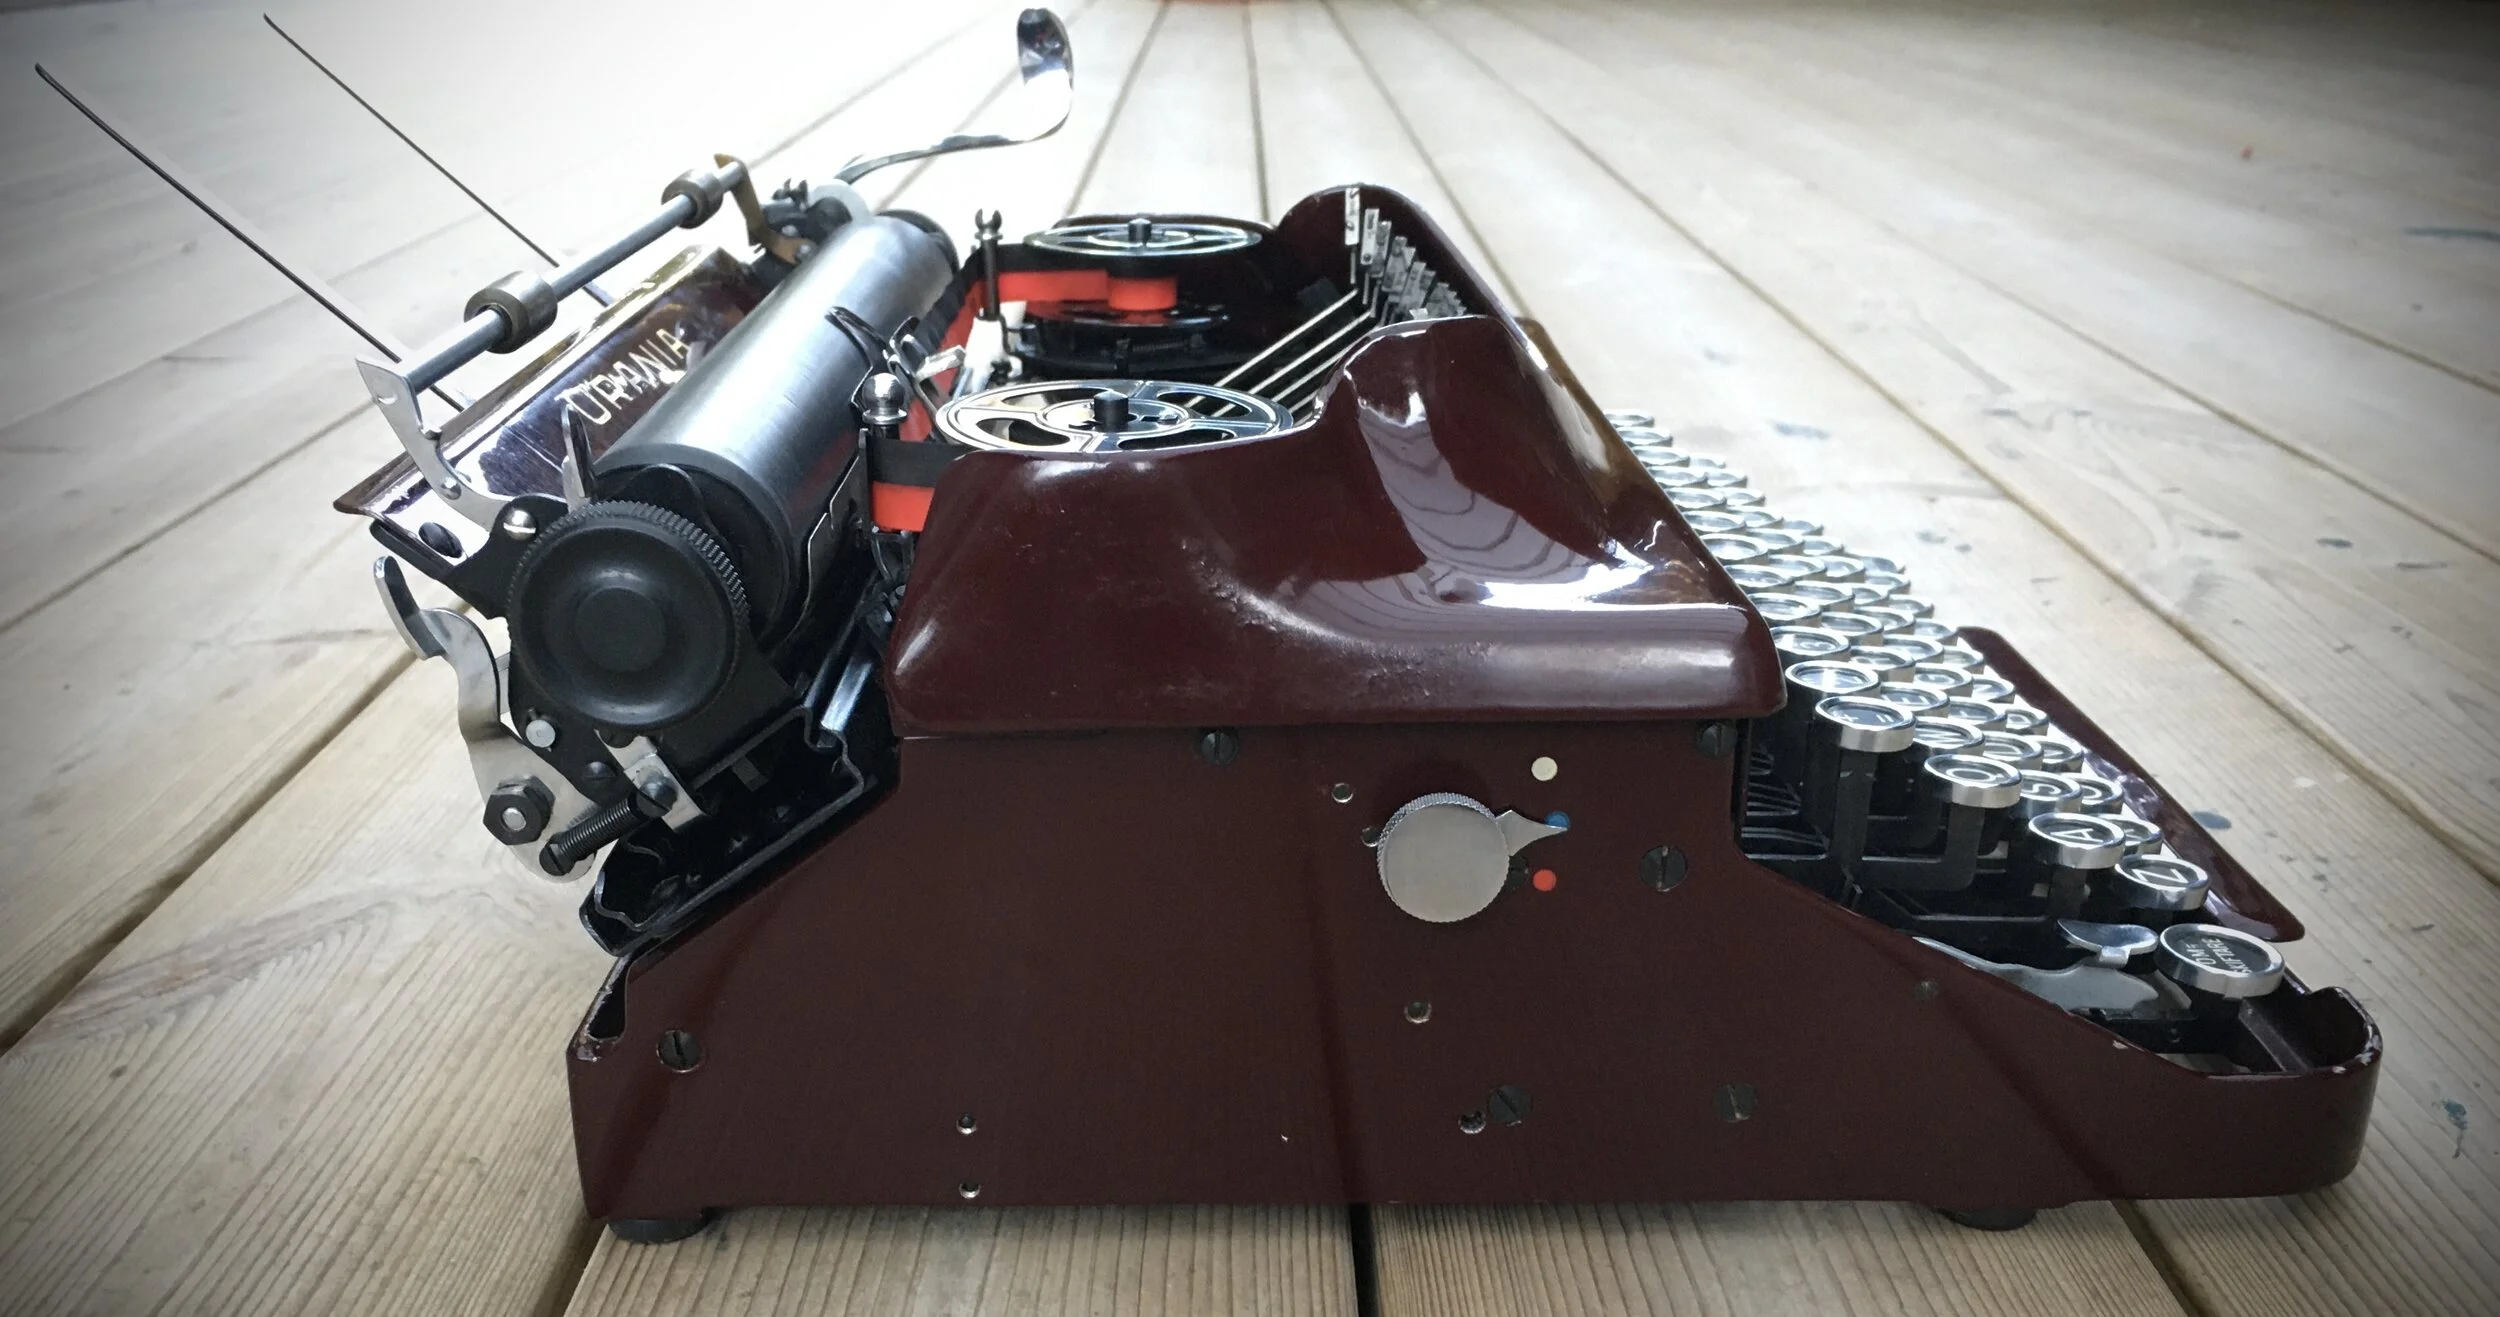
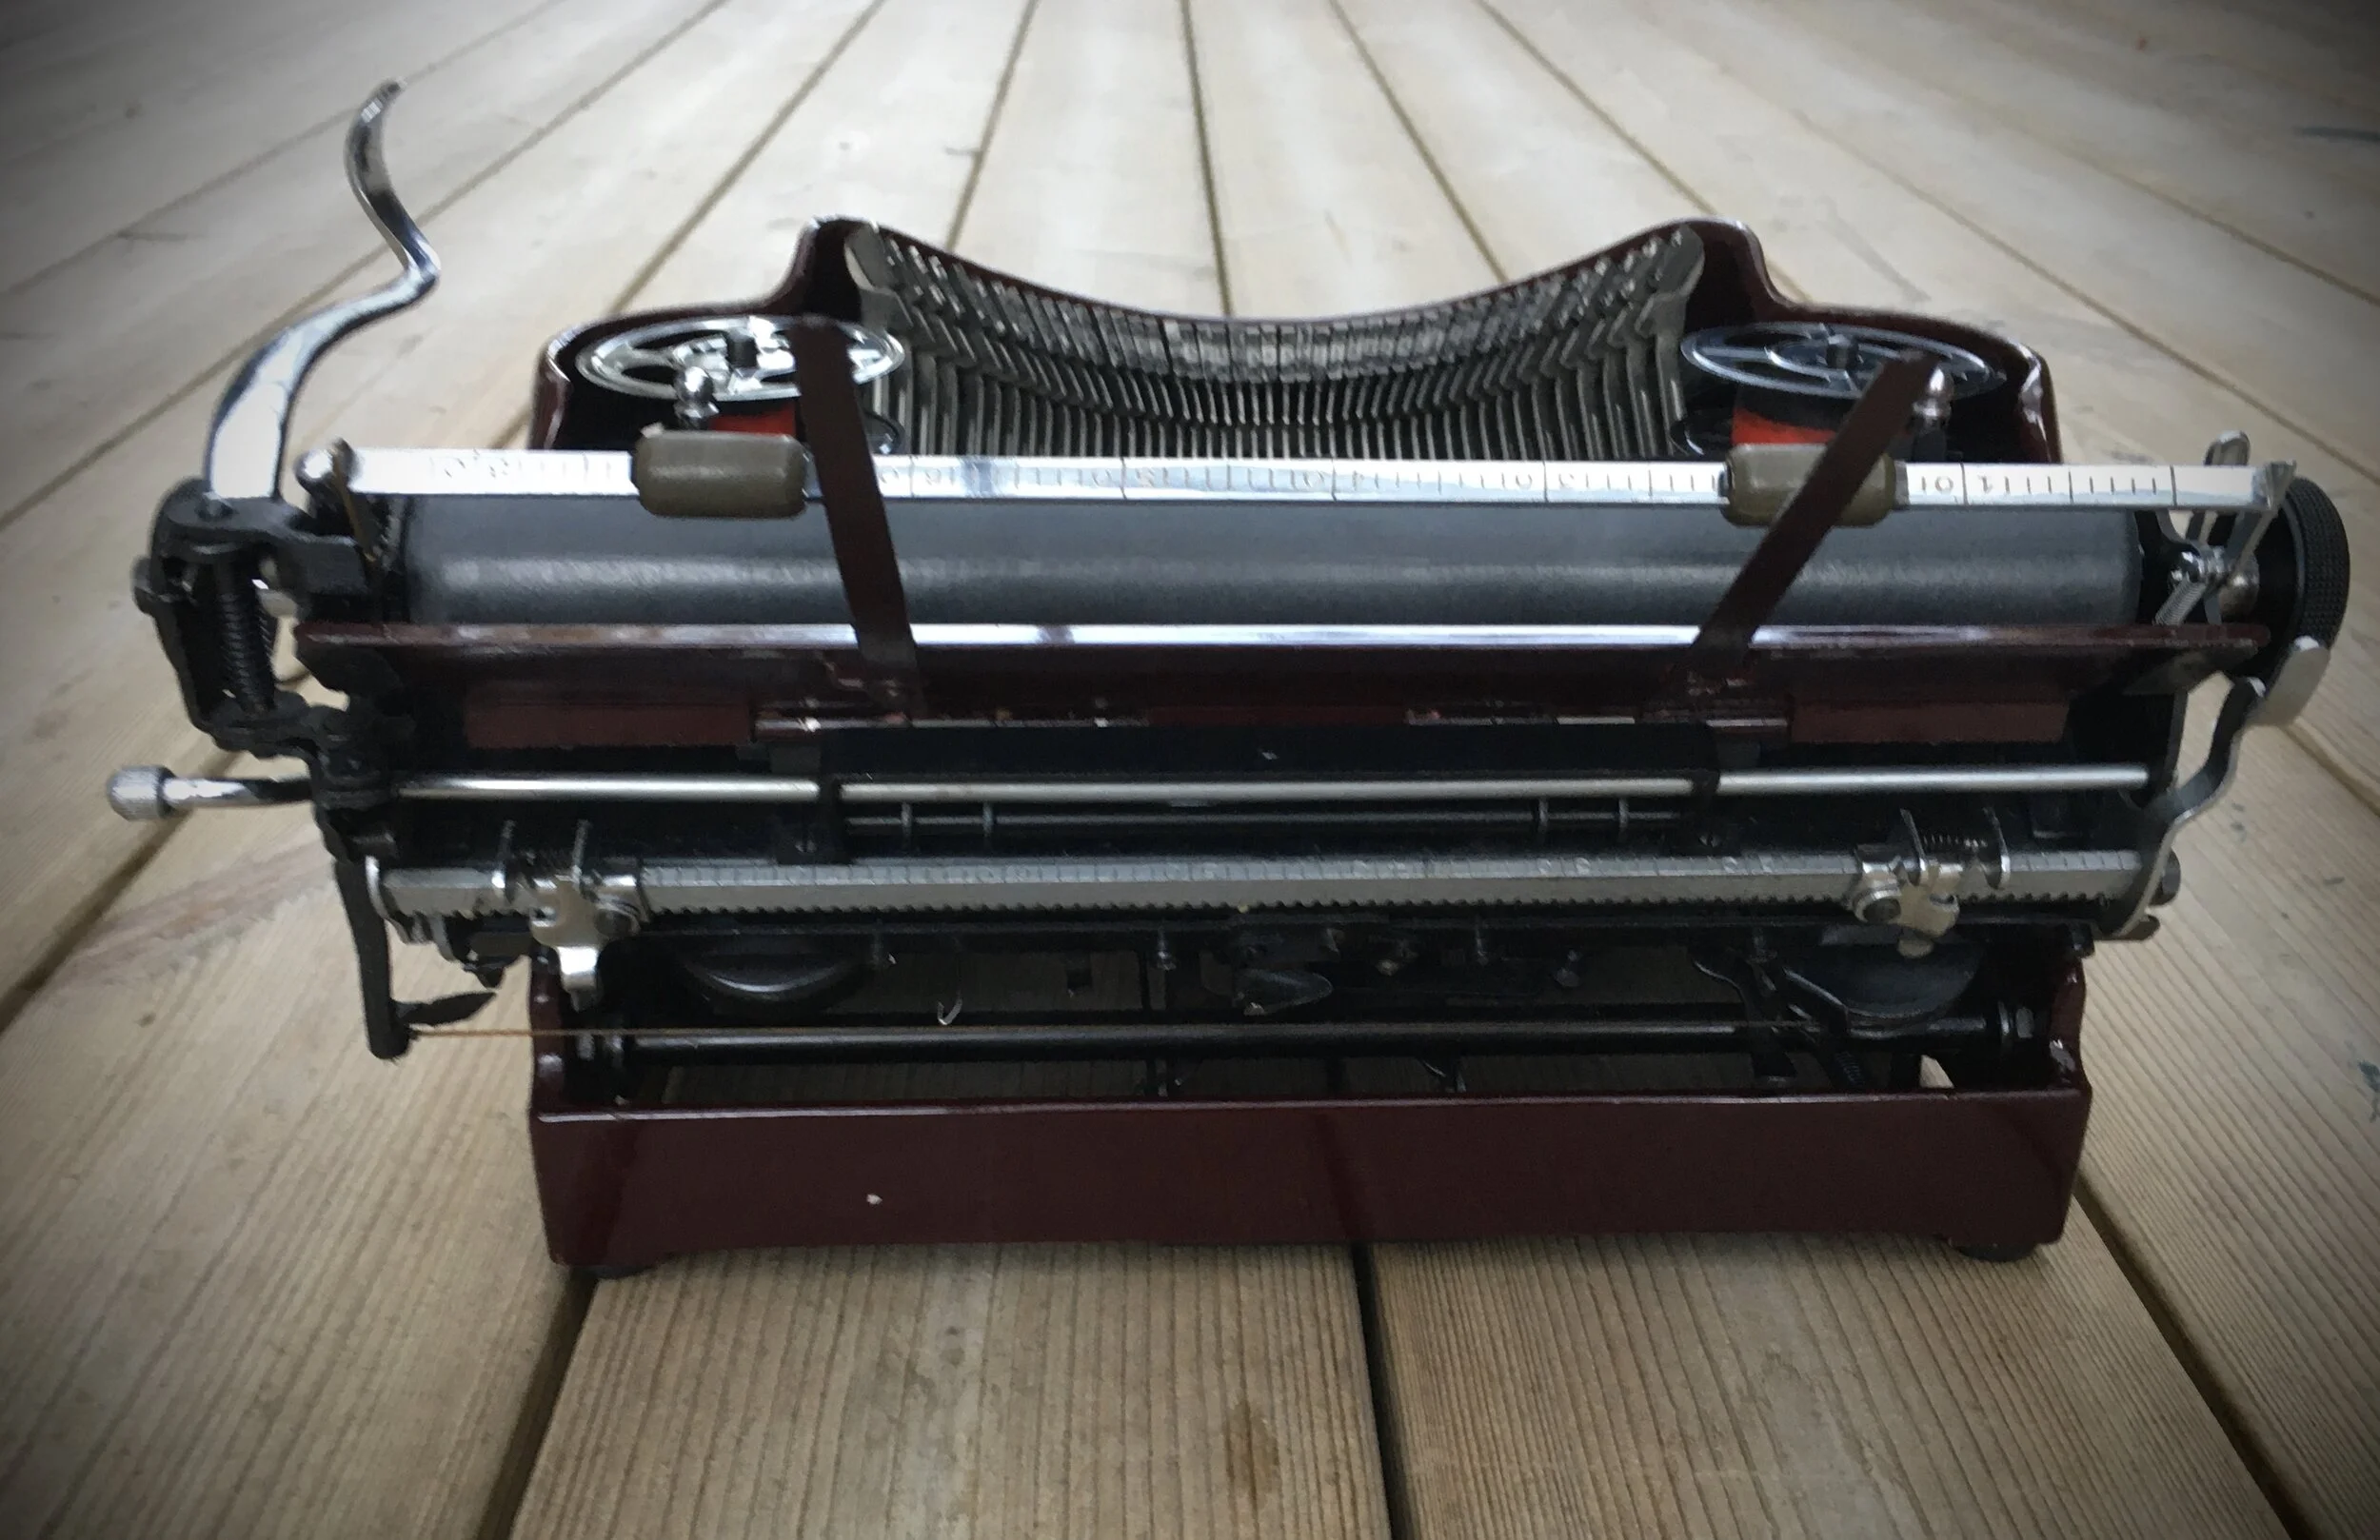
Cherry-red Urania, one of its kind

July 31, 2021 by Lukasz Kumanowski

I remember that to acquire this machine I had to stand rather unusually hard fight on the auction. Not that there was big money involved but most other machines I own had no more willing buyers than me.

This Urania was different: there were folks willing to get her. I’m glad that in the end I won and here she is.
Machine came with - quite rare these days - original instruction and a small bag with spare screws!

As most old machines she had standard problems to address:

  • dusty & dirty mechanism

  • hardened platen

  • deformed paper-feed rollers

What was saved to her was WD-40 and thanks for that!

I removed the panels for cleaning and to remove the platen. That caused me a bit of trouble as the construction is not quite standard. That is exciting but sometimes frustrating to the point that hammer comes into hand if things don’t move the way they are expected.

Luckily I inhibited the impulse of hammering and finally lifted the platen. The trick was that most things in this assembly are the other way round, compared to standard machines.

No, this is not a machine for left-handers, rather opposite. It is just the way herr Clemens Muller thought is the best regarding functionality. And I admit that it works very well - with line & row advance on the right side I just use my stronger hand instead of left hand to make the move. Like most people on the planet.
It just takes a while to switch from the standard.

Unlike other machines the paper-feed rollers don’t just pop-out free after removing the paper deflector. They form a small subassembly, with springy connector in between. Smart - this way the system is prepared to any irregularities in fed material.

Flat spots, of course, disable the mechanism so I needed to address that.

The platen on this machine is so hard that it feels like plastic. Luckily it is not cracked - with wooden core inside that would be a catastrophe.

Surprisingly, the bigger rollers were still spongy and grippy. If not for the flat spots I would be happy with them. Smaller, front rollers were totally gone.

As with most non-standard machines one faces incompatibility problems. My stock of rubber hoses does not cover dimensions needed to replicate these rollers. However, given that I want to cover the platen with bicycle inner-tube - thus increasing its diameter - it will not harm if I reduce the diameter of paper rollers a bit. After all they are spring-loaded and will anyway (to some extend) get into the platen. The only concern would be line spacing - with platen increased too much single-line space would become too tight. However - the inner tube I mount is circa 0,5mm thick after sanding. That should not affect anything too badly.

Smaller rollers were far too gone so I replaced them with silicone tubing. Not epoch-correct but works like a charm.
Bigger rollers, still grippy, were turned into smaller diameter, almost entirely removing the flat spots.

Left roller assembly after turning, the right one is yet to be reworked.

Standard cleaning followed - but no chemical treatment was needed. Keys were cleaned and I straightened some inverted key-legends.

Unfortunately the trick with gripping the glass with a sharp compass and turning it to correct the direction did not work here. It is a real glass, not celluloid, it just didn’t want to move. I had to disassembly these keys to get things straight. Risky operation with these soft-metal tabs underneath - easy to break them.
I wish I had key-punching tool like repairmen had in the old days.

As this machines has ribbon-spools exposed I wanted to substitute ugly, plastic spools with something more classy. Luckily Olivetti spools which I traded with Charles fit the bill!

First I tried using carbon tape which was on these spools. The result was not impressive - it seems that the ribbon advance is too slow on this machine to take advantage of so thin ribbon. Characters were crowded on the tape, yielding bad quality text.

A bit disappointed I decided to keep the spools but rewind the precious carbon tape onto other spools. There are many meters of this tape winded onto the spool so doing it by hand was too boring. Drill machine with simple silicone adapter solved the problem in 2 minutes.

Rewinded with fresh, 2-colour ribbon the machine types perfectly.

Inner-tube covered platen works fine and looks quite OK. Good enough for me at least - I can now use the machine without waking up my neighbours.

Carriage locking and escapement release, for transporting the machine, is on the right side. Nice and sturdy although not as robust as on machines from later era. It can be easily tripped if the carriage is pushed to the right so I would not rely on it when shipping the machine in a package.

And so is Urania ready for use!

View fullsize IMG_3038.jpg
View fullsize IMG_3043.jpg
View fullsize IMG_3044.jpg
View fullsize IMG_3045.jpg
July 31, 2021 /Lukasz Kumanowski
Comment

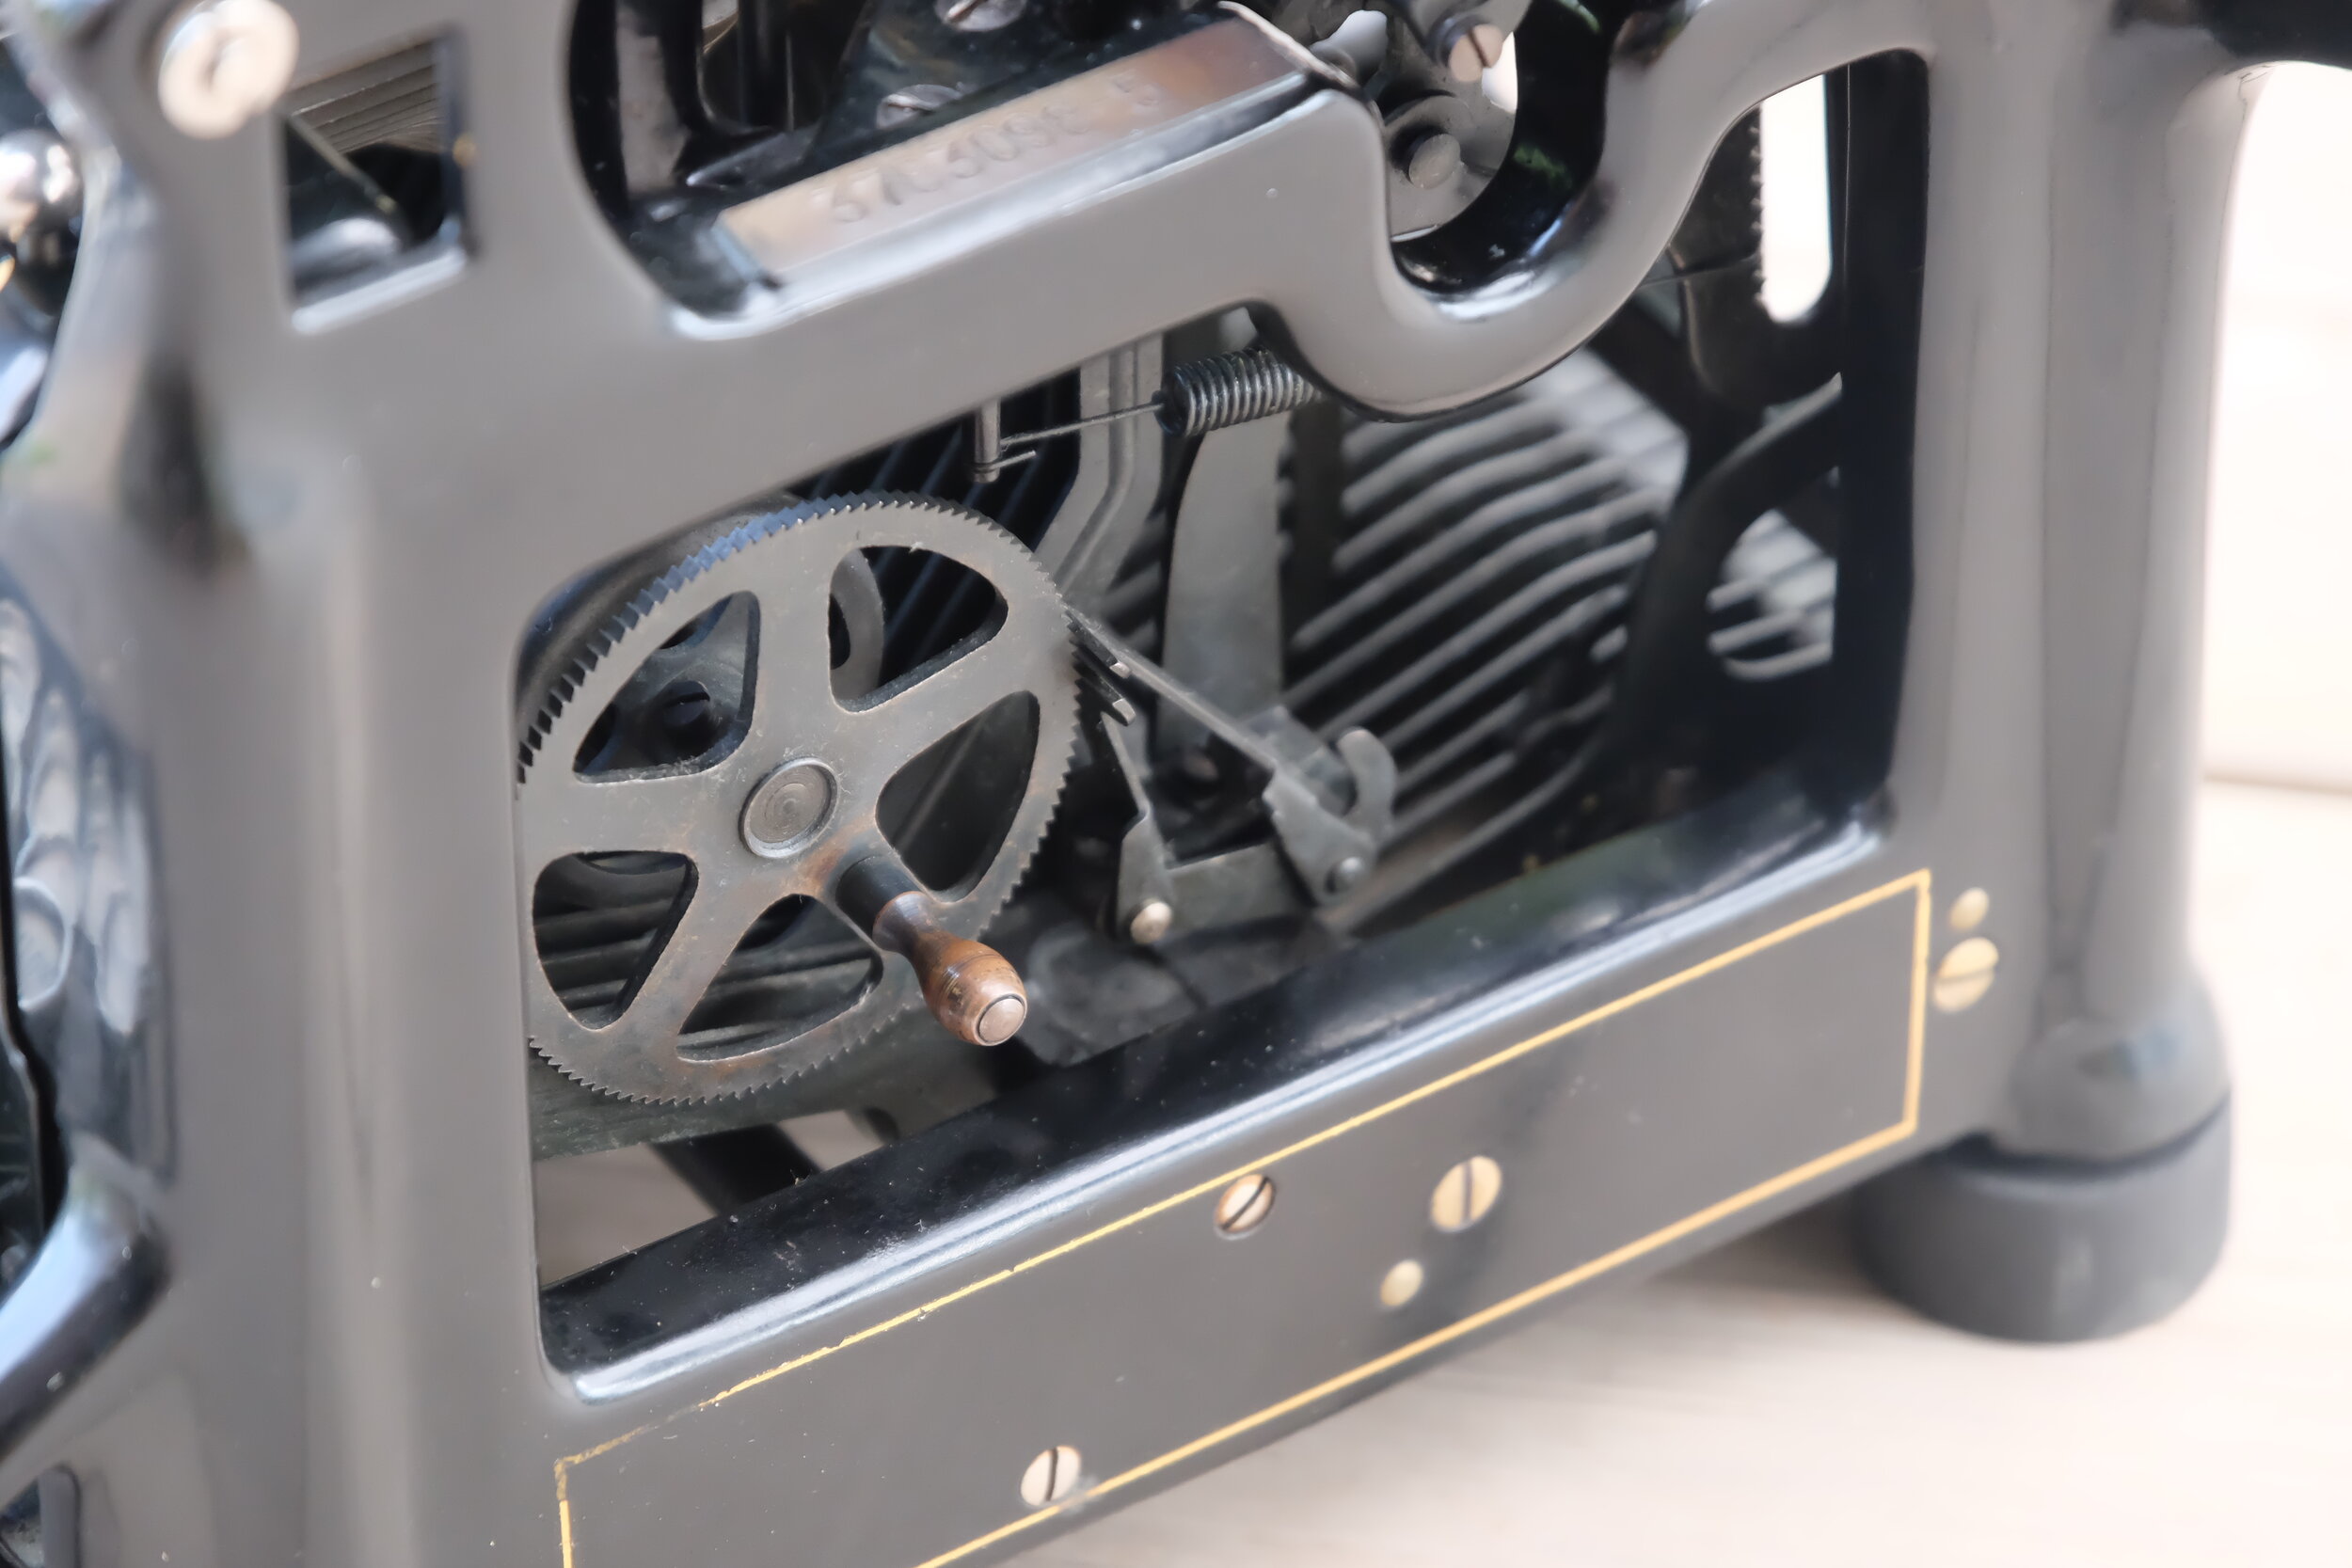
Hey handsome! Underwood no.5 standard typewriter

July 19, 2021 by Lukasz Kumanowski

Handsome.
This is a word which comes to my mind when I look onto this machine. Its form is very classic and very balanced.

It is an archetypical typewriter, one which comes to mind when thinking about old, classic, desk machines: standard typewriter. Open, skeleton frame made of cast iron, no covers except on the front.
Mechanism proudly presented to bystanders and the user.

This particular machine was in generally good shape. Just very dirty and with all rubber components decayed. All decals are original.
It bears “honest patina” - places where hands of people before me rubbed the frame, wearing out the paint and decals. I like it and keep it intact as a part of machine’s history.

No butchered screw heads. She was either serviced by a proper mechanic or not serviced at all.

Most of all - it types like a dream.
I put it hand-in-hand with Royal KMM or even Erica machines. Even though there are decades between them the experience of typing with these machines is similar. Pure joy.

Below is a gallery of restored machine.

For those interested in “screws & dust” here is more detailed story of restoration.

View fullsize DSCF5385.JPG
View fullsize DSCF5383.JPG
View fullsize DSCF5381.JPG
View fullsize DSCF5382.JPG
View fullsize DSCF5386.JPG
View fullsize DSCF5390.JPG
View fullsize DSCF5388.JPG
View fullsize DSCF5389.JPG
View fullsize DSCF5392.JPG
View fullsize DSCF5393.JPG
View fullsize DSCF5379.JPG
July 19, 2021 /Lukasz Kumanowski
Comment

Underwood Standard No.5

July 18, 2021 by Lukasz Kumanowski

I fell in love with lines of this machine.

Yes, it is a very common machine in US - but not in Sweden. It is a real classic - skeleton machine as I think of these.

It came to me via Tradera from Swedish North. To protect her from improper handling we agreed with the Seller that I wait a week so his relative will be going from North to Uppsala where I can pick her up. It worked out very well.

The machine had all problems common to most old typewriters:

  • dusty and sprayed with WD-40 (or similar) which hardened into yellow goo, stalling the mechanism almost completely

  • rubber parts got very hard or disintegrated

Other than that all seemed to be in place and in proper order.

As always I started renovation with manufacturing new rubber feet. Old ones were gone, luckily original screws were in place.

Carefully to keep the structure I peeled off rubber remainings to see how the original feet were formed. They were in fact simply hollow on the inside - the hole slightly smaller than the screw head. Upon compression the rubber was filling the slot between rectangular sections of the screw, keeping the foot in place and enabling unscrewing them without tools. Neat!

I used the same rubber-like mooring dampers, cut them to size with guillotine (sailor’s knife and rubber mallet).

Sanding took care of cutting marks. I punched out the centre holes for mounting screws.

Due to rubber compression the centre hole is not even in diameter - middle part is smaller than the top and bottom sections. That helps to fill the slot in these screws.

With new feet in place I could move to more exciting parts - internals!

Paper table, platen and paper feed rollers with paper deflector came out easily - pretty standard way of removing them as on most other machines. Unlike Olympia Splendid and her clones where one needs to force the platen out!

Usually this is enough to clean the machine but this Underwood, due to its “rail-type” carriage (my naming, I don’t know how this construction is really called) did not allow me to get everywhere with the carriage on. Besides - the escapement and carriage mechanism was so dirty with yellow goo that I decided to remove it for proper cleaning. And, most of all, to closely inspect how it is built!

Not as straightforward as in Oliver or Adler mod.7 but still pretty easy procedure.

Back rail is connected to the frame with two screws, with positive positioning in rectangular grooves.

The other point of contact is up front: pointer which runs on the front scale has guiding pin sliding on the underside of the scale. Two more screws to remove and the carriage assembly was free to lift up!

I noticed with joy that the machine managed to avoid hands of non-skilled mechanics: almost all screw heads are intact, no butchered slots due to improper screwdrivers! Either it was serviced by a proper mechanic or not serviced at all. Perfect! I keep it this way - no screw I removed bears any mark on its head!

Now I gained access to the escapement and all internals. Brushed them a bit from dust, to be able to see anything.

Before removing old spools I take note on how the ribbon is guided towards the vibrator. Spool holders move around on springs, to ease access to ribbon slots on the back.

Standard ribbon guide at the vibrator.

I turned my attention to the platen. It was, of course, rock-hard and dirty but luckily not cracked. Smooth as baby’s bum which certainly would cause paper to slip.

It would be enough to just clean it and sand, maybe with rubber reconditioner, but I felt adventurous that day so I decided to re-cover it with a layer of fresh rubber. Well, to do that really well I would send it somewhere for re-covering (JJ Short being one such company in US). I wanted to try home DIY method and put bicycle inner tube onto the platen.

I had bad experience when doing it for the first time on Continental Silenta: worn out, old innertube broke after a few hours. It might have also been due to oil I used to slip it onto place.

This time I used brand new innertube (yes, I invested all this money!) and used a dry process, with talc, to protect the rubber.

That went pretty smooth but unlike the wet process, when the soap or oil dries out, talc keeps the tube still movable and gliding after placement. To mitigate that it needs to be removed.

I rolled ends of the tube back, exposing again the platen, and wiped the talc with rag wetted with denaturated spirit. Isopropanol would be better but I happened to run out of it.

I did that couple of times, on both ends, until unrolled rubber was no longer moving on the platen. Then came sanding session on “poor man’s lathe”.

I used 120 and 180 grid paper. The aim is to remove bumps caused by rubber seems on the innertube. Also - due to heat while sanding the rubber gets more sticky, attaching itself better to the platen.

The result is uniform surface with still visible seams but now they are levelled, no bumps. Maybe not a quality for a museum or fussy collector but it works very well for someone who wants to use the machine to type!

Besides - this is 100% reversible process - just by cutting the innertube one gets back the original platen with no marks or damages. Can be handy if I happen to be in US with this Underwood in a car trunk, close to JJ Short company.

Before taking all for cleaning I admire “patina” and tons of dirt in the mechanism. I notice very cool mechanism enabling manual winding of ribbon - for re-spooling etc.

Another cool thing is type-bars resting arc: unlike modern machines where this is made from glued rubber here it is made of fabric, screwed to the arc. Handy if replacement is needed.

I remove the whole subassembly for proper cleaning and inspection.

Ribbon colour selector lever rides in this opening.

Surprisingly the typebar rest bears a date of its manufacturing (I think):

We move outside for chemical cleaning. I use my standard “typewriter soup”: mineral spirit with a bit of engine oil.

Bar rest pillow dry-cleaned with nylon brush. Fabric is in perfect shape. The pillow is very heavy - as if it was filled with lead. Or sand?

Anyone reading this - please comment if you happen to know what is inside this pillow?

For safety (if it is lead) I wash hands before moving further.

Before putting things together I oil the carriage assembly. Just a few spots: rollers mostly.

Another cool feature: leather tabulator brake. If it was not replaced at some point this piece of leather has more than 100 years! I oiled it with camellia oil.

Carriage assembly back in place, draw cord connected. Initial type and space-bar tests show that the machine works smoothly and all moves fast and instantly.

Serial numbers on the carriage and the frame do not match. Maybe they do not need to? Anyway, worthwhile to notice that - Adler had these matching.

Paper deflector had only two rubber bands still in place. Upon touching they turned to dust.

I substituted them with silicone tubing: it will last much longer. The function of these is to support paper table from the back - eliminating any possible rattling sound and keeping paper path undisturbed under the platen.

Last but not least are paper-feed rollers. They became flat in many places, rubber is hard as stone and brittle. In such state the machine will not function properly.

Old rubber removed with sharp blade.

Brass core exposed.

Fresh, spongy rubber rollers, sanded for better grip, mounted in place.

Front rollers, smaller in diameter, were only partially disassembled. I was afraid that I will not be able to press fit back the constraint rings so only external rollers were taken out from the shaft. Here I will use transparent, silicone tubing so I polish brass cores as they will be visible.

Back in the carriage, ready for mounting the platen.

I put back the platen and remaining covers. Mounting a new ribbon is an adventure in this machine but after a while I figured how to do it.

The machine is back in shape, time for a test type. All works smoothly and sound of type slugs hitting the paper on soft-rubber platen is very pleasing: silent “thumb” instead of plastic “clack”.

I can type very fast on this machine. Carriage shift, thanks to properly adjusted support spring, is very light - almost like in basket-shift machines. It is a pure joy to use this machine!

July 18, 2021 /Lukasz Kumanowski
2 Comments

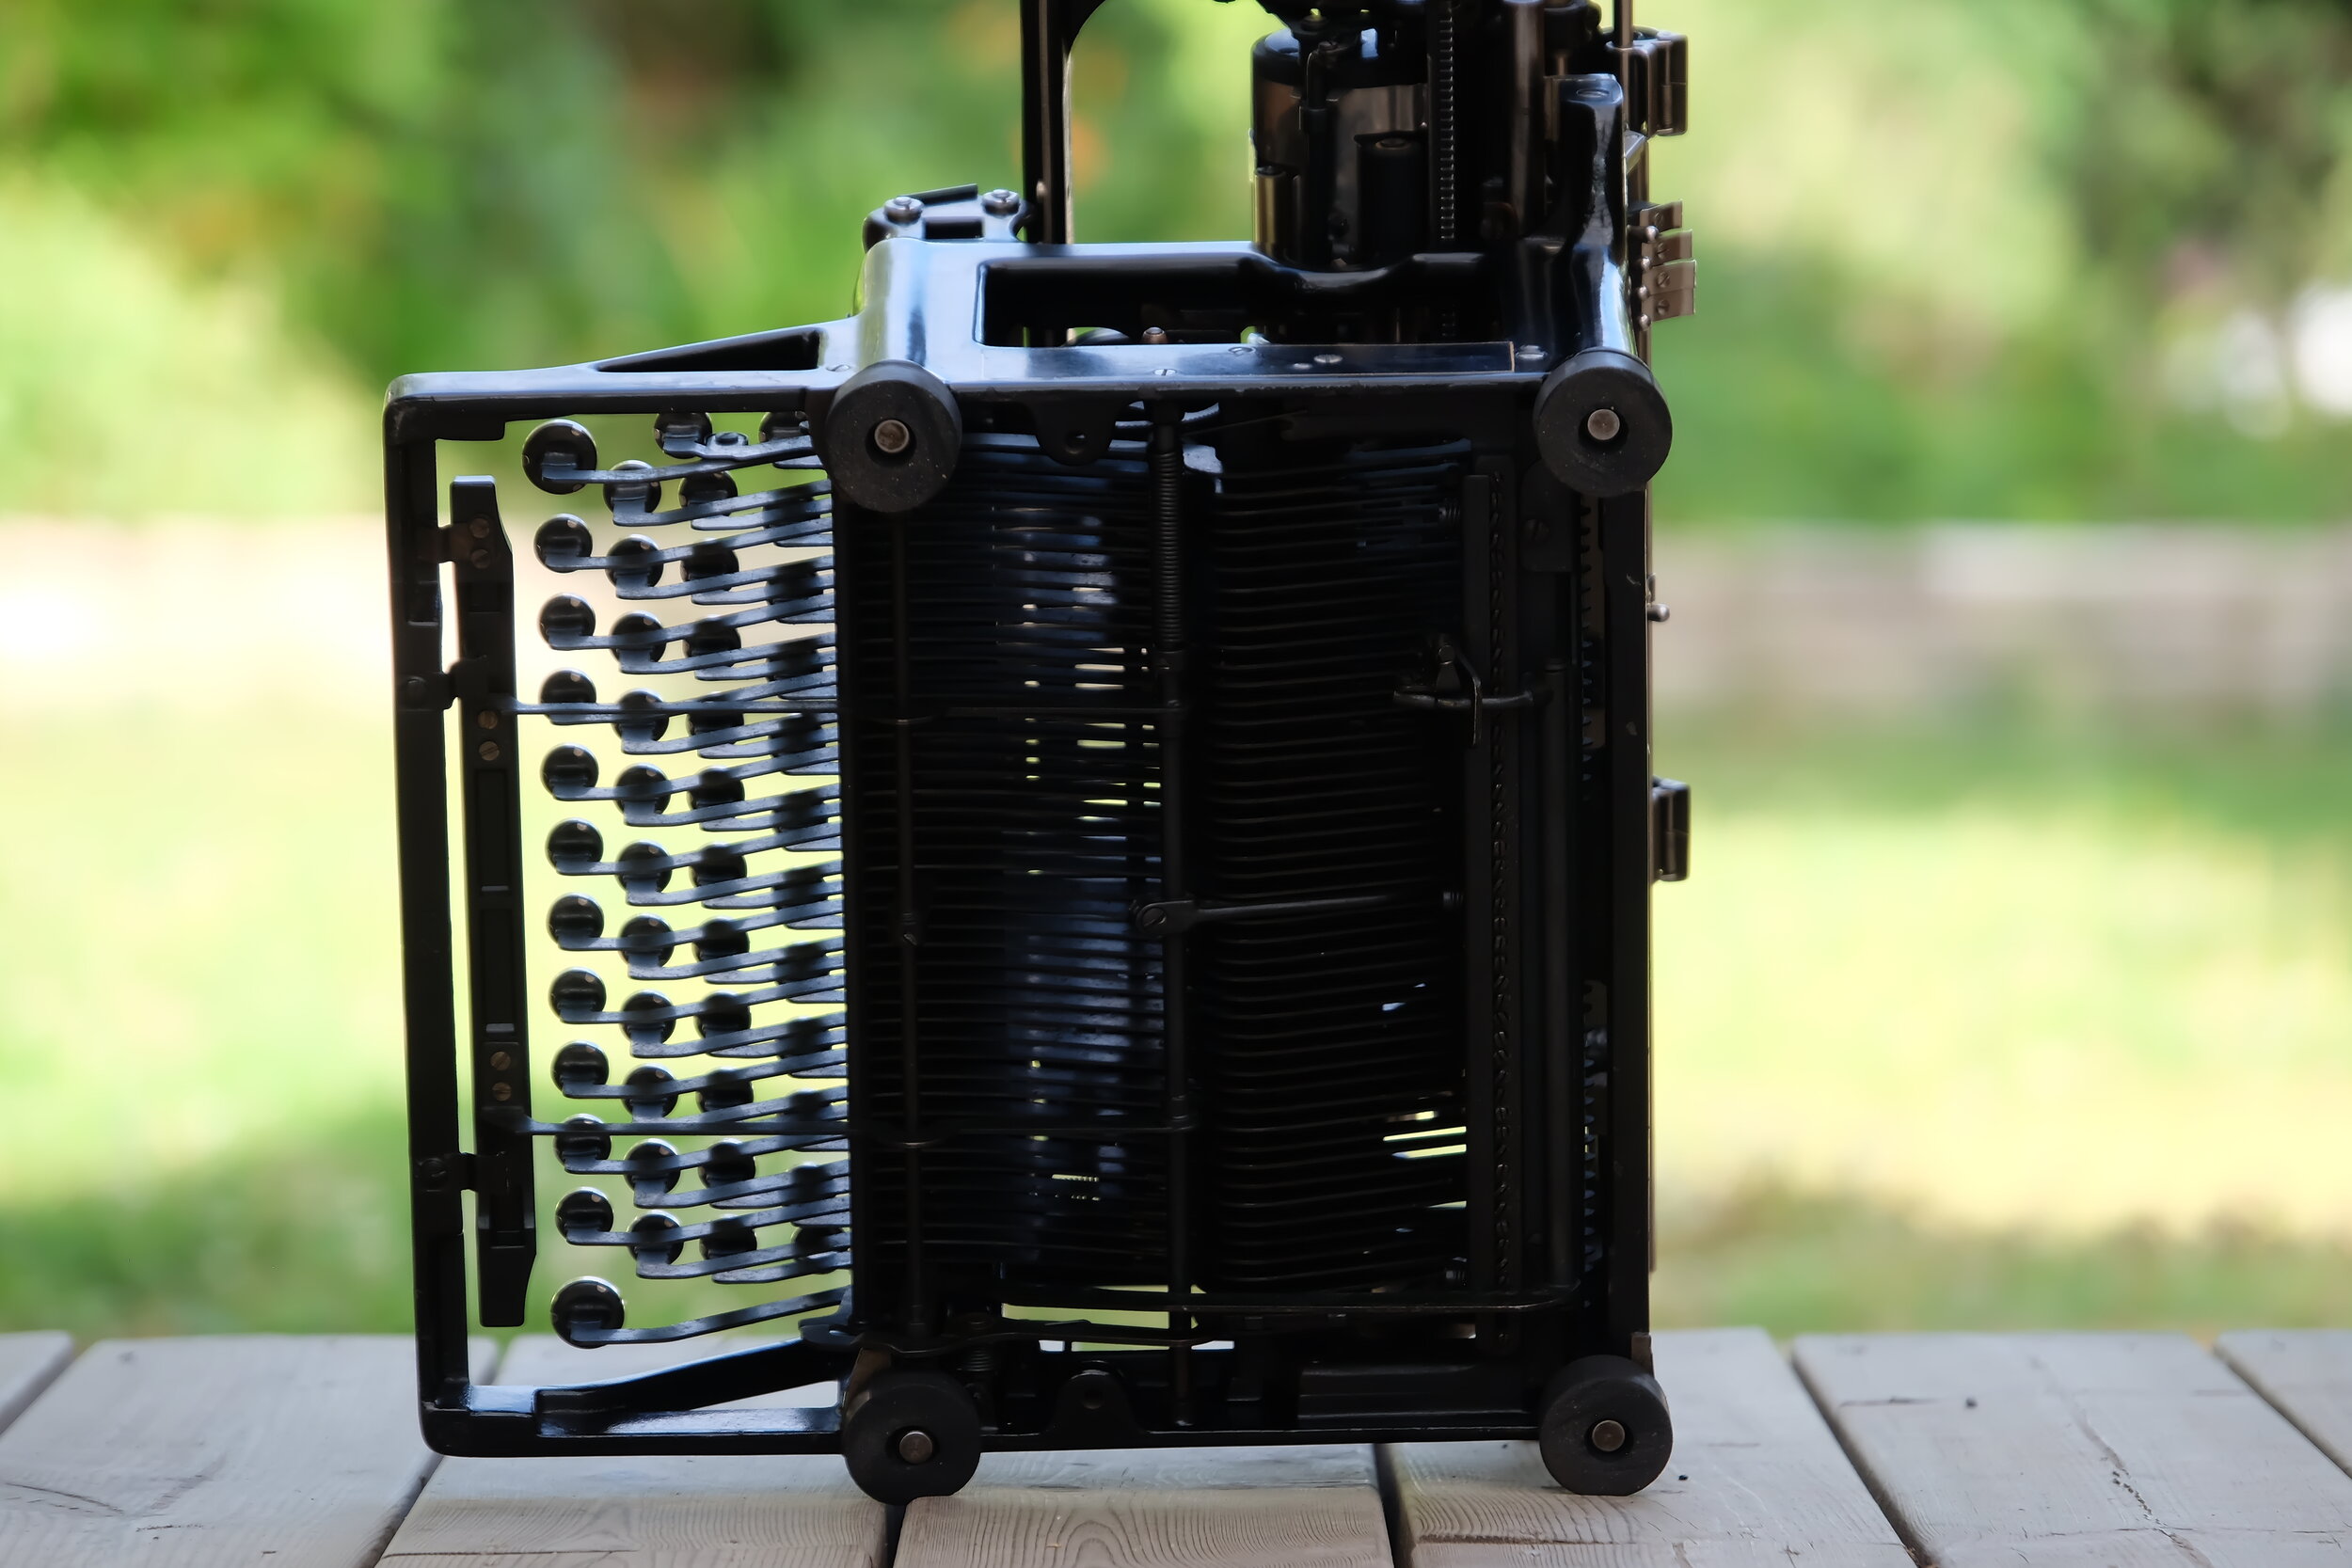
Adler mod.7 rescued

July 11, 2021 by Lukasz Kumanowski

Here is a gallery of quite unusual, horizontal-strike machine Adler mod.7 which I renovated recently.

More details from overhaul can be found here.

View fullsize DSCF5259.JPG
View fullsize DSCF5265.JPG
View fullsize DSCF5263.JPG
View fullsize DSCF5266.JPG
View fullsize DSCF5268.JPG
View fullsize DSCF5262.JPG
July 11, 2021 /Lukasz Kumanowski
Comment

Adler model 7 - complete overhaul

July 11, 2021 by Lukasz Kumanowski

This is a machine I wanted to acquire for quite some time now. They are not very common and when they appear on auctions they usually have prices beyond my range.

This particular specimen was in poor shape with few parts missing. Price was attractive thou and it has Swedish keyboard so I did not hesitate to byu it. Its characteristic Adler logo, with German eagle sitting on bicycle wheel was covered with sticker, making it non recognisable at the first glance.

It matched quite nicely the model name, gold-lettered on the key-levers cover but I could not find any trace of such coloured Adlers anywhere in the literature. Upon closer inspection I noticed that this is in fact a foil sticker, cut nicely to shape but certainly not true to the time when this machine was built: 1912.

I removed the sticker. The whole cover was apparently painted black with someone who did not fancy doing it properly: thick, black goo, splashed all over the place, mixed with the sticker’s glue rests.

I attacked it with denatured alcohol, to remove the glue. Lots of paint came out, too. Original Adler logo appeared faintly from below together with original, glossy enamel paint.

It seams that the logo - eagle - was scraped away, as if someone thought it’s nazi symbol - while the rest of lettering is just covered with paint.

In its glory it should look like a machine on this page.

I was hoping to remove the goo-paint and reveal original enamel but had no idea how to do it. While thinking about it I switched to the mechanism.

As a first step I fabricated new set of rubber legs - old ones were far gone. Then I could work more safely on the internals.

It is quite different than most known typewriters - it strokes the paper horizontally. Most modern typewriters we know today use down-strike mechanism for printing: type slug is meeting the paper (and ribbon) on its way down towards it. Adler machines have shorter movement as they attack the paper horizontally.

My machine suffered from someone who sprayed the mechanism with WD-40. That inevitably clogs the mechanism, with all the dust and grit glued to it.

Surprisingly, even though very dirty, this machine still worked quite OK! That says a lot about the sturdiness of the mechanism indeed!

Anyhow - to become part of my arsenal it had to go through proper cleaning and lubrication.

This is undoubtedly the easiest machine I ever worked with, in terms of taking it apart for cleaning.
Type bars can be accessed after removing 4 screws of the top casting.

All felt cushions are in perfect shape - not smelly nor deteriorated. I just cleaned them with compressed air.

Once the top casting is removed each type bar can be lifted for cleaning.

I place them on temporary fixture to keep the order - for easier assembly after cleaning.

Each type slug has 3 characters: capitals, small letter and a sign. Similarly to Oliver machines the carriage moves in 3 steps. Oliver lifts or lowers the carriage for different letters, Adler uses double down-shifts: lower for capitals and lowest for signs. They are operated by side levers, characteristic only to Adler machines.

Gliding surface is nice and smooth but quite a lot of debris was accumulated under slugs.

Draw string was missing so the machine was inanimate. Luckily one part - connection to main spring - was still attached. Carefully to not brake it I managed to unfold the metal to remove old draw string rests. Curved needles came handy here.

New string attached - I used natural - fibre cord, matching better this old machine than nylon string.

Mounted on main spring drum.

The other end was missing so I made one in brass.

It is slightly different from original but serves the purpose equally well.

Tensioning knob on the main spring was not moving. I took all apart and found out that it is the small screw on the side which locks the knob. Same as in old Colt revolvers - I should have known that without disassembly. But it was fun anyway.

View fullsize IMG_2772.jpg
View fullsize IMG_2773.jpg
View fullsize IMG_2774.jpg

And then the machine came to life!
Escapement - although dirty as hell - is doing its job flawlessly. Great feeling to see this machine working!

I came back to disassembly before chemical cleaning.
Carriage on this machine is easily removable. Almost as easy as on Oliver machines, it slides out of guide rails on the right side.

View fullsize IMG_2770.jpg
View fullsize IMG_2771.jpg

With carriage and type bars removed I had enough access to perform chemical bathing. Activities moved outside, onto the fresh air.

View fullsize IMG_2778.jpg
View fullsize IMG_2779.jpg
View fullsize IMG_2780.jpg

Flushed with white spirit + engine oil the machine was now clean and protected from rusting. Drying in the evening Sun.

Back in the workshop I turned my attention to key levers. They were originally nickel or chrome-plated but now they were covered with goo. I removed them one by one for cleaning.

Key-lever cover bears model name. This is the only part left with original gold-plated lettering. I cleaned it carefully to not damage it.

Sound dampening re-attached with spray-glue.

I turned back to the top cover. Tried different chemicals in the hope of removing top paint but keeping the original enamel. Alcohol worked to some extend but I reached the end point. Time for stronger stuff - acetone bath.

I left it in the tray for several hours and moved into the carriage assembly.

Paper-feed roller was in bad shape.

In my attempt to remove the platen the right knob got cracked. There was a lot of corrosion there, apparently it weakened also the bakelite knob.

I wanted to remove the platen to get access to this damaged paper-feed roller. Taking note on geared rack position before removal.

I need to disassembly one side of the carriage to remove the platen. Left side it will be.

Separated into two parts, with main spring visible in the background.

Why stop here? I go further! Here is tensioning spring for paper-feed roller.

Finally the platen can be removed. Certainly not as straight forward as on Remington Rand!

Mission objectives finally reached - both the platen and paper-feed roller removed.

Frame is broken in one end. Machine works fine with this fault but eventually tension from the main spring will break the other side. Time to fix this.

IMG_2808.jpg

This is a cast iron - I think - so welding is not an option. Luckily we have XXI century, JB Welds come with help.

Platen knob gets epoxied at the same time.

All metal parts cleaned and ready for re-assembly.

The platen got sanded and treated with rubber reconditioner.

After chemical cleaning serial number of the carriage appeared on the frame casting.

Paper-feed roller is in bad shape.

I tried sanding away cracked rubber. It didn’t make the situation better.

I cannot leave it this way so I cut out all bad rubber with a knife.

Poor-man’s lathe to smooth it out.

I found a rubber hose matching the outside diameter. After sanding the remains to a proper internal diameter I prepare for sliding a replacement rubber. Exposed steel is polished at this stage.

It is a tight fit. Sliding the hose onto a core is done with the help of liquid soap. When doing such installation one needs to make sure the hose never stops gliding - if it does all gets stalled and very difficult to move. My take is to use rotation while sliding the hose onto the core.

Final result after trimming the excess rubber and chamfering the edges as in the original roller. Nice & grippy, ready for installation.

My machine has a mechanism which I never saw on any other Adler in the Internet. It is a lever with attached hands, on both side of the platen. Size matches standard 1/2 inch ribbon but it is not spring-held in position for typing. My guess is that it was added by someone afterwards, possibly for correction tape.

When one inspects the platen frame there are cavities made for hiding screw heads inside the frame.

These very screws are instead used to hold additional mechanism, sitting on top of small steel tabs.

Certainly an after-market addition.

I put all parts back together.

Lubrication of key components - there are lubrication holes on the platen’s axis.

Carriage back in place. Space bar got polished to bare steel.

Initial type test on the old, dried ribbon.

Not bad - the print is faint but rows are straight and capitals sit on the same level as small letters.

I check on top cover in acetone bath - no success there. Paint sits as it was. I try hot air, with the hope of lifting the black goo from the original paint.

No luck neither.

Last idea is to use chrome-polishing paste to lift the paint with help of ammonia.

Nope, that did not work either. Flakes of new paint still of the same size. Original enamel is nice and glossy but only in few spots.

I decided to remove all to bare metal. If I paint it back into glossy black it is good to have clean layer of steel for fresh paint. If I leave it bare it can look good as is.

Few hours of hand-sanding later the cover is shiny silver. Steel is covered with camellia oil to prevent rust.

Sound-dumpening re-attached.

The machine is now ready!

I don’t know a source for so wide ribbon so I attempt to re-use the original one, re-inking it manually on a simple fixture.

Time-consuming process but the result is quite OK.

Ready for serving its user for another 100 years!

July 11, 2021 /Lukasz Kumanowski
2 Comments

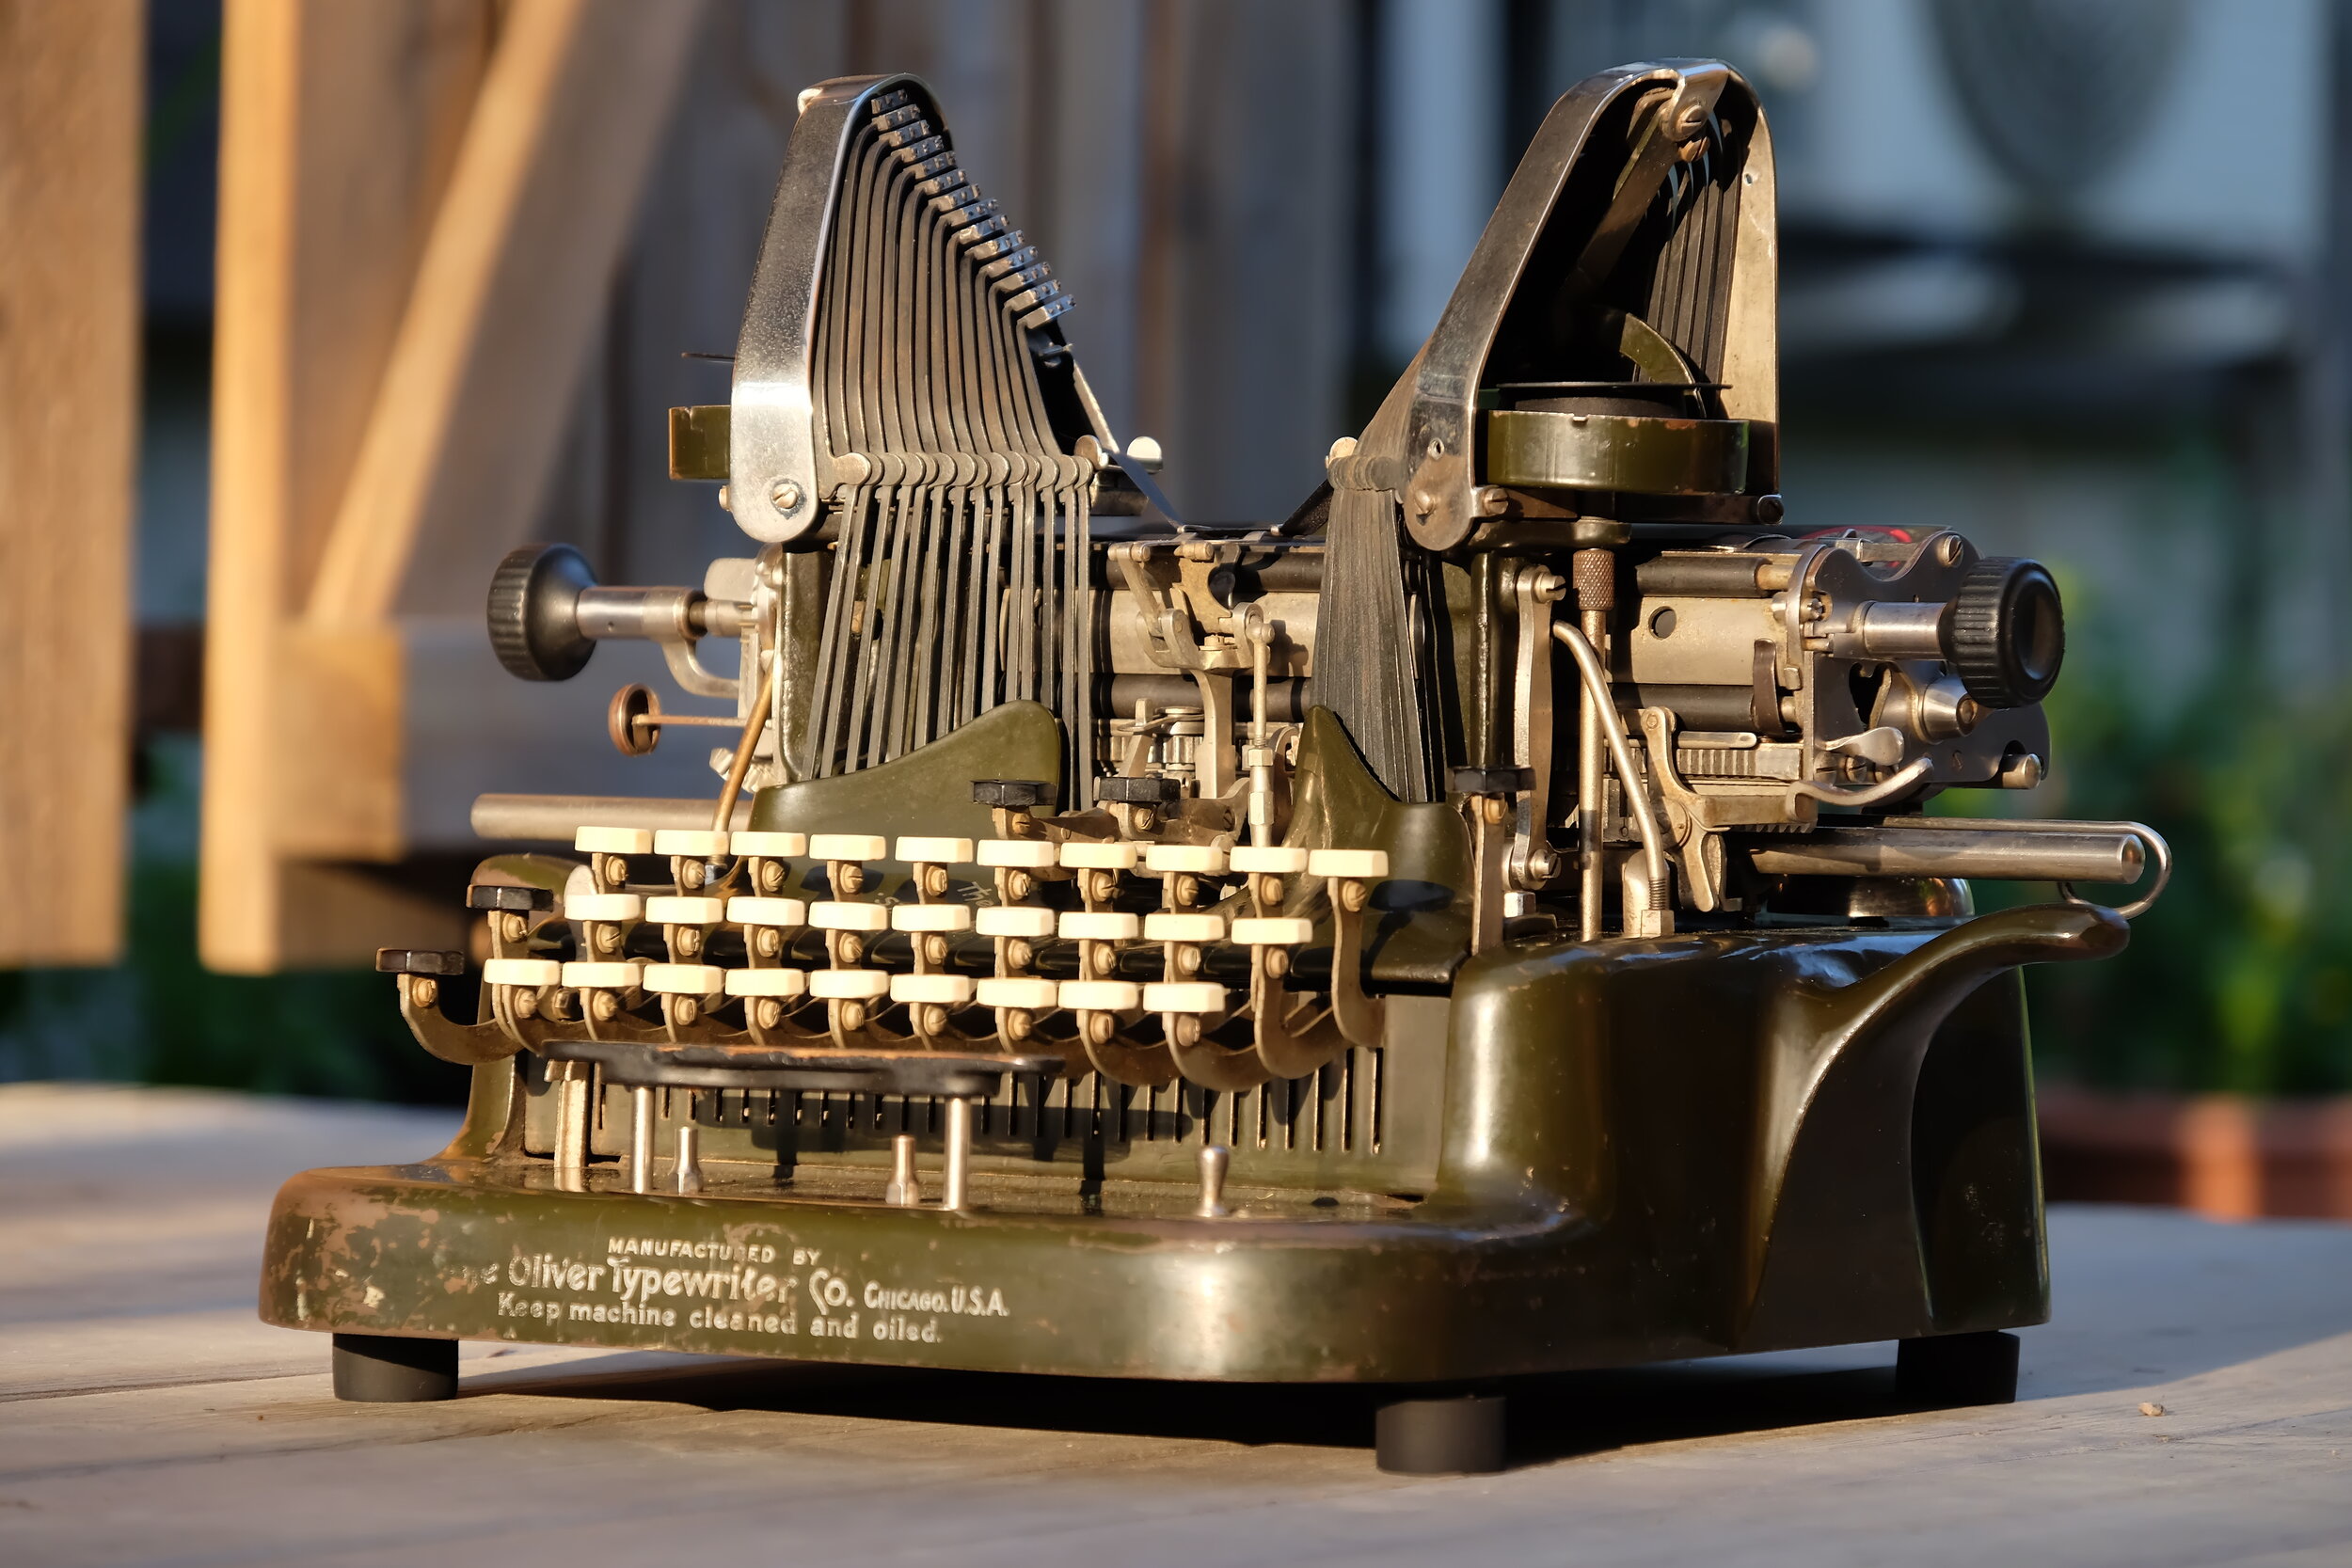
Mr Oliver is back in operation!

July 02, 2021 by Lukasz Kumanowski

This green little fellow took me many evenings to bring back to life. But it was fun and eventful journey, with many “aha!” moments.

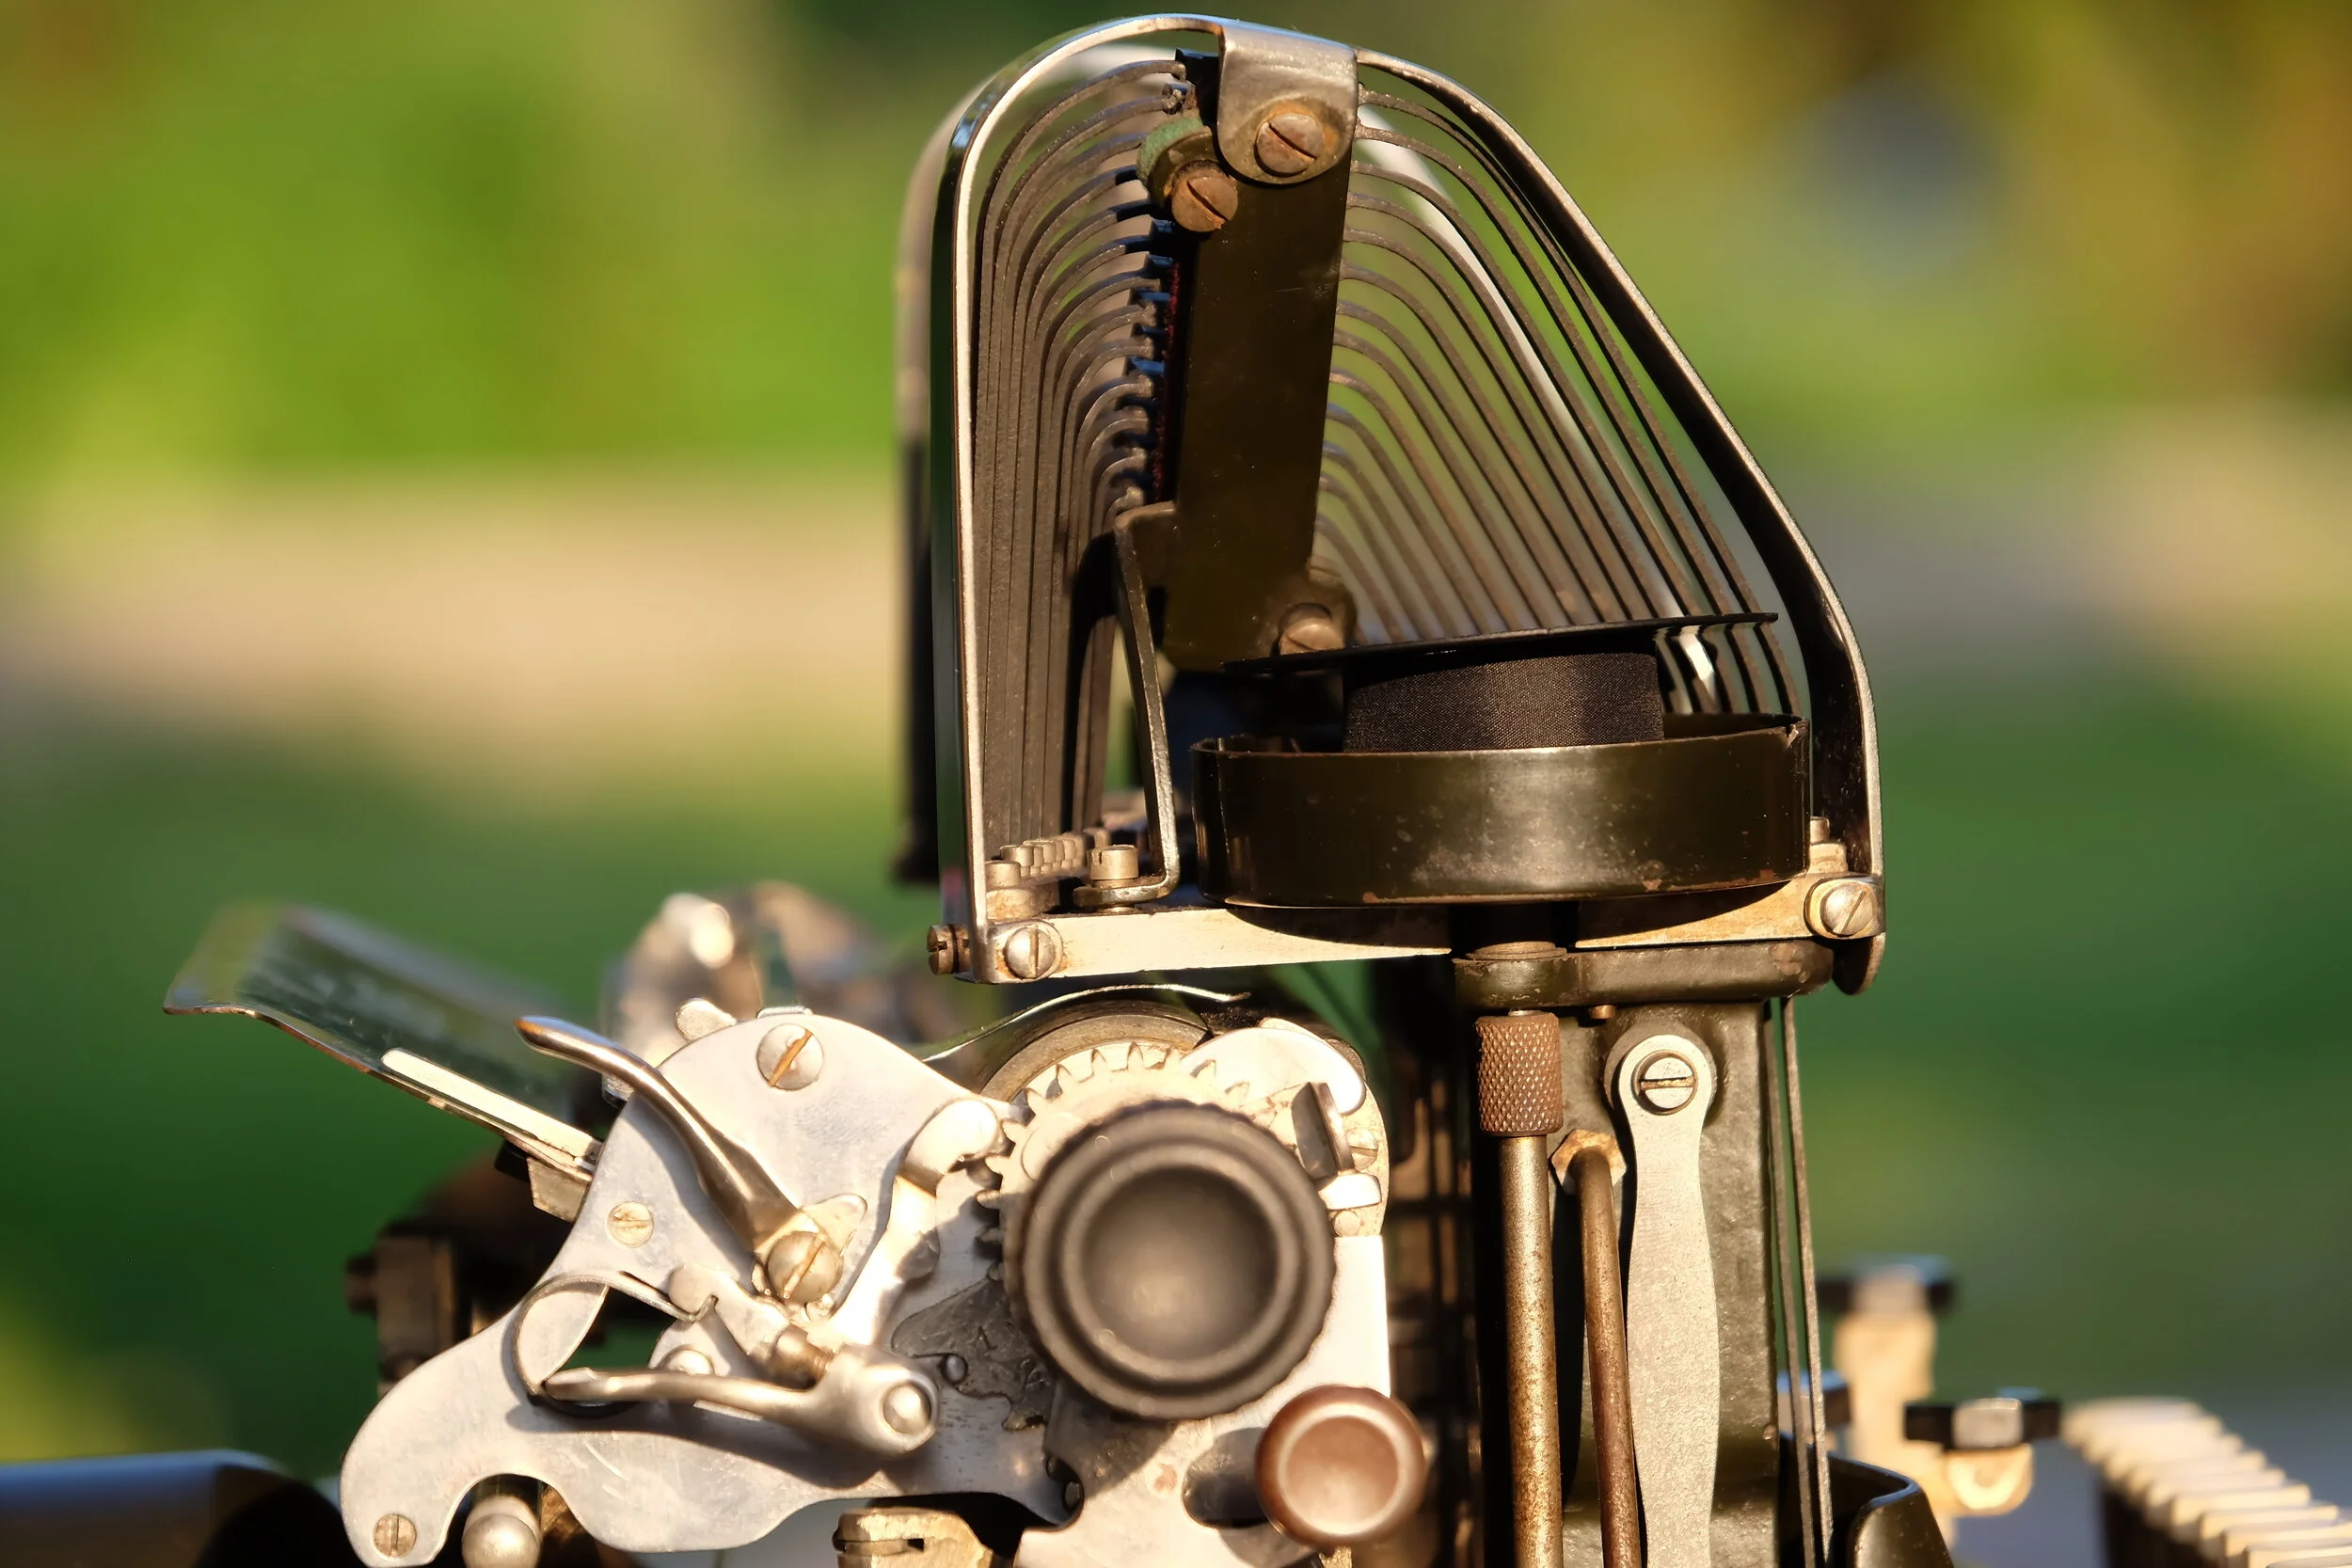
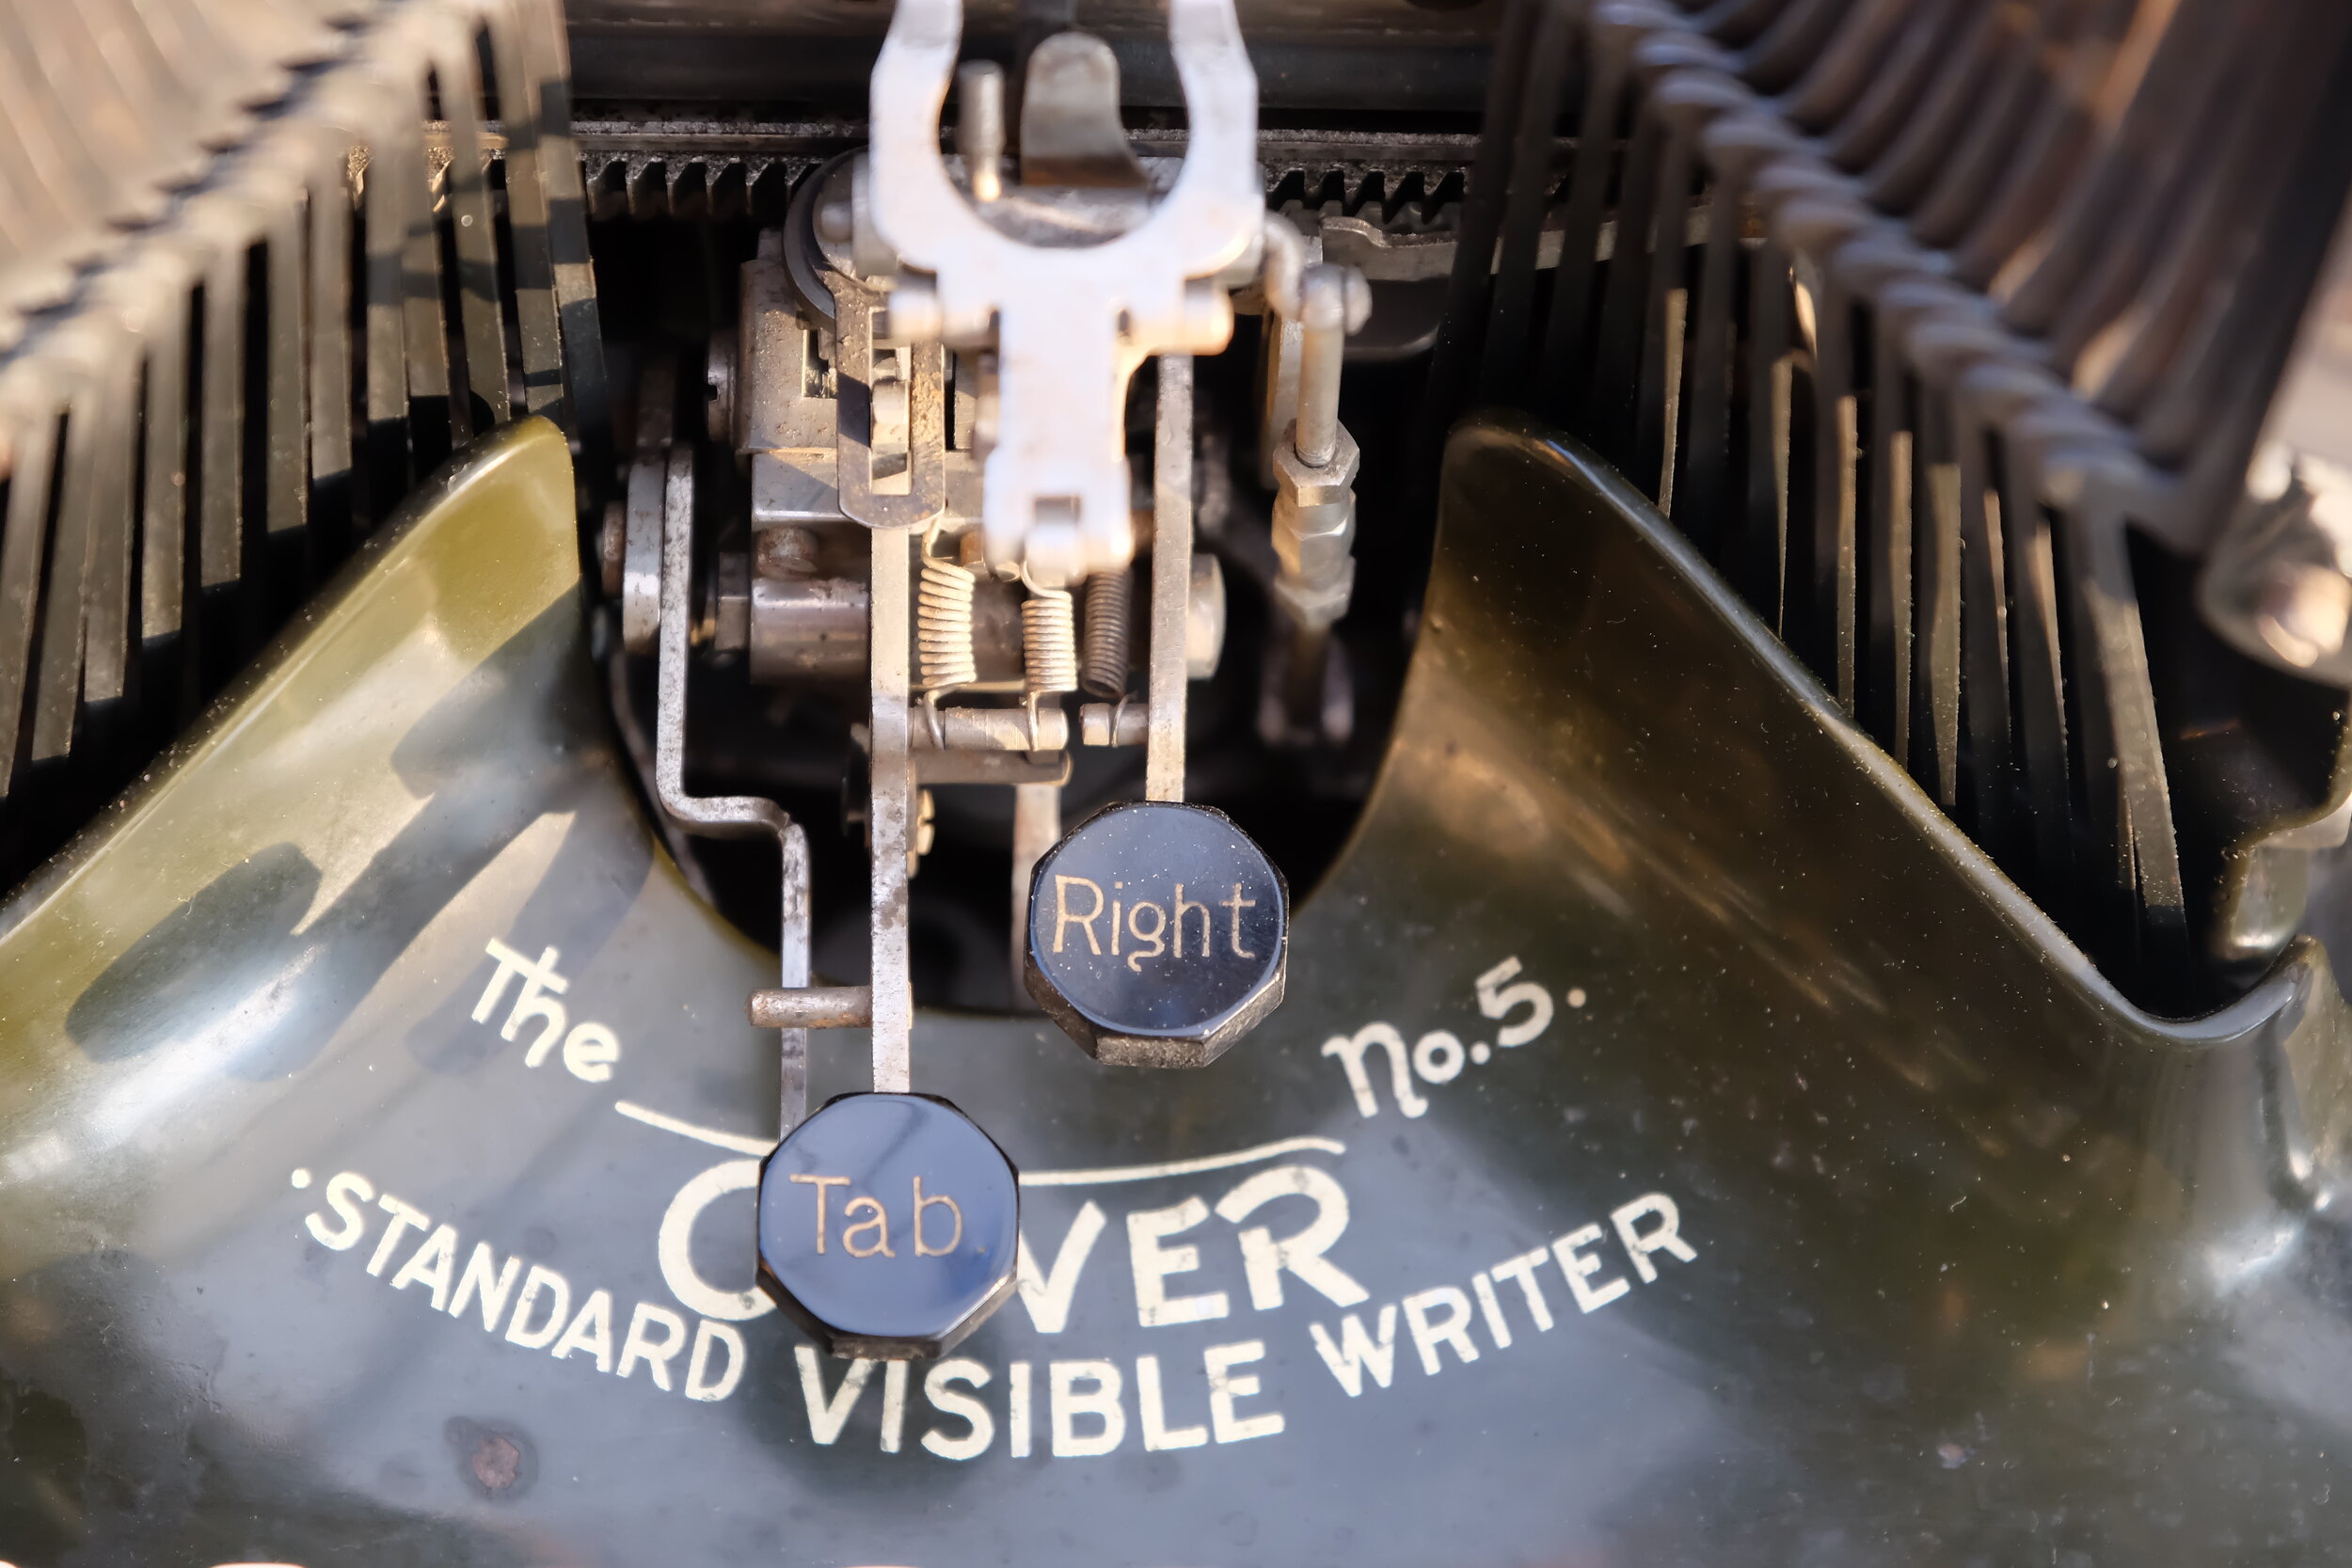
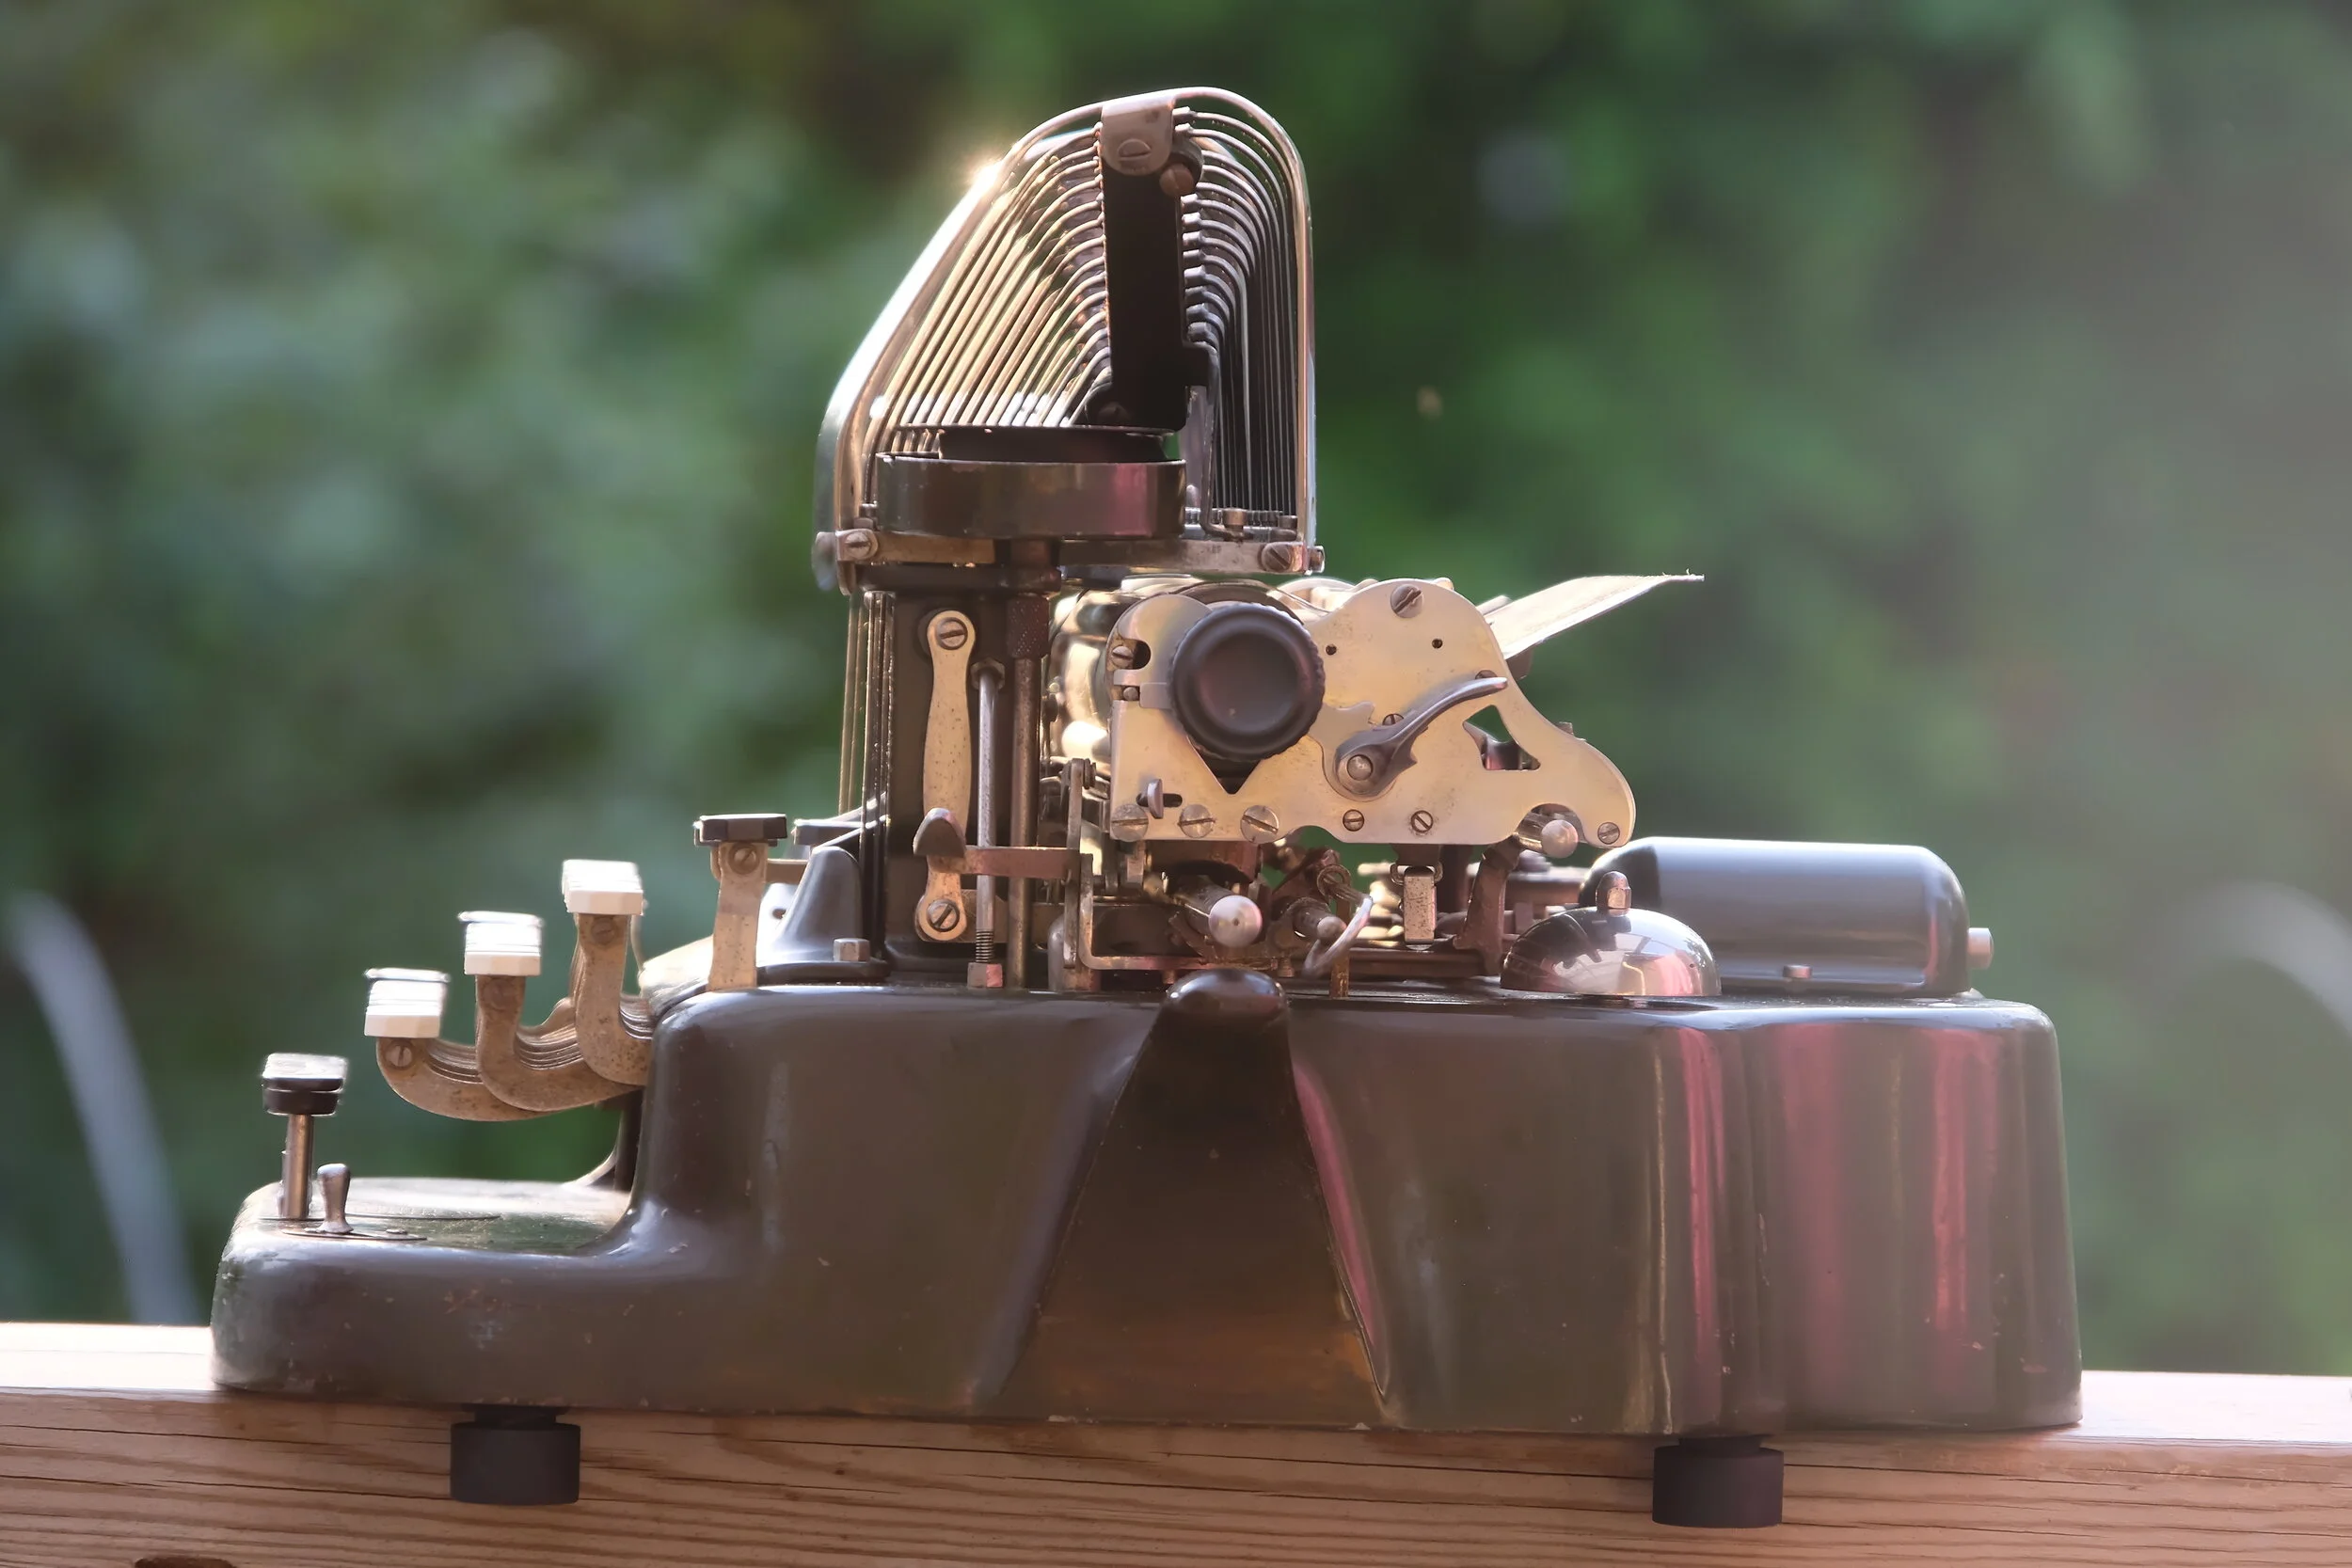
As a predecessor to most modern typewriters it has some cool mechanical solutions which amaze me. Most of them were developed further into what we now see in modern machines. Some of them were abandoned for reasons which I don’t understand.

My journey through this wonderful mechanism can be seen in more details here.

It was called a “visible typewriter” since it allowed seeing what is actually typed. Before it there were many constructions which printed on the bottom of the platen - to check what is being written the operator had to stop and lift the platen to check the print. Such machines were called “blind typers”.

Below is a gallery of restored machine, with her “honest patina” which I have decided to leave, as a part of her history.

View fullsize DSCF5215.JPG
View fullsize DSCF5216.JPG
View fullsize DSCF5217.JPG
View fullsize DSCF5218.JPG
View fullsize DSCF5220.JPG
View fullsize DSCF5221.JPG
View fullsize DSCF5223.JPG
View fullsize DSCF5225.JPG
View fullsize DSCF5226.JPG
View fullsize DSCF5227.JPG
View fullsize DSCF5228.JPG
View fullsize DSCF5229.JPG
View fullsize DSCF5230.JPG
View fullsize DSCF5231.JPG
View fullsize DSCF5232.JPG
View fullsize DSCF5233.JPG
View fullsize DSCF5234.JPG
View fullsize DSCF5235.JPG

Carriage is easily removable, with smart draw-band catch which re-attaches the draw-band upon reinstallation of the carriage. Why was this abandoned in later machines?!

View fullsize DSCF5236.JPG
View fullsize DSCF5238.JPG
View fullsize DSCF5240.JPG
View fullsize DSCF5241.JPG
View fullsize DSCF5242.JPG
View fullsize DSCF5243.JPG
View fullsize DSCF5244.JPG
View fullsize DSCF5245.JPG

Restoration details can be seen here.

July 02, 2021 /Lukasz Kumanowski
Comment
  • Newer
  • Older

Powered by Squarespace