Boatworks

  • Main
  • Louve
  • Typewriters
  • Workshop
  • Meritaten
  • Glypto
  • Motoko
  • Inspirations
  • About

Oliver no.5 typewriter

July 02, 2021 by Lukasz Kumanowski

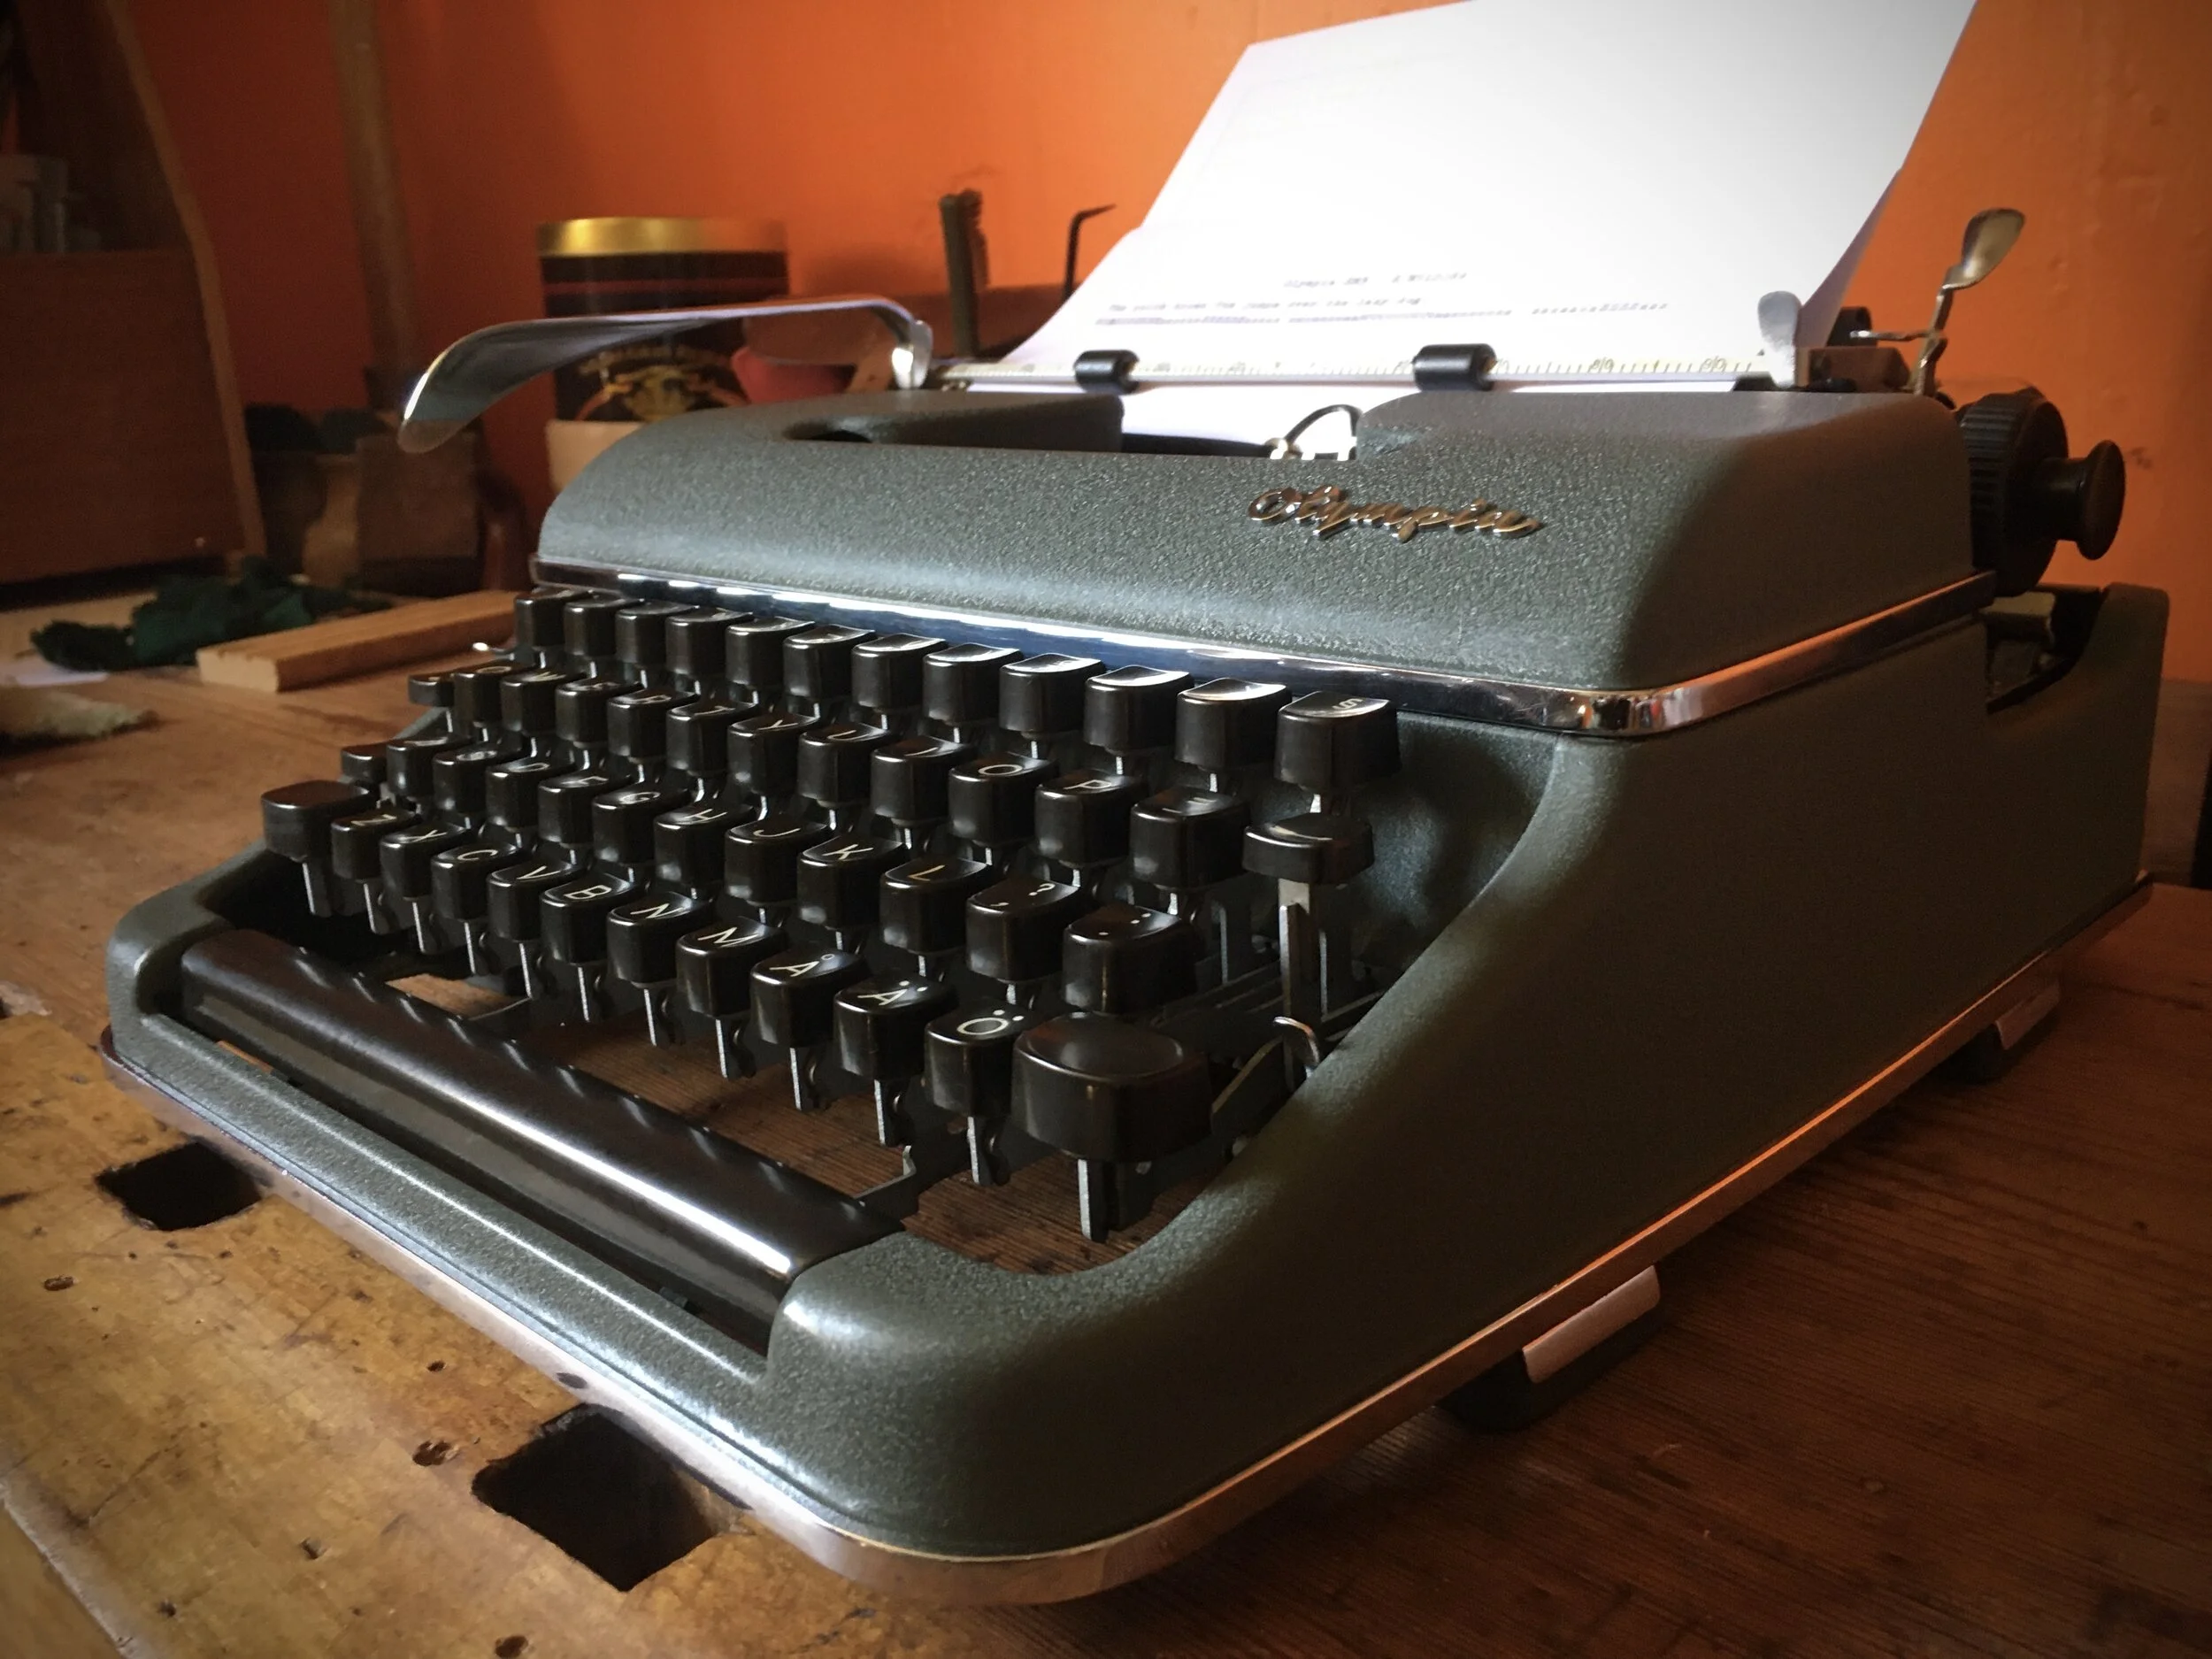
This fellow occupied me for many evenings. I’m not yet done on it but it types now reasonable well to be fully usable.

I bought it from Swedish collector. The machine is more or less complete but was not working due to thick layers of dirt in the mechanism.

The first thing to do was to blow out most of the dirt. Hard brushes and air compressor came in handy.

This is my first and, so far, only Oliver. They are much different from other machines I worked on but their mechanism is fully accessible and hence easy to understand.

I removed as much as I dared, starting from front panel.

That gives access to bar links and vibrator connectors.

“Patina” goes a long way as how much wear can be accepted but these keys are simply dirty. That will need to be addressed later.

Carriage on Olivers is easily removable, no tools needed. Smart catch mechanism is catching draw band which is attached to the main spring. On all other machines one needs to first detach the draw band and secure in some way before carriage can be removed. Oliver takes care of it by design.

Body panels, type bars protector with felt rest pads and carriage left aside for later. All the rest of the body is a solid iron cast.

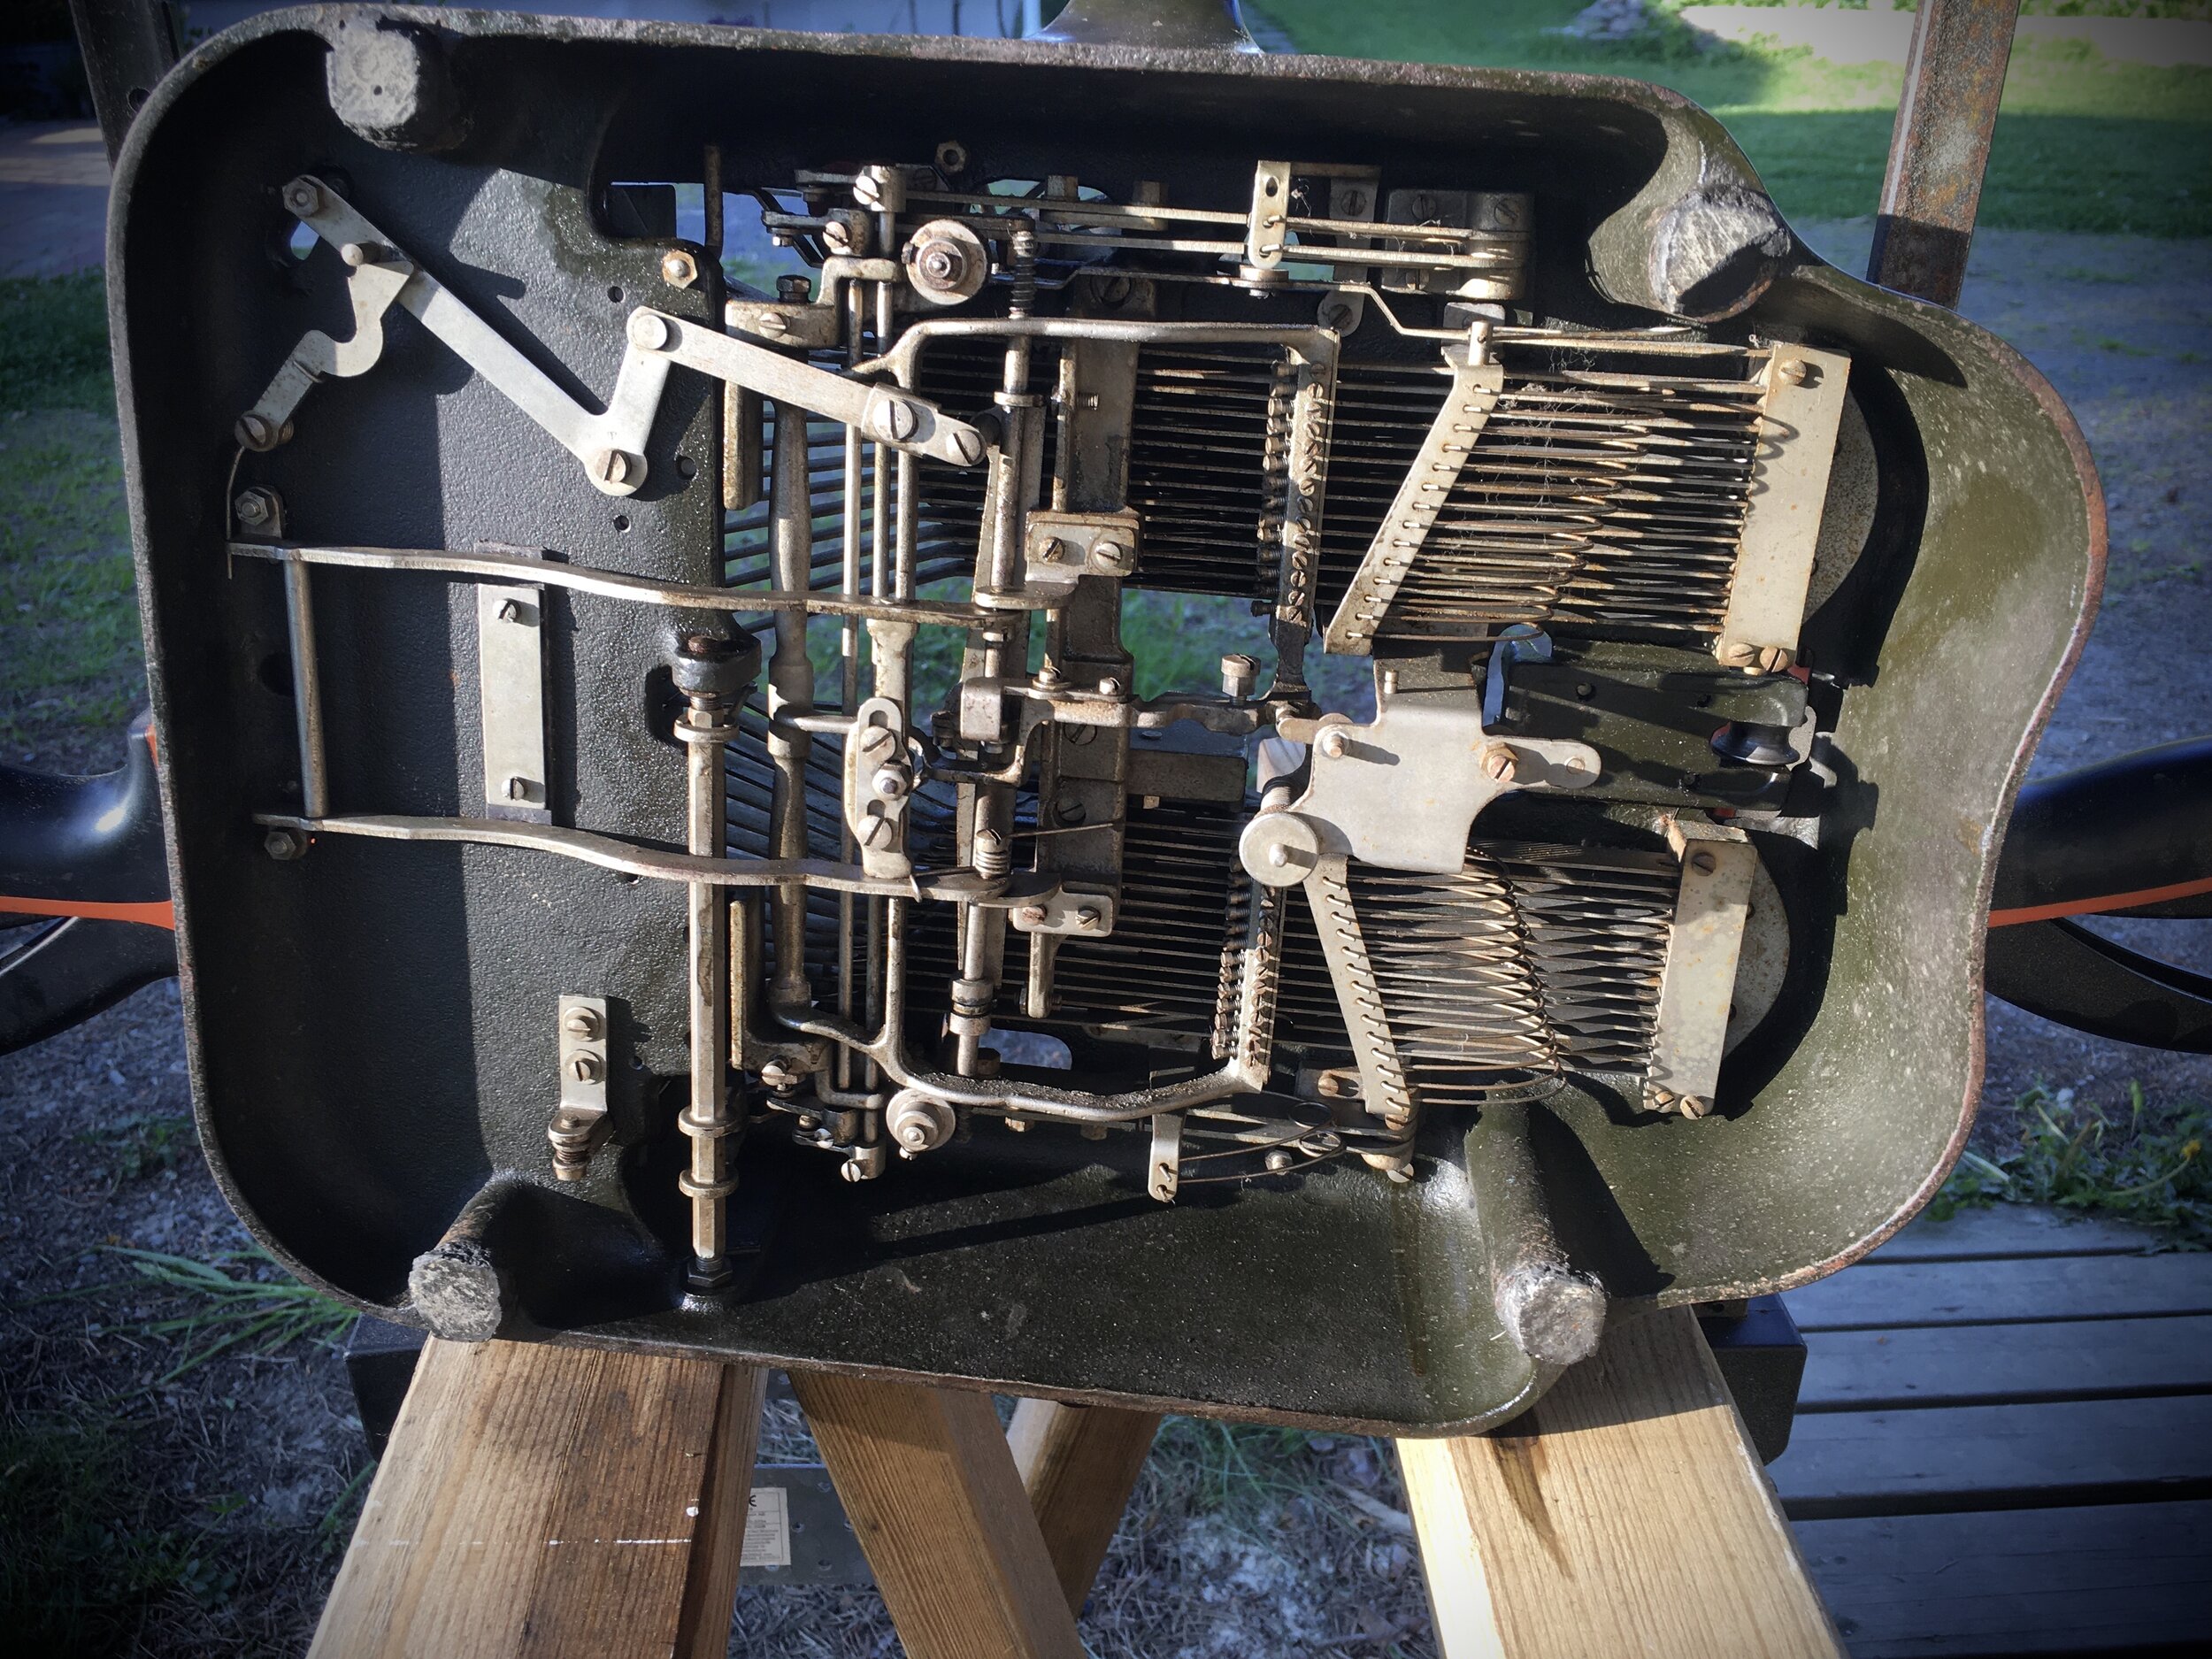
Back side of the machine. Cover housing up & down shift adjustments is removed.

On the bottom-middle can be seen catch mechanism holding draw string in the absence of the carriage. Smart!

Ribbon vibrator, luckily complete and not damaged. It allows typing on one colour ribbon. Later, with Oliver 7 & 9 it is equipped with shifting tab, to allow typing on dual-colour ribbons.

Three-bank keyboard, Swedish language. I document the layout before I move to the next step.

Here we go with removing keys for cleaning. No lousy press-fit, each key has its screw and washer! This machine was built to allow easy service.

Patina? Should I leave it or remove it?

My wife had strong opinion about that so I decide to clean them properly. It is many years of finger dirt and tobacco smoke on them. It will be a tedious work so I leave it for now.

I remove the main spring drum to inspect the spring and be able to clean everything under it. Many Olivers come with broken springs: user-adjustable thanks to knurled knob on the side, they often get tensioned too hard and break with time. Mine is in good condition.

I decided to bite the bullet and remove the whole carriage rails assembly. There are a few links which need to be disconnected first.

Both “towers” are serving as anchor to the rails. I remove the complete arms.

Ribbon vibrator actuator arm is in the way - I disconnect it through the top opening. It is held by springed catch.

This tiny “bird” is a bell hammer. Mounted on a piece of spring, to make it sound clearer. That’s what I call a real engineering catch - unlike in Hermes machines where bell is just dull, metallic “clink”, Oliver has a nice, clear sound to its bell.
I remove it - to remove the actuating rod - to remove the carriage rails - to remove… you get my point.

Shifting mechanism connection, I needed to unscrew it from the bottom. It has a rectangular washer which needs to be placed in the correct position upon assembly. I take a note on that.

Left margin stop - adjusted from the right - needs to be removed, too.

This is the last link holding rails to the rest of the machine. I hope.

Nope! Back space mechanism is in the way. Disconnecting the linkage should make room to move out the rails.

And one more thing: linkage under the Tab key.
It is in fact a simple brake - the link goes all the way to the main spring drum where it presses against the spring housing. The purpose is to slow down fast moving carriage, before it stops on the tab-stop. Very simple and effective.

It was later substituted with toothed gears on more modern machines, to use toothed-gear mechanism friction to slow down the movement.

Cool to see the predecessor sitting on this early Oliver.

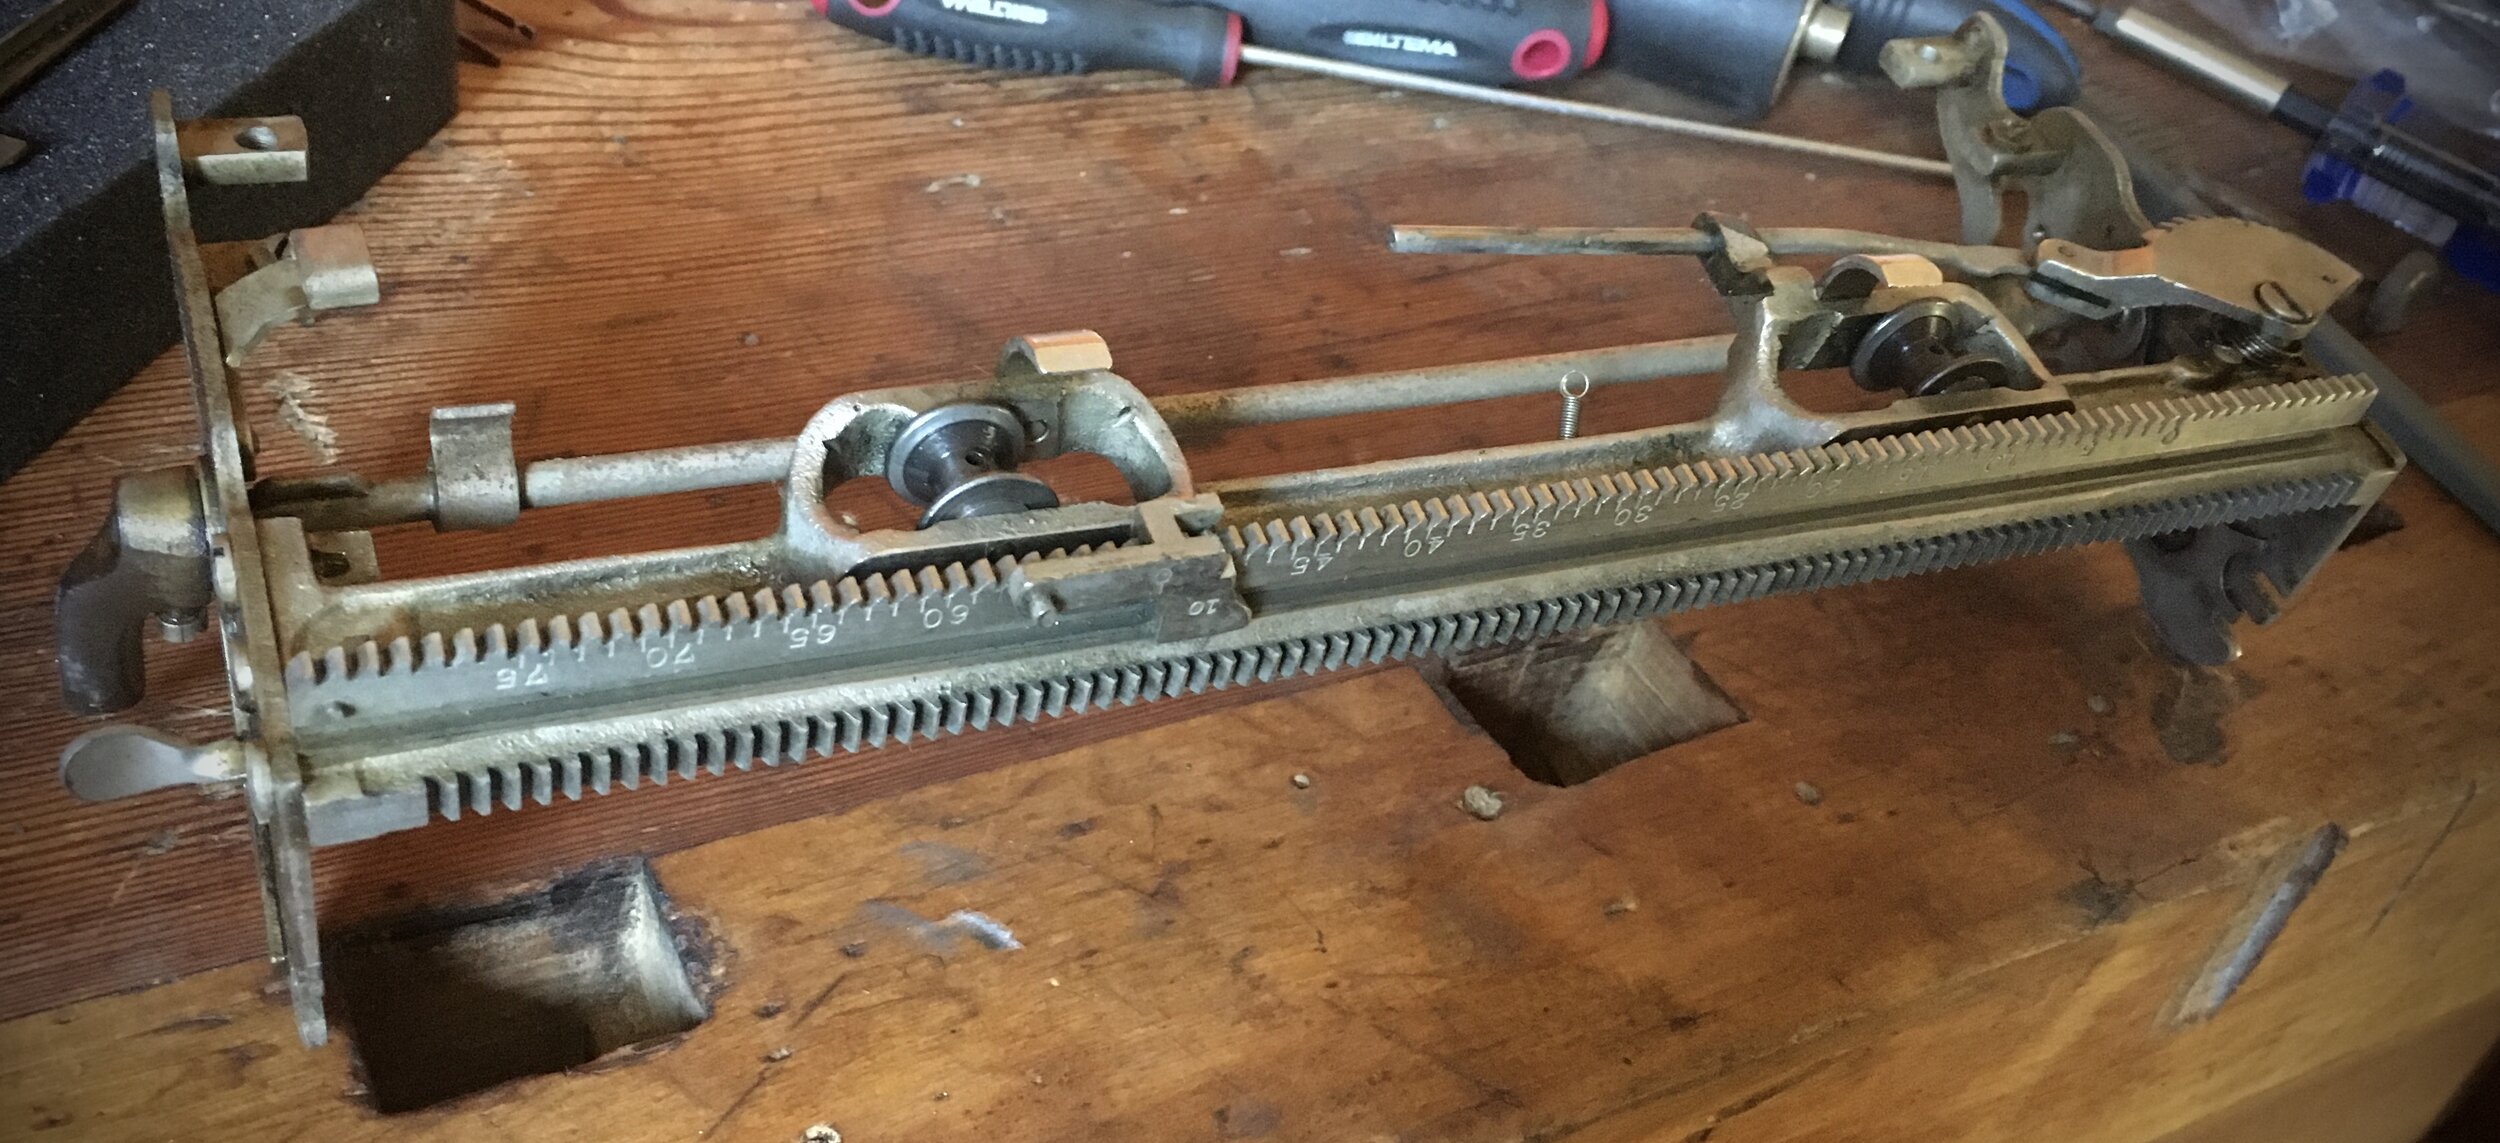
With all that disconnected the rail assembly can be lifted up at the angle and removed from the machine.

And off we go for cleaning session outside. Having now good access everywhere I again brush the mechanism with hard brush and blow out the crud with compressed air. Then I move to chemical cleaning: I use 2 parts of white spirit (low aromatic) and one part engine oil. That is more or less what was used in typewriter workshops back in the day, it solves old grease and when solvent evaporates it leaves a thin coat of oil, protecting metal parts from rust.

View fullsize IMG_2563.jpg
View fullsize IMG_2564.jpg
View fullsize IMG_2566.jpg
View fullsize IMG_2567.jpg
View fullsize IMG_2568.jpg
View fullsize IMG_2569.jpg

Rails assembly gets similar treatment.
In the evening Sun it looks like a model of International Space Station.

Back on the bench for assembly.

Paint on most Olivers did not last well through the time, mine is no different. After cleaning it turned out to be quite fine. Bryan calls it “honest patina” which the machine acquired through many years of use and being touched by hands people working on it.
I’ve decided to leave it “as is” and not repaint it.
I polished it a bit and wiped exposed iron with camellia oil. Same as used on samurai swords.

Inspecting and assembling the main spring.

Time has come to clean the keys. One by one. I didn’t dare to use bleach on them, to not damage already faint letter markings. Tested denatured alcohol - didn’t work. Acetone melts them so no use here.

In the end I scrubbed the crud with soft sanding pad.

With keys attached I moved to the second big component: the carriage. It required some serious overhaul.

Nickel plating is gone on most parts, left overs covered with rust, flaking ugly.

Suprisingly decals are in good shape. I proceed carefully, documenting each part’s position before removing.

Ratchet tensioner - for platen’s step-less turning - has its U-spring intact.

Carriage pitch adjustment is sitting on rusty rail. That goes off also. I keep the original position unchanged.

It is connected to two leaf springs sitting loosely on top of each other. I note which of them was in top position.

The roller is in good shape - it was covered with oil. Removed to have the whole rail available for polishing.

Platen can now be removed.

Free-glide tab is spring loaded. I detach the spring before the cleaning.

Chemical cleaning and brushing followed.

View fullsize IMG_2616.jpg
View fullsize IMG_2617.jpg
View fullsize IMG_2618.jpg

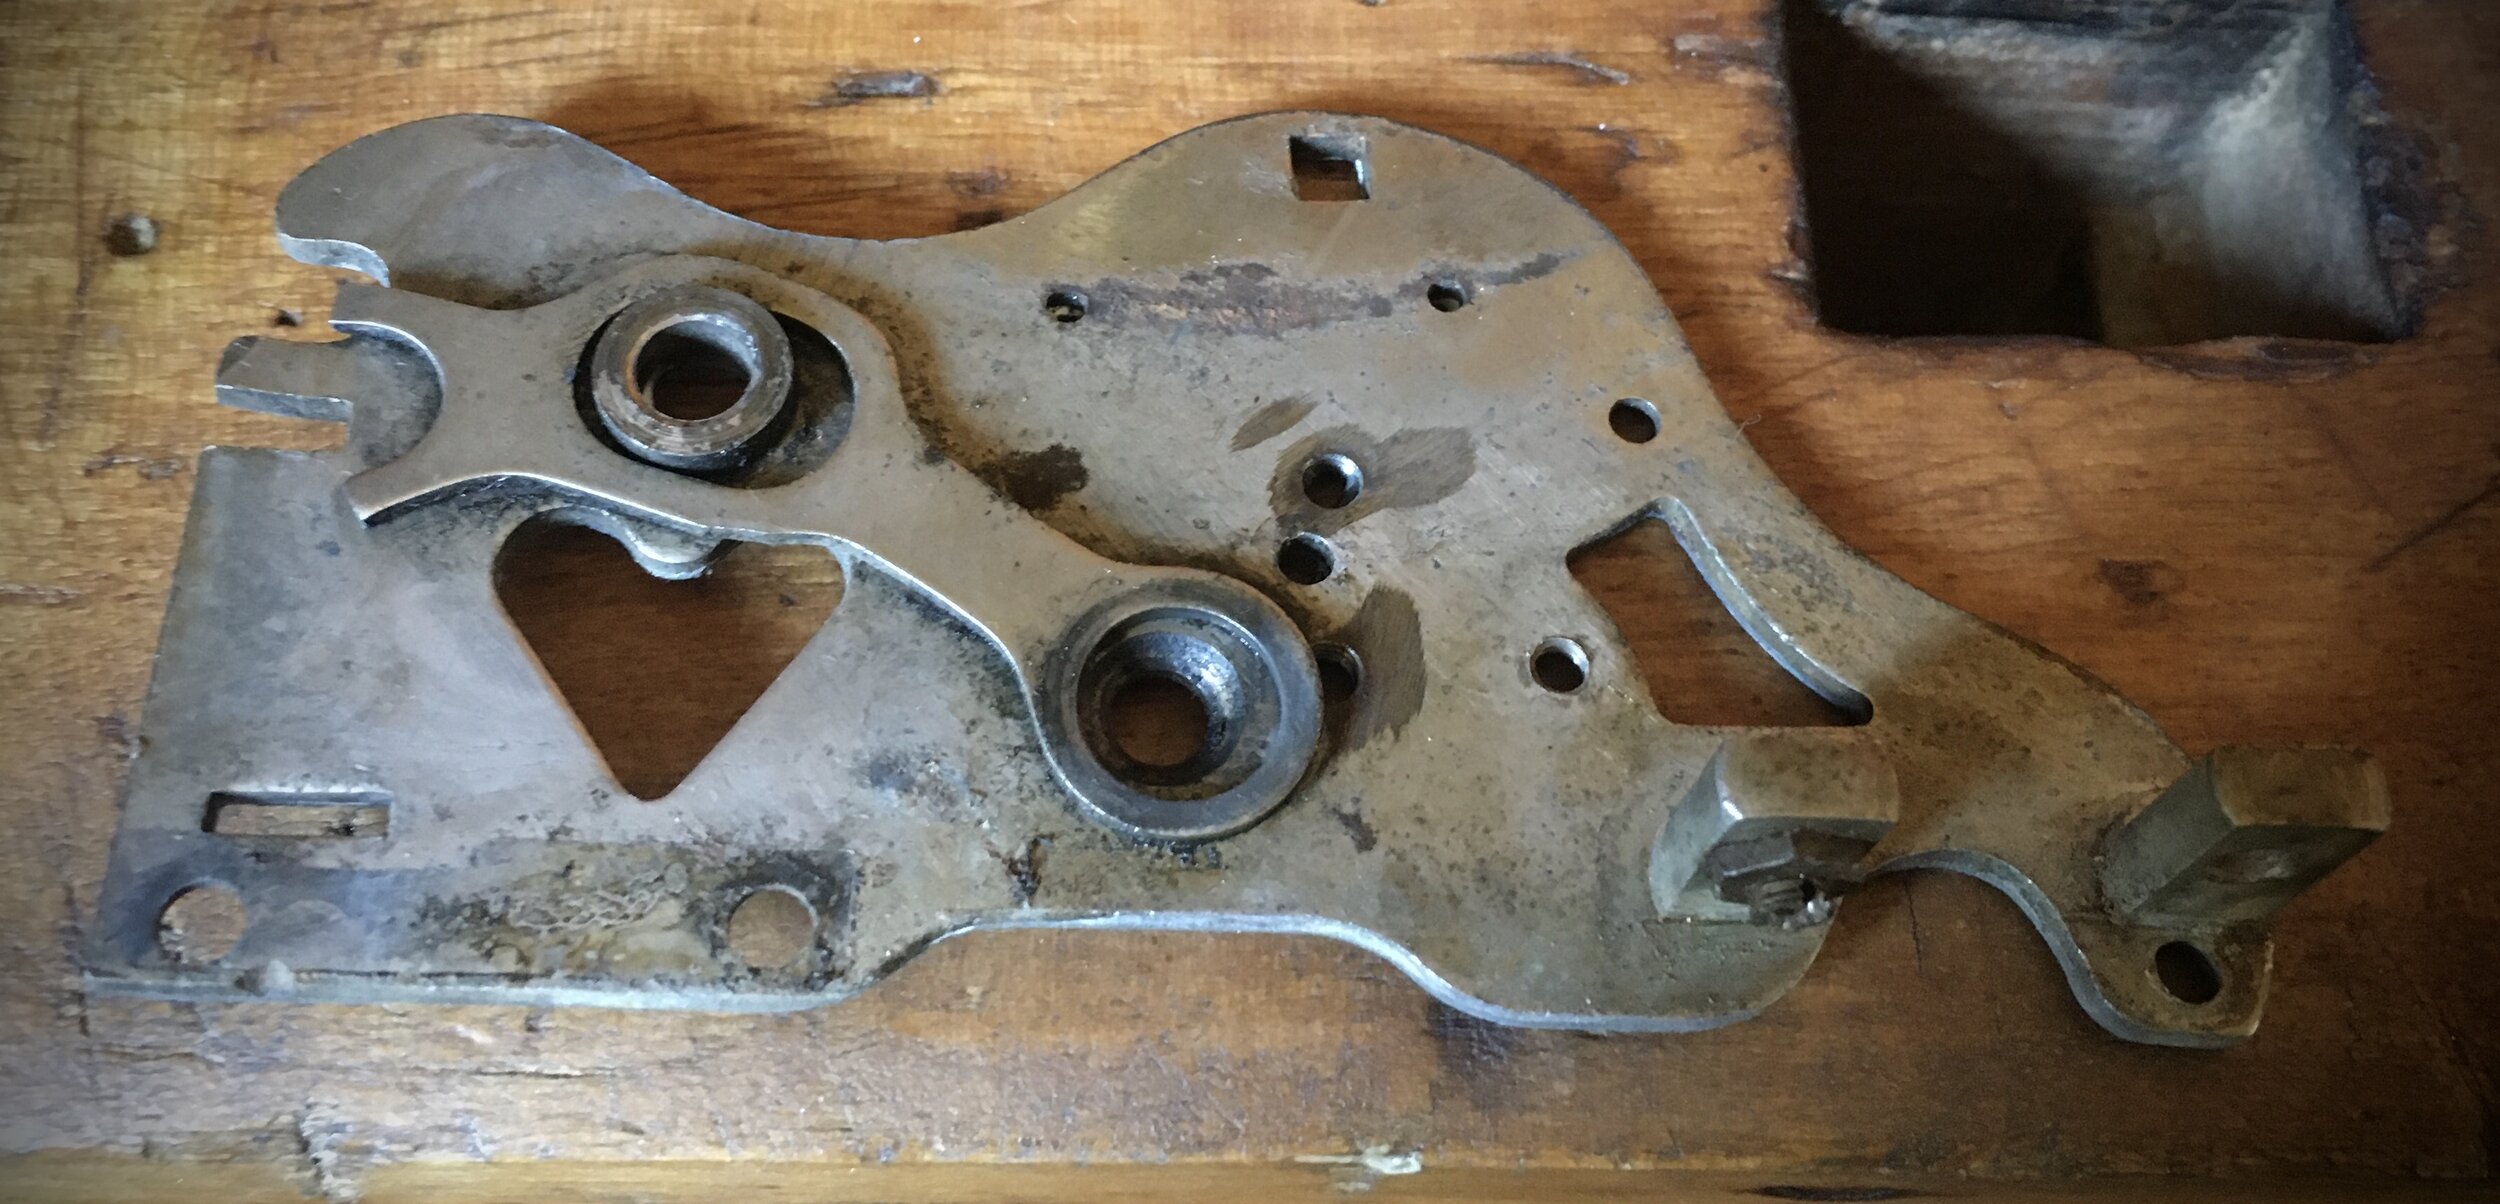
Carriage end plates lost most of their plating. I don’t have nickel-plating bath right now so I just polished them to bare steel and treated with camellia oil, to protect them from rust.

View fullsize IMG_2619.jpg
View fullsize IMG_2622.jpg
View fullsize IMG_2623.jpg
View fullsize IMG_2624.jpg
View fullsize IMG_2625.jpg

Same treatment for margin bar: nickel and rust removed to bare steel, buffed on bench grinder.

View fullsize IMG_2626.jpg
View fullsize IMG_2627.JPG

Platen was very hard and dented after years of service. It should be recoated but for now I sanded it with 320 grid paper so it is smooth again.

I could not resist to check how it is built inside so I unscrewed one face. Yep - it is wooden pipe in the core!

Very important detail, on every typewriter, are rubber legs. Especially on so heavy machine as Oliver. Old legs were gone - rubber hardened and became brittle, they fell apart when I tried removing them.

I took redundant mooring dumper from Meritaten. It is a modern rubber-like material, very resilient and elastic. I turned new legs on lathe - not an easy job with this material but it turned out quite well.

Installed on the machine.

Adjusted shifting lock and oiled it before putting back the cover.

Last thing to do was to fabricate new rubber spacers which sit under ribbon cans. Old ones disintegrated, rubber remains told me that there should have been something there. Checking on Bryan videos I found that indeed rubber rings are supposed to sit there.

Mine are made from Biltema’s rubber locks, punched to clear the screws. They put up ribbon cans to the same level as spooling mechanism.

Without them spools sit too high. It still works but then spool covers cannot be put on top.

Now was the time for type-test.

This machine had some uneasy years. Printed letters were all over the place. I adjusted general position on both shifts but still many letters were printed at different levels.

One by one I formed each bar to bring all letters - from both towers - into one, common level. It took a few hours and quite a few pages but in the end I managed to get aligned and good quality print.

I’ve put old-stock cotton ribbon, heavily soaked with black ink - from old Facit office supplies.

So the Oliver is back to operation and can serve its purpose for another 100 years!

July 02, 2021 /Lukasz Kumanowski
Comment

Continental Silenta

May 29, 2021 by Lukasz Kumanowski

This machine was made in 30’s, in Germany. It was produced throughout the war until 1942 and was the most advanced and complicated machine of that time. Today it has a cult status as a super-silent typewriter.

That is indeed true: German engineers, inspired by Remington Noiseless, took the concept further and redesign the mechanism to improve it and make even more silent. That comes with the price: machine is complicated and has much more parts than Remington Noiseless, not to mention standard-action typers.

For many enthusiasts the action of Silenta’s type bars reminds moving jaws of the Alien, from Ridley Scott movie. It is alike Remington mechanism but there are more parts and swinging weights on each type bar assembly which “snap” the slug into paper regardless how heavily or lightgtly one strikes the key. Pulling arms slow down the slug just at the last moment, preventing it from hitting the platen too hard and thus avoiding click-clack noise known from standard typewriters.

My particular machine had lot’s of problems when it came to me.
Working on her was really a joy - it took me a few weeks (evenings mostly) to get her back into tip-top shape. It has Swedish font and luckily it did not contain SS-runes which would have to be ripped away on “denazification” process after the war. Many such machines went through this process, mine was apparently made for Swedish market so no Nazi symbols on her.

Lady from whom I bought her had this machine stored in a cellar for many years, after her father bought it on flee-market in Lund. They never used it, either because it was already broken or because her father messed up while trying to fix her.

As often is the case the machine was sprayed with WD-40 at some point, yielding it unusable - all mechanisms got stuck by hardened goo. Thorough chemical cleaning was my first step. I use white spirit with few drops of camellia oil. Compressed air to blow out all loose dirt.

This is an office machine, full size. It has all possible features available at that time. Among others it has a mechanical break/slowing down mechanism which prevents the carriage from flying too fast upon using Tabulator.

Not much could be removed before cleaning - the machine has only front panel removable, everything else is serving as a frame to the mechanism. Cleaning type bars assemblies while protecting the platen from splashes of chemistry.

There were a few type bars which snapped out and disconnected themselves. I fixed them at this stage. Few others were slightly bent in guiding slots - fixed easily with some patience.

Machine was blocked by crashed and bent Tabulator mechanism. Tab rail protection bar - which is a crucial part of Tabulator assembly - was bent ugly, locking all in place.

I straightened it and took out all dents with small hammer.

Almost no sign that it was in bad shape before.

It took me a while to figure how Tabulator mechanism works. Only then I realised that someone has attached Tab rail the wrong way:

It should be turned 180 degrees, so that spring steel rod sits inside the rail, not outside.

Tab-setting tongue had to be aligned against the rail.

Spring rod is being depressed by flat springs attached to protection bar. The rod is keeping Tab markers under tension, preventing them from moving if not pressed by Tab-setting tongue.

To align these flat springs can be a bit tricky. Small holes in protection bar allow checking the alignment: if one sees black through them then the flat springs (black) are aligned. If silver is shining through (spring rod) the springs are misaligned.

Pretty neat, isn’t it? It reminds me that nothing on the typewriter is there for no reason. Even tiny holes have purpose.

All screws which I had removed were cleaned and polished before screwing them back. Some of them - these which are visible up front - are nickel plated.

Glass keys had lots of hardened dirt after years of use. Cleaned with wooden stick to reach all cavities.

The second big issue was that the vibrator was broken and one part was missing. I detached it and removed from the machine after I removed the platen.

The vibrator is holding ribbon and rising it to meet type slug upon printing, then moving back into low position to take away the ribbon and show what was just typed. With left part missing the ribbon was not guided properly and the machine was unusable.

I was hoping that the broken out part will be somewhere inside the mechanism but unfortunately it was lost. I had to make my own copy to match the right side part.

I cut it out of thick copper plate - springy enough for the purpose and easy to cut and shape. Matching the right-side part.

I soldered it on place, the same way as the original was installed.

The whole vibrator got a coat of black paint, to match the new and the old nicely.

To function properly it had to be shaped so that it slides freely in the confined space in front of the platen.

With patience and carefully to not snap this delicate part I finally got it right. Connected to the mechanism it now serves its purpose properly.

Every part of the machine which could cause any rattling sound is silenced with rubber or felt. Top-cover rods had old and hardened rubber on them. I substituted it with new, soft silicone-rubber.

View fullsize IMG_2445.jpg
View fullsize IMG_2444.jpg
View fullsize IMG_2447.jpg

This is, of course, a carriage-shift machine. To enable soft and light touch on Shift action there are tension springs which help moving up the heavy carriage. They were tightened too much, the carriage was not returning back into lower position.

To service that I needed a better access. Removing paper table and the platen gave me a clear opening to play with the springs.

Next was the main spring: I winded it a bit harder so that Tabulator was working along the whole platen.

Fine-tuning the Tab trigger took me a while. The same lever controls Tab setting and removal. In confined space between other parts it has to be precisely adjusted to do the job.

The mechanism was now functioning properly. I moved on into assembling the machine.

While having the platen removed I wanted to try covering it with new rubber which would make it soft and even quieter, improving imprint at the same time. There is a company JJ Short in USA which does that professionally but I wanted to try inserting an old bicycle’s inner-tube. Lubrication is the the key here: tried first with oil but failed miserably: before reaching half way the oil got absorbed by the rubber and it stalled. The second approach was with liquid soap and that prove to do the trick. With lots of puffing, cursing and using my body weight I managed to squeeze in the platen into the tube. It was a tight fit.

When soap dried and nothing was moving anymore I trimmed the edges from excess rubber.

To my horror the rubber tube broke after an hour! Either was it too tensioned or got caught by paper rollers. I decided to abandon the idea and reconditioned the platen with rubber-softening elixir instead.

After installing the platen back onto the carriage the machine was complete. Rubber bumpers which hold the top cover were in pieces so I replaced them with new ones.

The last detail was paper bale where rollers were in bad shape. Their role is to press down the paper against the platen. I could not leave them like that.

I fabricated new ones from red tube encapsulated in transparent, silicone pipe.

Nice and grippy, matching the red line-release knob on the front panel.

The machine is assembled and ready for typing!

Polished and shiny it was moved to her new home, eager for another 90 years of faithful service.

May 29, 2021 /Lukasz Kumanowski
5 Comments

Olympia SM2

May 14, 2021 by Lukasz Kumanowski

This old, German machine had no serious problems. It just needed CLA and replacement of few rubber parts.Most typewriters on the market really need only that - cleaning, very moderate lubrication and alignment. They were build to last and withstand years of heavy beating. Unlike computers or mobile phones…

The main issue was that carriage assembly was scrubbing body panels on the sides. It is a common issue with these machines and is caused by rubber cushions being compress to much or decomposed due to age. Most owners do not recognise that there is a problem until the carriage does not want to move any more and side panels have deep, ugly dent. This machine, luckily, was not used when the problem occured. Side panels have just a bare sign that the carriage got too close.

The second issue was misaligned position for capital letters. Easy to fix.

I started by cleaning disassembled machine, to blow away all dust and dirt accumulated through the years. Font bars of few letters were a bit stuck so chemical degreasing of the whole basket was needed. Keyboard and platen covered with rags, to protect them from nasty chemicals.

Font slugs were dirty, filled with dried ink.

Cleaned that - now they look properly and leave clear, crispy imprint.

Keys were a bit grouse and dirty but suffered no damage. They are chocolate-brown, matching nicely sea-foam green body.

Luckily this machine was not treated with WD-40 or similar pseudo-oil. There are many folks who believe that this is lubricating oil. It’s not. WD stands for water displacement and it does exactly that. After a while it hardens and solidifies. If precise mechanism is sprayed with WD-40 it will work for a while but then it will stall!

Someone attemped service on this machine and greased most part of the mechanism with thick lithium grease. I needed to remove all that - even though it does not stall the mechanism it accumulates dirt and will cause problems. These portable typewriters really should be dry. There are only few places where a drop of thin, machine oil (literally, very small drop) is needed. Otherwise - no lubrication!

To get inside the basket I lift type bars with a rag. Spraying solvent onto the mechanism and blowing all gunk out with compressed air.

I then attended aligning the carriage, starting with small letters. Olympia SM2 is a carriage-shift machine meaning that to get capital letters one lifts the carriage. More modern machines have mostly segment (basket) shift meaning that the heavy carriage stays in the same place and font slugs are adjusted up and down instead. As the segment is lighter than the carriage such machines are usually quicker and easier to write on. Some refined machines with carriage shift can perform equally well, carriage shift is assisted by spring mechanisms.

Regardless of the construction the goal is to get the best imprint by aligning the assembly so that font slug lands on the proper part of the platen’s curvature.

It is an iterative process. This machine has adjustments screws on both side, accessible after body panels are removed. We start with small letters, aiming for even imprint on both upper and lower part of the letter.

Screw for small letters adjustment visible in the frame opening

Once happy with the result we move to capital letters adjustment. This is controlled by screw positioned close to ribbon holders. Again, both sides need to be adjusted on Olympia.

Each adjustment is checked by typing test, until we have capitals aligned and good quality imprint. I use old ribbon for that - new ribbon, with its abundance of ink, will not show clearly enough if the font has weaker imprint on one side.
Several iterations later the adjustment was finished.

Carriage supports can now be slid into place and tightened.

View fullsize IMG_2291.jpg
View fullsize IMG_2290.jpg

After last adjustment - for Caps Lock - the machine was ready to get her body panels.

These got proper cleaning. Felt sound dampening was blown from dust and dirt. Metal panels got proper scrubbing and cleaning and were drying in the sun before assembly. WD-40 applied on their surface removed humidity rests and added some gloss to this crinkled, green paint.

Rubber cushions were flattened and almost decomposed. I’ve made new ones, circa 5 mm thick, from rubber pressure hose.

They are installed on shoulder screws, with corresponding washer.

With panels installed I check “under the hood” if nothing was missed or left inside the mechanism.

Typing test follows.

Ready for service for another 50 years!

View fullsize IMG_2311.jpg
View fullsize IMG_2312.jpg
View fullsize IMG_2314.jpg
May 14, 2021 /Lukasz Kumanowski
2 Comments

Typewriter's pad

May 08, 2021 by Lukasz Kumanowski

It seams not important but a pad dampening typewriter’s noise and vibrations is crucial for peaceful coexistence between the typist and the world around. Especially in public places or in your own kitchen in the evening. Not once was I asked to finish because family was going to sleep.

It can be whatever, just so that it dampens vibrations and noise. There are fancy pads on Etsy which can cost more than a typewriter. I decided to make my own, from scrap pieces of foam and yoga mat.

As simple as it looks: a piece of yoga mat (very soft and spongy) sandwiched between rubberised foam. I like rounded corners so I trimmed them with sharp blade.

Some finishing with sanding blocks so that all three layers blend into common edge.

As a trim and personalisation I added metal plates on each edge. Just for fun. I use old Dymo index-machine from 70’. I discovered by accident that Dymo with steel letter matrix can stamp also on stainless steel and aluminium tapes. There is of course brand new version of this machine, dedicated for metal stamping but it costs a fortune. The one I have I picked from thrift store for peanuts.

Aluminium is easier to work with so I reserve steel only to outdoor projects.

First test. Machine sitting on the pad is Remington Noiseless Portable.

It is indeed almost totally silent while typing now!

Perfect combo for late night consciousness streaming onto paper.

May 08, 2021 /Lukasz Kumanowski
2 Comments
  • Newer
  • Older

Powered by Squarespace