Boatworks

  • Main
  • Louve
  • Typewriters
  • Workshop
  • Meritaten
  • Glypto
  • Motoko
  • Inspirations
  • About

Galley box

May 16, 2024 by Lukasz Kumanowski

In my opinion coffee tastes best after a long sailing. Same with food - and best if it is a warm meal.

To prepare Louve for camping-cruising I built a simple box around Origo-clone spirit stove. Nothing as sophisticated as Roger Barnes uses but good enough for my purpose.
As my boat differs from Roger’s I had much narrower slot to put my galley which resulted in a cube housing only the stove and some basic cutlery.

Objectives for this build were:
- house a stove, to be able to cook under way or on anchor
- to fit under front thwart. That seems to be the best and only place to have galley on a boat like mine
- to be water-tight - both to protect the stove and to act as additional buoyancy should we capsize

Top and front walls are detachable and sealed with silicone-rubber seal.
Latches compress seals upon closing thus making the box water-tight. Water will get there probably anyway after a while, but it will seep, not flood. Hopefully I will recover after a capsize before the box is filled with water.

Interior walls are housing copper sheets which sit in channels, leaving an air gap between metal and wooden walls. That should provide heat isolation and prevent the whole thing from burning.

Front hatch is covered with cork, providing heat-resistant surface to place hot pots.

Latches mounted on the perimeter provide feet, when folded under the hatch. The whole thing is surprisingly stable.

Top cover acts also as a small table, with raised edges so that cups will not glide too far away.

I also added simple copper handles on both sides, so that it is easier to lift the galley out of the boat, for cooking on rocks or on beach.

The box is held to the boat with two short ropes. I used existing holes in the frame to mount eye-bolts on both sides.

View fullsize IMG_1245.jpg
View fullsize IMG_1244.jpg

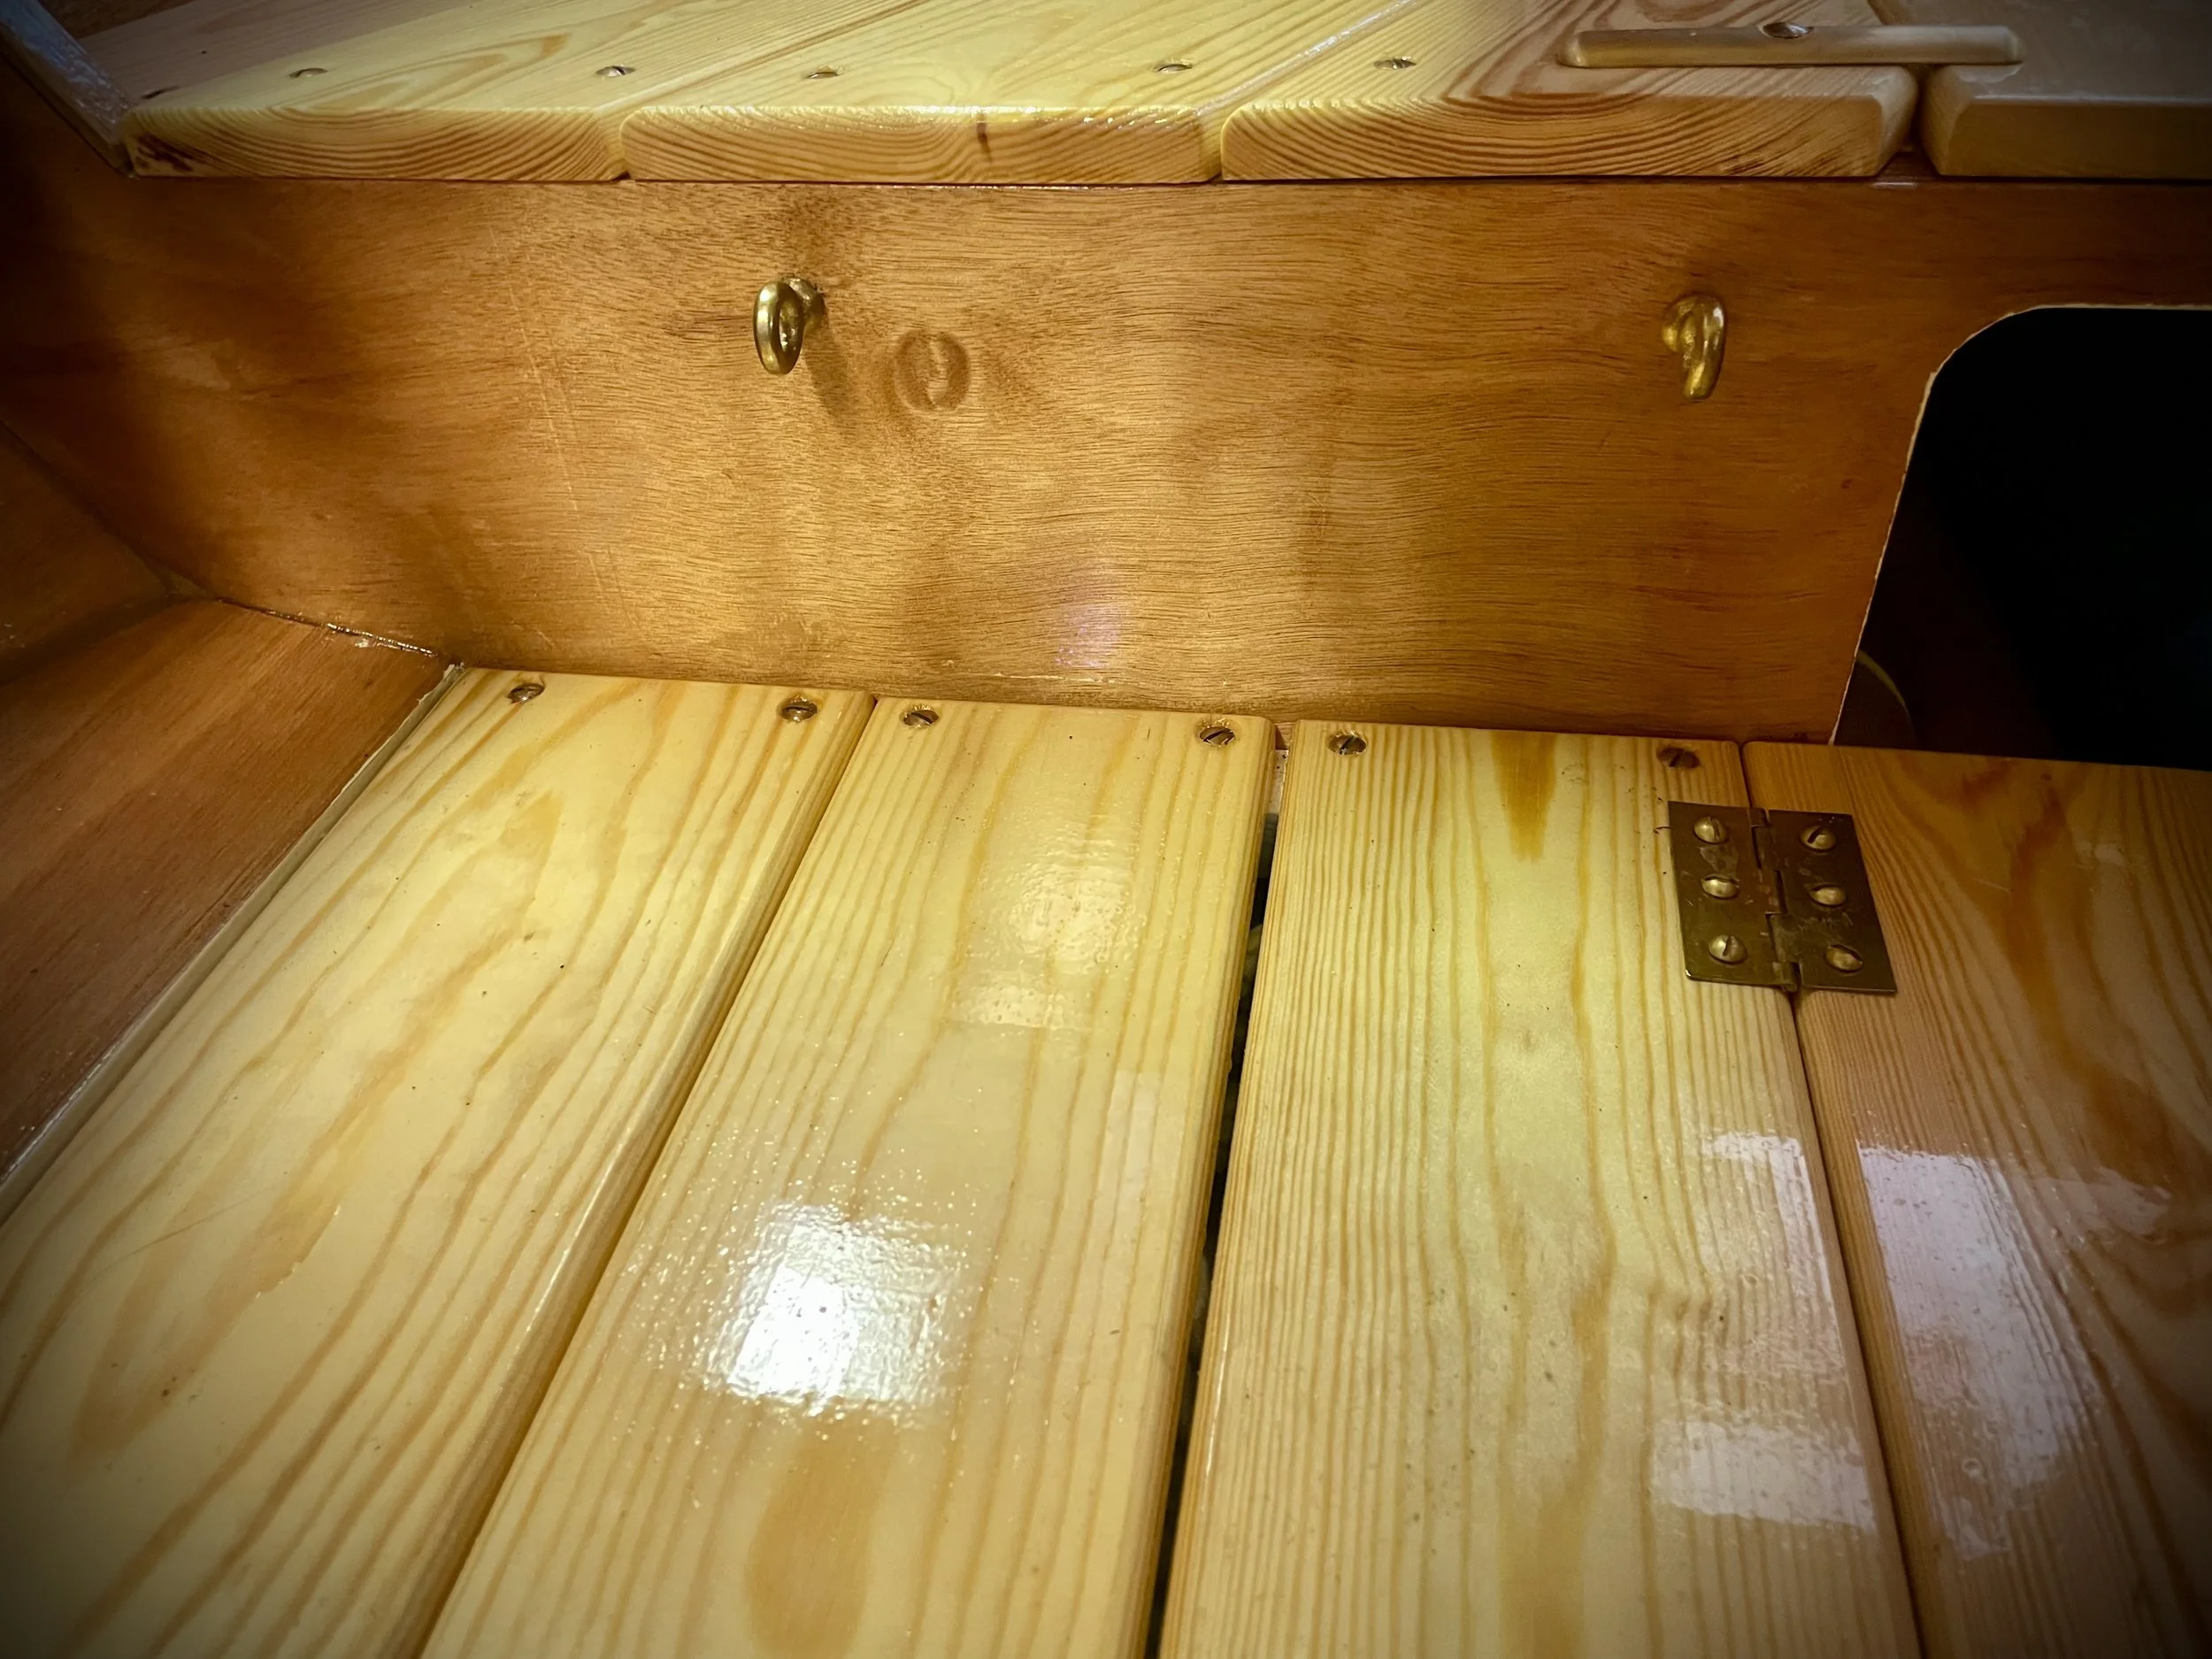
Small Tufnol cleats on both sides hold the galley in place but are quick to release it.

Size limitation for this box was mainly due to long hatches along the centerboard case. To keep them free to open I had to make much smaller galley than Roger could fit in his “Avel Dro”.

Height of the box is designed so that it is possible to open the top cover under the thwart but very little space is left once the box is closed. That should keep it from jumping up when I tow the boat on trailer.
In situ:

Table of Contents

May 16, 2024 /Lukasz Kumanowski
Comment

Launched!

May 11, 2024 by Lukasz Kumanowski

I was itchy to launch already yesterday: the day was sunny and there was lots of wind. I went down to the harbor to take a look - and to measure wind.
11 m/s and 6 Beaufort…Well, a bit too much to my taste - especially for first-time launching of an unknown boat.

It will have to wait for tomorrow.

I secured the boat on its trailer and prepared her for these few kilometers road-trip to Rosättra shipyard. Weighted trailer tongue - should be around 55kg for optimal weight distribution. My boat seems to sit a bit too forward but I’ll fix that later, when she is in water.
It will do for this first trip.

The day after was Saturday. I agreed with Erik and Anders, boatyard owners, that they will leave the slip free of big boats, so that I can launch Louve early in the morning before they come to work.
I arrived before 6 a.m. None was there but a big boat was inside the slip! Luckily she was already launched so I could drag her out a bit, to make me place.

All went smoothly and without any problems: I winched my boat slowly into water and she floated!
There was no wind and still cold so early in the morning: I had iced windscreen on my car. For a while I wanted to postpone this to next week but… hell, I don’t want to wait any longer.

The plan was that I will launch Louve and just take a few turns around the bay, to check how she behaves. I had just some sandwiches and hot tea with me as breakfast.

I rowed out of the slip into open water.

It was so early that I did not want to destroy the silence with engine noise. I could not feel any wind but I set up the sail anyway. And she started to ghost in this very light air!

Terrific!
After about an hour of light-wind it died entirely so I started the engine and headed towards my home harbor.

Arrived in about one hour. Not that I was speeding but at some moments I really opened the throttle, to see how fast this hull will go on flat water. I reached ca 5 knots on half throttle, adding throttle further resulted just in cavitations so I recon that this is the max hull speed.

We arrived in home harbor, I dragged her out onto our slip for a photo session while waiting for wind.

An hour later arrived wind. It was northerly so I decided to beat against it in our narrow Vätösundet so that I can sail downwind after arriving in Björköfjärden. It always blows hard there so it will be a ride!

By this point I decided to make this maiden voyage as Vätö-round. I tend to forget how big my island is and how long it takes in a sailboat, even if sailing downwind. I should have provisioned more food and drink but now it was too late.

Beating against the wind in this narrow channel got me comfortable with using Ilur’s main sheet system: moving sheets between cleats at each tack is no problem once you get hold of the sequence. Just watch how Tim Cooke is doing that!

Helm impeder was functioning as intended so on longer tacks I could enjoy hot tea, served on navigation table!

Finally reached Björköfjärden - we went downwind with vengeance!

It was blowing hard, on the verge that I should have reefed. We were going most of the time close to hull speed, at one moment - when I went to the mast - the boat started to broach. Luckily the impeder gave up and she instantly started to turn into wind. I managed to release the sheet and regain control. No more walking to the bow at such rides!

It took a few hours to go down the fjärden and I was getting cold and hungry. Winter clothes went on. Upon entering Norrtäljeviken the wind turned so I had a moderate half-wind with some squalls a few times. It was a pleasant ride.

But I was getting really cold and tired so I called reinforcements: my family arrived at our harbor with coffee and food so I once again made a stop on the beach there.

Warmed and with filled stomach - life was good again.
Rest of the way towards Rosättra shipyard went on engine - I wanted to test it in going against hard wind. It did well! It’s 2.5 horses were not impressed by the wind and even on half throttle could we run at 4,5 knots.

Retrieving Louve went without any hassle too. Very smooth. She was back on her trailer by 18:30 so I was out sailing for 12 hours!

My first impressions are exceeding my expectations: she is very stable! At no point did I feel uncomfortable or worried. Having an engine as an emergency “iron sail” was also comforting - I did not use it as such but it was there.
Rowing on calm water was a pleasure. Sculling too!
Moving sheets between cleats - a few tacks and I got used of it, no problem at all.

So the first sea trials are performed, the boat ticks all points on my list.
And bilge was dry!
What a day!

Table of Contents

May 11, 2024 /Lukasz Kumanowski
4 Comments

While waiting for launch...

May 05, 2024 by Lukasz Kumanowski

A few days of spring weather went by - and these were during working days, of course.
Since today we have rain and cold again but I plan for launching next weekend.
In the meantime I continue equipping Louve for camping sailing.

Kapok cushions, in burgundy, are installed in the cockpit. They are held with bungee cord but can be easily removed for sitting on sole or on the beach. Most probably this live burgundy color will fade after the first season which will match better my tanned sail.

I planned making rope fenders - to add some fancy & salty look to my boat - but decided to buy standard, inflatable ones instead. Not that I don’t like rope-work!
It’s just that these modern fenders work much better and double as additional flotation and as rollers if I chose to drag the boat onto stony beach. Marine-blue color, they are lashed along both freeboards with slipped clove hitch so can be removed instantly.

Transom got protection leather pad where outboard engine will sit. I decided to sell my old 6hp engine as it seemed too heavy for Ilur. It is substituted by much smaller and lighter 2.5hp unit which I can lift with one hand. As it is a new motor I started breaking-in procedure.

It warmed water quite nicely so I used it to wash amine blush from recently epoxy-coated galley box which I build for Louve.

Next will come sanding and varnishing, then fittings for lashing on the boat. I hope to have it finished before launch but that may be too optimistic.

Table of Contents

May 05, 2024 /Lukasz Kumanowski
2 Comments

Anchor rode locker

May 02, 2024 by Lukasz Kumanowski

My original plan was to install rigid divider in the locker, to separate oars from anchor rode. I started building it but half-way changed my mind.

Instead I decided to make a bag which will keep flaked rode and protect the locker from wear. I used rubberized polyester canvas with transparent “window” at the bilge - feature which will enable seeing under the bag, for whatever reason.

This material is a bit stretchy so I could span it between both ends, to keep it neat.

Front side is closed, to prevent chain from falling into mast foot, aft part is open - to drain water into the bilge.

It keeps 50m of rope and 10m of chain within boundaries and clear of oars. I’ll see if that works in practice.

May 02, 2024 /Lukasz Kumanowski
Comment

Metalworks, helm impeder and other small jobs

May 01, 2024 by Lukasz Kumanowski

I felt frivolous and decided to make copper toggles for deck hatches. I use a 5mm thick plate to cut my blanks.

It will be teardrop shape so that only one position will free the hatch. I will walk on these and most probably they will rotate under my feet so I want to minimize probability that I will unintentionally open the hatch without noticing it.

A bit of elbow grease and eight toggles are ready for service.

In situ.

It is the second day of spring temperatures. It peaks with 20 degrees C but still drops to zero at night. Since we had a red letter day today I started with epoxy work: building a galley box.

That started a bit troublesome since my epoxy base crystallized during winter and micro-pumps got stalled. A few hours in 50 degrees C brought all back to liquid.

With epoxy process back on track I tackled re-drilling rudder’s lower gudgeon (oversize drill & epoxy fill for thru bolts instead of screws).

I want to make sure that water will not penetrate transom assembly if it seeps into screw holes. Instead of relying on screws and Ettan waterproofing I drill oversized holes which will be filled with epoxy. Once it cures I will drill new holes for thru bolts. Even if water seeps into threads it will be surrounded by epoxy, not wood.
That’s a bit “belt & suspenders” approach but it costs nothing to be on the safe side. I would not bother on traditional wooden construction but plywood-epoxy hull must be protected from water ingress at all cost.

Once holes are filled with thickened epoxy (mayonnaise consistency so that it flows down the hole) I tape them with transparent tape, to monitor if there are no trapped air bubbles.

Both sides are properly filled, I leave it for a few days to cure.

I stepped the mast, to check clearance to main anchor. Lot’s of space.

Essential for solo sailing, in my experience, is some kind of autopilot or helm impeder.
I don’t have electricity on my Louve so simple helm impeder is my choice.

Roger Barns describes it in his book. There are also many web pages with different variants of it: here or here. My implementation is even more simplified as I will use main sheet cleats to hold the friction-line.
Started with parceling a rubber cord.

Mounted on the boat.

It is just a 3-strand line which goes thru a small eye under the tiller. To increase friction - hence lock the tiller - one draws a rubber cord which tightens the line.

I used an old sail hook so that I can detach the impeder if I remove the tiller. With tiller removed the rubber cord is held in place neatly.

Works like a charm.

As a last activity I bent the sail on the yard. Only now, when I look on this photo I see that I made a mistake.
Does anyone see what is wrong on this picture?

Table of Contents

May 01, 2024 /Lukasz Kumanowski
2 Comments

Rocna anchors on a tiny boat. Rope storage etc

April 29, 2024 by Lukasz Kumanowski

Winter this year is holding its grep on us unusually long.
While waiting for ice to melt I was using warmer days to outfit Louve for the coming season - her first.

One of the things to be organized is anchor storage. I have a good experience with using Rocna anchors so Louve will be equipped with two such irons: heavy 10kg main anchor at the bow and handy 4kg at hand, close to me. Useful as they are - they are quite challenging to store on a small boat.

I designed a holding plate which hopefully solves the issue of keeping the anchor tight in place while having it ready to deploy.

Small anchor found its place under the aft thwart.

I wanted to keep the weight as low as possible but could not place the anchor closer to the centerline as that will obstruct opening two main compartments under the sole. A compromise but looks to be quite good. It will not disturb me while I sit on the sole, Roger Barns style.

My overkill, hurricane, main anchor is stored at the very bow. I want to trim the boat and compensate for the weight of me and camping gear which will be stored mostly in the aft compartment.

It was a tight fit as I needed to leave place for opening the fo’c’sle hatch (which will store anchor rode) and the mast.

Checked that the anchor does not obstruct the mast.

As these fixtures will see lots of wear I did not epoxy-coated them. Instead they got Owatrol D1 & D2 treatment. Easy to re-apply when it starts to wear down.

Anchor rode will need to live in the same space with oars. That can lead to problems with tangled rope so I am planning to build a simple divider here. It will leave enough room to store oars and will keep the rope and chain away from them.

I like to have abundance of ropes on my boats. It’s never too much! At first I planned to store them in bow section, like Roger on Avel Dro but realized that I really don’t have enough space there.
I have, in total, 250m of them, divided into 30 and 50m bites. They weight a bit so I thought that it would be wise to keep this weight as low as possible on my small Louve.
Well, bilge on Ilur is deep and on my boat it was not accessible. Wasted space where all my ropes fit quite nicely.

With bleeding heart I decided to cut this beautiful northern pine deck to make hatches. Not only will it provide storage space but will also give me access to the bilge, for cleaning and easier maintenance.

Once cut all exposed, fresh edges got Owatrol D1 saturation.

What is left is making some toggles which will keep them safely shut when at sea. I managed to find watertight plastic boxes which fit snugly into these openings. Will use them for food storage.

Anchor rode locker for the aft anchor is on starboard main compartment. I use 10m chain with 50m rope. That should give me some flexibility in the Archipelago.

As a side job I started building a simple galley box, to store Origo spirit kitchen. Not necessary for launching day but it will be nice to make some fresh coffee afterwards.

To do before launch:

  • fixing rudder’s lower gudgeon (oversize drill & epoxy fill, thru bolts instead of screws)

  • helm impeder

In coming future:

  • outboard engine mount

  • boom tent

Table of Contents

April 29, 2024 /Lukasz Kumanowski
Comment

Ready for launch!

October 17, 2023 by Lukasz Kumanowski

Last two weeks the weather was rainy and stormy. Adequate conditions for this time of the year - and clearly no-no for launching the boat.

This weekend we finally got one day with fine weather and not-so-stormy wind, so that I could take Louve out for stepping the mast and checking all running rig.

All missing fittings arrived from Toplicht.

I chose leading downhaul purchase along starboard as my right hand is stronger.
Plans propose using centerboard case for that but then this would obstruct access to forward hatch (where I will keep anchor rode) and will be in the way when working on deck. Having it along freeboard keeps the center line uncluttered.
Besides - Roger Barns has it that way, too!

This 3-part purchase is led towards the bow…

… to neatly emerge above the foredeck:

Sail tack is attached with soft-shackle.

I chose to divert from main sheet configuration proposed in plans - with thimble and single block. It certainly is more head-safe this way but I chose to have better purchase with double blocks on the main sheet.

After checking all running rigging I packed the sail into its bag and put to winter storage.

Taking advantage of fine weather I took measurements for sewing tent and making boom (yard) crook.

I was curious if my old 6hp outboard would fit. Last time I used it was many years ago on Motoko. It seems that the rig length is fine but it is certainly overdimensioned for Louve.

As every boat - she is never “finished”, in the sense that I will continue tinkering and optimizing things. She is, however, finished in the sense of building her.
Would it not be so late in the year I would launch her now.

That’s it then - the build is finished and Louve is ready for launch!

It took two summers to build her and it was great fun.
I will, of course, continue tinkering and building equipment for her (pentry, tent etc). That’s the sole purpose of owning the boat, ain’t it? Messing around with boats!

All posts about building Louve can be accessed also via

Table of Contents.

October 17, 2023 /Lukasz Kumanowski
4 Comments

Rigging

September 30, 2023 by Lukasz Kumanowski

I had to pause working on Louve for a few weeks due to quite unexpected travel. Still somehow related to boatbuilding, giving a wider perspective onto scale of my tiny boat…

View fullsize IMG_9046.jpg
View fullsize IMG_8990.jpg

Back to business: mast and yard got their final coats of varnish and paint at the extremities.
I stepped the mast to find exact spot for protective lacing. When I was cutting mast partners’ opening I took into account leather padding and lacing string thickness. Verification if I was correct came now.

All good so I lace the mast at partners height. Two strings in-laced will be used to immobilize halyard when yard is not attached.

Mast stepped again, into mast partners with added protective leather.

Mast laced in place, lacing fastened on port-side belaying rod. Starboard rod will be used for halyard.

View fullsize IMG_9171.jpg
View fullsize IMG_9172.jpg

Sits nice and tight. Adding the halyard. I will splice it properly after all configuration is done, for now I just tied a knot.

Now the yard: I measure a gap between wedges where the lifting loop will sit.

Wedges got laced in place - but not glued nor screwed. I may decide to shift them later on, to adjust point of sail but for now they sit as stated in the drawing.

Loop spliced.

Mounted on the yard. Wedges partially laced already but it will be laced longer on the short side of the yard - this side is rubbing against the mast so lacing will act as chafe protection.

Plans state that the opening in the foredeck shall be somewhere midway between the mast and bow. Pictures of other Ilurs have this opening shifted slightly to the port so I cut mine the same way.

To delay the moment of the first-time sail rising I first prepare reef ropes for all three reefing lines.

Sail equipped so it can go up, finally!

It happened to be very windy day today so I placed the trailer head-to-wind. Still the sail was catching and filling with the wind and the boat “trailer-sailed” a few meters when I was not looking!

I chose to shift the halyard onto internal of the mast ring, otherwise it was difficult to fully rise the sail. I also see that I need to correct the sail-to-yard lashing and move the sail further towards the peak.

Time to rig the rudder. Rudder hoisting line and rubber counter-line.

View fullsize IMG_9220.jpg
View fullsize IMG_9221.jpg
View fullsize IMG_9222.jpg
View fullsize IMG_9223.jpg

I’m not sure I like this construction but I’ll verify how it works for me while sailing.

As a last point for today I made leather padding in sculling notch. I managed to form the leather to fit inside the notch without a need to cut the outside flaps. Nailed with short copper nails.

View fullsize IMG_9224.jpg
View fullsize IMG_9225.jpg
September 30, 2023 /Lukasz Kumanowski
1 Comment

Compass mount

September 09, 2023 by Lukasz Kumanowski

Yet again Louve is inheriting an idea I had for Meritaten but did not manage to implement. This time it’s a compass mount. I renovated this compass a few years ago, with a thought to have it as a main steering compass in the cockpit. It never happened on Meritaten.

I like how Geoff Kerr built in compass in aft thwart on his boat. On my Louve I have this thwart removable so my compass needs separate mount. I patterned it with cardboard and came out with a keyhole-like structure.

Cut out from thin plywood to act as a template for several layers of glued plywood.

Encapsulated in epoxy and several coats of varnish it was ready for mounting. It will be detachable (in case I decide it takes too much space in the cockpit) and mounted with two bolts, under the aft thwart.

Compass mount was modified with additional screws which will hold it inside the plywood envelope. I drilled and tapped existing extrusions.

Mounted inside plywood fixture. Aft thwart removed.

With thwart in place - for sailing - the compass is still visible and easy to read, even when I sit on sole boards.

I will test if it’s not in the way while sailing but for now it looks good!

Before brushing the second coat of Owatrol D2 I install centerboard cleat. According to plans there should be 400mm wide cleat which will hold bungee cord. I substitute it with standalone bronze hooks. This way I have space left for intermediate centerboard positions if I find it useful.

Aft hatch needs some way of holding it closed. I had these locks which I planned to install on Meritaten (again - it didn’t happen). They were too long for Louve so I modified them.

Top one shortened by 15mm. Bottom one as original.

Mounted on Louve - they do the job!

Next step is to finish varnishing/painting spars and launching!

September 09, 2023 /Lukasz Kumanowski
Comment

Oar leathers

September 07, 2023 by Lukasz Kumanowski

I took an easier path and did not make my own oars, at least for now. I bought ready made, pine-loom oars of 3m length, just about right for my Ilur.

While mast and yard varnish is curing I sat down to put leather on looms. I chose not to install buttons - just long, heavy-duty leathers as I will use these oars also for sculling.

There are many resources on web showing how to measure and install leathers. I do it the way described in Wooden Boat article.

I made a die to punch holes. Pitch of 5mm was a bit of overkill, it would be enough with 10mm but… nothing too strong ever broke. It was just more work.

Wet leather, cut so that there is 6mm gap when wrapped around the loom, is held with rubber bands. The oar is aligned so that the seam will be on top when rowing, protecting it from tear on metal oarlocks.

I use curved needles, it’s easier than with straight ones. Strong, waxed twine. Stitch is called baseball stitch - nothing fancy but strong.

About one hour later the job was done.
After the leather dries and shrinks I will oil and wax it.

September 07, 2023 /Lukasz Kumanowski
Comment
  • Newer
  • Older

Powered by Squarespace