Boatworks

  • Main
  • Louve
  • Typewriters
  • Workshop
  • Meritaten
  • Glypto
  • Motoko
  • Inspirations
  • About

Wood coming back to life, brass tubes in cabin sole

November 24, 2019 by Lukasz Kumanowski

Short working day today so only two tasks: drilling & mounting brass tubes in cabin sole and Owatrol onto ceiling planks.

I started with some experimenting on drill size and type which would best fit to brass tubes. The tubes come from US-made machine so nothing there is metric - unlike my drills. After some trials it turned out that 12mm spade drills give the best fit and clean holes in wood.
First I drilled clean pilot holes with small drill - to give me exact exit points on the back surface as original holes were covered with epoxy. Next I drilled, on the back side, shallow exit holes, to prevent wood splinters on “exit wound”.

IMG_8791.JPG

With heart-rate increased I started drilling from top side. All went well and clean apart from the fact that my drill battery went flat on the third panel. Missed to load the accu so the job will not be finished today.

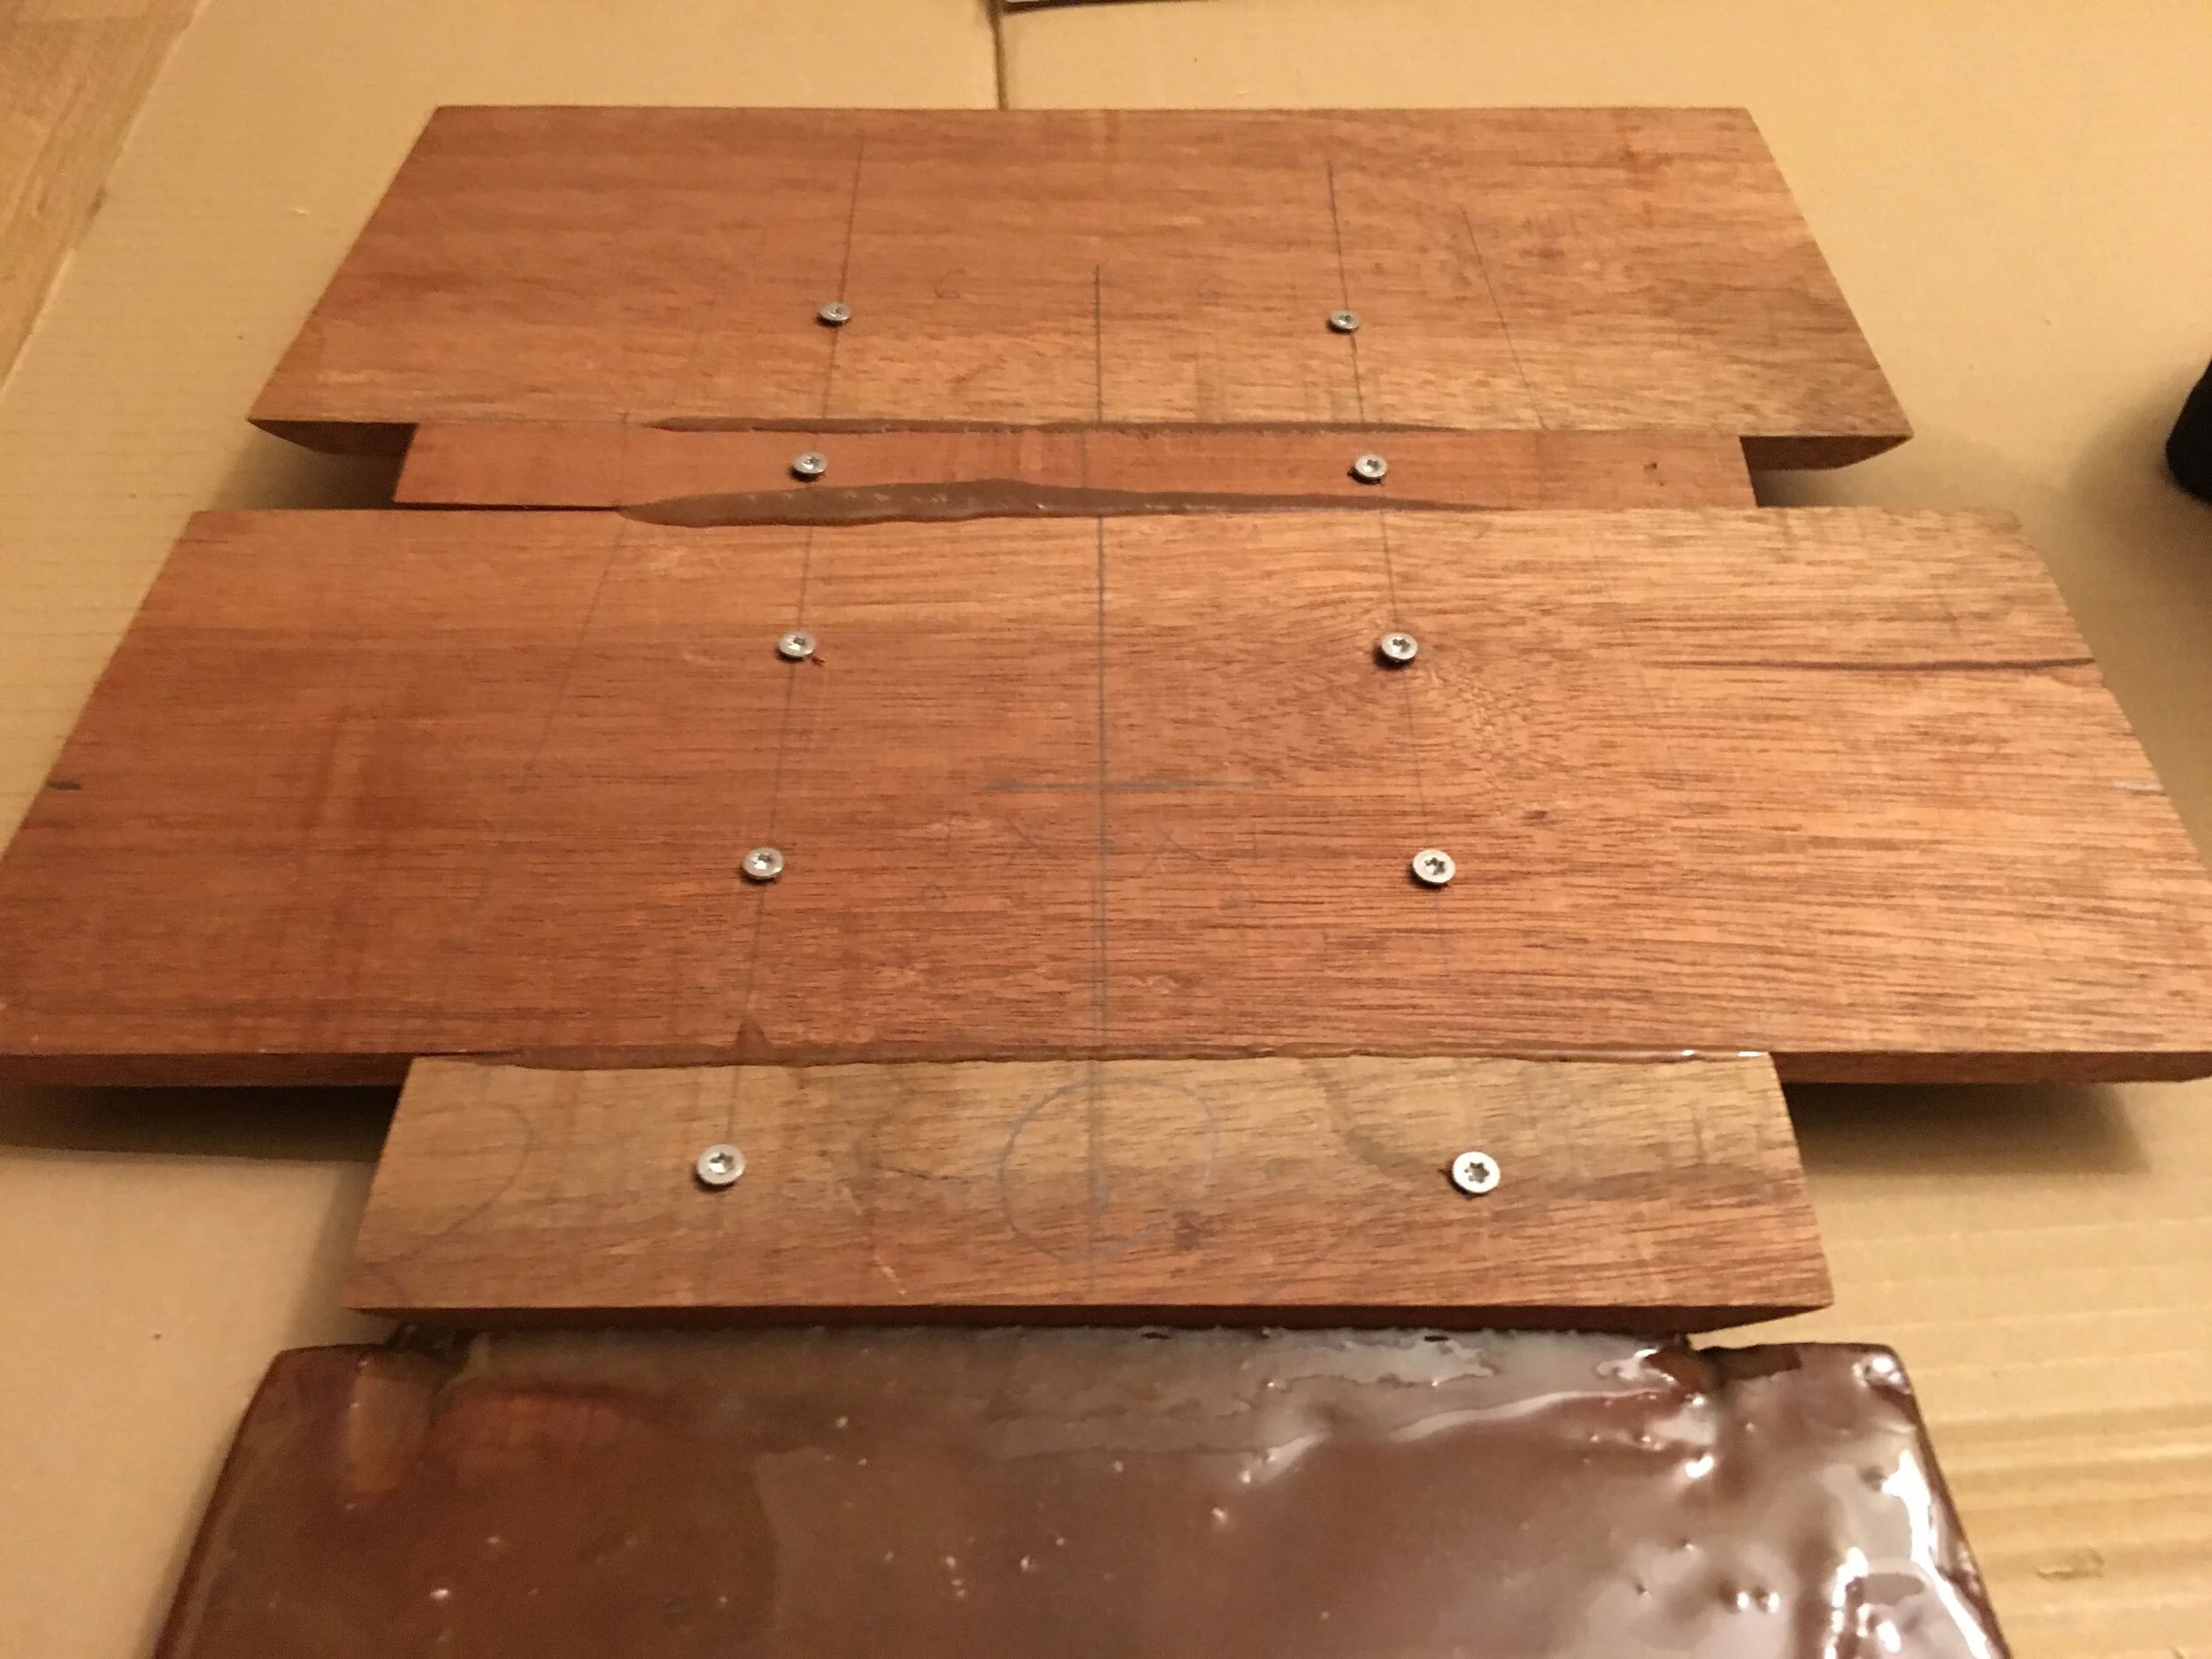
I moved then to brass installation on pre-drilled panels. I used FARM 100 bitumen bedding compound which should fill any voids, prevent condensation and keep the tubes in place yet enable easy removal for re-varnishing of wood.

IMG_8797.JPG

The black goo is sticky and messy to work with so it takes time to cover assembled components while keeping myself and everything around free from black mess.
Coated tubes are then inserted into sole panels and pressed in with a twisting move - to spread bedding evenly in the hole. Occasionally tubes’ sharp edges were catching wood on their way down, causing ugly tear-out on exit surface. I will need to repair it with thickened epoxy later.

IMG_8798.JPG

Squeezed-out bedding needs to be gathered quickly, otherwise one needs to use mineral spirit (lacknafta) to clean it - which I forgot to take with me.
Installed tubes are a bit proud, due to pressed collar, which is exactly what I wanted. They will hold shoes on otherwise smooth floor. The effect is pleasing although should I knew how long and messy this job is I would simply plug these screw holes with small mahogany plugs.

FullSizeRender-2.jpg

The remains of black bedding will be cleaned with solvent on next visit.
Brass tubes are a few millimetres longer than my wood assemblies so I needed to cut the protruding parts on the back. That inevitably caused some scratches on the wood finish but that will be fixed during summer, when temperature allows epoxy touch-ups.

IMG_8800.JPG

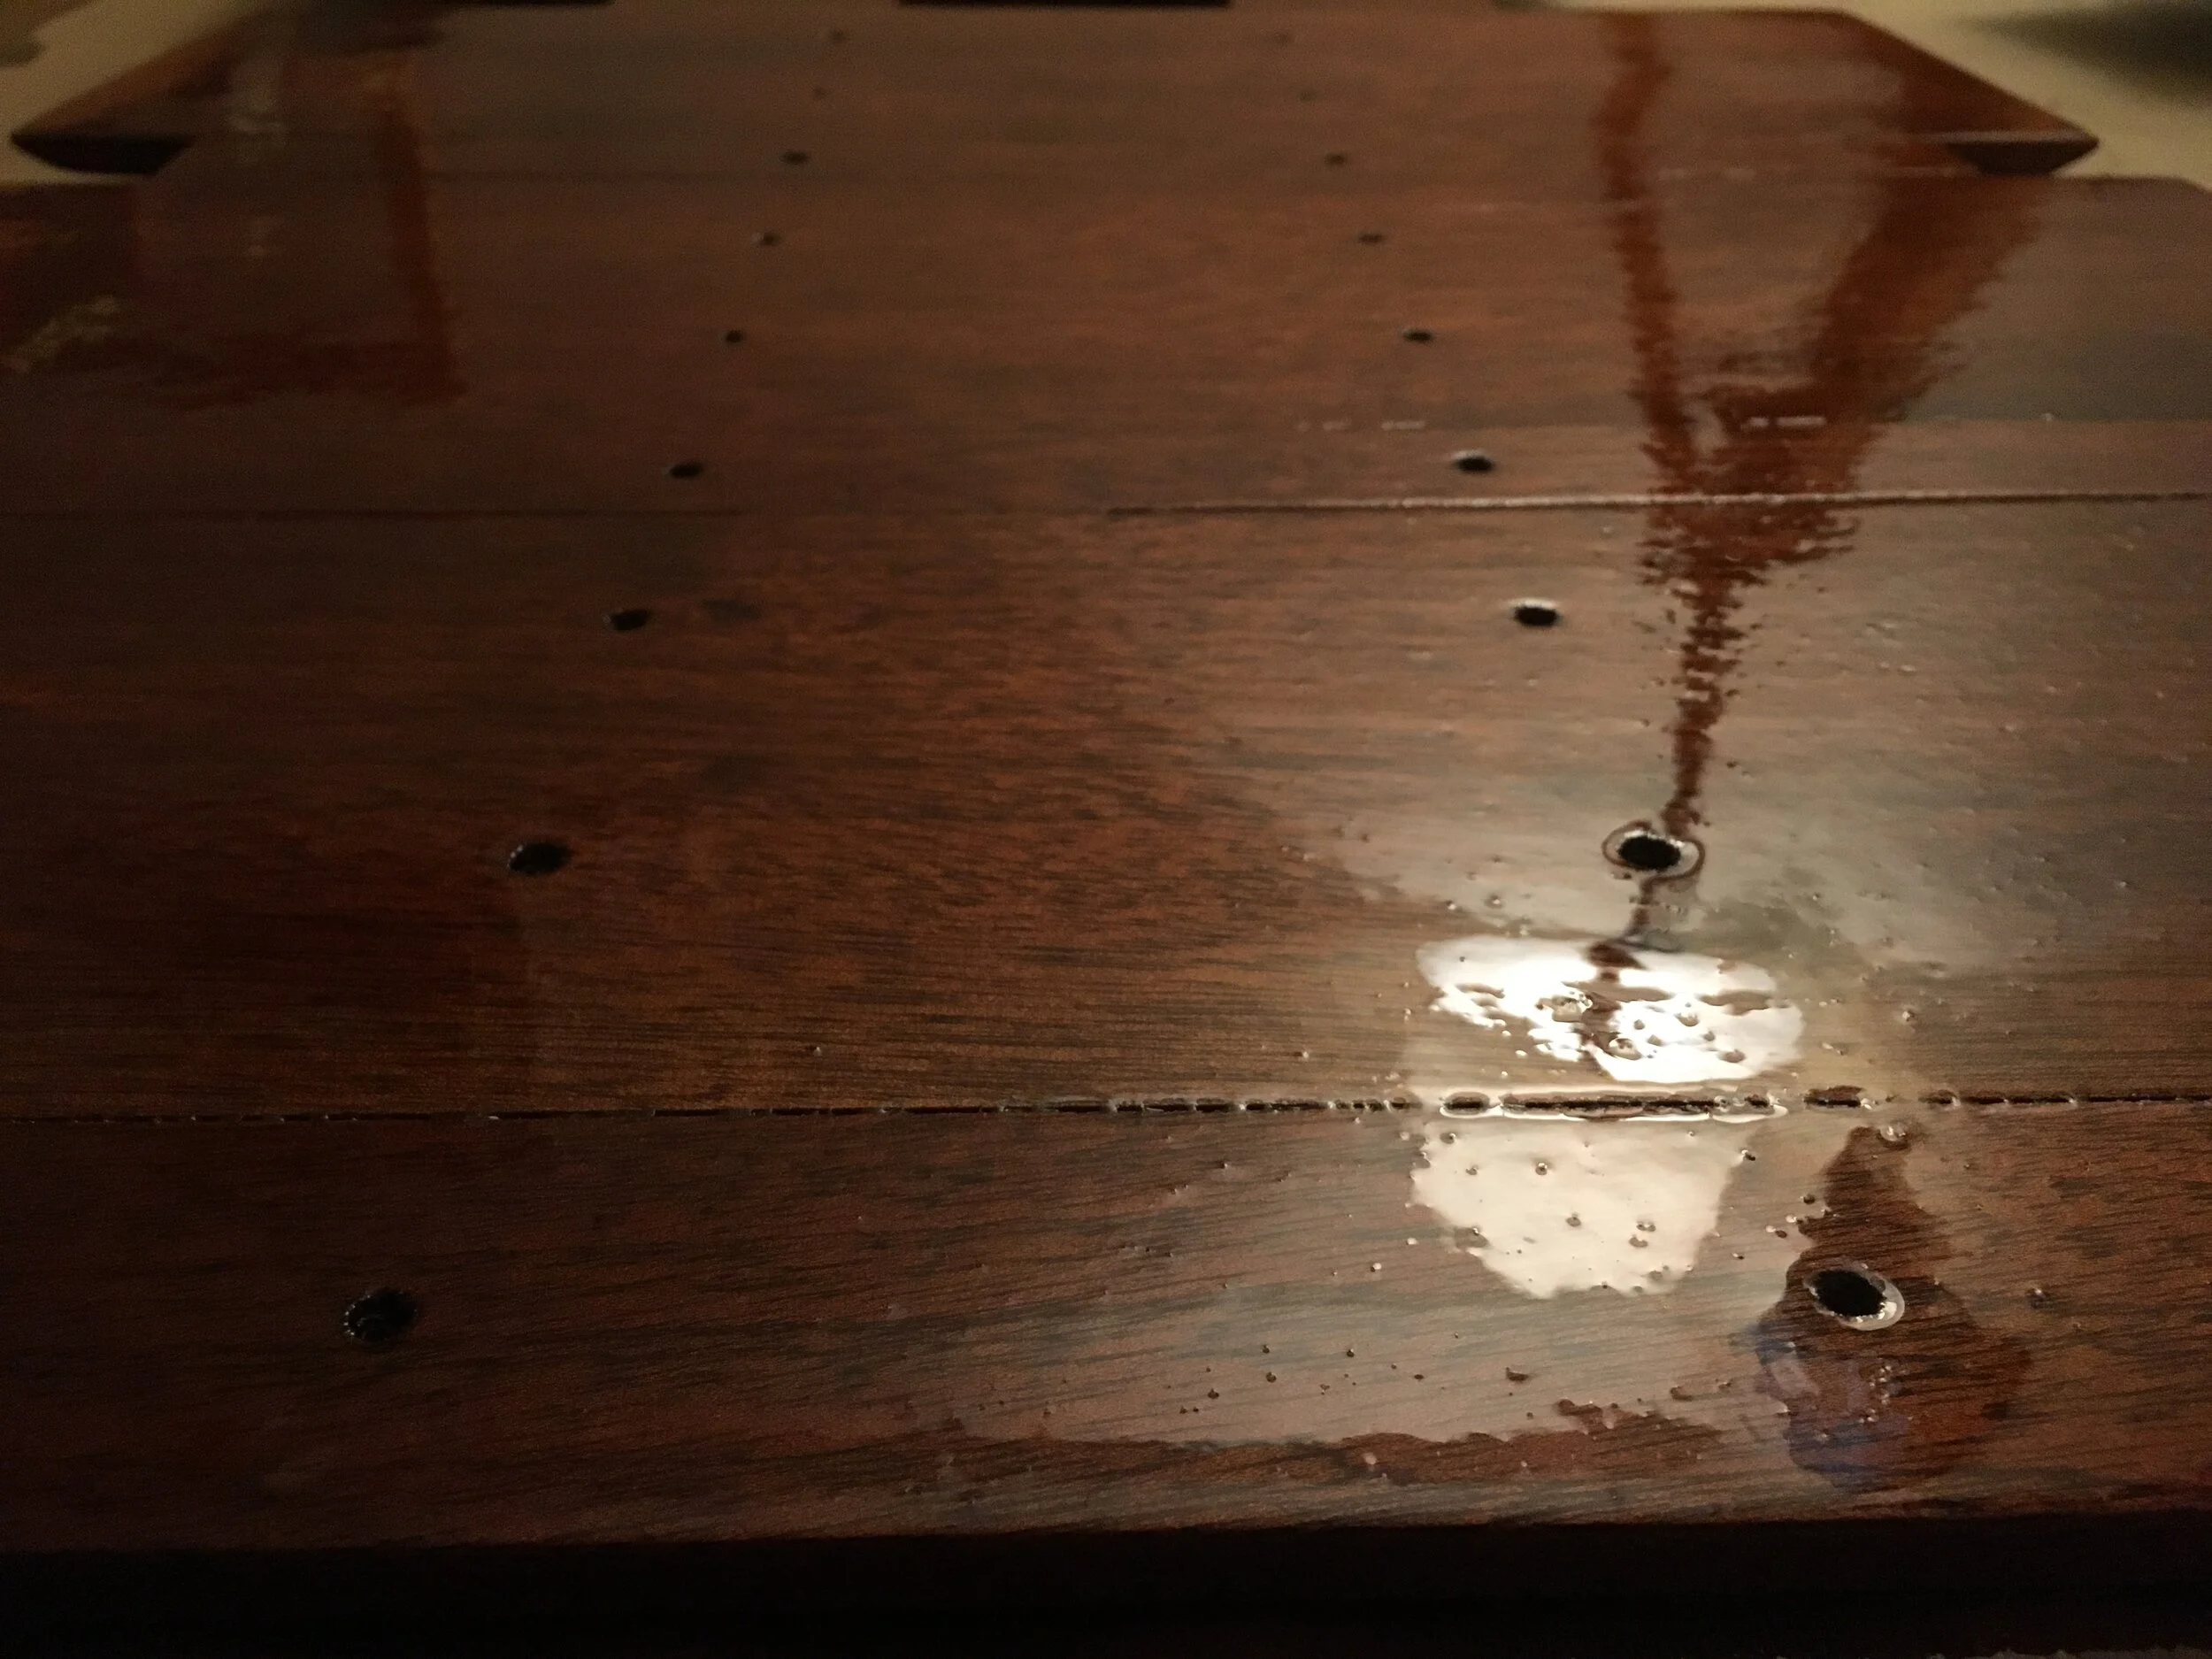
In-between drilling and brass installation I was soaking ceiling planks with Owatrol D1. I had five of them cleaned from the last time, greyish now after sanding. First coats of oil brought back the life and colour onto mahogany.

IMG_8786.JPG

Original four planks, which were painted with boiled linseed oil, accepted only two coats of Owatrol and stopped taking more. Fifth plank, which originally was coated with polyurethane, was very thirsty and took six coats to saturate the wood.

IMG_8790.JPG

It’s a real joy to use this oil - unlike while varnishing one does not need to bother about wet edge or too much varnish build-up.
The only trick with Owatrol is to wipe out all remaining oil after wood is saturated. If any wet spot is left it will harden into shiny surface looking ugly against satin finish around. I used oil-soaked rag and wiped all planks before they started to cure. When I was leaving the shipyard for home the planks were getting dry already, showing smooth, matt and silky finish.

IMG_8788.jpg
November 24, 2019 /Lukasz Kumanowski
Comment
FullSizeRender-2.jpg

Touch-ups, stubborn screws and ceiling planks

November 23, 2019 by Lukasz Kumanowski

I was not fully satisfied with final effect of cabin sole epoxy coating: there were small discontinuities in epoxy on plank seams which would gather dirt during service and possibly cause problems.

IMG_8767.JPG

During the week I coated end grain and underside of all panels with additional two layers of epoxy. Now it was only these imperfections left. I’ve decided to fill voids with thickened epoxy, taping everything around for easier clean-up.

FullSizeRender.jpg

After curing the fillets were a bit proud above adjacent surfaces so it called for sanding and one more epoxy coating.

IMG_8775.JPG

I lightly abraded everything with 320 grid, giving some hand touch to fillets and valleys on plank joints, until all surfaces became milk-white. Thick epoxy coat will follow in the evening, covering everything with nice, smooth layer. That will make it four coats on the surface and three coats on the underside and end grain. That should do the trick.

Next step was to remove two stubborn screws which broke when I was trying to unscrew them after gluing. At first I tried drilling into them with small drill and then remove them by counter-clockwise tapered drills. That did not work, probably because stainless steel screws are thin and very hard to drill into. Besides - they became permanently glued to surrounding wood.

Another approach is to hammer them out. I drilled small openings around the bottom exit point, to inhibit wood rising when I hammer from another side. Screws sharp tips became visible.

FullSizeRender-3.jpg

Simple set of tools to do the job.

IMG_8769.JPG

With just a few smacks the screw remainings went out!

IMG_8772.JPG

The exit “wound” was finished with conical drill - it will be mostly drilled out by coming brass tube but if not then it will be easier to fill with mahogany putty.

FullSizeRender-4.jpg

As cabin sole is not yet in place I cannot proceed with cabin ladder renovation. Instead I took the job of refreshing cabin ceiling planks.

They look ugly, with scratches and bubbles of linseed oil hardened on the surface. The surface finish has wrinkles and is rough.

IMG_8779.JPG

Nothing one would like to put his face against while sleeping. If they come back into the main cabin they need to look good.

I attacked them first with orbital sander and grid 80 paper. After a short while the paper was clogged. I switched to grid 40 but the result was the same. Well, I should have known that.
I tried with hot-air gun, expecting that the varnish will lift but instead it boiled and formed sticky, gummy clumps. So it is not the varnish indeed - it seems it’s boiled linseed oil which they used.

Well, for that job sharp blade is the best. Trying with smoothing plane did not yield good results as planks are concave or convex - they are bent on the freeboard. Situation called for scraping blades.

IMG_8780.JPG

I started with wide blade, removing most of the finish, then switched to smaller blade and worked diagonally. Work proceeded very fast, with hissing sound as during hand plaining. What a joy compared to noise of orbital sander!

IMG_8781.JPG

Either they were stained or 60 years has caused linseed oil to darken. I removed the weathered surface up to the clean wood. After that I switched back to orbital sander with 40 grid, to even out the surface and remove remaining stains.

IMG_8778.JPG

That went quickly now - paper was changed frequently as it was getting dull but no more clogging. After cleaning all planks from starboard side I changed to 80 grid, followed by smoothing with 240 grid.

There are still many boards to clean but these are now ready to receive coats of Owatrol D1, followed by D2 varnish.

IMG_8782.JPG

Bronze screws from Toplicht have not arrived yet so no hurry with this job.

It became late so I called it a day. As a last job I re-circulated oil on the boat, finding and fixing the problem with canister’s valve. Good that I placed a bucket under it last time - the container had 3 litres of oil from the leaking valve which would otherwise be lost.

The job for the evening is to epoxy-coat sole boards. Tomorrow I will install brass tubes and finally put cabin sole where it belongs.

IMG_8783.jpg
November 23, 2019 /Lukasz Kumanowski
Comment

Cabin sole - epoxy coating

November 17, 2019 by Lukasz Kumanowski

I noticed already that cabin sole timber, being subjected to environmental shock, started to develop cracks on few planks. Even though I allowed mahogany to adjust itself to home humidity for 2 days before gluing that was apparently too short. After gluing to foundation floors the planks are now restrained by strong epoxy but wood still wants to move in dry, warm home atmosphere. Epoxy encapsulation needs to be done as soon as possible to prevent moisture fluctuation and further movements.

This time I reserved enough time for the job: half day. First coat came on both sides, especially on end grain - to saturate it and protect from damage. WEST epoxy is specifically formed for that.

IMG_8760.JPG

I use wet-on-wet method, to avoid amine blush and sanding in between coats. The second coat is applied when first is still sticky but leaves no residue upon touching.

IMG_8762.JPG

In my conditions it takes 1,5-2 hours between coats.

Third coat was applied late in the evening.

IMG_8764.JPG

That closes this phase.

Metal fittings are on the way from Toplicht so next weekend I will drill finger openings and ventilation holes. These openings will also be covered with epoxy and I will then apply more coats on the bottom side and end grain.

November 17, 2019 /Lukasz Kumanowski
Comment

Sanding. Mini circular saw.

November 17, 2019 by Lukasz Kumanowski

I drove to my remote workshop, to pick more material for cabin ladder. Weather forecast is threatening with heavy wind so I reinforced walls, to withstand gusts better.

Back in the shipyard I started with tests of my new tool: mini circular saw. I bought it specifically for one job: gluing back planks on whale-deck. My boat, when she was built, had all planks glued edge-to-edge with Cascofen glue. After 60 years of service this glue is just powder, with no holding power. Whale-decks are heavily exposed to sun and weather so during summer heat they started opening, letting in rain water, splitting varnish and discolouring the wood. During the season I was trying to protect the wood with linseed oil or rubbing in thin Ettan “sausages”. That helped in a way that the wood has not darkened but since two seasons whale-deck opens so it is high time to repair it properly.

On Lars’ Laurinkoster the shipyard has squeezed in Sikaflex into seams and varnished above it. Apparently it works and is easy to do but it scarifies the strength of deck. I’ve decided to do it according to book so I will cut alongside seams, to remove old glue and get just enough space for gluing thin mahogany strip between planks. On my boat whale-deck opens only by 250um during hot weather so I’ve decided to not use conical blades as they come in 5-6mm thickness. It is enough to cut 1,5mm and then I can use ready-made mahogany faner instead of milling my own lists.

Originally I planned to use my big plunge saw for this job but it would be awkward and difficult. I needed something smaller and less powerful. Something like Bosch GKS 12V-26 which is a very light and beautiful machine for such job. But it is also expensive and I cannot justify the cost for just one job. Instead I bought Chinese machine for 1/4 of this price. It came with 3 blades and I purchased additional few Proxon’s mini-blades to pick the one which fits the best. Quality seems good, it is quite heavy (copper-wired engine, brushed motor) so hopefully it survives the job and if it breaks after that - no big deal.

I’ve tried all blades and to my content two of them fit the bill - I can squeeze in mahogany strip, it gives reasonable resistance so is not loose but there should be still some space for epoxy to give a reliable bond.

I will need to get accustomed to this tool first, before using it on the intended job, but the first impression is very good.

I moved on with cabin sole. I took all components onto the boat, to check if all has been glued properly and if they still fit spaces between frames. They do!

I took them to my bench and started vanishing different plank levels with hand planes. Once all was more or less even I switched to power sander with 40 grid, followed by 80 grid sandpaper.

Sanding cured epoxy and hard mahogany takes lots of time but view of freshly exposed wood, with it’s beautiful colour, is very rewarding.

After sanding I took all pieces again onto Meritaten, to check if boards’ edges meet their neighbours at the same level. Few didn’t.

I knocked these proud edges with block plane, followed by hand sanding of all edges. I gave them small radius so that they hold epoxy and varnish better and are less prone to damages.

This work took me several hours and pretty much exhausted me. As the last task before leaving I started removing old sound isolation from cabin ladder. Nasty job…

IMG_8673.JPG

I will renovate the ladder so there will also be new, modern sound isolation.

Hopefully my small Yanmar-san’s growling can be then contained into engine room.

November 17, 2019 /Lukasz Kumanowski
Comment
IMG_8634.JPG

Cabin sole - epoxy night

November 11, 2019 by Lukasz Kumanowski

I always get into this trap: underestimating the amount of time needed for epoxy work.

Tonight I glued new boards onto old cabin sole. Prep work took longer than expected - dismounting all boards, cleaning with acetone, adjusting back the screws and aligning everything in proper order for gluing took most of the evening.

I use WEST epoxy with 405 filleting blend. Glue is thickened to Heinz ketchup consistency and I like that 405 makes epoxy look like mahogany. In case there are any gaps to fill it will blend nicely with wood. It is not the strongest composition - silica being the choice of most - but it should fit the bill for this work.

It turned out that my approach with multiple screws as referencing points worked smoothly. After cleaning each mating surface I adjusted the screws so they protruded just enough to get the grip in pre-drilled holes.

IMG_8631.JPG

Then came thickened goo. I had to use quite a lot of epoxy - these planks are wide and long. Not particularly cheap business but “smakar det så kostar det”.

IMG_8630.JPG

The hardest was to place the first plank - all screw holes disappeared under the “chocolate”. Once this was in place the rest went smoothly. Good squeeze-out indicated that wetting is fine in the joint so the bond should be strong.

IMG_8632.JPG

Cleaning the squeezed glue while proceeding takes time but is well worth it - at the end of work I was left with only 2 pumps worth of epoxy. I thickened it further to peanut butter consistency and filled old finger holes in the underlying planks.

As always with epoxy - the whole job is a mess. Doing that in my bedroom does not make work easier. However - epoxy extremely simplifies such jobs. Good that we have it these days.

Early next morning, when epoxy was almost fully cured, I started removal of temporary screws.
I’ve made a mistake with the first screw - I tried removing it with a power tool. It snapped and most of the screw sits inside the board.

IMG_8637.JPG

I should have know that. I then switched to manual screwdriver and the second screw… also broke. Too fast!
Lesson learned so I proceeded with the rest very carefully, giving time to wood/glue to give and breaking the bond without too much torque which kills the screw.

Out of 90 screws only these first 2 broke. There will be some work to remove them.

November 11, 2019 /Lukasz Kumanowski
Comment
  • Newer
  • Older

Powered by Squarespace