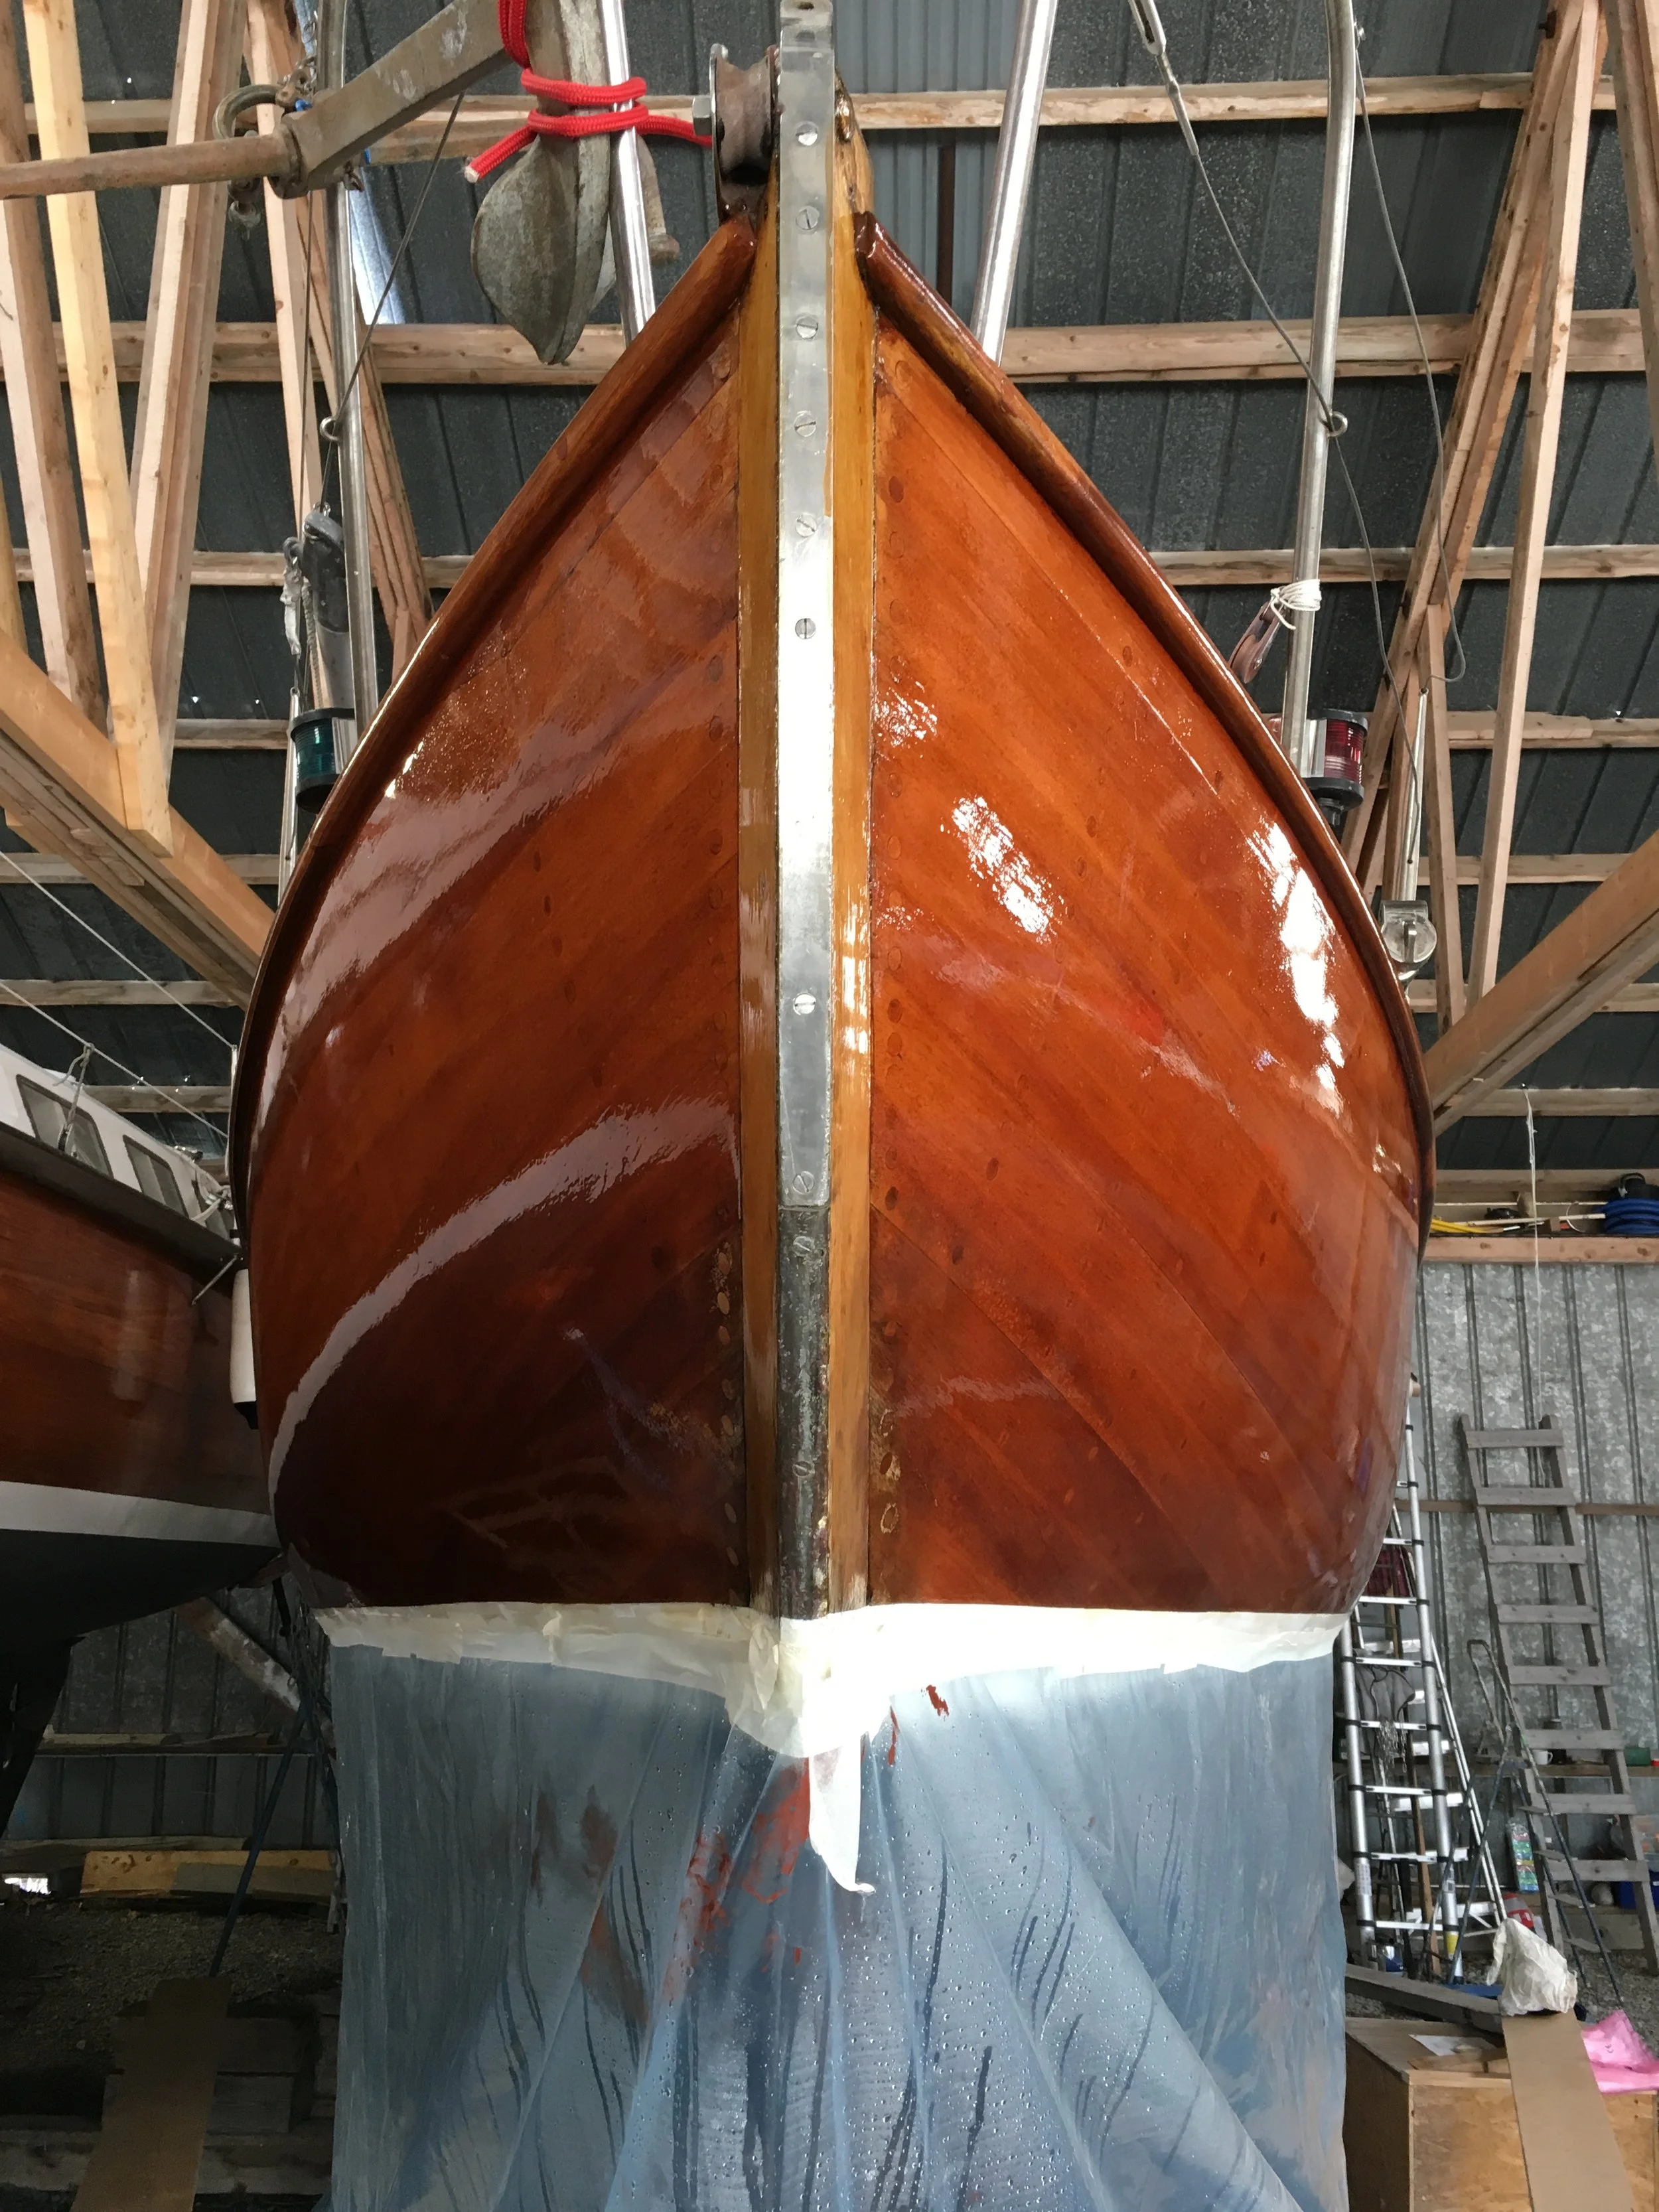
Boatworks

  • Main
  • Louve
  • Typewriters
  • Workshop
  • Meritaten
  • Glypto
  • Motoko
  • Inspirations
  • About
IMG_6289.JPG

In the slip

May 02, 2019 by Lukasz Kumanowski

I checked on her this morning, before going to work.
She was fine - still taking water, slowly but otherwise OK.

Came back late in the evening to install 15A fuse on my bilge pump work-around installation.

It’s shitty weather - snowing and raining. Heavy wind and cold: 2 C.

I’ve installed additional mooring lines and springs - even though she is small in the water she was dancing with the wind pretty heavily in the slip. With more lines she should be safe now.

I planned to mount sprayhood to protect the cabin from snow and rain but with such heavy wind it does not seem to be a good idea.

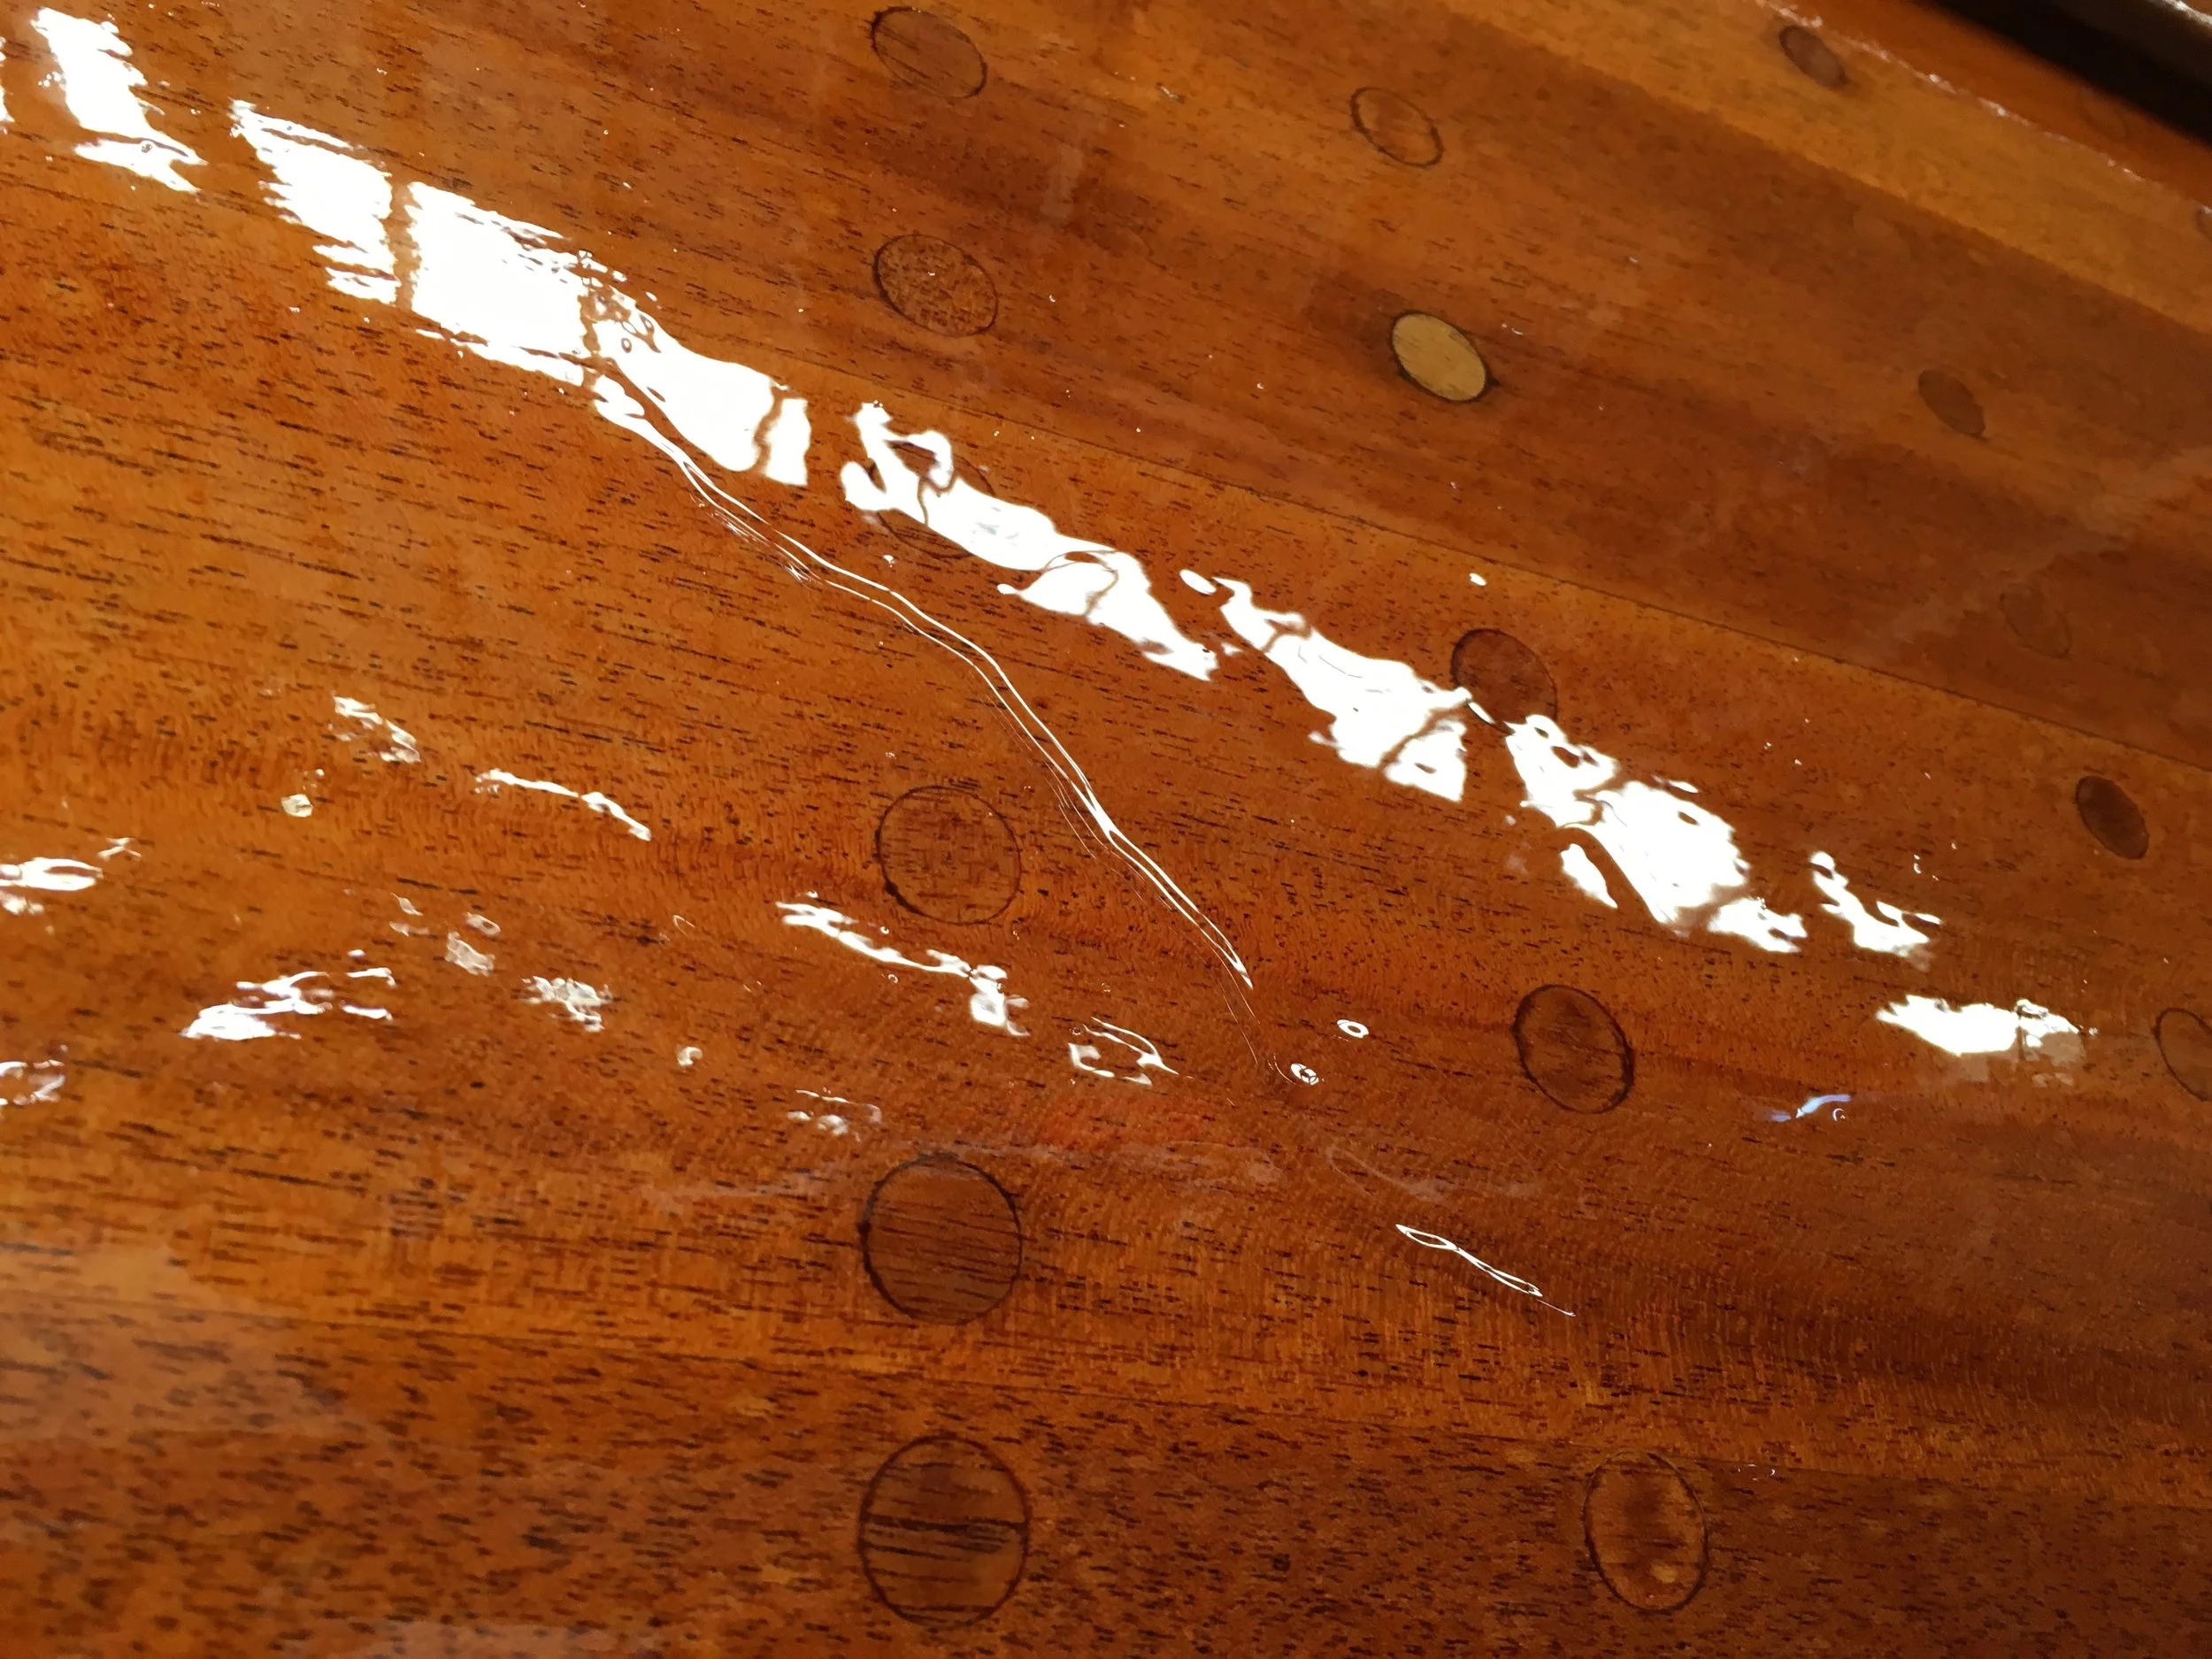
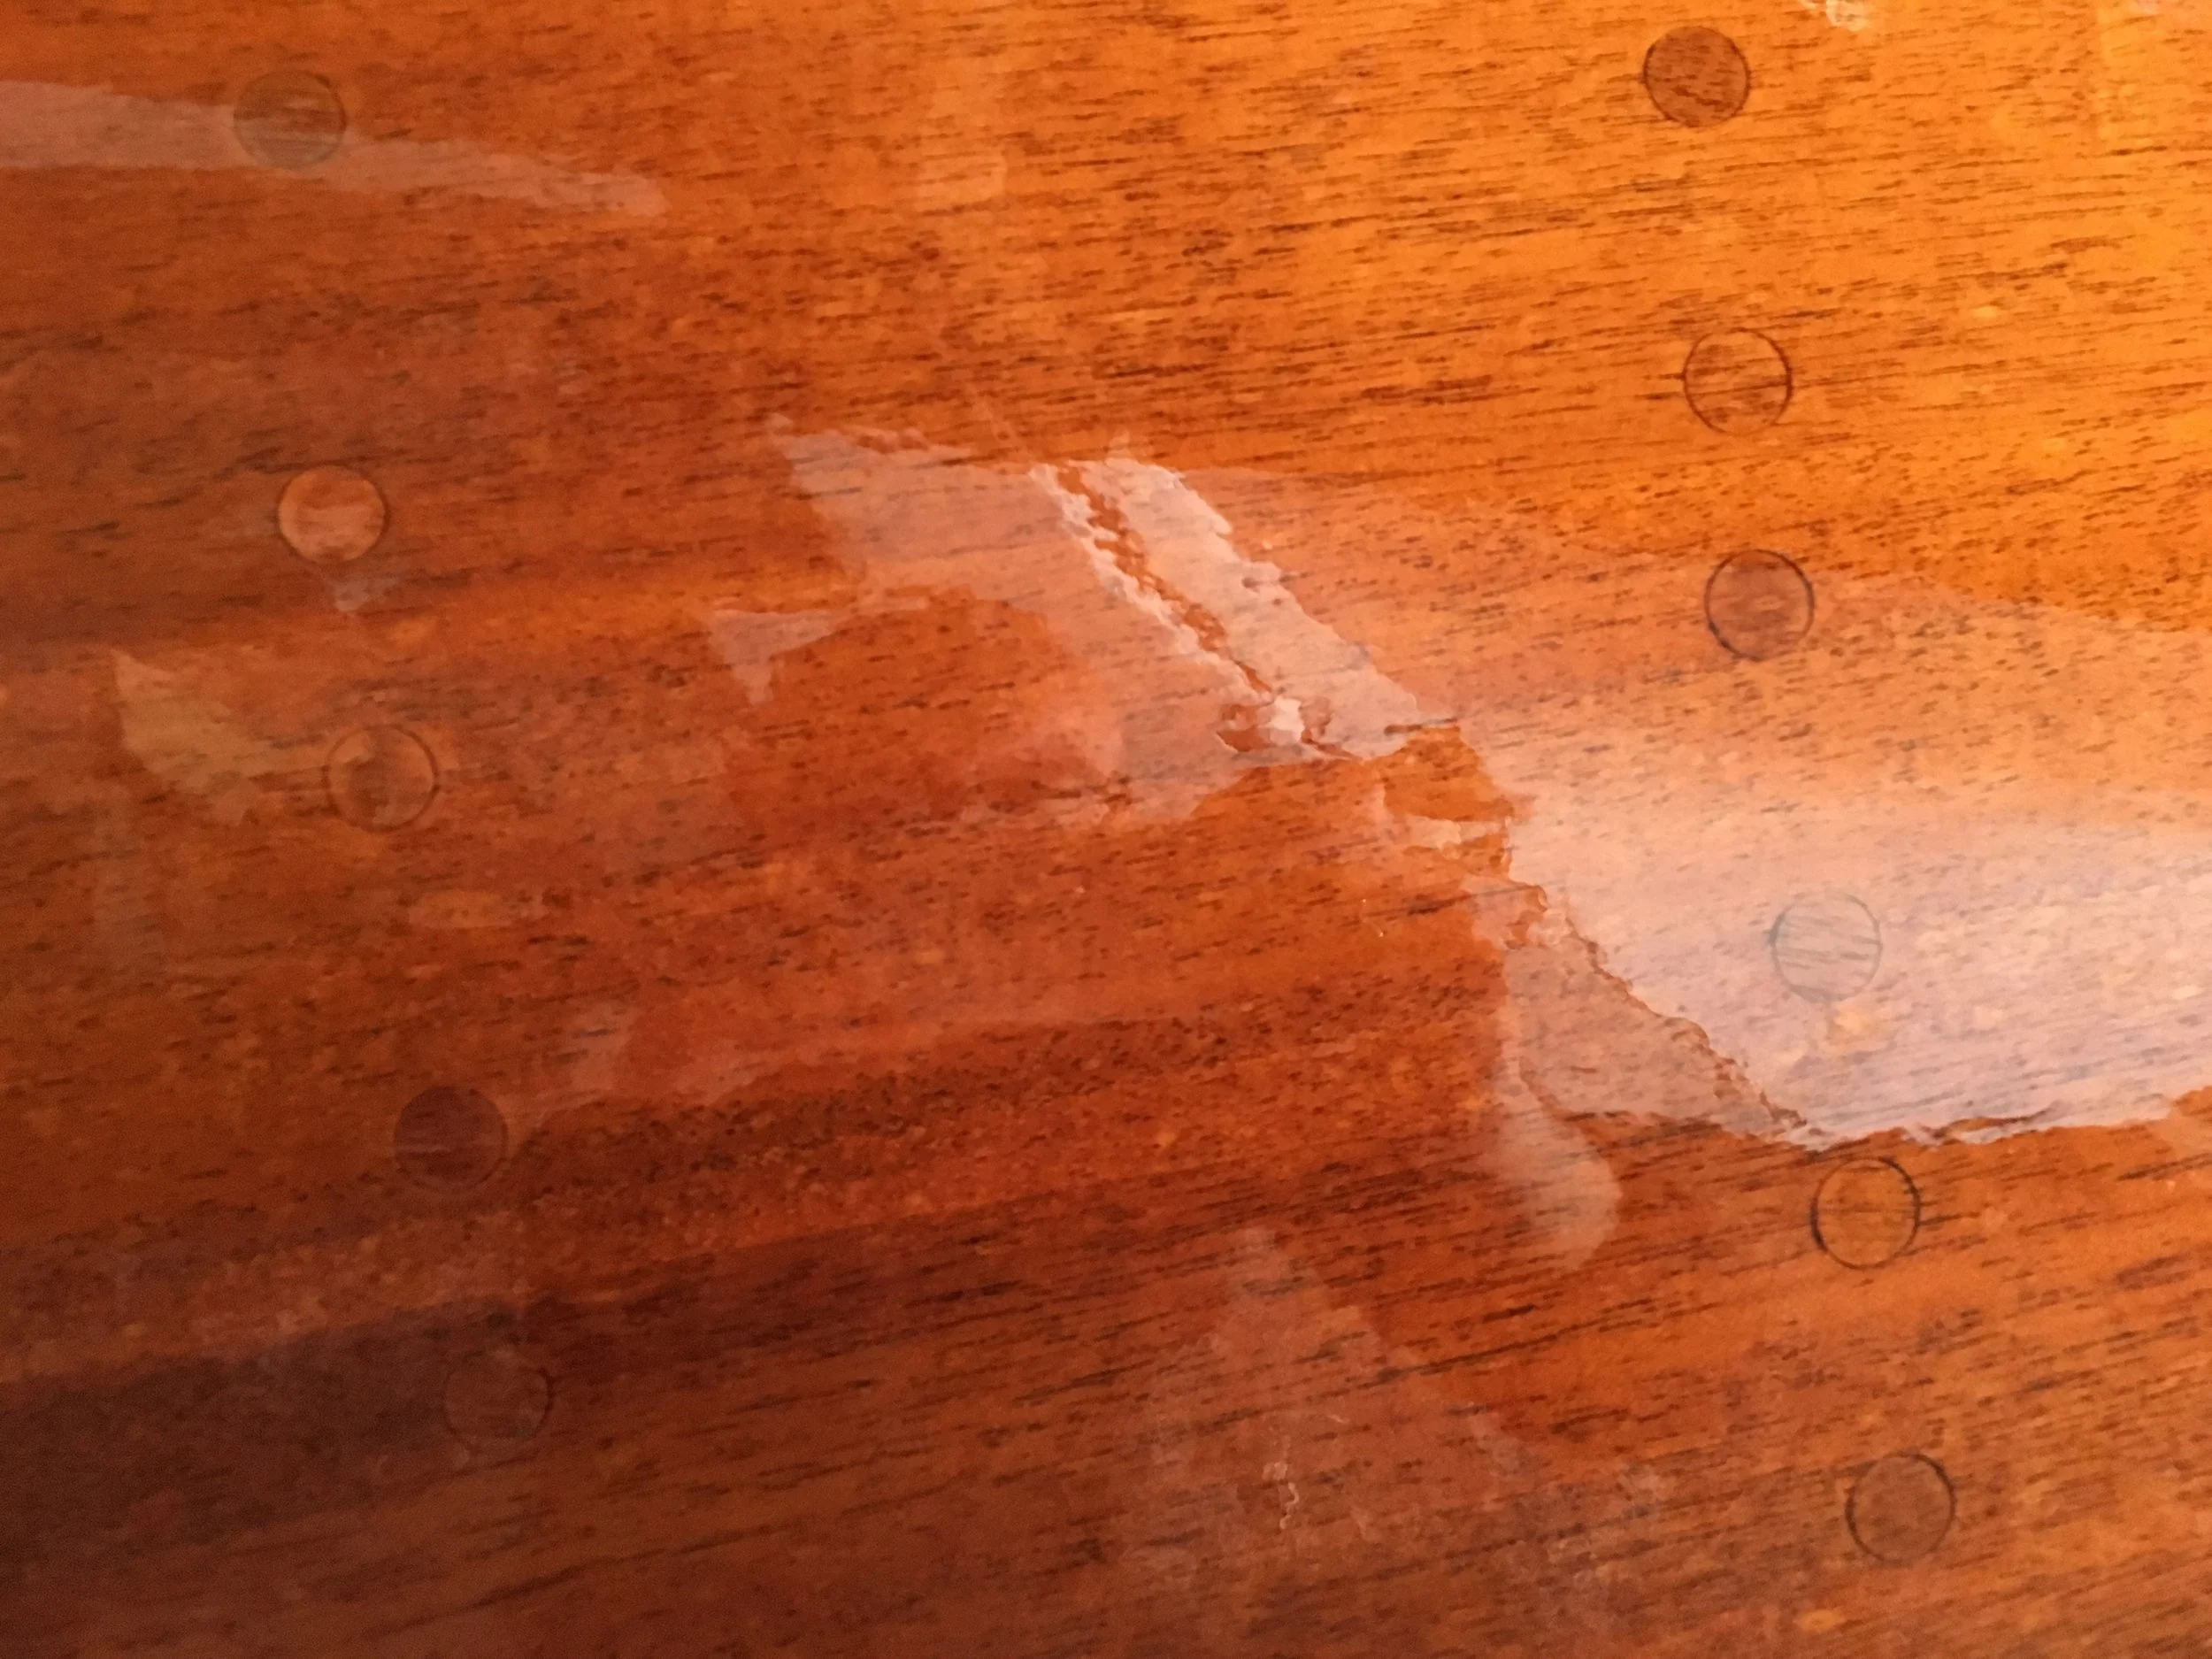
I still have some leaks through the cabin-cockpit interface. Both port and starboard sides leak rainwater on the cabin ends. Ettan on cracks apparently did not solve the problem.

Two stern portlights developed leaks. I need to tighten screws there.

Big leak is on cockpit bench connection to cockpit vertical wall - I already have mahogany parts to seal it, will install them as soon as possible.

Foredeck hatch has a leak on stern side - in connection through the deck. That can be serious, I need to see to it ASAP.

I pumped her dry, checked that automatic bilge pump is going fine and went home.

May 02, 2019 /Lukasz Kumanowski
Comment
IMG_6278.JPG

Launching day!

May 01, 2019 by Lukasz Kumanowski

I’m too tired to report all events but most important is that by the end of the day Meritaten was launched. It was grey afternoon, raining so no people in the harbour - just me, Anders and Meritaten. Good - no witnesses should she have problems during launching.

IMG_6275.JPG

It turned out that there were no problems - similar to last year.
Of course - she takes some water but nothing really scary. The pump started 30 minutes after launch which tells how slowly water gets in.

I’ve left her in the slip after making sure that automatic pump functions as intended. I came back late in the evening just to check if all goes well. It does. I pumped her dry and went home.

IMG_6290.JPG
May 01, 2019 /Lukasz Kumanowski
Comment
IMG_6271.JPG

Last tasks before launching

April 30, 2019 by Lukasz Kumanowski

I aim to launch Meritaten tomorrow so it is now time to remove her “winter dress” from the bottom and apply antifouling paint.

Instead of Hempel paint I needed to use International self-polishing ablative paint. Same thing in principle so they are compatible. After the hull’s bottom dried I applied non-thinned antifouling. Last year I painted with thinned Hempel and had some considerable fouling so this year I applied full-strength protection. I need to strip the bottom anyhow in coming winter maintenance so no regrets here.

While painting I noticed that many parts of iron ballast start to flake the epoxy barrier which previous owner applied. The bottom part of the rudder also needs to be striped from old paint as it already detaches from the wood.

Dyviken was crewed into its place so the hull was now closed.

I checked all through-hulls and closed the valves. I have 6 through-hull openings under water line: cockpit drain (2 pcs). sea-water inlet for engine and kitchen (1 pc), mechanical log VDO (1 pc) and toilet in- and out- valves. The plan for coming years is to reduce this number to bare minimum: since I don’t use direct-discharge toilet (illegal in Archipelago) these holes can be closed permanently. VDO log is not working properly so I’ll remove it. That makes it 50% less through-hull openings.

Just in case any of these fails I also prepared wooden plugs which will hang on each of these openings, in case of emergency.

IMG_6270.JPG

I’ve installed new sacrificial anode on the propeller shaft and sprayed antifouling onto propeller.

IMG_6273.JPG

All other tasks will have to be done on water - otherwise I will need another week on hard and I don’t want to wait any longer, risking the hull will dry too much.

So we have “go for launch”!

April 30, 2019 /Lukasz Kumanowski
Comment
IMG_6268.JPG

Paying seams

April 29, 2019 by Lukasz Kumanowski

I came back in the evening to take a close look on underwater part of the hull. I inspected all seams between planks and applied thin layer of Farm 80 onto suspicious areas. This is to avoid launching drama, with water rushing through seams and pumps trying to keep the ocean out until wood swells again. It’s kind of buying time to be used when launching a boat. After she swells there is no need for any sealing, planks should close tightly.

I also found that some planks were glued together with strip of mahogany closing the seam.

IMG_6269.JPG

Meritaten is still in her winter dress (plastic cover of the underwater part of the hull). By keeping humidity high there I hope to avoid planks drying out which stresses rivets and causes drama at launch.

Most suspicious seams were found on aft port side. It also suggests that I will need to strip the bottom hull from all layers of ablative paint in coming seasons - the paint is thick and starts to detach from hull in few places.

April 29, 2019 /Lukasz Kumanowski
Comment
IMG_6260.JPG

Varnish meditation

April 29, 2019 by Lukasz Kumanowski

It’s sunny and almost no wind today - perfect weather for varnishing.

I went to the boatyard early in the morning to prepare Meritaten for varnishing. It is said that the safest time to apply varnish is before noon so that there is enough time to cure the paint before evening humidity settles on everything.

The hull got wiped with a clean rag soaked with Epifanes thinner. I have a bad experience from using turpentine for that - maybe not because of that but I had problems with varnish not curing after cleaning the hull with turpentine. Better safe than sorry so I’ve dedicated to use dedicated thinner this year.

I’ve also changed the way I use varnish. Last year I thinned it by circa 20% to have it flowing better. The can was used in 75% after finishing but the result was not satisfactory - there were many “vacations” in the surface and adjacent layers did not blend with themselves.

This time I decided to use Epifanes without any thinner. Started on bow, port side, and moved towards the aft. Then I came back varnishing whale-deck above. After finishing I looked onto the result and was not impressed - varnish was sagging in few places and few other had “vacations”. But otherwise the layer was nice and thick. I concluded that it was too much varnish and spreading was not consistent.

And then I made the stupidest thing ever - I tried to fill in “vacations” with some strokes of varnish… There is an old rule that you never, EVER, do that. I know this rule but wanted to see what happens. Well, now I know: huge, ugly snoot of sagging varnish surrounded by semi-dry “vacations” of disturbed varnish.

Indeed - NEVER try to correct once-finished varnish. It will just make it worse. Better to correct it with next varnish over fully cured layer. Wet-on-wet does not apply to varnish!

IMG_6252.JPG

So there will be some work next spring to remove these sags. I’ll remove them with blade, to avoid sanding too deep in adjacent areas.

With that in mind I moved to starboard side, this time paying attention to properly spread the varnish before blending with the wet edge: first striking vertically until I felt that the brush is giving equal response everywhere. Then spreading horizontally from top to bottom of the sector (roughly two frames, easy because there are plugs visible) until again I could feel equal resistance on the brush and the sound of brush was telling that it glides over varnish and not over dry wood. From top to bottom and back to top. Then final blending with quite hard pressure on the brush and extending almost halfway into the wet edge.

After finishing the whole boat I could take a look. The result on starboard is perfect!

IMG_6254.JPG

I now understand why many people swear for Epifanes traditional varnish - it brings up such a beautiful and deep tone of wood! And with the proper technique it is a pleasure to use!

IMG_6255.JPG

For next season I note that it took almost one full can of varnish for just a hull and whale-deck.

The boat is now sensitive to any dust so I moved a bit away from her with my next task of making new mainsail track.

IMG_6256.JPG

Anders agrees with me that she needs to be launched ASAP. He wants to avoid problems similar to these experienced by “Staika” that she does not want to float since a week.

So now we have a launch date: May 1st!

While at varnishing - how to treat our precious brushes after the job is done? There are many methods but I like the most one described once in Wooden Boat Magazine: after the job is done I clean my brushes in turpentine - let them sit there for some minutes, rigorously squeezing the remaining varnish from the core of the brush. After that I simply dope the brush in linseed oil and keep it in closed container.

IMG_6261.JPG

I had a bad experience with trying to wash the big brush entirely to keep it stored dry. It seemed that I got out all varnish from bristles (turpentine did not change colour on the last bath) so I final-cleaned the brush in soapy water and hanged in plastic bag to dry. To my disappointment the brush became stiff and almost ruined! I rescued it by putting into linseed oil so now it is in good condition again but all this hassle and lots of turpentine used has steered me away.

With current method I just squeeze the oil from bristles, briefly dope the brush in Epifanes’ thinner and I’m ready to go!

April 29, 2019 /Lukasz Kumanowski
Comment
  • Newer
  • Older

Powered by Squarespace