Boatworks

  • Main
  • Louve
  • Typewriters
  • Workshop
  • Meritaten
  • Glypto
  • Motoko
  • Inspirations
  • About
IMG_6248.JPG

First spring shower. Rivet plugs

April 28, 2019 by Lukasz Kumanowski

Installing plugs on Farm80 prove to work fine: after one night they all sit tight with few exceptions where screw head was close to the plank surface.

To cut them flush I experimented with Japanese saw which is bendy but it was too easy to dent the hull while cutting. I used the standard method instead: cutting with chisel, along the grain. First stroke to remove most of the plug and then shaving the rest flush with hull. Stupidly sharp chisels are the key here. In some cases - with bigger plugs - it is important to follow grain direction, otherwise shaving leaves tear-out. The first stroke gives the answer what is the wood grain direction.

After cutting all of them I primed them with iron oxide paint (järnmönja) and then, just in case, covered with thin layer of Farm 80, just to seal them.

Then I moved on to prepare the hull for varnish. Originally I planned to varnish today but there was strong wind which was blowing dust clouds around. Not good for varnish job, tomorrow the weather should be more suitable.

I matted the hull with scotch-brite. Tedious job which takes around 3h but much more pleasant than doing that with machine.

Next step was to clean the boat from all dust before varnishing. Normally I would vacuum the hull but now I have a luxury of being alone in this part of boatyard so I simply showered the whole boat. Much simpler and yields better result - also by wetting the ground around so dust is not rising when people walk in vicinity.

IMG_6250.JPG

Before I finished washing the other side the first was already dry. That’s why we need to hurry up with putting Meritaten back into her element!

April 28, 2019 /Lukasz Kumanowski
Comment
IMG_4981.JPG

Engine wiring

April 28, 2019 by Lukasz Kumanowski

In preparations for engine wiring I took out pictures which I made half a year ago when I was removing the thing.

I labeled all wires and hoses, later substituted these labels with 3D printed labels which should hold longer than paper. Indeed, they are still there while paper ones are now impossible to read.

Hopefully these pictures can guide me back to the beginning.

IMG_4945.JPG
IMG_4946.JPG
IMG_4947.JPG
IMG_4948.JPG
IMG_4949.JPG
IMG_4950.JPG
IMG_4951.JPG
IMG_4952.JPG
IMG_4953.JPG
IMG_4954.JPG
IMG_4955.JPG
IMG_4956.JPG
IMG_4957.JPG
IMG_4958.JPG
IMG_4959.JPG
IMG_4960.JPG
IMG_4961.JPG
IMG_4962.JPG
IMG_4963.JPG
IMG_4964.JPG
IMG_4965.JPG
IMG_4966.JPG
IMG_4967.JPG
IMG_4968.JPG
IMG_4969.JPG
IMG_4970.JPG
IMG_4971.JPG
IMG_4972.JPG
IMG_4973.JPG
IMG_4974.JPG
IMG_4975.JPG
IMG_4976.JPG
IMG_4977.JPG
IMG_4978.JPG
IMG_4979.JPG
IMG_4980.JPG
IMG_4981.JPG
IMG_2855.JPG
IMG_2856.JPG
April 28, 2019 /Lukasz Kumanowski
Comment
IMG_6244.JPG

Screws, plugs and engine

April 27, 2019 by Lukasz Kumanowski

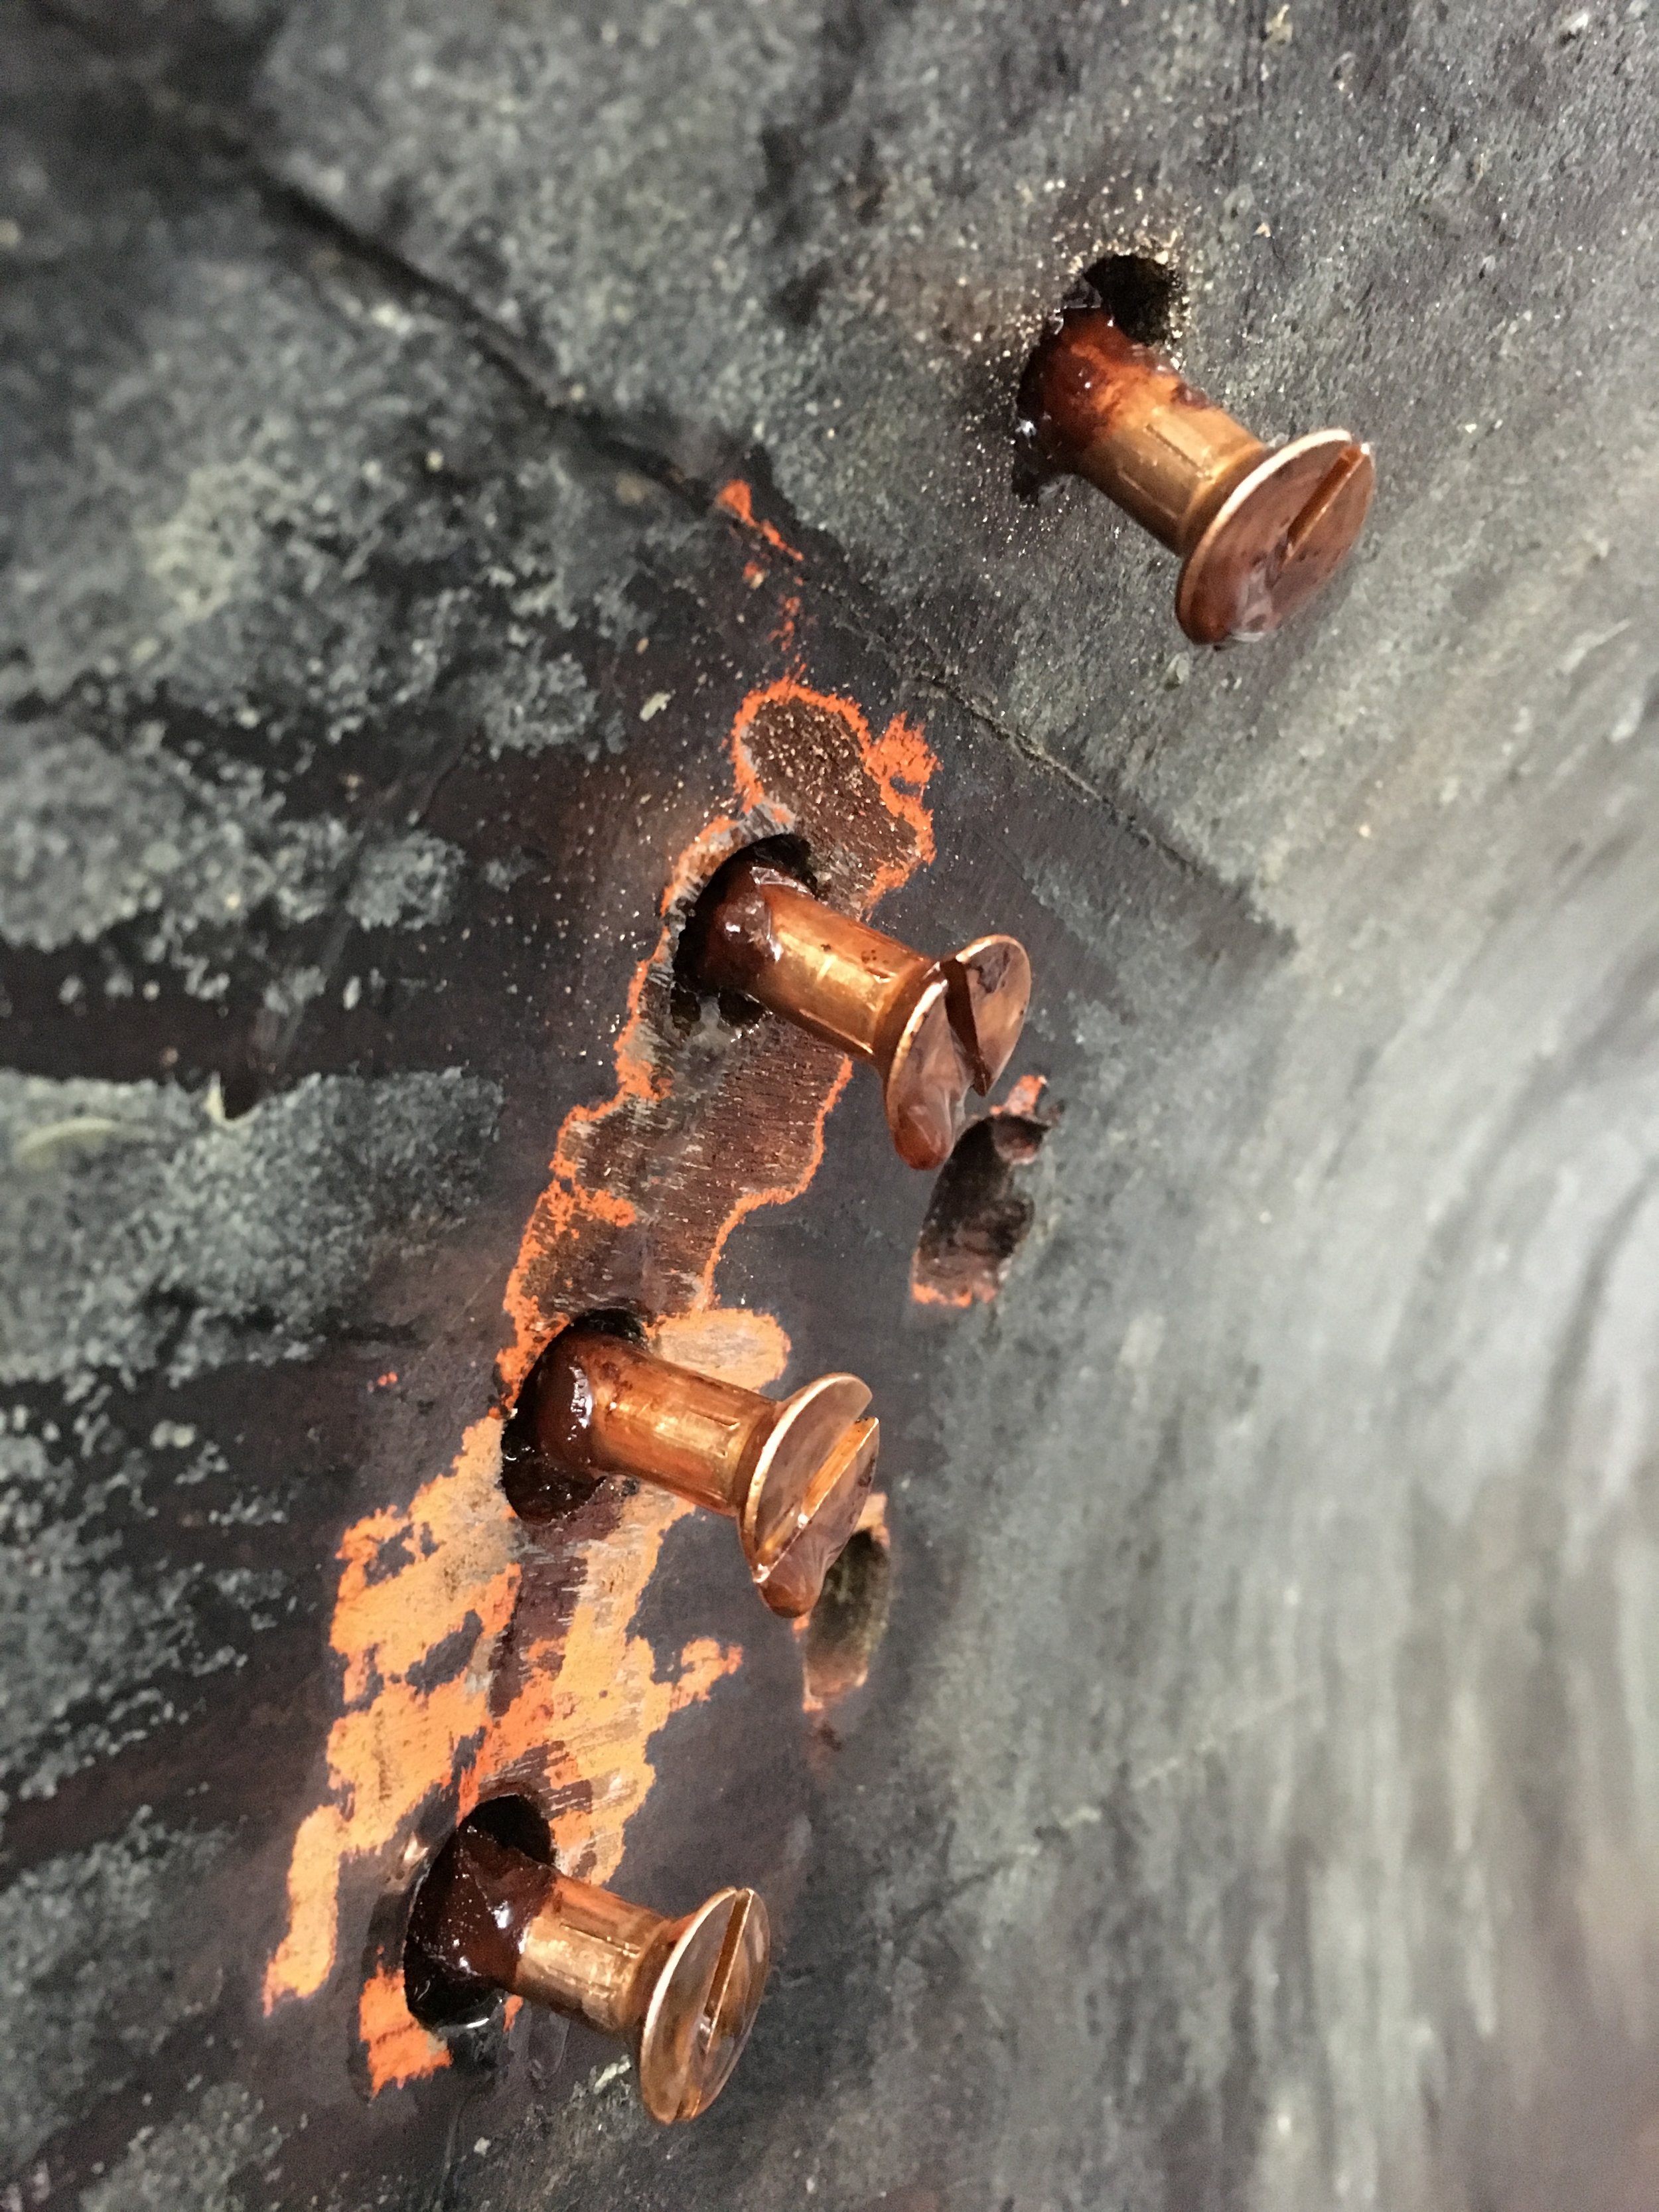
Everything was ready to instal the engine so while waiting for Anders I finished driving all remaining screws to floor timber and new (repaired) frames.

Following Börje’s advice I dope the screw in linseed oil before driving it into oak. That makes it easier - less friction. Additionally I bed them in Farm80 to further seal the joint.

I have also finished fastening the floor timber to the new frame - this time driving bronze rods with a drill went smooth. Thanks to linseed oil again. I think I’m becoming linseed oil fanatic - like Börje. This thing is cheap, smells nice and makes wonders with the wood.

Then came installing wooden plugs, to close holes occupied by rivets and screws. There are as many ways of installing plugs as boat owners. The classical way is to dope the plug in oil varnish and tap it into the hole. Under waterline red lead was used instead of varnish. Some people skip plugs under water and close the hole with some kind of putty. Few such were on Meritaten - it was epoxy fairing compound. Oh, how I cursed onto the one who did that! To remove this thing - to access the screw - took me five times longer than to remove normal plug. I promised myself not to do that on my boat - ever!

The role of the plug is to close the hole. It can leak before it swells with the surrounding wood - at least this is what I know. It is not a structural element and it withstands no forces so all is needed is that it sits there and makes the hull smooth and possible to paint. The second role of the plug is that it should be easy to remove.
So no glue if the plug is just a plug above the screw.

That’s theory. It works on new boats when plug holes are nice and round, wood is new and plugs can be installed with tight fit. On older boats the holes can get slightly worn - bigger or irregular. That’s why epoxy or Sika is being used.

In my case I’ve decided to bed them in Farm 80 - relatively dense to bridge few gaps, can be painted over and does not glue parts together. In most cases I needed to hammer in (rubber hammer) the plugs - holes are still in pristine shape. In few cases there was some play so Farm should bridge these gaps.

After cleaning the excess/squeeze-out I’ve left them to cure. Tomorrow I will cut and sand them flush with the hull and prime with järnmönja.

After another water spraying on the hull I went to search Anders - it was already afternoon and I wanted to have this engine installed today. Anders was in the harbour - there was an incident: Staika, big Laurinkoster (39 foot, 10 tons) has been dropped into water during yet another approach to put her into sea. The reason was that the trailer got loose while going down the ramp so the boat went uncontrolled down into the water. Luckily nobody was hurt - only boat’s rudder got broken. And the trailer landed deep on the bottom. I helped a bit in rescue action, talked with Anders if we indeed manage to put my engine and went back to work.

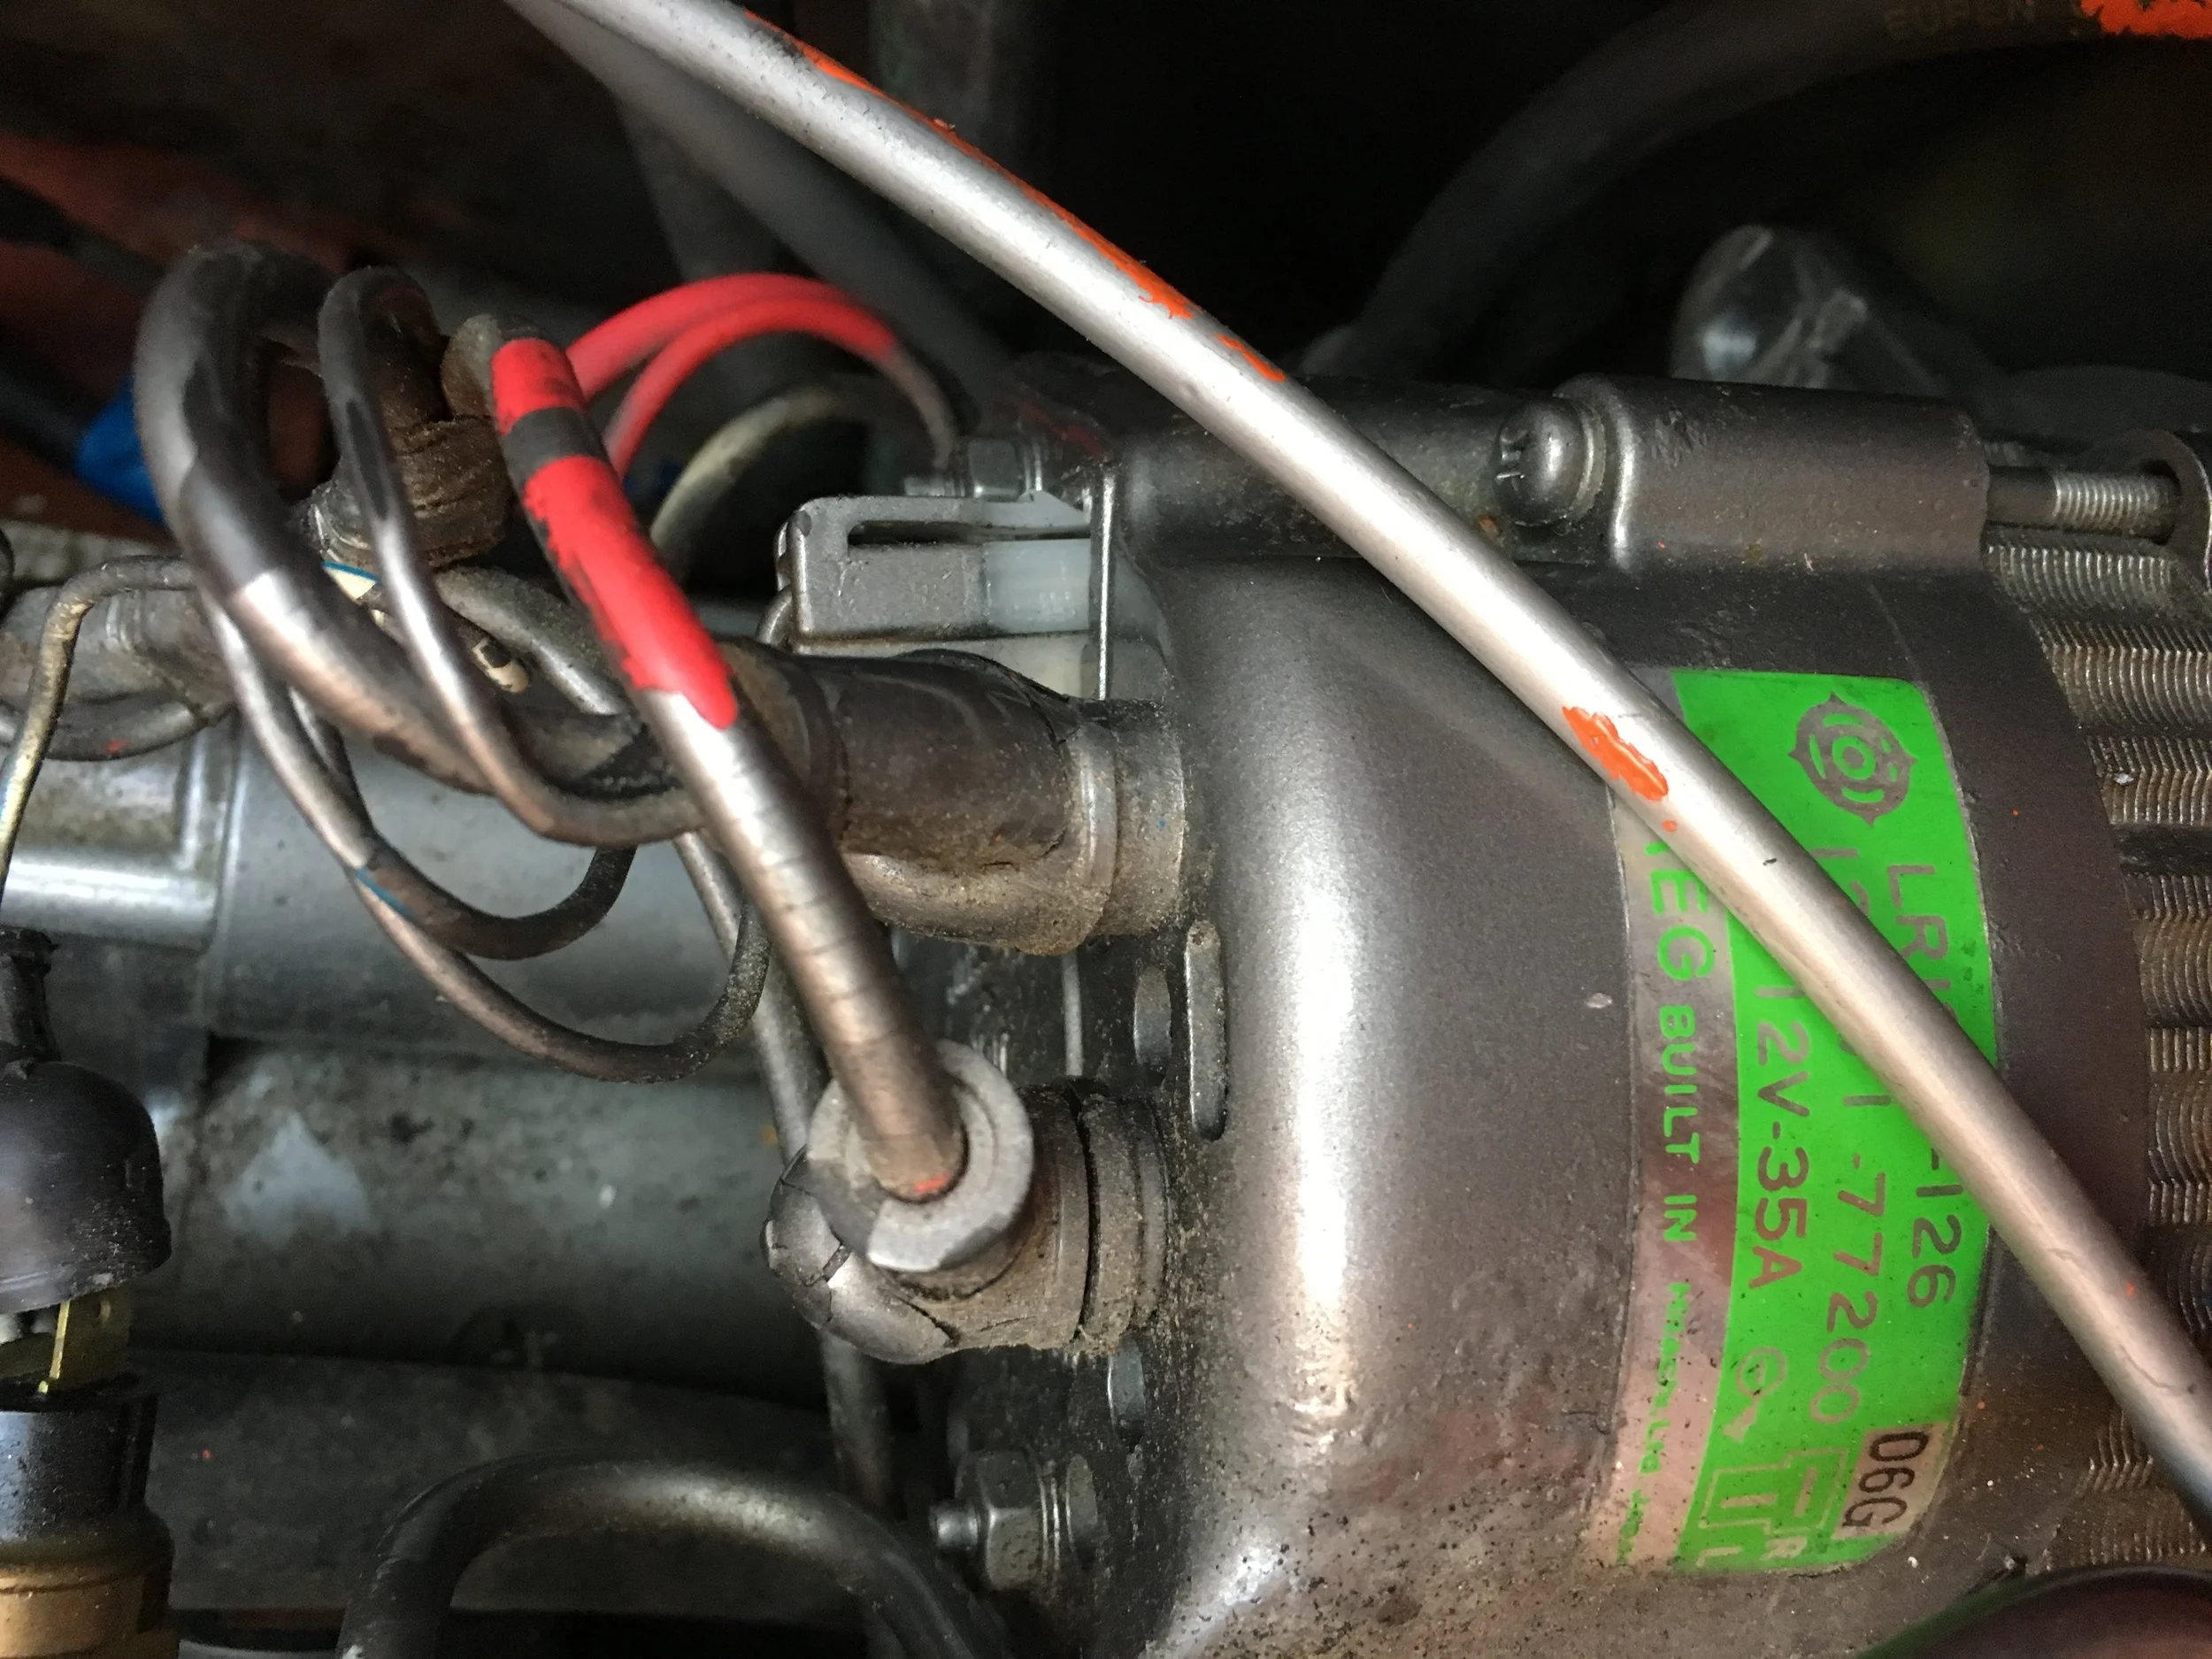
When I was already heading home - packed tools and washed myself - came Amders with the crane. Well - now or never! We’ve lifted my renovated Yanmar into place, all went smoothly so it took about 20 minutes only.

It turned out that the alternator is just a hair from cockpit support beam. It might be that I’ll need to cut the beam a bit if the grooved belt could not be tighten at this position. I’ll check tomorrow.

With all that done I think I’ll manage to hold the time plan and go to water next week.
What is left:

  • sanding the freeboard and valdeck - scotch-brite this year as I sanded with 220 grid last year

  • vacuuming the hull

  • varnishing

  • cutting and sanding plugs on the bottom

  • priming with mönja

  • bottom paint

  • mainsail track installation

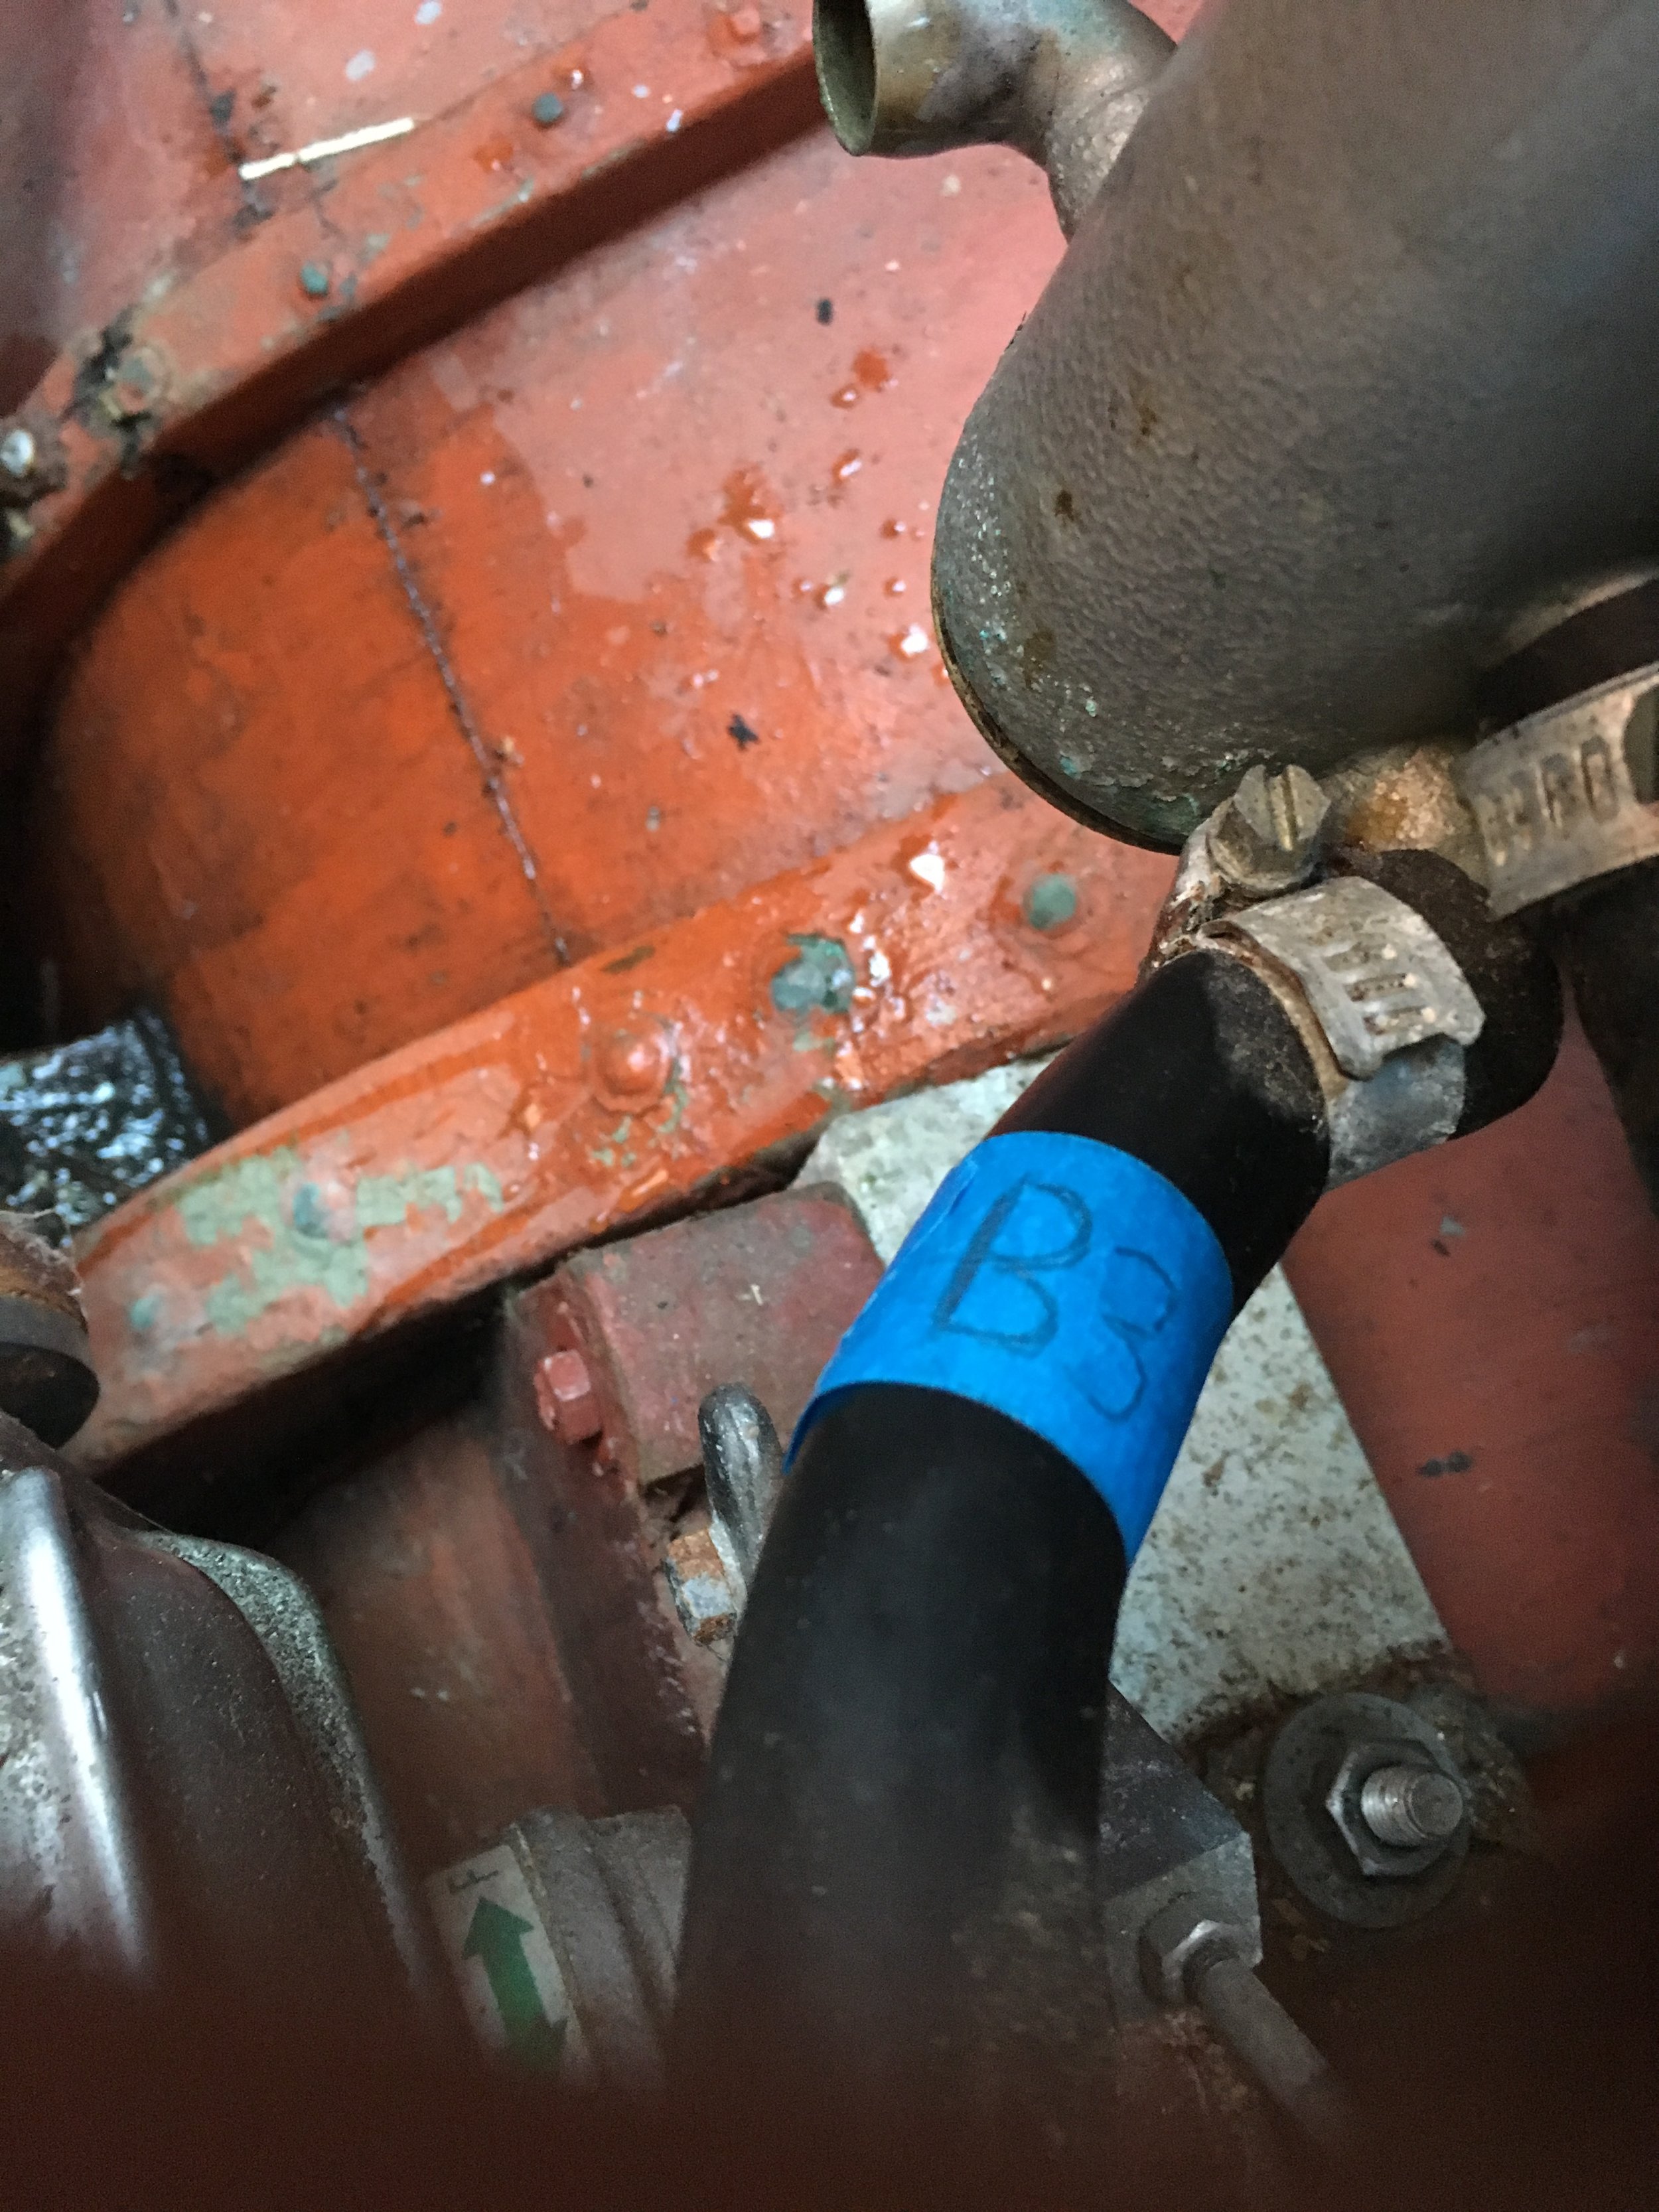
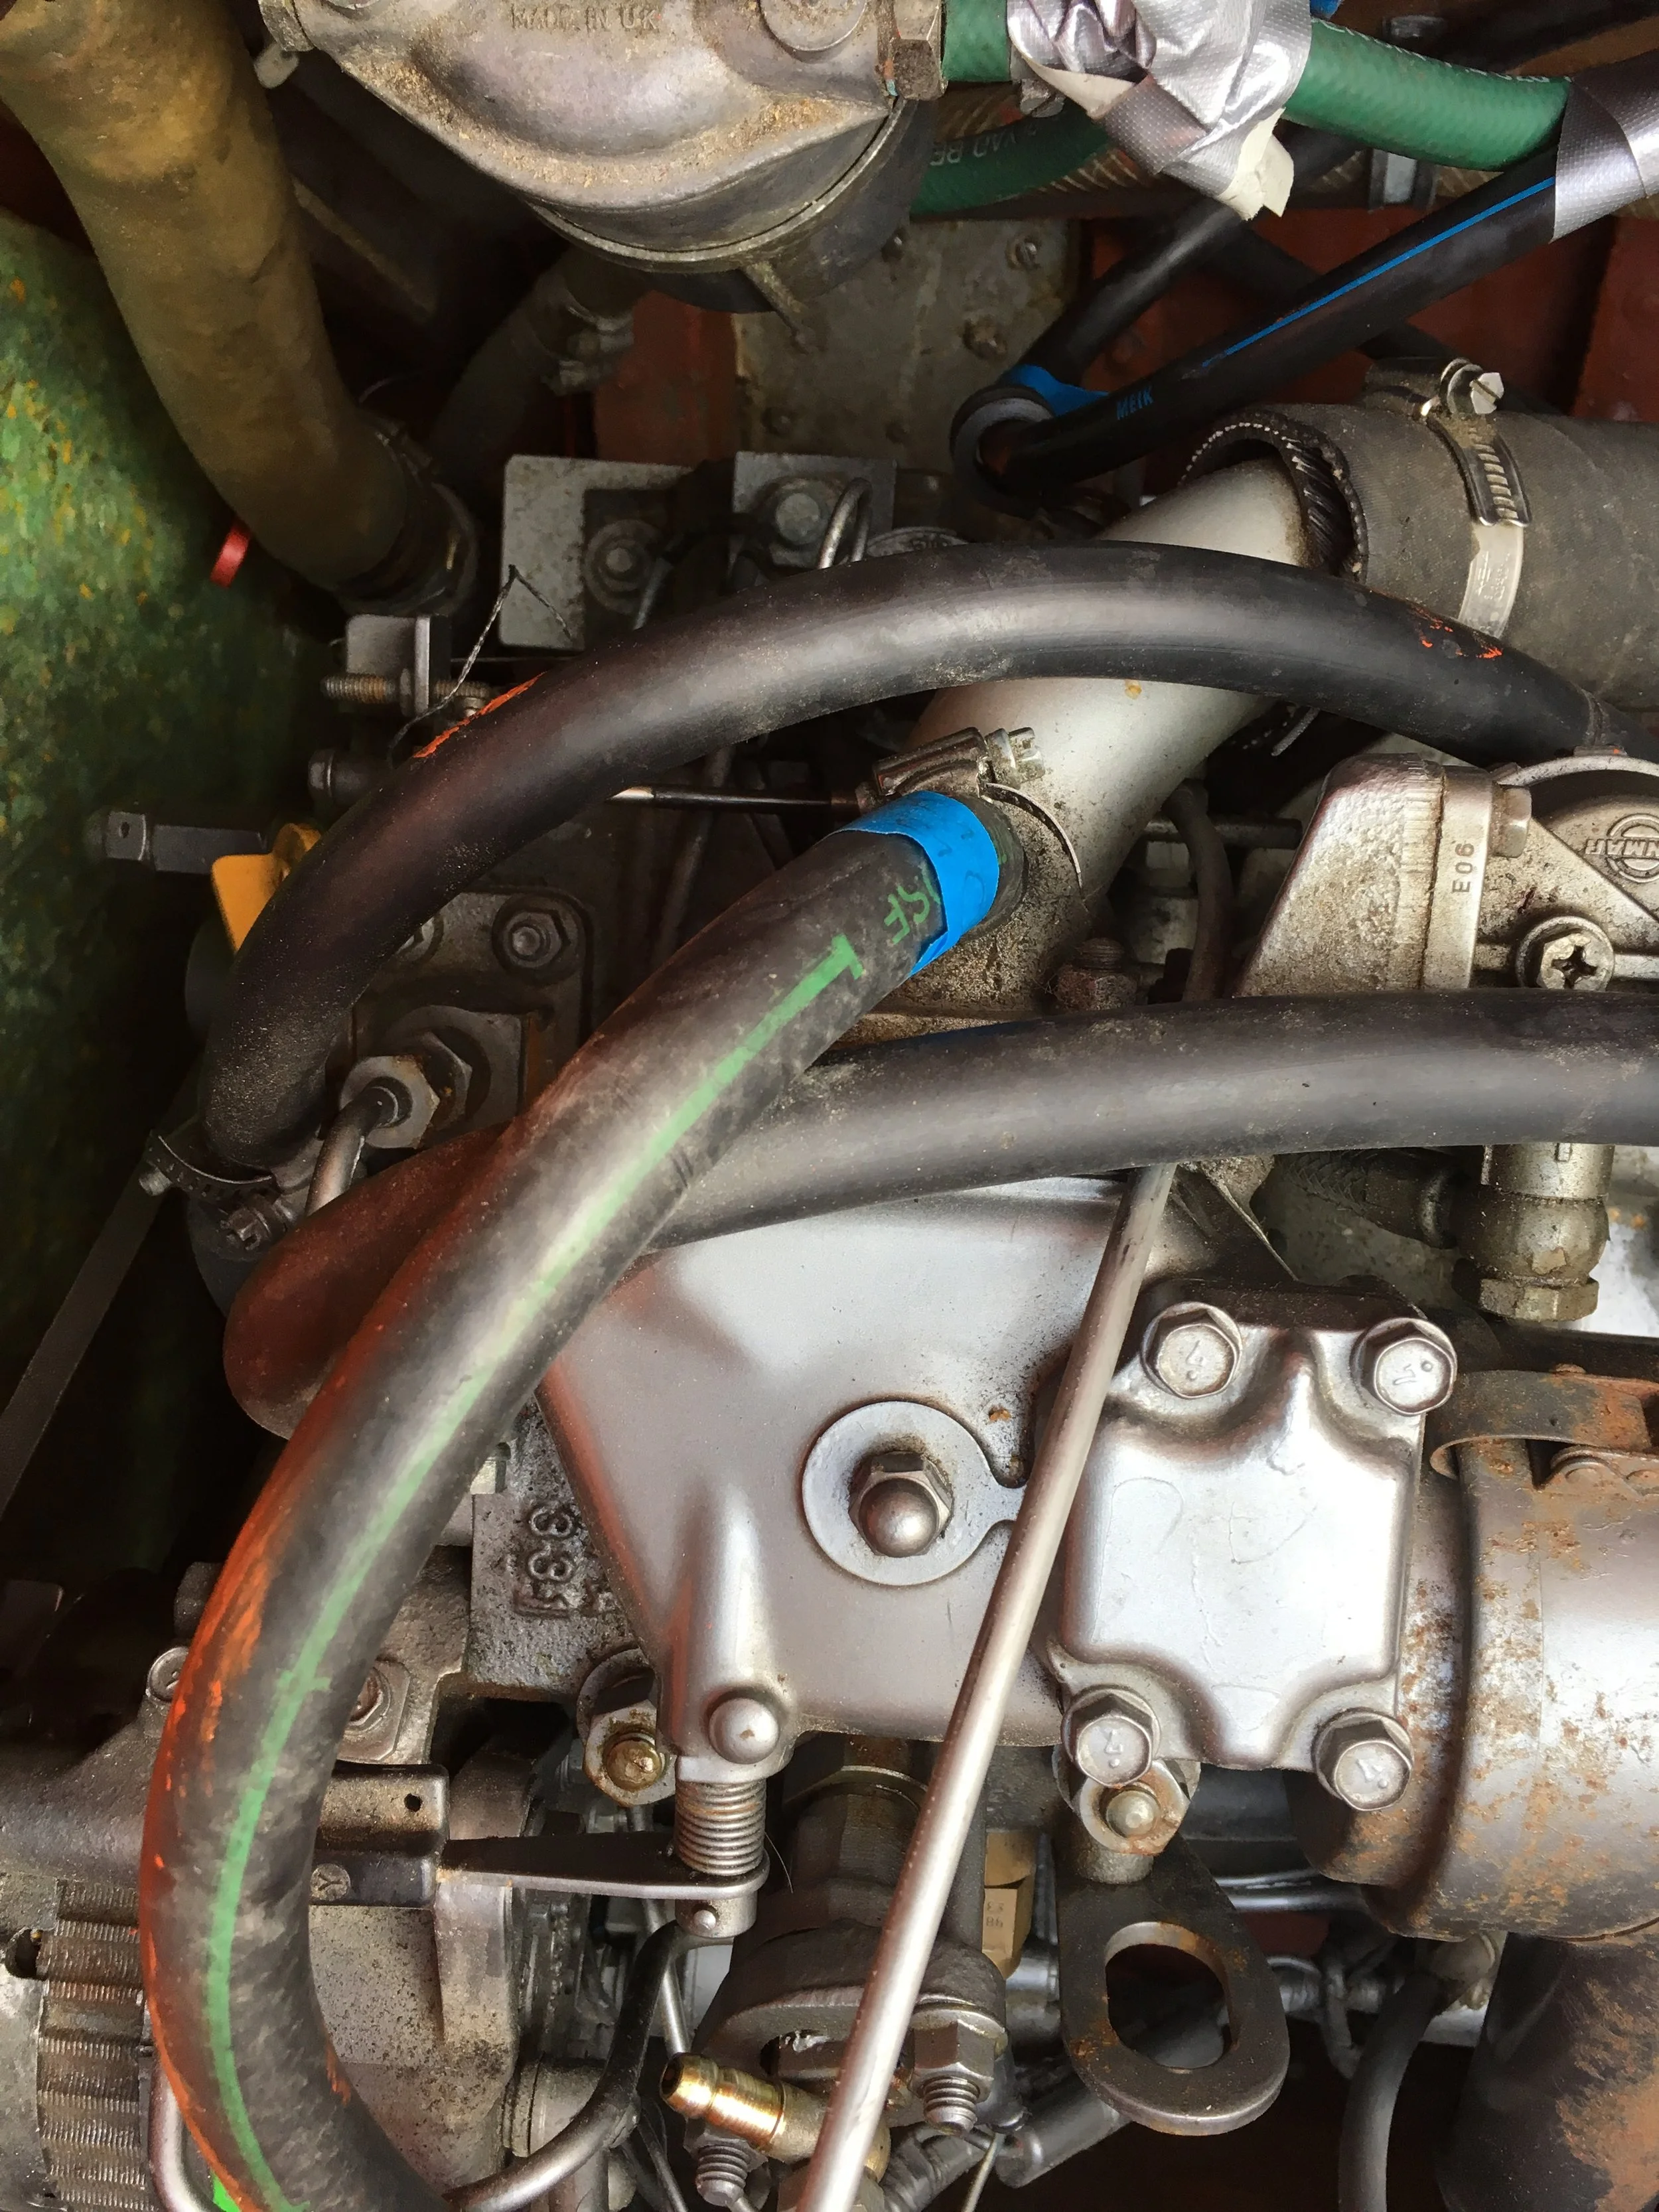
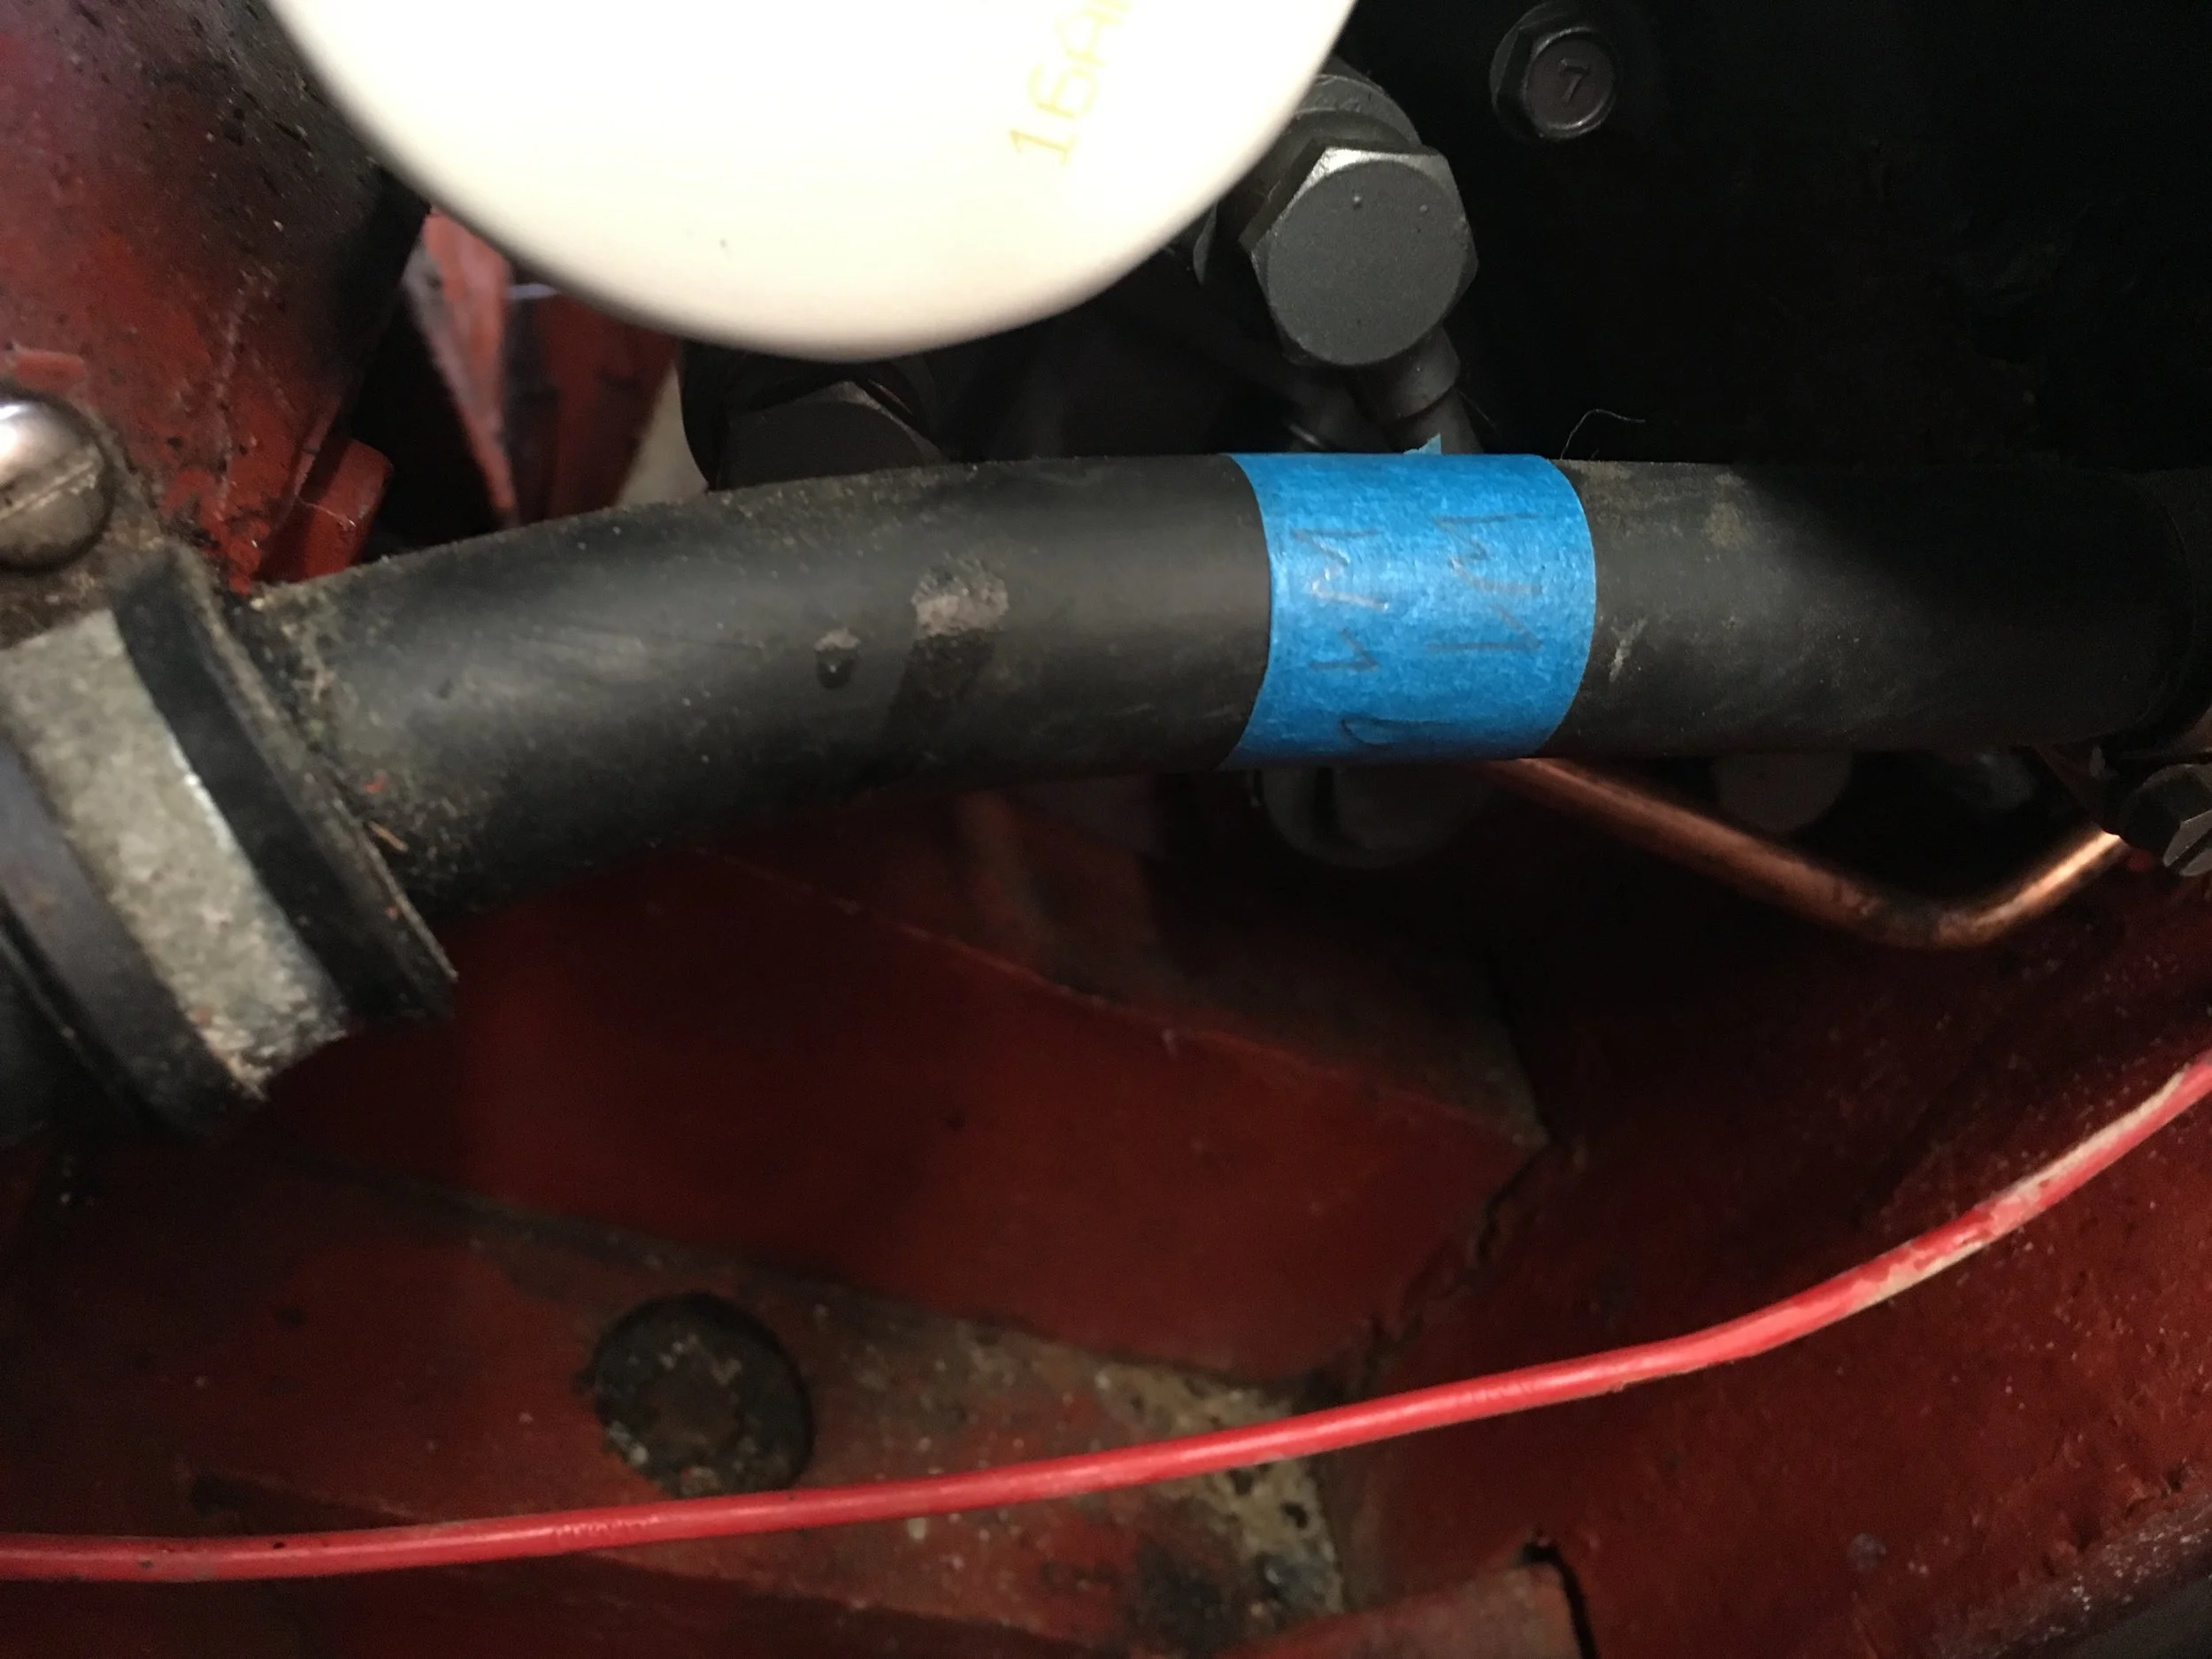
  • connecting the engine and trials

  • finishing supports for remaining parts of the cabin floor (durk)

  • installing batteries for engine and bilge pump

  • buying and installing one more bilge pump

The plan for tomorrow is sanding and varnishing. Varnish needs to cure so I will use this time to finish all other tasks from the list.

April 27, 2019 /Lukasz Kumanowski
Comment
IMG_6217.JPG

Engine, tropical rain and cockpit floor

April 26, 2019 by Lukasz Kumanowski

Most of my “wooden” neighbours are out of the winter storage: “Kaika” (Jim) is already floating at her mooring, “Staika” still standing at the slip with leaking hull, “Bimsy” (Lars) is already away. In wooden boat part of the shipyard there are only two kosters left: “Meritaten” and “Andrina” (Lennart is finishing installations and will go to water in coming days).

It became spacious with lots of light now! To my delight the temperature decreased a bit but it is still very dry. To protect “Meritaten” from excessive drying out I keep her winter dress on her bottom part. To keep her humid I’ve rigged sprinkler which is wetting the hull and soil underneath.

IMG_6216.JPG

Anders promised to find time today to lift the engine back into my boat so I focused on preparing everything.

I have assembled renovated engine foundations.

View fullsize IMG_6218.JPG
View fullsize IMG_6219.JPG

To fit them back into engine room was a tricky business and lots of running back and forth to finally align everything to match screw holes in the hull.

All the screws are replaced with new, bronze screws. I’ve bedded them in Farm100 to seal them from water and as a lubricant for easier driving them into oak.

IMG_6221.JPG

At last the foundation was in its place. A day before I hanged fuel lines (feed and return lines) and installed exhaust silencer. The engine compartment was hence ready to receive the engine so I went to check with Anders when he could come with the crane.

IMG_6222.JPG

It turned out that we need to postpone this action till tomorrow. Well, that gave me more time to do some engine maintenance.

IMG_6224.JPG
IMG_6223.JPG

As a first job I fixed a leak in sea-water pump. Impeller was also in bad shape so I replaced it. New gasket, renovated cover, new screws - and the job was done.

View fullsize IMG_6227.JPG
View fullsize IMG_6228.JPG
View fullsize IMG_6232.JPG

Next went zinc cathode on cylinder head. As far as I know nobody ever replaced it on this engine so I was curious if there is anything left of it.

It turned out to be in pretty good shape - but covered with some kind of residue which might prove it ineffective. I replaced it together with new cover and the gasket. There was some fiddling with chisel and 220 sand paper to remove the old gasket.

IMG_6226.JPG

Air filter was next in line. Previous owner used to just vacuum clean it and never changed it. Upon inspection it was a high time to replace it with a new part - which is dirt cheap anyhow.

IMG_6233.JPG

Oil filter change followed. After last year’s engine failure - and oil release to bilge - there is new oil already since August so I left it in place.

Exhaust elbow is known in these engines to cause problems. I’ve removed it for inspection and indeed found substantial buildup inside. Cleaned - and with a new gasket - it was assembled back onto the engine.

IMG_6229.JPG
IMG_6231.JPG

Fuel filter, although the old one looked clean, got also a new insert.

IMG_6234.JPG

Having all that done I could clean the entire engine and touch-up bare spots with Yanmar-grey enamel paint.

Cockpit structure was the next step. It is easier to assembly it without engine in place.
I’ve bedded all adjacent surfaces with Farm, to inhibit moisture accumulation and decay.

IMG_6238.JPG
IMG_6237.JPG

Wood screws were also bedded to prevent leaks.

IMG_6239.JPG

It took me considerable time to bed all elements and to drive screws without breaking them in this hard oak.

In the end the entire cockpit floor was in place. What was left was to clean out (with kerosene) the excess bedding.

IMG_6241.JPG

At last the cockpit is closed.
I positioned the hatches to check if they fit -indeed they do!

IMG_6242.JPG

Screws with rubber seal will hold hatches tight but I have left this job for now. It can be fixed whenever,

IMG_6243.JPG
April 26, 2019 /Lukasz Kumanowski
Comment
IMG_6206.JPG

Järnmönja and cockpit structure

April 22, 2019 by Lukasz Kumanowski

I came back the same evening to start installing cockpit support beams. I need to do that before painting the bilge and before the engine is lifted back into this place.

Thick bedding with Farm 100 should hopefully make the screwed joint between beams and cockpit walls sealed from rainwater. Originally the old beams were glued with Sika-like adhesive. While removing these old rotten beams inevitably the wood around got disturbed. With Farm sealing I will avoid that problem if I ever want to uninstall the new beams. And I already know I will do that in couple of years!

The night after I vacuumed the entire boat and moved on to paint the engine room bilge and walls with järnmönja. It will take some time to fully cure but with current temperatures it should take no longer than a couple of days.

April 22, 2019 /Lukasz Kumanowski
Comment
  • Newer
  • Older

Powered by Squarespace