Boatworks

  • Main
  • Louve
  • Typewriters
  • Workshop
  • Meritaten
  • Glypto
  • Motoko
  • Inspirations
  • About
IMG_5761.JPG

Cockpit structures and side projects

February 25, 2019 by Lukasz Kumanowski

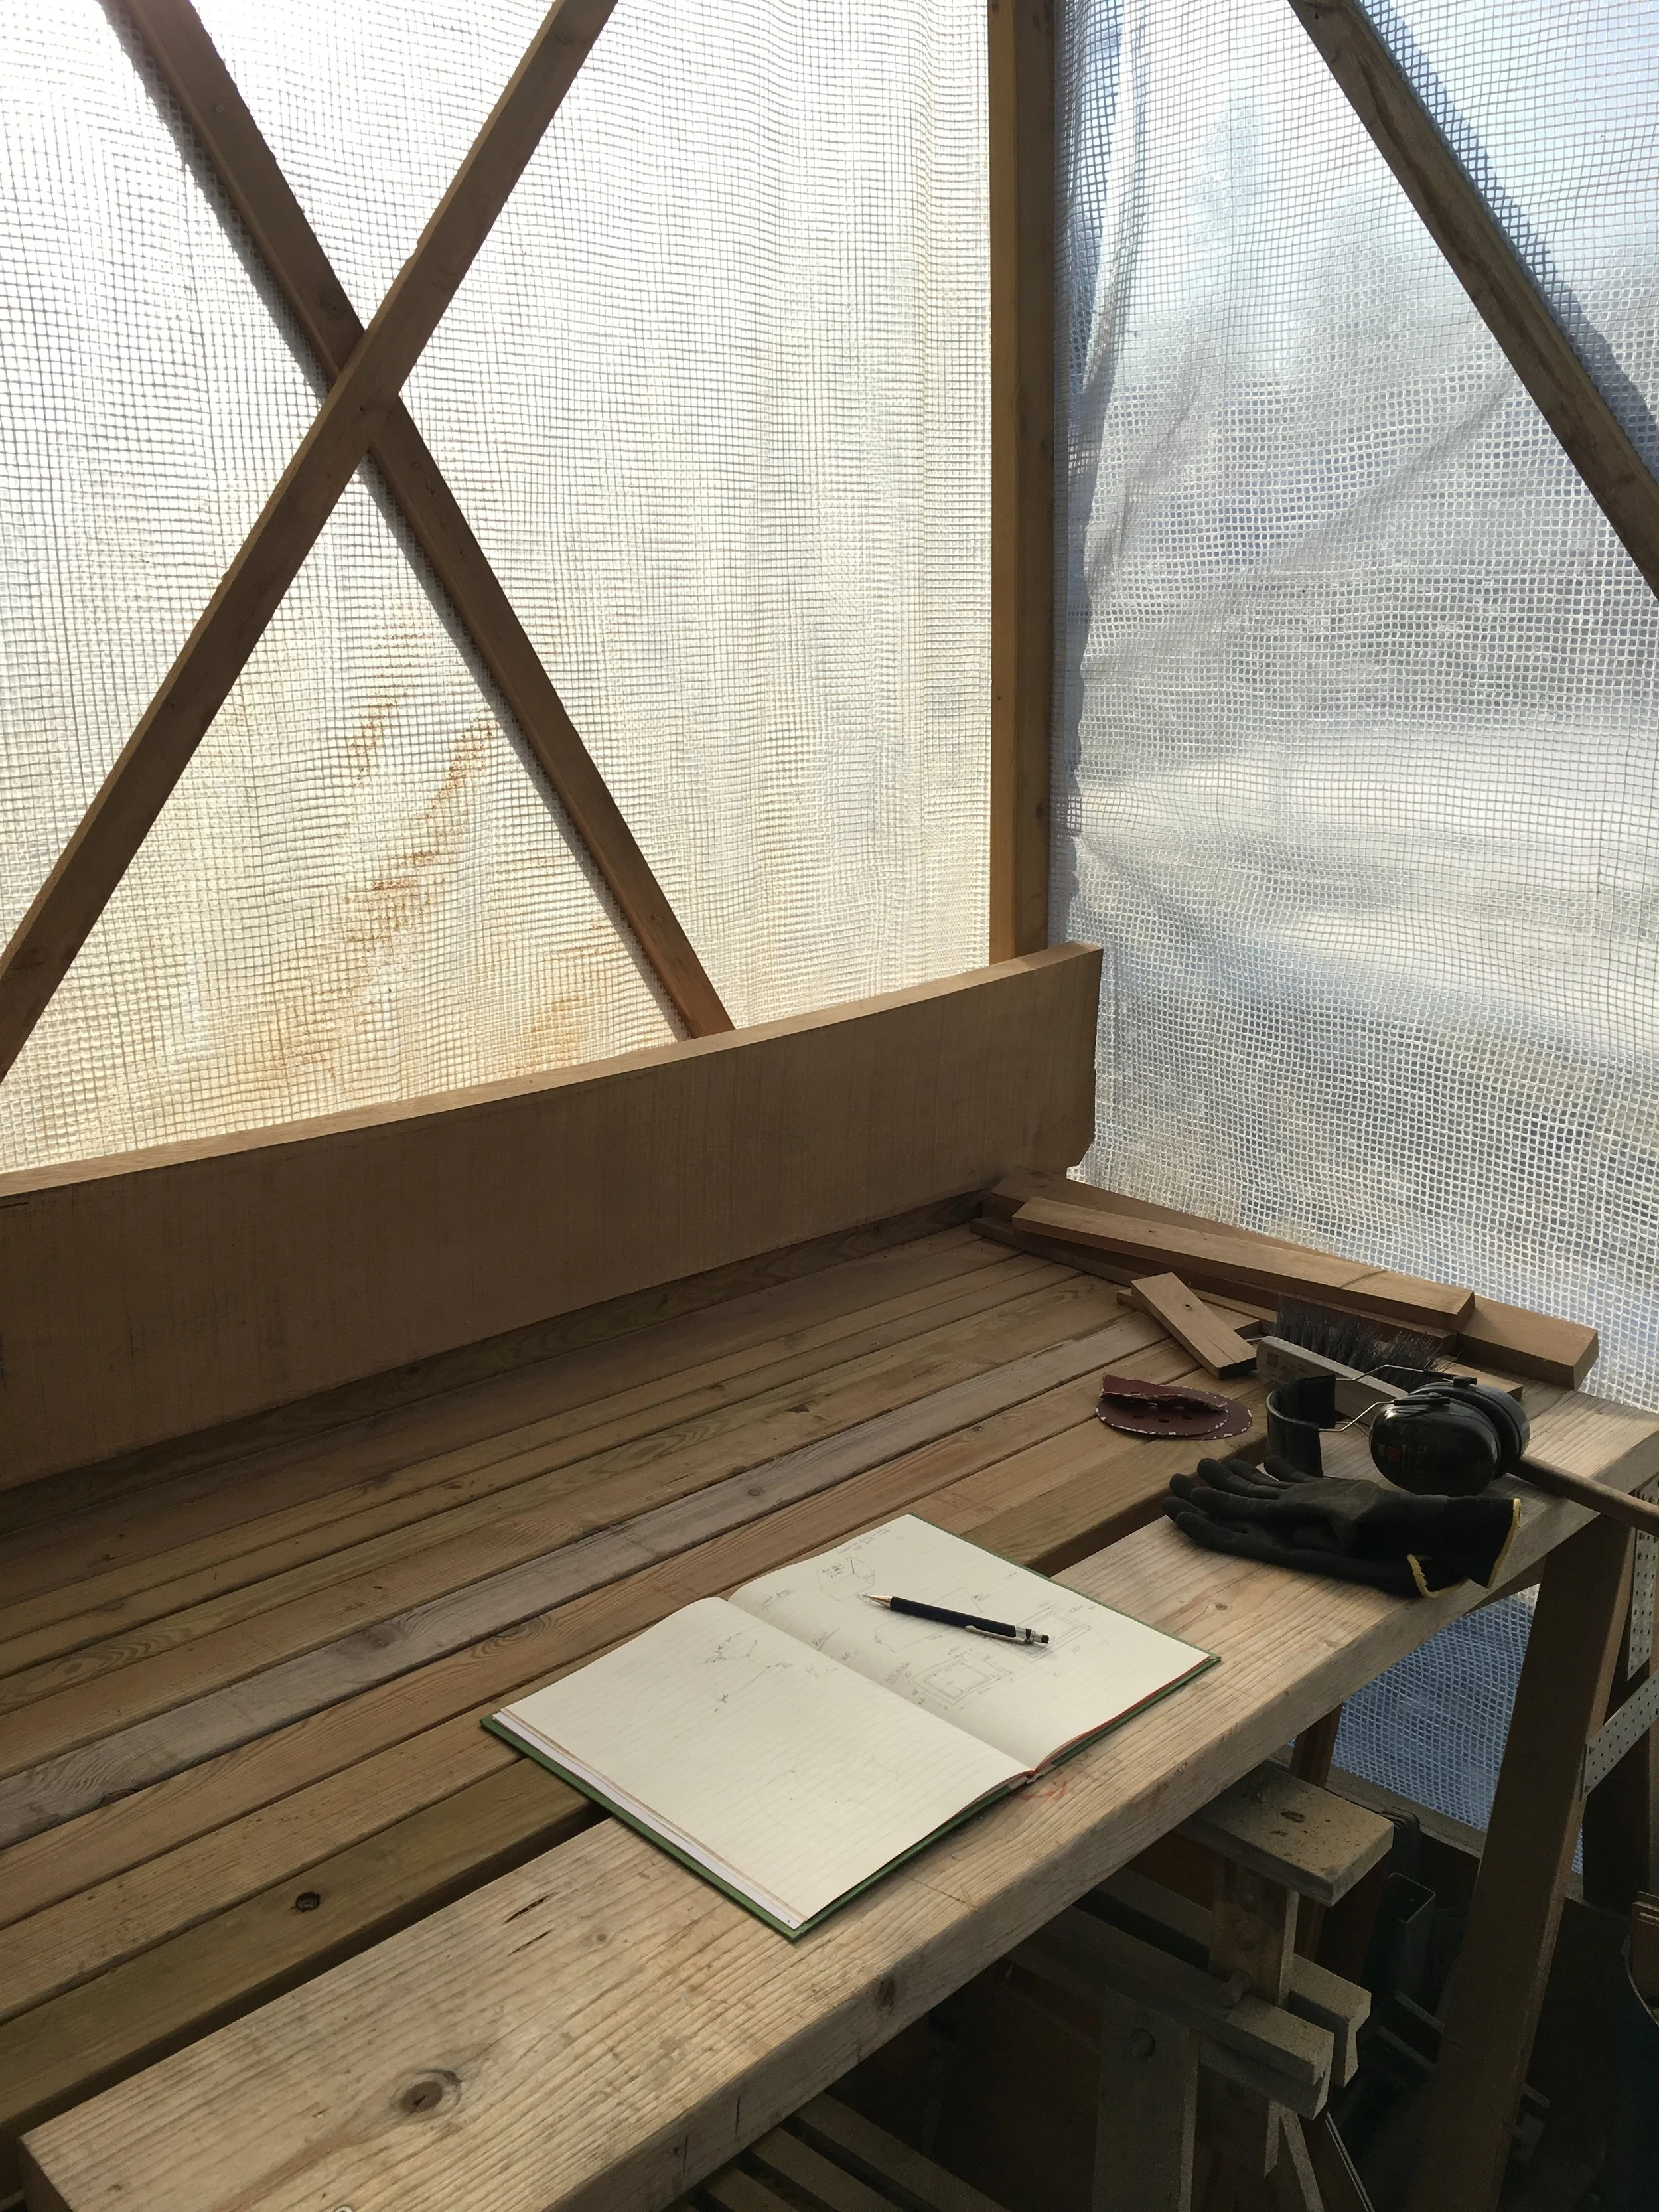
Perfect starting of the day: sunny weather, moderate temperature around zero degrees, clean workshop and drawings for the day’s job.

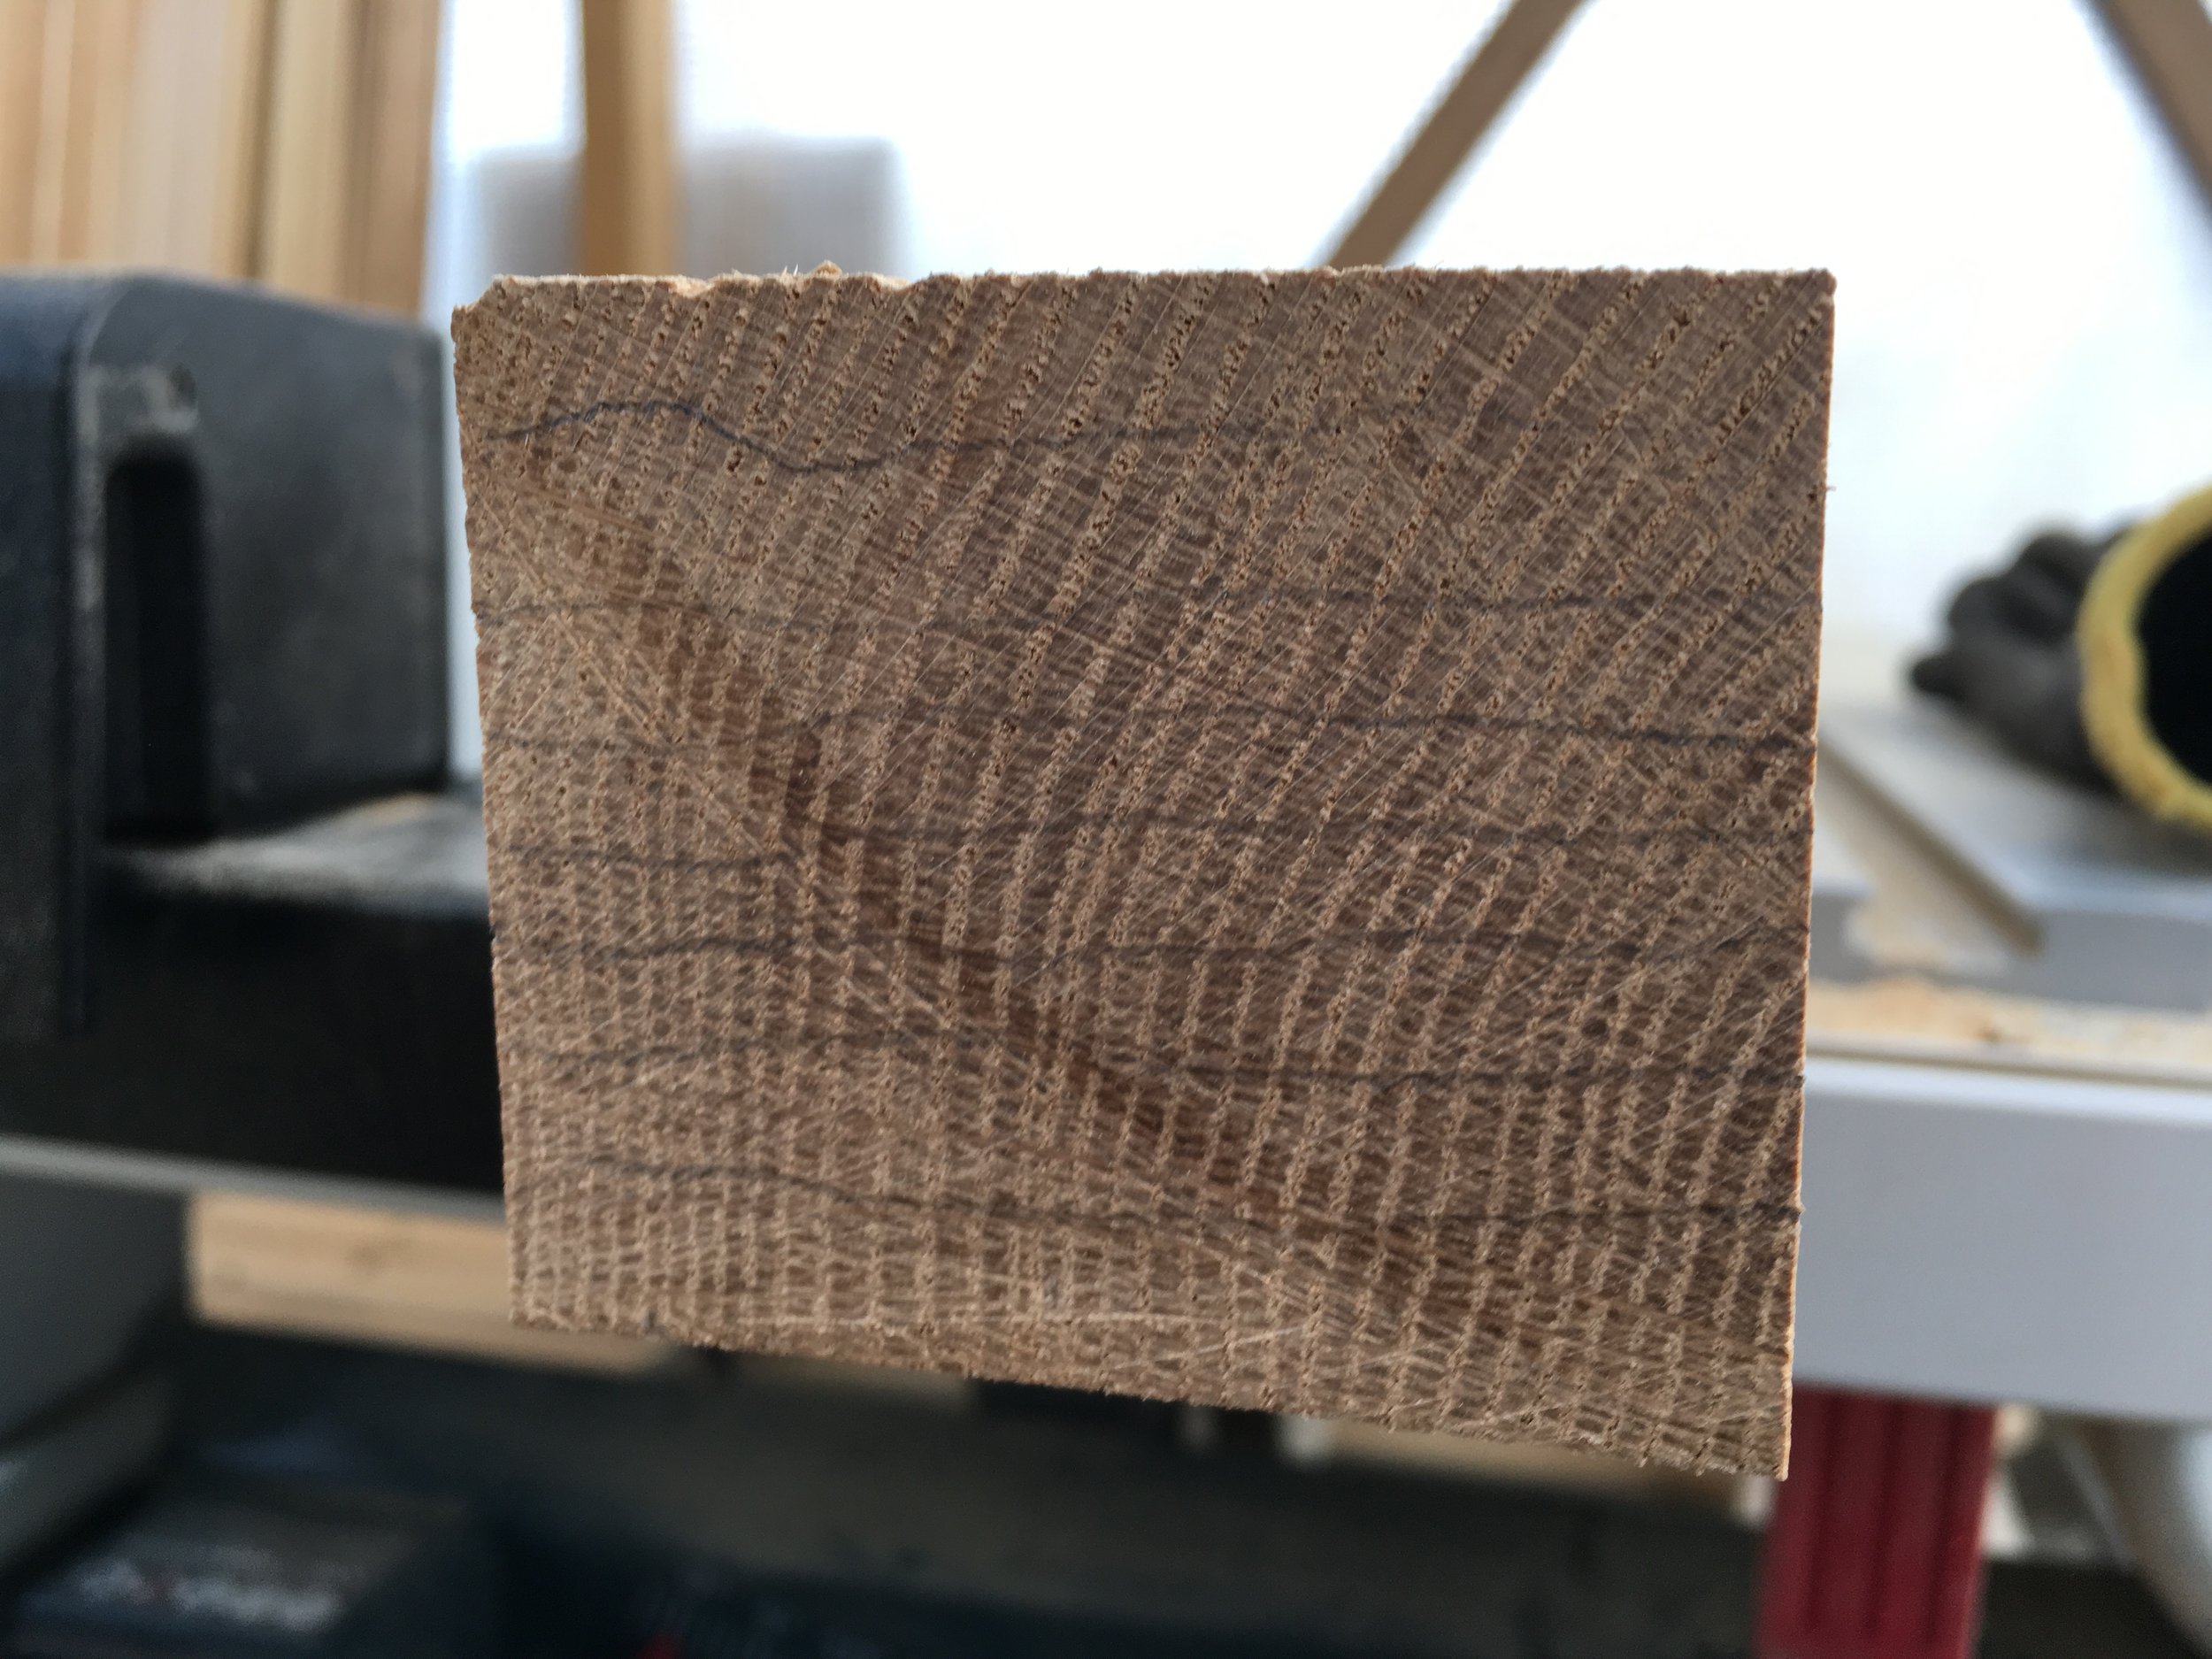
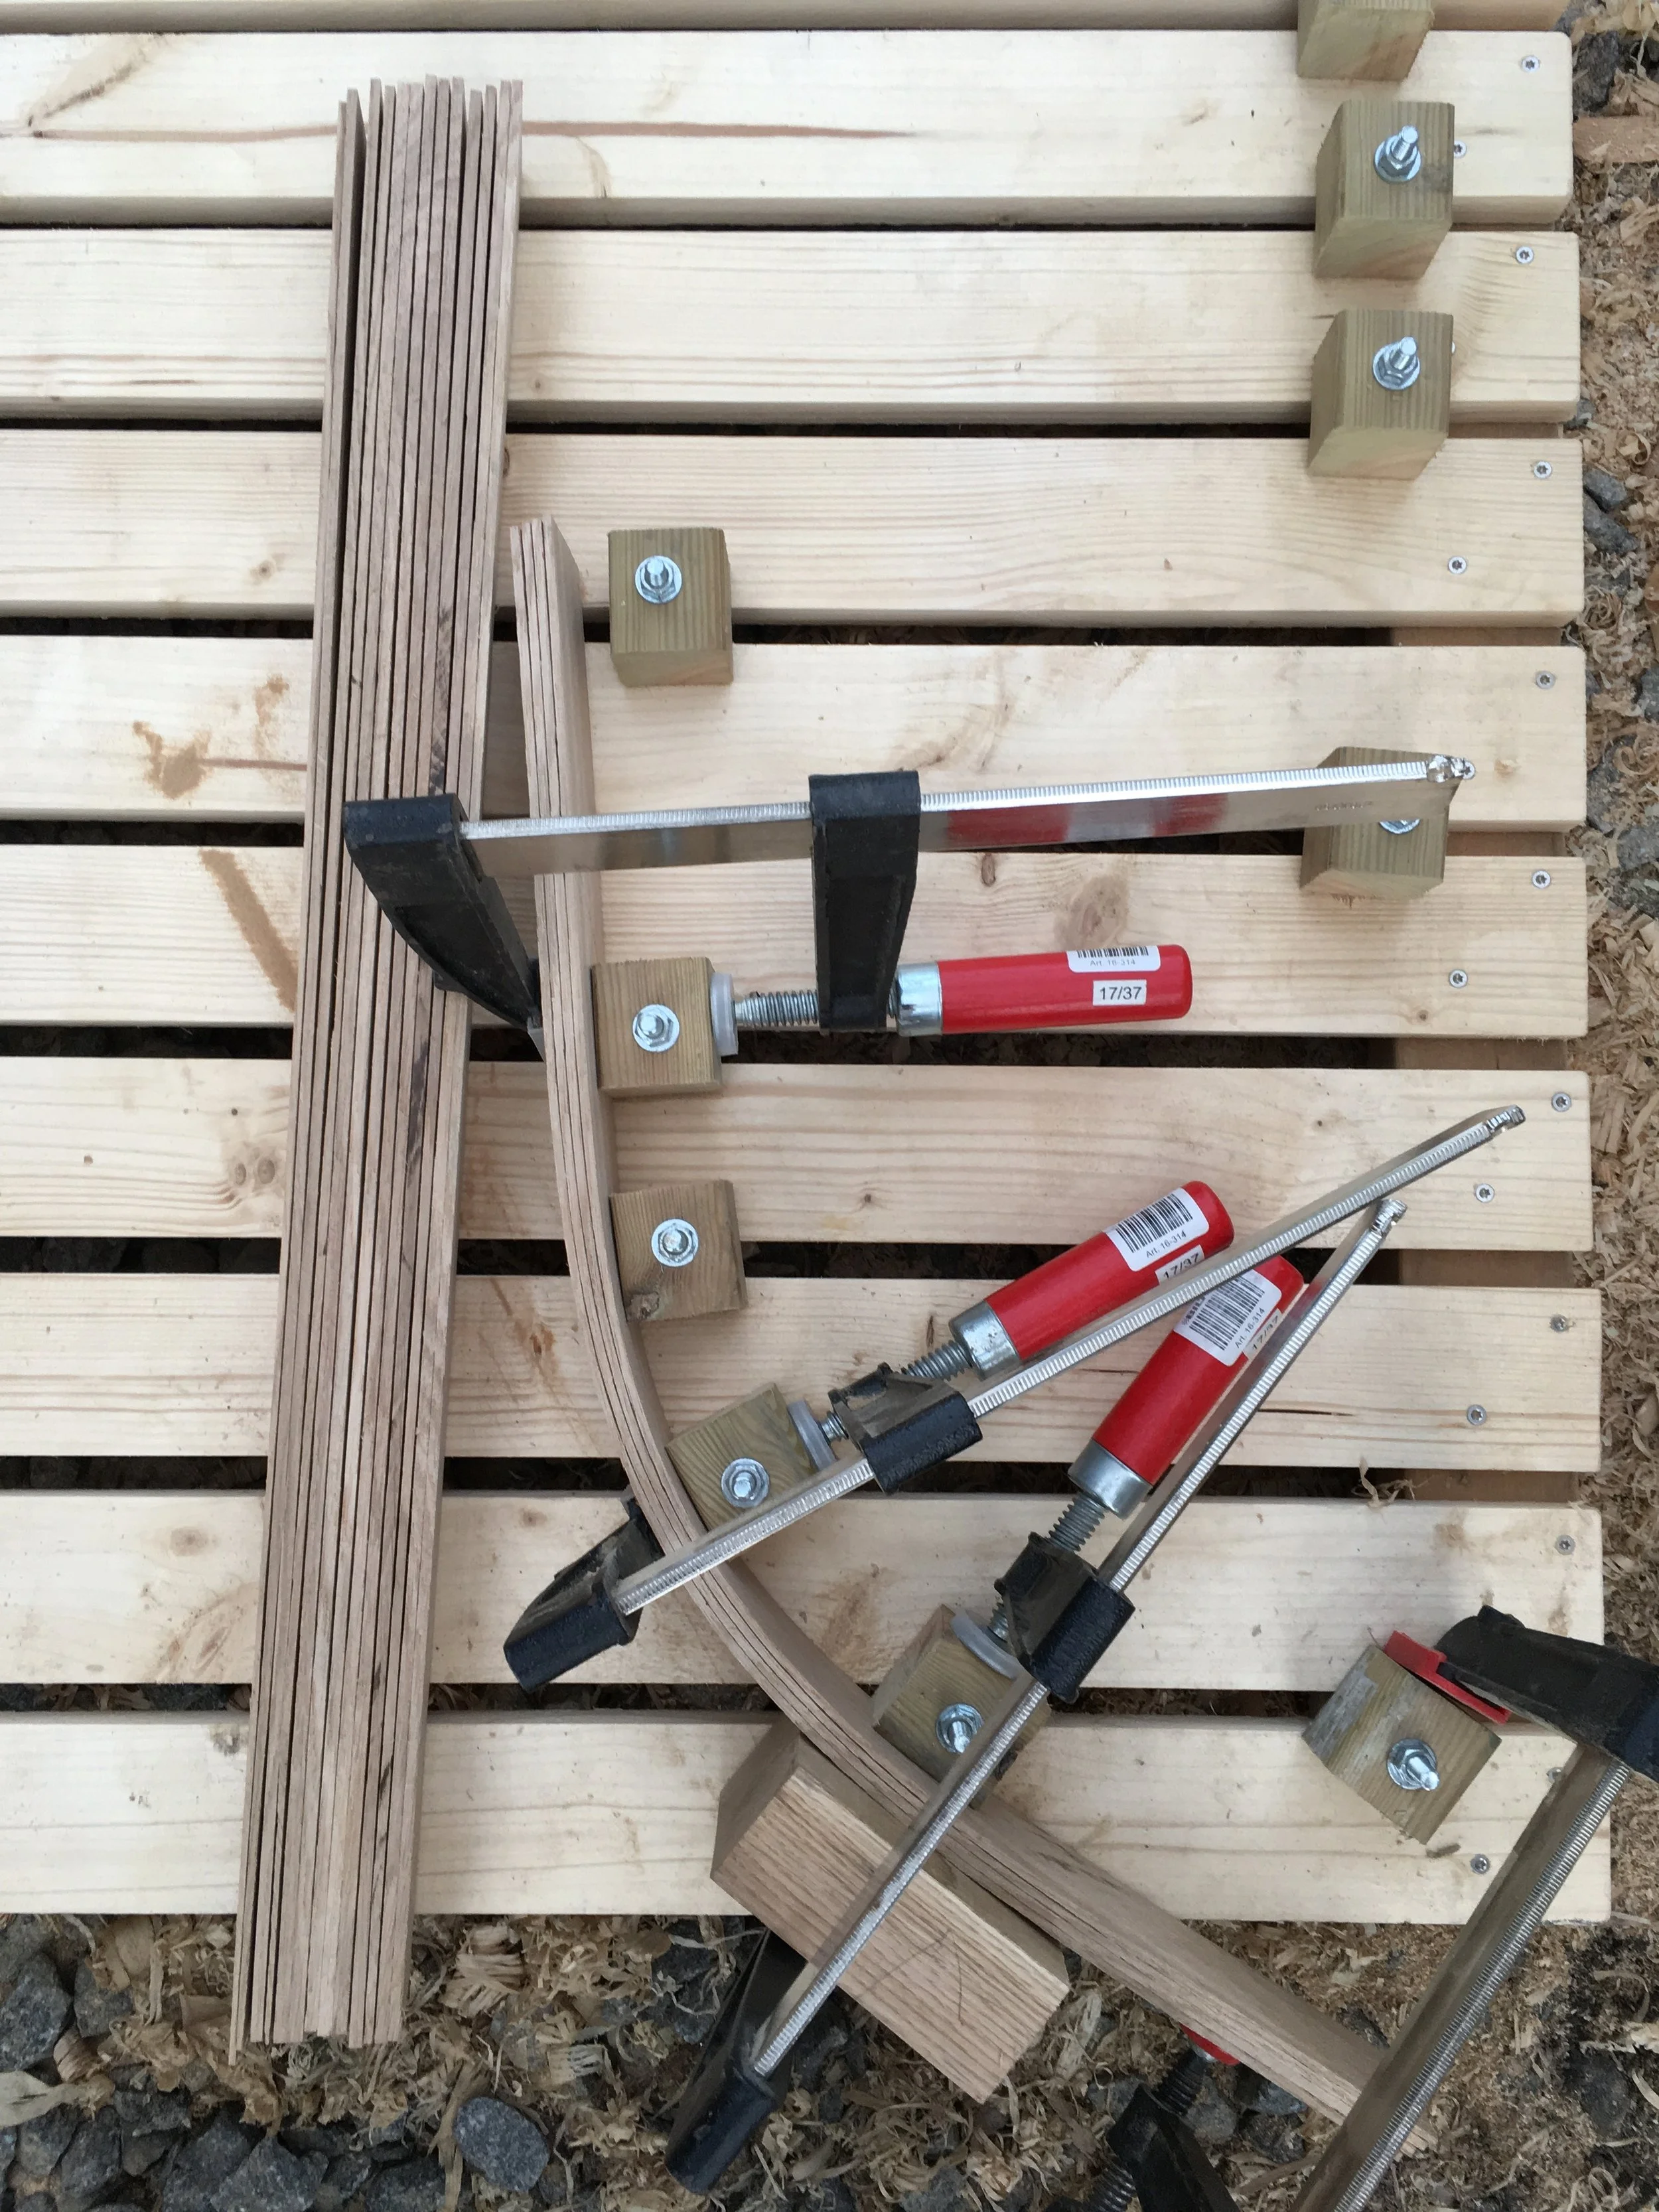
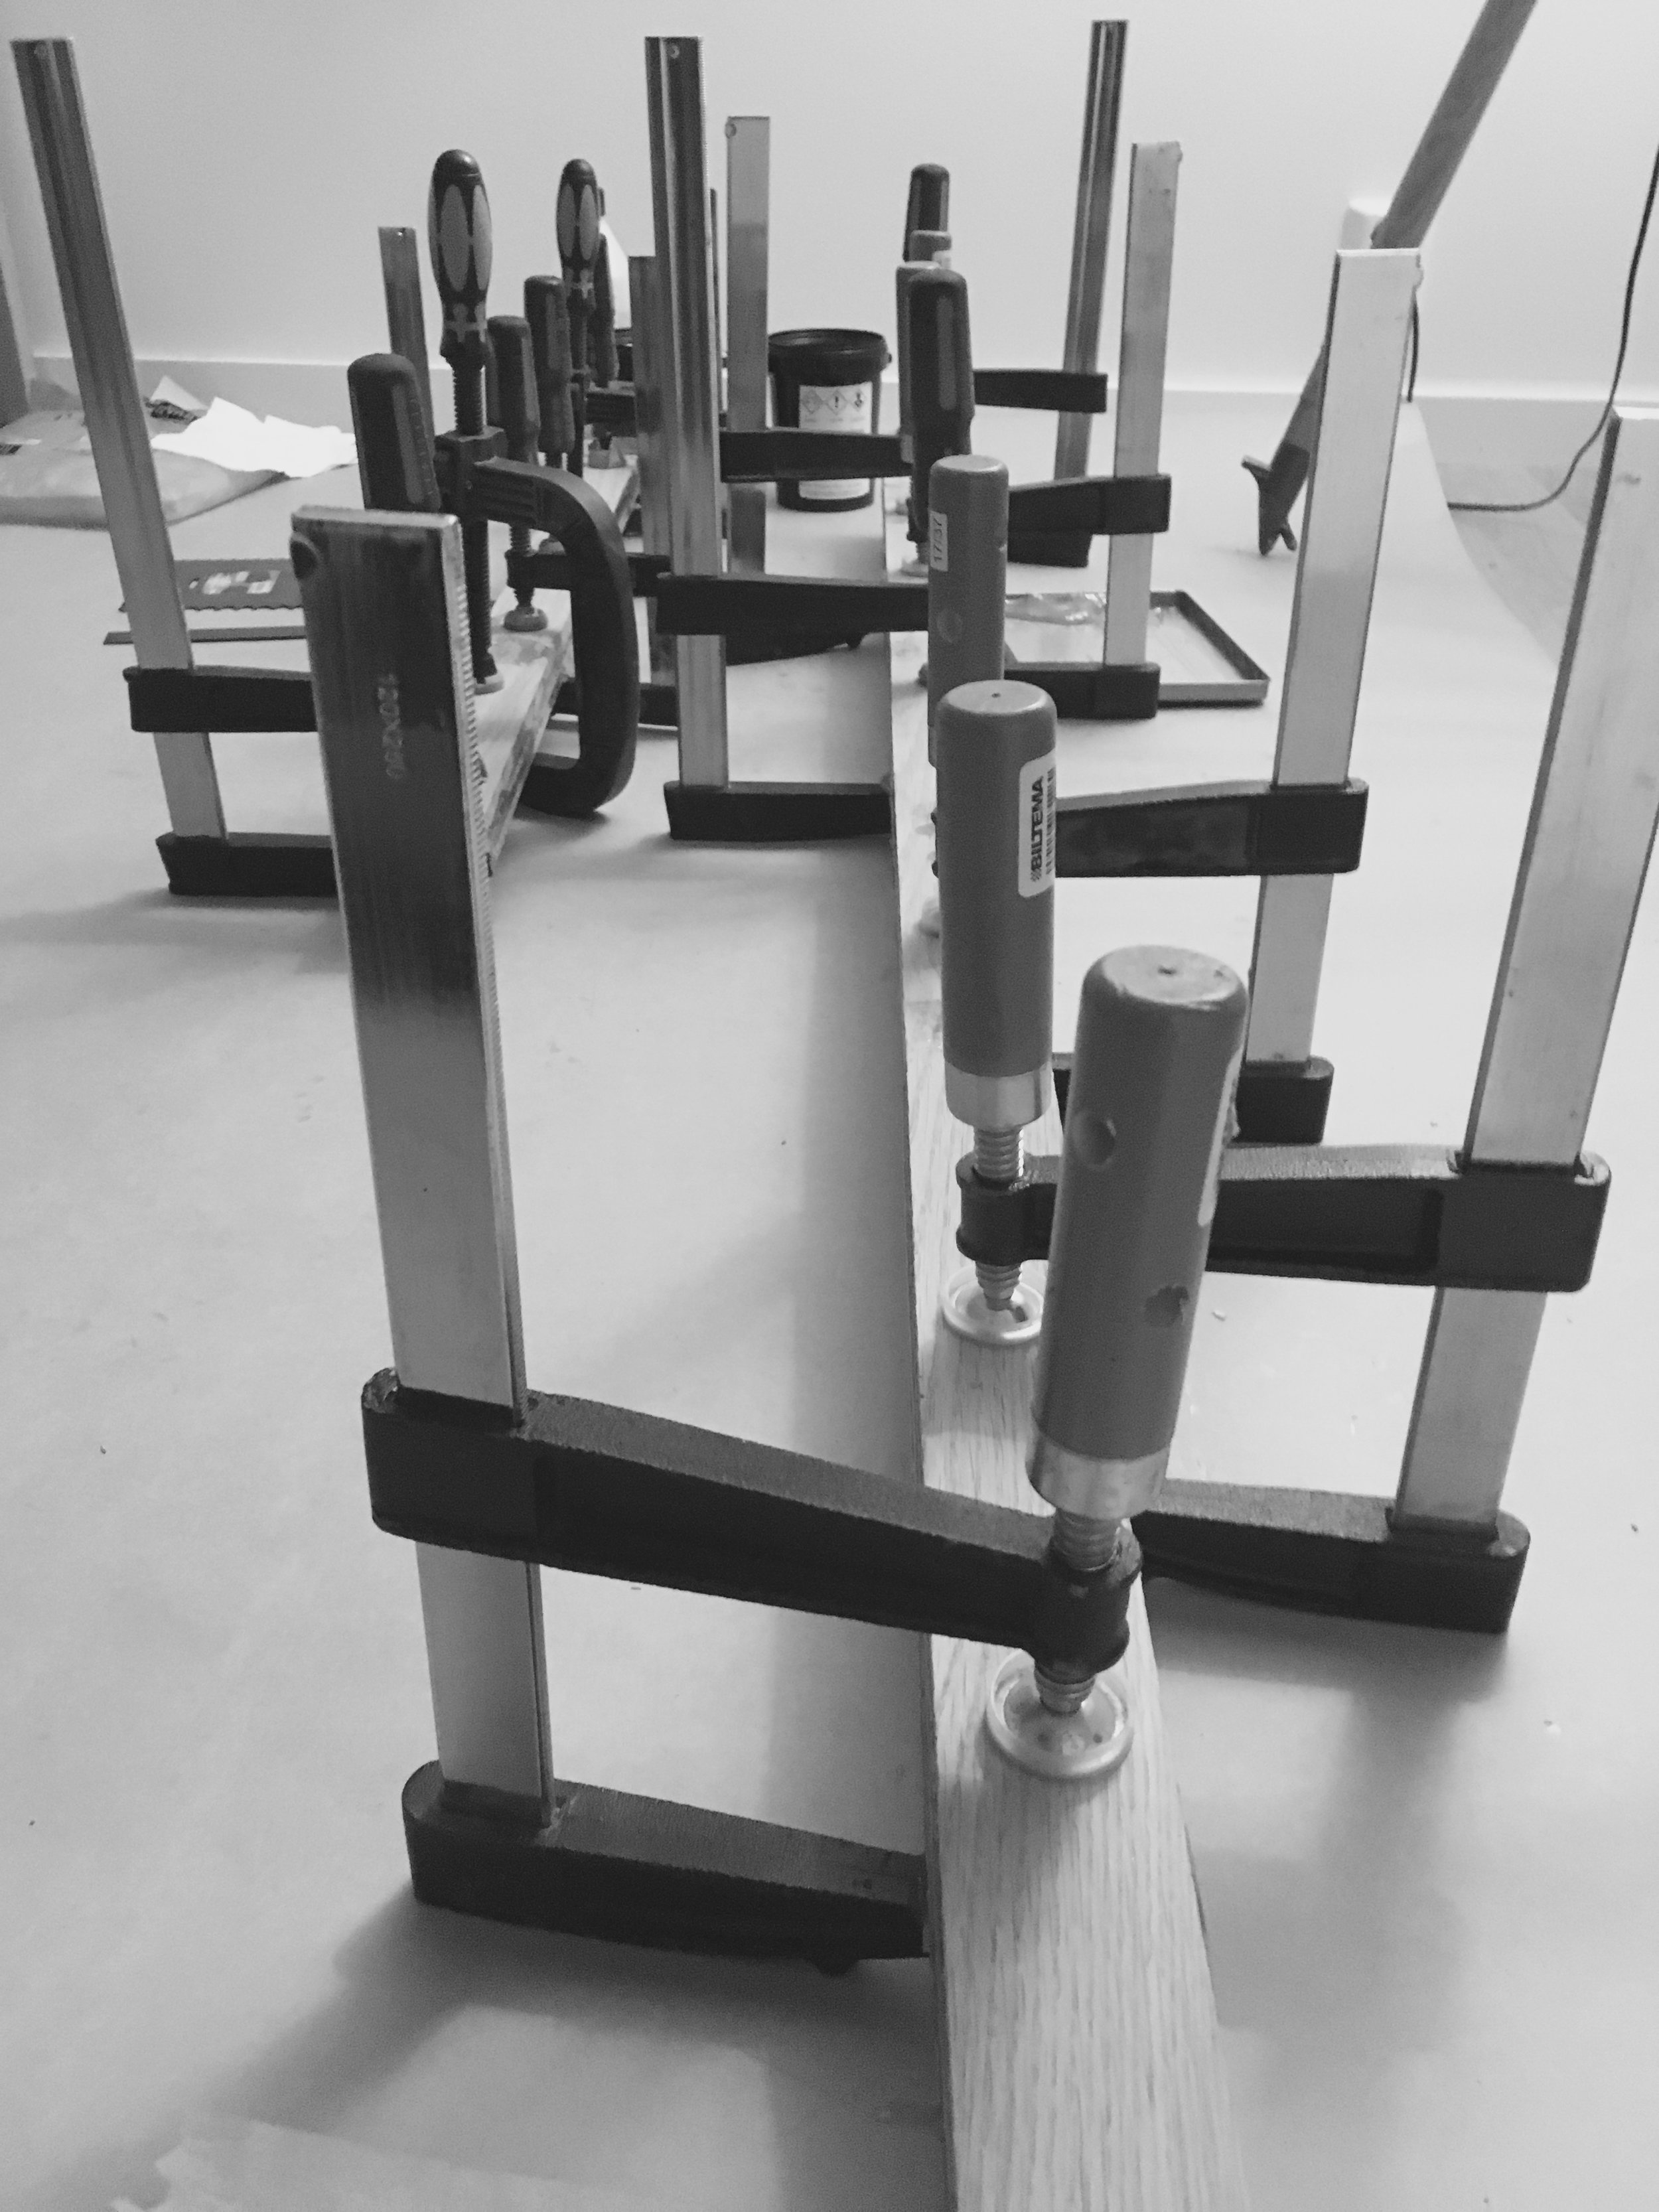
First thing was to pick and cut to length oak stock for laminations of longitudinal cockpit supports. I will glue them from some pre-thickened oak strips. Gluing is done in the evenings, at home, since epoxy needs room temperature to properly cure. That luxury is not available in my workshop (yet!)

FullSizeRender-5.jpg

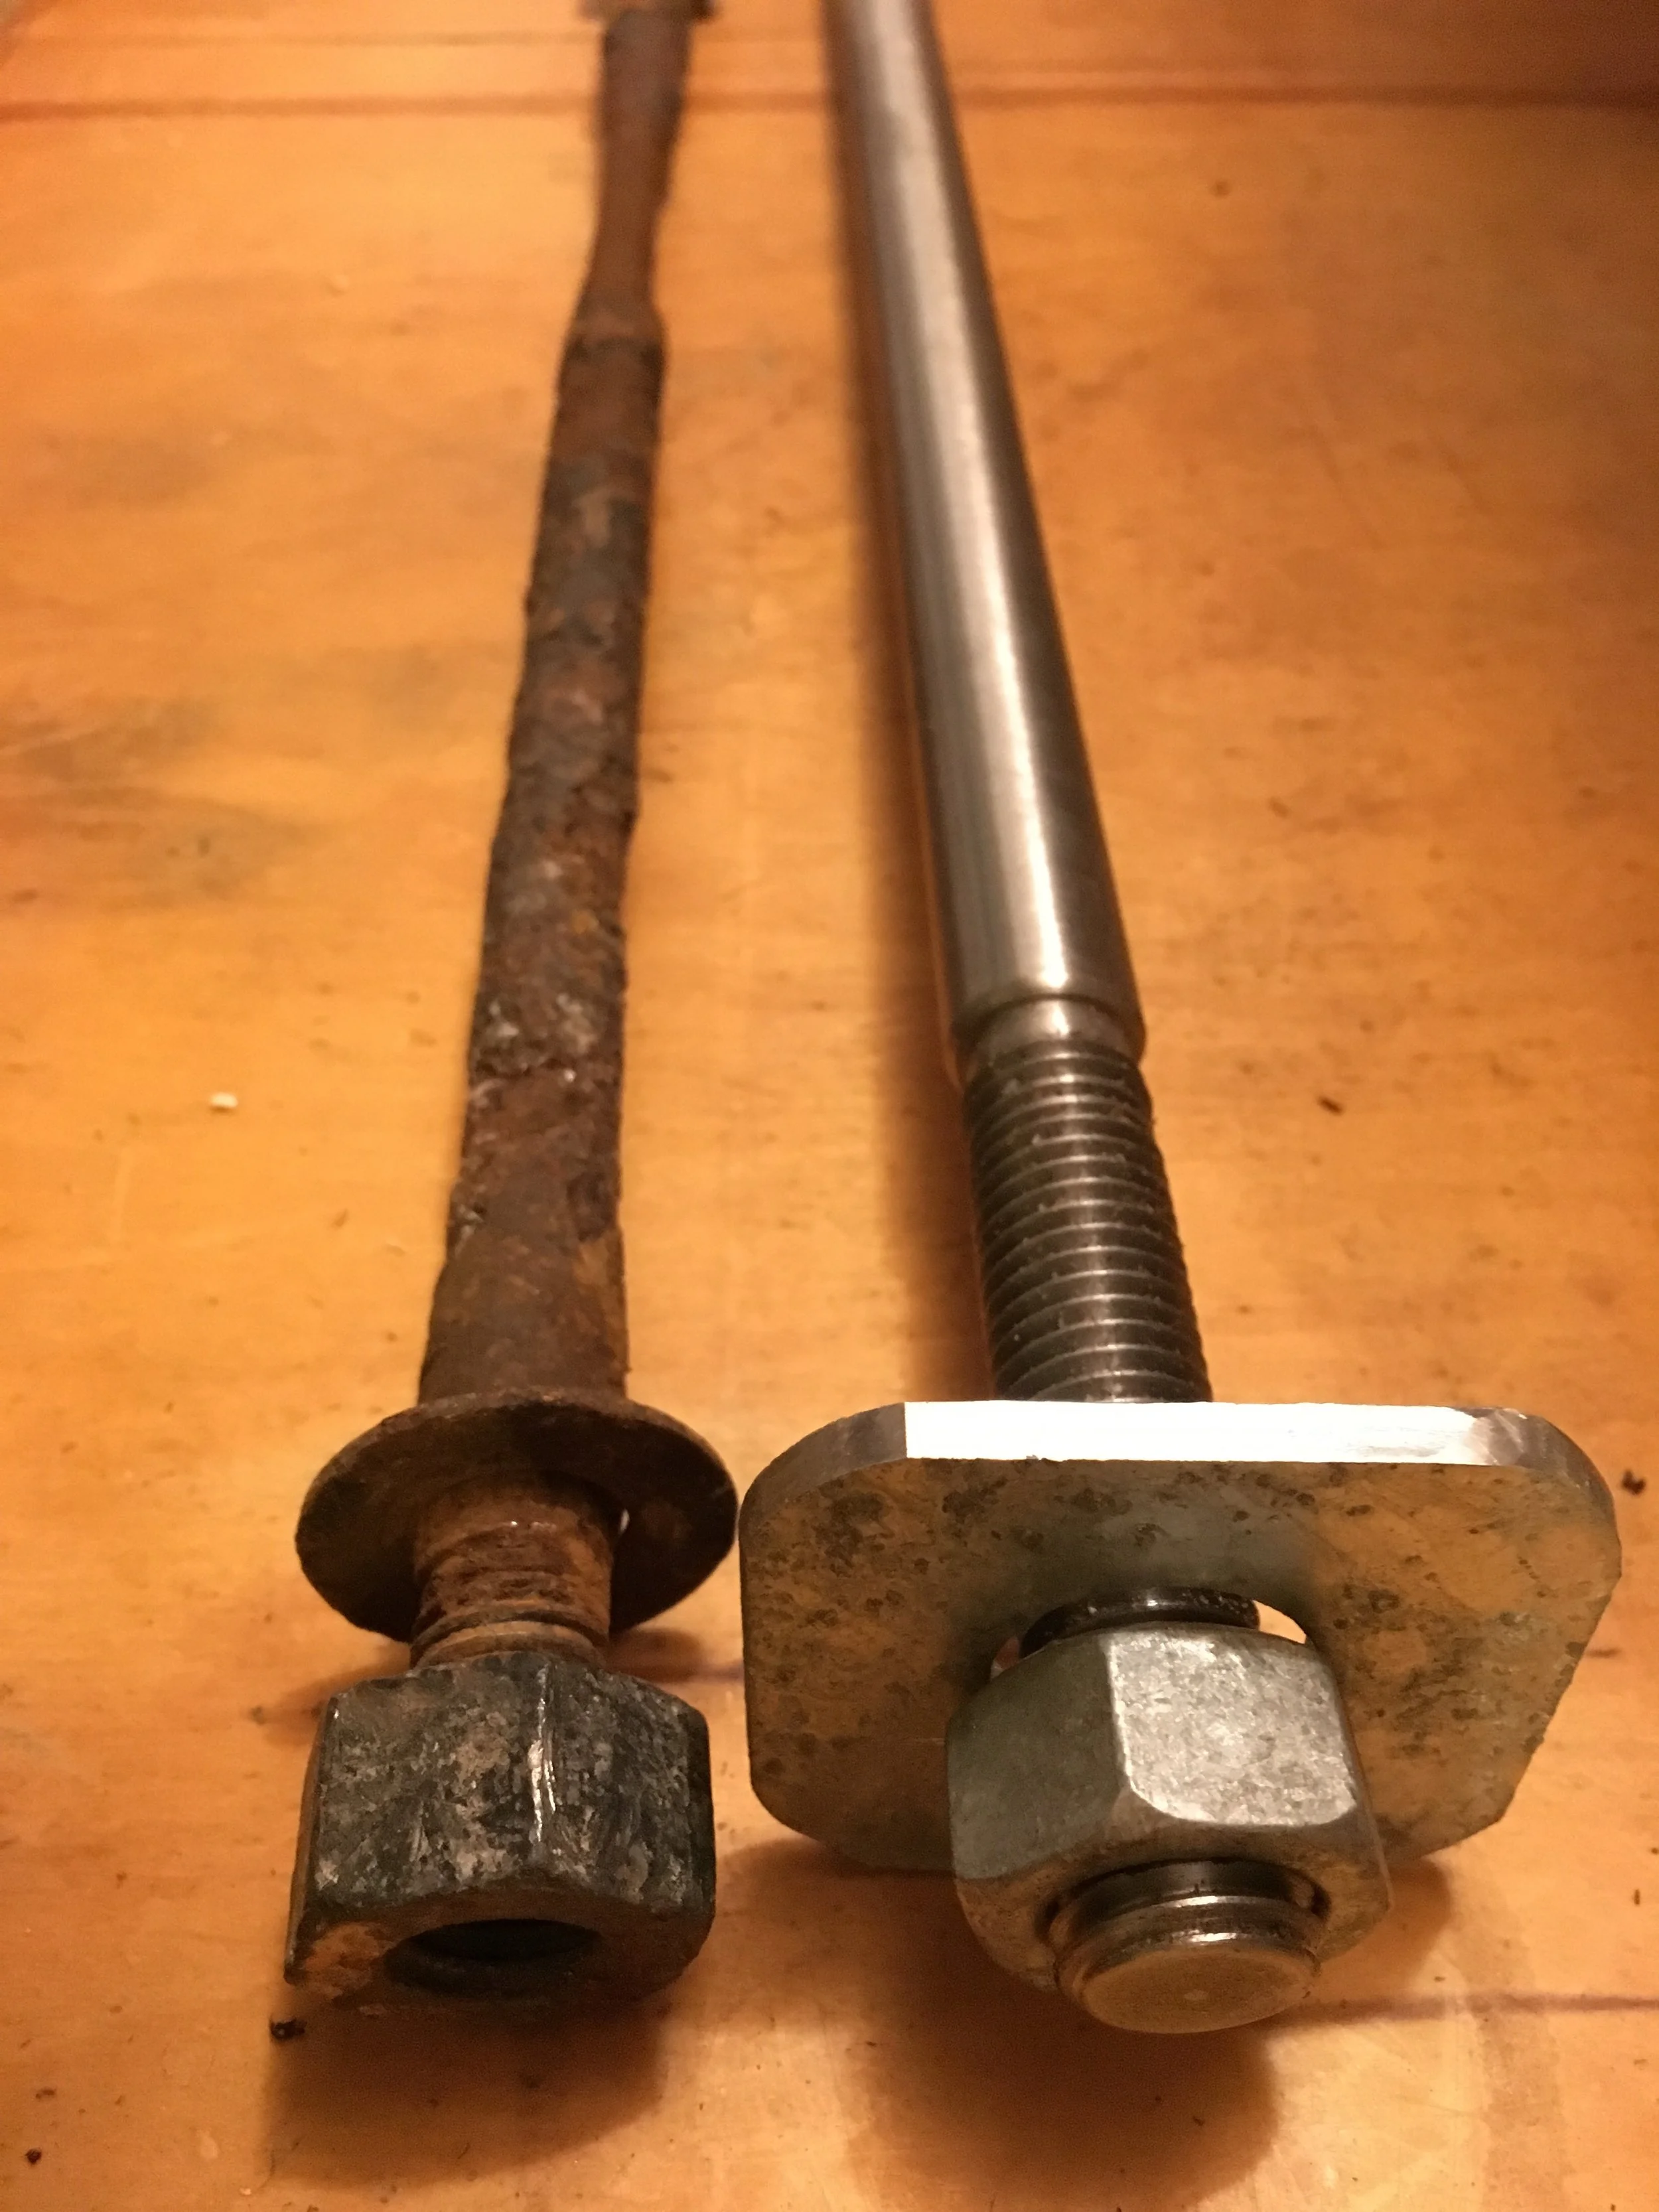
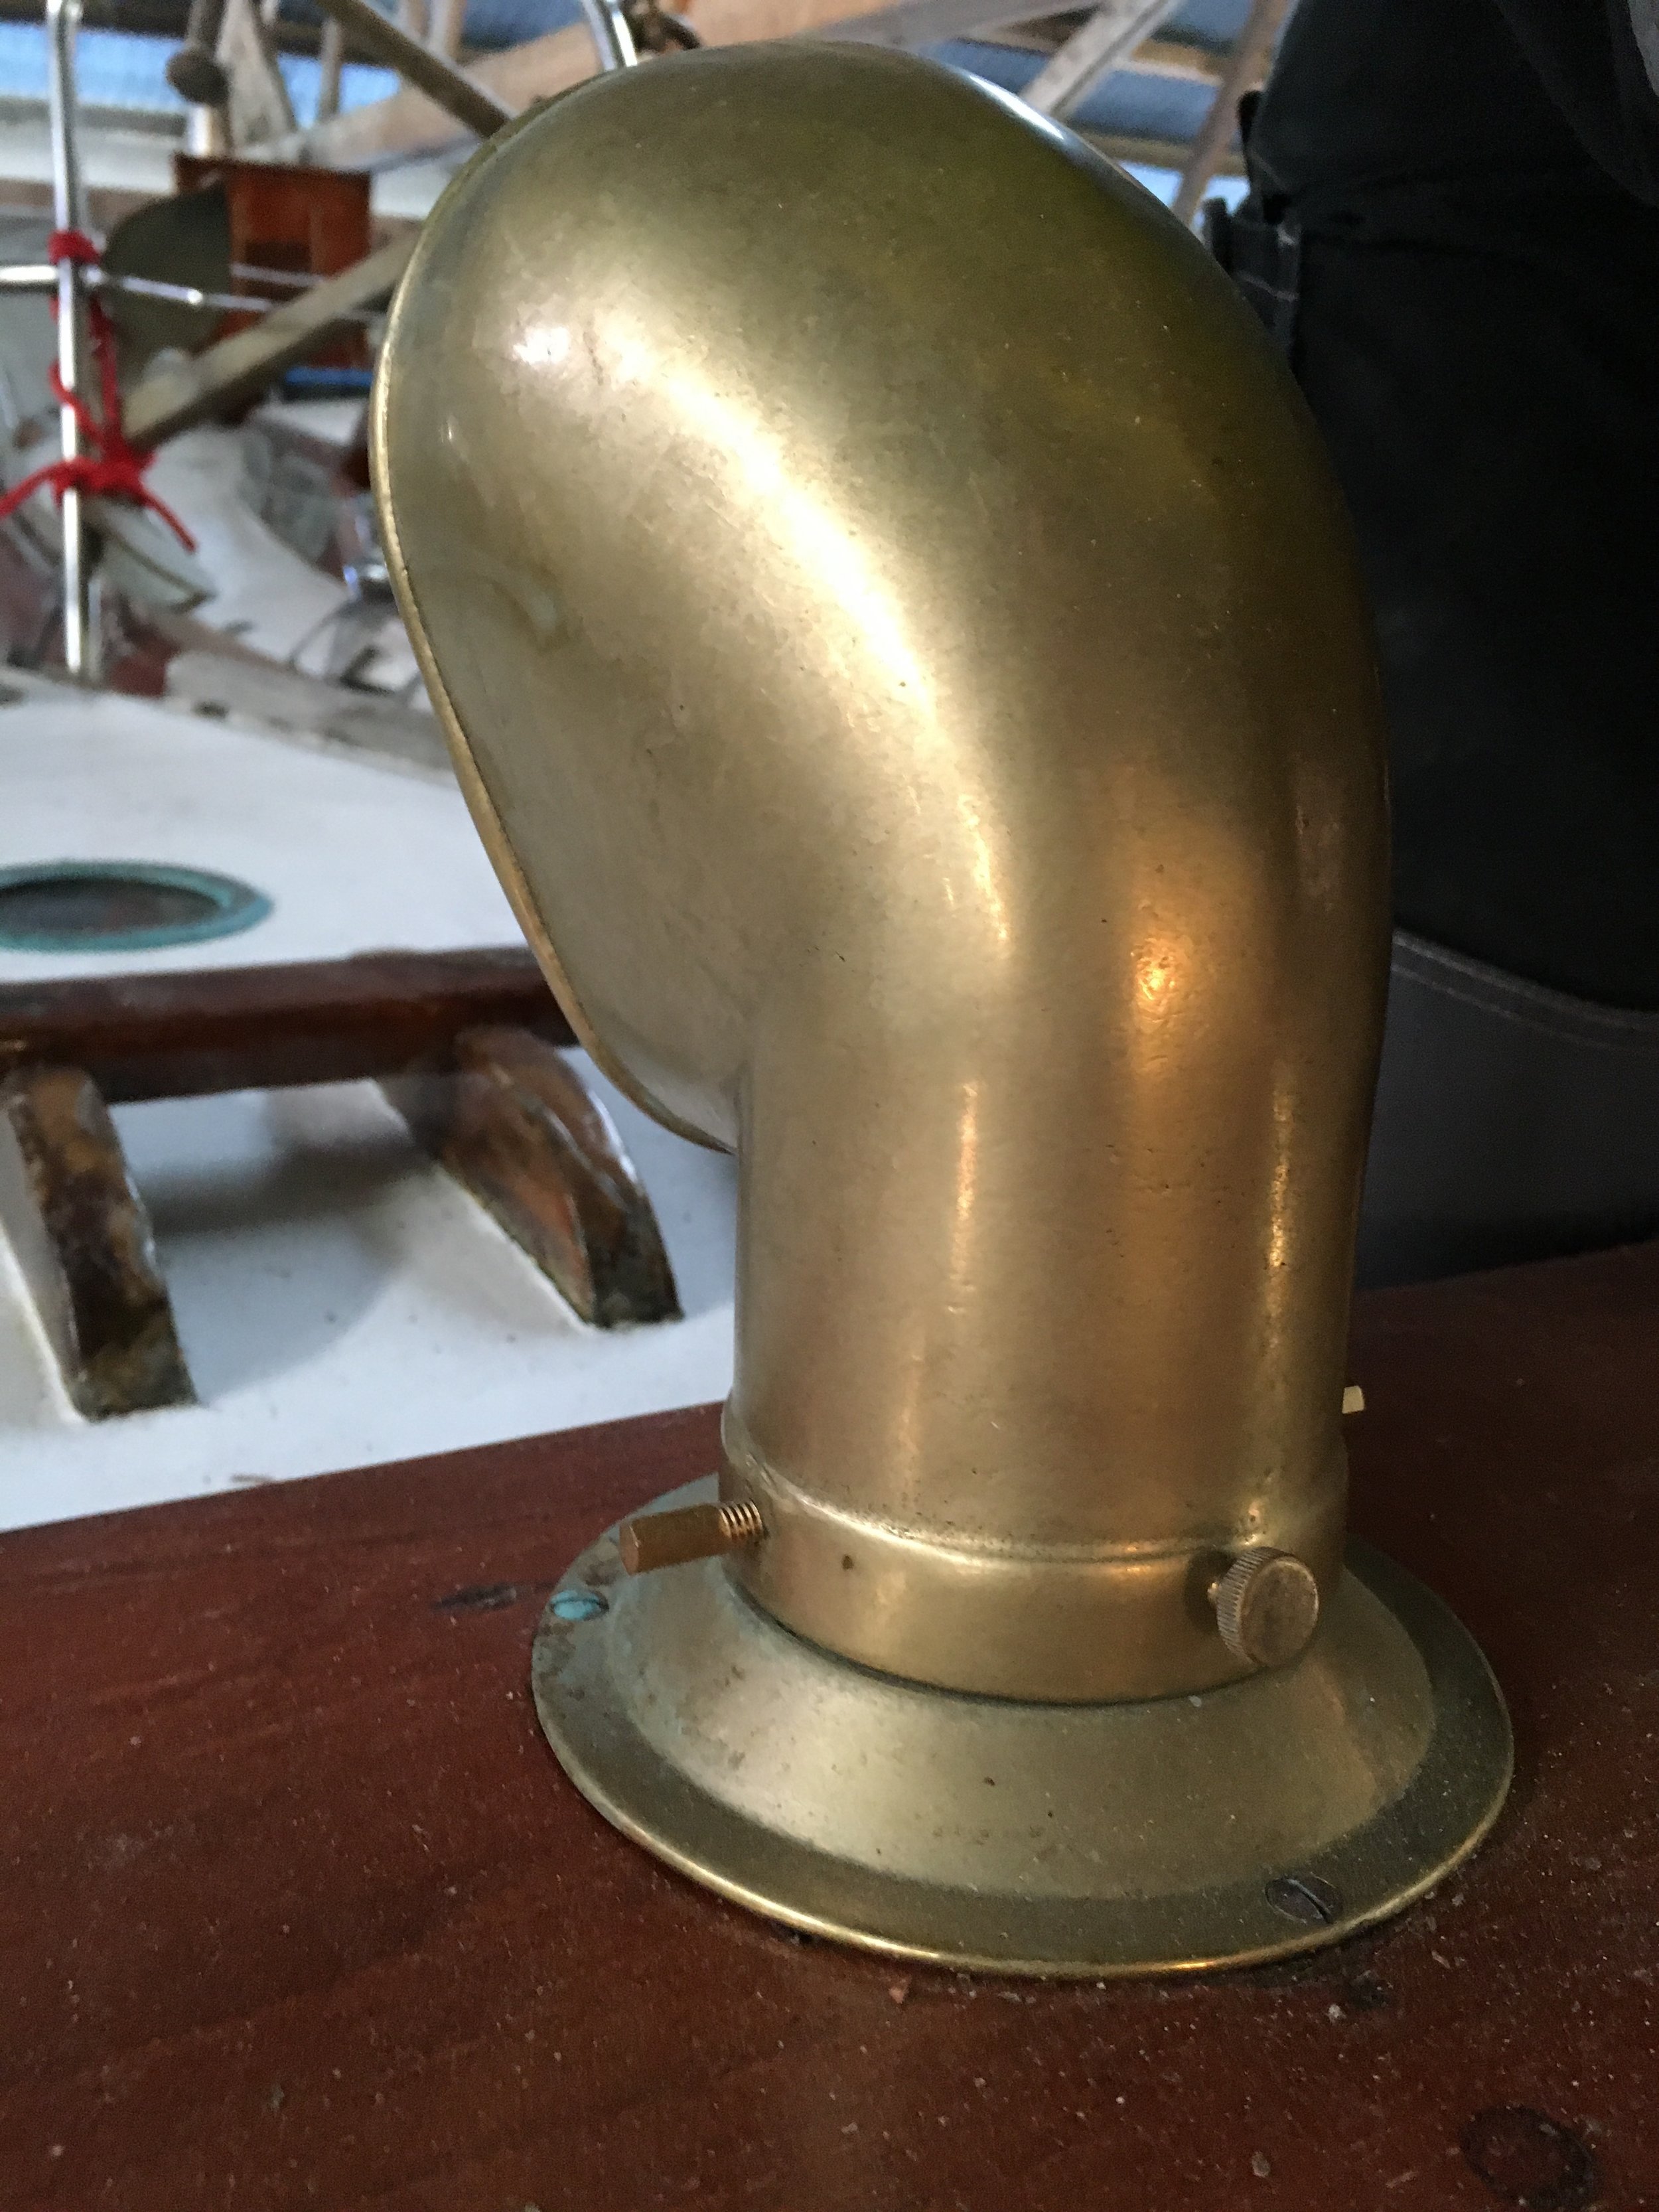
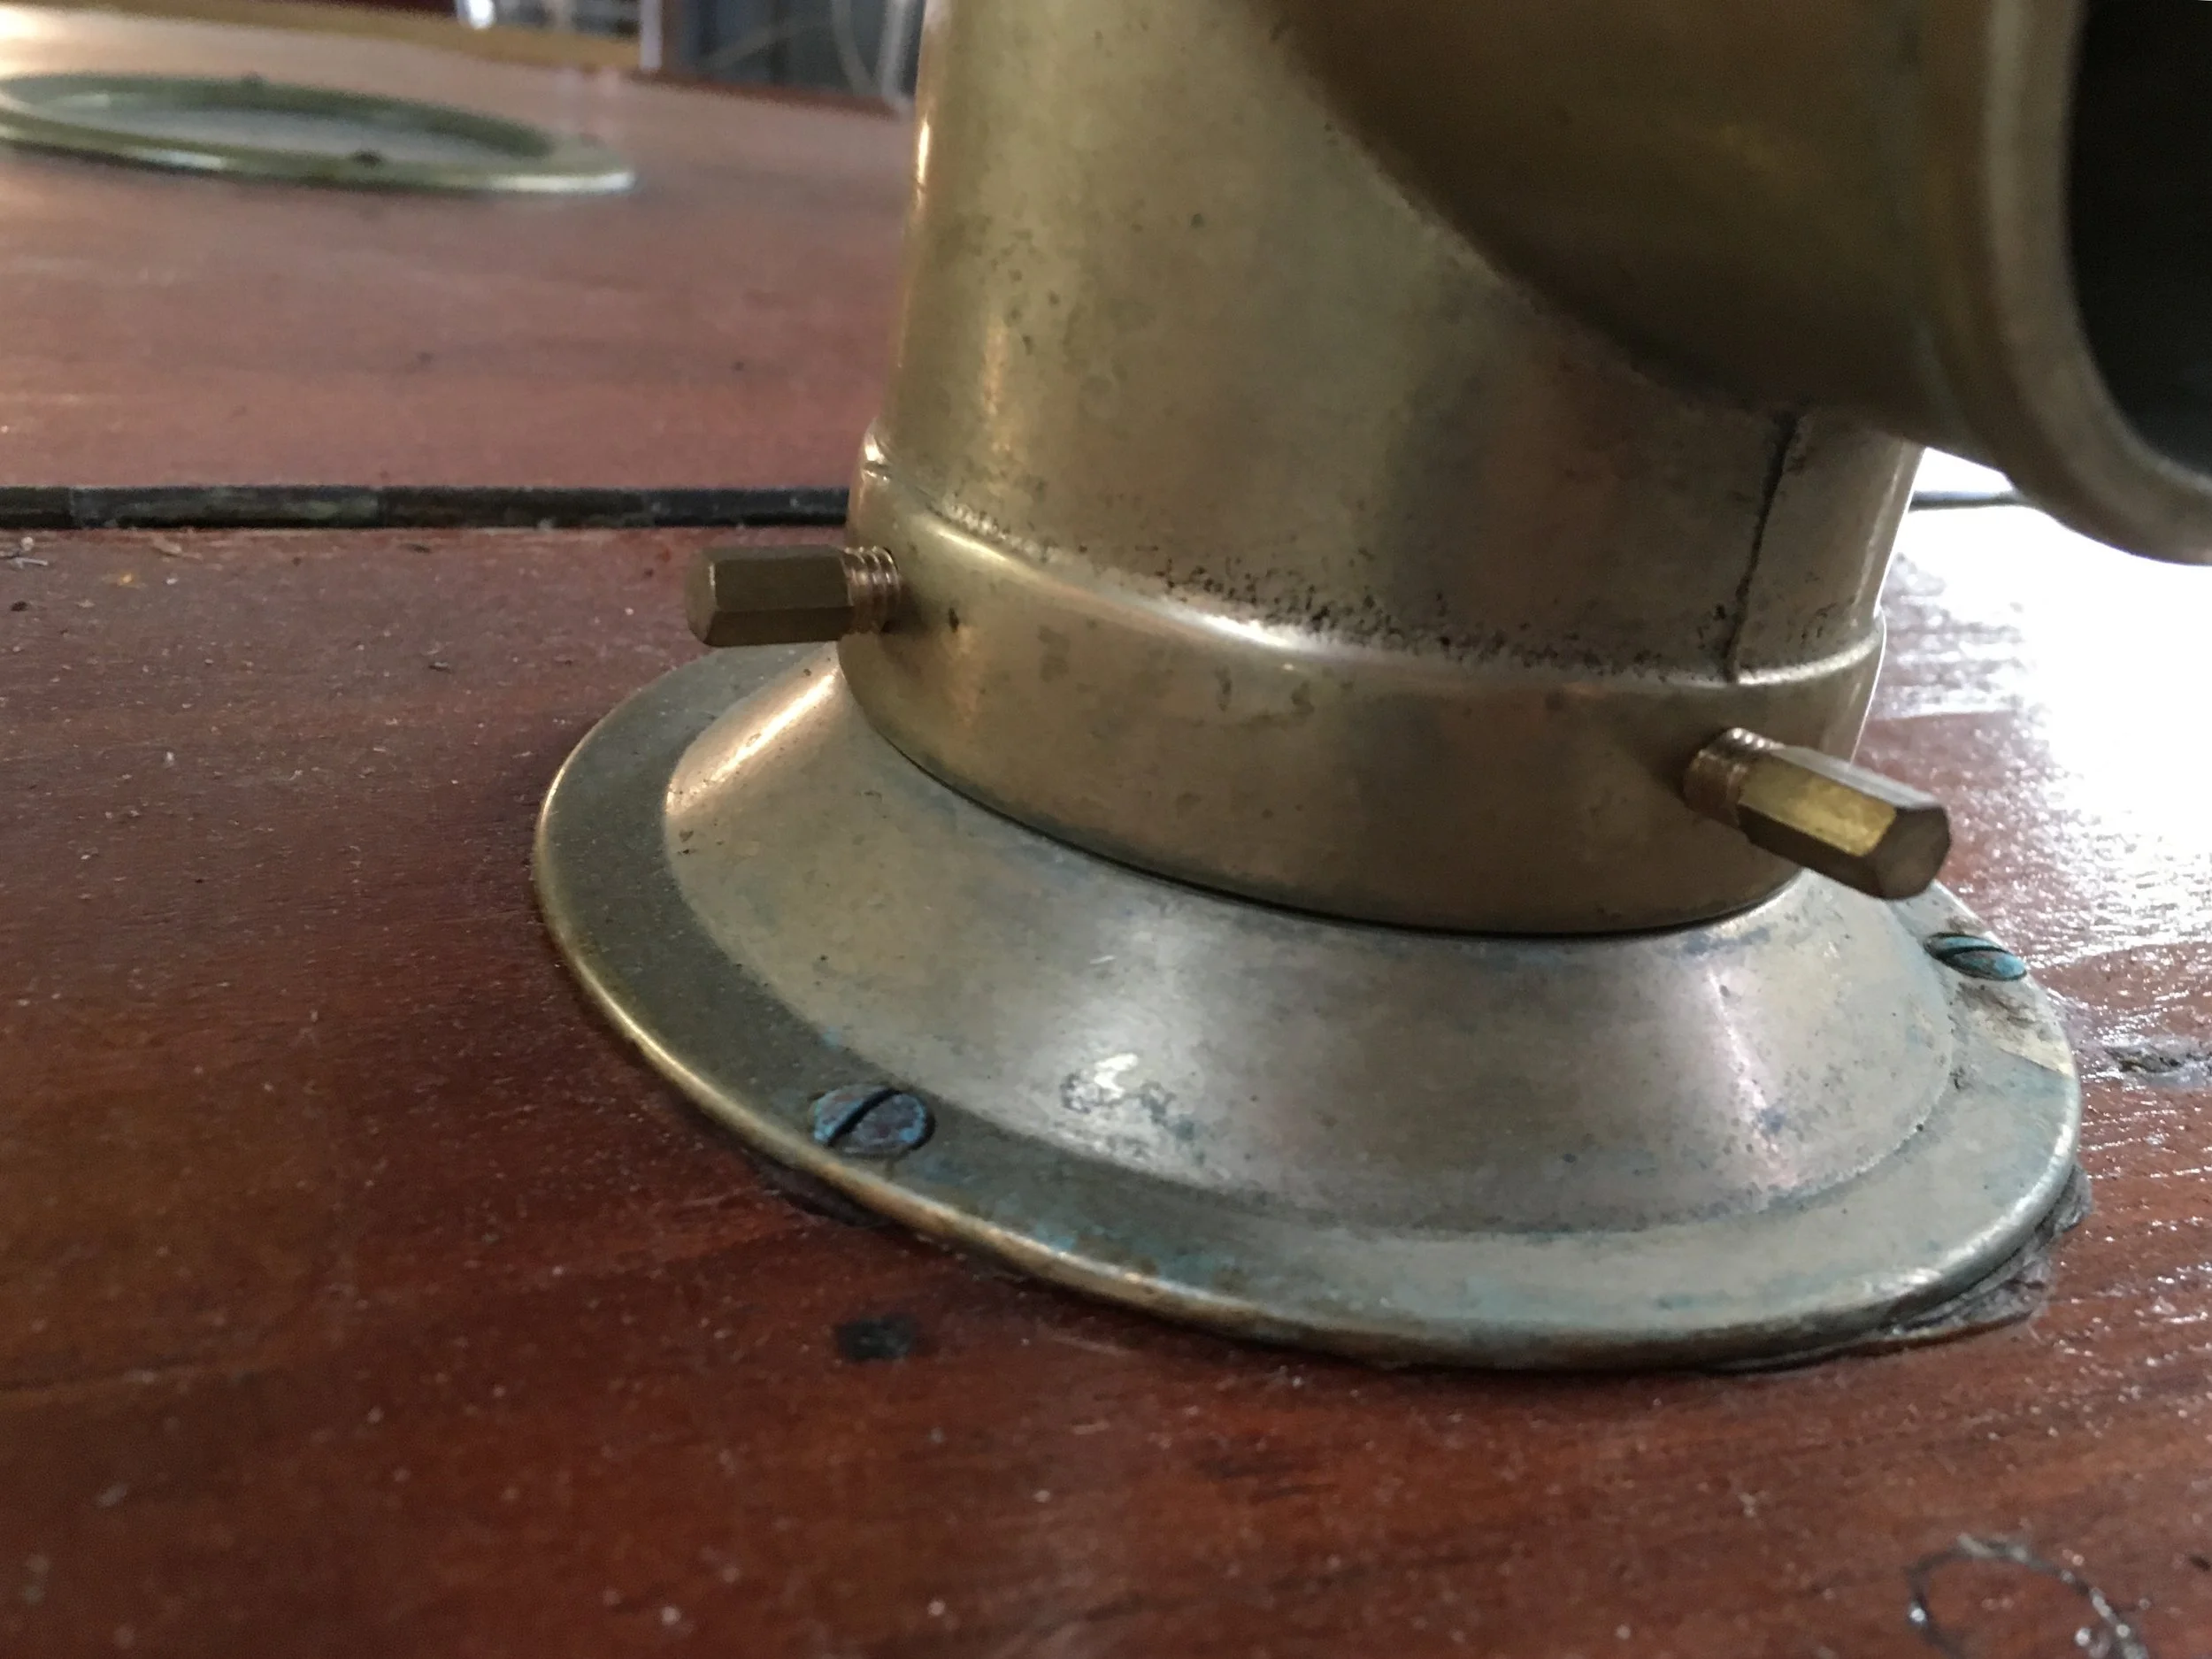
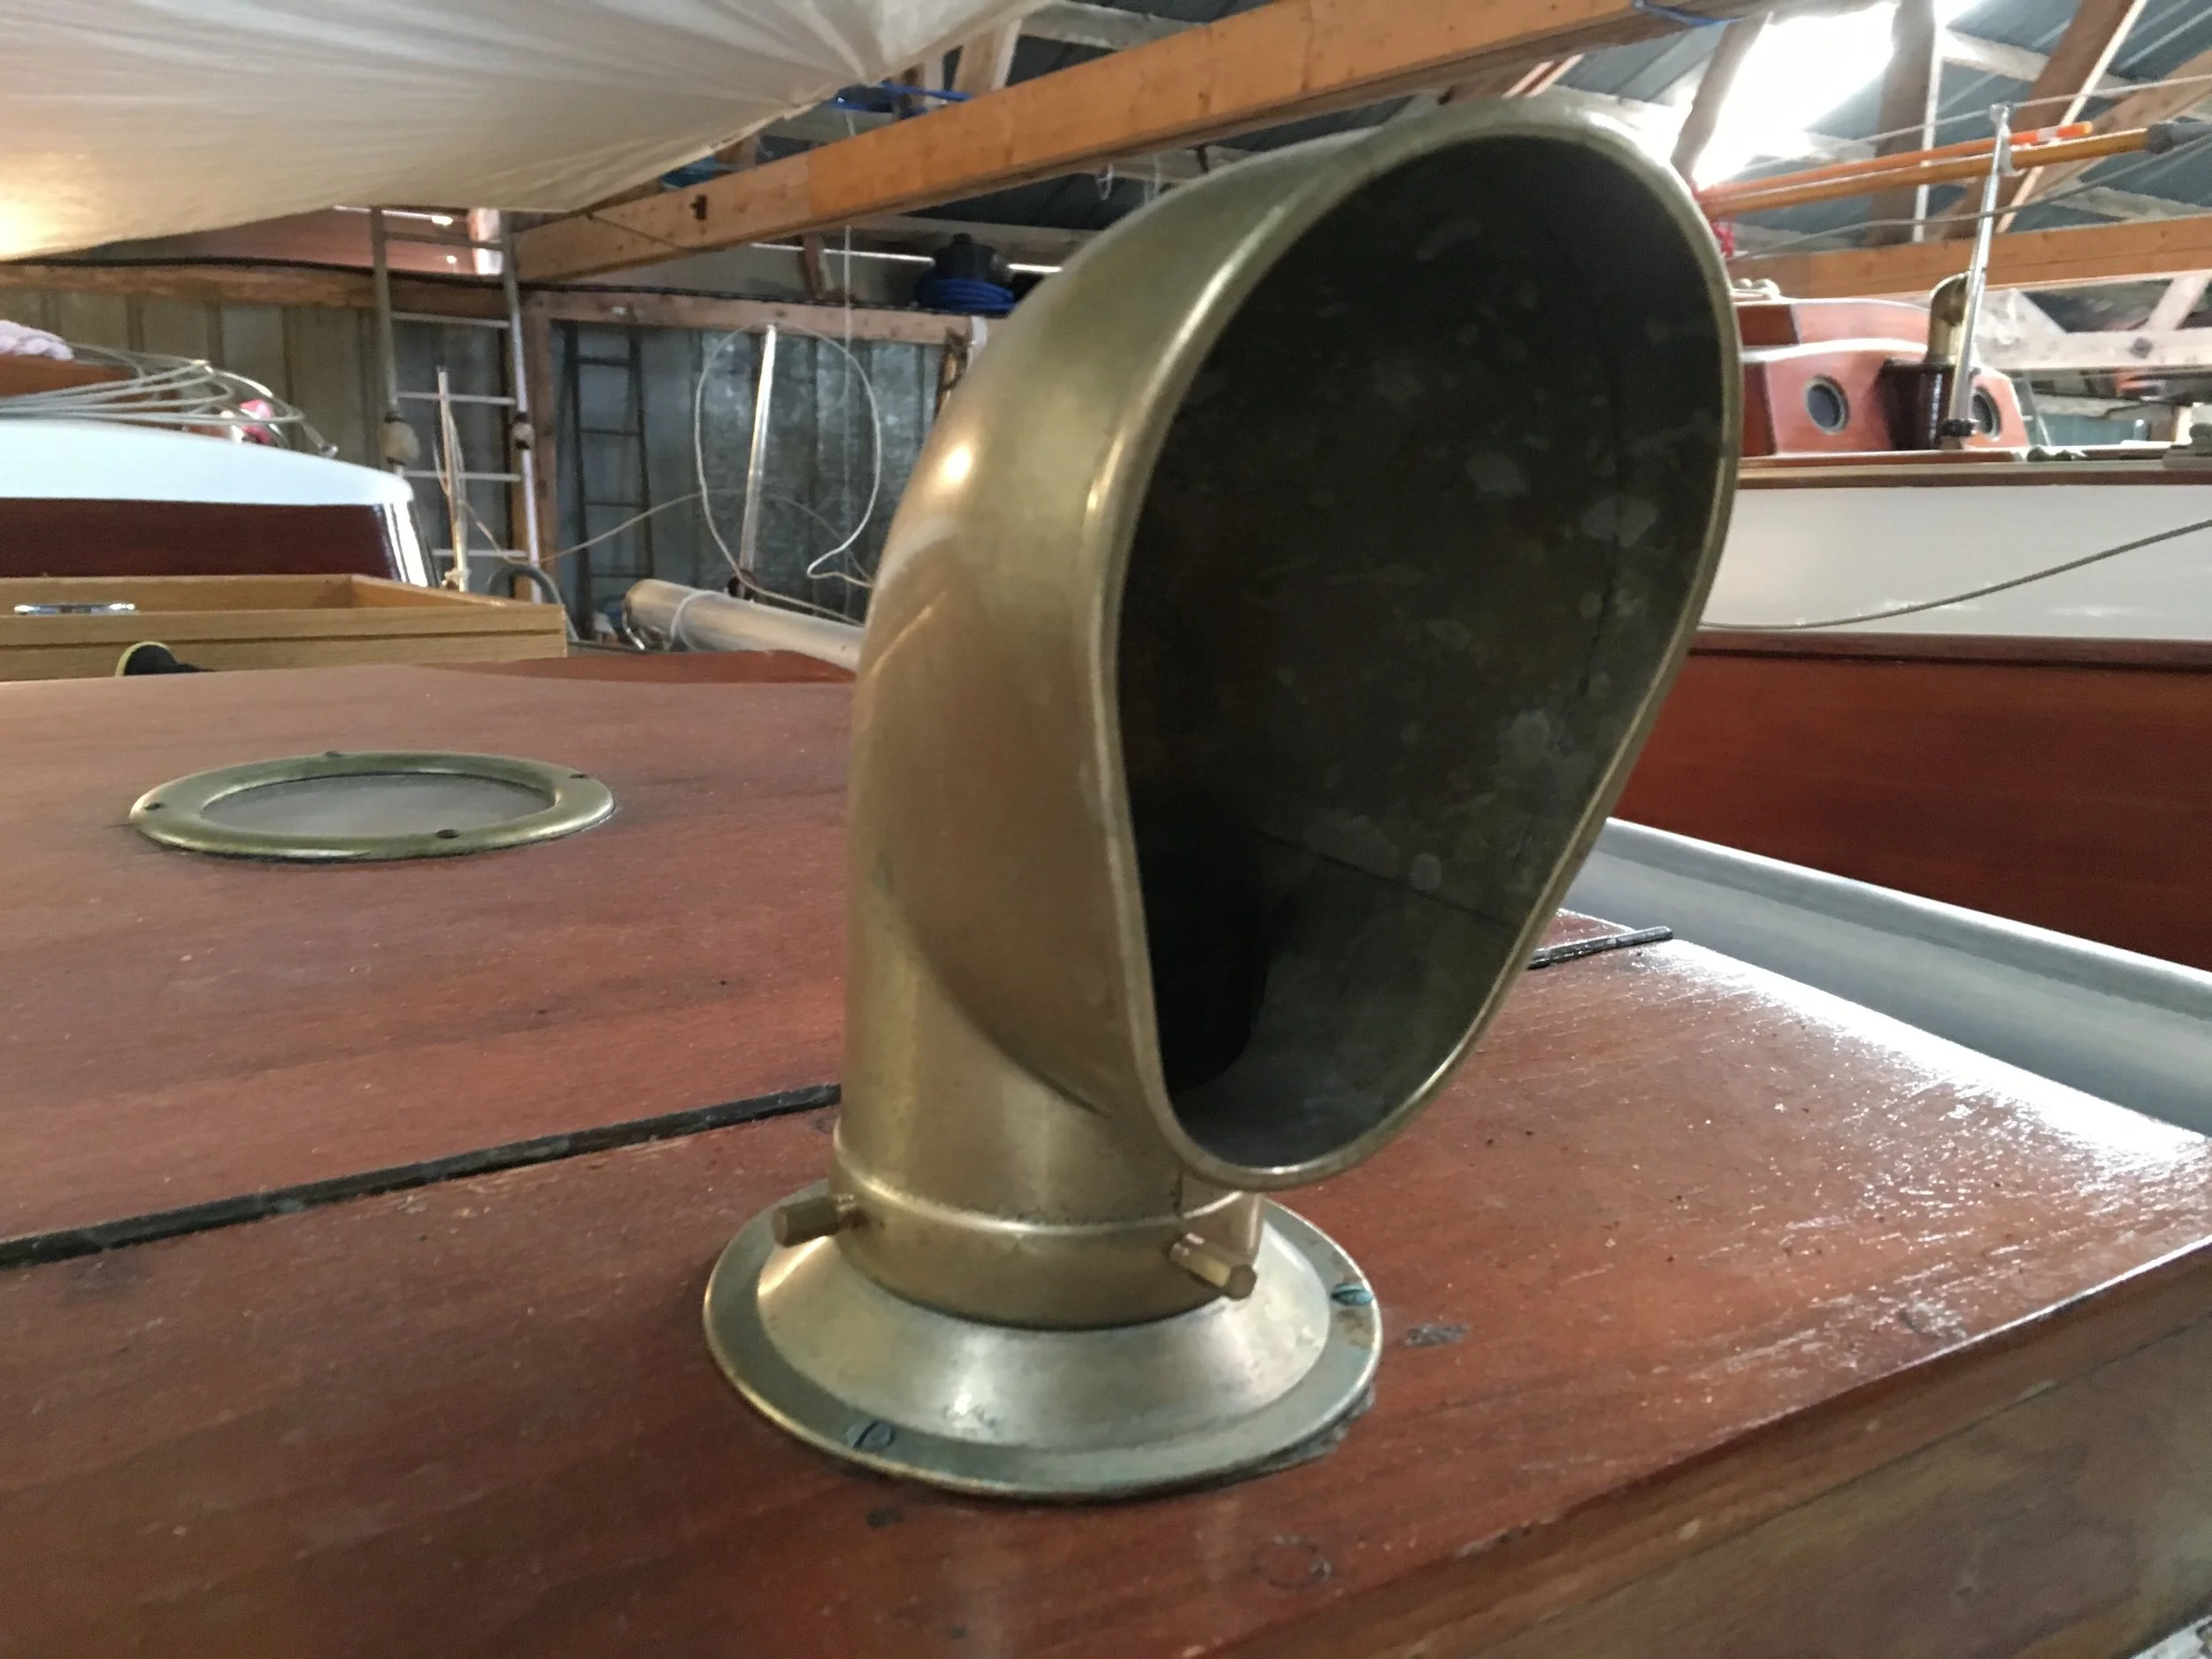
Then a short fix which haunted me since last season: my cowl vent on Dorado box is adjustable but it is held in place by just one brass knurled screw. That is fluffy - if a wave hits the cowl with some decent energy then the whole thing will end up on the sea bottom.

FullSizeRender-3.jpg

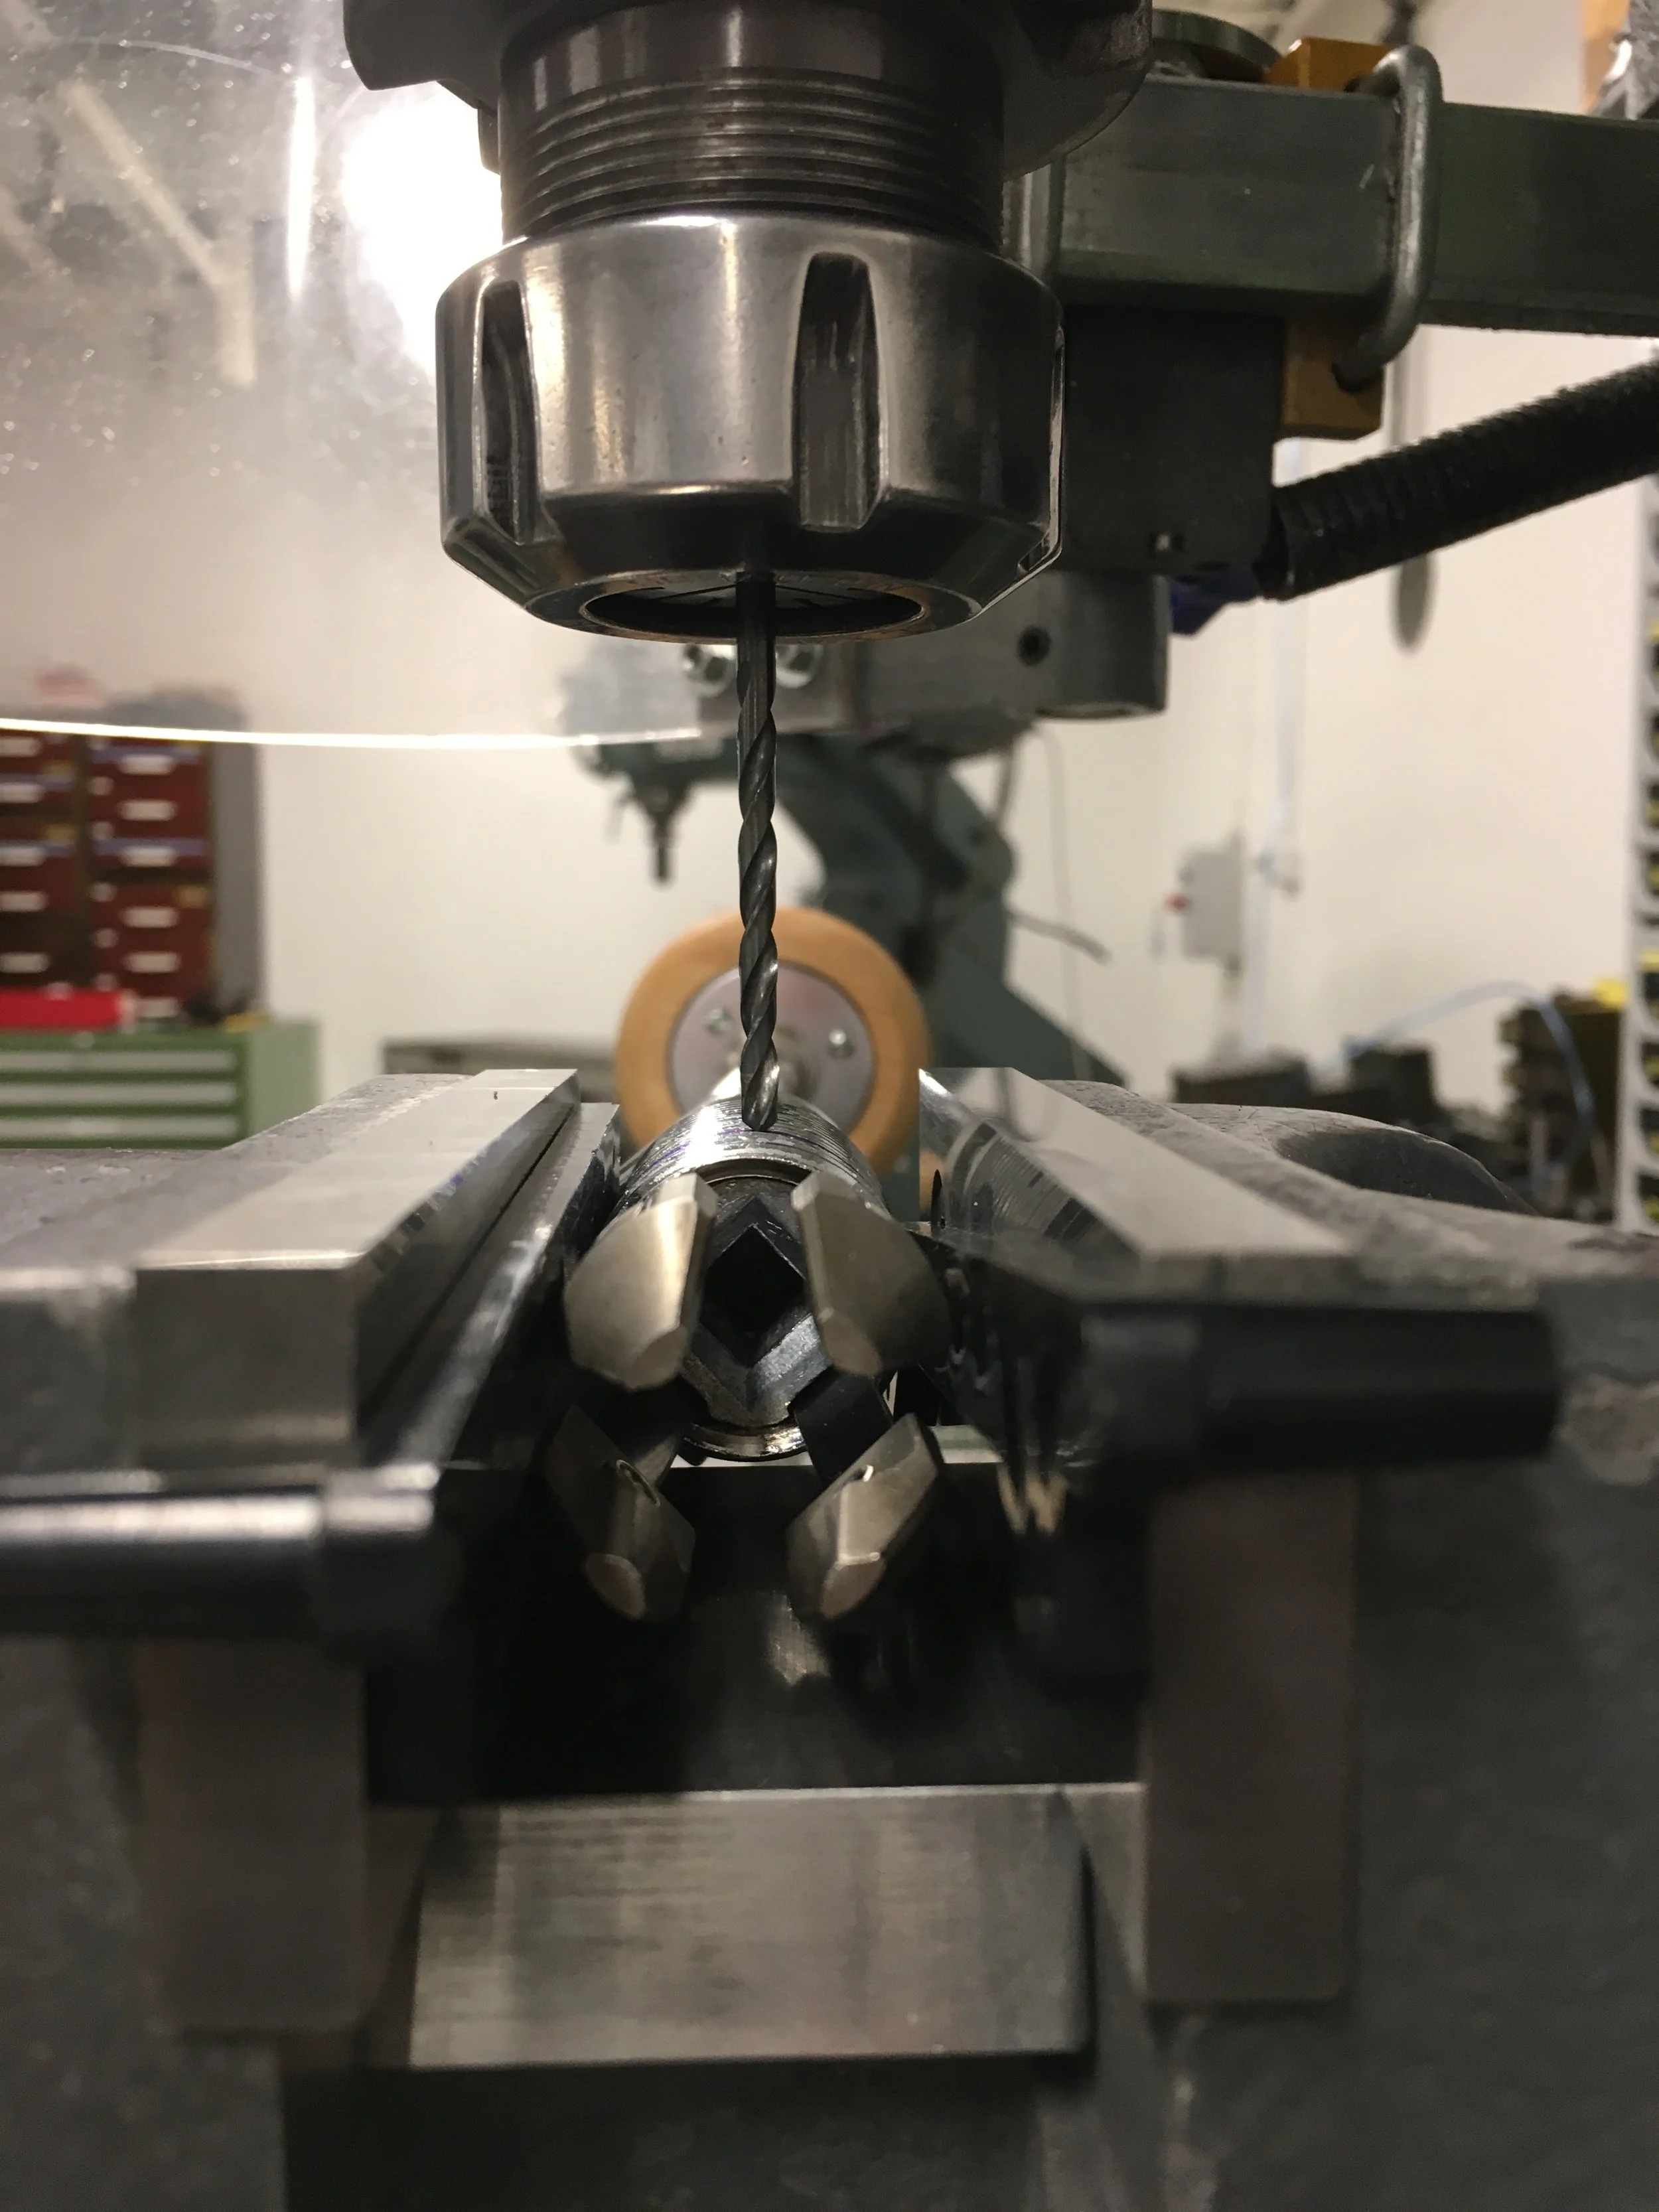
To reinforce this connection - and still maintain adjustability for more (or less) airflow I have fabricated 3 more brass screws from 6-sided brass rod. Drilled and tapped 3 more holes on the cowl, tapped the rod, cut to size, finish with scrubbers to remove burr and voila! The vent is now securely held by four M5 screws which are easy to tighten by hand, with no tools needed.

FullSizeRender-2.jpg
FullSizeRender.jpg

As a side project I’ve started making customised toolbox to carry all needed hand tools. My current, beaten plastic toolbox has exactly given its life after 17 years of reliable service so replacement is needed. This time I’ll make it from wood/plywood and tools will be organised so that they do not lie in a pile, bunging against each other and damaging their sharp edges.

IMG_5763.JPG

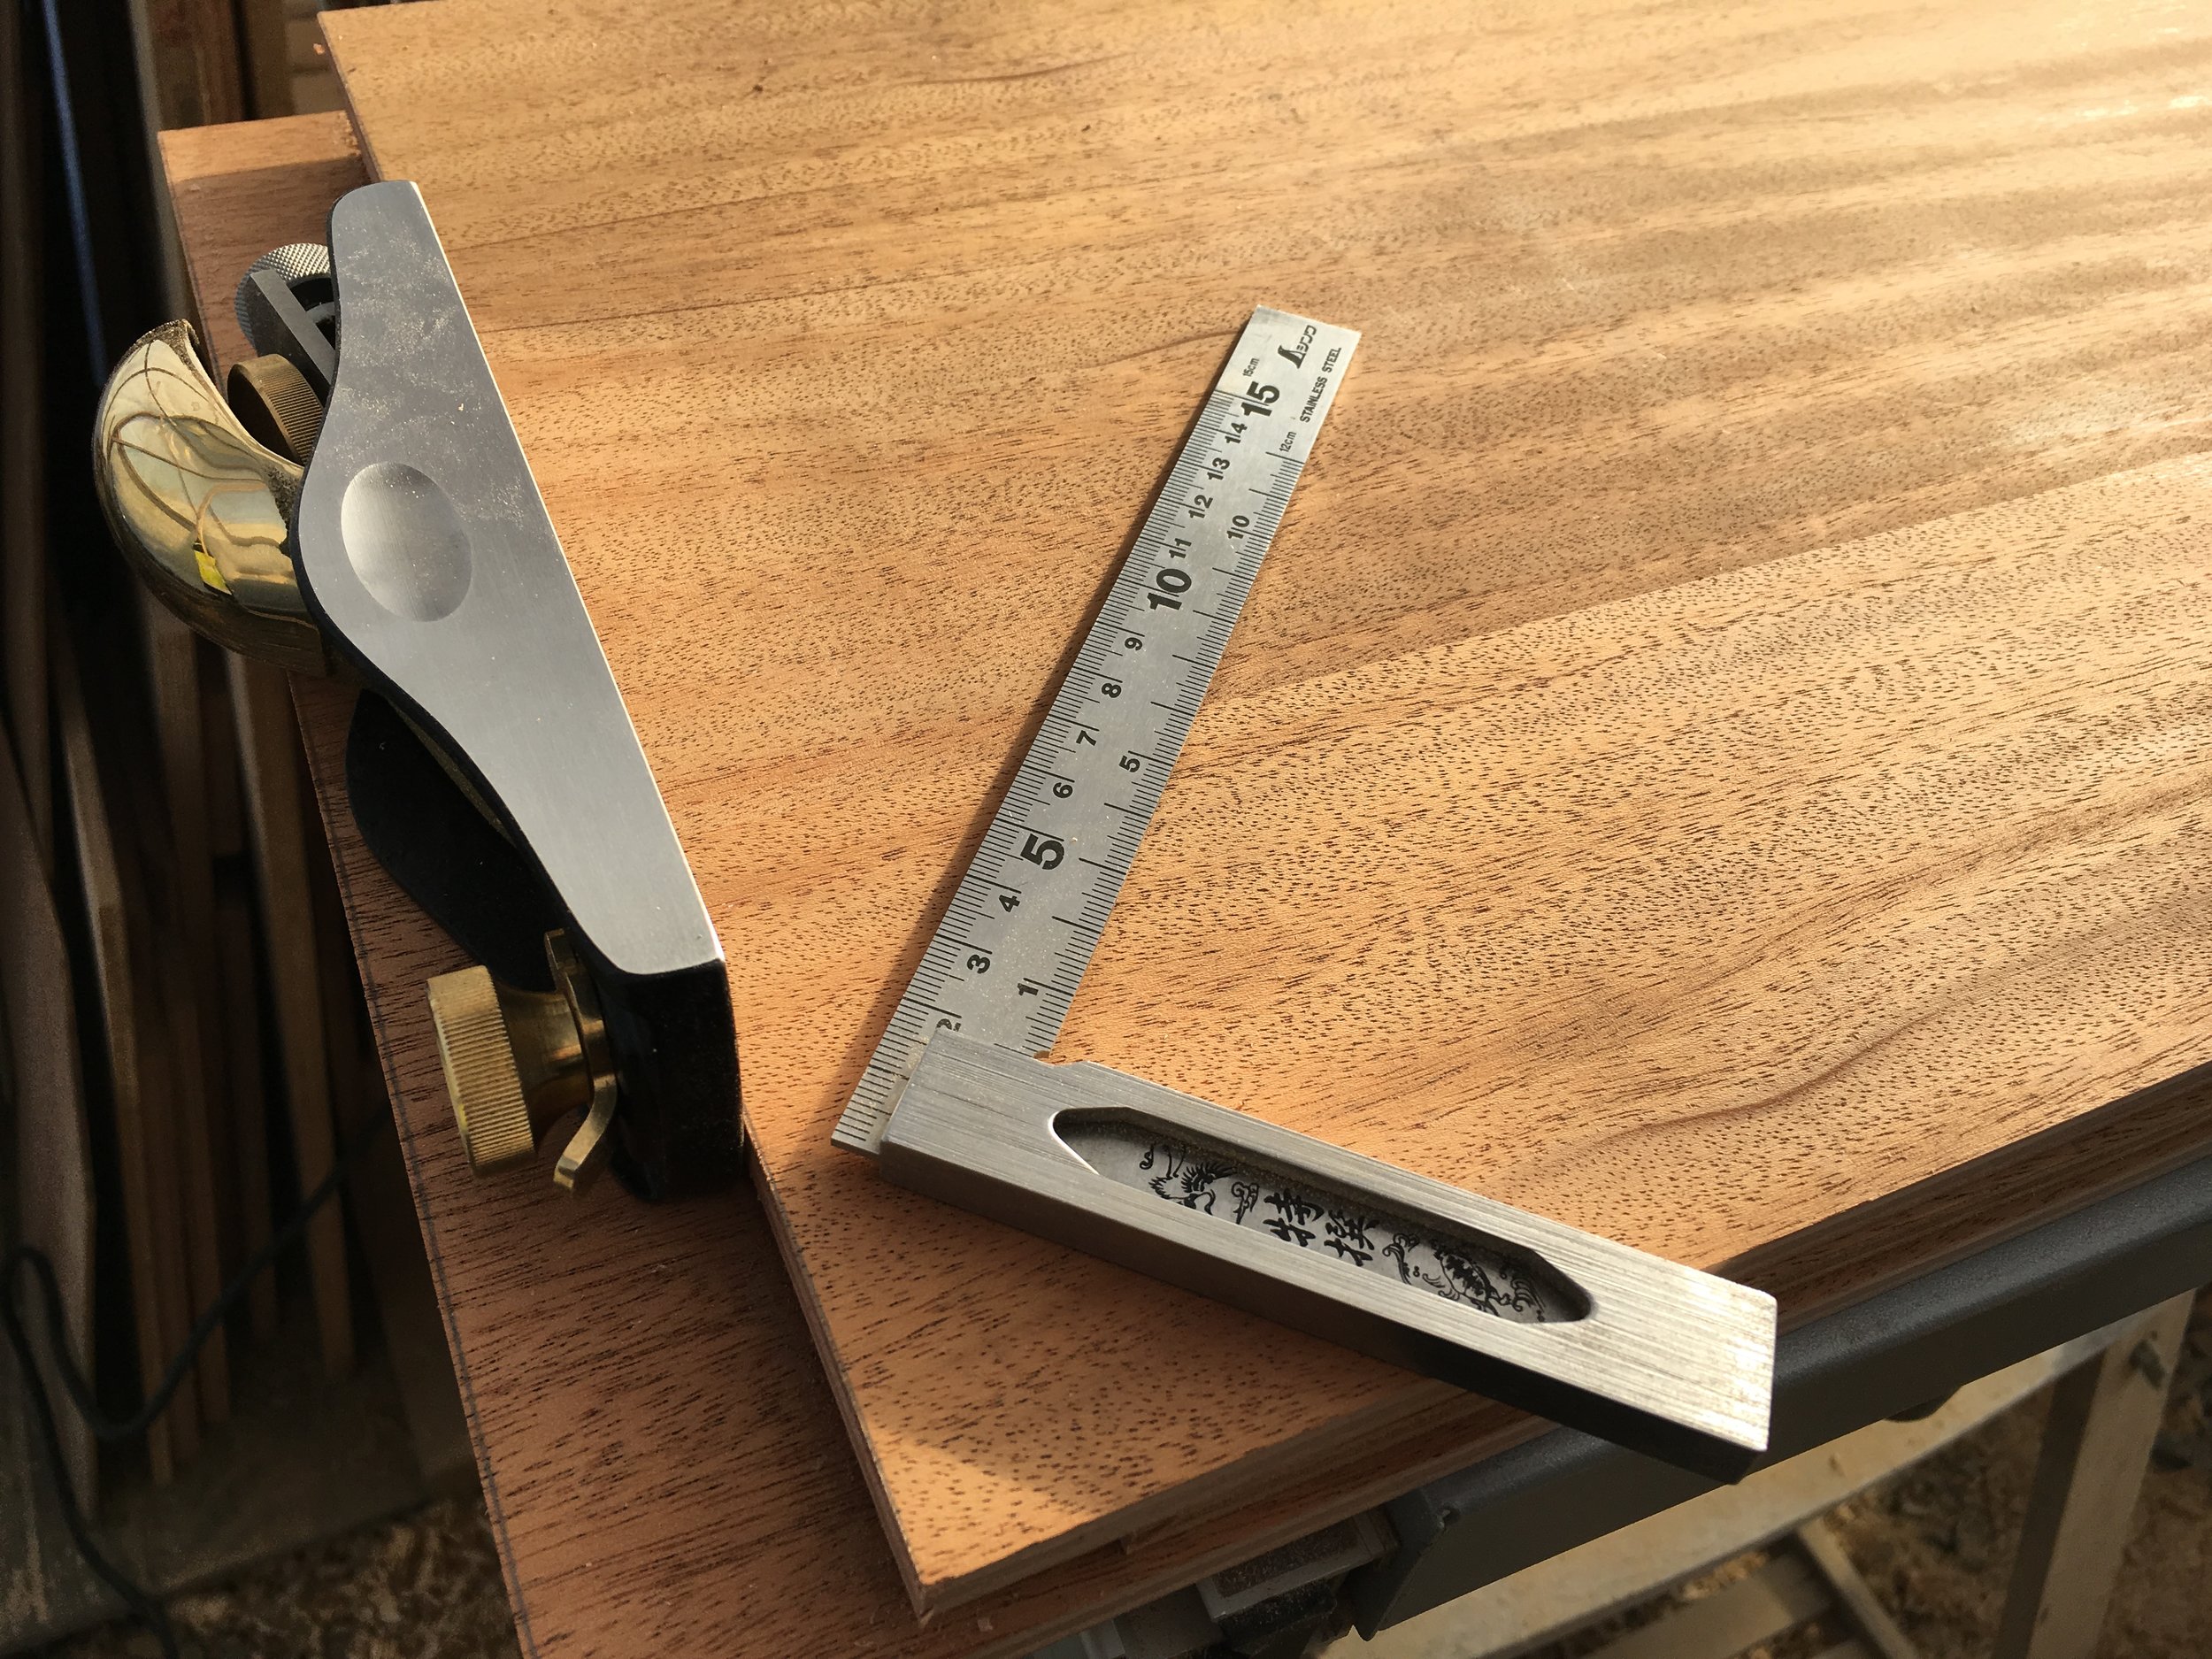
Some mahogany plywood, mahogany strips and walnut bits laying in the workshop should make a decent composition. Tools will be held in place by Terry clips and leather straps, organised in drawers locked in place by a handle.
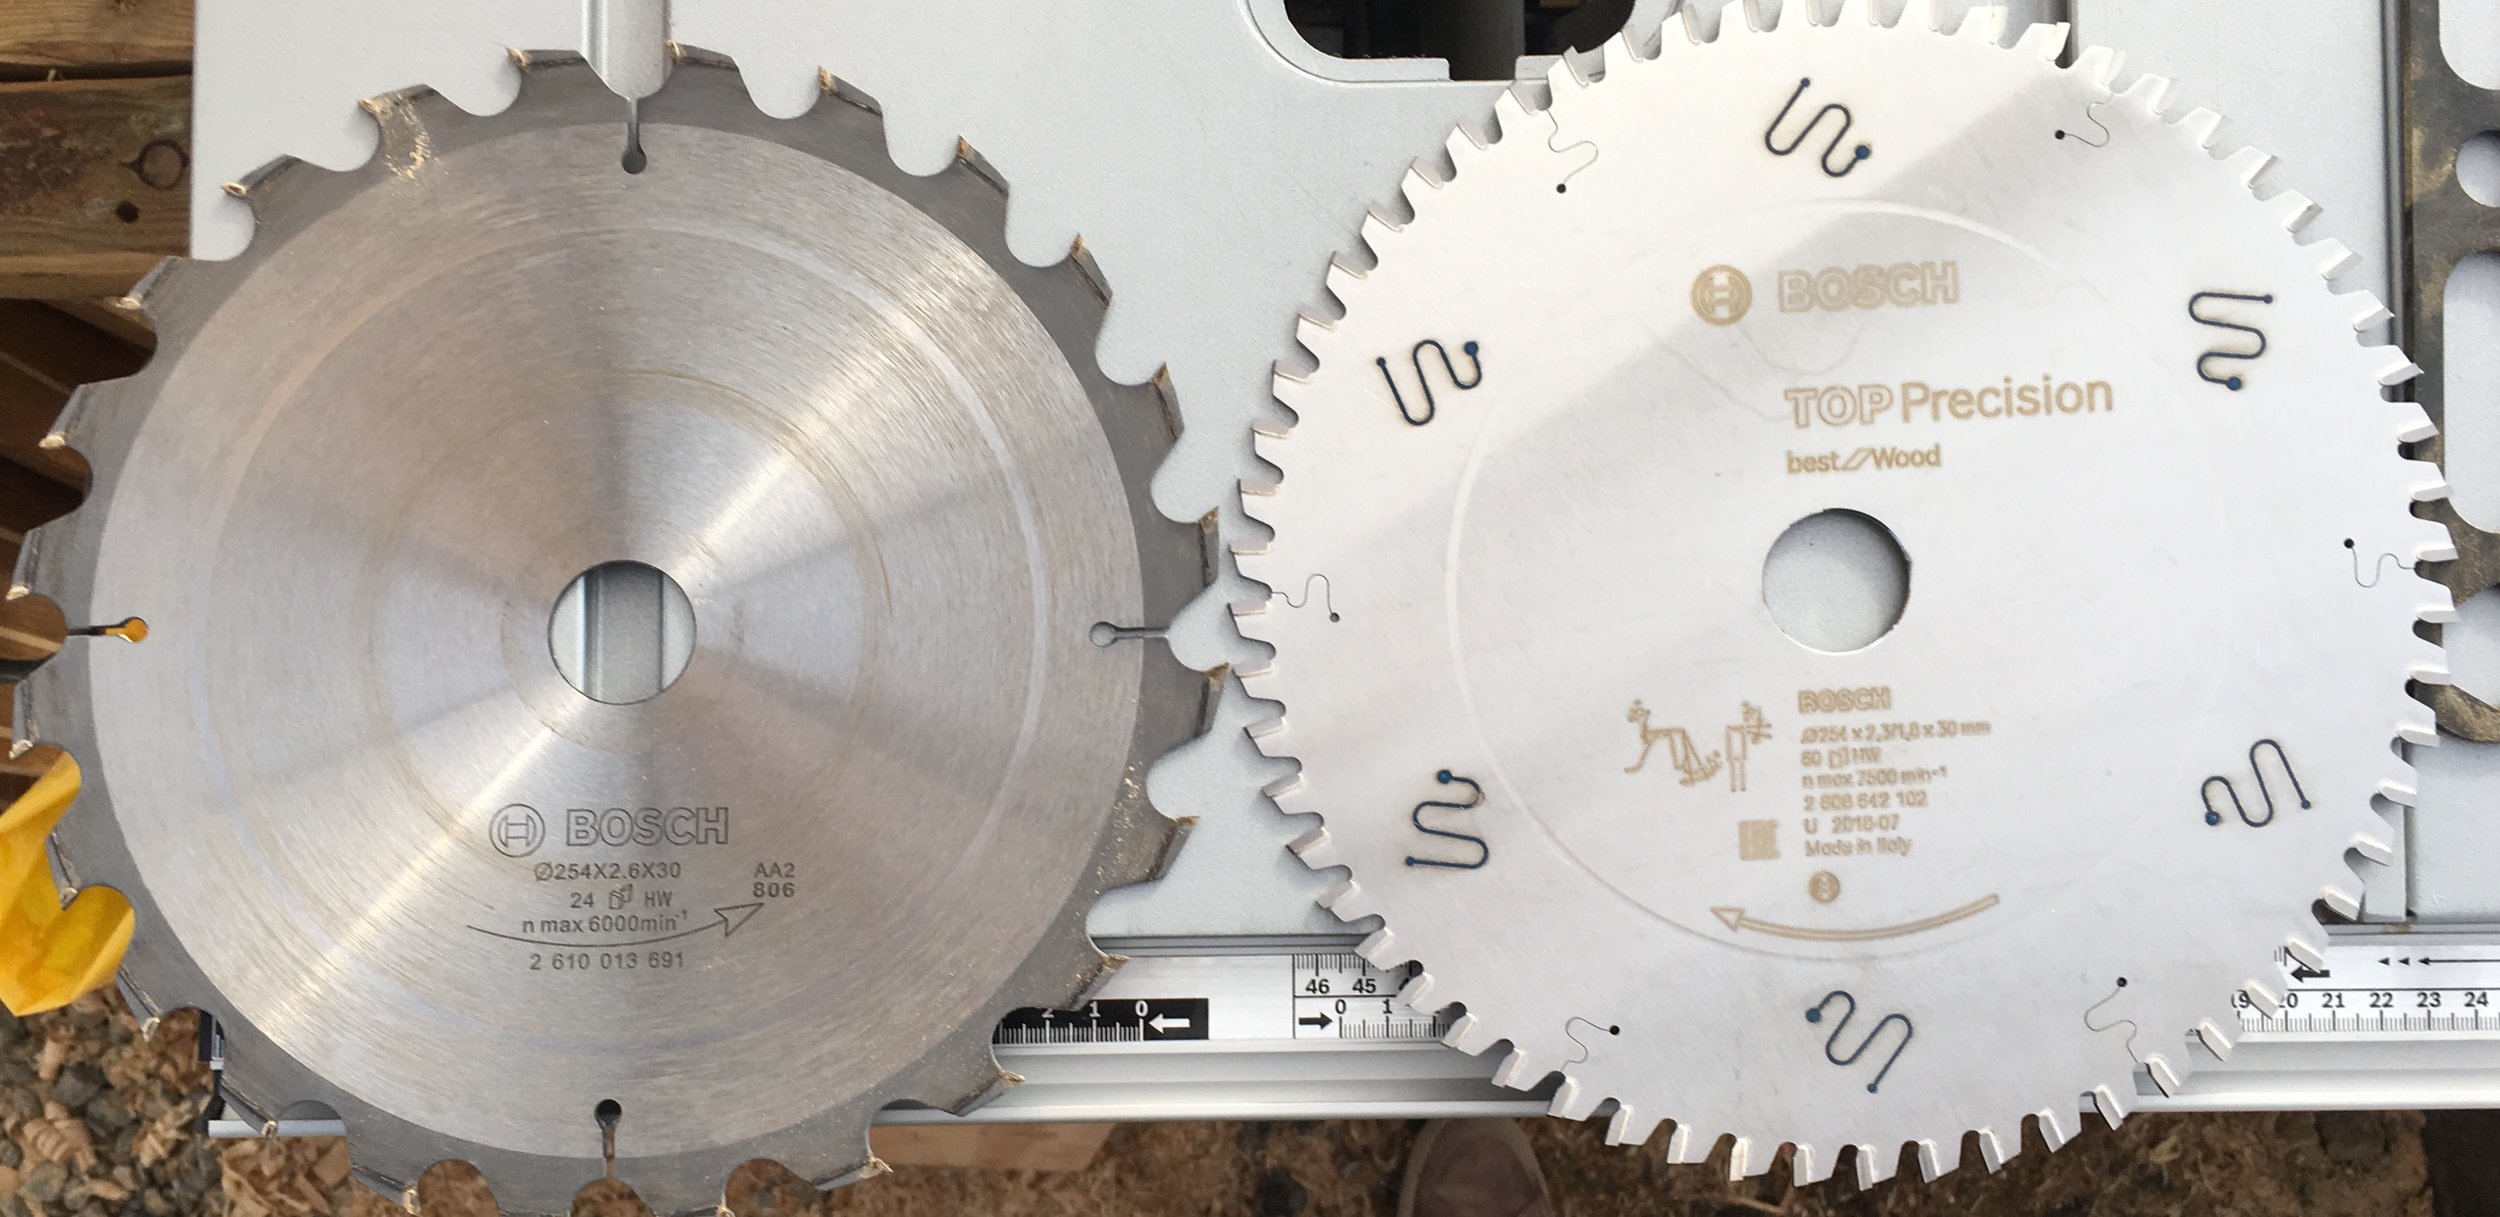
For that purpose I got myself a decent saw blade which cuts plywood very clean, leaving no burrs and literally the edge ready for jointing. Amazing stuff!

FullSizeRender-4.jpg


February 25, 2019 /Lukasz Kumanowski
Comment
IMG_5745.JPG

Cockpit floor & broken frames - preparations

February 24, 2019 by Lukasz Kumanowski

I’ve finished cleaning up old floor remainings - lots of dust and noise - so the milestone is reached. Now I can start re-building all structures with new wood.

I’ve removed starboard engine fundament - with some difficulties as it was screwed to the structure in unexpected way.
Took me a while to figure out why it doesn’t move while I’ve removed all the screws !?!

Well - there were 2 more!
They in fact look like bronze screws, in quite good condition but they were covered with thick bilge paint so I found them only by analysing structure movement: they formed pivot point to otherwise unscrewed engine fundament.

After cleaning out old bedding compound I gathered up all the wood remainings in the bilge, vacuumed the whole area and finally there came the time for measurements. During that I could inspect all parts of the cockpit structure, otherwise hidden under the floor. Unfortunately I’ve found one more weak place where wood was deteriorated.
No big deal - I’ve cut it out with excess wood on all sides. I’ll scarf and glue new wood there.

Having all measurements recorded I packed tools and went to my boatyard workshop to prepare wood stock for new floor structure.

Recently bought scrub plane made timber thicknessing a joy.
I’ve also installed adjustable blade-pig for holding timber while planing. That makes the work easier - low cost solution, proven for centuries!
I took advice from Richard, The English Woodworker: Tail Vice Alternative

IMG_5744.JPG

It works so well that I can postpone building tail vice to my workbench.

Cockpit floor beams were made of solid oak on which plywood floor was glued and screwed. I’ve decided to make them from my old stock of pre-cut oak which I acquired long time ago.
I didn’t have any use for it as it has many knots and few lists have severe checking due to kiln drying. For this project they should make the deal. Each beam will be laminated from two lists. After cutting and fitting all joinery I will seal all components in epoxy so that they should last long without rot.

Then came a time to start working on thick, laminated frame - the one which is broken, close to floor timber #3. My way of doing it is to first take a shape of the frame - with wooden chain. Then transfer this shape (a negative) onto a piece of cardboard (a positive) and cut it out. After checking the cardboard template against the hull (close to the frame) I take the pattern to gluing jig and set up gluing stations.

In this case I could directly move to gluing jig since I’ve already made hull pattern in this point - it is floor timber #3.
I clamped it onto gluing jig, marked the line and adjusted gluing stations to match the curve.

IMG_5746.JPG


Then I moved on to prepare laminations for this curvature. Some experimentation on scrap oak proved that 5mm thick lists can bend onto this curve without breaking but the force to bend only one piece was substantial. I’ve moved down to 3 - 3.5mm thickness.

IMG_5747.JPG

The frame has to be 45mm wide and 65mm thick. Very robust.
I’ve prepared quarter sawn wood with bigger dimensions as with gluing there may be some shifts or mistakes in alignment so having excess wood for final trim is a prudent procedure.

IMG_5749.JPG

To avoid problems with wood splitting on rivetting the frame will be installed with annual rings athwartship and medullary rays along-ships. Even though in laminations this does not play so big role I follow that principle if I have such timber.

IMG_5750.JPG

This way of making curved elements is quite expensive, as compared to steaming.
Not only it takes time to cut the lists and glue them back together. Epoxy - especially one formulated specifically for oak - is expensive. The job is messy and needs controlled temperature.
Most of all - a lot of wood is wasted!
For each cut on my saw 5mm of wood is turned into dust. Comparing the pile of cut lists with a block not yet cut gives a clear picture of the waste: almost half thickness is gone.

IMG_5751.JPG

So why do I use this method?
Well, for 2 reasons:
Firstly - my oak was dried, it is not “green” so even if steamed it will not bend like green lumber.
Secondly - on really tight curves steamed frames are weakened and eventually they brake of fatigue. This is exactly what happens on most boats, including Meritaten where she has circa 20 broken frames, all of them were steamed and all broke at the tightest curve in the bilge.

Moreover - this particular frame was built from laminations originally. Laminated frame is very stiff and as strong (or stronger) as grown crook.

Well, expensive it may be but: måste man så måste man.

After ripping out all lists there came a dry run on gluing jig.

IMG_5752.JPG

It turned out that I can glue max 4 lists at one session: the force needed to bend the whole assembly at once would require using hydraulic jacks - but then, most probably, my gluing jig will fail.

It became also apparent that I need more leverage for closing the clamps. Screwing by hand proved to be difficult and with glue in the equation it will become a mess.

I’ve drilled few holes in wooden handles of my el-chipo clamps. This way I can use a screwdriver to gain more force on the threads.

FullSizeRender.jpg

The work for today was concluded with sanding all components with 80-grid paper, to prepare them for epoxy.

… and cleaning the big pile of wood dust from my workbench.
That is a big drawback of working with power tools - respiratory and hearing protection is a must in this job!

IMG_5754.JPG
February 24, 2019 /Lukasz Kumanowski
Comment
IMG_5726.JPG

Demolition finished

February 18, 2019 by Lukasz Kumanowski

Spring is coming and I feel time pressure to finish started renovations.

To catch up with the schedule I came back to working in the evenings, after day work. Few hours here and there really make a difference - family life is not suffering when I disappear for a while and work is moving forward.

For the last few days I was struggling with removal of cockpit floor remainings. For a while I was planning to leave unaffected wood in place and patch the rotten part with new wood but then I decided that it really makes no sense. It is easier and quicker to build something new than to patch-repair, especially that I have enough oak and plywood to do this job.

So I went on and removed everything. It turned out, as usually, to be a good thing: brass screws holding everything together were already washed out from zinc hence brittle, with no holding power. That would not affect the structure much since, to my despair, everything was additionally glued with Sika.

Oh, how I hate this stuff!
It is not marine sealer. It is MARINE ADHESIVE! It surely has its place but NOT in structures which will inevitably be repaired at some point! And cockpit floor is definitely a thing which is being prone to wear thus needs to be replaced once in a while.

It’s not the first time I’m ranting about it. What I will use instead is Farm, International product. This is what we use in Europe since Dolphinite is not available here, unlike in States. This thing is basically rubber in liquid or cream state. It solidifies in contact with air but only on surface so it stays liquid if applied thick. This way it does its role in sealing cavities but it does not glue things together so removal of components is easy. That’s the beauty of traditionally built boats - they can last indefinitely because one can replace only these components which are worn out. Unlike fibreglass hulls which suck water like sponges and are basically one part.

Tonight I’ve finished removal of all remaining floor structures. What is left is to clean up Sika goop and some oak remainings. After sanding everything I will build new oak framing to accept new cockpit floor. This time all structure members will be sealed with epoxy so this should keep them dry and rot-free during my lifetime.

To ease up my work on this demolition I’ve modified angle grinder a bit. I followed Louis Sauzedde idea and after some tweaking with the tool (some copper washers etc) I was able to attache table saw blade to it. I’m not that cocky as Louis to remove the fence (I want to keep all 10 of my fingers).

This tool now is very powerful. I’m yet to master controlling it as it goes through whatever is thrown at it like through butter.

Good stuff!

IMG_5725.JPG
February 18, 2019 /Lukasz Kumanowski
Comment
IMG_5701.JPG

Spring winds

February 16, 2019 by Lukasz Kumanowski

It is warm recently so snow is melting and wind smells spring.
It is about time to put “spring dress” on Meritaten, to protect her for drying out, especially during such dry, warm windy days.

Björn called, in his usual way, if he can come in 20 minutes to deliver keel bolts. Oh yeah! Sure!

This guy is really something - old-timer in good sense of this word. Quality of his job is always outstanding, even in case of these bolts. Even though I told him that my boat is not a Hasselblad he kept asking about tolerances in dimensions. He took it even further and checked with Swedish Institute which deals with marine structures if the steel we chose is proper for this application. And how should we protect it from corrosion.
I admire this type of mechanics!

Björn made me 2 sets of bolts so that I will have them at hand if in 10-20 years I decide to replace the bolts.

I tried them on the boat and, of course, they fit perfectly. He took away 400 micrometers from the diameter so that I can cover them in epoxy, to inhibit rust.

Since I started early in the boatyard - no one was around - I decided to take this opportunity and make some noise with angle grinder. I needed to adjust washers to fit old floors.

IMG_5698.JPG

After lots of noise and rain of sparks new washers were ready.

IMG_5699.JPG

I then moved on onto further demolition of cockpit floor.
This job goes like blood from the nose: removing old plywood and oak which was screwed to the hull with brass screws and adhesive filling compound (probably Sika - everybody seem to love this stuff!).
After all these years there is no way I can unscrew brass screws - they crack and disintegrate upon attempt. That is why one should stay away from brass fastenings on a boat!
In the end I need to split the wood with chisels, cut the screws and drill sets of holes to remove everything in parts. Messy job.

Back in my workshop I fitted big washer to new floor timber #3.
Activity which produces lots of dust and noise but the effect is OK.

IMG_5705.JPG

So now the floor timber is ready for painting and installation. I will seal end grain with epoxy and paint the rest with bilge paint (red iron oxide in linseed oil). Top face will be finished bright, with varnish, as it will be seen on floor level.

Once this is done I can drop it into its place, install new keel bolt, rivet it to frames and screw to garboard and 2nd plank.

My new keel bolts are metric so I can now use a variety of nuts. For this purpose I chose M18 standard, galvanised nuts. It is interesting to note how the dimensioning standards changed (around 90’ I think).

Comparing side by side old 5/8” UNC nut with M18 nut shows that the old standard had more beefy dimensions: both nuts have almost the same dimension while opening differs significantly.

FullSizeRender.jpg

The replacement bolts are made much stronger than originals. I chose also thicker and bigger washers which should work better in distributing load.

IMG_5709.JPG

Anyway, I’m gonna feel much better having three such new bolts in the structure. In principle one can lift my whole boat on one of these screws, still having a margin of 200-300% strength.
Running aground or getting beaten in bad weather requires having backbone structure as strong as it can be.

Besides, it was really the last moment to change these bolts!

IMG_5710.JPG
February 16, 2019 /Lukasz Kumanowski
Comment
FullSizeRender.jpg

Tool-evening!

February 14, 2019 by Lukasz Kumanowski

Part of house-keeping procedures: taking care of and fixing tools.

Just to relax from boat-related work I took my wood-handled tools for cleaning and oiling. Among others are screwdrivers and felling axe. I’ve had them in raw wood condition since I bought them but with time and usage they got dirty and greasy so that wood texture disappeared behind the dirt.

IMG_5665.jpg

I used abrasive wool for gently removing the dirt and keep the wood intact. First few strokes revealed long-gone memory of how the tool looked like before.

IMG_5666.jpg

Some more elbow grease and 180-grid sand paper brought back the wood to raw condition.

IMG_5667.jpg

All tools went the same way and in the end came the long waited moment: oiling!

I think everyone working with wood loves this moment when oil (or varnish) reveals and actuates the wood grain and colour.
It’s one of those things which attracts me to woodworking - beauty of the material.

Wood handles cleaned to bare wood, waiting for linseed oil

Oiled and posh!

Oiled and posh!

I turned then to my new brace bit.

It is a newly acquired tool which shall replace my old brace - mostly because it has better gripping chuck and because it has a ratchet mechanism, enabling operation in tight space.

As much as I like this tool - its construction has a flaw, revealed on very first big screw which I was driving out of my boat.

The chuck is wrongly made!
Instead of being machined from single piece of metal it is made of two separate parts. I understand saving costs but keeping both parts together only by means of friction is a mistake yielding tool being useless.

Disassembled chuck. The rectangular casting should be a part of the threaded chuck - or be mechanically connected to it. Instead it is a free standing part held by friction only.

Disassembled chuck. The rectangular casting should be a part of the threaded chuck - or be mechanically connected to it. Instead it is a free standing part held by friction only.

The shop where I bought it has checked that all these tools are built the same way so we came to conclusion that sending mine for replacement will not solve the issue. Since I know how to fix the problem I agreed to keep the brace at half the price.
Fair deal I think.

How to fix it?
Well, one can braze both parts with silver or brass.
Epoxy would probably fail after some time due to constant sheering forces.

Since I plan to make customised inserts for this tool I’ve decided to mechanically connect both parts - so that I can easily disassembly it for repair or customisations.

So first come measurements for determining where to place screws.

IMG_5683.JPG
IMG_5684.JPG

Magic marker shows where I will drill, to end up more or less in the middle of the insert.

Then it was only to clamp the brace into vice, with some plastic padding to protect the thread. The part is aligned so that I will drill through the thickest part of the insert - to get a proper grip with stop screws.

IMG_5687.JPG

It was a very quick job indeed - I chose M4 screws so I was drilling with 3.3mm drill.
Chuck’s metal is some sort of soft steel, cast insert seems to be aluminium alloy, both relatively soft. The only tricky part was to get the drill going straight in the beginning and not wandering away on the curvature. Hammer whack on pointing iron made a dent which always helps but in few cases I needed to manually guide the drill with a piece of metal on the side. Otherwise it was a piece of cake on the drill press.

Having the first hole drilled all the way I tapped it with M4 thread, inserted the M4 plunger and turned the brace for subsequent drilling.

IMG_5689.JPG

It would be sufficient to have just one or two such stop screws really but since I had all the setup ready I went ahead and installed all four, stainless steel plungers.

FullSizeRender-3.jpg

After cleaning all the burr I adjusted depth of plungers so that chuck cover could be threaded back in place.

Assembled all parts back together and Bob’s yer uncle!

Now the brace is ready for really tough job!

IMG_5694.JPG
February 14, 2019 /Lukasz Kumanowski
Comment
  • Newer
  • Older

Powered by Squarespace