
Laminated frame - failed attempt. Second jig
Having my table-jig transported home I could start fabricating bent frame for replacement of the one which is broken on Meritaten. As proven during dry run - this jig is not strong enough to glue all 17 strips at once as the force involved is far too high for this jig. I have built it to make laminated frames for Glypto, my dinghy, which has far thinner ribs.
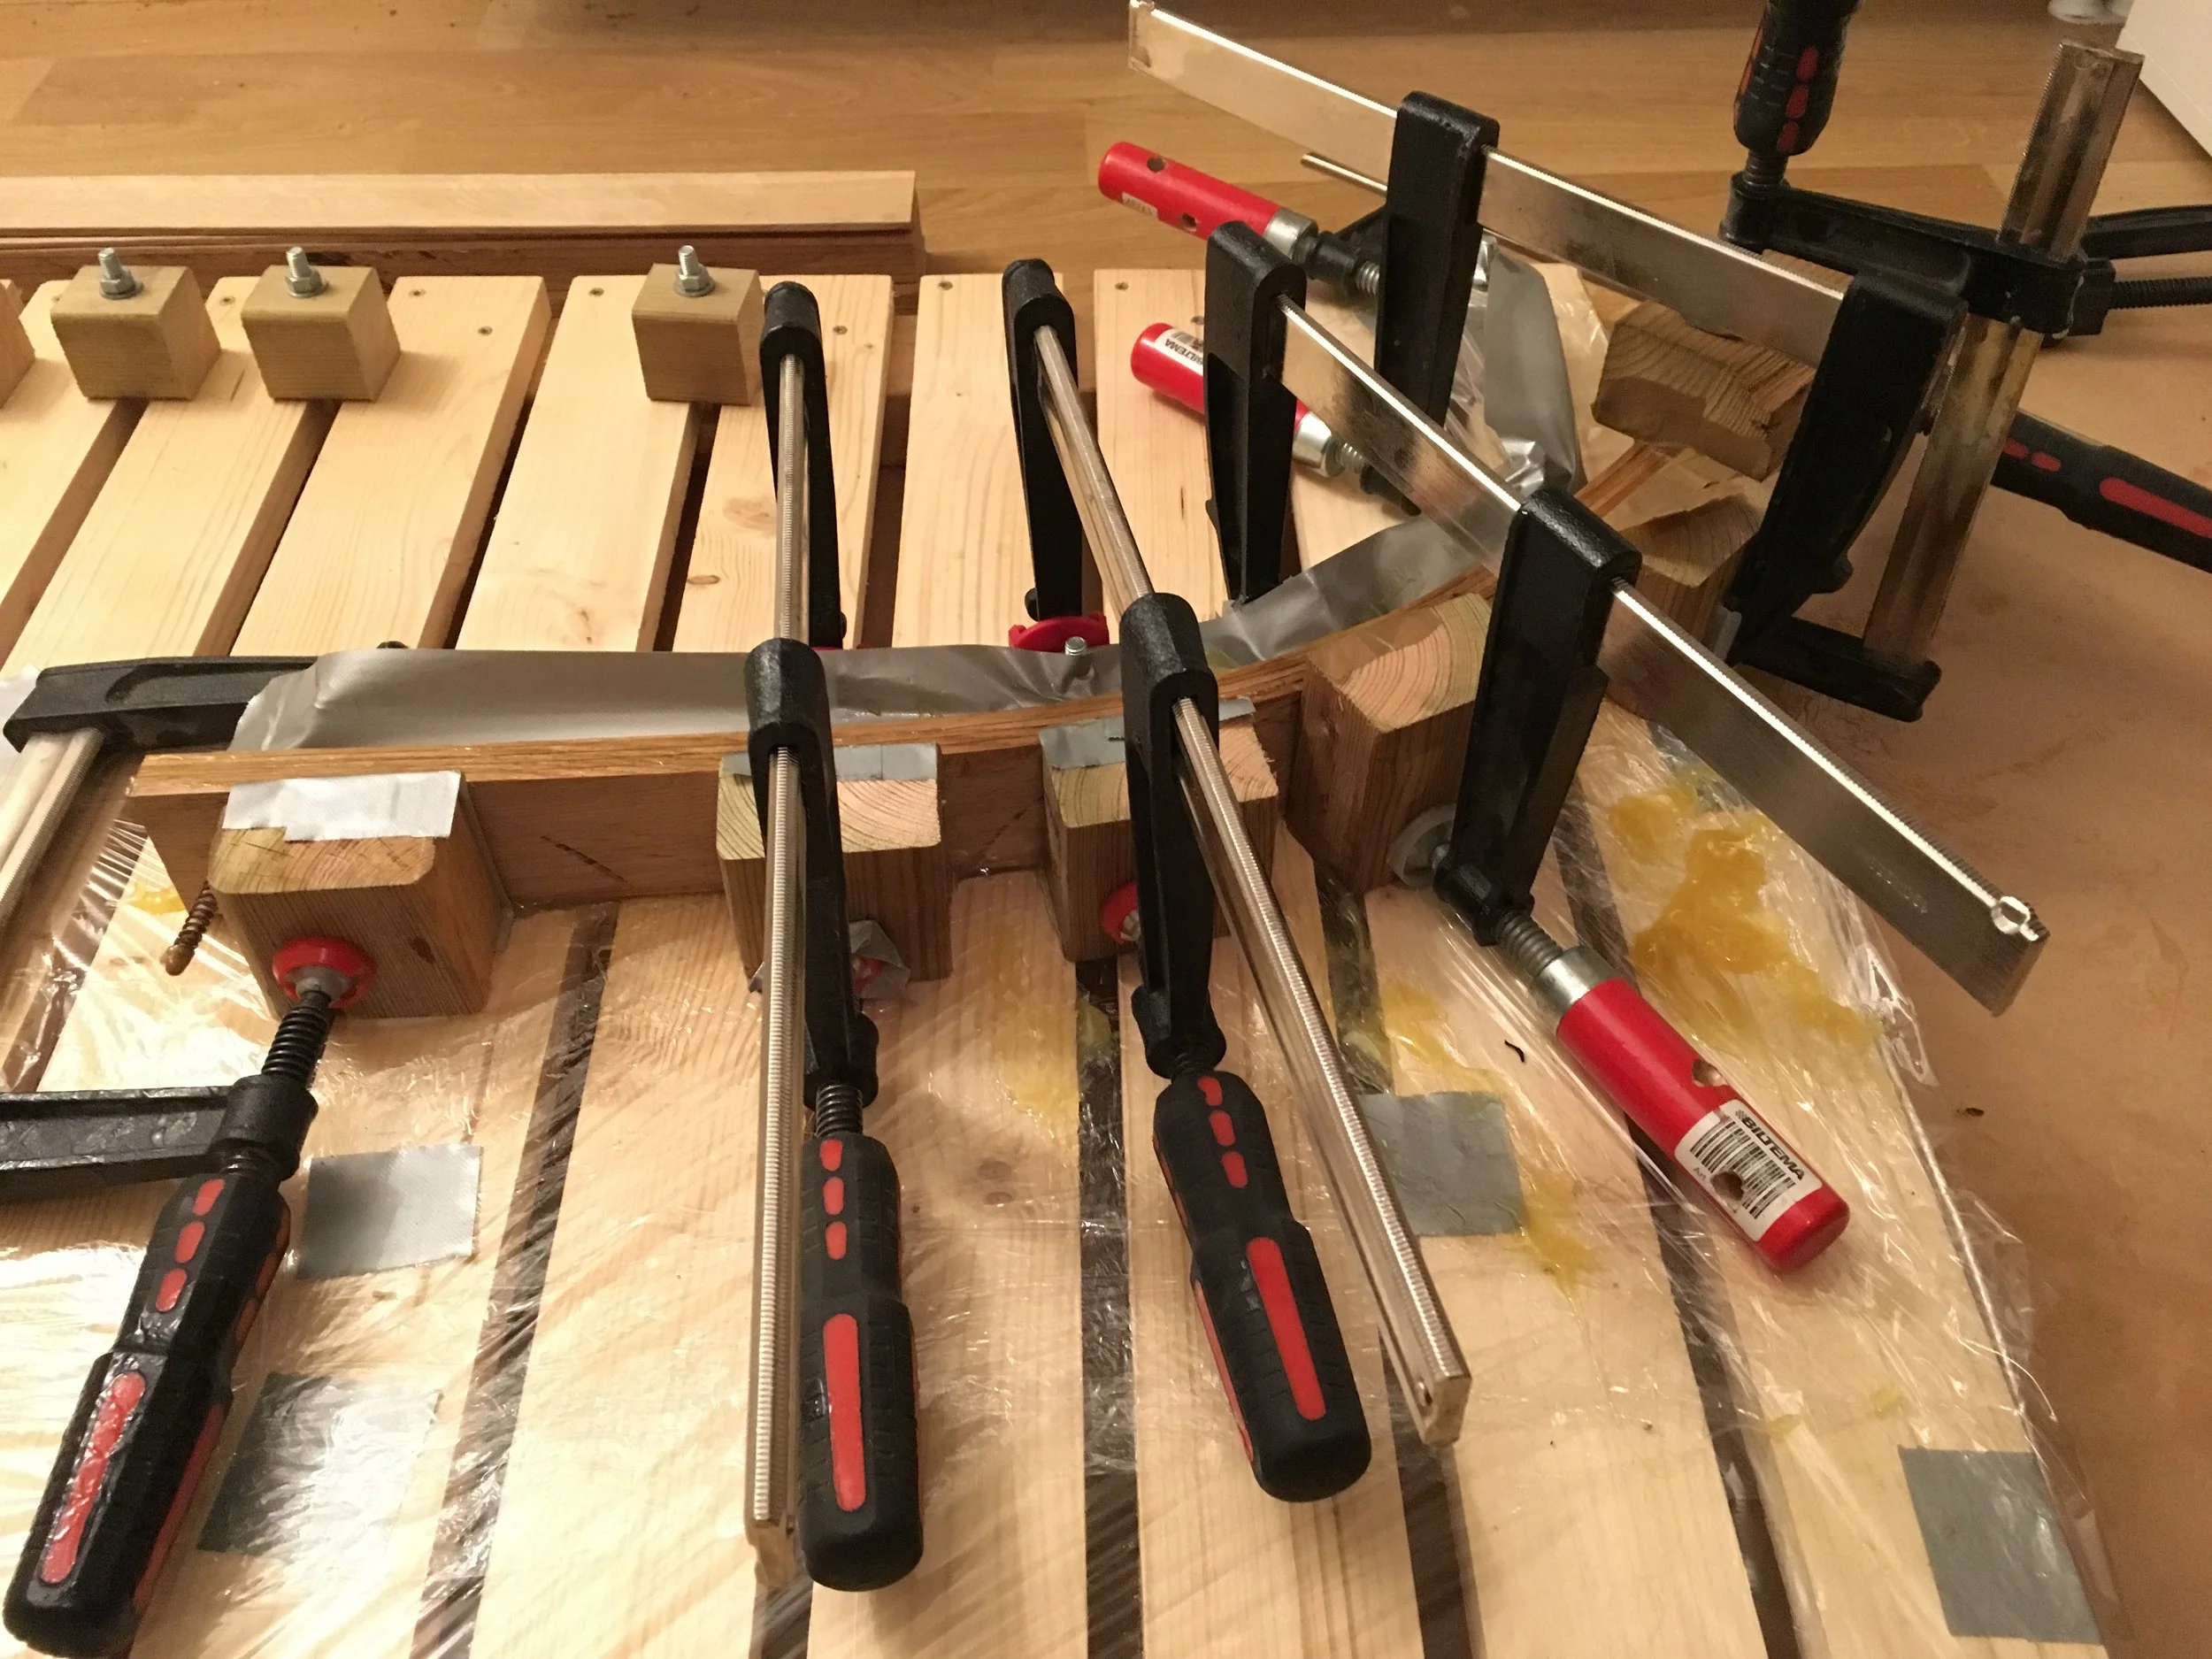
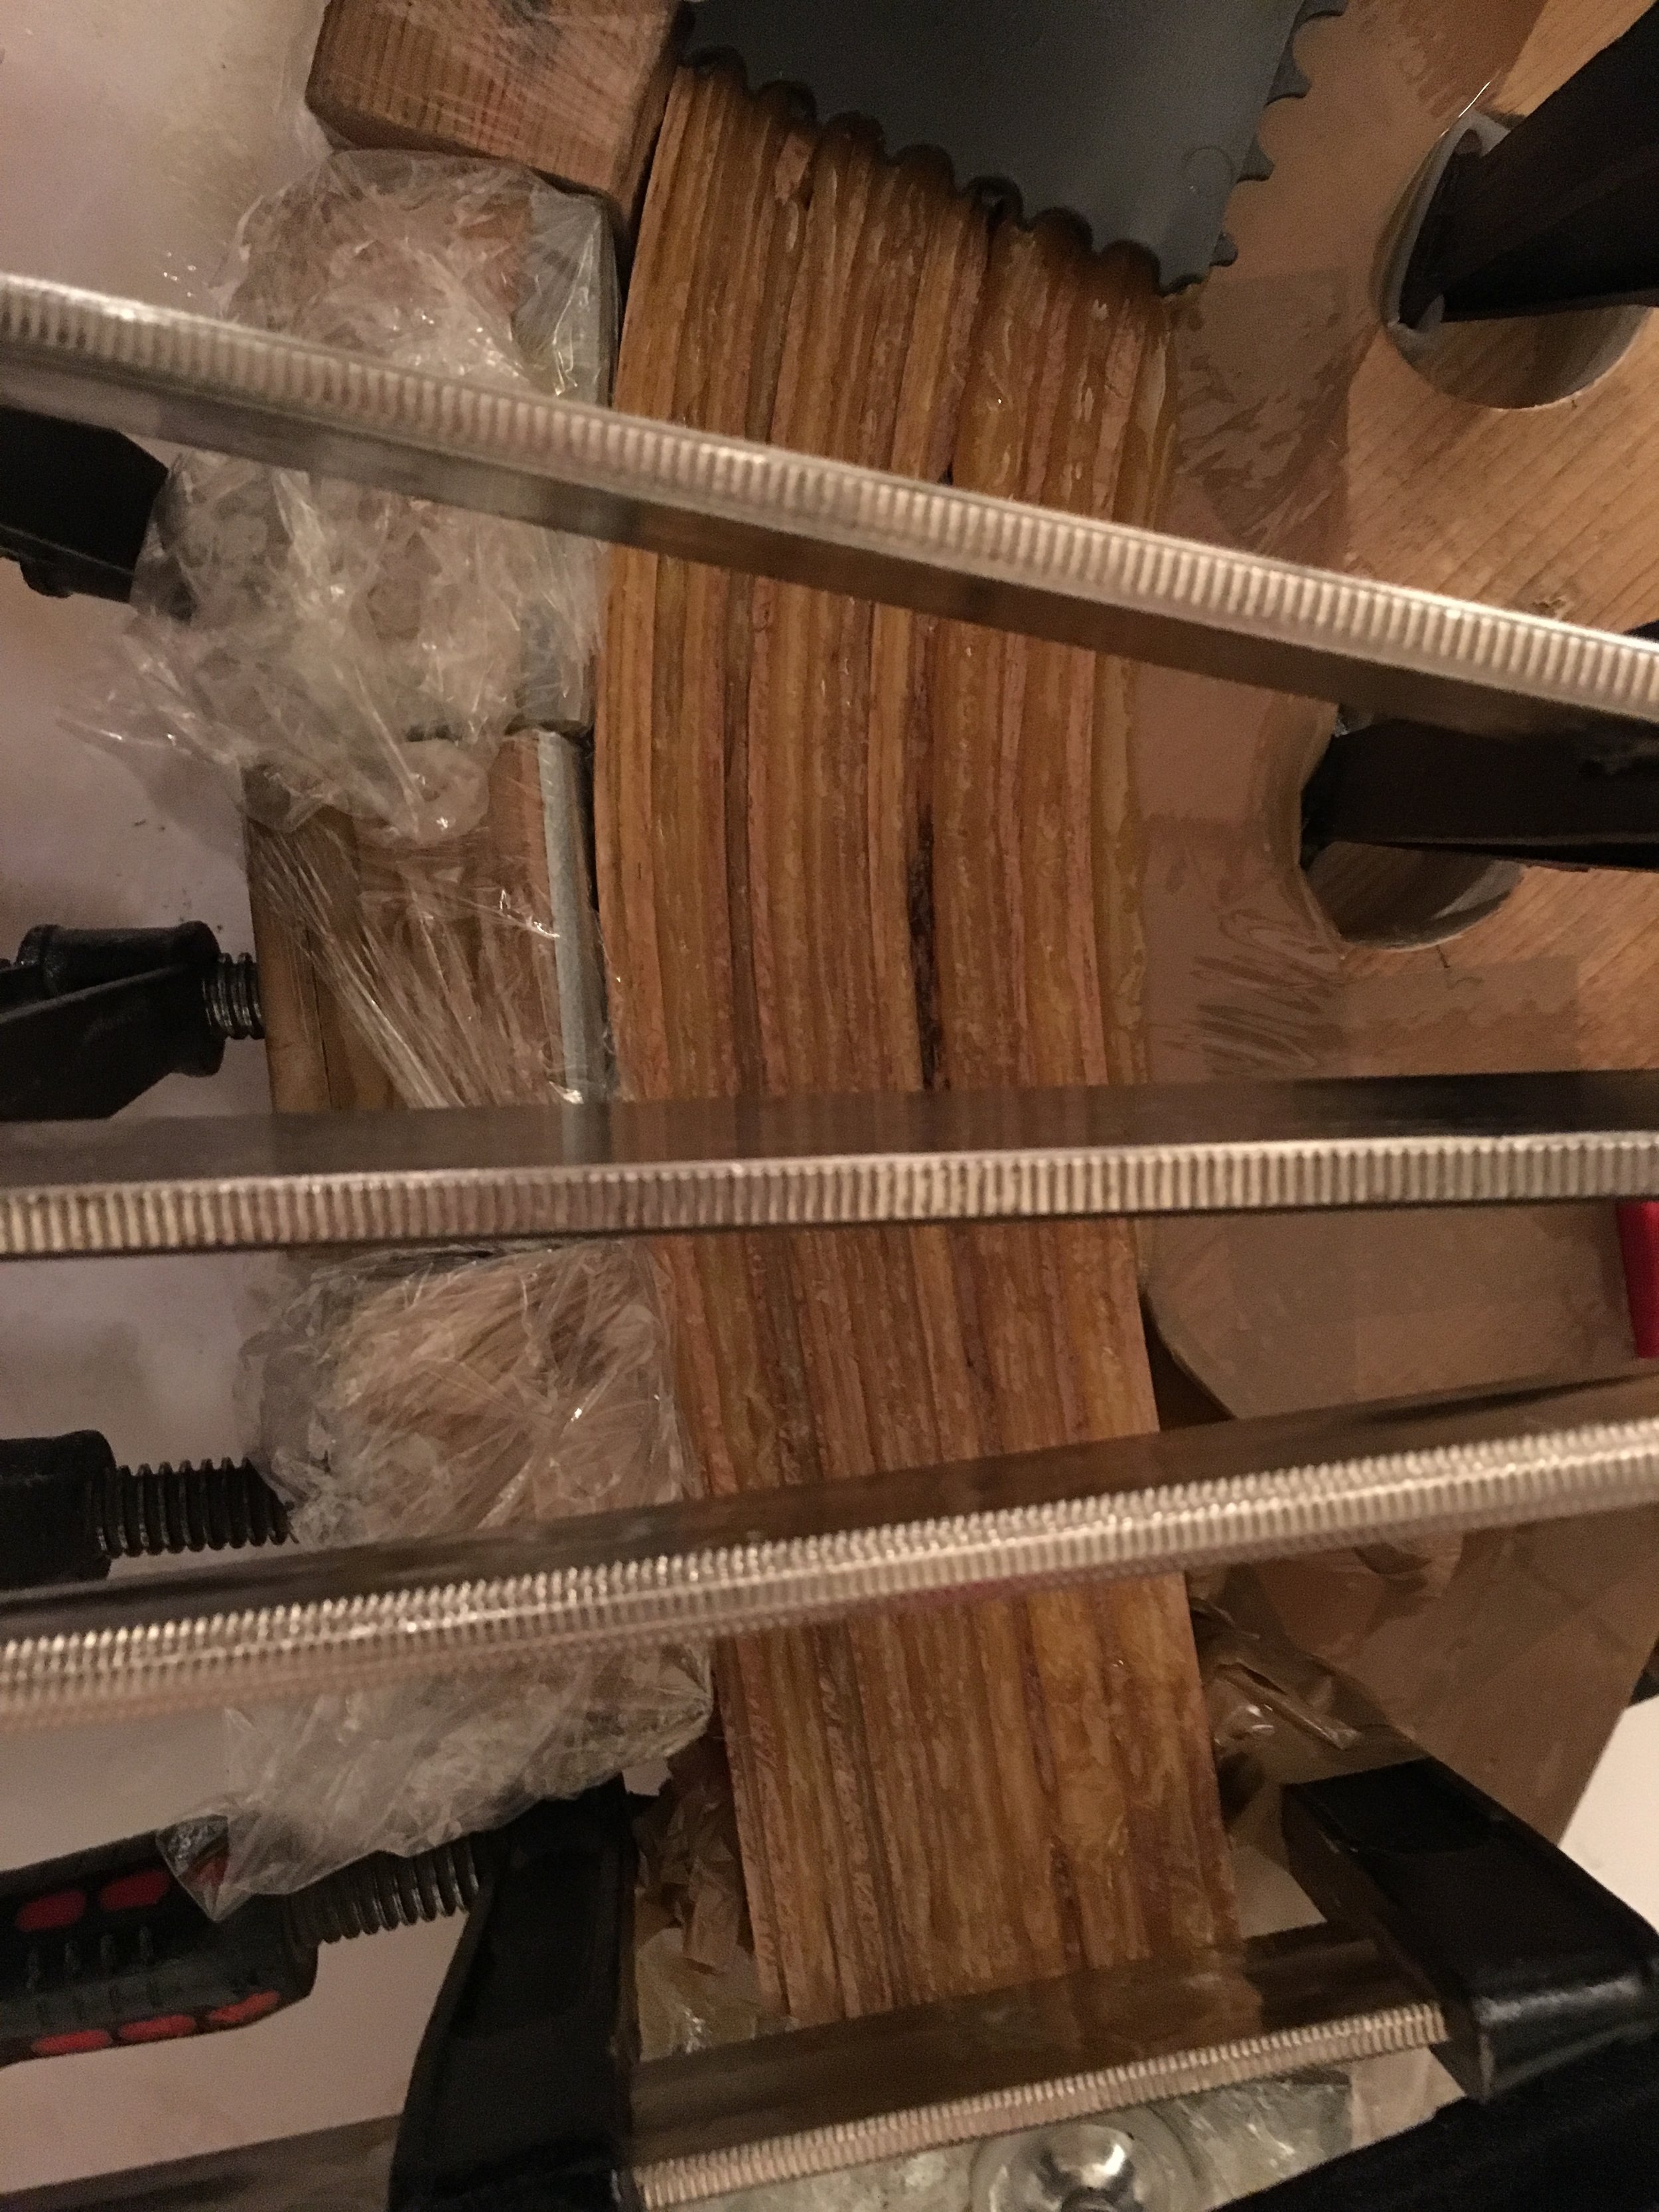
Anyhow, I was eager to try it for this project so after covering with plastic of all jig elements and clamps I’ve spread epoxy on five strips, clamped them in place and left for the night to cure.
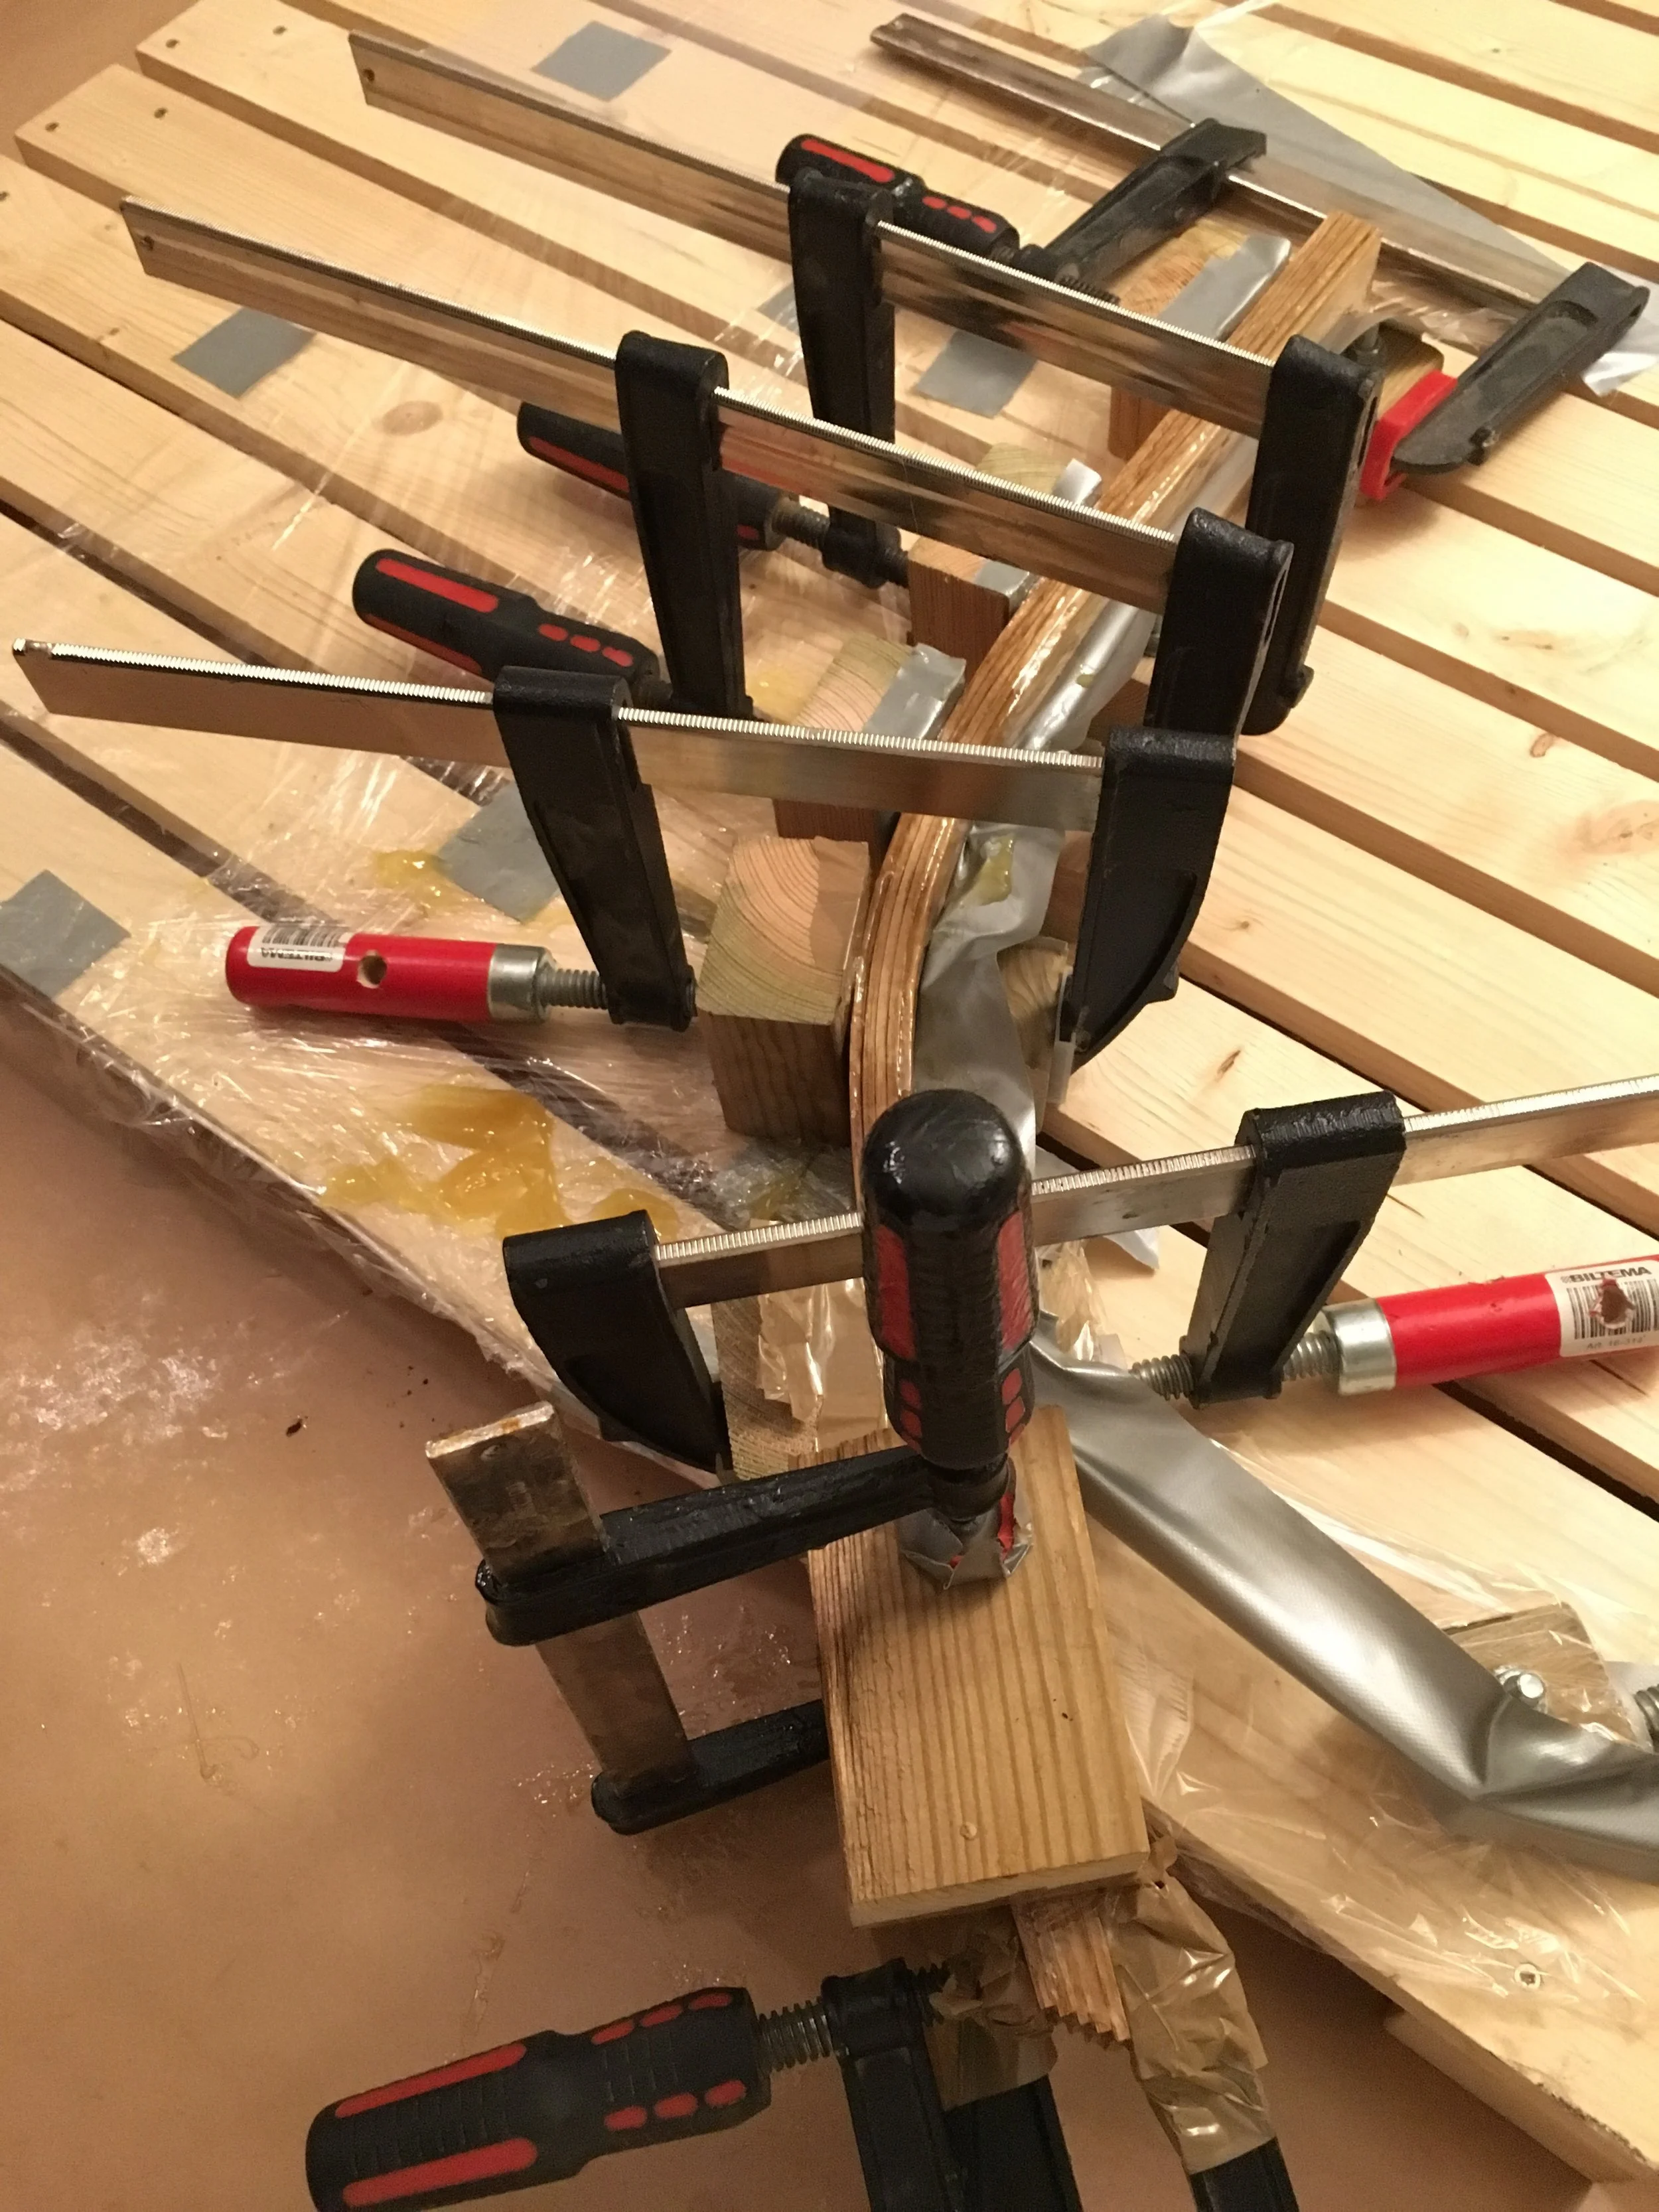
As learned during my previous laminations - all components will slide like crazy during gluing so I’ve used old brass screw as a sacrificial guide - running through via hole in all elements.
There was a lot of glue squeezed out from joints after clamping and bending - kind of sad as it is wasted. I’ve also put too little plastic/tape cover on jig elements so I had to clean all excess glue which could flow onto the jig or wooden blocks not protected, resulting becoming glued all together as one messy part.
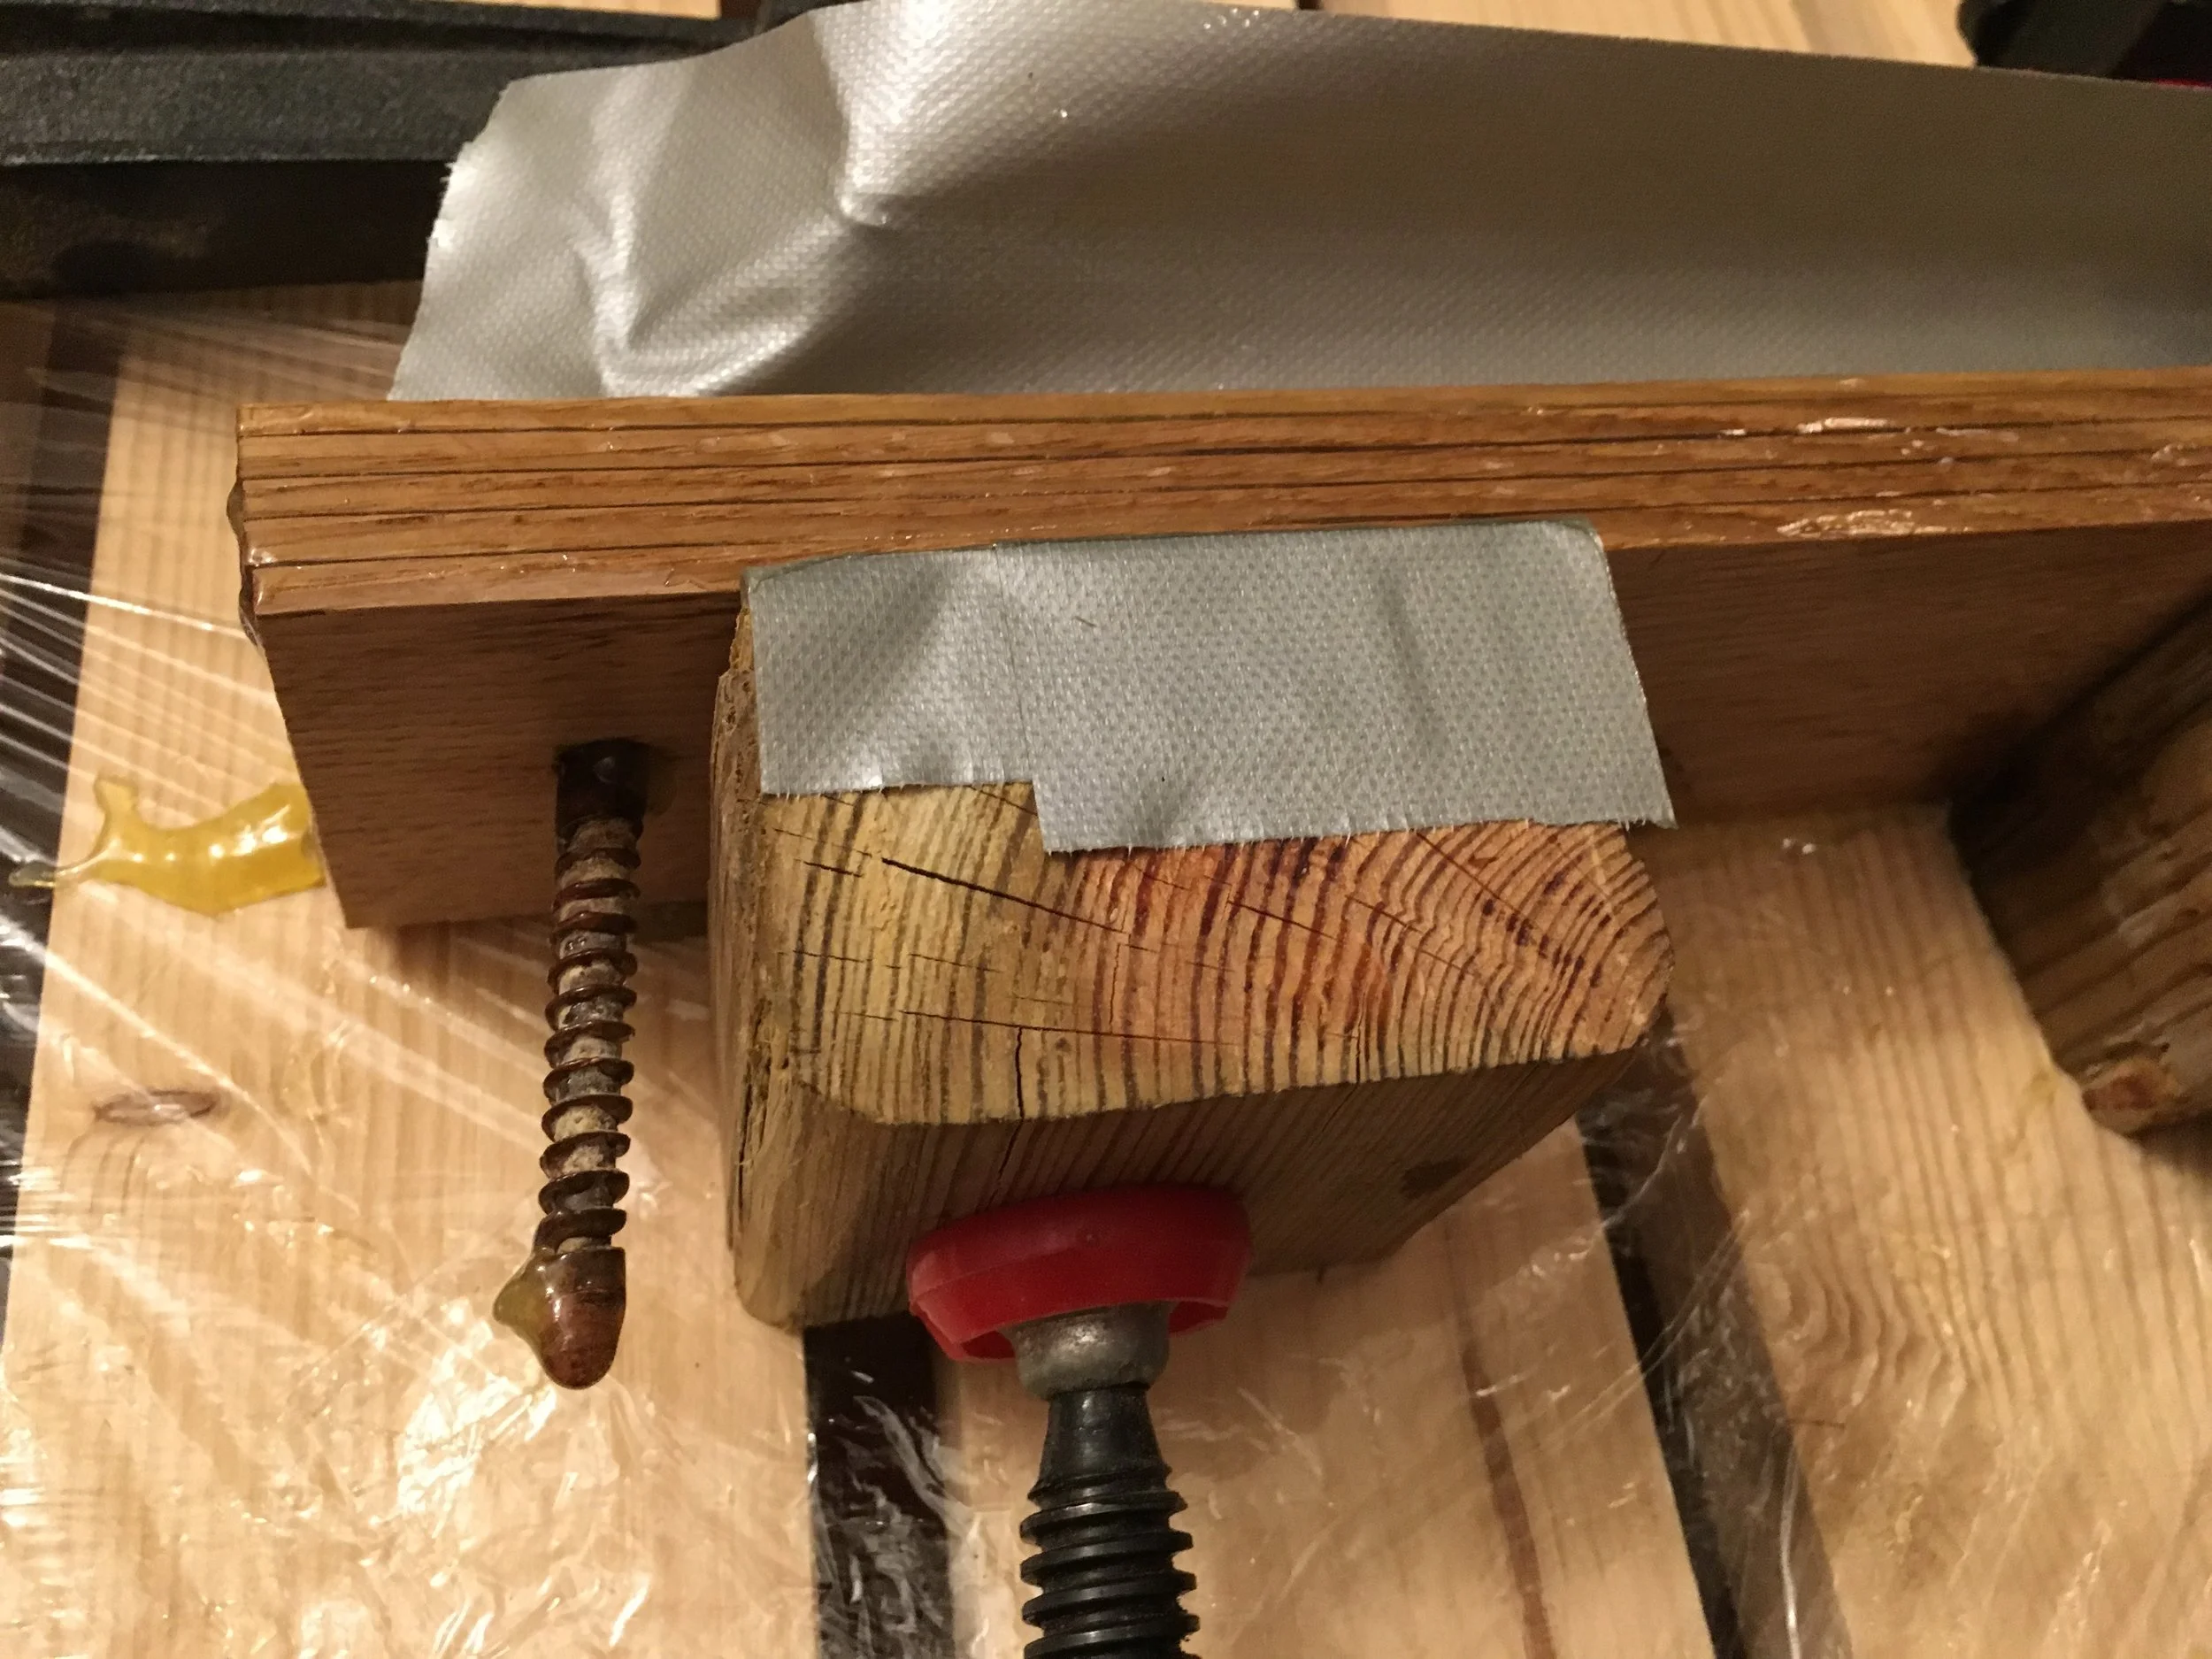
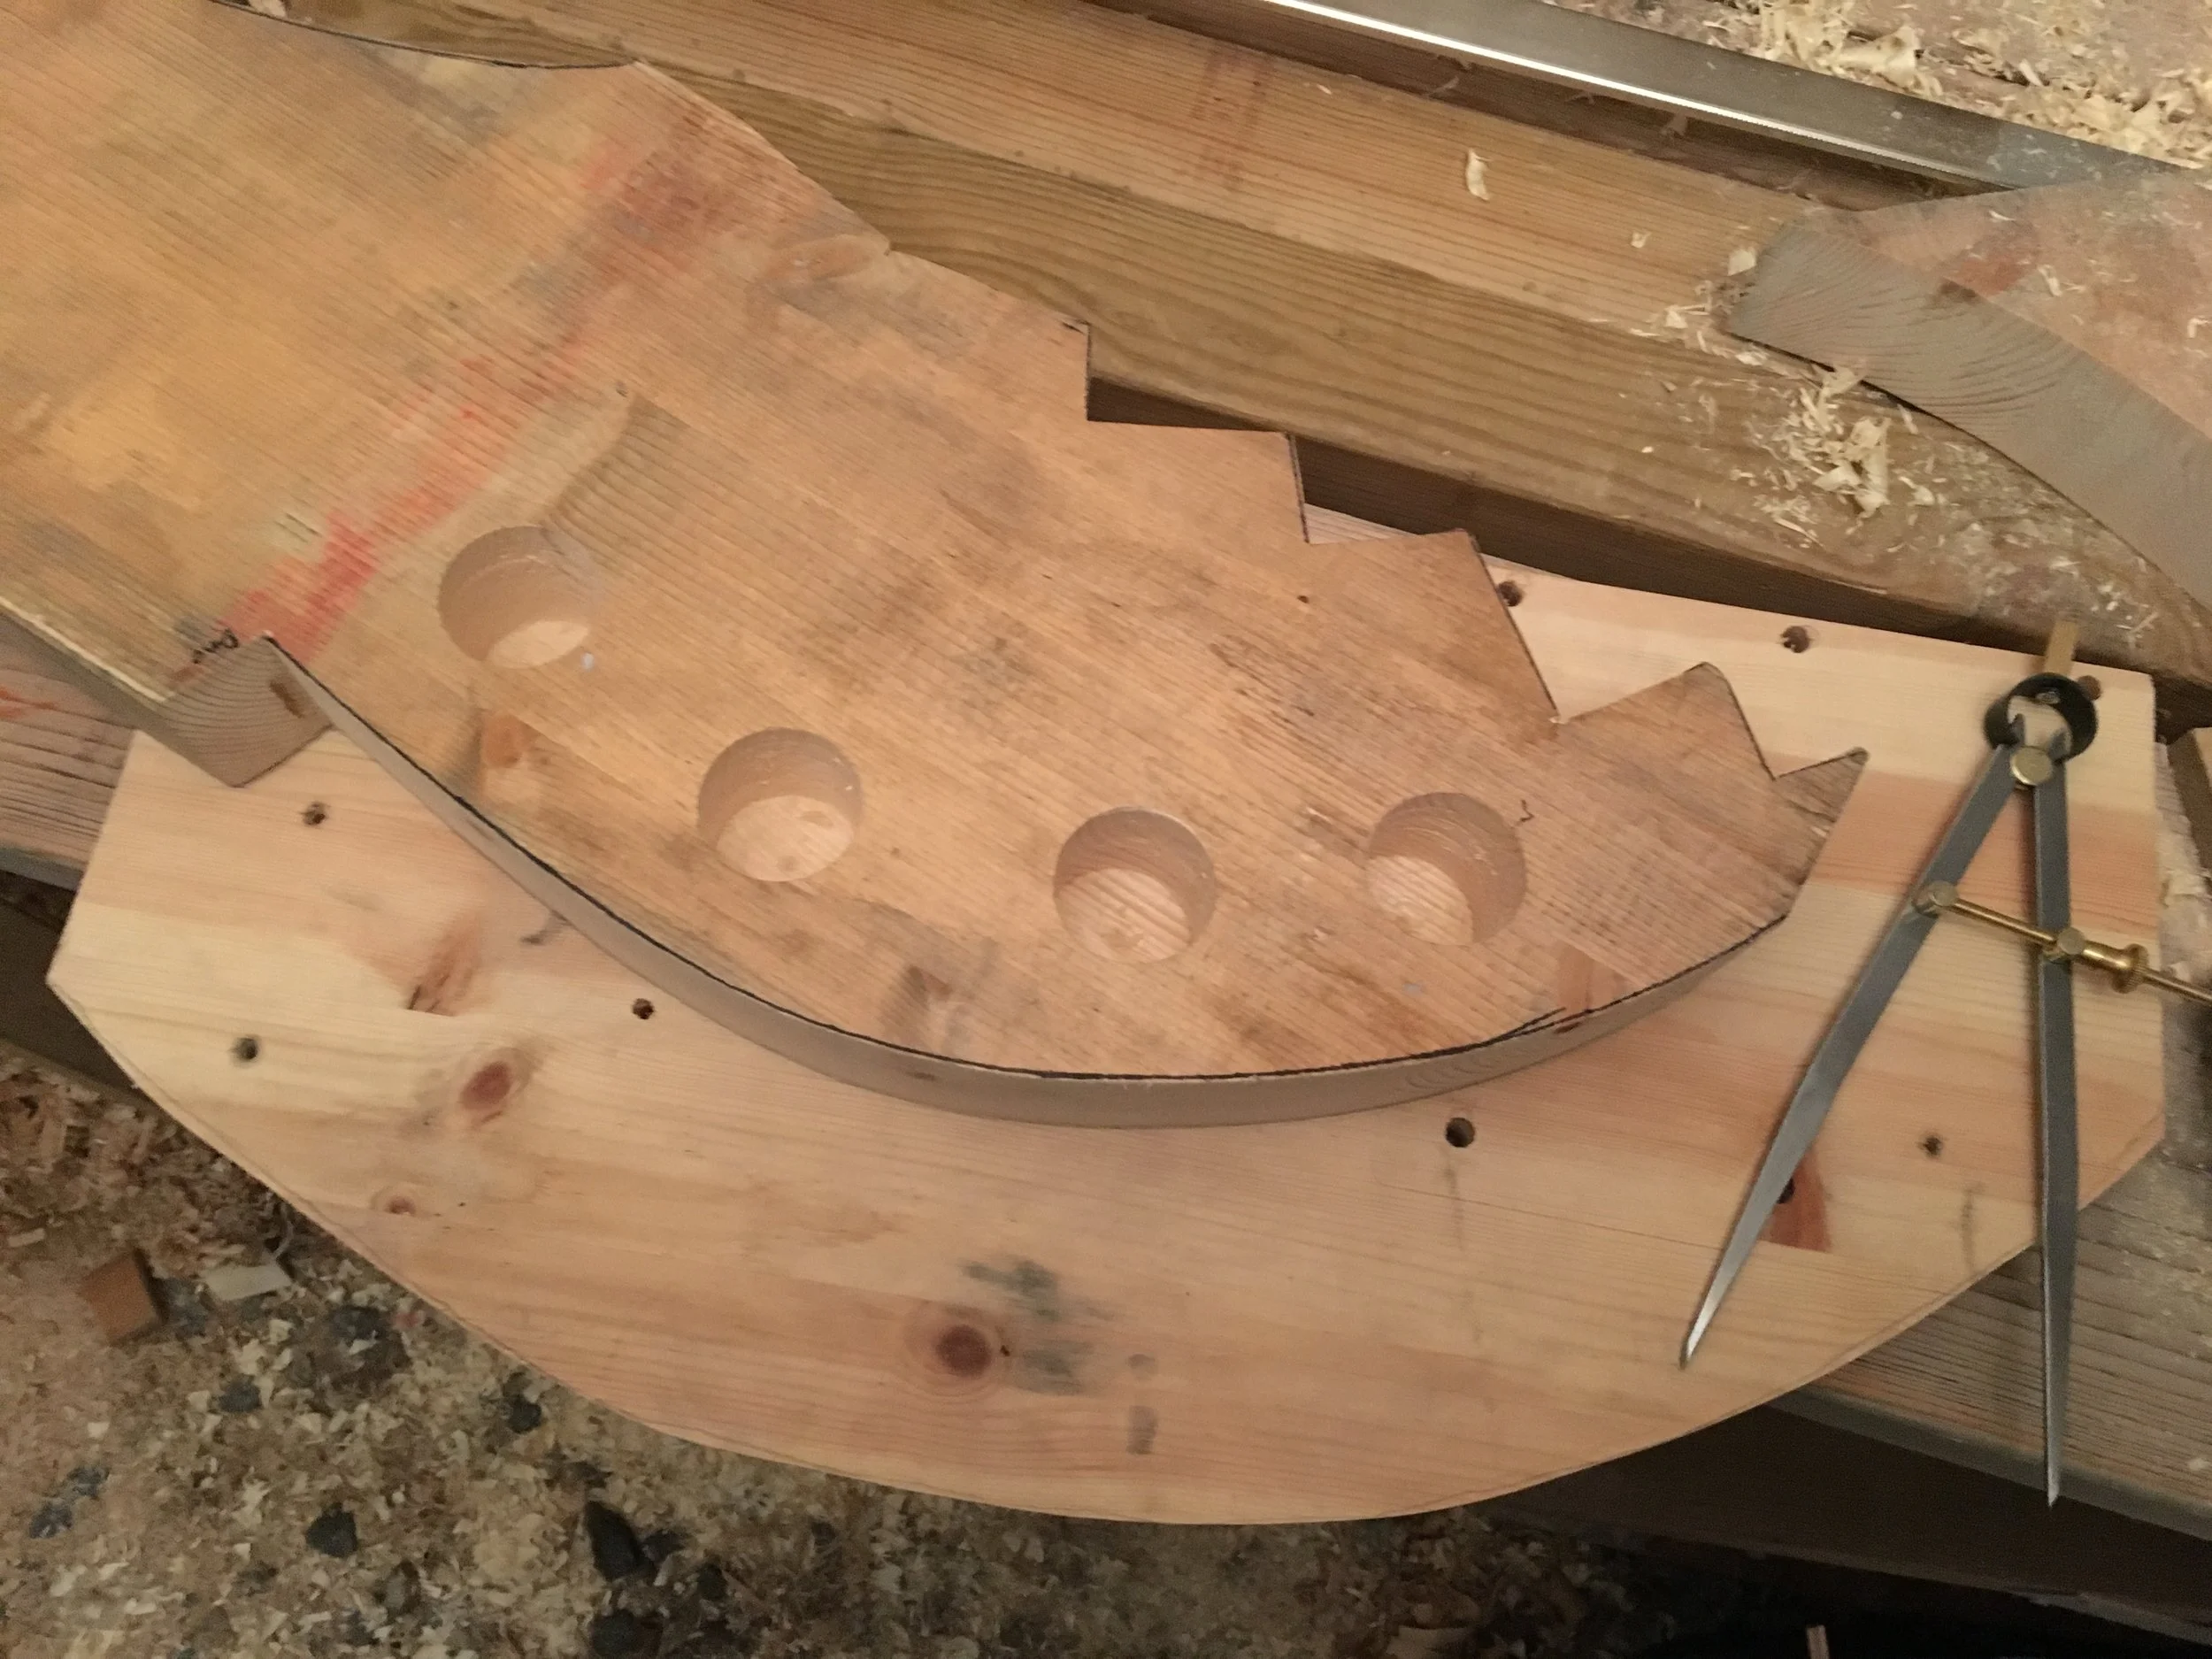
During night I could hear the jig complaining with some cracking sounds. When I then unclamped cured assembly the next morning I have found the reason: the last wooden block has failed due to strain and the whole lamination went out of shape.
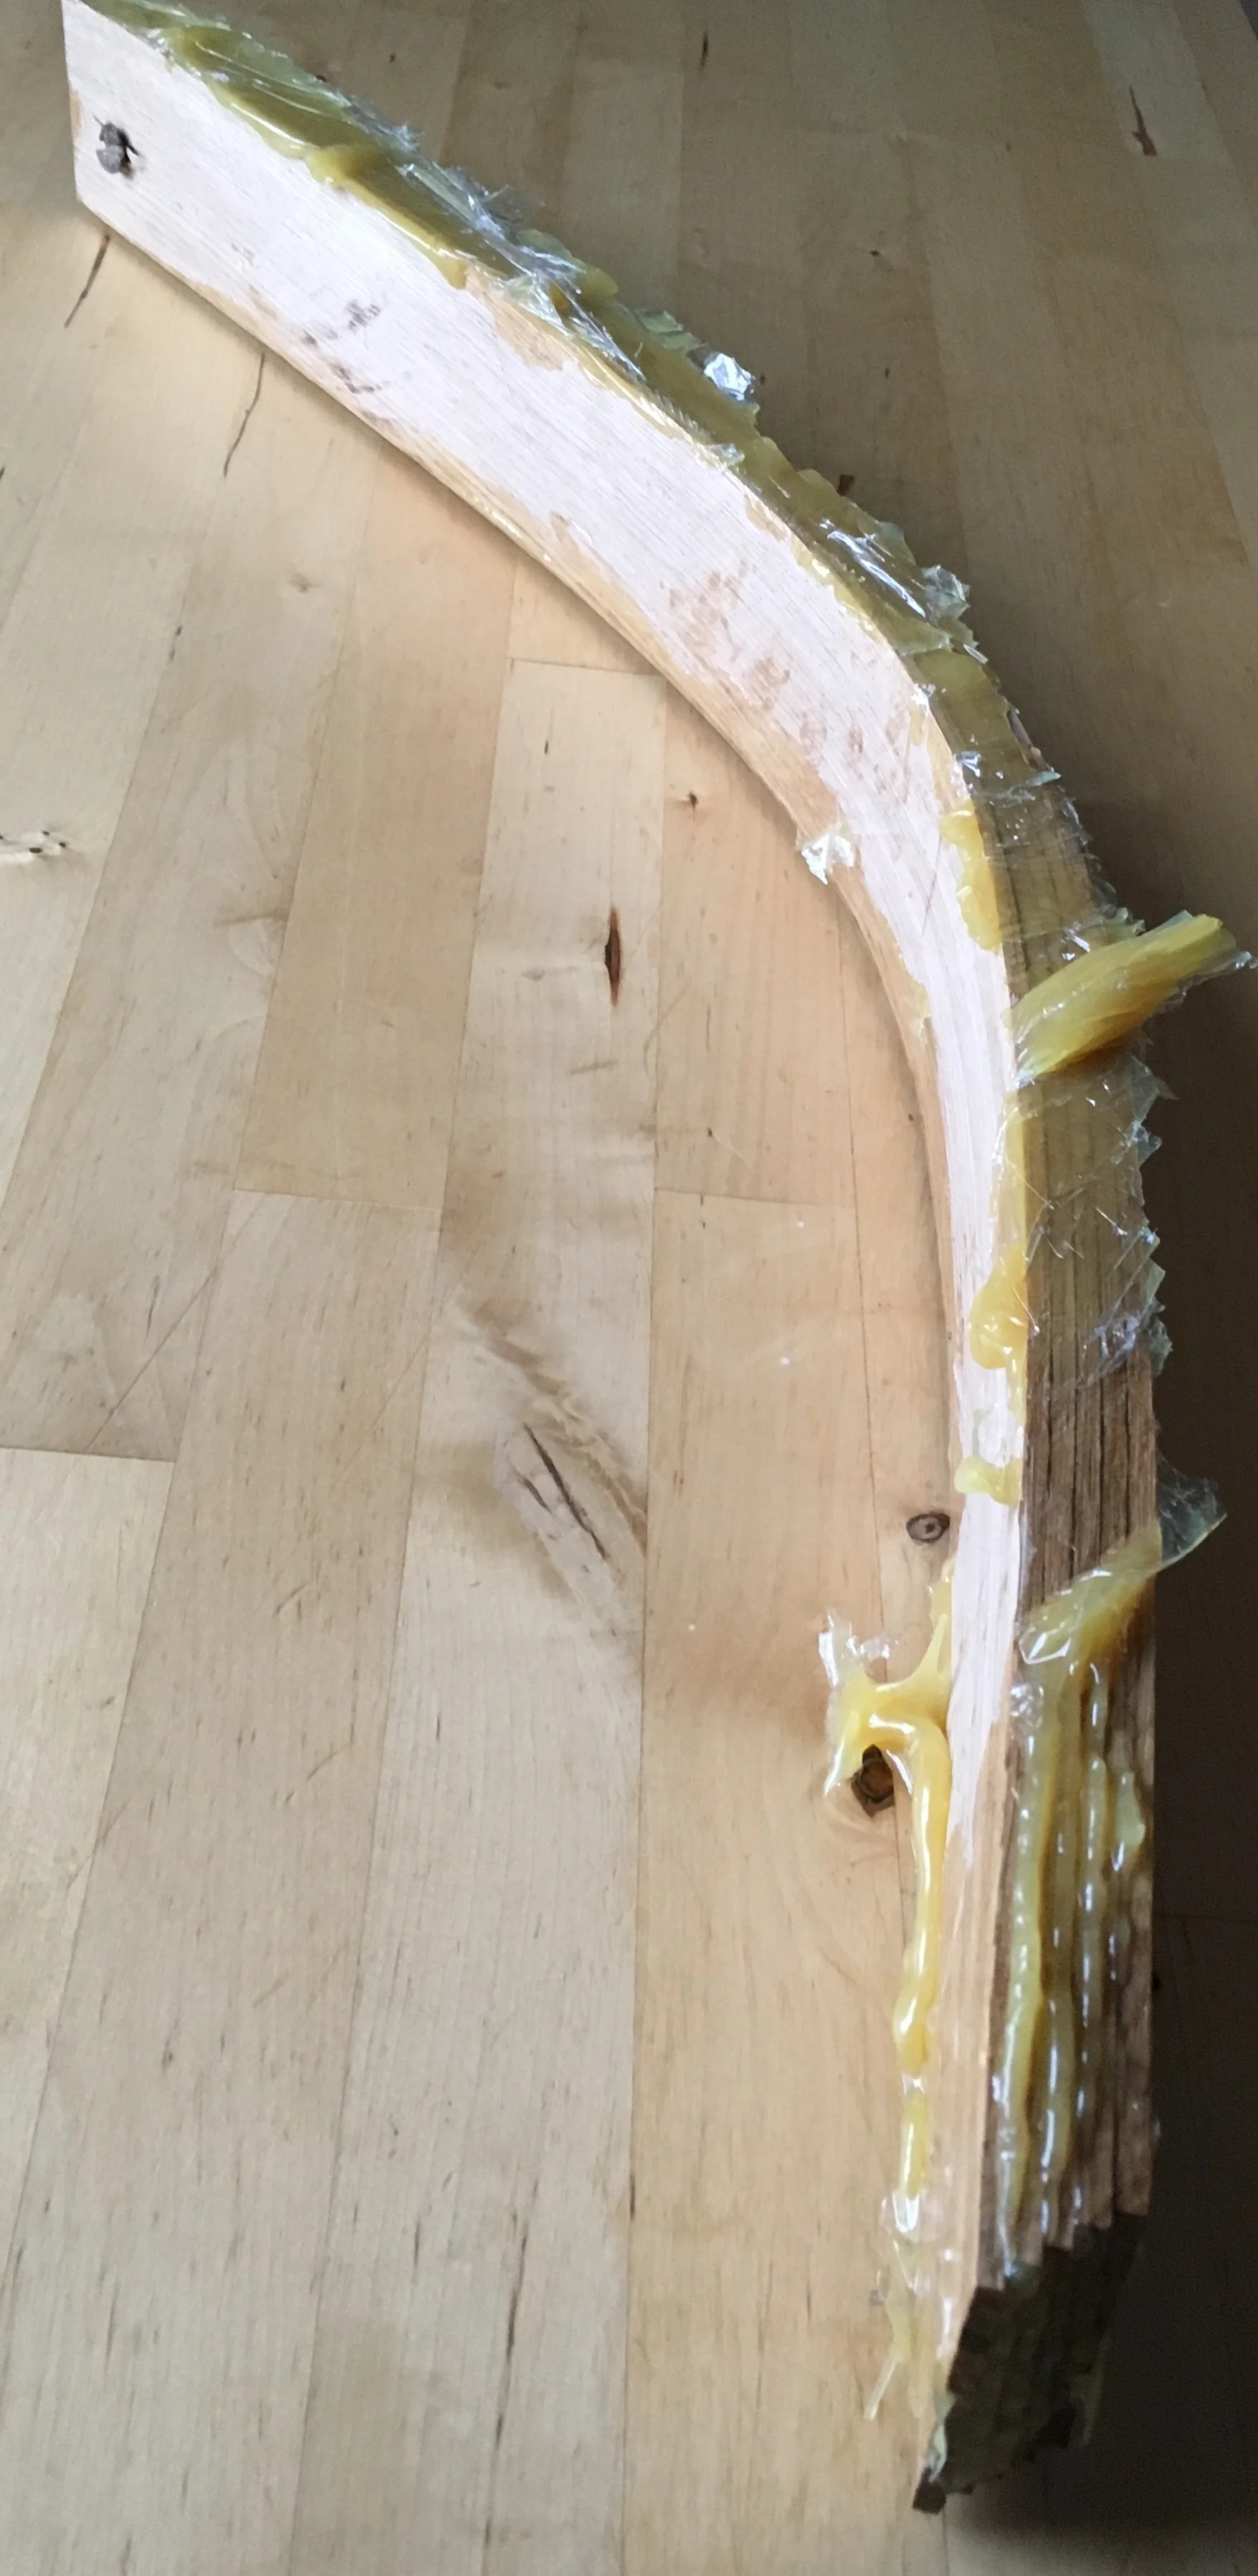
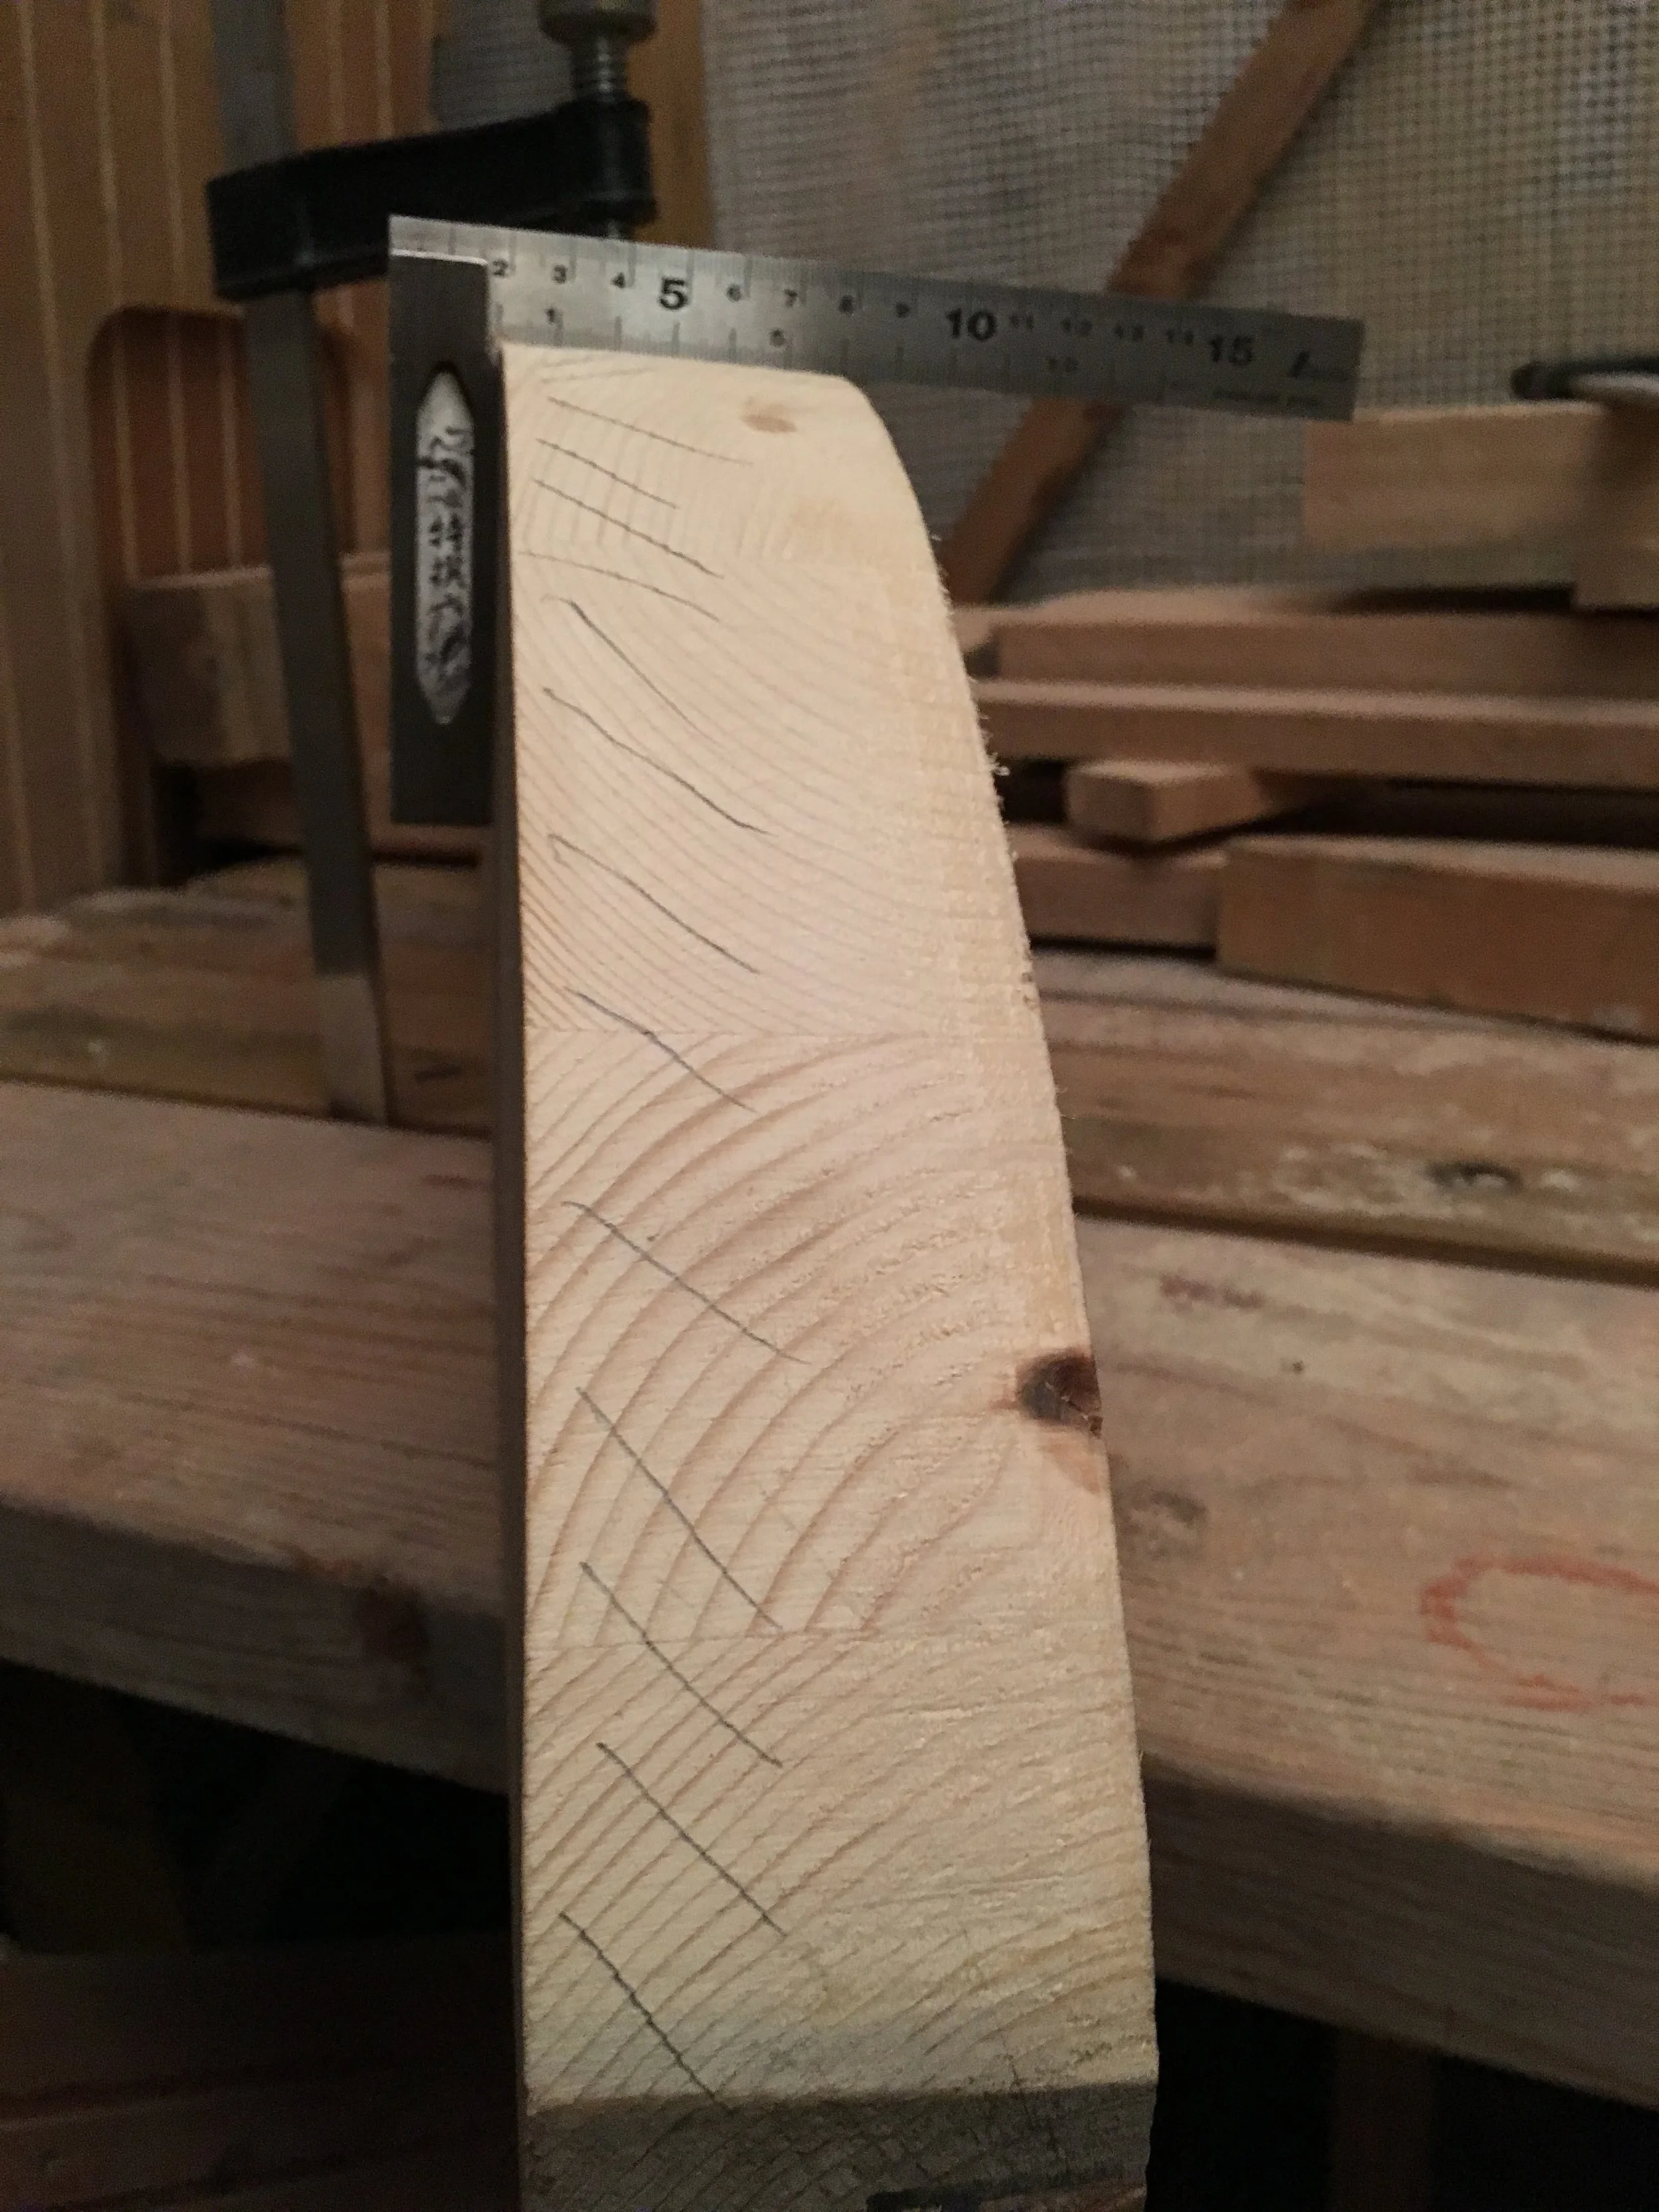
The resulting element is now skewed and has flexed back, away from the desired shape. After cleaning epoxy excess on all edges this became even more apparent. Too bad.
Lessons learned:
all jig elements, clamps and backing blocks need to be entirely covered with plastic, to prevent them from becoming a part of assembly
the jig must be strong enough to withstand forces of the complete lamination - laminating in parts is too time consuming: cleaning each sub-assembly from epoxy, clamping back together in exact position on the jig etc
too few glue joints result in flex-back, away from desired shape. Either design a curve with bigger bent than desired to accommodate a flex-back or make more glue joints in the assembly
It was also far too much glue used, resulting in excessive squeeze out and waste. I have found afterwards a good way of controlling the amount of used epoxy with the method described by Louis in this video:
So the same night I went to boatyard to make a custom jig and cut some more oak strips for new lamination. The resulting strong-back should do the job in one run.
I payed much attention to make it square as this will influence if the resulting lamination will be free from twist.
A dry run has shown that my el-cheapo, Biltema clamps are not up to the job - I destroyed 4 of them in attempt to bend all seventeen, 4,5mm thick strips at once. Huge forces are in play here.
Quick trip to profs shop round the corner and I came back with super-strong cast-iron clamp. Unfortunately it is also super expensive so I could afford only one. Will have to suffice.
Since I was now able to bend all parts to almost the desired shape - and the jig show no signs of failure - I figured that I’m ready to go.
During actual gluing the forces will be much lower as friction between the strips will be eliminated by creamy epoxy.
Mixing glue and spreading on all 34 faces took me entire evening. One should not mix too much epoxy at once as it can cure too quickly, leaving no time to spread it. I made it in 5 batches. Messy job.
To further slow it down from too quick kicking off I was working with windows wide open, yielding sub 7 C temperature in the room.
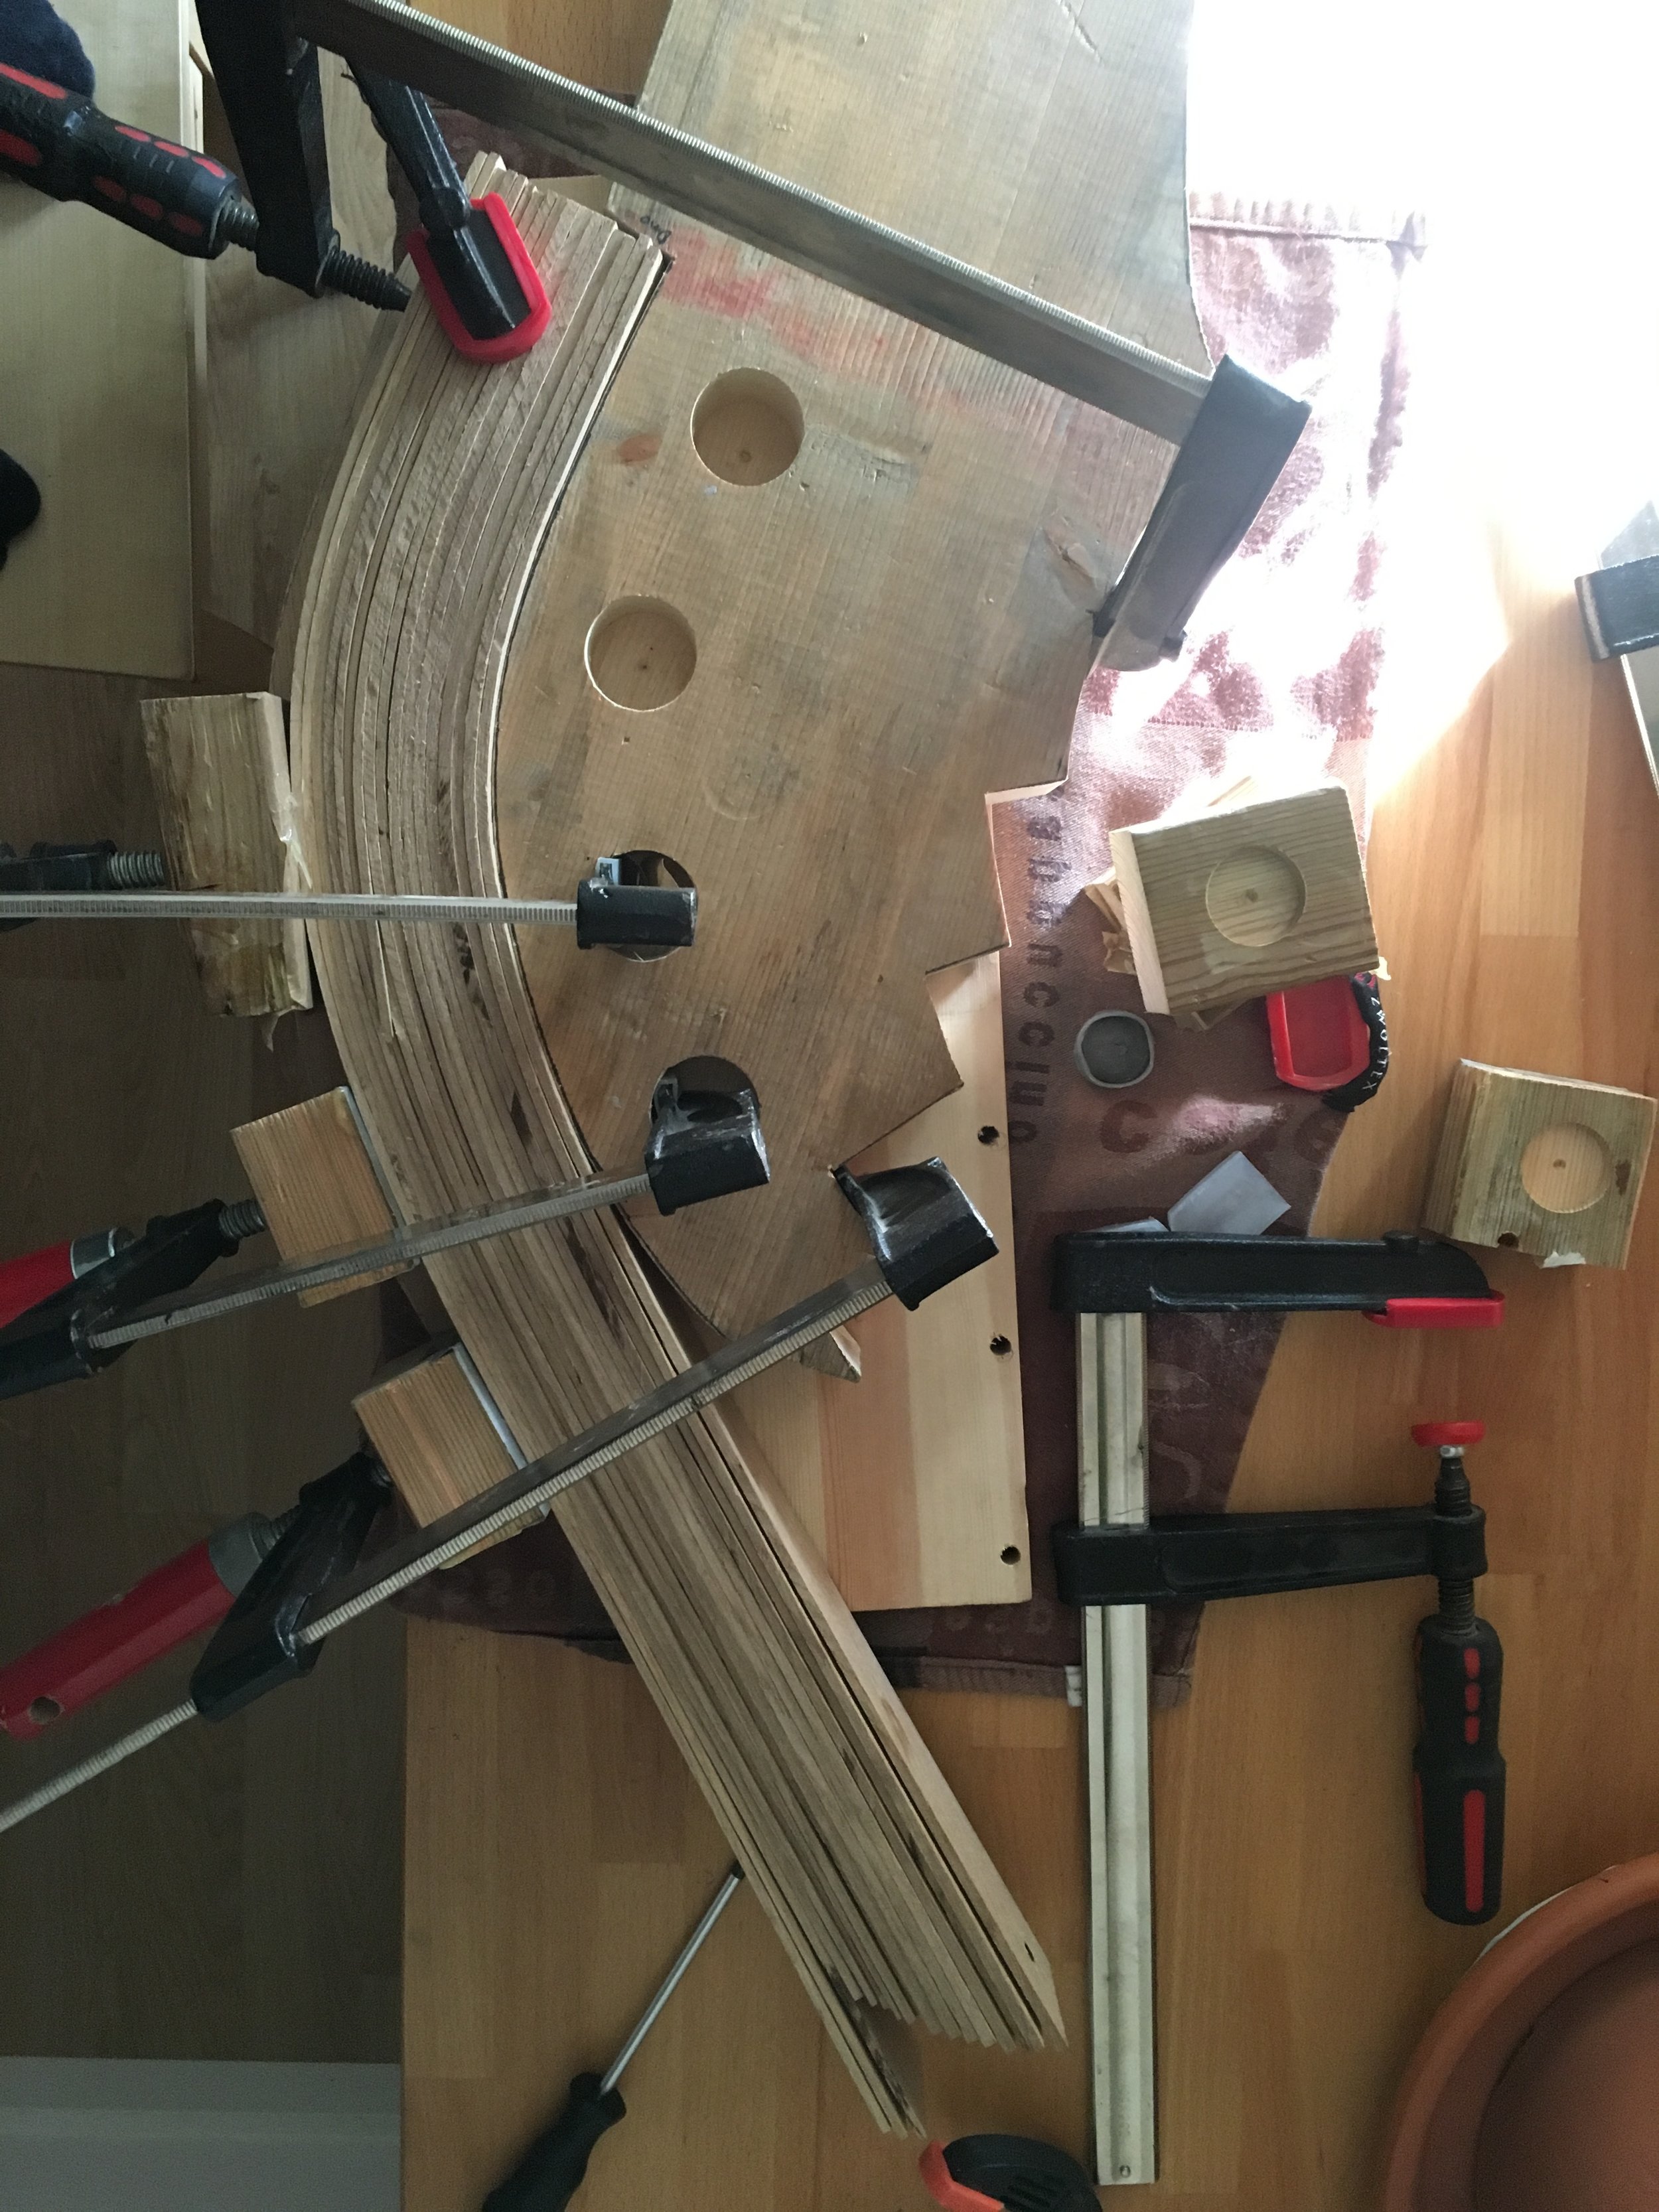
As a locating guide I used copper rivet which held all strips on one end, inhibiting them from sliding away from each other during clamping and bending.
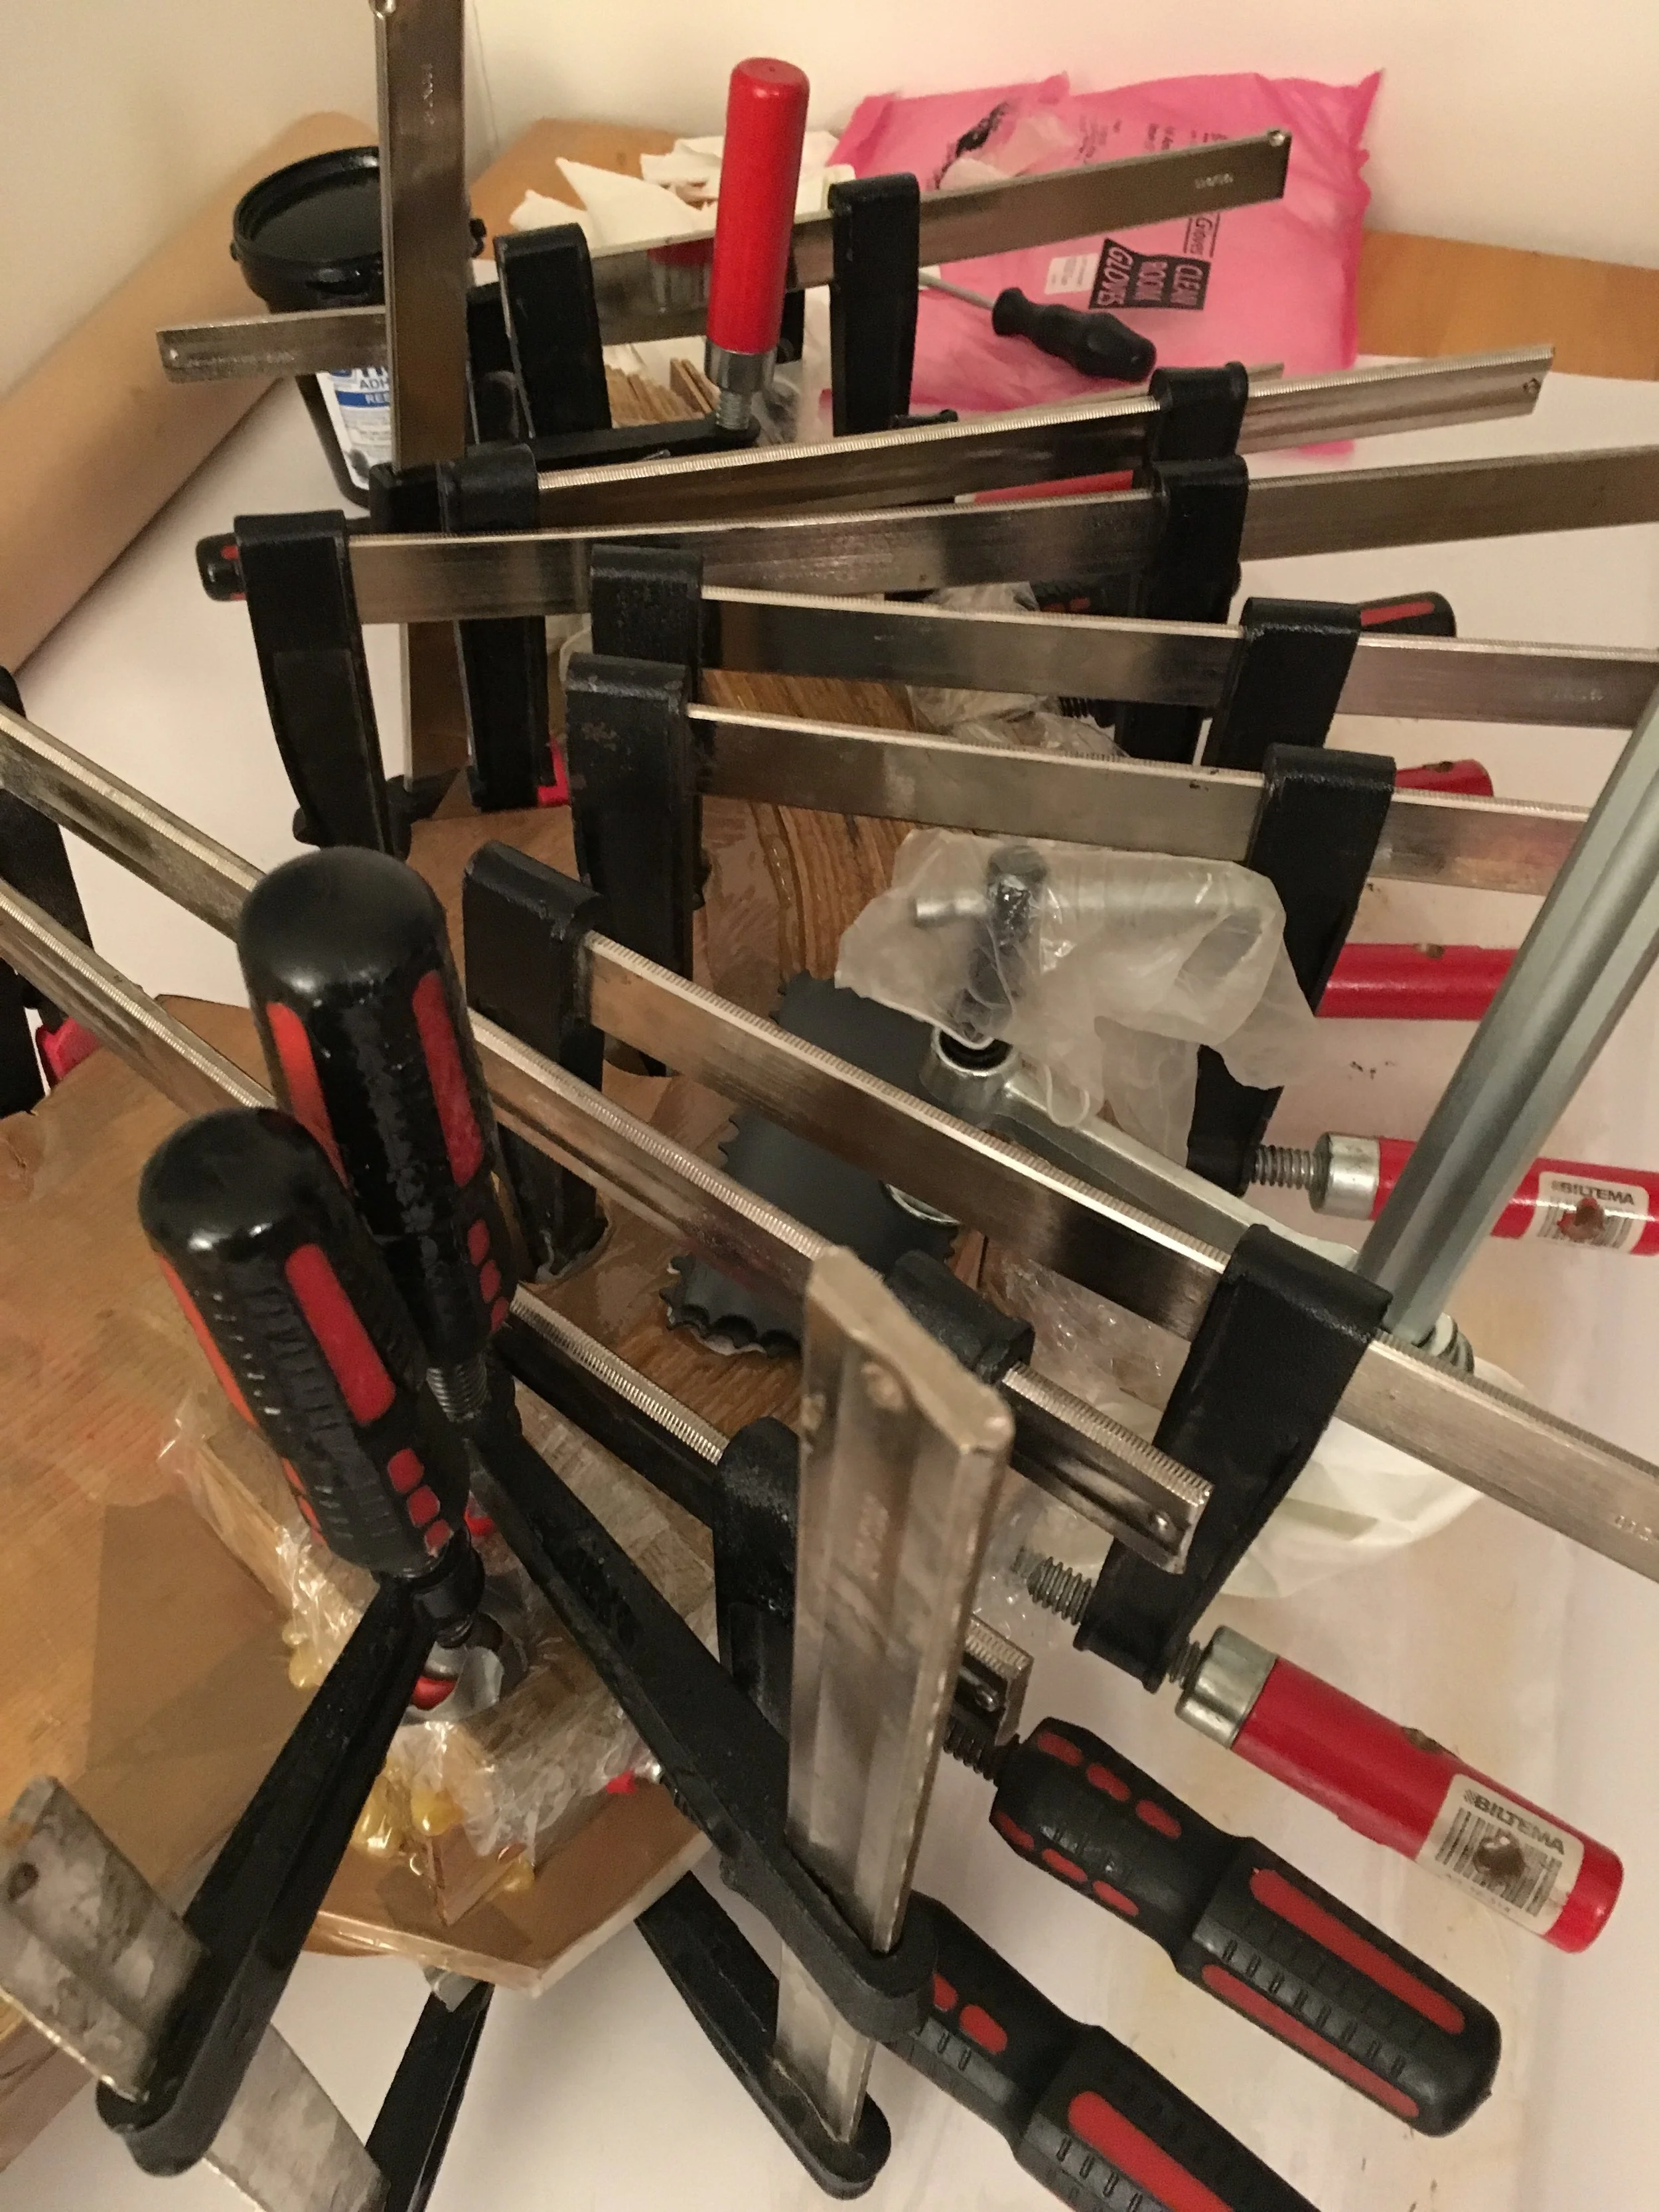
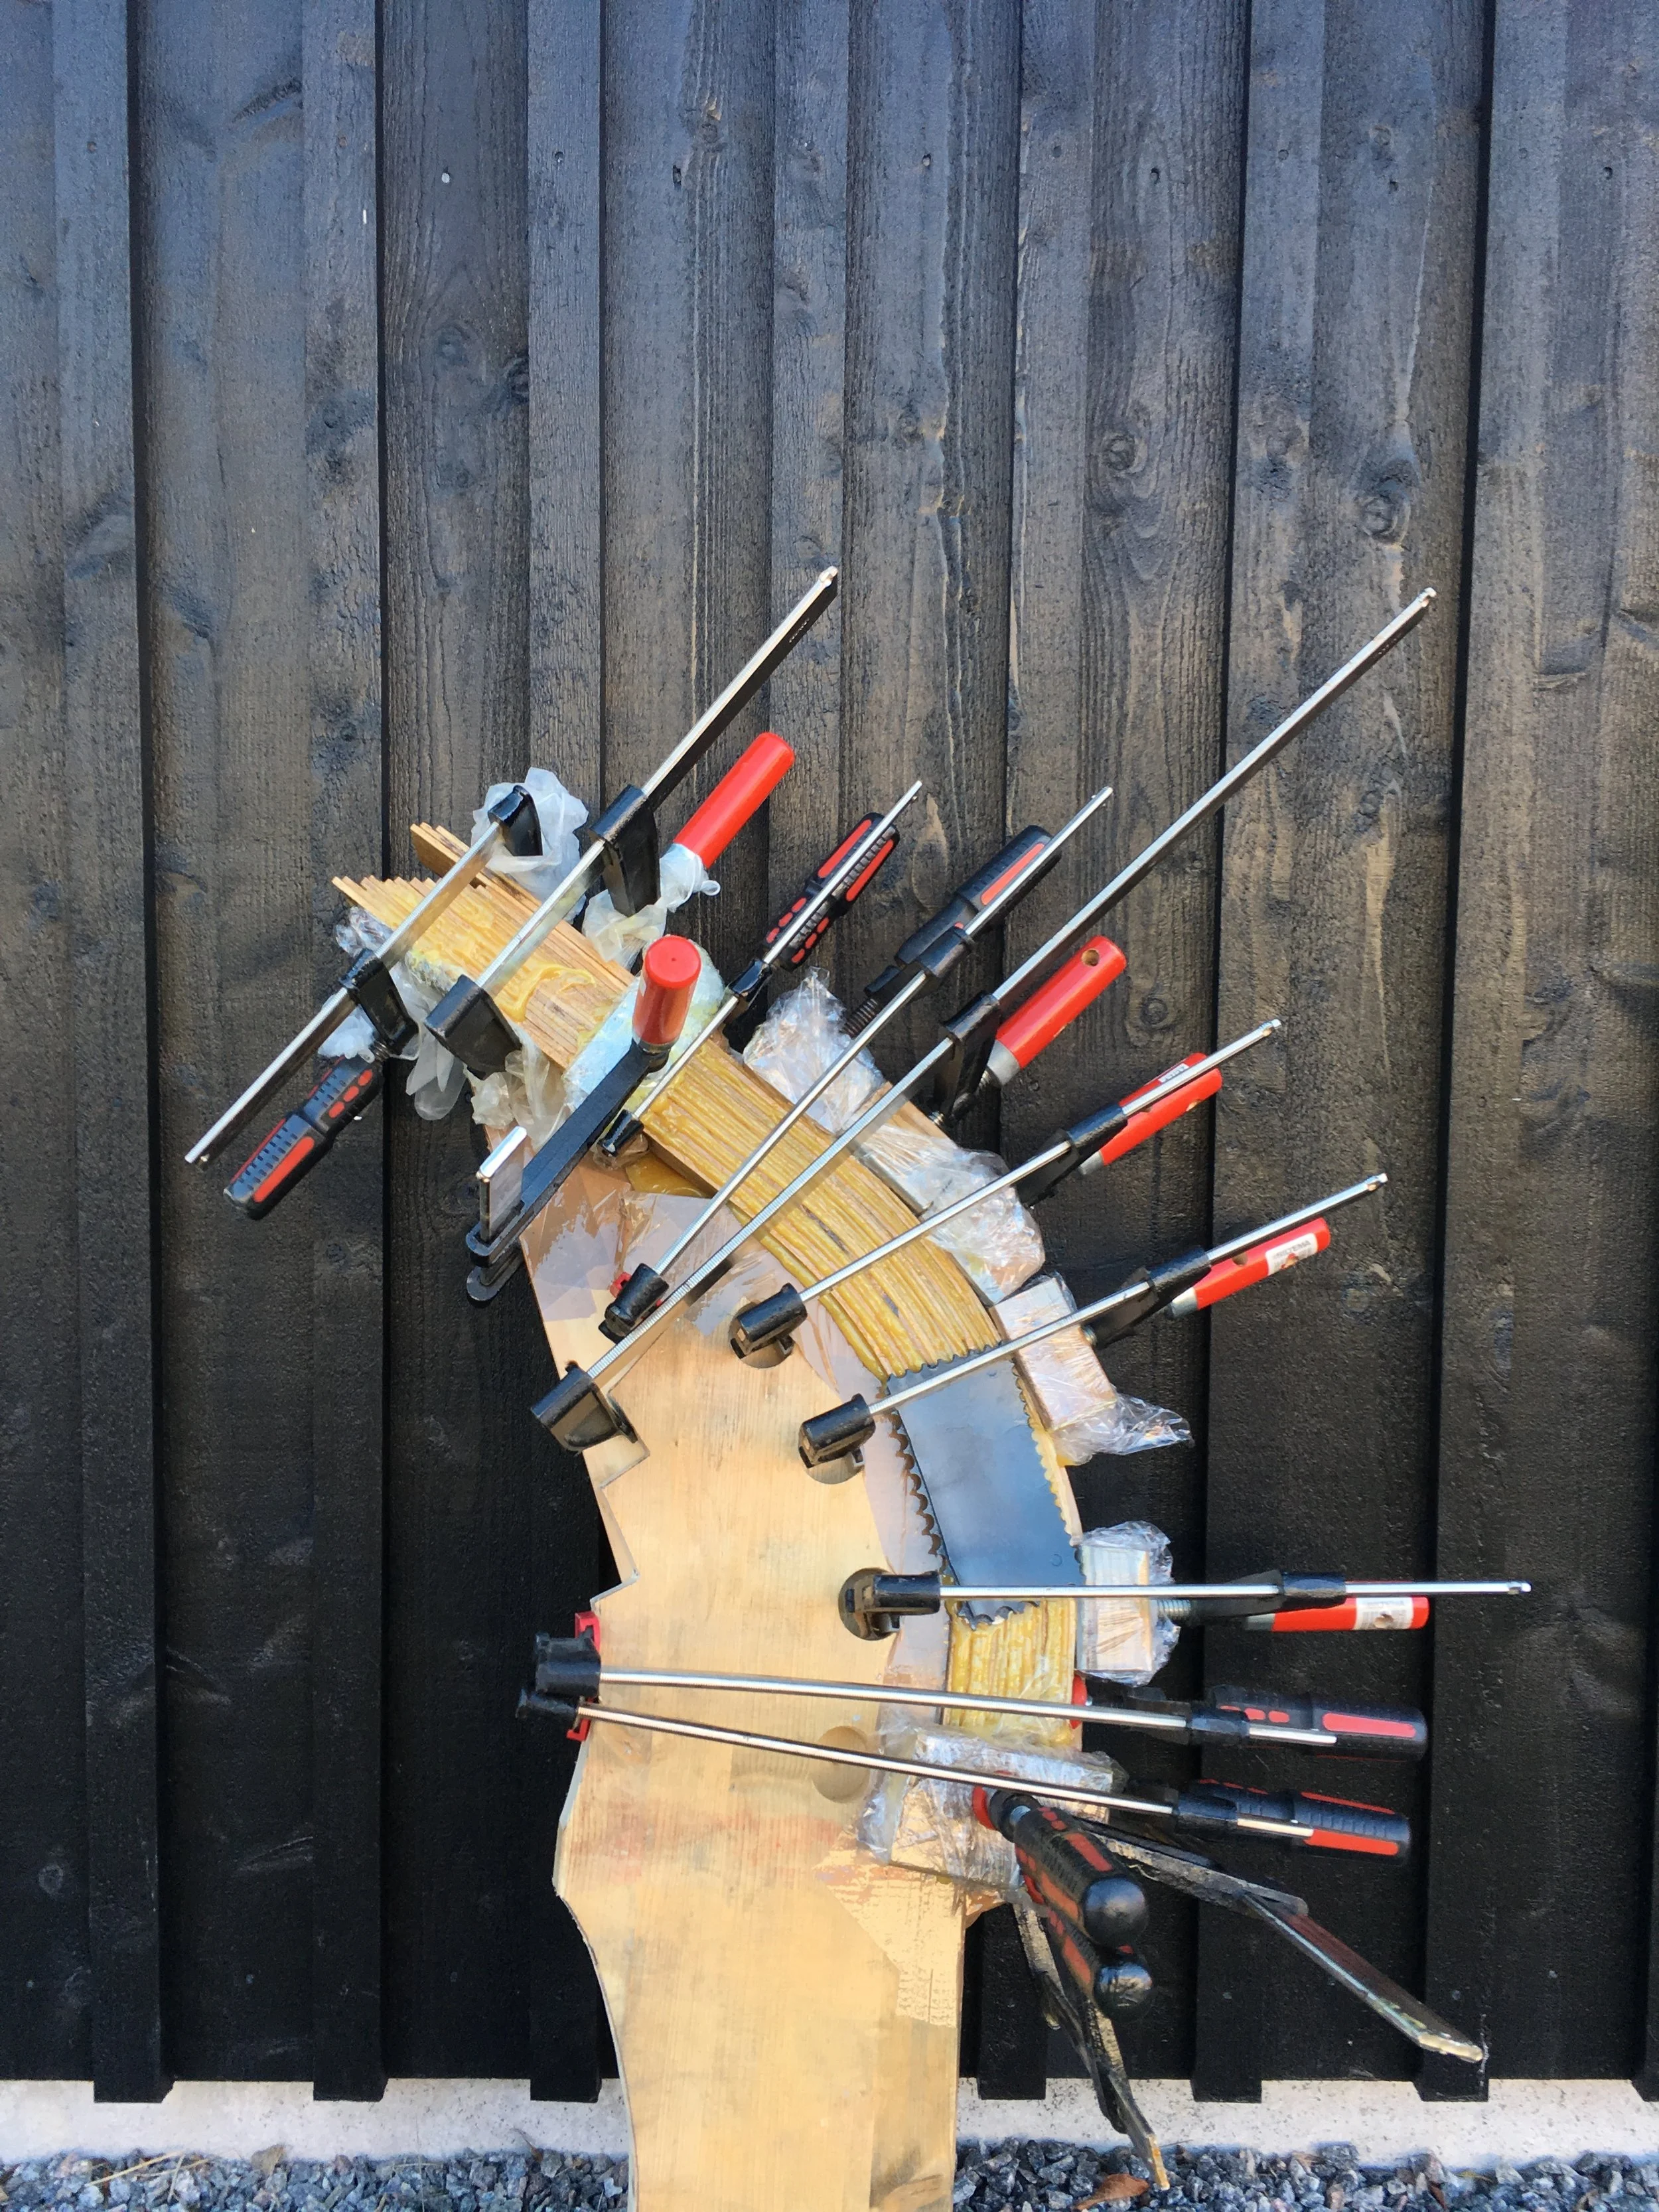
This time the whole jig was protected with plastic. The squeeze out was also limited, thanks to Louis’ method of spreading it. And as usual - one never has too many clamps - I’ve used all mine during this assembly.
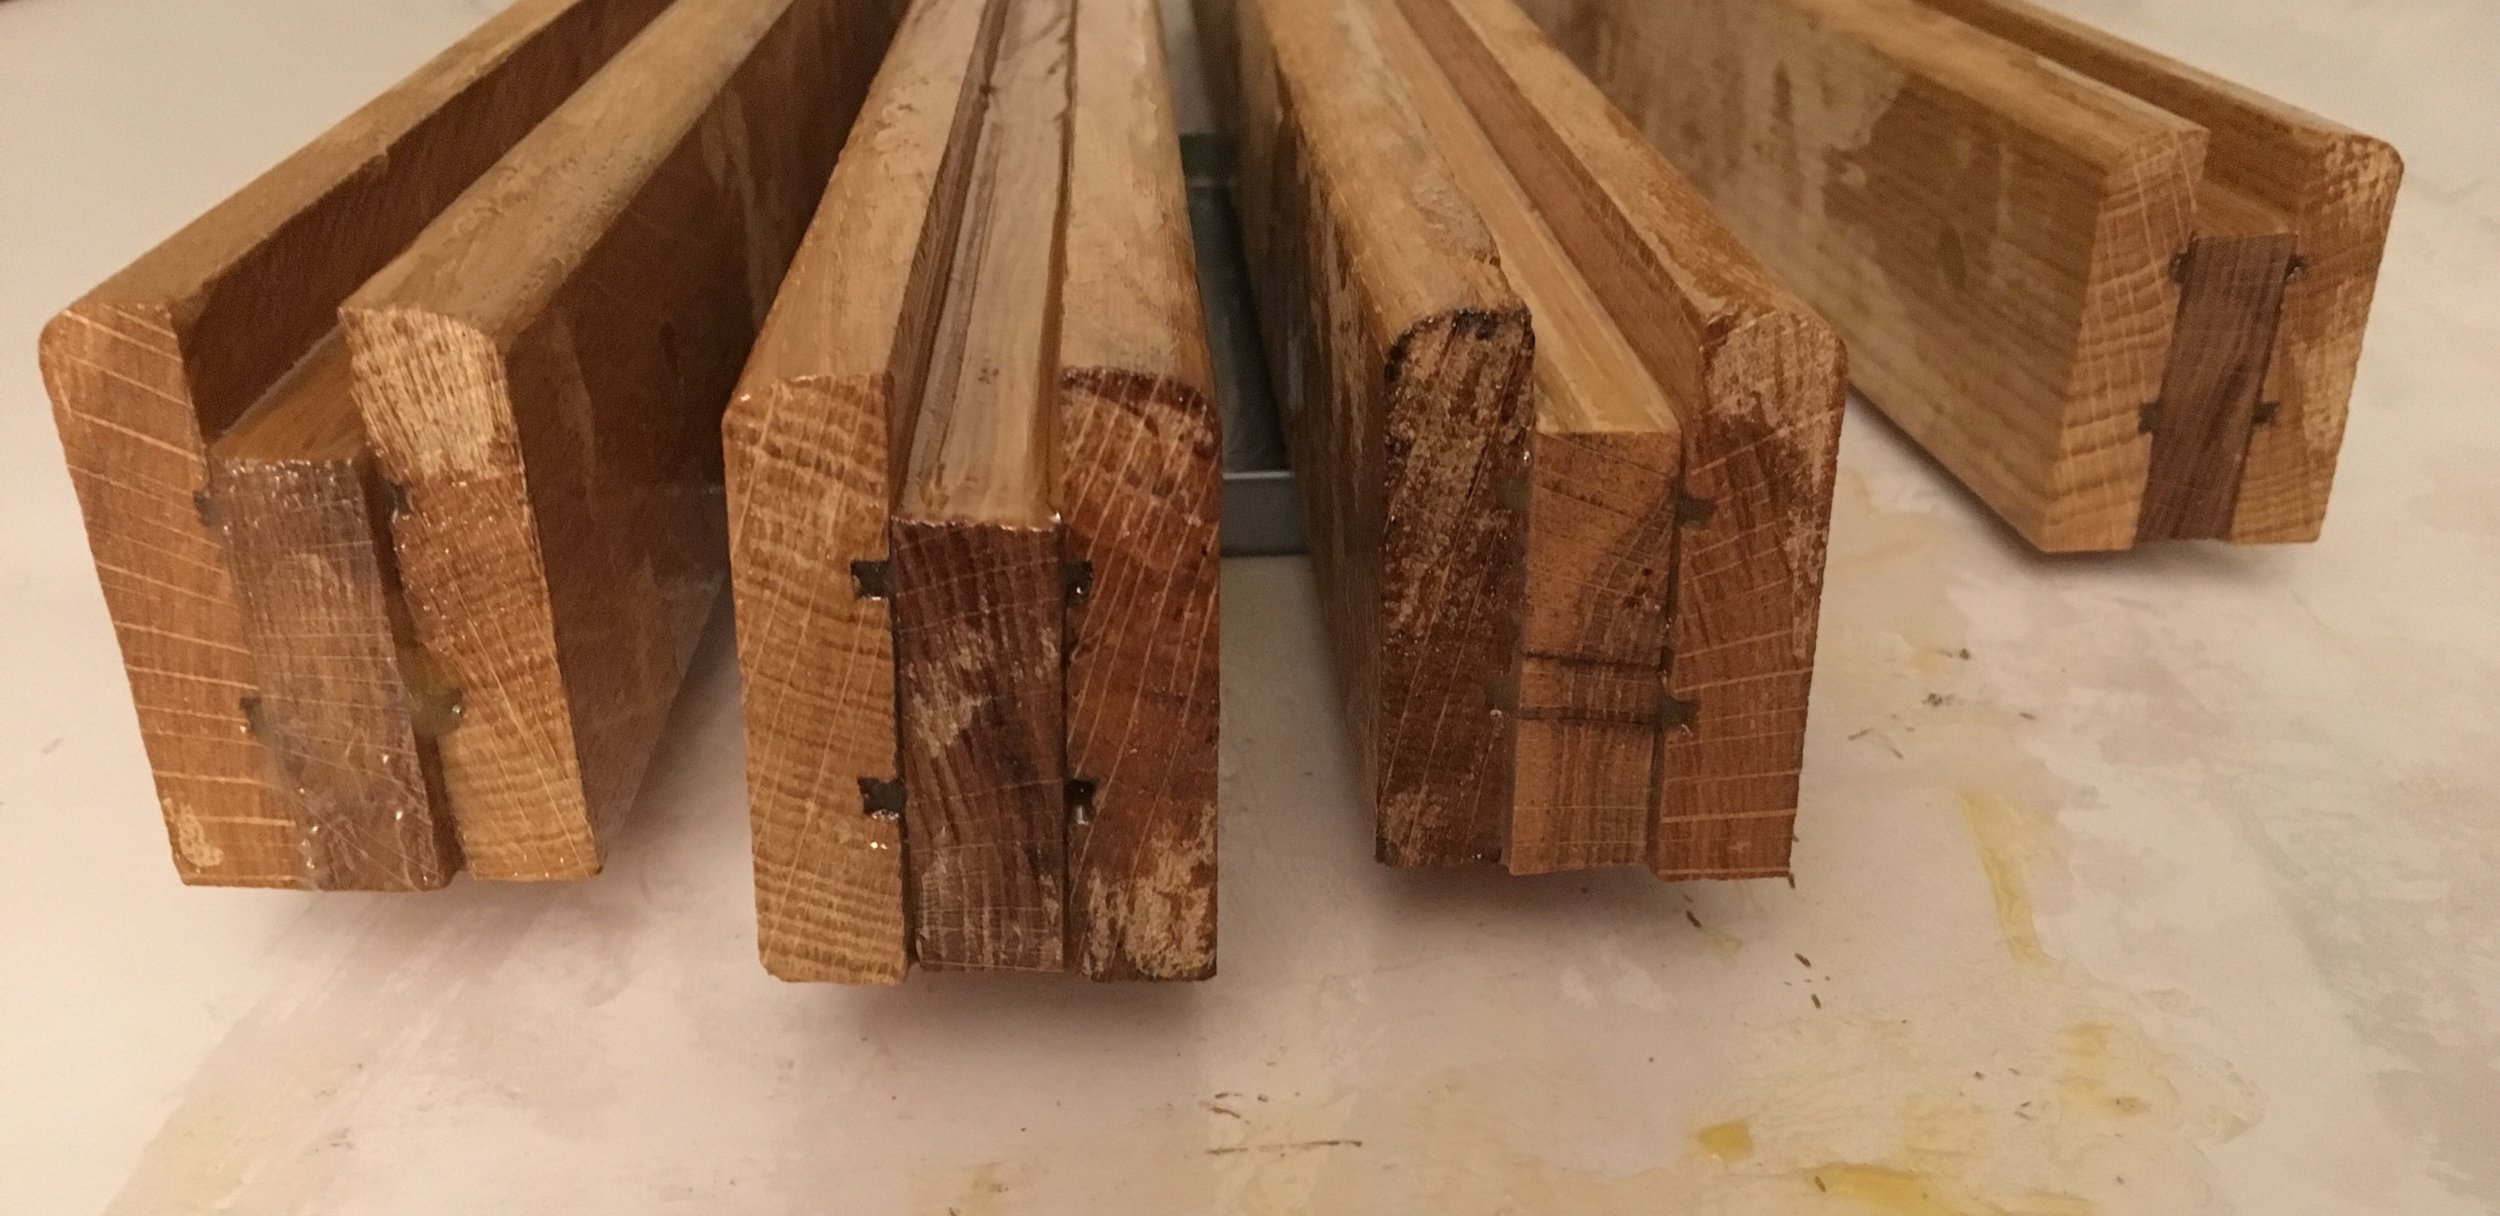
To further utilise squeezed out glue I’ve laminated cross members for cockpit floor construction. I did not use clamps for them - I had none left - so brass screws were used instead. They will stay in place forever, covered entirely with epoxy.
Late into the night I was finally done. I’ve left the assembly for curing overnight.
The next day I took the whole thing to my workshop to remove clamps and backing blocks.
Free from the jig I could load the assembly into car and drove to boatyard workshop for the messy part - cleaning all the excess epoxy.
Respiratory and hearing protection during this stage is a must: lots of noise and smelly dust.
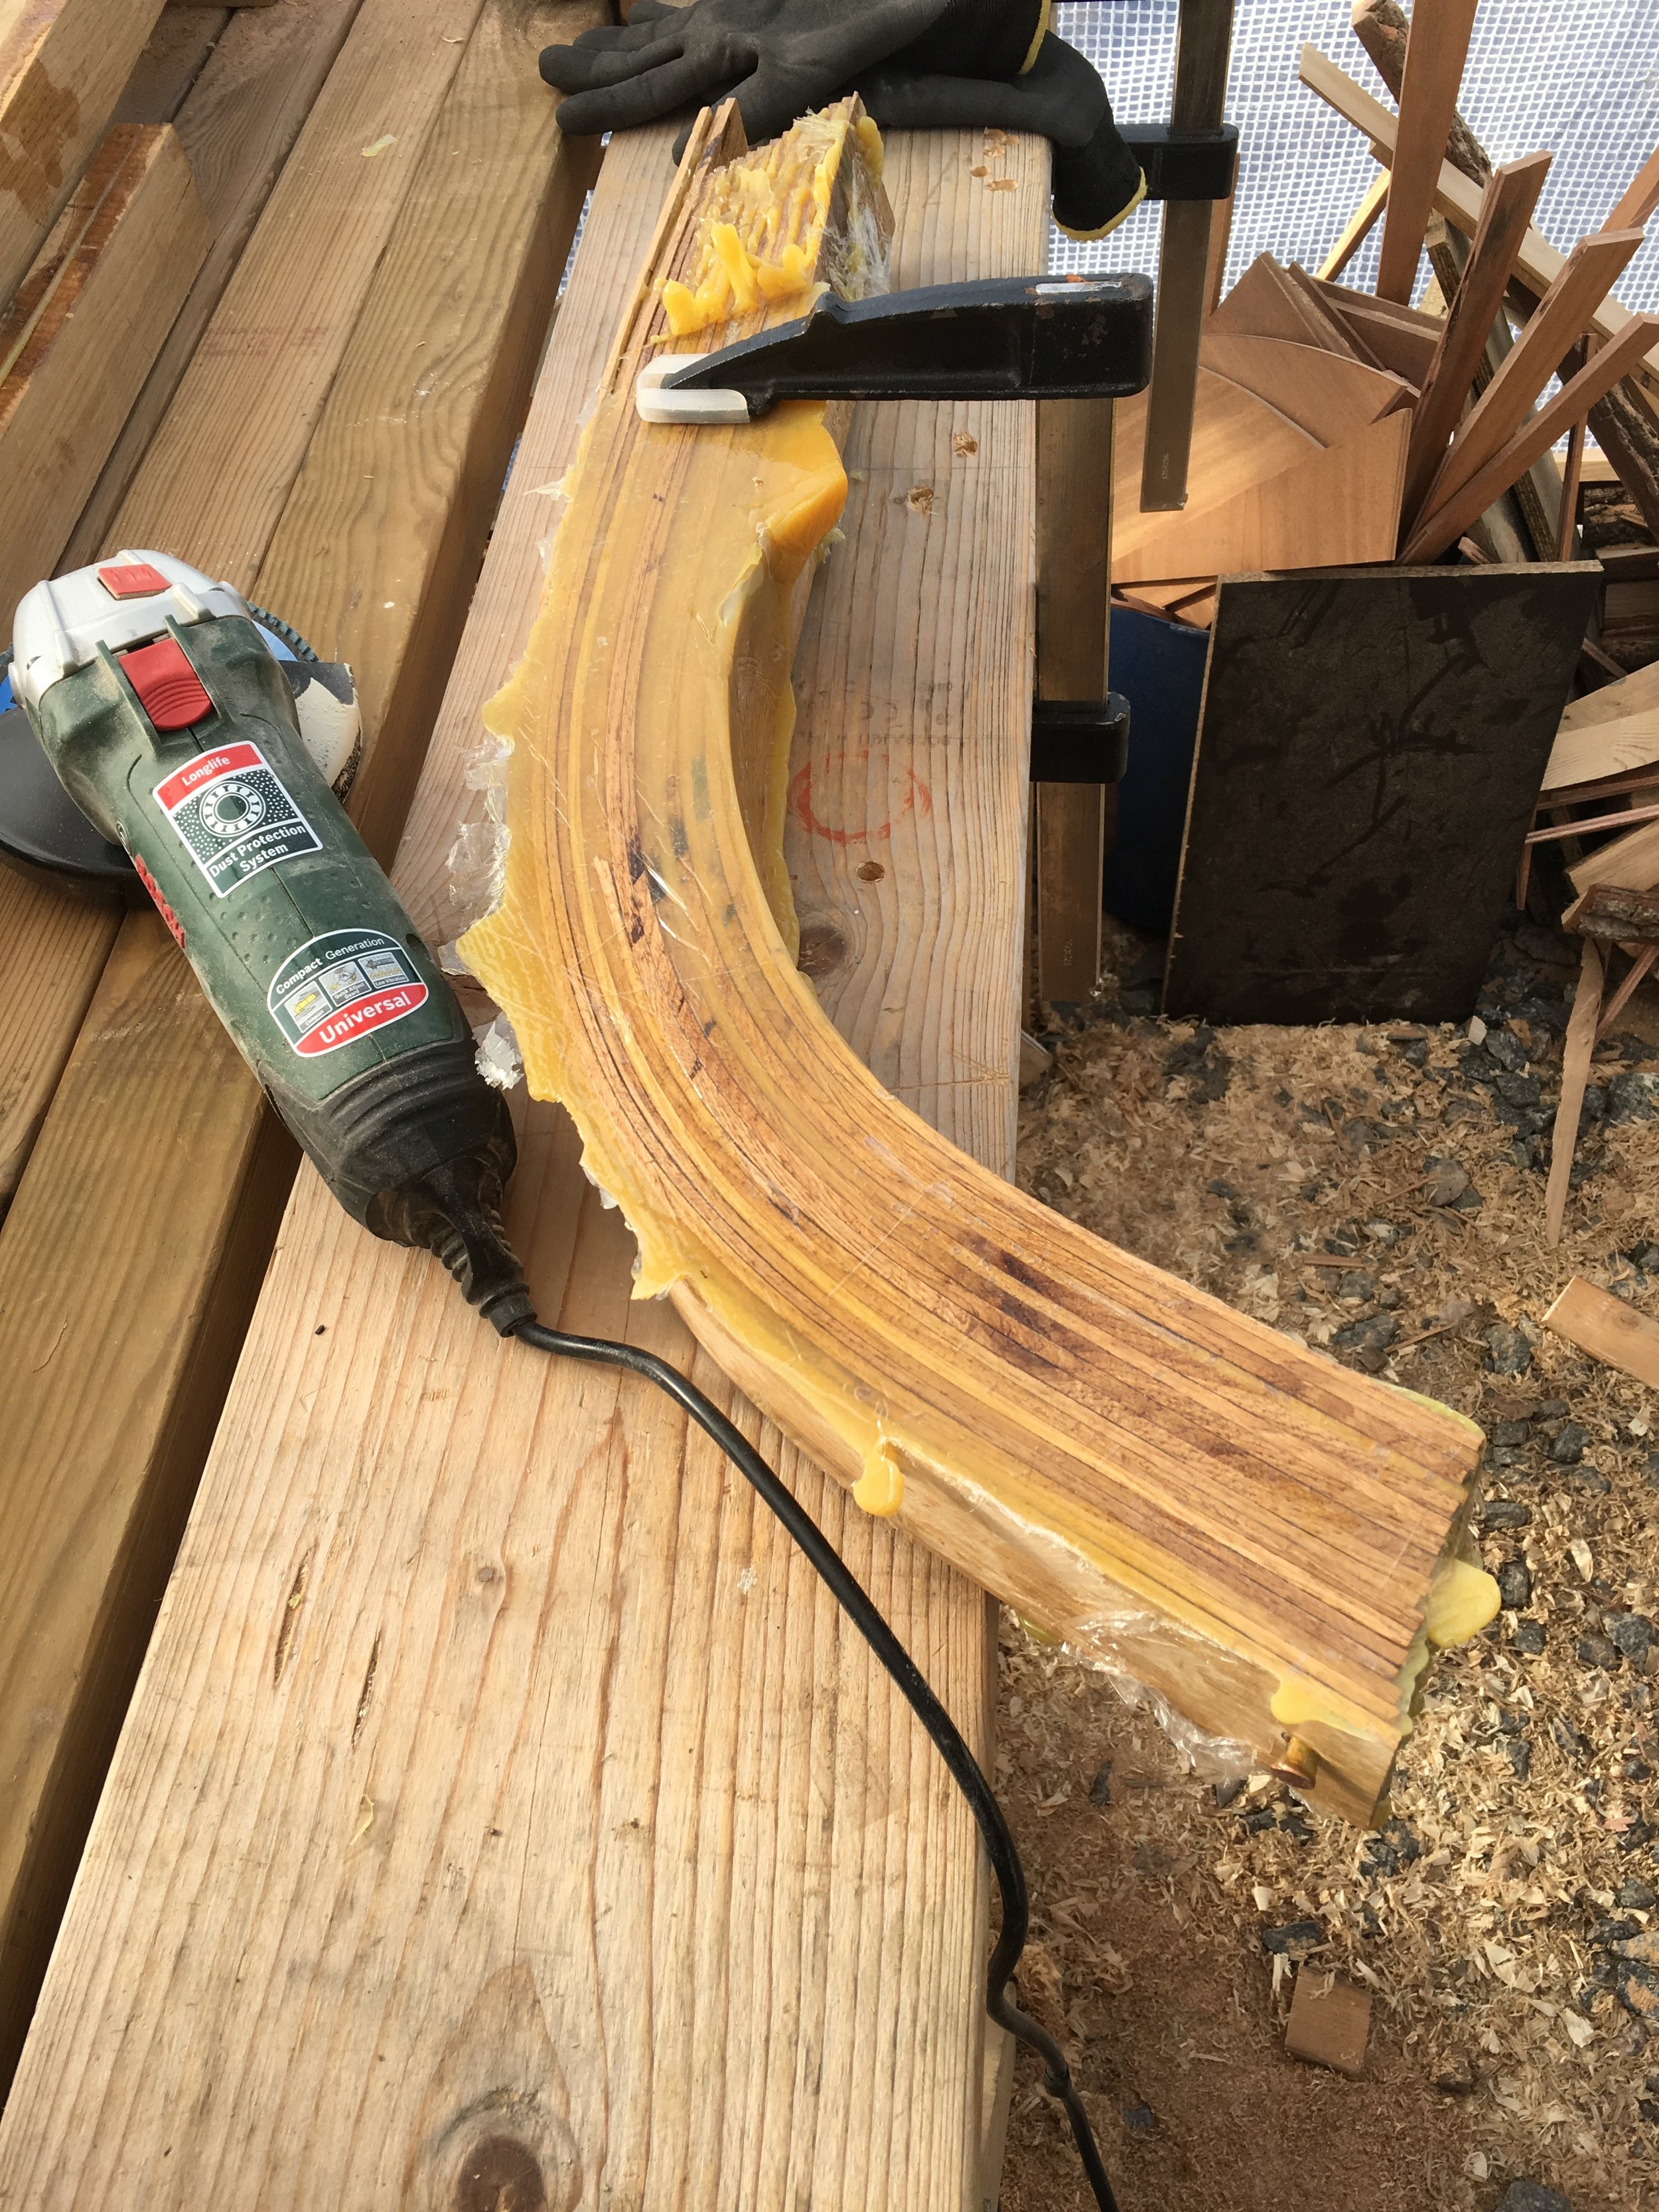
Now the part is ready for final shaping on the boat.
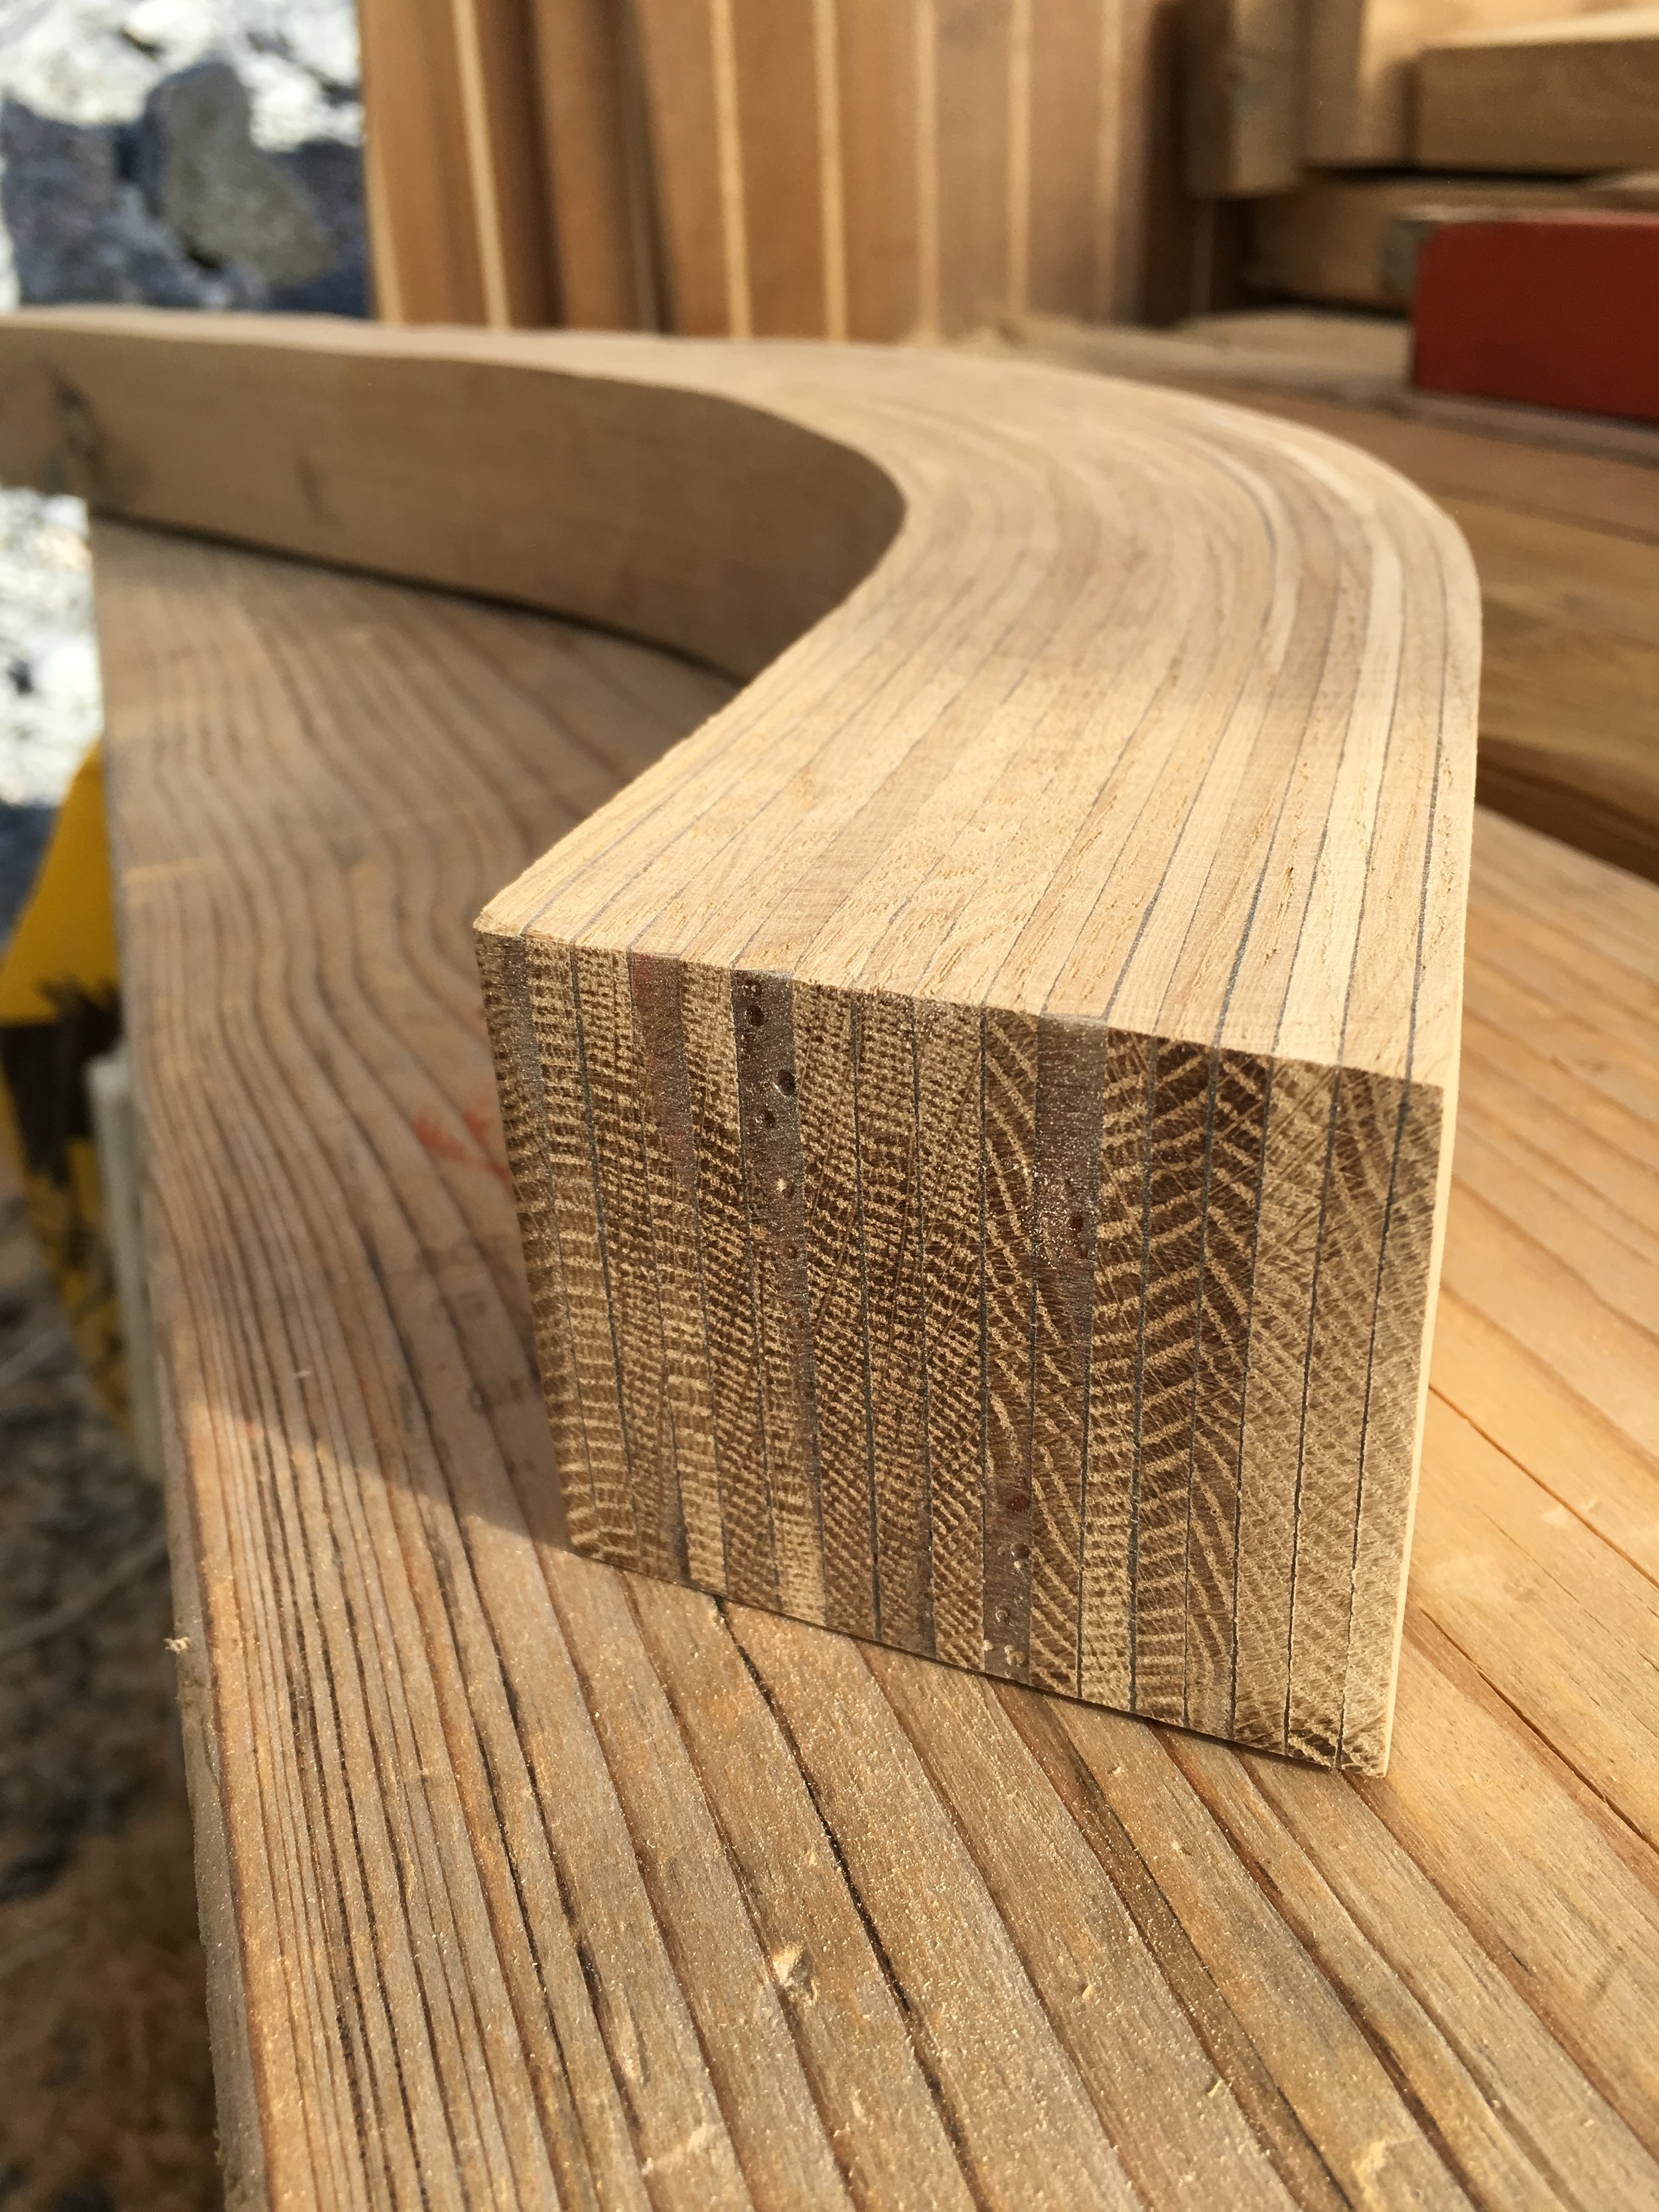
There is no or very little flex-back in this component, neither twist. I’ve made it almost 20mm too wide and far too long for the actual need. This is to accommodate any mis-shaping or slight twist during epoxy stage and to have more room for manoeuvre when I will shape it to fit old, laminated and broken frame.
Next step is to remove all broken wood from the frame and to shape the scarf. It should have at least 3 rivets on each glued end for maximum strength and reliability. With so long lamination I will try to make it 4 rivets per side. Offcuts from this assembly - and the first failed gluing attempt - will be used for repairing smaller frames which are originally steam-bent oak.