

Meritaten
After I bought her it took only one night to wake up with her new name.
I didn’t like her current name and there was nothing which would prohibit changing it. After all - I’m little bit superstitious and there are countless tales of boats sinking after their names were changed. Take it with a bit of salt (no pun intended).
There are some points which would prohibit the superstitious mariner from just doping his boat without tedious procedures. Meritaten did not fill any of these points:
she did not have a name plate on her
no item on or in her was bearing her name
current owner (me) did not like the way she was called
Why Meritaten? Go figure, it’s my secret. You can ask Google about Meritaten statue in Carlsberg Glyptotek in Copenhagen. That can give you a hint.
Anyway - when Christer bought her 30 years ago the descending owner took home her name plates. She was called Puh at that time. When she was built she was doped Dove. Very nice name and nicely matching her shapes. Almost like Meritaten.
Well, the place after the name plates was very visible - with different shade of mahogny, dark holes after screws etc. Christer was in pain so Janne (who built her with his father) has fabricated mahogny boards, bent to her shape. They were raw, requiring final shaping and putting lettering.
“Acarina” was Christer’s name for her. It took him 30 years to not doing that. In the end I got the raw plates with the boat.
I could not be happier!
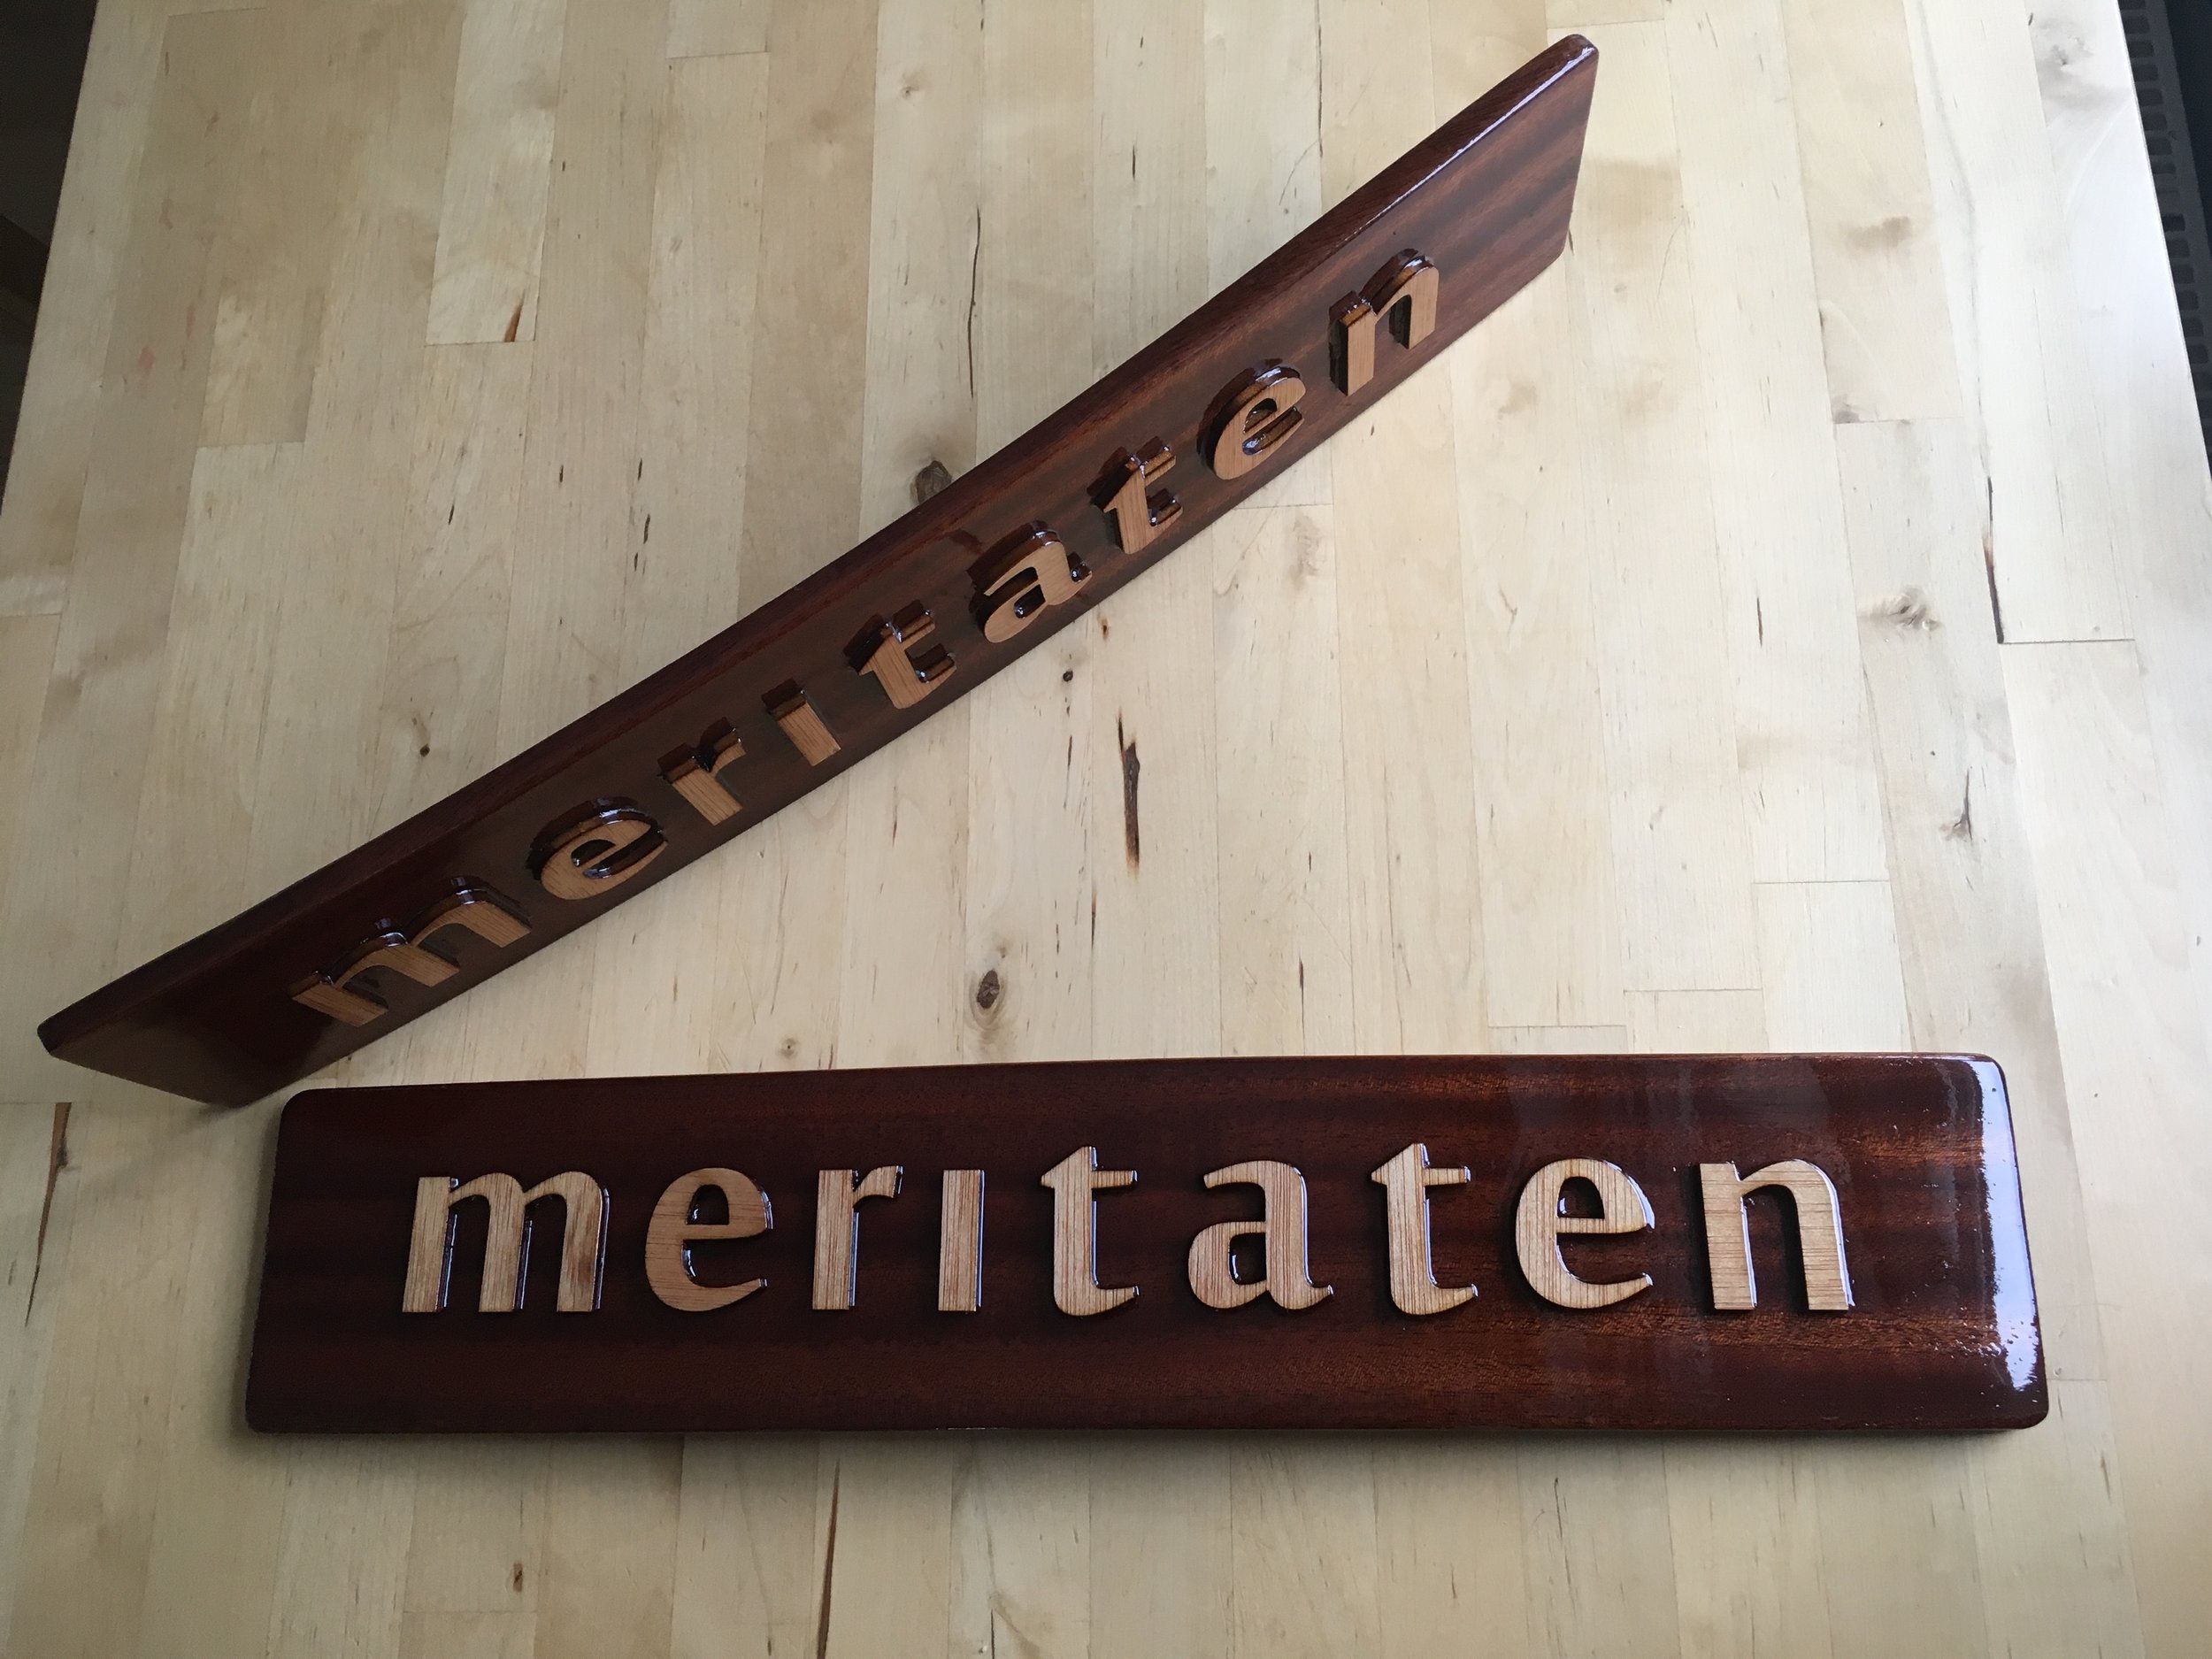
Instead of carving the letters into mahogny I’ve decided to glue laser-cut letters which I’ve ordered in Barcelona, during a short trip. They are cut from balsa plywood. I like the technical font (I chose it after all) and the way they are modern (typography) but traditional (wood, mahogny).
First step was to shape the boards. Again, I’ve chosen not to shape them in traditional, ornamental way but to keep them simple.
Then came the hard part - how to space letters… It took me almost 3 minutes to decide…

After dry fitting the fun began.
The plates were covered with 3 layers of West System epoxy, wet-on-wet. On the last layer I’ve glued the letters which also got 3 layers of penetrating epoxy.
After curing and washing in water with soap (amine blush) I could start varnishing the whole thing. That prove to be a nightmare - due to extruding letters it was prone to have spills of varnish which then never cured properly, forcing me to scrap bubbles and spills and restart again.
In the end thou the result is pleasing, I think.
I’ve attached the plates with 2 brass screws, with walnut washers as a distance from the hull - to prevent any dirt or water gathering behind.


