Boatworks

  • Main
  • Louve
  • Typewriters
  • Workshop
  • Meritaten
  • Glypto
  • Motoko
  • Inspirations
  • About

Warm days

May 12, 2021 by Lukasz Kumanowski

Boatyard was fully booked with launches this week so we set us on Monday 17th.
Norway’s National Day!

Last few days were hot and dry. Weather forecast promises that it is just temporary and tomorrow it should be colder again. Of course - it is long weekend here, after all. It MUST be cold and rain - good weather is reserved to workdays, when we all are occupied in our factories!

To prevent extensive wood movement due to drying I visit Meritaten everyday and run sprinklers for a while. That hopefully rises humidity under “winter dress” and keeps wood from opening gaps on planks’ seams.

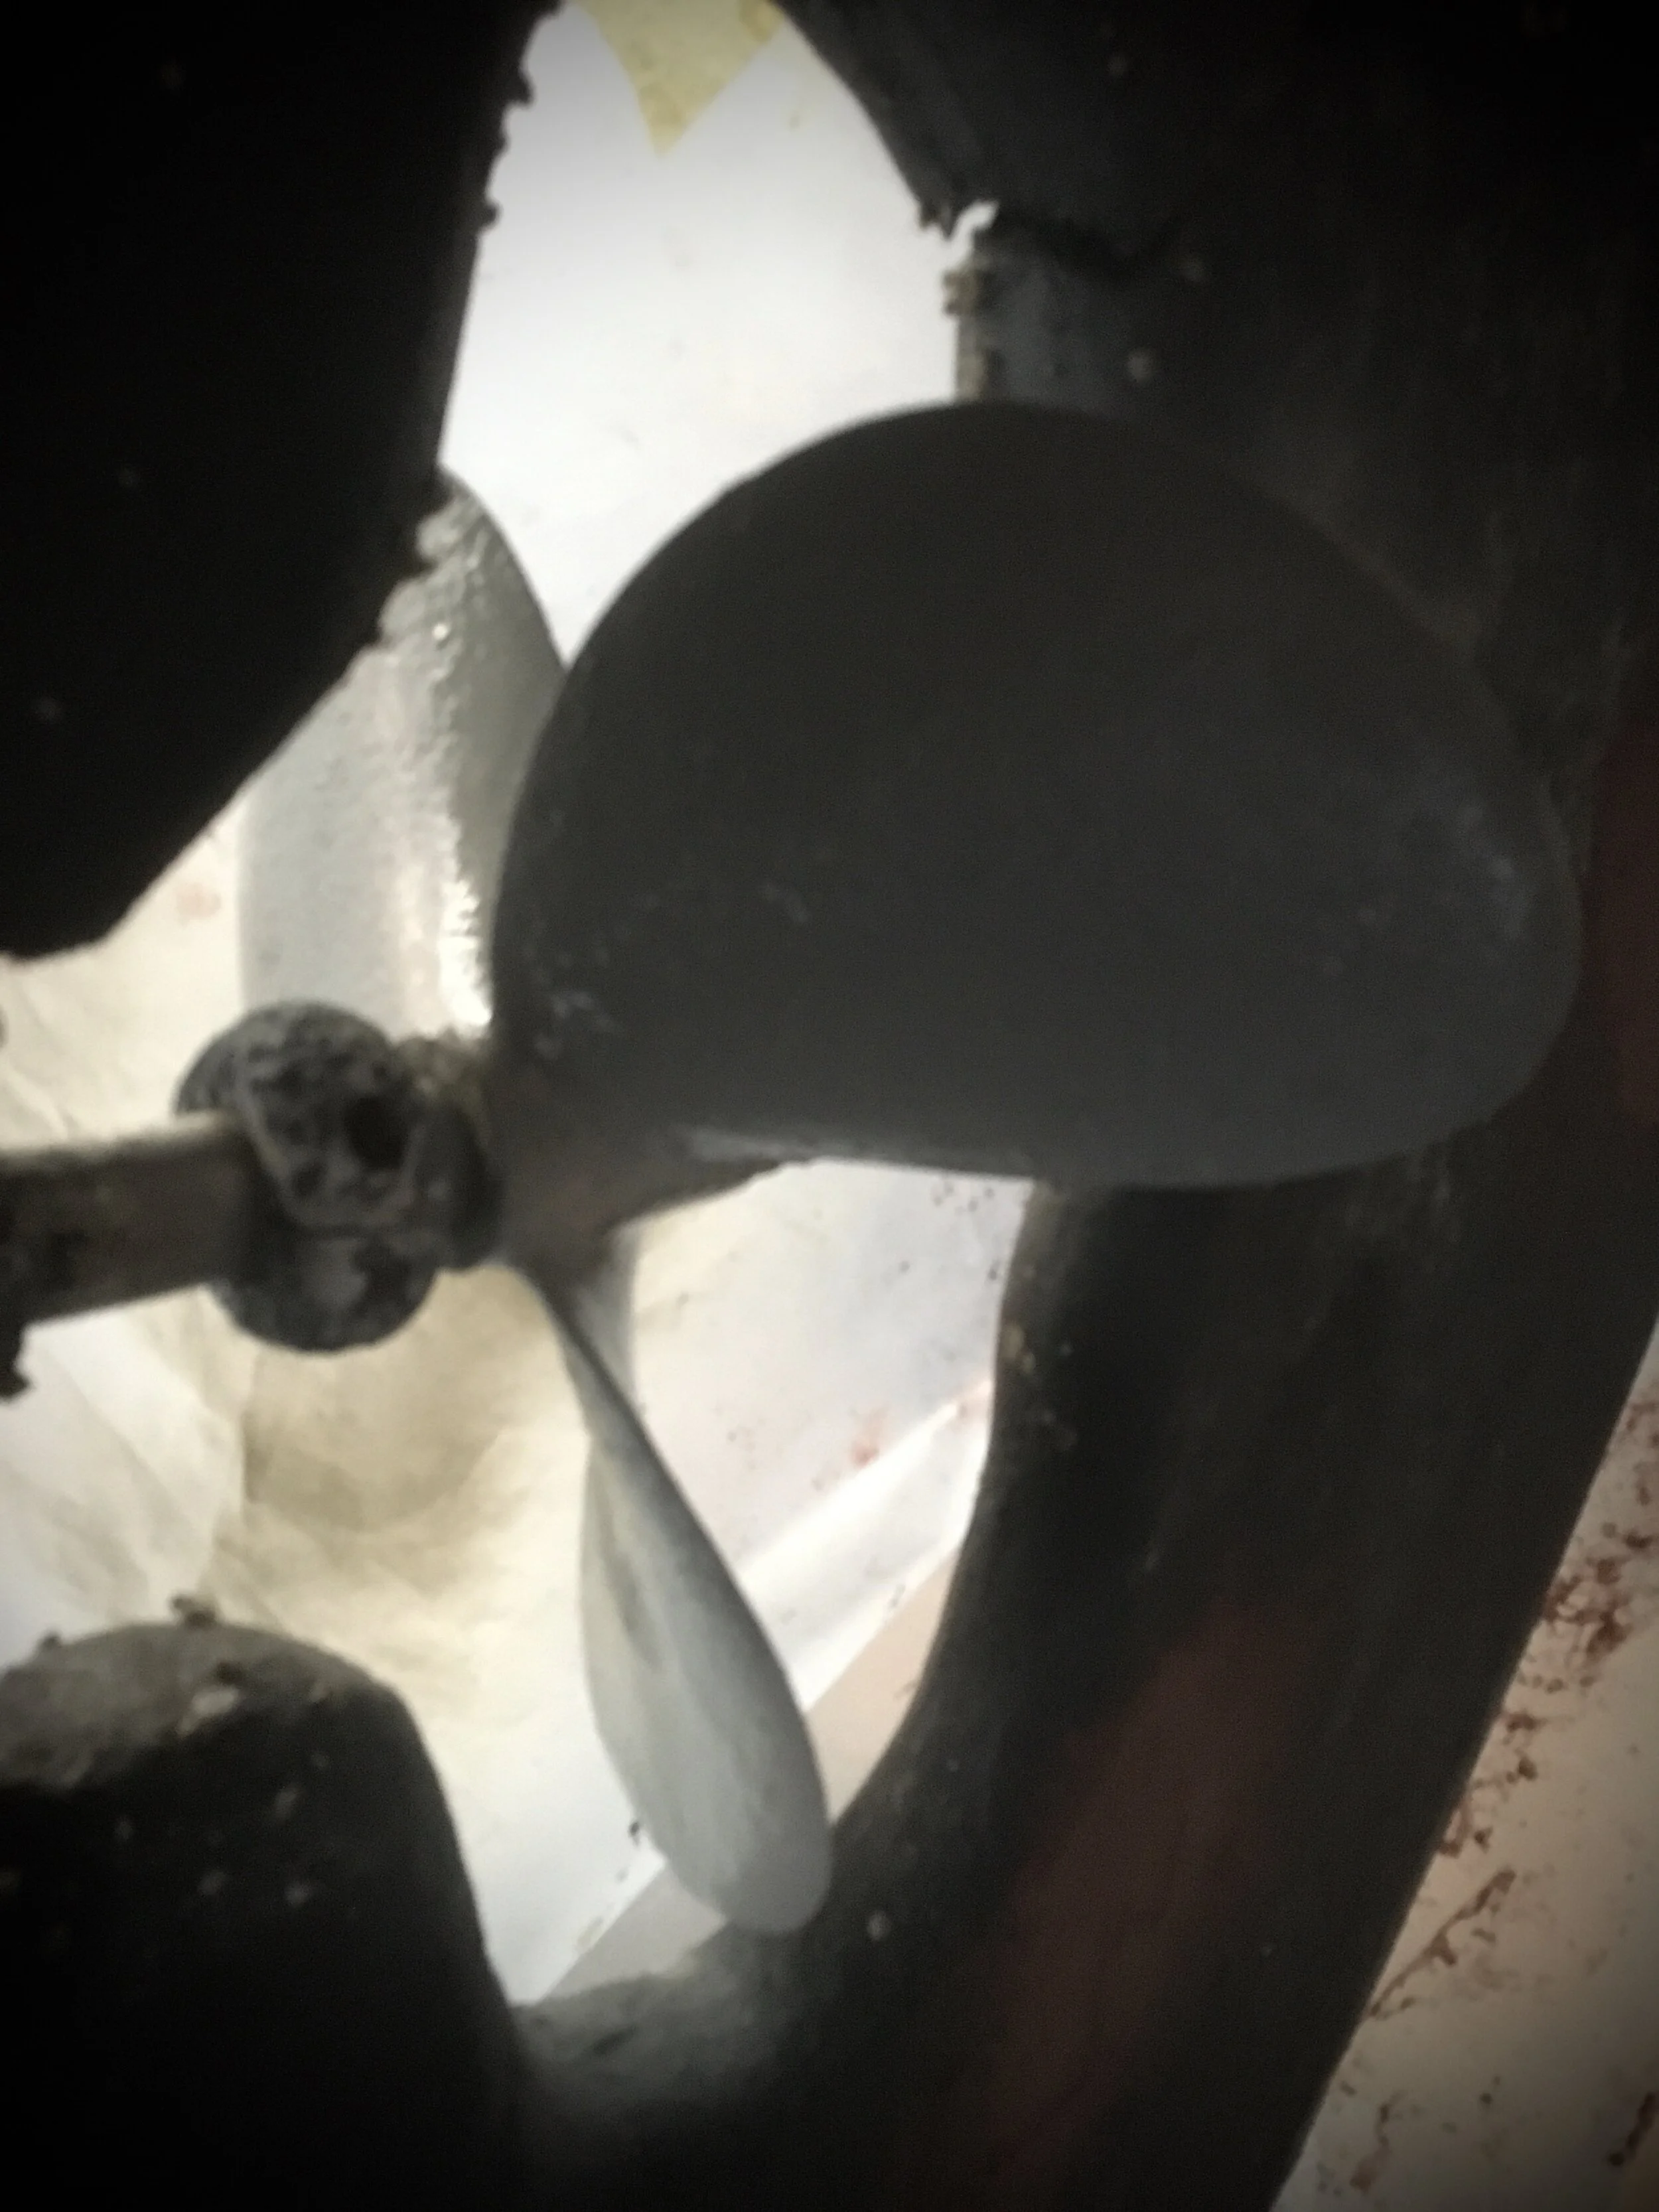
I happened to be on place when Anders was launching Safir boat. I didn’t notice she was here!
Good memories of my previous boat, Safir “Motoko”!

May 12, 2021 /Lukasz Kumanowski
Comment

Starboard winch

May 09, 2021 by Lukasz Kumanowski

I was very proud of myself after installation of these ancient Tufnol winches last winter. They really match the boat and use original supports on Meritaten. Of unknown reason previous owners moved winches to separate stands, on the deck. Probably they are easier to operate by the crew but I missed a pair of winches closer to steering position. As I usually sail alone I find it very convenient to have winches at hand.

Last spring, when Meritaten was launched, Anders used my new winches to hold the boat on launching cart. They were not made to withstand such load: one of them got some play on the bearings, the other survived but it’s mahogany foundation got lose!

I noticed that during sailing - when pulling genoa hard I felt that cockpit sarg is moving. It came out that the foundation unglued itself from the deck. Similar thing happened on port side, few years ago - it just fell off. That was easy to repair because I had access to both surfaces and could clean them, repair and bond using heavy-duty epoxy. On this starboard winch it was still sitting in place but bond to the deck was broken.

I tensioned the winch with rope, to open the gap as wide as possible.

As I cannot properly clean bonding surfaces for new glue I decided to seal this link with Sika. It will prevent water entering the interface. Strength of the bond will rely on heavy-duty silicone bronze which I will drive from belowdeck.
I taped the vicinity to avoid mess while applying Sika. Then I squeezed Sika into the gap, as much as it went.

Quite a mess. After I noticed than no more compound will get under I released tension from the winch, allowing the support to settle itself back on the deck. Nice, thick squeeze out means that mating surfaces got enough Sika on the perimeter. That should prevent water from getting in.

I went under deck and measured where I need to drill to drive my screws. This winch is above pilot’s berth. Not the most convenient place to access: lying on the back, drilling above one’s face. All debris lands on face and in ears. But it has to be done.

Tools of the trade:

Drilling location is obscured by main sail traveller support beam, running across whole width. I could only access it from one side - I need longer drill to get also the other. Upon inspection I found that there was a reinforcing screw there! Long time ago. Now it’s gone - someone “gifted” removed it and there is no way to repair and re-drill in this location due to support beam directly below.

Too bad. This location is perfect for a fat bolt - not only it is in the centre of winch but it also runs through oak beam which is a part of cockpit structure. Very strong reinforcement. I will need to match such bolt and drive it here.

Until then I drilled and screwed shorter but euqally heavy-duty bronze screw on the side. It runs through 25mm plywood deck above so it should be sufficiently strong to hold the winch - until I instal the main bolt.

After tightening the screw I crawled out of this hole and went on deck. Some more Sika got squeezed out. Time to clean this mess before the compound cures.

Thanks to masking tape it went nice and easy. Winch is secured and ready for service. I will mark them clearly so that Anders will not use them to hold my boat this time!

Weather deteriorated rapidly - it became cold, windy and pouring rain expelled most other folks home. I was the last one in this part of the boatyard.

Before leaving I had some small tasks to do.

I vacuumed boat interior - there was quite a bit of wood shavings in the bilge.

Propeller got it’s first coat of antifouling. This stuff works pretty poorly so I need to lay several coats to get any protection from marine creatures throughout the season.

IMG_2253.jpg

To keep small tools and fixtures organised I will try using military ammo pouches. Leather, of course.
These come from Serbian army. I think they will serve good on Meritaten.

Tough “silent service” guy, now with more eyelets, is guarding privacy for anyone using the loo in fo’c’sle.

Tasks left before launching day:

  • connect electricity

  • buy and instal new bilge pump’s floating switch

  • start the engine & collect glycol from winterised cooling system. Maybe change the impeller, if needed

  • apply antifouling on primed surfaces (few spots) and below waterline (where fouling is the strongest)

I also plan to instal additional bilge pump - crash pump - which shall take over if the main pump fails. Jim has such arrangement on Kaika. It’s smart and prudent so I shamelessly copy that onto Meritaten.

May 09, 2021 /Lukasz Kumanowski
2 Comments

Preparations for launching

May 08, 2021 by Lukasz Kumanowski

Closing on tasks left before launching.

Tiller is being oiled in the workshop. There are many coats left before I can install it, I’m on 3rd today. I use Owatrol my own way - like I did with Glypto. Not stopping after applying several coats within one hour, as the label says, I continue laying next coats during many days. Similar to varnish but with oil the work is simpler, no risk for uneven finish. A few more days and the job should be done.

I went to boatyard to install sole boards in fo’c’sle. All parts had enough time to cure. Starting with oak supports. I screw them to floor timber with bronze screws. Contact surfaces get Ettan, to prevent moisture trap.

Two screws are enough, they just hold supports in place, no big forces expected.

Support under battery bank is different - it will hold batteries in case the boat heels heavily. I screw them with four long, bronze screws.

Battery supports in place. Belts shall hold them in place - they do but battery boxes still can move a bit. Before sailing around the world I will have to reinforce this construction somehow but for now it will do.

This small art-deco detail has a task to hold the bank from lifting in heavy sea. Brass piece I found in garbage, suits the purpose here.

Battery boxes placed and secured. Easy access for maintenance - that was my goal.

Adapters for connecting aku boxes to the main rail fit well. Screw tight, will be covered with vaseline after connecting the battery bank.

Through-hull opening left after marine toilet is now sealed. I will eventually remove both of them and glue wooden bungs to close the hull but for now I just plugged the through-hull bronze valve with conical wooden plugs, one from the outside, one from the inside. Sika all over them, filling the whole valve. As extra insurance I bought cap screw with washer to close the valve inside. Judging from the looks this part is a zinc-rich alloy. It would not last long in contact with salt water, hence I used all these wooden plugs and Sika. That should seal everything and not allow water to reach the cap.

While at zinc-topic, I need to replace propeller axle sacrificial anode. Although there is still enough metal to perform this function the nut cavities are almost gone. If I wait too long it might be a messy job to remove it so it’s better to replace it already now.

I primed places where antifouling paint flakes from the hull. I use järnmönja which preserves wood well but takes time to dry if coated too thick. Some rust points still pop out on ballast keel, especially in places where I removed epoxy cover to reach keel bolts’ cavities.

We have a diabolic plan with Jim to remove antifouling paint after the season. We will use caustic soda with wallpaper glue. I did that during Motoko’s renovation but that was fibreglass hull. No risk that NaOH damages it. With wooden hull we will need to proceed cautiously. Meritaten needs her bottom to be refreshed - paiint layers are too thick and peeling more with each autumn. I prime these areas with mönja and paint antifouling in spots. That will do for this summer but coming winter will be dedicated to bottom renovation.

Toilet pedestal is installed. This season we will have toilet visible and to keep it in place I use simple strap. Next winter I will build wooden cover for this unit. It will serve as a step for hatch above and will keep the toilet securely in place.

It turned out quite OK: I can access the whole fo’c’sle and while using the loo one is not exposed to the crew so much. Fine tuning with wooden floor and some furniture will make this part more refined.

May 08, 2021 /Lukasz Kumanowski
Comment

Sail carts continued

May 03, 2021 by Lukasz Kumanowski

While printing the second cart in yellow ABS I realised that I have much better material for these sail carts.

ABS is way better than PLA which will disintegrate in sunlight and become brittle pretty quick. However, ABS is also prone to UV-degradation and sitting on sailboat mast will expose it to much radiation.

I have PETG filament which should stand much longer. It is the same plastic as used in soda bottles. Food grade, resilient and strong. One I have is black or, second option, milk-white and changing colour when exposed to UV. Nice option to monitor Sun’s activity.

BUT - why not go with the original material these carts were made from?
Nylon, of course. My aged carts lasted 50 years. If these newly made will last equally long then I’ll be gone long before they break.
I picked specially formed nylon, adjusted for relatively easy 3D printing.

I say “relatively easy” to use because last time I tested it few years ago it become a huge mess of plastic spaghetti after overnight print: component has loosen itself from the table and things went wild. I also clogged the nozzle with, apparently, wrongly set melting temperature.
Messy business.

I did some more reading and performed additional tests to adjust printing parameters. I use power-raft option to keep it stable on printing table. One cart takes 4h30min to build. I left the machine working when leaving the factory. Last time I checked things were going OK.
I’ll hope to see finished component tomorrow morning, for strength tests and some finishing touches in the workshop.

POSTSCRIPTUM

Morning after I checked the result. I had high hopes. Turned out - again - that things went wild during the night.

Not too bad, “spaghetti” started close to the end so it would be possible to use this cart, I thought.

I was wrong. I could separate layers with hand strength.

Apparently it got loose from the table. Also - adhesion between layers is too low due to cooling of the previous layer before it melts together with the next one.
I made another attempt. This time with print parameters which should make this more like moulding process: very fast print, high melting temperature and very hot table. Print started OK so I left the machine and went on with work.

Checked the results after 2 hours.

Nope! Even worse.

Last attempt then, before I dump this filament for good. Stronger power raft, slower printing, cooler table: 110 degrees. After 3 hours, when I checked again I could see that it is on the verge of popping out of the build table. In desperate attempt I secured the power raft with silver tape (which started to melt in 110 degrees but held it still all right).

Print finished and all looked well. No cracks on the surface, no warping.

I tried breaking it with my hand and … it snapped! Not good.

I dump the idea with 3D printing such objects in nylon. Apparently it is too sleek to properly bond layers. Objects become nice and smooth but are weak in layers’ direction.

I started PETG print instead. I shall see tomorrow how that goes. High hopes again …

May 03, 2021 /Lukasz Kumanowski
Comment

Battery connectors

May 02, 2021 by Lukasz Kumanowski

My cry for help regarding proper adapters for connecting battery boxes with electrical cables resulted in a storm of ideas from my Dear Readers. Thank you!

Albert sent me a very neat solution which gave me idea of making my own adapters. I turned them in aluminium - maybe not the best material for this but that I had at hand. Thick cylinders match “+” & “ -” openings in aku clamps. M12 thread matches holes in battery box cables. Wide collar should maximise contact area.
The only thing which does not work is that I made the wrong thread! I cut is as M12x1 while common nuts are M12x1,75!

I’ll try buying matching fine-threaded nuts in Norrtälje. Anders gave me a tip that there is a shop in Görla with such uncommon stuff.
I could make them myself, too.
Otherwise I’ll re-thread them into proper thread or turn them into smaller, M10.

POSTSCRIPTUM

I finally decided to re-cut threads on these bolts into standard, coarse M12. There was enough meat left in M12x1 to yield healthy, proper threads.

I took Jim’s and Anders’ advice and visited Bremers in Görla. Well worth it!

Equipped with four A4-grade steel wing nuts I’m now ready to instal it on Meritaten. Thank you guys!

May 02, 2021 /Lukasz Kumanowski
3 Comments
  • Newer
  • Older

Powered by Squarespace